Articles
How To Decorate A Wall With Picture Frames
Modified: August 26, 2024
Learn how to decorate your wall with picture frames. Our articles provide expert tips and ideas for creating a stunning gallery wall.
(Many of the links in this article redirect to a specific reviewed product. Your purchase of these products through affiliate links helps to generate commission for Storables.com, at no extra cost. Learn more)
Introduction
Decorating your walls with picture frames is a wonderful way to add a personal touch and bring life to any space. Whether you’re showcasing cherished memories, displaying art, or simply adding a decorative element, picture frames can transform a plain wall into a captivating focal point. With a little planning and creativity, you can create a gallery-style wall that not only reflects your unique style but also evokes emotion and tells a story.
In this article, we will guide you through the process of decorating a wall with picture frames. From choosing the right frames to hanging them with precision, we’ll cover everything you need to know to achieve stunning results. So, let’s dive in and discover the secrets to creating a beautifully curated wall display!
Key Takeaways:
- Transform a plain wall into a captivating focal point by carefully selecting the right picture frames, planning the layout, and adding special touches to create a visually appealing and personalized wall display.
- Infuse your personal style and creativity into your wall display by incorporating artwork, decorative accessories, lighting, and greenery to elevate the overall look and create a unique and captivating arrangement.
Read more: How To Make A Wall Collage Of Picture Frames
Choosing the Right Picture Frames
When it comes to decorating your wall with picture frames, selecting the right frames is crucial. The frames not only protect and highlight your artwork or photographs, but they also contribute to the overall aesthetic appeal of your wall display. Here are some considerations to keep in mind when choosing the perfect picture frames:
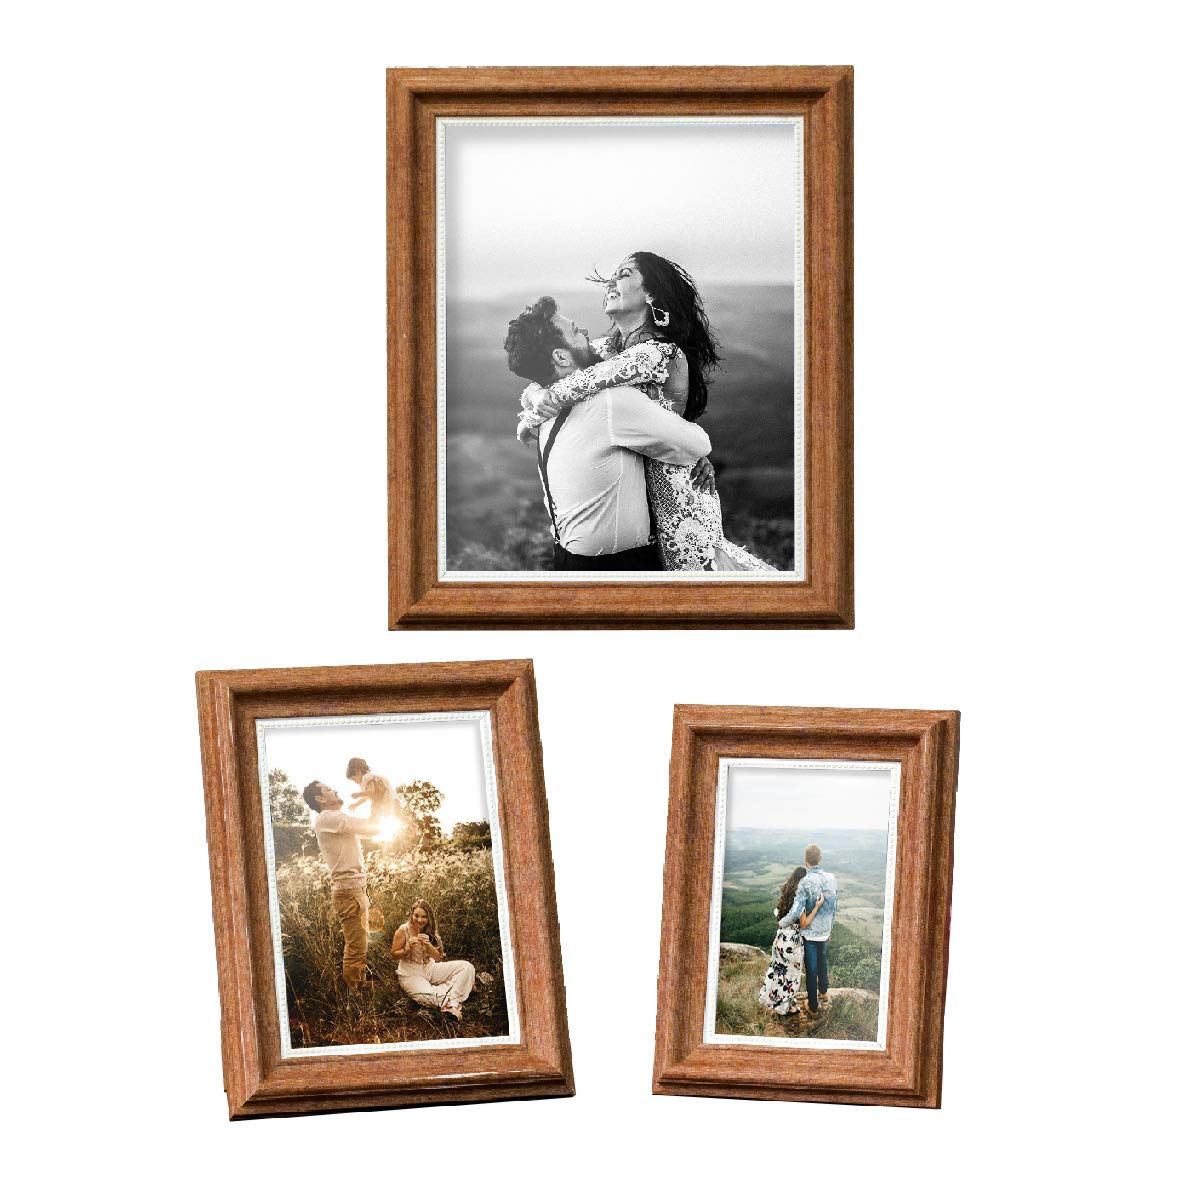
- Material: Picture frames come in a variety of materials, including wood, metal, and plastic. Consider the style and theme of your space when selecting the material for your frames. Wood frames lend a classic and timeless look, metal frames offer a sleek and modern vibe, while plastic frames are lightweight and versatile.
- Color and Finish: Choose a color and finish that complements the rest of your decor. Consider the color palette of the room and select frames that either match or provide a striking contrast. Additionally, pay attention to the finish of the frames – options may include matte, glossy, or distressed finishes.
- Size: Determine the size of the frames based on the wall space you have available and the size of the artwork or photographs you intend to display. Mix and match different sizes for added visual interest.
- Style: Consider the style of your space and choose frames that align with that aesthetic. If your decor is more traditional, ornate frames with intricate details may be a good fit. For a more contemporary look, streamlined and minimalist frames work well.
- Frame Thickness: Consider the thickness of the frame molding. Thicker frames tend to make a bolder statement, while thinner frames offer a more delicate and subtle look.
- Consistency: If you’re creating a gallery wall or multiple frames display, aim for consistency in terms of frame style, color, or finish. This will help create a cohesive and unified look.
Take your time to explore different options and visualize how the frames will fit into your overall design scheme. Remember, the right picture frames will accentuate your artwork or photographs and enhance the overall aesthetic appeal of your wall display.
Selecting the Perfect Wall
Now that you’ve chosen the picture frames, it’s time to select the perfect wall to showcase your wall display. The wall you choose will serve as the backdrop for your frames and will greatly impact the overall visual impact of your display. Here are some factors to consider when selecting the perfect wall:
- Size and Proportion: Look for a wall that is proportionate to the size of your frames. Consider the dimensions and layout of the wall in relation to the number and size of frames you plan to hang. A larger wall can accommodate a larger display, while a smaller wall may work best with a more compact arrangement.
- Visibility: Choose a wall that is easily visible and accessible. It’s important to place your wall display in a prominent area of your home or space where it can be appreciated and enjoyed by both residents and guests.
- Lighting: Pay attention to the lighting conditions on the chosen wall. Natural light can enhance the beauty of your frames and artworks. Consider positioning the display on a wall that receives ample natural light or install proper lighting fixtures to illuminate the frames.
- Focus Point: Consider the focal point of the room when selecting the wall for your display. If there is already a dominant focal point, such as a fireplace or a large piece of furniture, choose a wall that complements and enhances it rather than competes with it.
- Background: Take into account the color and texture of the wall. A neutral-colored or lightly textured wall can provide a clean and versatile background that allows your picture frames to stand out. Avoid walls with busy patterns or distracting wallpaper that may detract from the visual impact of your display.
- Accessibility: Consider the ease of access to the wall for hanging and rearranging the frames. Make sure there is enough space for you to comfortably work on the wall without any hindrance.
By carefully selecting the perfect wall, you can create an impactful and visually stunning display that adds personality and charm to your space. Remember to consider the size, proportion, visibility, lighting, background, and accessibility when choosing the wall for your picture frame display.
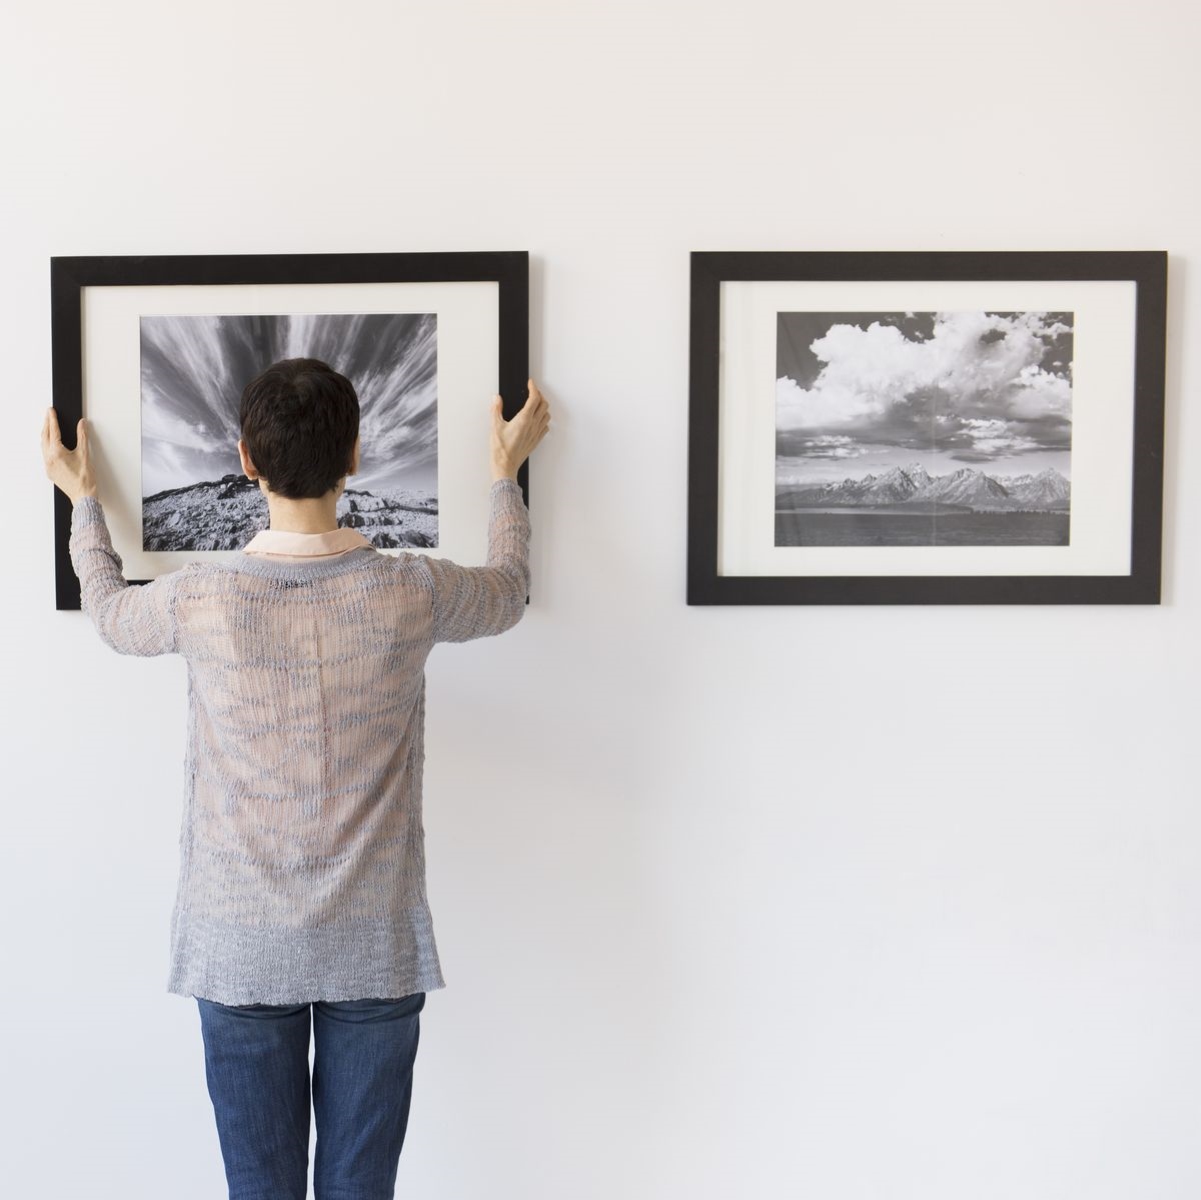
Planning the Picture Layout
Before you start hanging your picture frames, it’s important to plan the layout to ensure a visually pleasing and balanced display. By taking the time to carefully plan the arrangement, you can create a cohesive and well-structured composition. Here are some tips for planning your picture frame layout:
- Measure and Mark: Start by measuring the dimensions of the wall and marking the available space where you want to hang your frames. Use a measuring tape, level, and pencil to create precise markings for each frame.
- Visualize: Use paper or cardboard cutouts in the same size as your frames to create a mock layout on the floor. This will allow you to experiment with different arrangements and visualize how the frames will look on the wall.
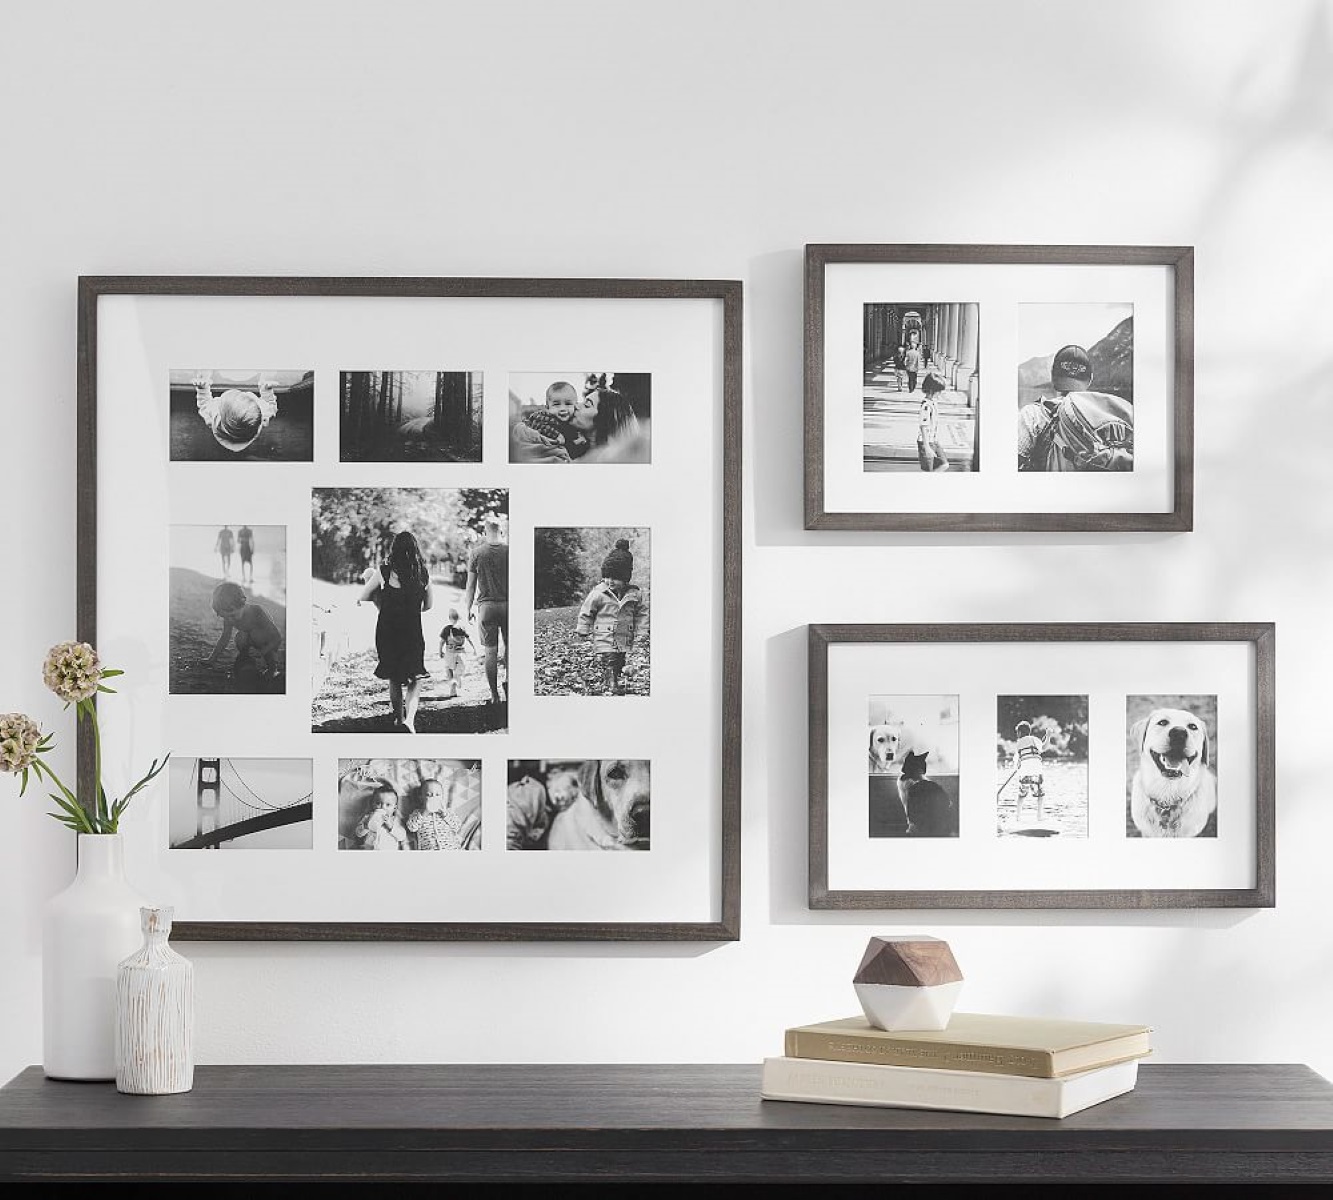
- Consider the Centerpiece: Choose a centerpiece for your layout, such as a larger frame or a standout artwork. Arrange the remaining frames around the centerpiece, ensuring a balanced distribution of sizes, shapes, and colors.
- Play with Symmetry or Asymmetry: Decide whether you want a symmetrical or asymmetrical layout. Symmetry can create a sense of order and harmony, while asymmetry can add an element of interest and intrigue. Experiment with both approaches to see which one suits your aesthetic preferences.
- Leave Room for Expansion: If you plan to add more frames to your display in the future, leave some empty spaces or gaps in your initial layout. This will allow you to easily incorporate new frames without disrupting the overall composition.
- Balance and Proportion: Pay attention to the balance and proportion of your layout. Avoid clustering frames in one area, and instead distribute them evenly across the available space. Aim for a visually pleasing balance between large and small frames, as well as negative spaces.
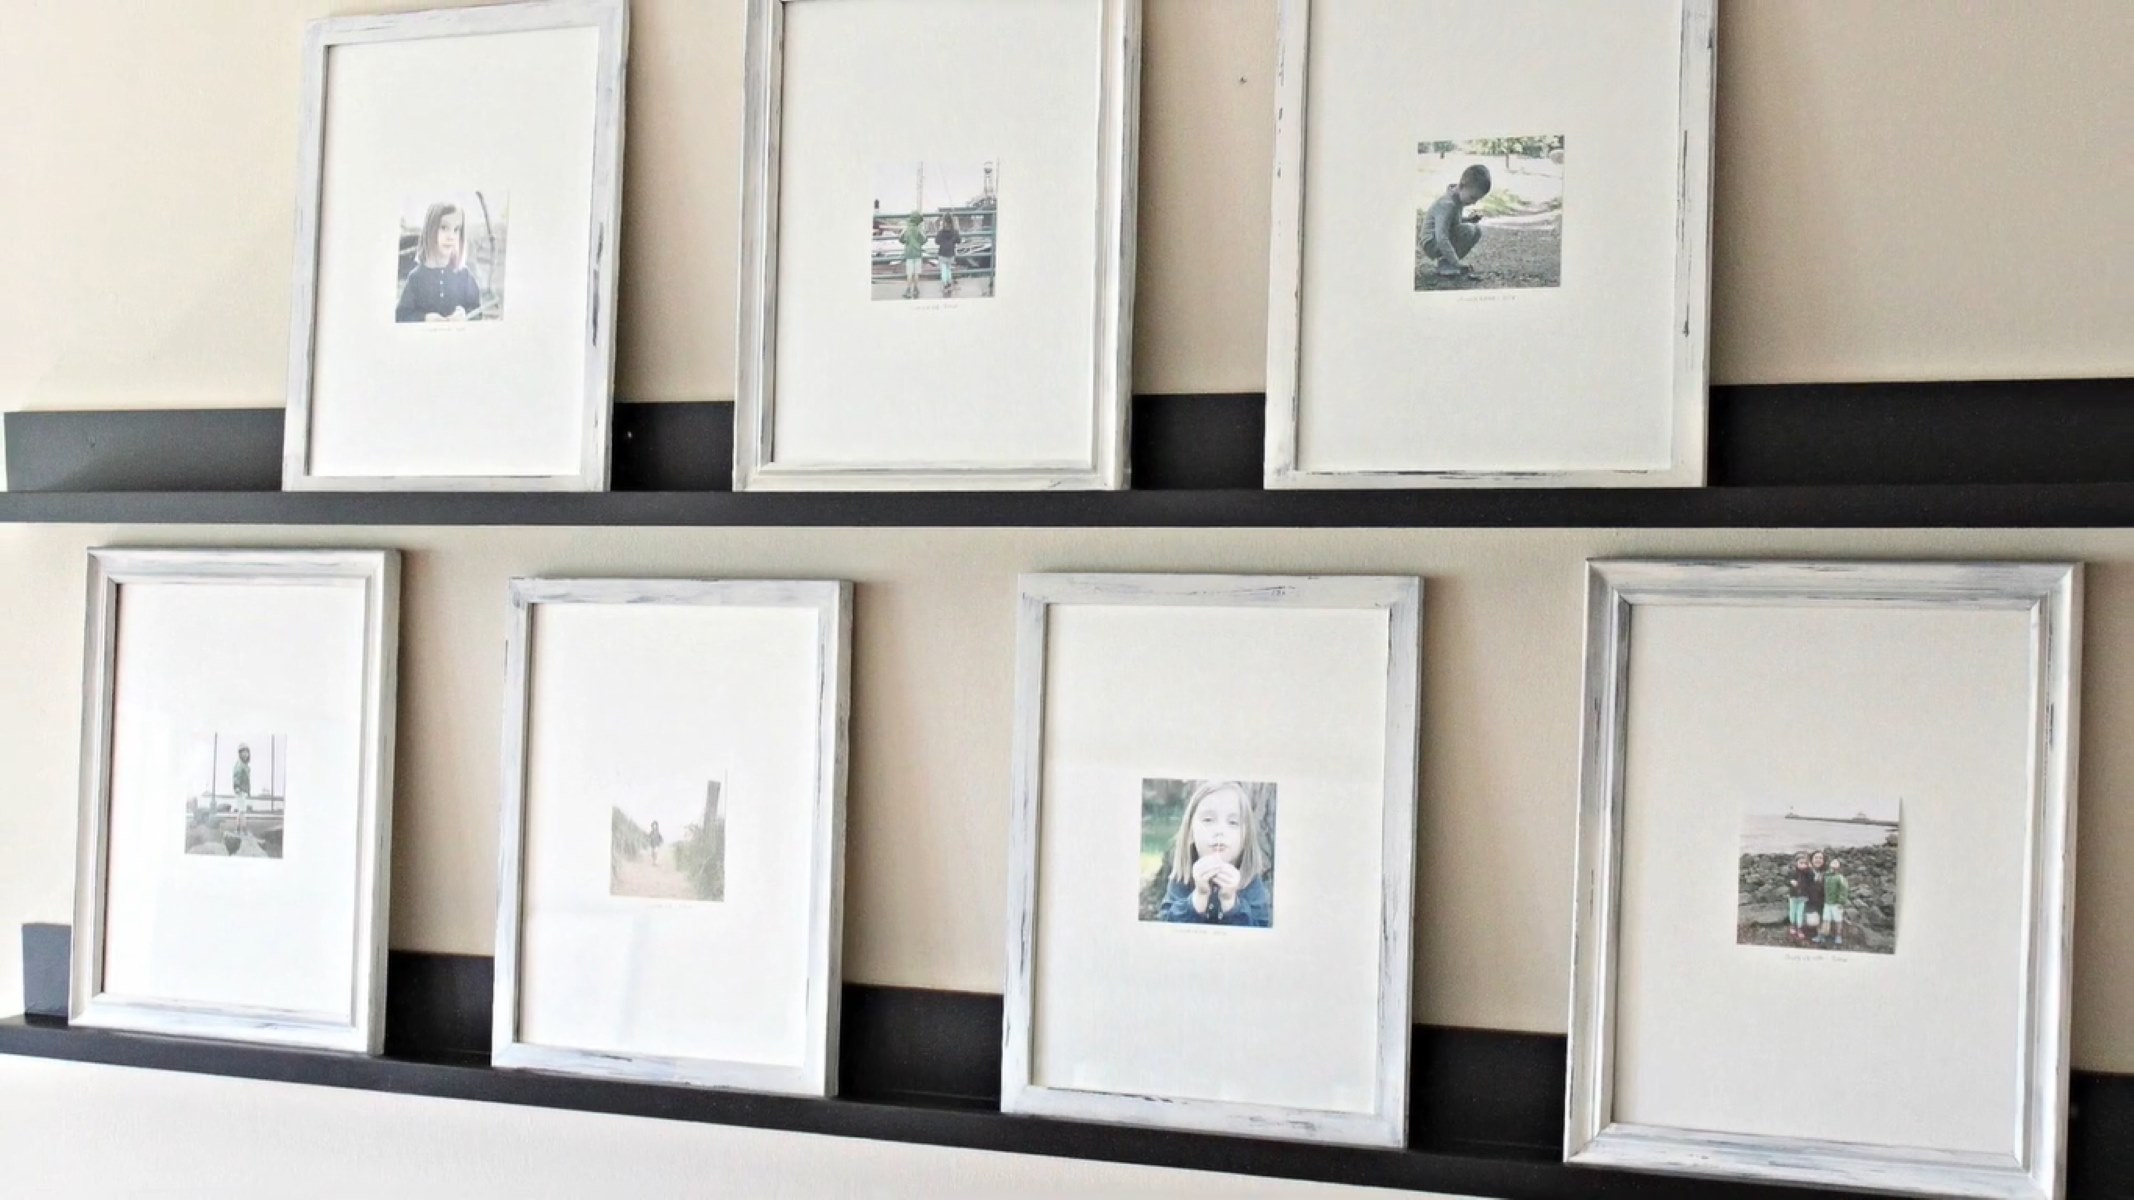
- Consistency with Frame Alignment: Maintain consistency in terms of frame alignment. Keep the spacing between frames consistent and ensure that they are all level and aligned with each other.
Planning the picture layout ahead of time will save you time and effort when it comes to hanging the frames. It will also give you the opportunity to create a customized and visually striking display that truly reflects your personal style.
When arranging picture frames on a wall, start by laying them out on the floor to find the best arrangement. Use a level to ensure they are hung straight and consider using templates to plan the layout before making any holes in the wall.
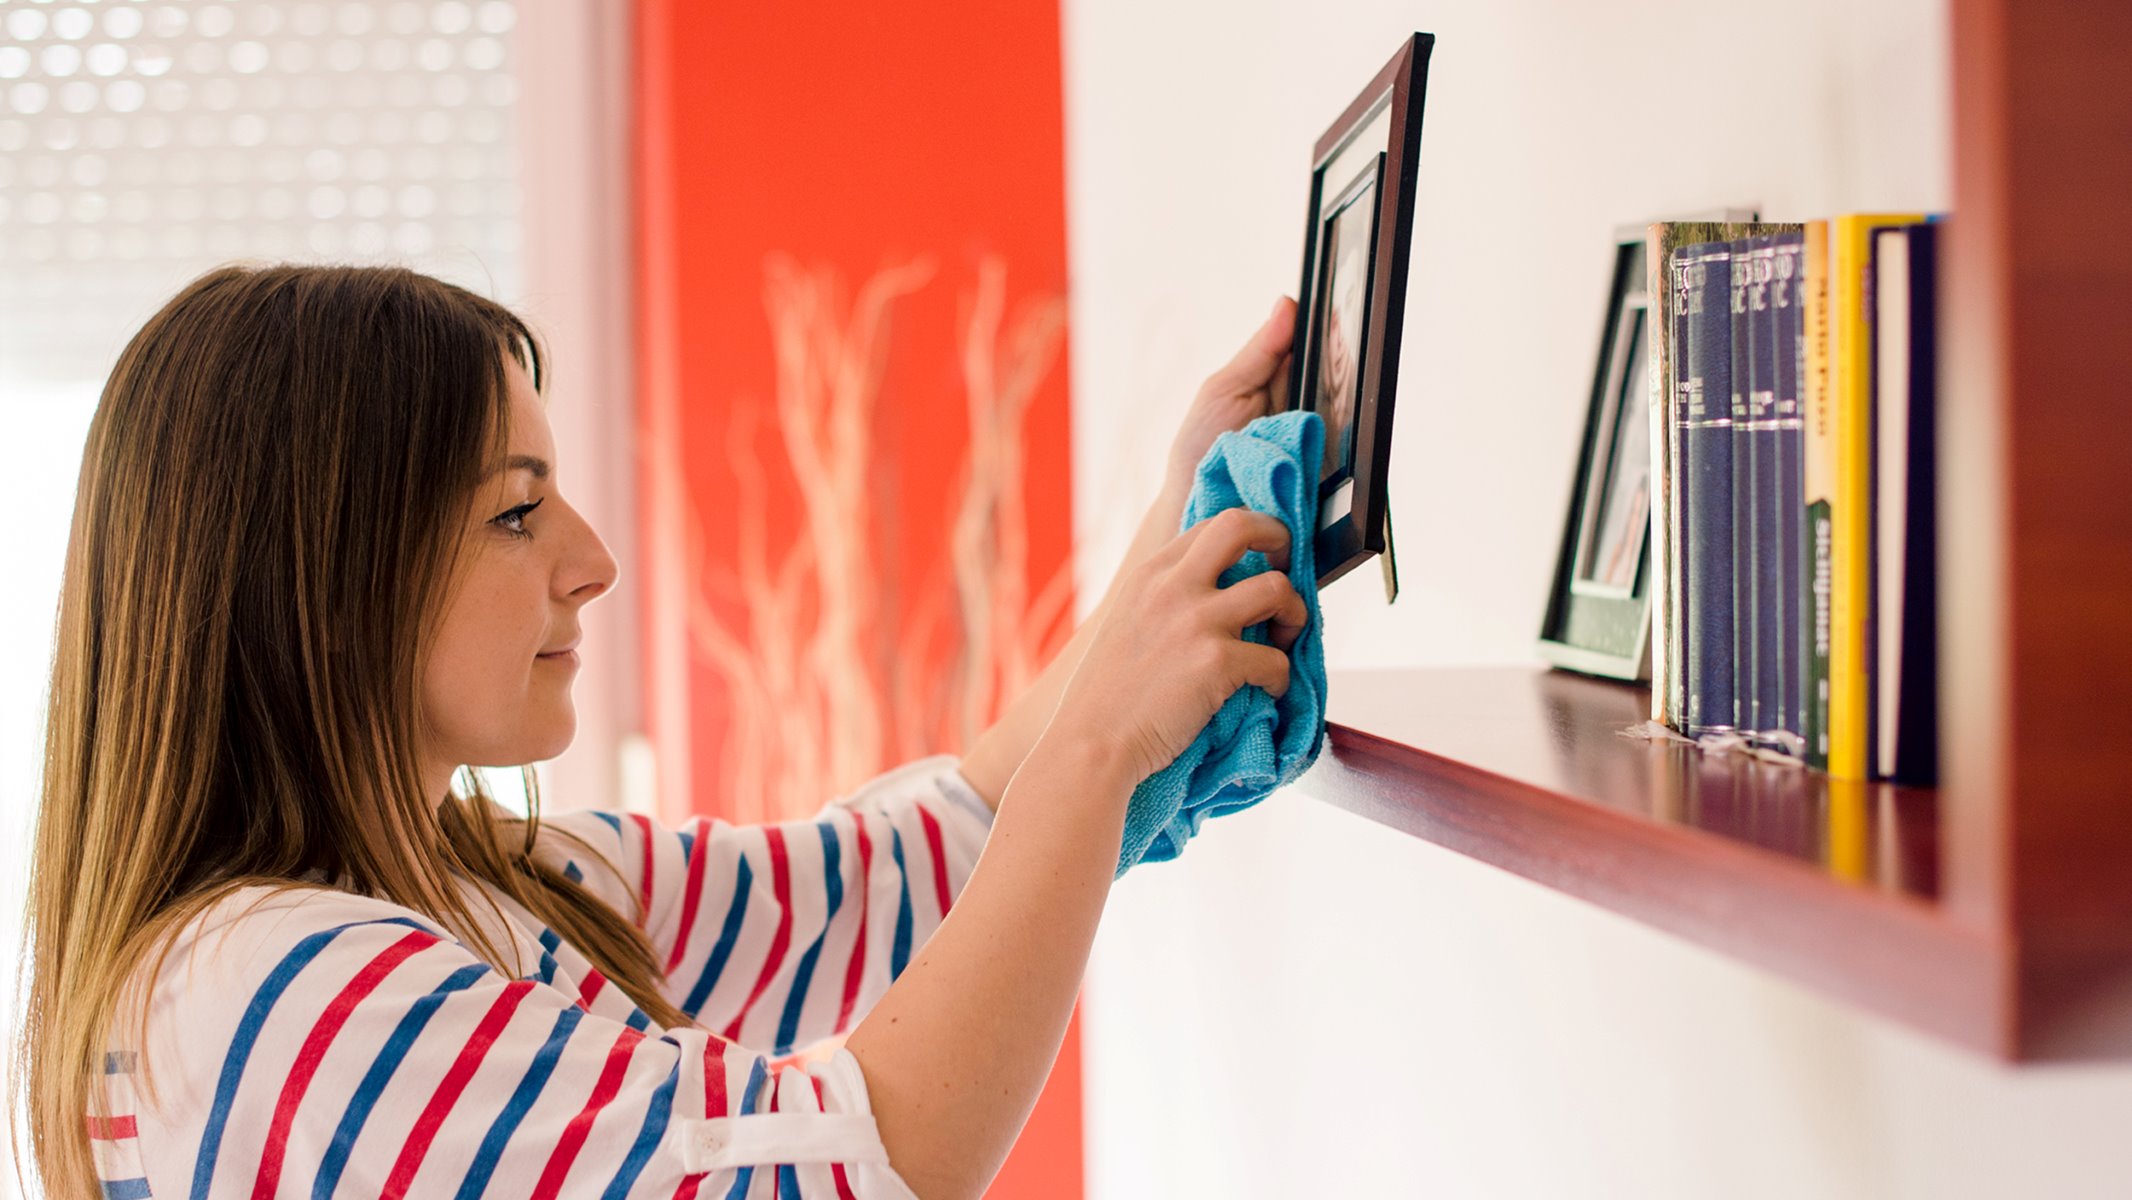
Preparing the Wall
Preparation is key when it comes to hanging picture frames on your wall. Taking the time to properly prepare the wall will ensure a stable and secure installation. Here are some steps to follow when preparing the wall:
- Clean the Wall: Before hanging your picture frames, clean the wall surface to remove any dirt, dust, or debris. Use a soft cloth or sponge and a mild cleaning solution to gently wipe down the wall. This will help the frames adhere better and prevent any damage to the wall surface.
- Repair Any Damage: Inspect the wall for any cracks, holes, or other imperfections. Fill in any holes or cracks with spackling paste and use sandpaper to smooth out the surface. If necessary, apply a coat of primer or paint to blend the repaired area with the rest of the wall.
- Locate Studs: A stud finder can help you locate the studs in the wall, which are essential for providing stability and support. Mark the location of the studs with a pencil so that you know where to hang your frames. If you are unable to find a stud, consider using anchors or wall hooks designed for hanging frames.
- Arrange Hanging Hardware: Evaluate the hanging hardware required for your picture frames. Determine if you need to use nails, screws, or picture hooks. Measure and mark the appropriate locations on the wall for each frame, ensuring that they align with the marked studs or anchor points.
- Protect the Wall: To prevent damage to the wall and keep the frames in place, you can use adhesive strips, double-sided tape, or removable hooks. These options are particularly useful if you’re unsure about the final placement of your frames or if you want the flexibility to rearrange them in the future.
- Test the Layout: Once the wall is prepared and the hanging hardware is in place, do a test run by positioning your frames on the wall without actually hanging them. This will allow you to make any necessary adjustments to the layout and ensure that you’re satisfied with the placement before committing to the installation.
By taking the time to properly prepare the wall, you can ensure a sturdy and secure installation of your picture frames. A well-prepared wall will not only protect your frames but also give you peace of mind knowing that your display is securely mounted.
Hanging the Picture Frames
Now that you’ve prepared the wall, it’s time to hang your picture frames. Properly hanging the frames will ensure they are secure and visually appealing. Here’s a step-by-step guide to help you hang your picture frames:
- Gather Tools: Collect the necessary tools, including a hammer, nails, screws, picture hooks, or adhesive strips, depending on the hanging hardware you’ll be using.
- Measure and Mark: Measure the desired height for each frame and mark the appropriate placement on the wall using a pencil or painter’s tape. Use a level to ensure the markings are straight and even.
- Start with Anchors or Studs: If you’re using anchors or hanging hardware that requires stud support, start by drilling pilot holes into the marked studs. Insert the anchors or screws into the holes, making sure they are flush with the wall surface.
- Hanging Options: Depending on the type of frame and hanging hardware, choose one of the following hanging options:
- a) Nails or Screws: For frames with hanging wire or D-rings, position the frame on the wall and align it with the marked placement. Then, gently tap a nail or screw through the hanger or wire and into the wall. Ensure the frame is level before fully securing the nail or screw.
- b) Picture Hooks: If you’re using picture hooks, position the hook on the marked placement and insert the accompanying nails or screws into the designated holes on the hook. Make sure the hook is secure and level.
- c) Adhesive Strips: If you’re using adhesive strips, remove the backing and firmly press the strips onto the back of the frame. Then, position the frame on the wall and press it firmly for a few seconds to ensure a strong adhesion.
- Hang the Frames: Once the hanging hardware is in place, hang each frame on the designated spot by gently lifting it and hooking it onto the nail, screw, or picture hook. Adjust the position and levelness as needed.
- Check for Stability: Give the frames a gentle shake or tap to check for stability. If any frames feel loose, adjust the hardware or add additional support to ensure a secure installation.
Remember to step back and review your wall display from different angles to ensure it looks balanced and visually pleasing. Take your time and make adjustments as necessary to create a cohesive and harmonious arrangement.
By following these steps, you’ll be able to confidently hang your picture frames and create a stunning display that enhances the aesthetic appeal of your space.
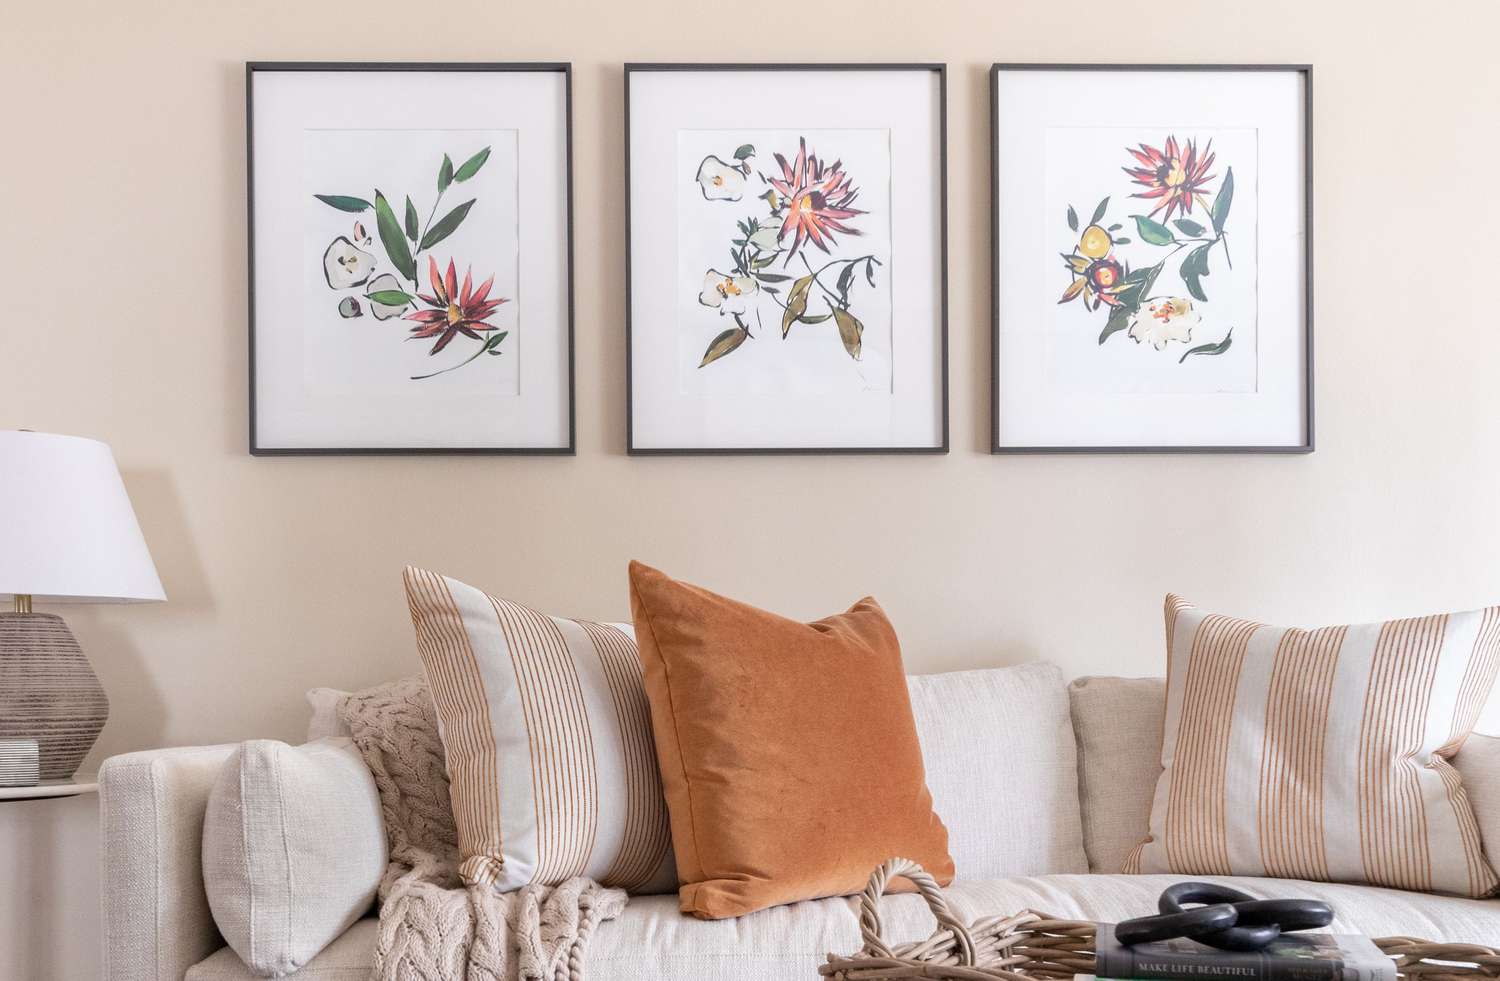
Adding Special Touches
Once you’ve hung your picture frames, you can take your wall display to the next level by adding some special touches. These additional elements will enhance the overall look and create a truly personalized and captivating arrangement. Here are a few ideas to inspire you:
- Artwork or Mirrors: Incorporate artwork or mirrors alongside your picture frames to add depth and visual interest. Choose pieces that complement the frames and create a cohesive composition.
- Wall Decor: Add other wall decor items such as wall decals, botanical prints, or wall sconces to create a layered and dynamic display. Mix and match different textures and styles to add depth and character.
- Decorative Accessories: Introduce decorative accessories, such as small sculptures, vases, or figurines, to add personality and style to your wall display. These accessories can be placed on shelves or ledges adjacent to the picture frames.
- Floating Shelves: Install floating shelves below or above the picture frames to display small decor items or plants. This adds an extra dimension and creates an attractive visual balance.
- Lighting: Consider incorporating lighting elements, such as wall sconces or spotlights, to highlight specific frames or to add a warm glow to the overall display. Proper lighting can create ambient and dramatic effects.
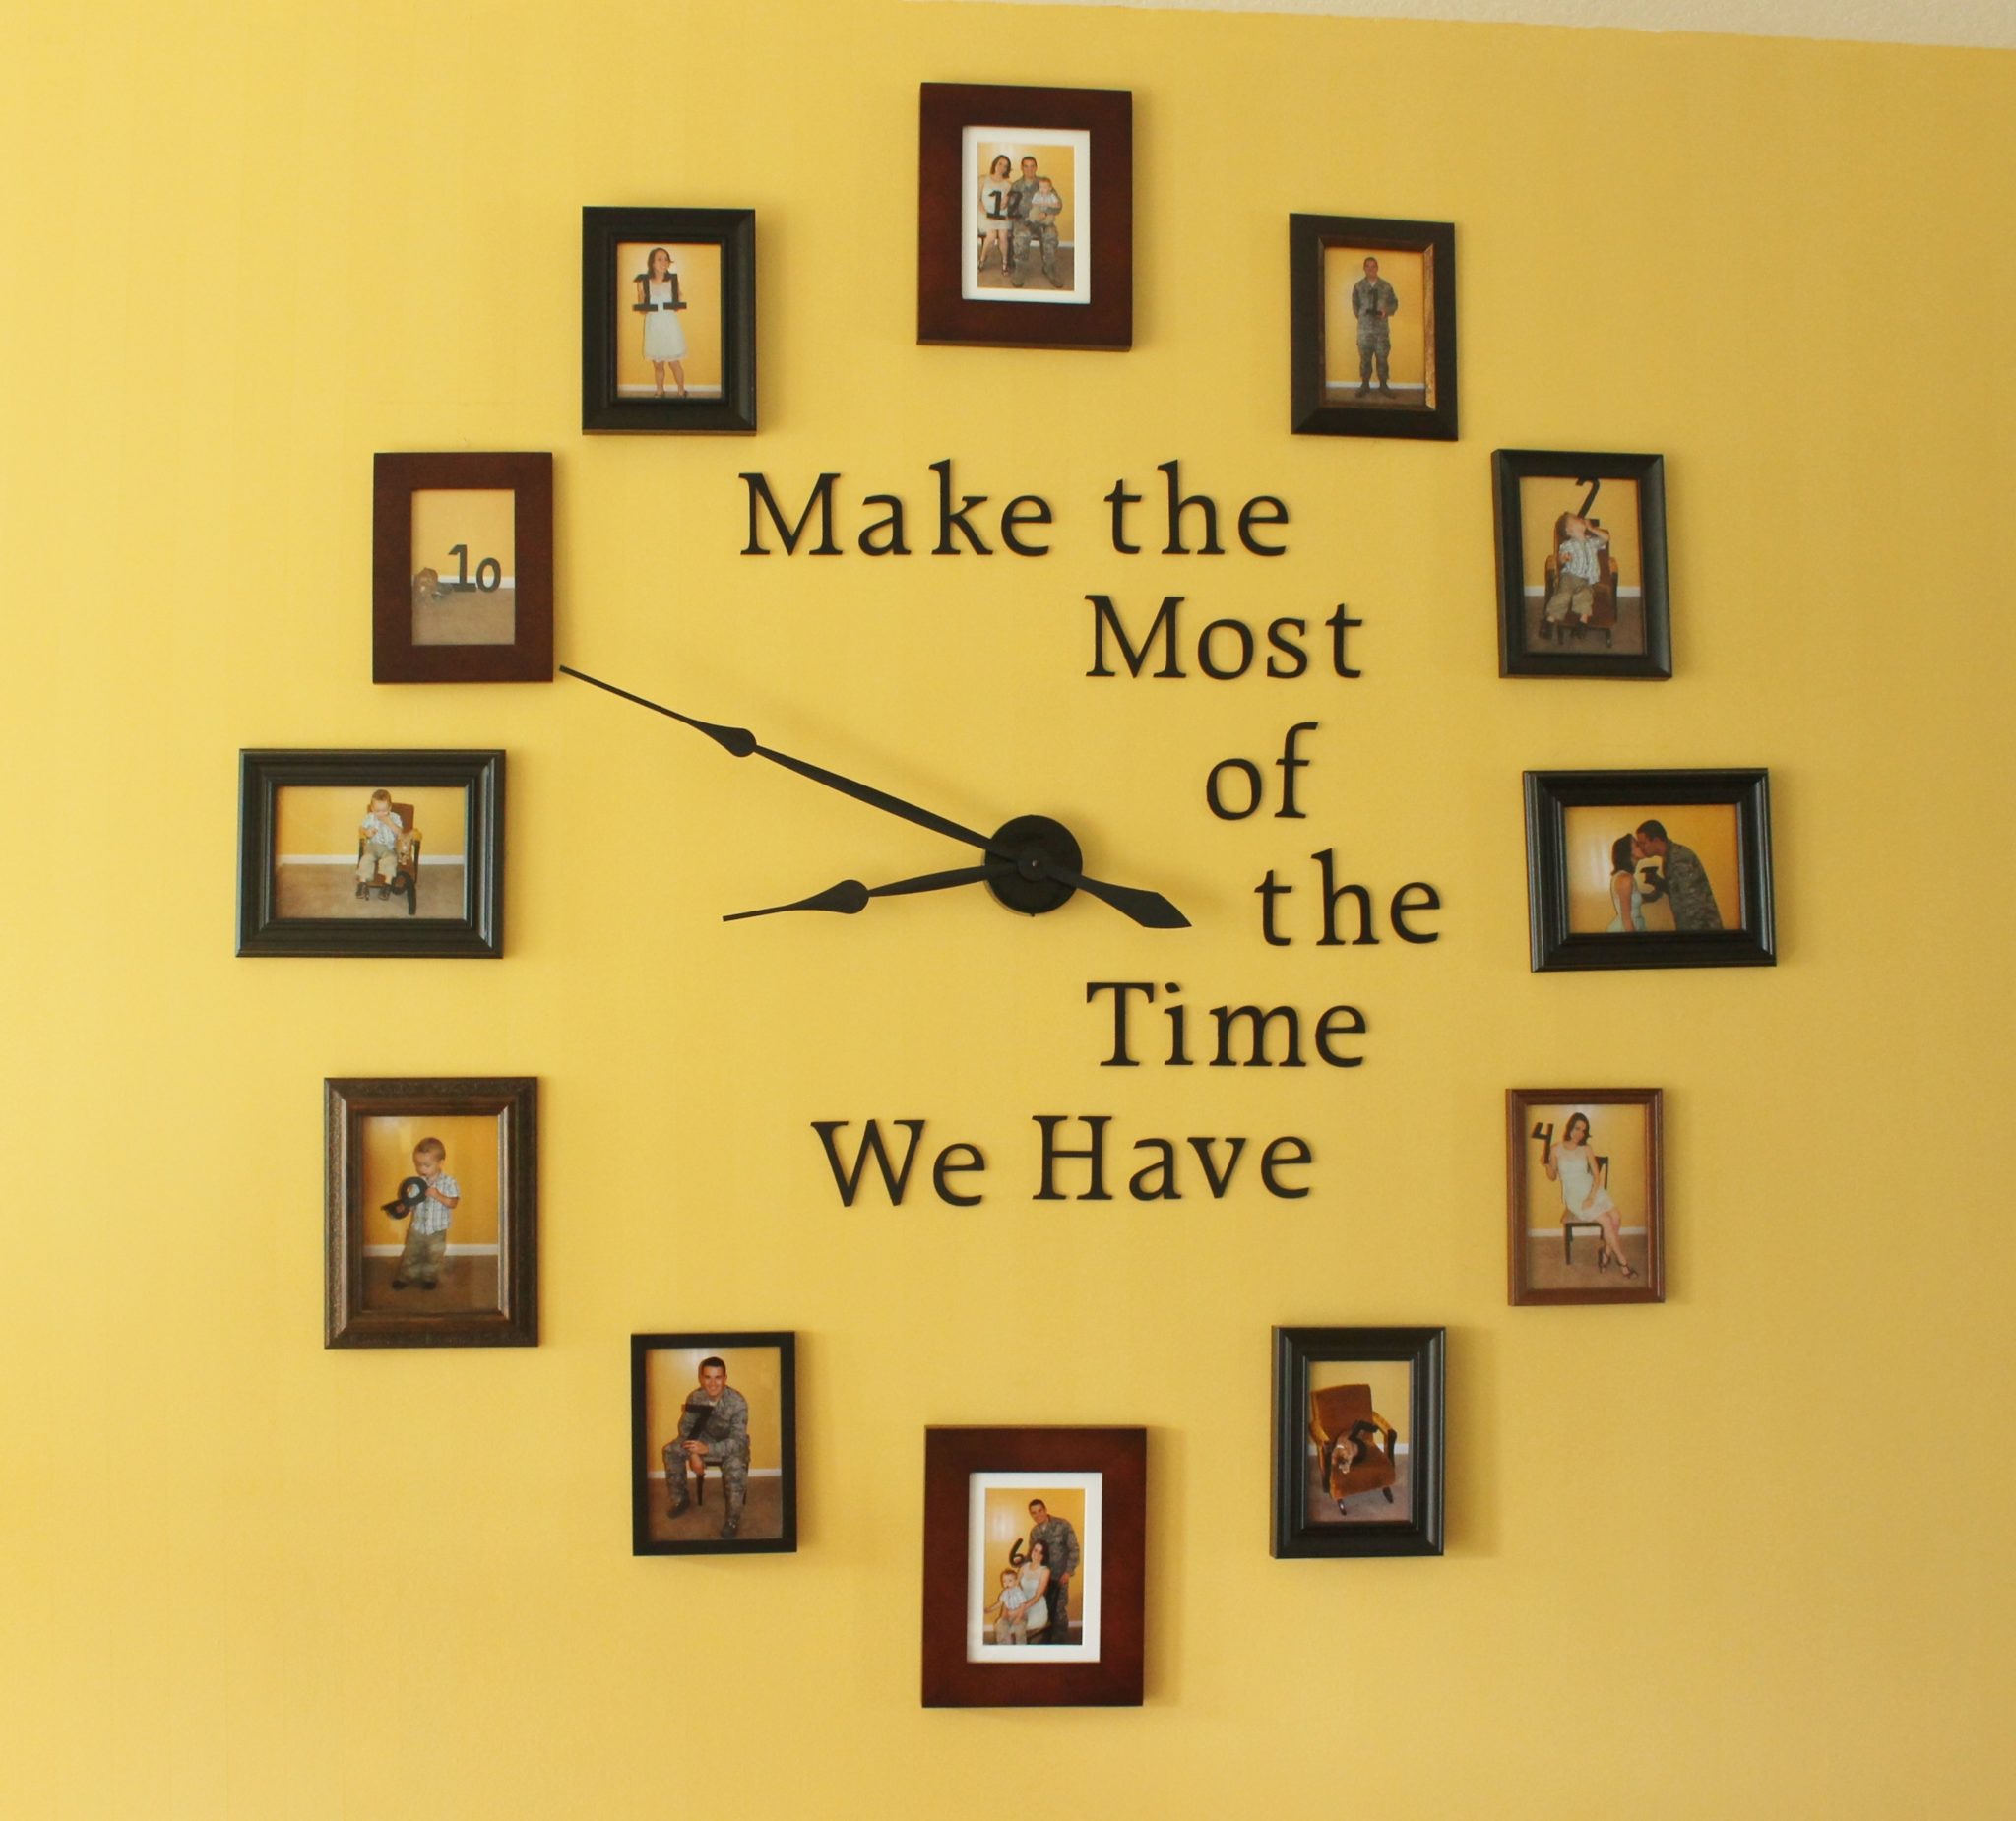
- Memorabilia: Include sentimental items or memorabilia within your wall display. These can be items that hold personal significance, such as travel souvenirs, family heirlooms, or cherished mementos. Incorporating them will add a unique and meaningful touch to your arrangement.
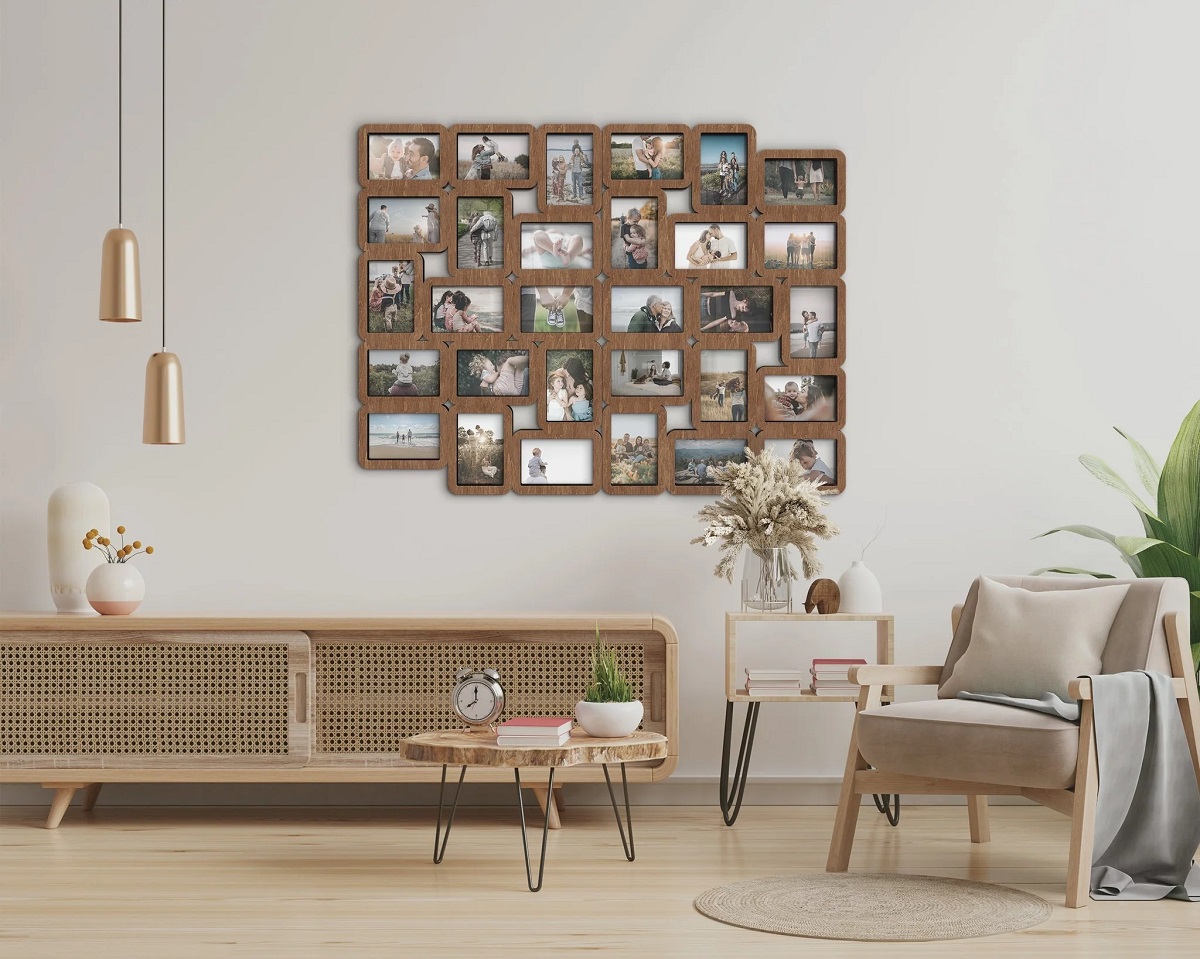
- Greenery: Introduce potted plants or hanging planters around your picture frames to bring life and freshness to your wall display. Plants not only add a touch of nature but also contribute to a more serene and calming atmosphere.
- Backdrops: Experiment with different backdrops behind your picture frames to create visual contrast. Consider using wallpaper, fabric, or even a contrasting paint color to make your frames stand out.
Adding these special touches will elevate your wall display and make it a truly unique work of art. Infuse your personal style and creativity into the arrangement to create a space that reflects your personality and brings joy to all who see it.
Remember to regularly assess and update your wall display to keep it fresh and exciting. Swap out frames, artwork, or accessories periodically to keep the display dynamic and reflective of your evolving tastes and interests. Have fun with the process and let your creativity soar!
Conclusion
Decorating a wall with picture frames is a wonderful way to showcase your personal style, memories, and creativity. By following the steps outlined in this article, you can create a stunning wall display that captivates and inspires. From selecting the perfect picture frames to planning the layout and hanging the frames with precision, each step is essential in achieving a visually appealing and balanced arrangement.
Choosing the right picture frames that align with your style, selecting the perfect wall to showcase your display, and taking the time to plan the layout are crucial elements in creating a cohesive and visually striking composition. Preparing the wall properly and ensuring a secure installation will guarantee longevity and stability for your frames. And don’t forget to add those special touches, such as artwork, decorative accessories, or lighting, to elevate your wall display to the next level.
Remember, the key is to let your creativity and personal taste shine through. Take your time, experiment with different elements and arrangements, and don’t be afraid to think outside the box. Your wall display should be a reflection of who you are and what you love.
Finally, don’t forget to regularly assess and update your wall display to keep it fresh and exciting. As your tastes and interests evolve, so too should your wall decor. Embrace the opportunity to continuously enhance and personalize your space.
So, go ahead and transform that blank wall into a mesmerizing gallery of memories, art, and style. Let your imagination soar, and enjoy the process of creating a beautiful and meaningful wall display that will bring joy to your space for years to come.
Frequently Asked Questions about How To Decorate A Wall With Picture Frames
Was this page helpful?
At Storables.com, we guarantee accurate and reliable information. Our content, validated by Expert Board Contributors, is crafted following stringent Editorial Policies. We're committed to providing you with well-researched, expert-backed insights for all your informational needs.


0 thoughts on “How To Decorate A Wall With Picture Frames”