Articles
How To Make A Wall Collage Of Picture Frames
Modified: December 7, 2023
Learn how to create a stunning wall collage of picture frames with our informative articles. Transform your space with beautiful displays and inspire your creativity.
(Many of the links in this article redirect to a specific reviewed product. Your purchase of these products through affiliate links helps to generate commission for Storables.com, at no extra cost. Learn more)
Introduction
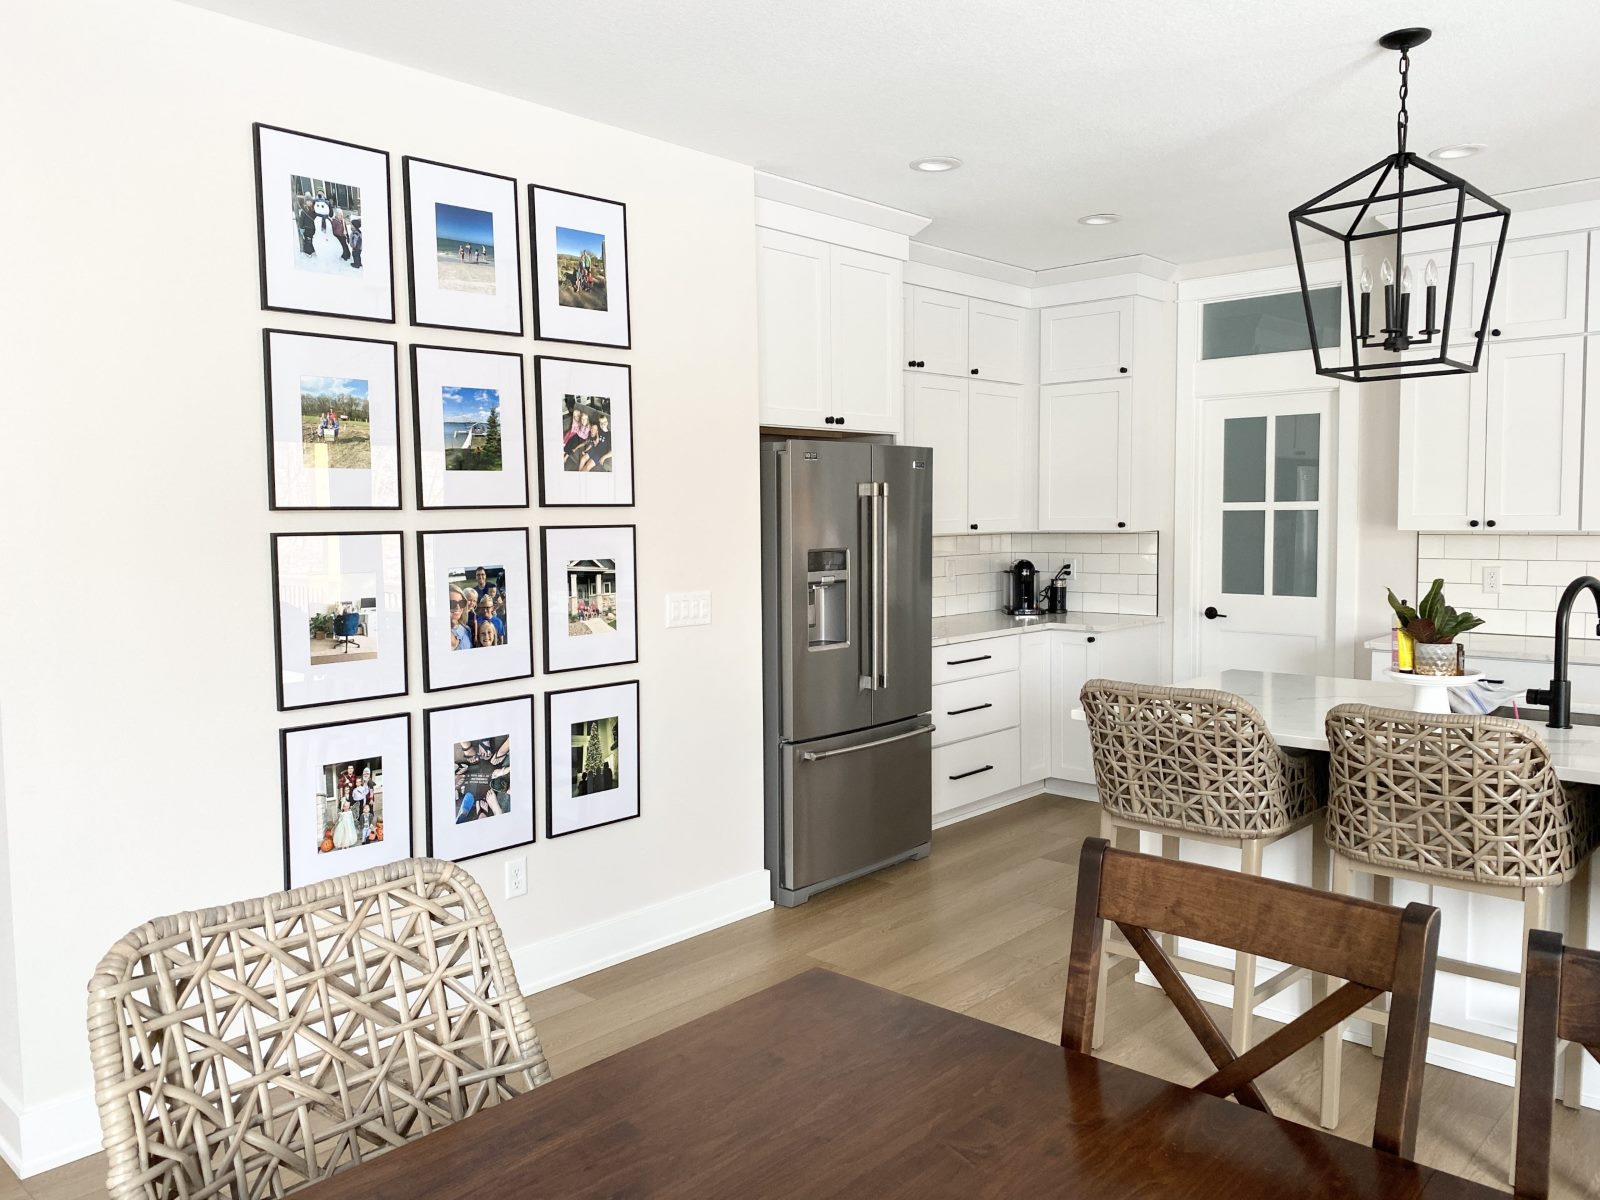
Creating a wall collage of picture frames is a wonderful way to display your cherished memories and add a personal touch to your home decor. Whether you have a collection of family photos, vacation snapshots, or artistic prints, a well-designed collage can turn an ordinary wall into a stunning focal point.
Not only does a wall collage of picture frames create visual interest, but it also allows you to showcase a variety of images in a unique arrangement. The possibilities are endless, and you can let your creativity shine as you experiment with different frame styles, sizes, and layouts.
In this article, we will guide you through the process of creating a captivating wall collage of picture frames. From gathering the necessary materials to arranging the frames on the wall, we will provide you with step-by-step instructions to help you achieve a visually appealing and cohesive display. Let’s dive in!
Key Takeaways:
- Create a visually stunning wall collage of picture frames by gathering materials, planning the layout, and adding decorative elements. Keep it updated and organized to showcase cherished memories in a personalized and vibrant display.
- Unleash your creativity and design skills to craft a captivating wall collage of picture frames. Experiment with different arrangements, balance, and symmetry to create a visually appealing and meaningful display that reflects your unique experiences and style.
Step 1: Gather the necessary materials
Before you start creating your wall collage of picture frames, it’s important to gather all the materials you’ll need. Having everything prepared in advance will make the process smoother and more efficient. Here are the essential materials you’ll need:
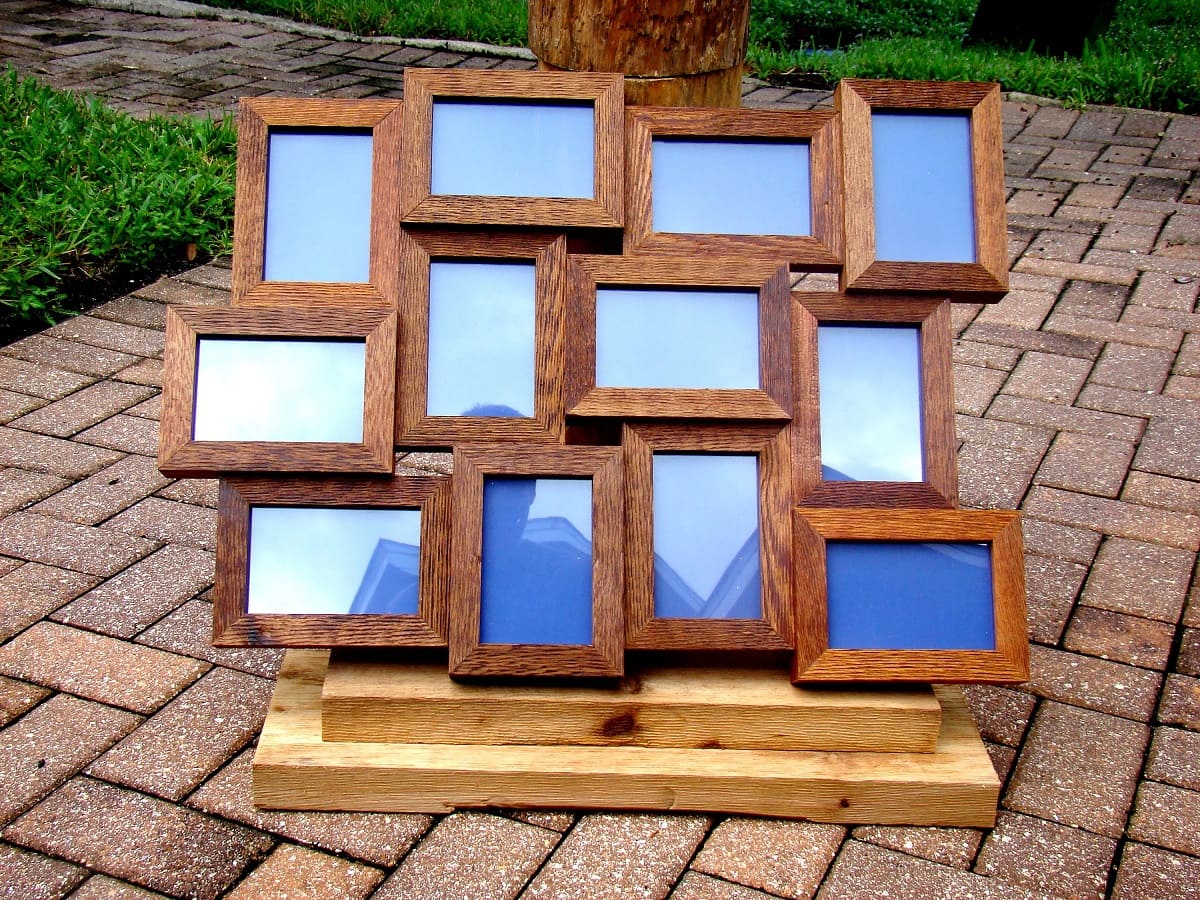
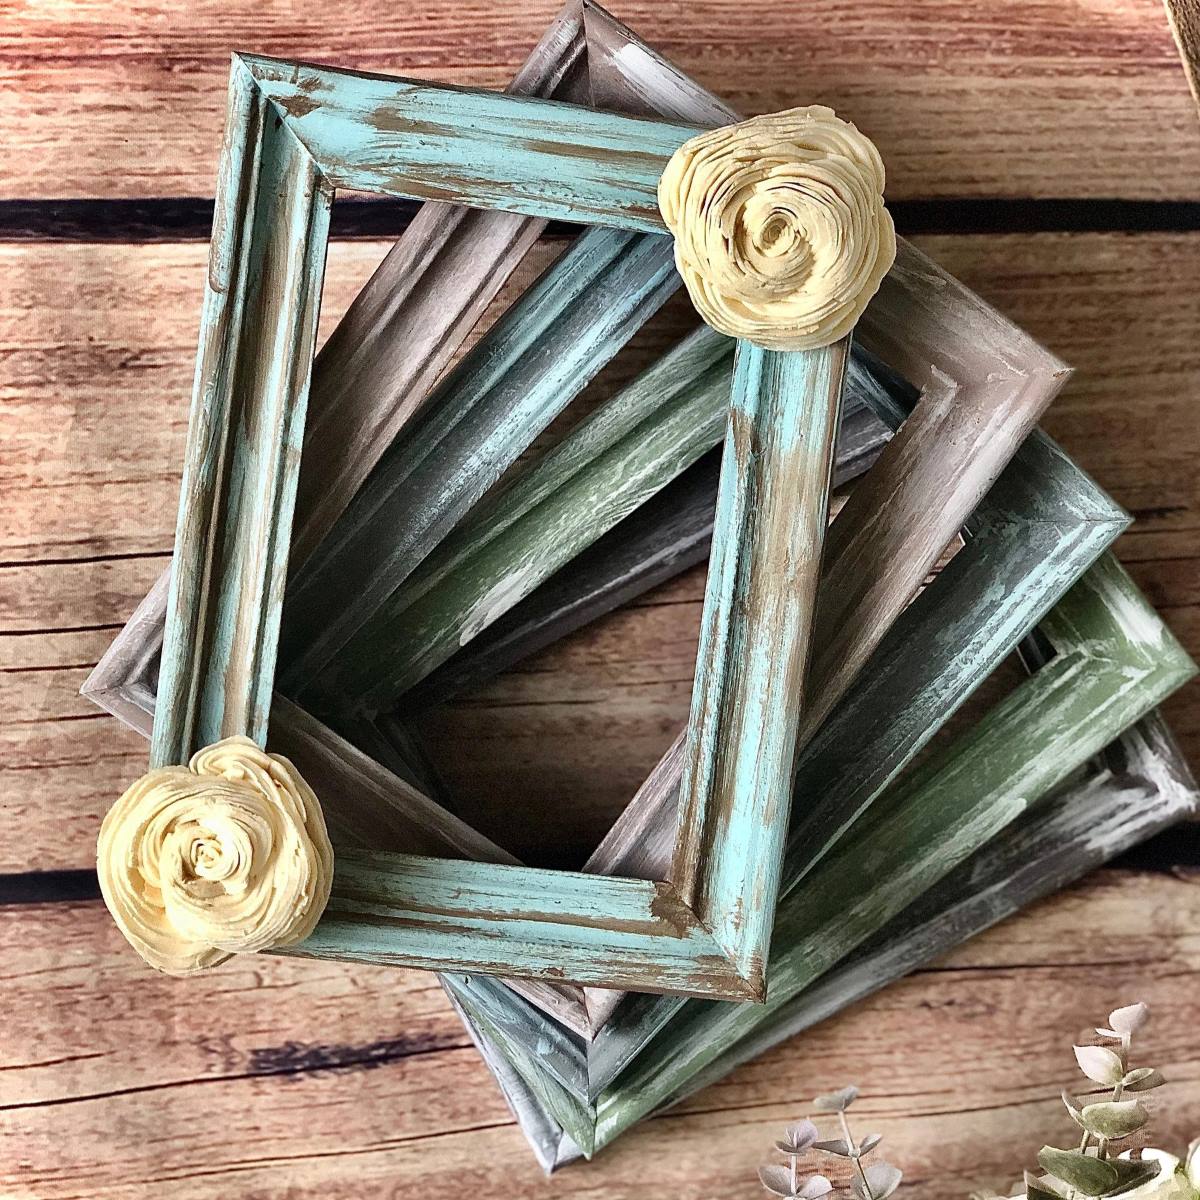
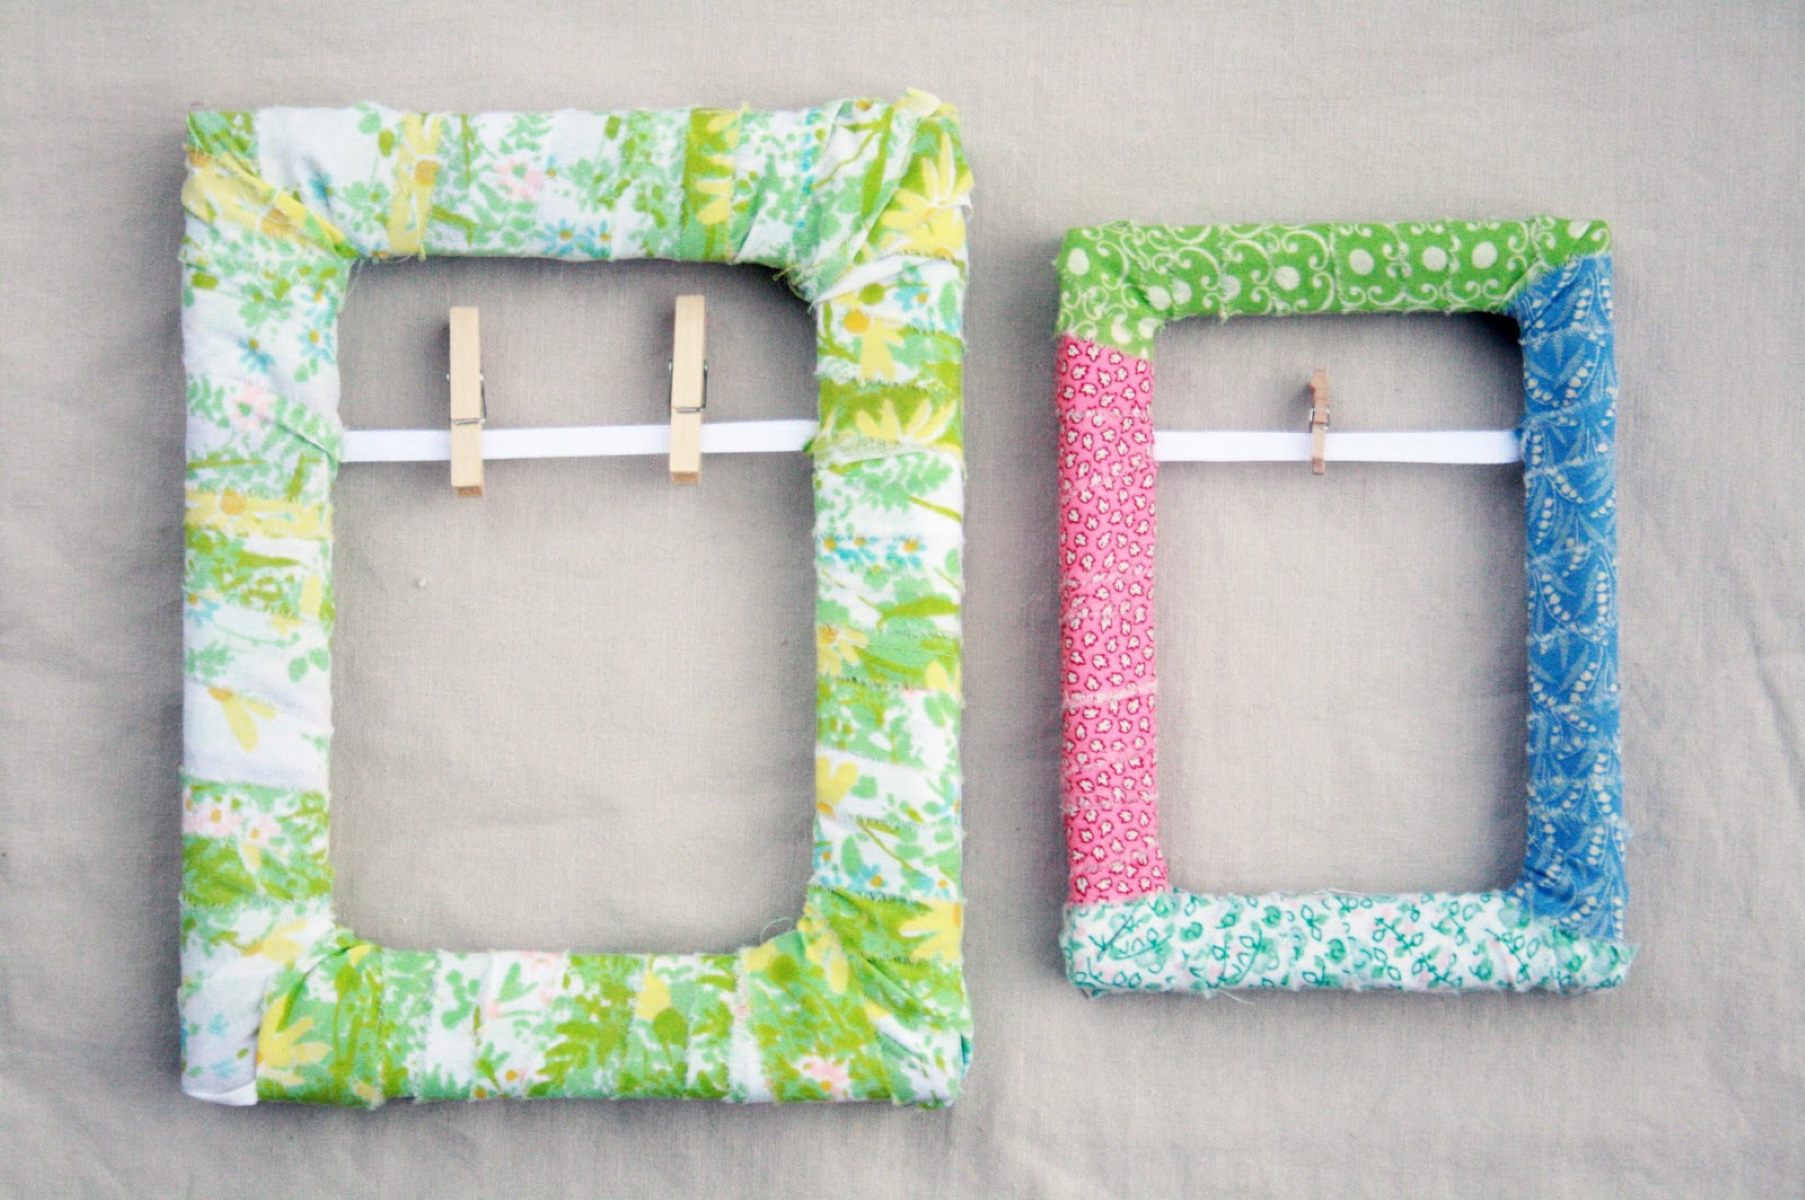
- Picture frames: Choose a variety of frames that suit your style and preferences. Opt for different sizes, shapes, and colors to add visual interest to your collage.
- Photos or prints: Gather the images you want to showcase in your collage. These can be family photos, vacation pictures, or even art prints that resonate with you.
- Hammer and nails: You’ll need these to hang the frames on the wall securely. Alternatively, you can use adhesive hooks if you prefer not to put nails in your wall.
- Measuring tape or ruler: This will help you ensure accurate spacing and alignment of the frames on the wall.
- Pencil: Use a pencil to mark the position of each frame on the wall before hanging them permanently. This will allow you to make adjustments and ensure a balanced composition.
- Level: A level is essential for ensuring that your frames are hung straight.
- Optional: Decorative elements such as wall decals, stickers, or artwork can be added to enhance the overall design of your collage.
Once you have all the necessary materials at hand, you’re ready to move on to the next step. Remember to choose high-quality frames and prints to ensure that your wall collage looks professional and stands the test of time.
Step 2: Choose the location for your wall collage
The location of your wall collage sets the stage for the overall visual impact it will have. Take some time to assess the available wall space in your home and consider the following factors when choosing the spot:
- Size and scale: Consider the size and scale of the wall in relation to the number and size of frames you plan to use. A larger wall will allow for a more expansive collage, while a smaller wall may require a more compact arrangement.
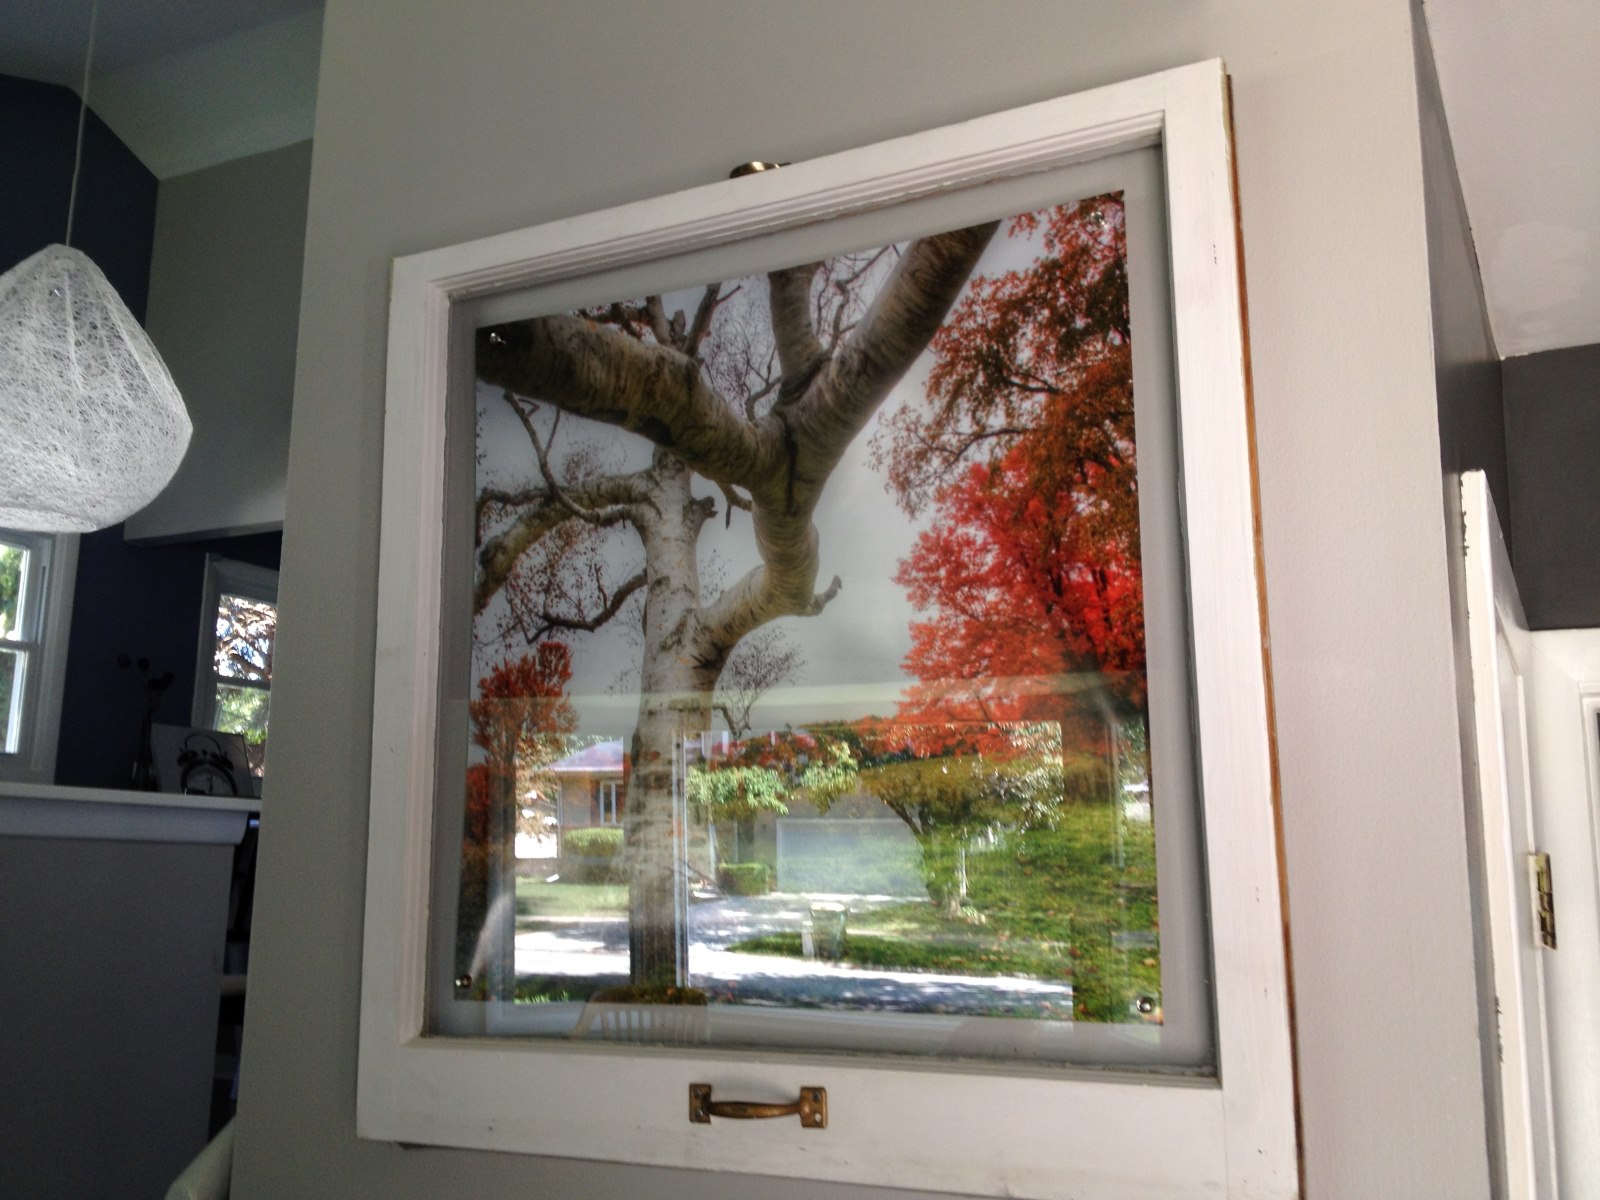
- Visibility and focal point: Choose a location that will allow your wall collage to be easily seen and appreciated. The collage can serve as a focal point in a living room, hallway, or even above a staircase.
- Lighting: Take into account the lighting conditions in the chosen location. Natural light can enhance the visibility and vibrancy of your pictures, while excessive sunlight or harsh artificial lighting may cause fading or unwanted glares.
- Theme or purpose: Consider the purpose or theme of your wall collage. Is it celebrating a particular event, showcasing travel memories, or displaying family portraits? Choosing a location that complements the theme will further enhance the overall impact.
Once you have selected the perfect location, mark the area on the wall with a pencil to outline the space your collage will occupy. This will provide a visual guide as you begin planning the layout of your frames.
Remember that the location you choose is not set in stone. You can always move your collage to a different spot in the future if you feel it would be better suited elsewhere.
With the location finalized, you are now ready to move on to the exciting part – planning the layout of your wall collage!
Step 3: Plan the layout of your collage
Planning the layout of your wall collage is essential to create a visually pleasing arrangement. Consider the following tips and techniques to help you design an aesthetically pleasing layout:
- Measure and mark: Use a measuring tape or ruler to mark the dimensions of the wall space you outlined in Step 2. This will help you visualize the available area and plan how your frames will fit within it.
- Create a visual guide: Before hanging any frames, create a visual guide on the floor or on a large table. Lay out your frames in various arrangements until you find a layout that appeals to you. Take a photo of the arrangement for future reference.
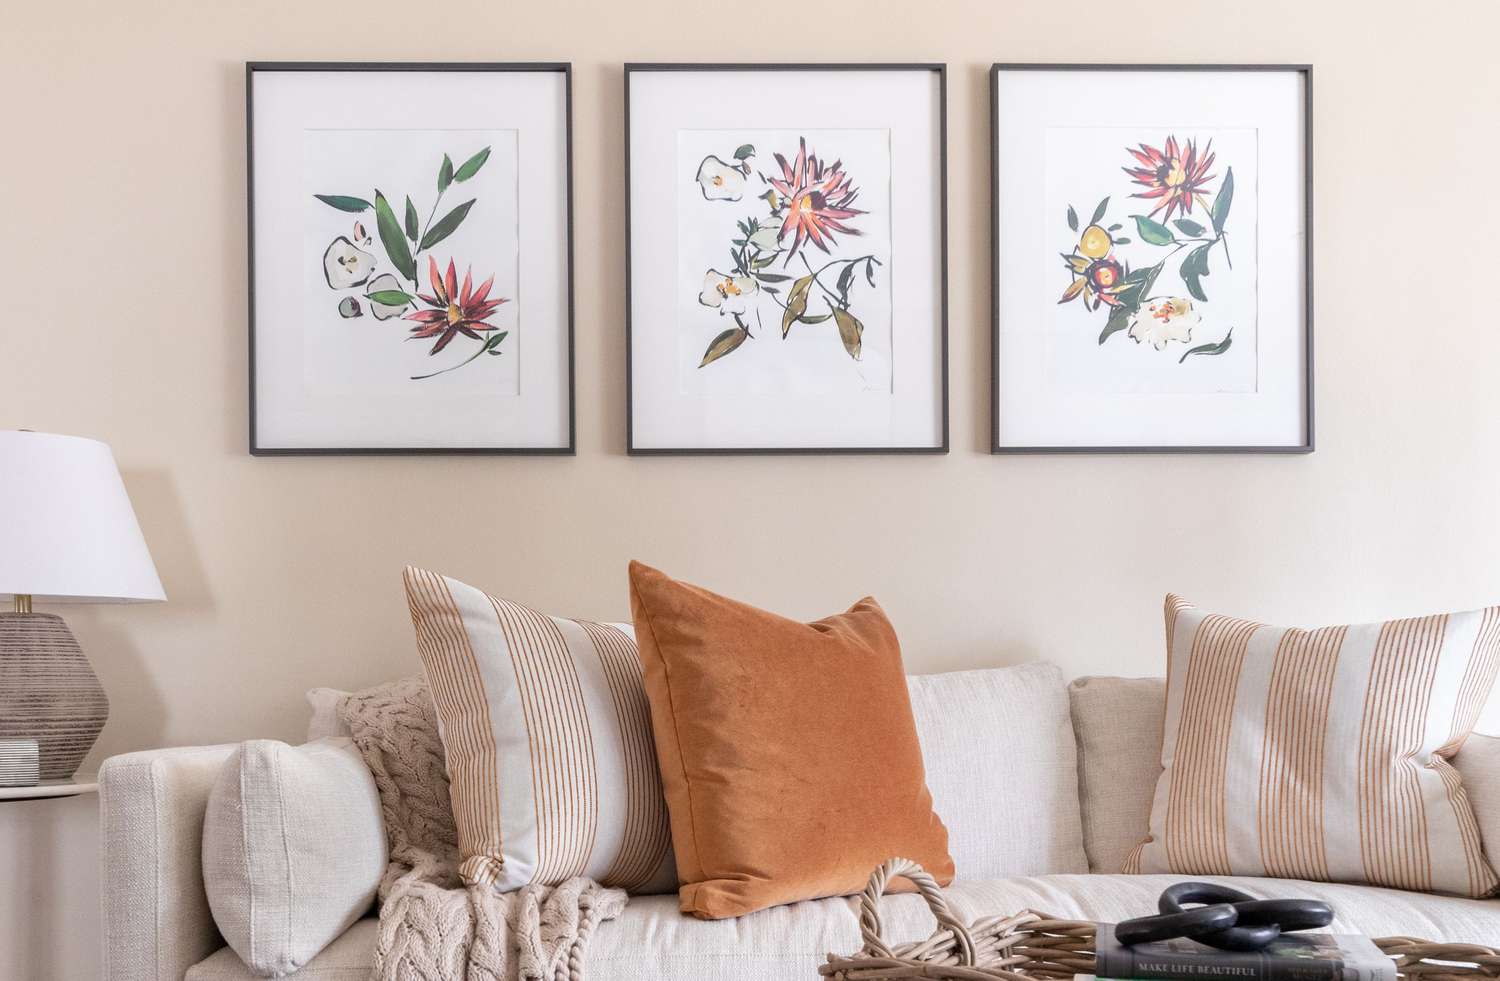
- Balance and symmetry: Aim for balance and symmetry in your collage by evenly distributing frames of similar sizes, shapes, or colors. This will create a cohesive and harmonious overall composition.
- Vary frame sizes: Mix and match different frame sizes to add visual interest. Combine larger frames with smaller ones to create depth and dimension.
- Use a centerpiece: Consider selecting a larger frame or a unique photo as a centerpiece for your collage. Arrange the remaining frames around it to create a focal point.
- Consider frame orientations: Experiment with both landscape and portrait orientations to create a dynamic and varied arrangement. This will add movement and flow to your collage.
- Mock-up on the wall: Once you have a layout you’re satisfied with, use the photo you took earlier as a reference to mock up the arrangement on the wall. Use your pencil marks to guide the positioning of the frames.
Keep in mind that planning and experimenting with the layout may take some time and adjustments. Don’t be afraid to try different arrangements until you achieve the desired look. Remember, it’s all about creating a visually appealing and personalized collage that reflects your style and memories.
Now that you have a well-thought-out plan, it’s time to prepare the picture frames for hanging.
Step 4: Prepare the picture frames
Before you hang the picture frames on the wall, it’s important to prepare them properly to ensure a secure and professional-looking display. Follow these steps to get your frames ready:
- Clean the frames: Wipe down each frame with a soft cloth to remove any dust or dirt. This will ensure that your frames look their best and that your pictures are displayed clearly.
- Remove the backing and mat (if applicable): If your frames have a backing or mat, carefully remove them. This will allow you to insert your pictures without any obstructions.
- Insert your photos: Gently insert your photos into the frames, taking care to align them properly. Ensure that your pictures are centered within the frame.
- Secure the backings: If your frames have backings, reattach them securely. This will help protect your photos and keep them in place.
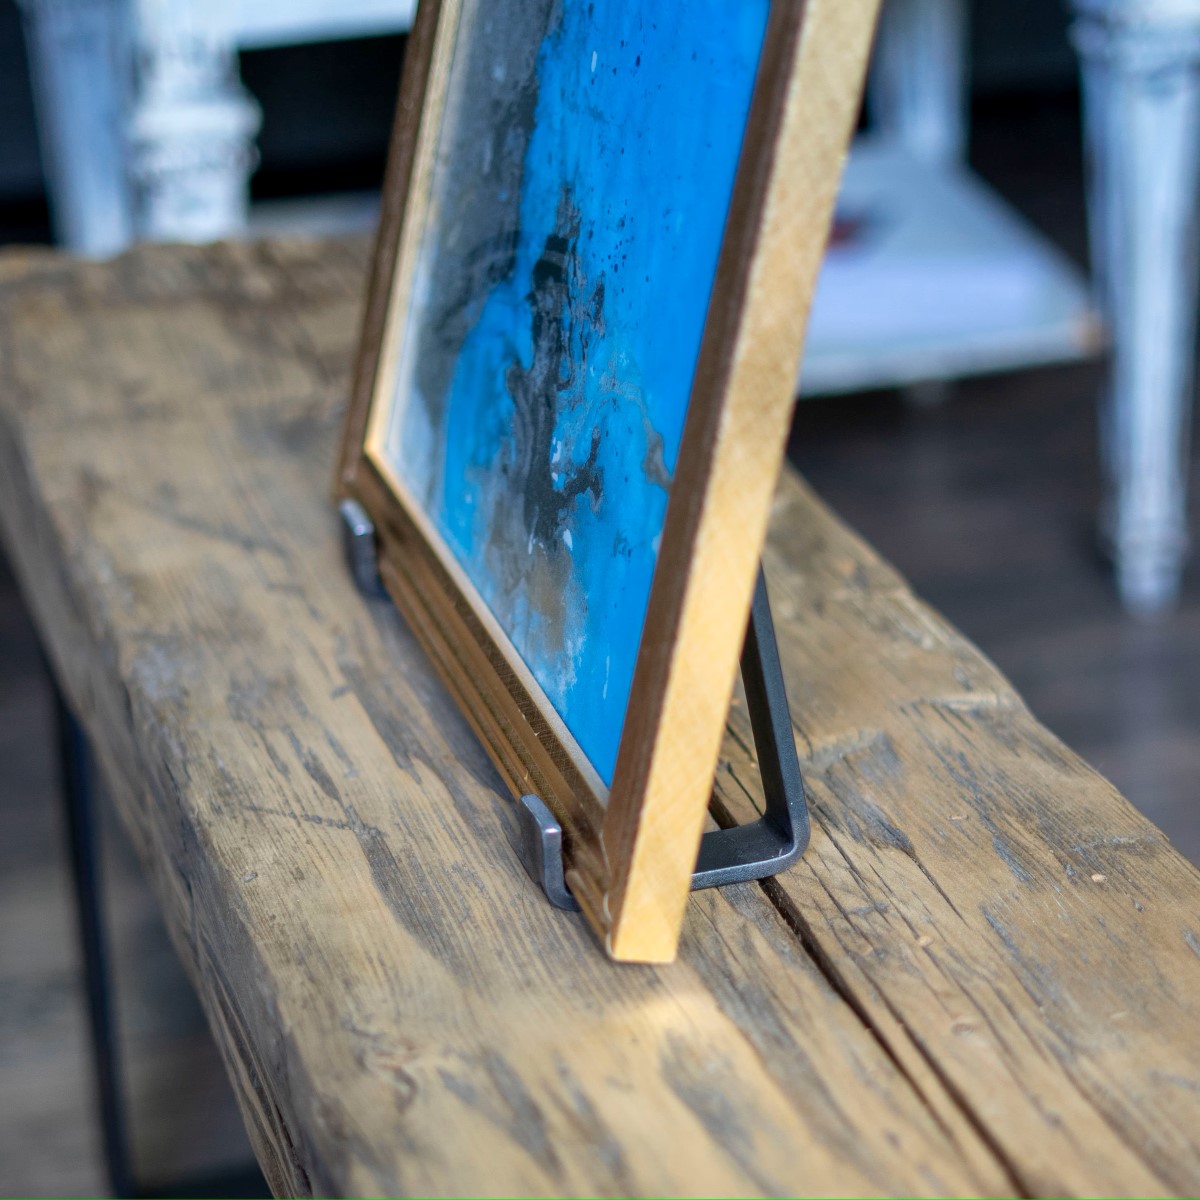
- Check the hardware: Ensure that each frame has proper hardware for hanging. If necessary, add a hanging wire or sawtooth hangers to the back of the frames.
- Optional: If desired, consider adding a layer of protective glass or acrylic to your frames to safeguard your pictures from damage or dust.
Preparing your frames before hanging them will not only make the process smoother but will also result in a polished and professional-looking display. It’s worth taking the time to ensure that each frame is clean, your photos are properly inserted, and the backings are secure.
Now that your frames are prepared, it’s time to move on to the next step – hanging the frames on the wall!
When creating a wall collage of picture frames, start by laying out the frames on the floor to plan the arrangement. Use a level and measuring tape to ensure even spacing and alignment when hanging the frames.
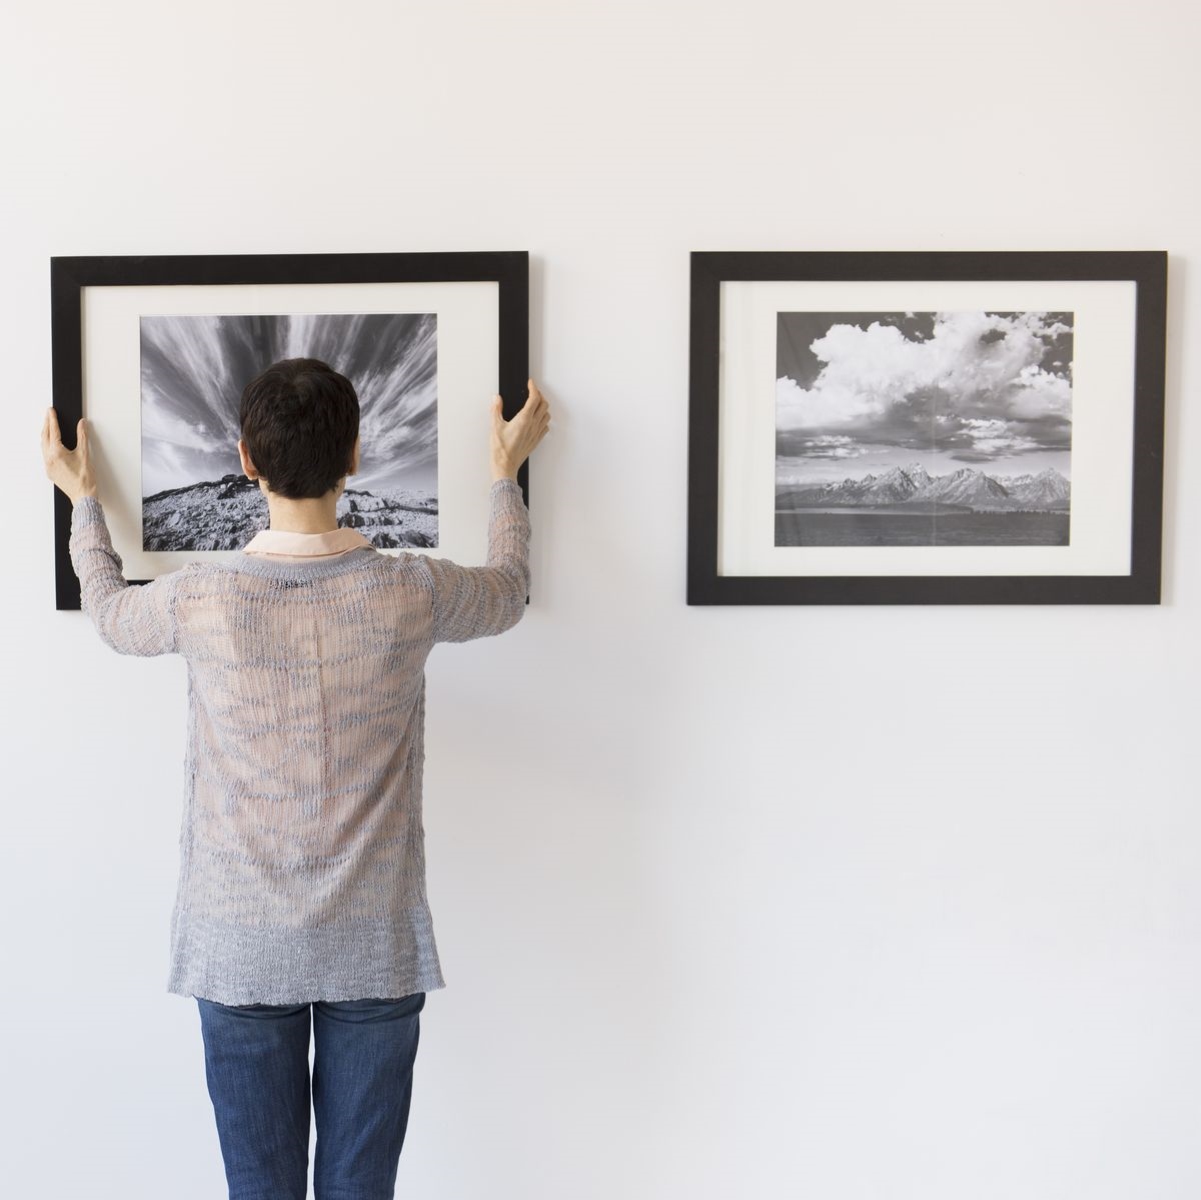
Step 5: Hang the frames on the wall
Now that your picture frames are prepared, it’s time to hang them on the wall and bring your collage to life. Follow these steps for a seamless hanging process:
- Find the center point: Measure the width of your wall collage and find the center point. Mark this point with a pencil as a starting reference for your first frame.
- Position the first frame: Align the top of the frame with the center point you marked on the wall. Use a level to ensure the frame is straight. Once you’re satisfied with the positioning, lightly mark the spots where the nails or hooks will go.
- Attach nails or hooks: Hammer in nails or attach adhesive hooks at the marked spots. Ensure that they are securely attached to the wall.
- Hang the frame: Hang the first frame on the wall, making sure it is level and securely positioned. Ensure that the frame is centered and aligned with adjacent frames or the overall layout plan you created.
- Repeat the process: Move on to the next frame and repeat the steps, working your way outwards from the center. Use your measuring tape or ruler to ensure equal spacing between frames and maintain a balanced composition.
- Check alignment: Periodically step back and assess the overall alignment and arrangement of the frames. Make any necessary adjustments before proceeding.
- Secure loose frames: If any frames feel loose or unsteady, double-check their attachment and make sure they are securely hung.
Take your time during this process to ensure that each frame is hung straight and at the desired position. Constantly refer to your layout plan or photo for guidance and make adjustments as needed. It’s important to be patient and meticulous to achieve a visually appealing wall collage.
With your frames hanging securely, it’s time to move on to the next step and arrange the pictures within the frames.
Step 6: Arrange the pictures within the frames
Now that the frames are securely hung on the wall, it’s time to arrange the pictures within them. Follow these steps to create a visually pleasing and cohesive arrangement:
- Refer to your layout plan: Use your layout plan or photo as a reference to guide the arrangement of the pictures within each frame. This will help you maintain consistency with your original layout design.
- Consider the content and composition: Take into account the content of each picture and how it will fit within the frame. Pay attention to the orientation of the photos and make sure they are aligned correctly.
- Experiment with different arrangements: Don’t be afraid to try different arrangements within the frames. You can rotate the pictures, adjust the size or position within the frame, or even consider overlapping them slightly for a dynamic look.
- Balance and symmetry: Aim for a balanced composition within each frame. Consider the positioning of focal points, colors, and overall visual weight to achieve a harmonious arrangement.
- Maintain continuity: Keep the overall look of the collage cohesive by maintaining a consistent theme, color scheme, or style throughout the pictures.
- Take your time: Take your time to assess each frame and picture, making adjustments as necessary. Step back and view the collage from different angles to ensure the overall arrangement is aesthetically pleasing.
- Consider framing techniques: If desired, you can use techniques such as matting or using double frames to add depth or emphasis to certain pictures.
Remember, arranging the pictures within the frames is a creative process, and there are no strict rules. Trust your instincts, experiment with different options, and find an arrangement that you find visually pleasing and meaningful.
With the pictures arranged, it’s time to add additional decorative elements to enhance the overall look of your wall collage.
Step 7: Add additional decorative elements
To elevate the look of your wall collage, consider adding additional decorative elements that complement your picture frames. Here are a few ideas to enhance the overall visual impact:
- Wall decals or stickers: Add themed decals or stickers around the frames to create a cohesive and decorative backdrop. These can be floral motifs, inspirational quotes, or artistic designs.
- Artwork or mirrors: Incorporate small pieces of artwork or mirrors between the frames to add visual interest and reflections. This can break up the arrangement and add depth to the overall composition.
- LED lights or fairy lights: Add a touch of ambiance to your collage by incorporating LED lights or fairy lights. Place them behind or around the frames to create a soft and warm glow.
- Shelves or ledges: Install small shelves or ledges beneath or beside the frames to display decorative items such as figurines, small plants, or sentimental objects. This adds dimension to the collage and allows for further personalization.
- Decorative frames or borders: Consider using decorative frames or borders around certain pictures to add visual interest and highlight specific images. These can be ornate patterns, vibrant colors, or unique designs.
- Washi tape or ribbon: Use washi tape or decorative ribbon to create borders or patterns on the wall around the frames. This adds a touch of creativity and can help tie the entire collage together.
These decorative elements can add personality, style, and individuality to your wall collage. Experiment with different options and choose elements that resonate with your aesthetic preferences and the overall theme of your collage.
With the additional decorative elements in place, your wall collage is complete! However, don’t forget to keep it updated and organized over time.
Step 8: Keep the collage updated and organized
Creating a wall collage of picture frames is not a one-time task. It’s important to keep your collage updated and organized to ensure it remains a vibrant representation of your memories. Here are some tips to help you maintain your wall collage:
- Rotate and update pictures: Over time, you may want to change the pictures displayed in your collage to reflect new memories or experiences. Regularly rotate the pictures to keep the collage fresh and meaningful.
- Curate and edit: As your collection of photos grows, you may need to curate and edit the pictures displayed in your collage. Choose the most significant or visually appealing images to create a cohesive display.
- Keep it clean: Dust the frames regularly to keep them looking their best. A clean collage not only enhances the visual appeal but also ensures that the pictures are easily visible.
- Document the arrangement: Take photos or notes of the arrangement you’ve created for future reference. This will make it easier to recreate the layout if you need to take down and reinstall the collage.
- Maintain balance: As you update the pictures, ensure that the overall balance and composition of the collage are maintained. Consider the size, color, and positioning of new pictures to create a cohesive look.
- Add new frames or decorative elements: Over time, you may find new frames or decorative elements that you wish to incorporate into your collage. Introduce these elements gradually, ensuring they complement the existing arrangement.
- Reassess the location: As your home decor changes, consider if the current location of the collage still works well. You may want to move it to a different wall or room to freshen up the overall look.
By regularly updating and maintaining your wall collage, you’ll ensure that it continues to be a stunning display of your cherished memories. It’s a reflection of your personal journey, so take the time to keep it organized and aligned with your evolving taste and experiences.
Congratulations! You’ve completed all the steps to create and maintain a beautiful wall collage of picture frames. Now, sit back, admire your creation, and enjoy the memories showcased on your wall.
Conclusion
Creating a wall collage of picture frames is not only a fantastic way to showcase your cherished memories and add a personal touch to your home, but it also allows you to unleash your creativity and design skills. By following the step-by-step guide we’ve provided, you can achieve a stunning and visually appealing collage that captures the essence of your unique experiences.
From gathering the necessary materials and choosing the perfect location to planning the layout, preparing the frames, and hanging them on the wall, each step is essential in creating a cohesive and visually pleasing display. Remember to take your time, experiment with different arrangements, and trust your instincts to create a collage that truly reflects your style and personality.
As you arrange the pictures within the frames and add additional decorative elements, keep in mind the importance of balance, symmetry, and continuity. These elements will help you achieve a harmonious composition that draws attention and engages viewers.
However, your collage doesn’t stop at its initial creation. It’s crucial to update and maintain it over time. Rotate and update pictures to include new memories and curate the collection to ensure a cohesive display. Regularly clean the frames, document the arrangement, and consider incorporating new frames or decorative elements to keep your collage fresh and vibrant.
In conclusion, a wall collage of picture frames is a beautiful and personal way to celebrate your memories and bring life to your living space. With a little creativity, planning, and organization, you can create a captivating display that tells your unique story and inspires those who see it.
So, get started on your wall collage journey and let your creativity soar. Enjoy the process, treasure the moments, and create something truly remarkable.
Frequently Asked Questions about How To Make A Wall Collage Of Picture Frames
Was this page helpful?
At Storables.com, we guarantee accurate and reliable information. Our content, validated by Expert Board Contributors, is crafted following stringent Editorial Policies. We're committed to providing you with well-researched, expert-backed insights for all your informational needs.


0 thoughts on “How To Make A Wall Collage Of Picture Frames”