
Articles
How To Arrange Picture Frames On Wall
Modified: January 7, 2024
Discover creative ways to arrange picture frames on your wall with our insightful articles. Explore different styles and techniques to showcase your memories beautifully.
(Many of the links in this article redirect to a specific reviewed product. Your purchase of these products through affiliate links helps to generate commission for Storables.com, at no extra cost. Learn more)
Introduction
Pictures frames can be a wonderful way to display your favorite memories, cherished artwork, or even just add a touch of personality to your living space. However, arranging picture frames on a wall can sometimes feel like a daunting task. Where should you start? How do you determine the layout? What tools do you need?
In this article, we will guide you through the process of arranging picture frames on a wall, from choosing the frames to adding the finishing touches. Whether you are a seasoned decorator or a novice, these tips and tricks will help you create a visually pleasing and cohesive display that will transform any wall into a personalized gallery.
So, let’s dive in and learn how to arrange picture frames on a wall like a pro!
Key Takeaways:
- Choosing the right picture frames involves considering size, material, color, and style to create a cohesive and visually appealing display that complements your space and personal taste.
- When arranging picture frames on a wall, meticulous planning, precise measurements, and attention to detail are essential for achieving a balanced, visually stunning, and personalized gallery display.
Read more: How To Place Picture Frames On Wall
Choosing Picture Frames
Before you start arranging picture frames on your wall, you’ll need to choose the right frames that complement your style and the space you’re working with. Here are a few things to consider when choosing picture frames:
- Size: Determine the size of the space where you plan to hang the frames. This will help you decide on the appropriate size for your frames. Consider the overall dimensions as well as the individual frame sizes you want to use.
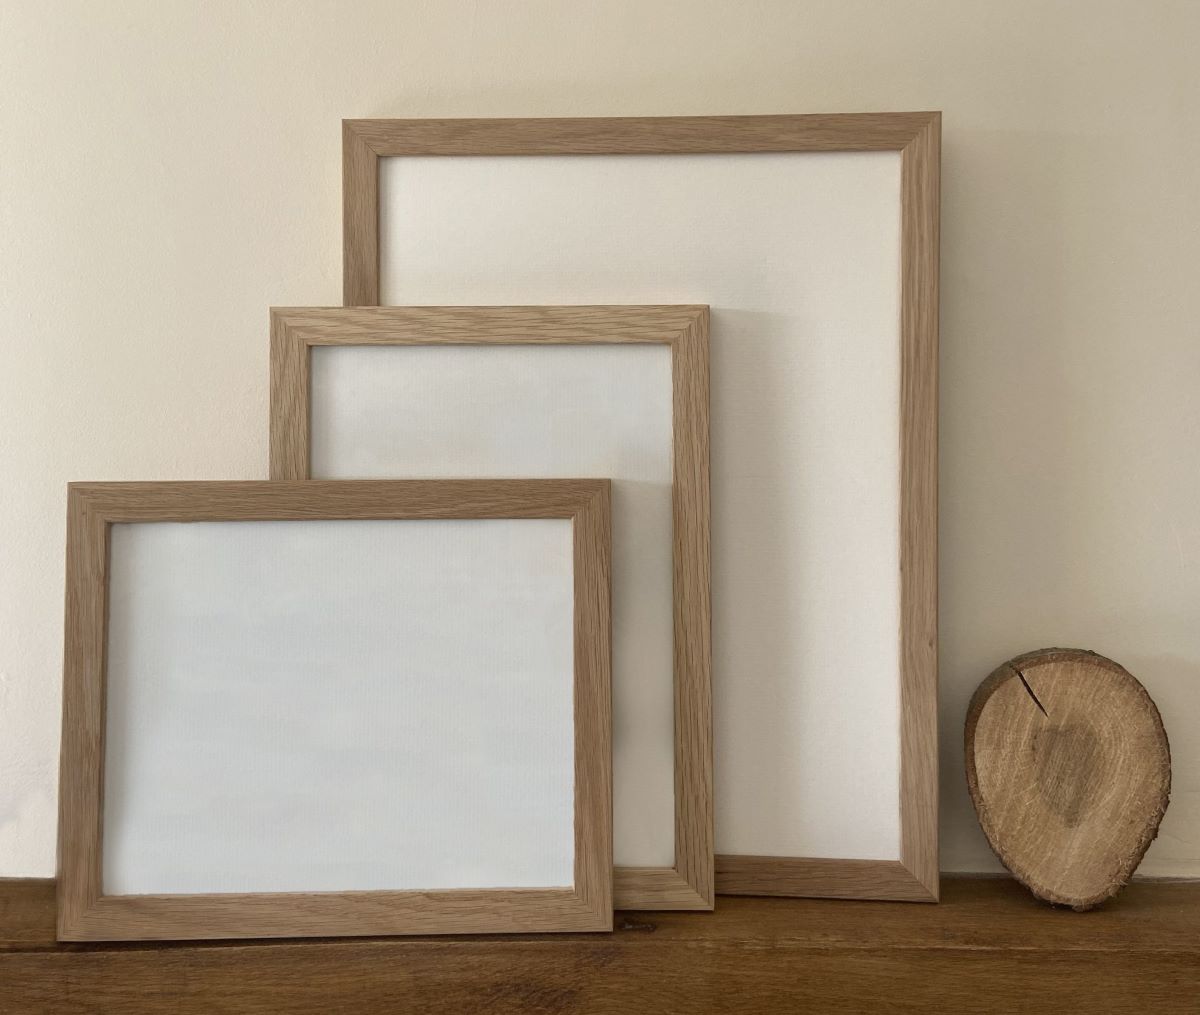
- Material: Picture frames are available in various materials, including wood, metal, and plastic. Each material has its own aesthetic appeal and durability. Choose a material that matches the style of your home and the desired visual effect you’re hoping to achieve.
- Color and Finish: Consider the color scheme and decor of the room where you’ll be hanging the frames. Choose frames that complement the existing colors or create a striking contrast. Additionally, think about the finish of the frames, such as matte, glossy, or distressed, to enhance the overall look.
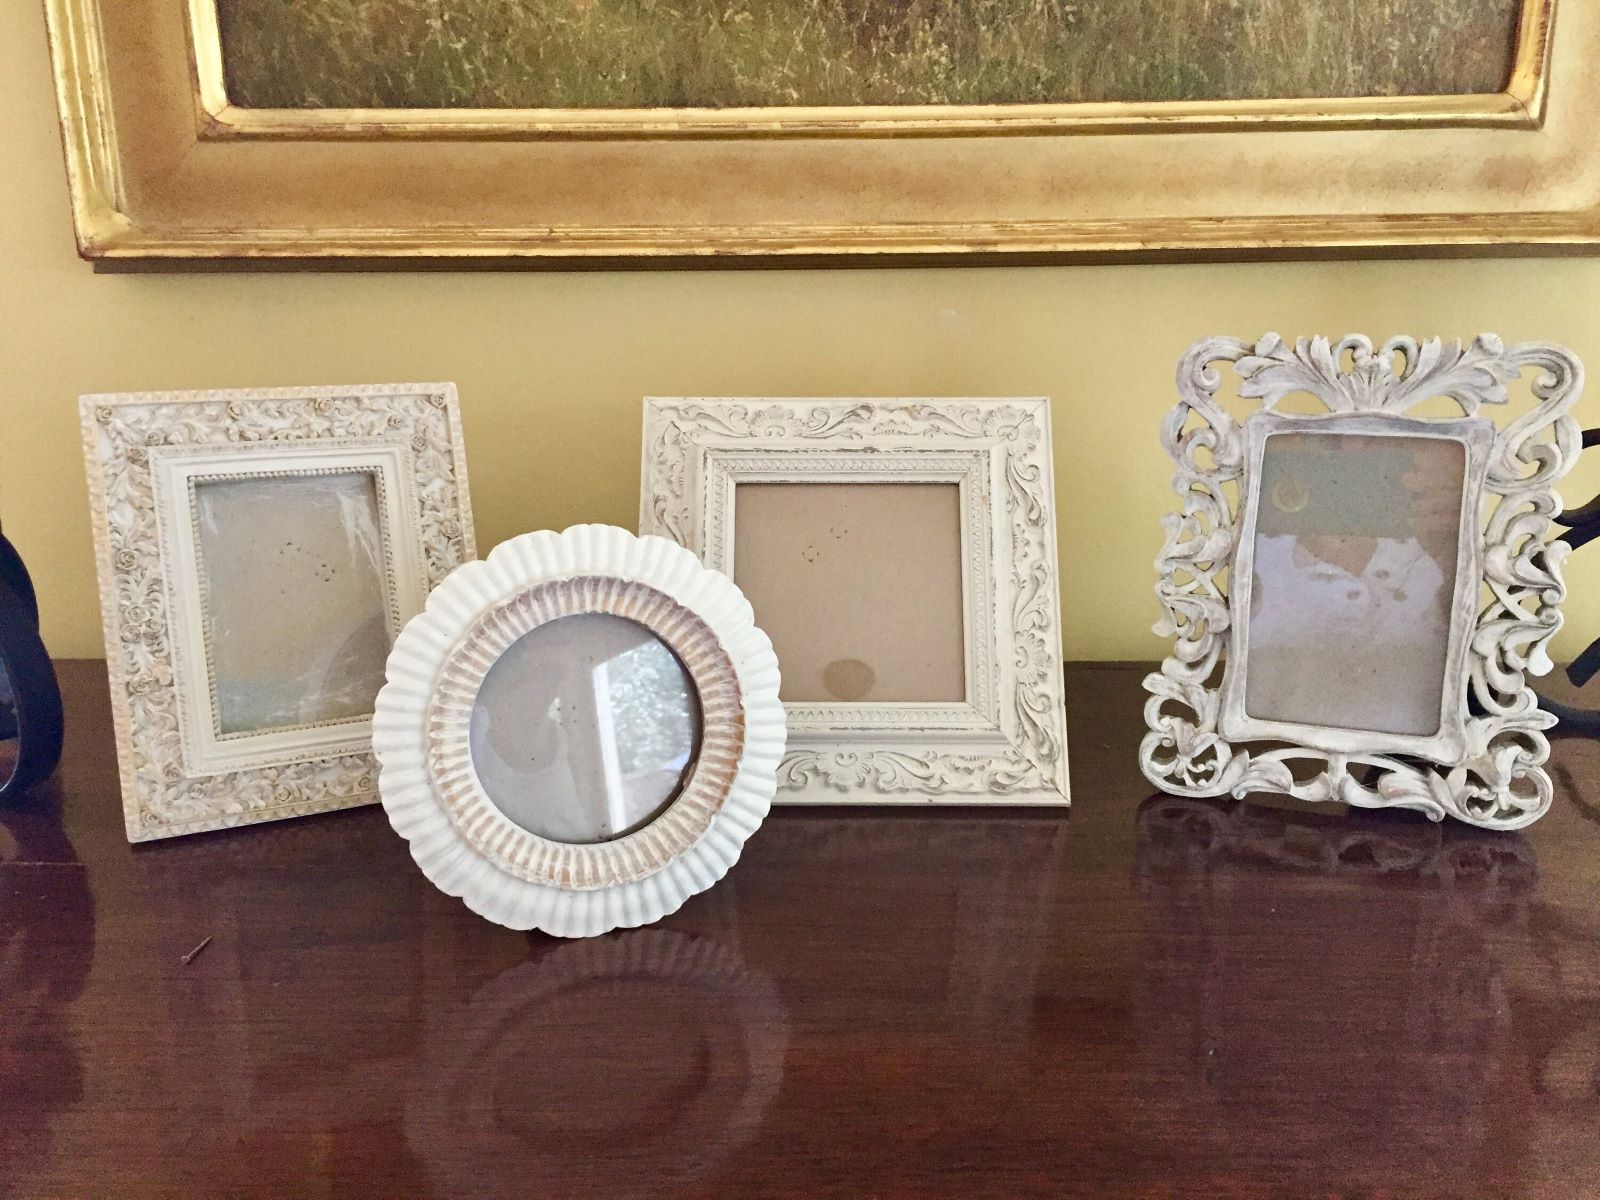
- Frame Style: Think about the style you want to incorporate into your space. From modern to vintage, ornate to minimalist, there are endless options to choose from. Select frames that reflect your personal taste and enhance the ambiance of the room.
It’s important to remember that selecting picture frames is not solely based on personal preference but also on how they will fit within the larger picture arrangement. Consider how the frames will work together as a collective display. Remember, it’s all about creating a cohesive look.
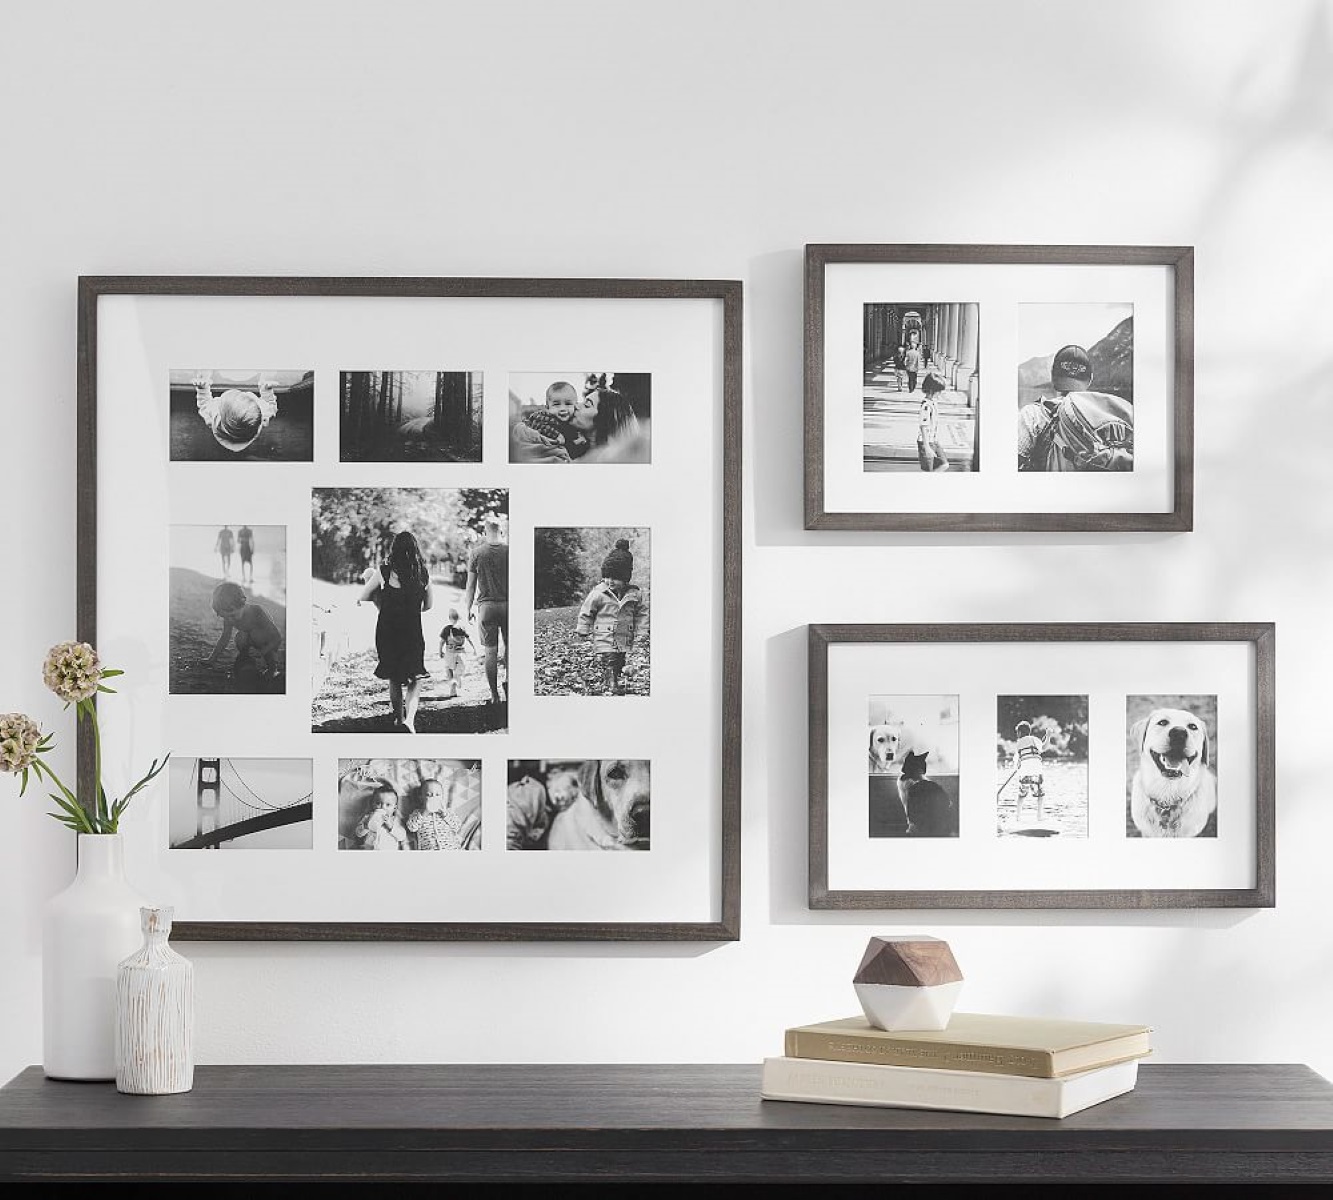
If you want to add some variety to your wall arrangement, you can mix and match different frame styles or stick with a consistent theme for a more uniform look. Ultimately, choosing picture frames is an opportunity to let your creativity shine and make a statement with your wall decor.
Now that you have a better idea of what to consider when choosing picture frames, let’s move on to the next step: determining the layout.
Determining the Layout
Once you have selected the picture frames for your wall arrangement, the next step is to determine the layout. The layout will dictate how the frames are positioned and organized on the wall. Here are some tips to help you determine the perfect layout:
- Plan Ahead: Before you start hanging the frames, it’s essential to plan the layout. Take measurements of the wall area and consider the overall design you want to achieve. You can do this by sketching the layout on a piece of paper or using digital tools to visualize the arrangement.
- Consider the Wall Space: Take into account the size and shape of the wall. Is it a large empty space, a narrow hallway, or an alcove? This will help you determine the number of frames you can fit and the overall arrangement that will best suit the space.
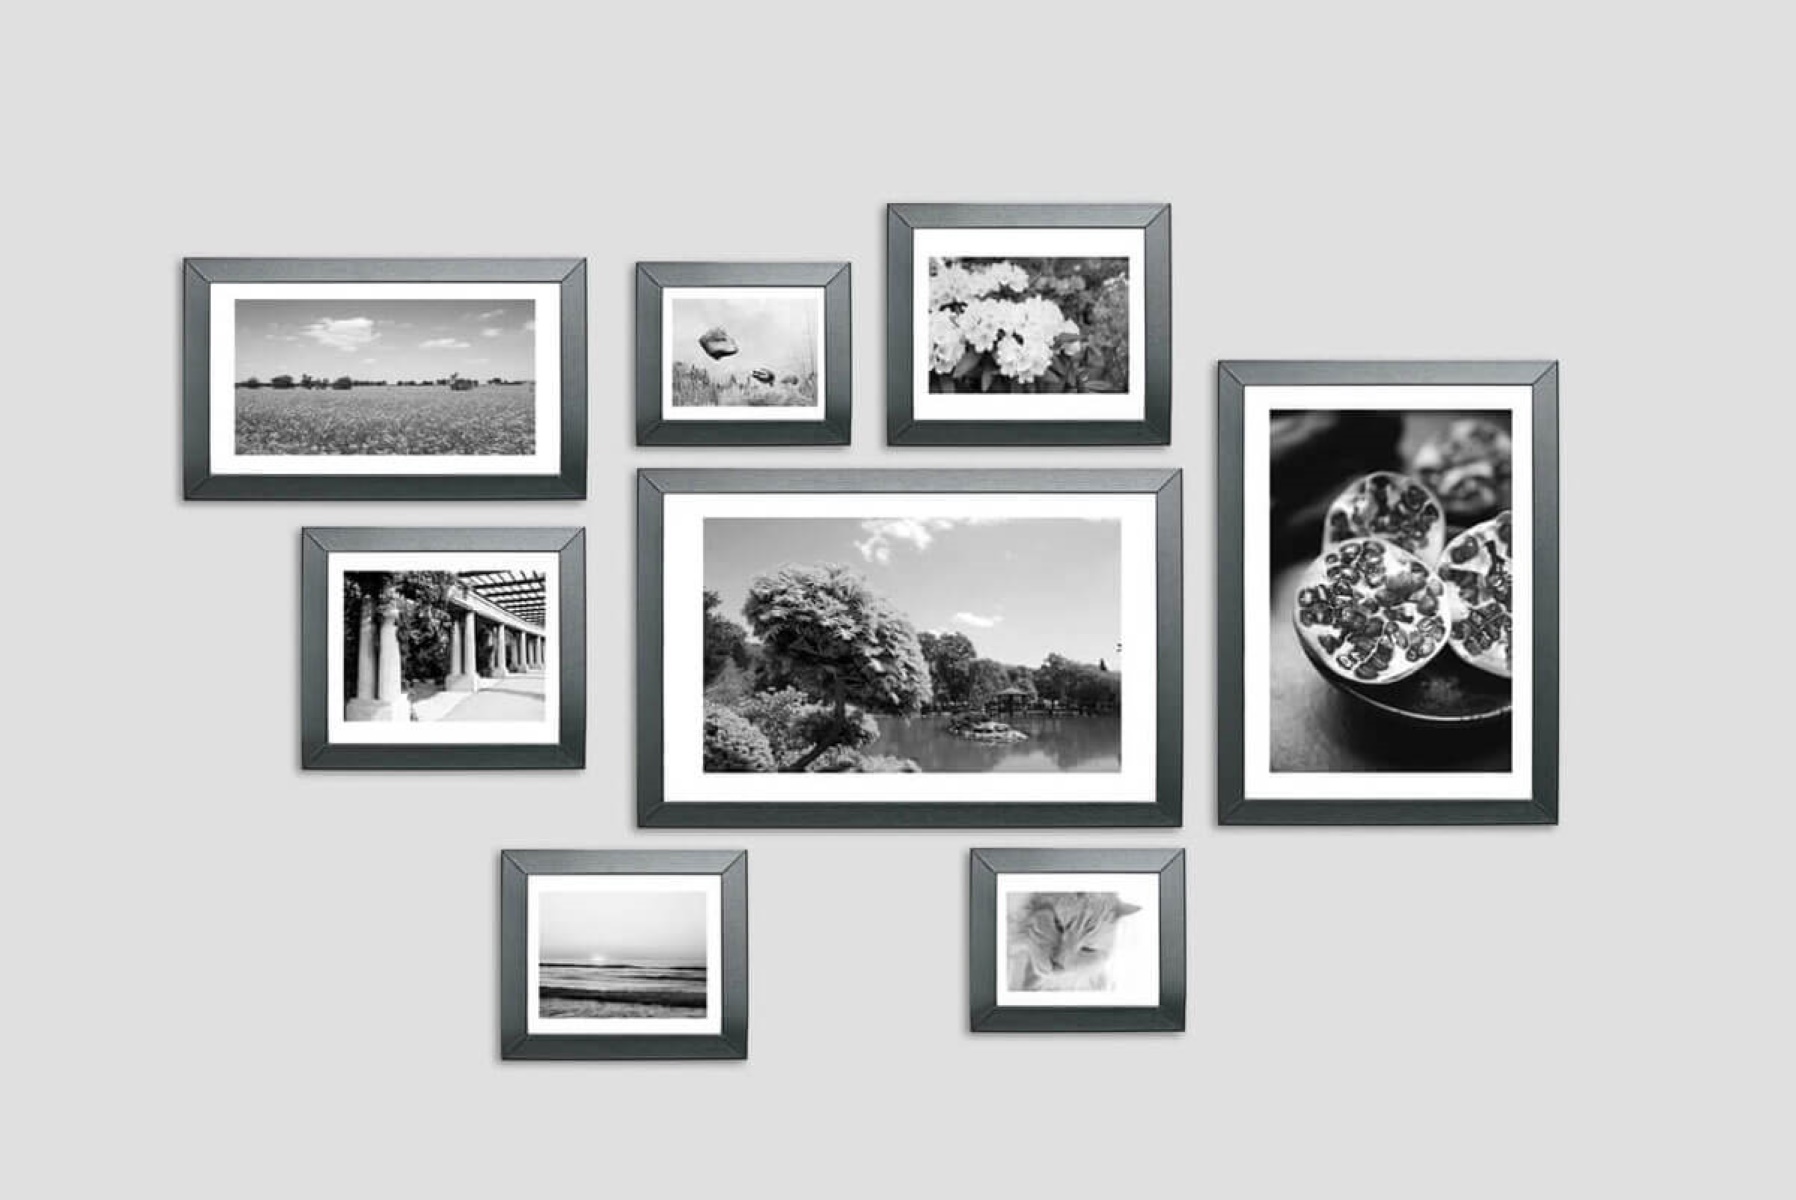
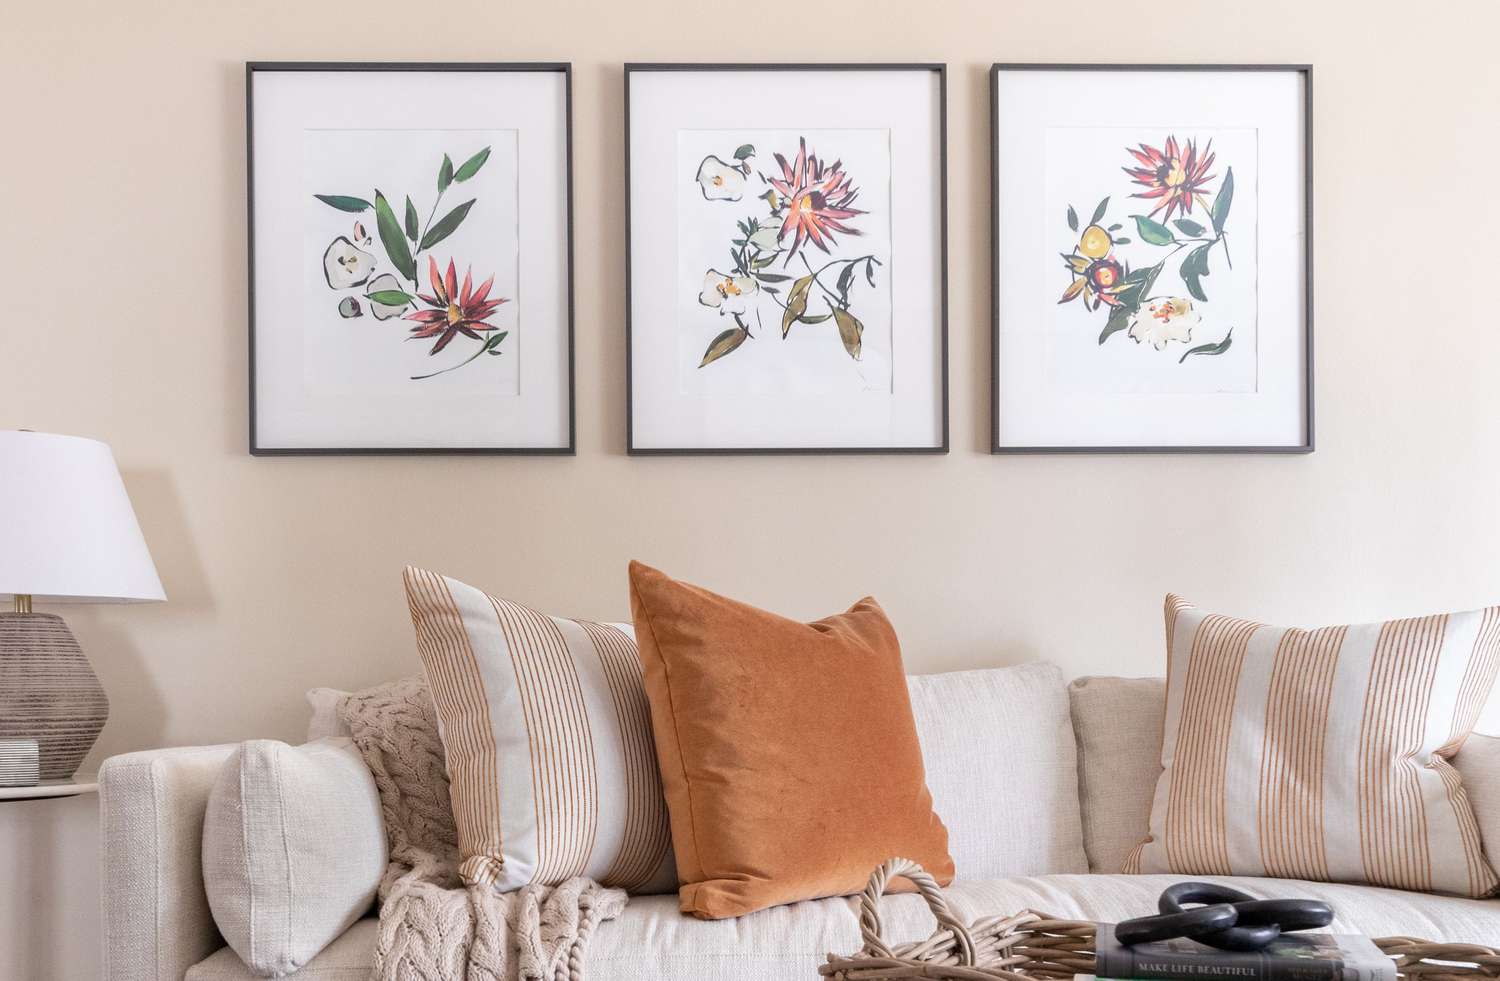
- Balance and Symmetry: Achieving balance and symmetry in your layout can create a visually pleasing display. Consider placing larger frames in the center and gradually decrease the size of the frames as you move outward. Alternatively, you can create symmetrical patterns by mirroring the arrangement on either side of a focal point.
- Create a Visual Flow: Think about how the eye will naturally move across the wall. You can create a visual flow by arranging frames in a diagonal or zigzag pattern. Another option is to align the frames along an invisible line, such as the top or bottom edge.
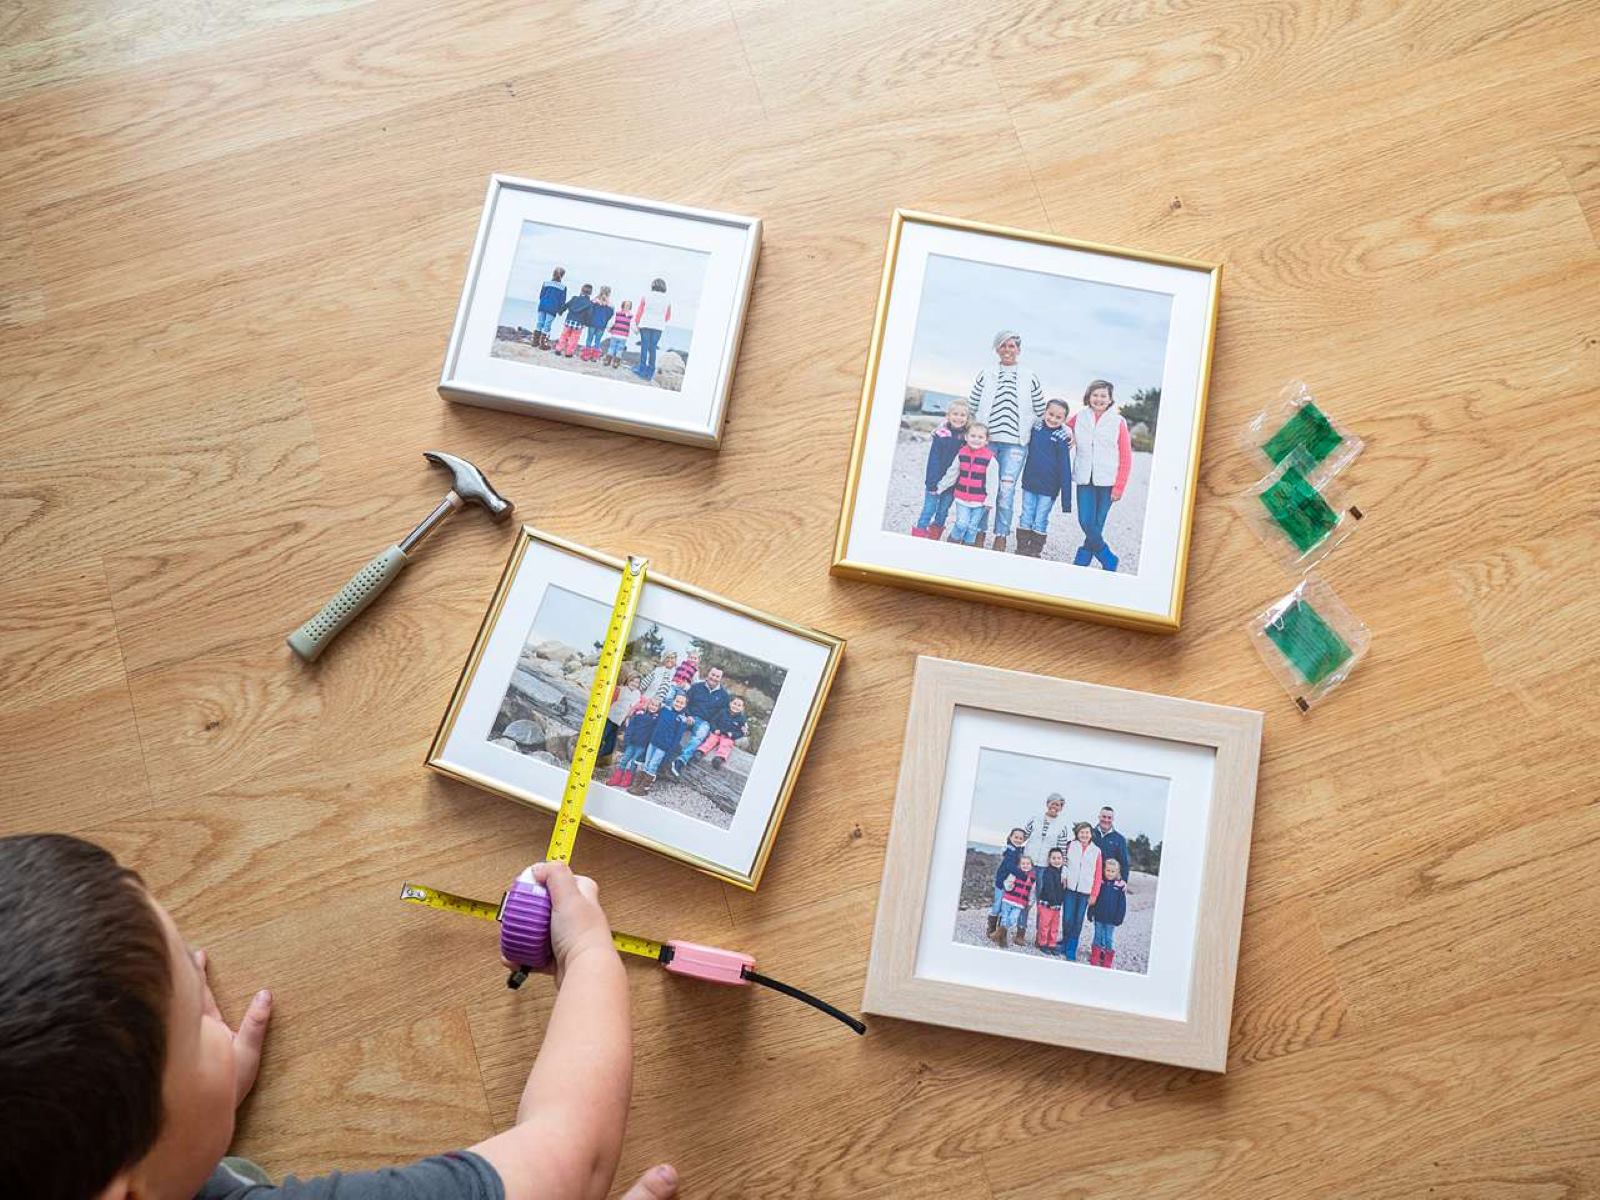
- Experiment with Placement: Don’t be afraid to experiment with different placement options. Start by placing the frames on the floor or using painter’s tape to mark their positions on the wall. This will allow you to see how the layout looks before committing to any nail holes.
Remember that the layout should enhance the overall aesthetic of the room and complement the existing decor. Take your time to find a layout that you love and that brings out the best in your picture frames.
Now that you have determined the layout, let’s move on to the next step: measuring and marking.
Measuring and Marking
Once you have decided on the layout for your picture frames, it’s time to measure and mark the wall to ensure accurate placement. This step is crucial in maintaining the alignment and balance of your arrangement. Here are some steps to help you measure and mark:
- Gather the Tools: Before you begin, gather the necessary tools, including a measuring tape, a level, a pencil, and painter’s tape or sticky notes. These tools will help you measure and mark the wall accurately.
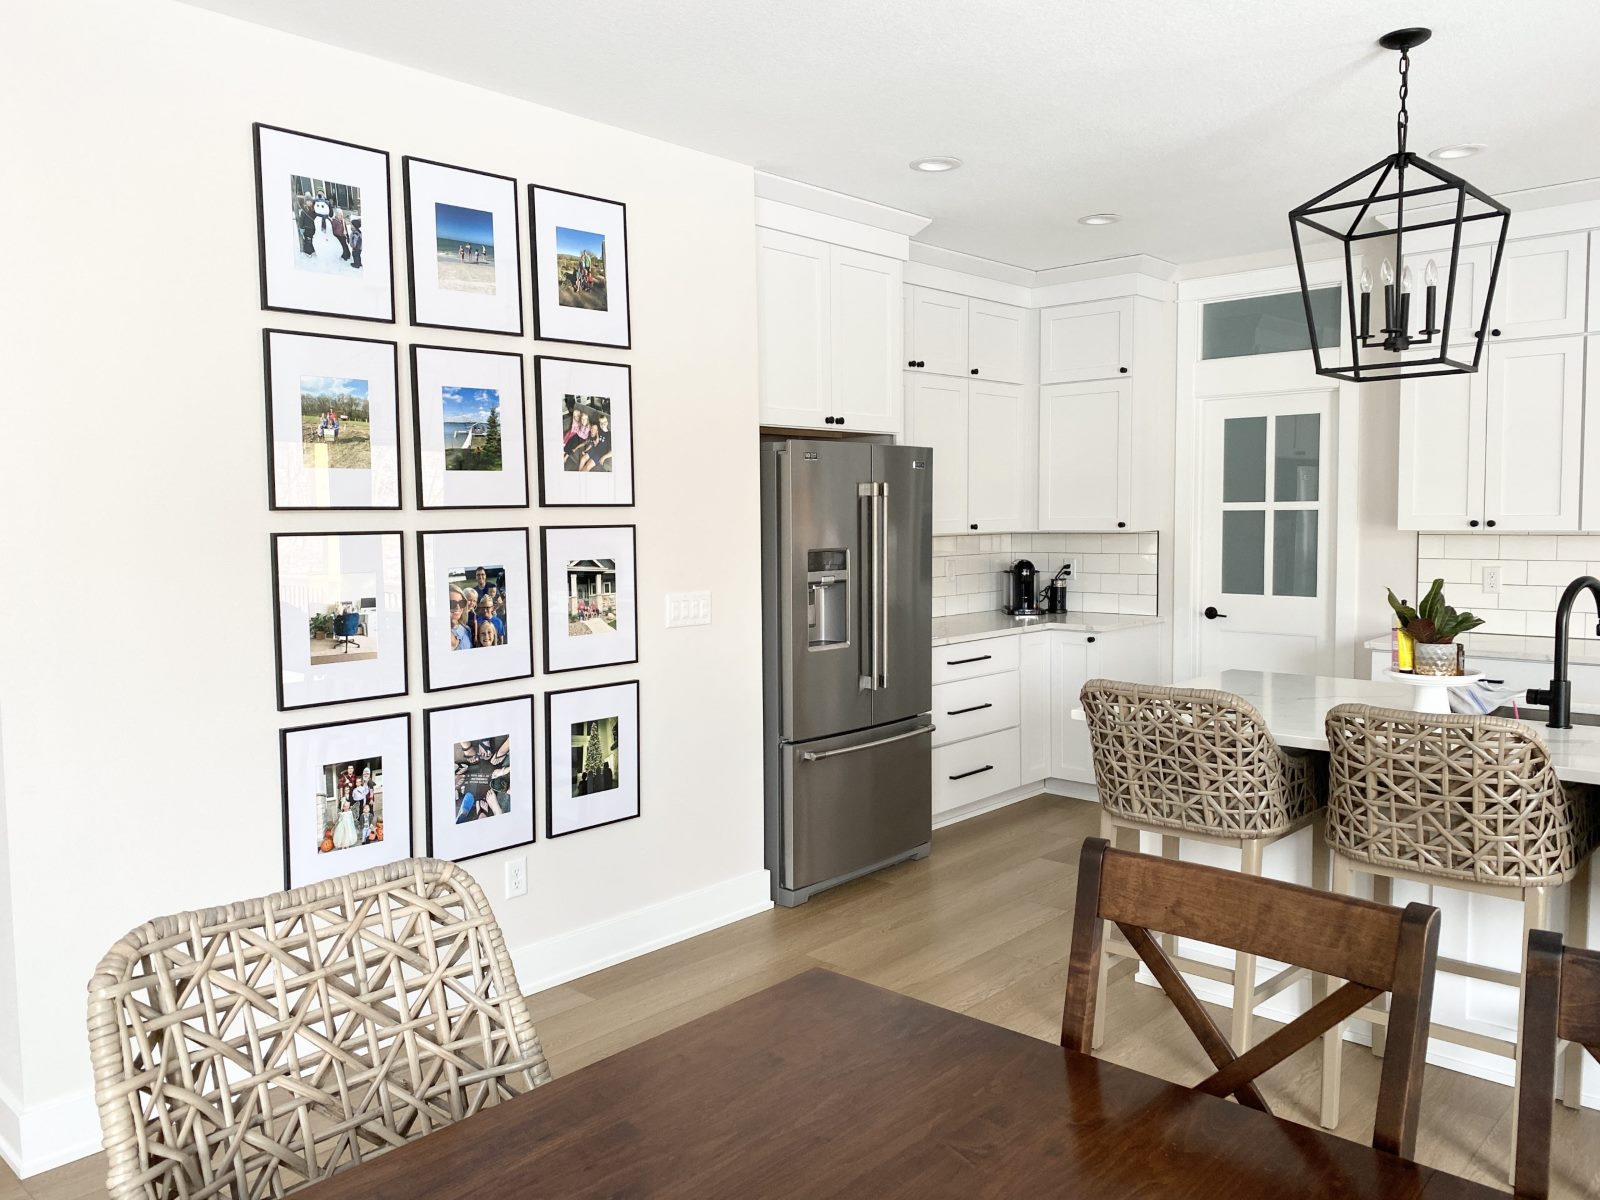
- Measure the Frames: Measure the dimensions of each frame, including height and width. Use these measurements to determine the spacing between the frames and the overall placement on the wall. Consider leaving a consistent gap between the frames for a clean and organized look.
- Mark the Wall: Use a pencil to mark the desired positions of the frames on the wall. Start by marking the corners or edges of the arrangement, then fill in the spaces in between. Use a level to ensure that the marks are straight and aligned. Alternatively, you can use painter’s tape or sticky notes to create mock outlines of the frames on the wall.
- Double-Check the Measurements: Once you have made the initial marks, double-check the measurements and the overall layout. Step back and take a look at the markings from different angles to make sure they are to your liking.
- Adjust as Needed: If you’re not satisfied with the initial markings, don’t hesitate to make adjustments. This is the time to fine-tune the layout and ensure that everything looks balanced and visually appealing.
Remember to take your time during this process and be meticulous in your measurements and markings. It’s better to invest a little extra time upfront to ensure accurate placement, rather than having to make adjustments later.
Now that you have measured and marked the wall, it’s time to move on to the next step: hanging the picture frames.
Use a level to ensure your picture frames are straight and evenly spaced. Start by hanging the largest frame in the center and work your way outwards with smaller frames. Group frames closely together for a cohesive look.
Hanging the Picture Frames
Now that you have measured and marked the wall, it’s time to hang the picture frames. This step requires some precision and attention to detail to ensure that the frames are secure and properly aligned. Follow these steps to hang your picture frames:
- Gather the Tools: Before you begin, gather the necessary tools, including a hammer, nails or picture hanging hooks, a screwdriver (if needed), and a handheld level. These tools will help you hang the frames securely.
- Start with the Center: Begin by hanging the central frame or the largest frame in the arrangement. This will serve as the focal point and anchor for the rest of the frames.
- Use the Marks: Refer to the marks you made on the wall earlier as a guide for hanging the frames. Place the first nail or hook on the marked spot and ensure that it is level using the handheld level.
- Hang the Frames: Hang the frames one by one, starting from the center and working outward. Use the markings as a reference for positioning. Take your time to ensure that each frame is level and properly aligned with the adjacent frames.
- Secure the Frames: Once the frames are in position, ensure that they are securely fastened to the wall. If using nails, gently tap them into the wall with a hammer. If using picture hanging hooks, follow the instructions provided to secure them in place. Use a handheld level to make any adjustments if necessary.
- Step Back and Evaluate: After hanging each frame, step back and take a look at the overall arrangement. Check that the frames are evenly spaced and aligned. Make any necessary adjustments to achieve your desired aesthetic.
It’s important to take your time during this step to ensure that each frame is level and properly secured. This will not only enhance the visual appeal of your display but also prevent any potential accidents or damage.
Now that you have successfully hung the picture frames, let’s move on to the final step: adding finishing touches to complete the look.
Read more: How To Decorate A Wall With Picture Frames
Adding Finishing Touches
Now that you have arranged and hung your picture frames, it’s time to add the finishing touches to complete the look. These final touches will help tie everything together and elevate the overall aesthetic of your wall display. Here are some ideas to consider:
- Fill in the Gaps: If there are any noticeable gaps or empty spaces between the frames, consider adding small decorative items, such as small plants, figurines, or other artwork, to fill in those spaces and create a cohesive look.
- Accessorize: To enhance the visual appeal of the frames, consider adding accessories like decorative trinkets, string lights, or adhesive decals around the frames. These small details can make a big difference and add a personal touch to your display.
- Consider Lighting: Lighting plays a vital role in showcasing your picture frames. Install wall sconces or picture lights above or beside the frames to illuminate them and create a warm and inviting ambiance. Alternatively, you can use LED strip lights behind the frames to add a subtle glow.
- Experiment with Placement: Don’t be afraid to rearrange the frames or switch them out with different artwork or photographs to keep your display fresh and dynamic. Play around with the arrangement until you’re satisfied with the overall look and feel.
- Create a Theme: Consider creating a thematic approach to your wall display. For example, you can choose frames and artwork that revolve around a specific color scheme, a particular subject matter, or a specific style. This will add a cohesive and curated look to your gallery wall.
- Regular Maintenance: Lastly, make sure to regularly dust and clean your picture frames to keep them looking fresh and vibrant. Wipe them down with a soft cloth or use a microfiber duster to remove any dust or debris.
Adding these finishing touches will help transform your picture frame display into a visually stunning and personalized gallery wall. Experiment with different ideas and find a style that resonates with you and reflects your unique personality.
Congratulations! You have successfully learned how to arrange picture frames on a wall. With the right frames, layout, measurements, and finishing touches, you can create a beautiful and captivating display that will become the focal point of any room.
Now, go ahead and showcase your favorite memories, cherished artwork, or inspiring photographs with confidence!
Conclusion
Arranging picture frames on a wall can be a creative and fulfilling process that adds personality and charm to your living space. By following the steps outlined in this article, you have learned how to choose picture frames that suit your style, determine the perfect layout, measure and mark the wall accurately, hang the frames securely, and add the finishing touches to complete the look.
Remember, when choosing picture frames, consider factors such as size, material, color, and style. Determine the layout by planning ahead, considering the wall space, achieving balance and symmetry, and creating a visual flow. Measure and mark the wall accurately to ensure proper placement of your frames.
Hanging the frames requires precision, so take your time to align and secure each frame properly. Finally, add those finishing touches that make the display truly unique and reflective of your personal style.
Throughout this process, don’t be afraid to experiment and make adjustments until you achieve the desired arrangement. Remember that creating a gallery wall is a journey of self-expression, and the end result is a stunning display of memories, artwork, or inspiration.
Now that you have the knowledge and tools to arrange picture frames on a wall like a pro, unleash your creativity and transform any blank wall into a personalized gallery that will captivate and inspire. Enjoy the process, and remember to update and refresh your display as your tastes and preferences evolve.
So, pick up those frames, grab your tools, and get started on transforming your wall into a beautiful showcase of your cherished memories and art!
Frequently Asked Questions about How To Arrange Picture Frames On Wall
Was this page helpful?
At Storables.com, we guarantee accurate and reliable information. Our content, validated by Expert Board Contributors, is crafted following stringent Editorial Policies. We're committed to providing you with well-researched, expert-backed insights for all your informational needs.








0 thoughts on “How To Arrange Picture Frames On Wall”