Home>Furniture & Design>Interior Design Trends>How To Remove Glass Cooktop From Counter
Interior Design Trends
How To Remove Glass Cooktop From Counter
Published: February 6, 2024
Learn how to safely remove a glass cooktop from your counter with our expert interior design trends guide. Follow our step-by-step instructions for a seamless process.
(Many of the links in this article redirect to a specific reviewed product. Your purchase of these products through affiliate links helps to generate commission for Storables.com, at no extra cost. Learn more)
Introduction
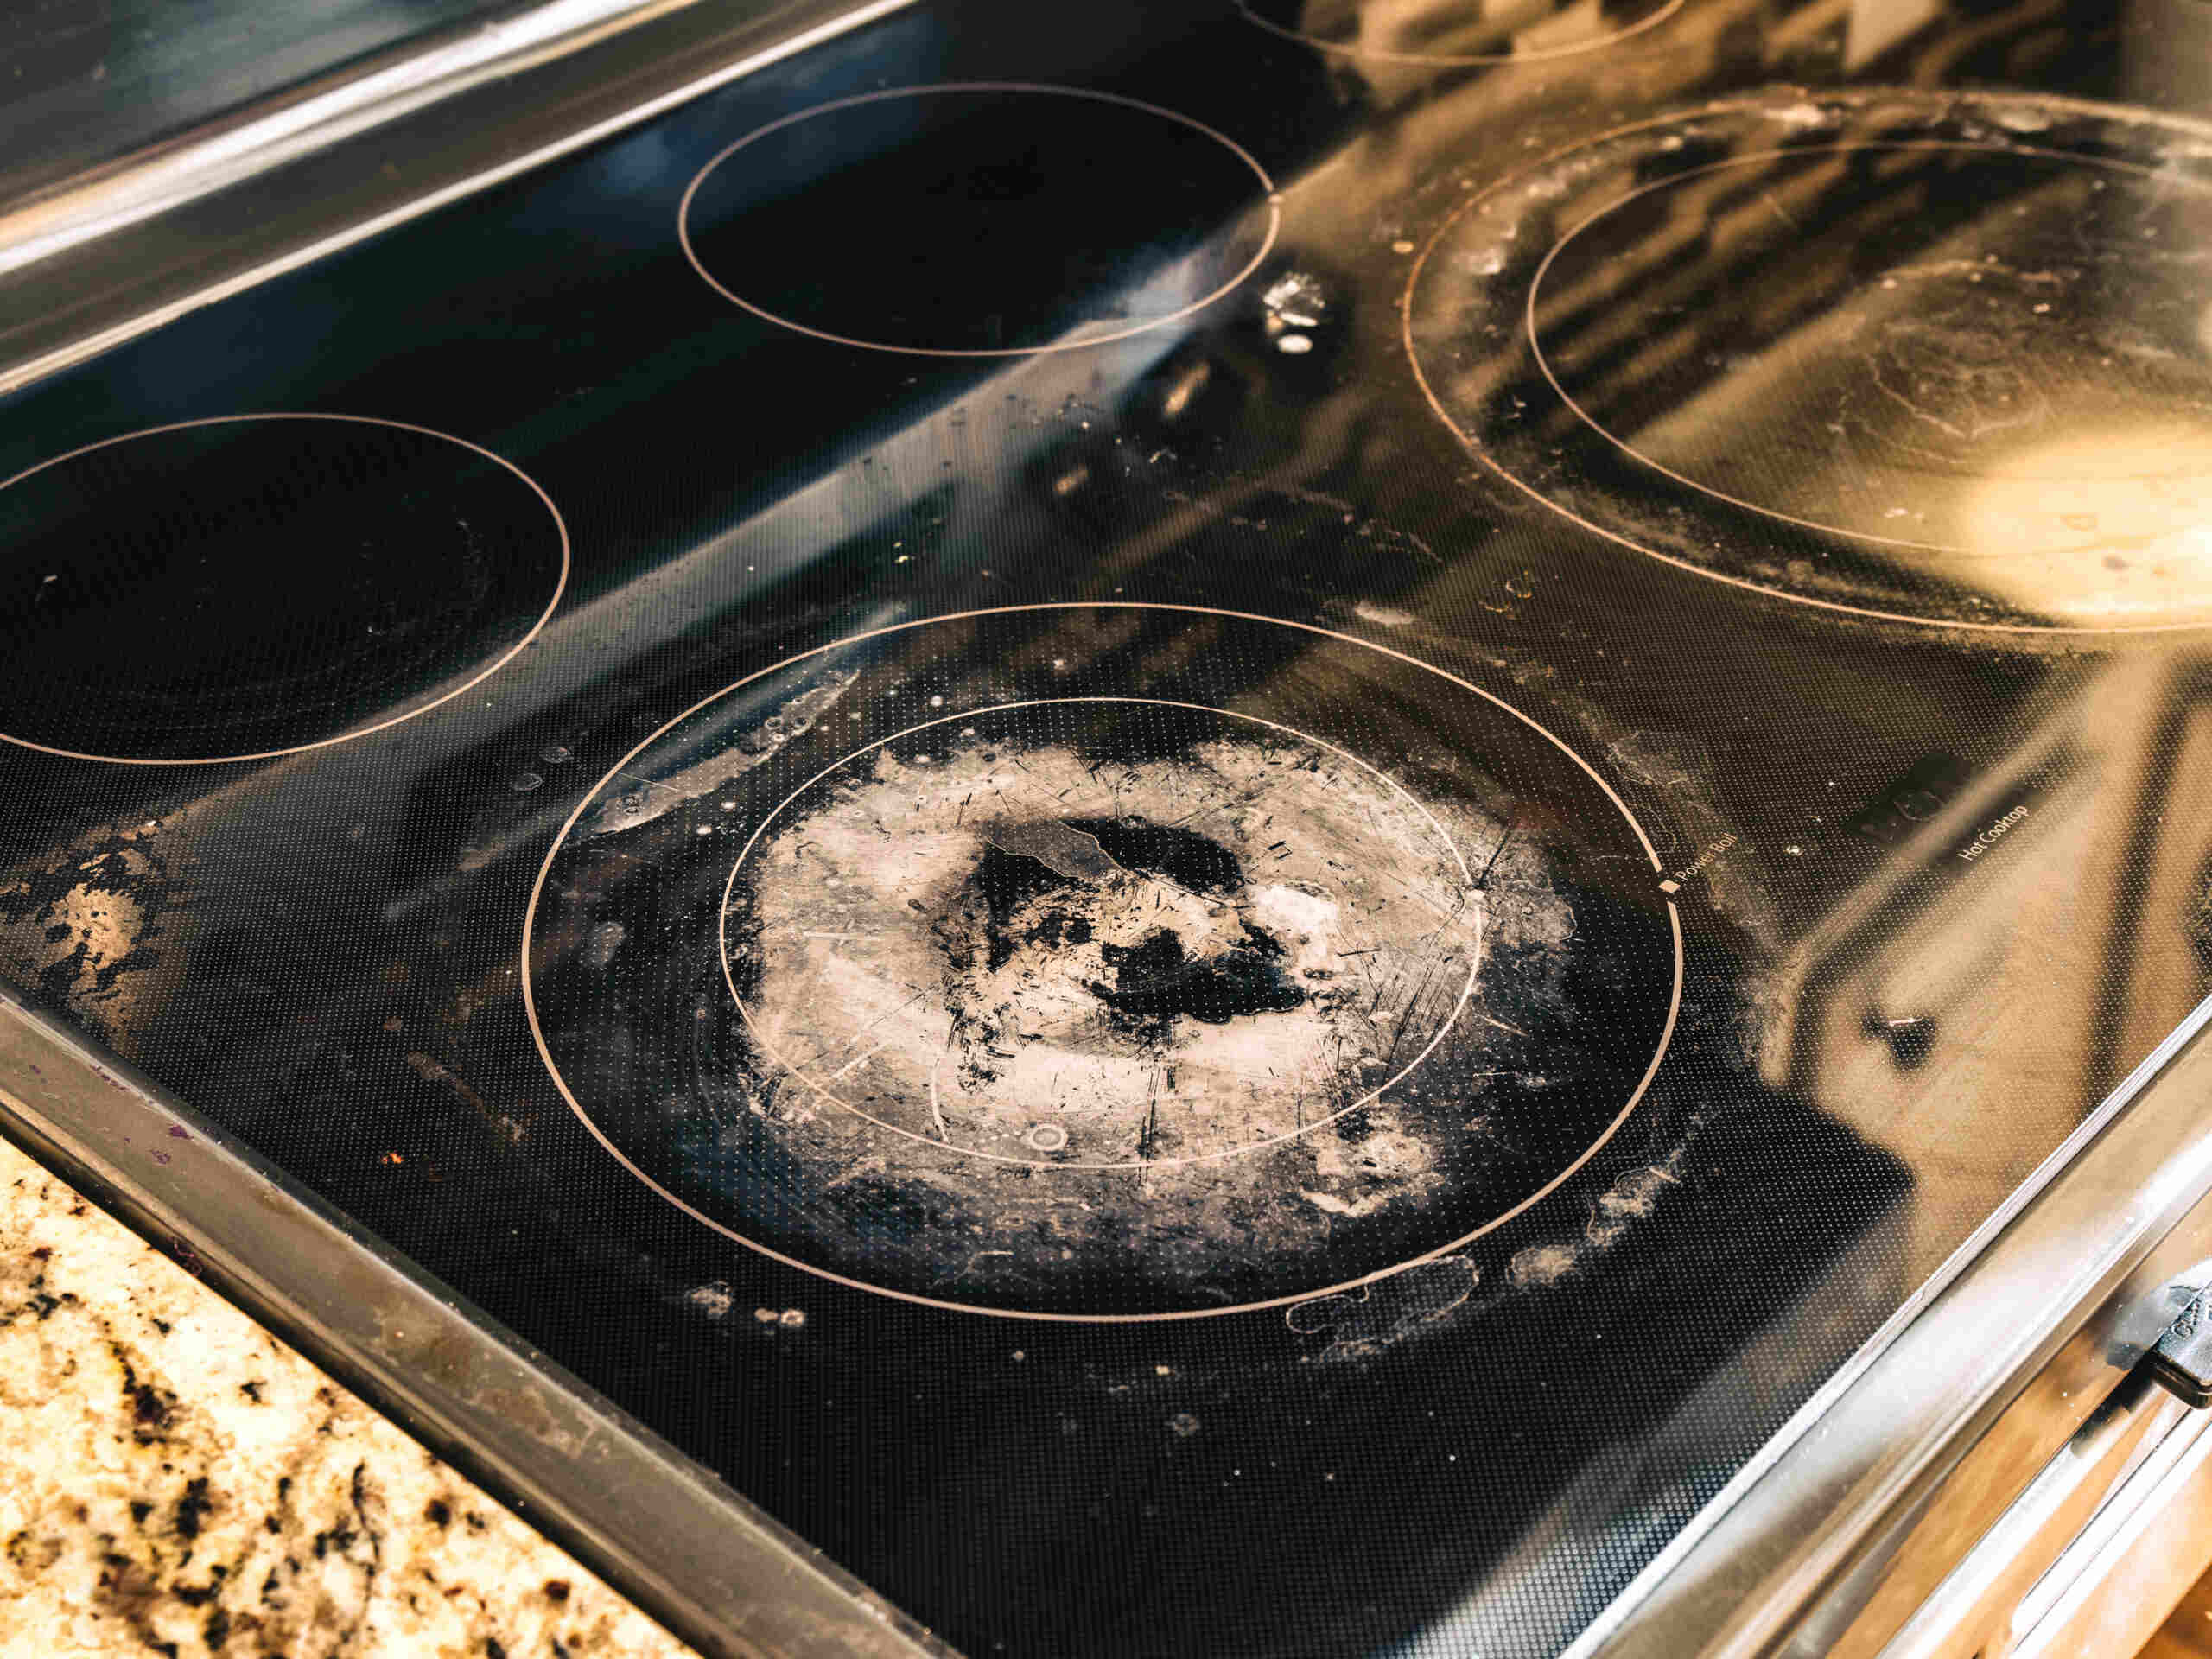
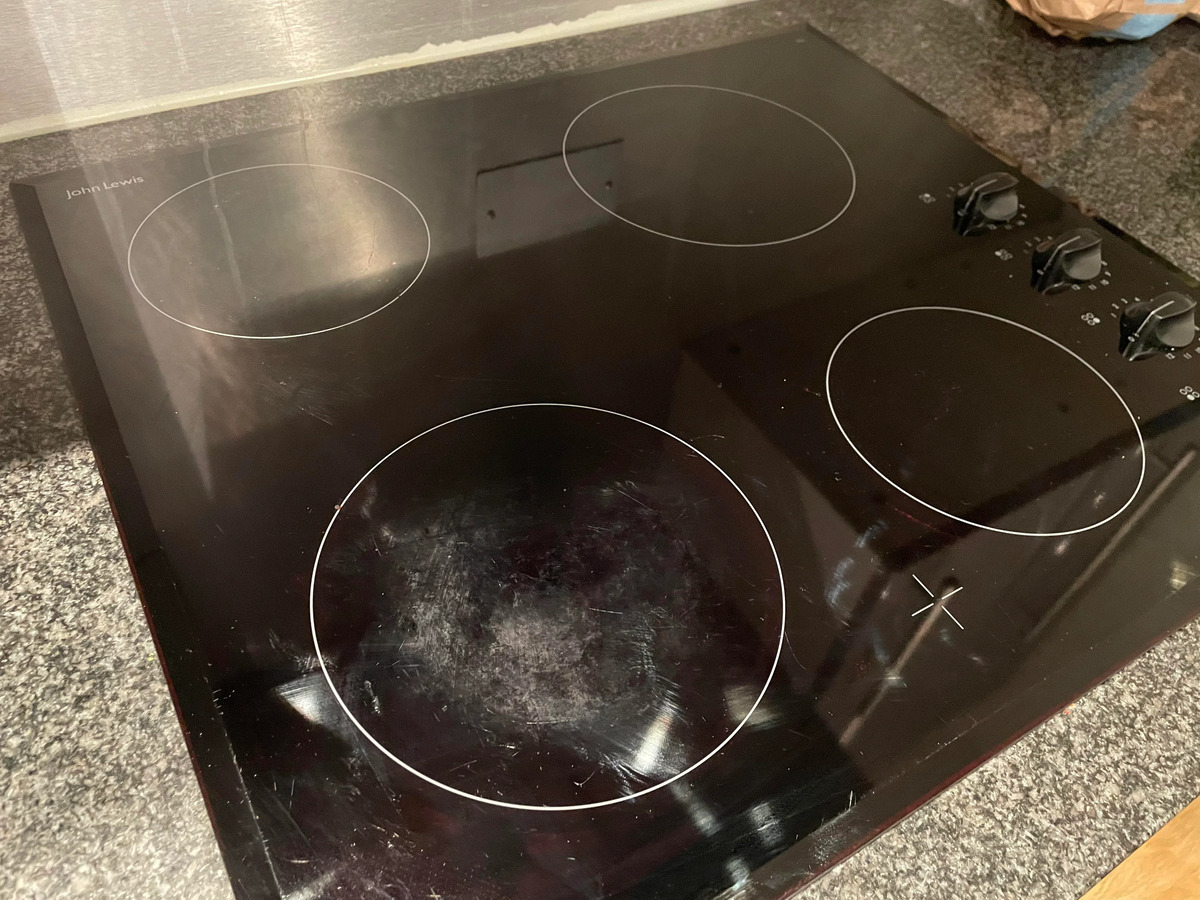
Removing a glass cooktop from a counter may seem like a daunting task, but with the right tools and a systematic approach, it can be accomplished with relative ease. Whether you're looking to replace the cooktop, clean the area beneath it, or make repairs, understanding the process is essential for a successful outcome.
A glass cooktop is a sleek and modern addition to any kitchen, offering a smooth and easy-to-clean surface for cooking. However, when it comes time to remove it, there are specific steps that need to be followed to ensure the task is completed safely and effectively.
In this guide, we will walk you through the process of removing a glass cooktop from your counter, providing detailed instructions and essential tips to help you navigate this undertaking with confidence. By following these steps, you can avoid potential hazards and ensure that the cooktop is removed without causing any damage to your kitchen or the appliance itself.
Whether you're a seasoned DIY enthusiast or a homeowner looking to tackle this project for the first time, this guide will equip you with the knowledge and insights needed to carry out the task successfully. So, gather your tools and let's dive into the step-by-step process of removing a glass cooktop from your counter.
Key Takeaways:
- Safety First!
Before removing a glass cooktop, always turn off the power supply and use the right tools. Prioritizing safety ensures a smooth and secure removal process, keeping you and your kitchen safe. - Step-by-Step Success
Removing a glass cooktop involves careful planning and attention to detail. From disconnecting the power to lifting the cooktop, following each step ensures a successful removal without any damage.
Read more: How To Remove Electric Cooktop From Counter
Tools and Materials Needed
Before embarking on the process of removing a glass cooktop from your counter, it's essential to gather the necessary tools and materials to ensure a smooth and efficient operation. Here's a comprehensive list of what you'll need:
Tools:
- Screwdriver Set: A set of screwdrivers, including Phillips and flathead varieties, will be essential for removing screws and fastenings holding the cooktop in place.
- Adjustable Wrench: This tool will come in handy for disconnecting the power supply and loosening any nuts or bolts securing the cooktop.
- Putty Knife: A putty knife with a thin, flexible blade will be useful for prying the cooktop away from the counter without causing damage.
- Safety Gloves: It's crucial to protect your hands with a pair of sturdy gloves to avoid any potential injuries during the removal process.
- Safety Goggles: To shield your eyes from debris and ensure safety, wear a pair of safety goggles throughout the removal procedure.
Materials:
- Replacement Gasket: If the existing gasket is worn or damaged, having a replacement on hand will be beneficial when reinstalling the cooktop.
- Electrical Tape: This will be necessary for securing and insulating electrical connections when disconnecting the power supply.
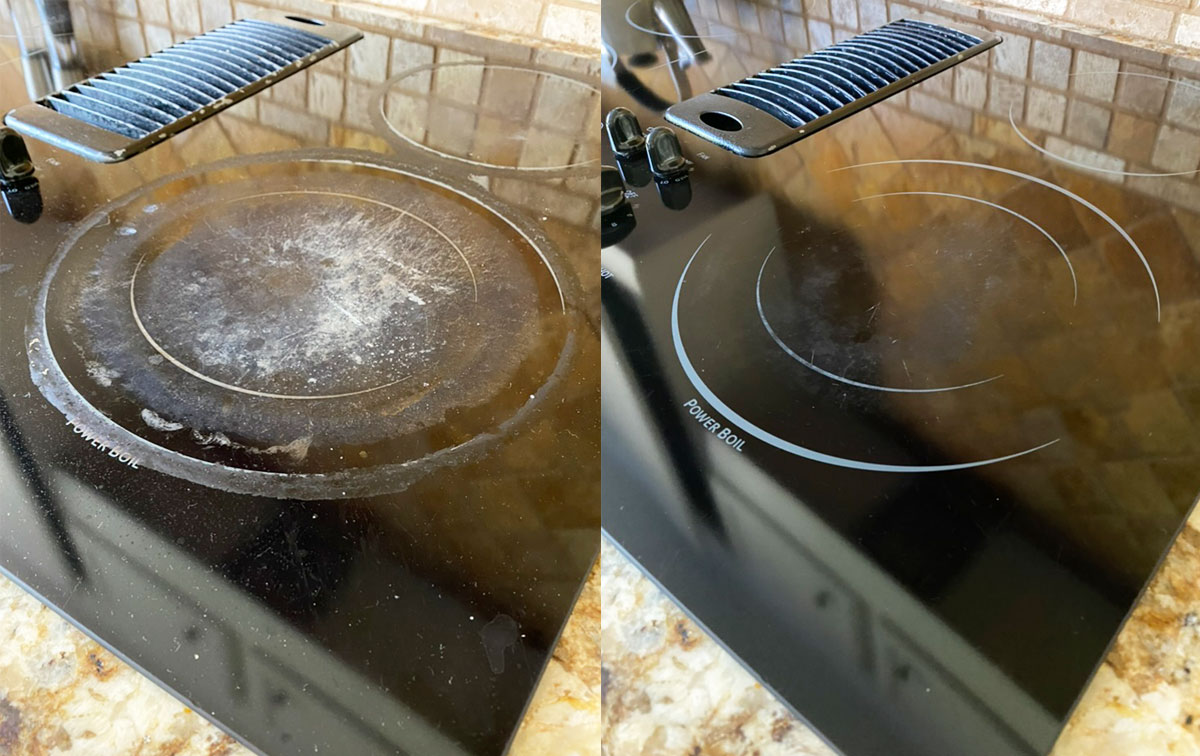
- Cleaning Supplies: Prepare a mild cleaning solution and soft cloths to clean the exposed counter surface once the cooktop is removed.
- Plastic Bags or Containers: Use these to store screws and small components removed during the process, ensuring they are not misplaced.
- Blanket or Towel: Placing a soft blanket or towel on the counter will provide a cushioned surface to protect the cooktop once it's lifted from its position.
By ensuring that you have all the required tools and materials at your disposal, you can streamline the removal process and address any unexpected challenges that may arise. With these items in hand, you'll be well-prepared to proceed with the subsequent steps of removing the glass cooktop from your counter.
Step 1: Turn Off Power Supply
Before initiating the process of removing the glass cooktop from your counter, it is crucial to prioritize safety by disconnecting the power supply. This step is paramount to prevent any electrical mishaps and ensure a secure working environment throughout the removal procedure.
To begin, locate the circuit breaker or fuse that controls the power supply to the cooktop. Typically, this can be found in the main electrical panel of your home. Once you have identified the corresponding circuit, switch it off to cut off the electricity flow to the cooktop. It's essential to verify that the power has been successfully disconnected by testing the cooktop's controls to ensure they are non-operational.
In some cases, the cooktop may be hardwired directly into the electrical supply, requiring you to turn off the main power switch for the kitchen or the entire house. This additional precautionary measure is necessary to guarantee complete isolation of the electrical current feeding into the cooktop.
Furthermore, it is advisable to use a voltage tester to confirm that the power has been effectively shut off. This simple yet crucial tool can help verify the absence of electrical current, providing an extra layer of safety before proceeding with the removal process.
By diligently adhering to these precautions and ensuring that the power supply is disabled, you mitigate the risk of electrical accidents and create a secure environment for the subsequent steps of removing the glass cooktop. Prioritizing safety at the outset of the removal process sets the foundation for a smooth and hazard-free operation, allowing you to proceed with confidence and peace of mind.
With the power supply successfully turned off and safety measures in place, you are now prepared to advance to the next step of removing the glass cooktop from your counter. This proactive approach to safety underscores the importance of meticulous preparation and sets the stage for a successful and secure removal process.
Read more: How To Remove Scratches From Glass Cooktop
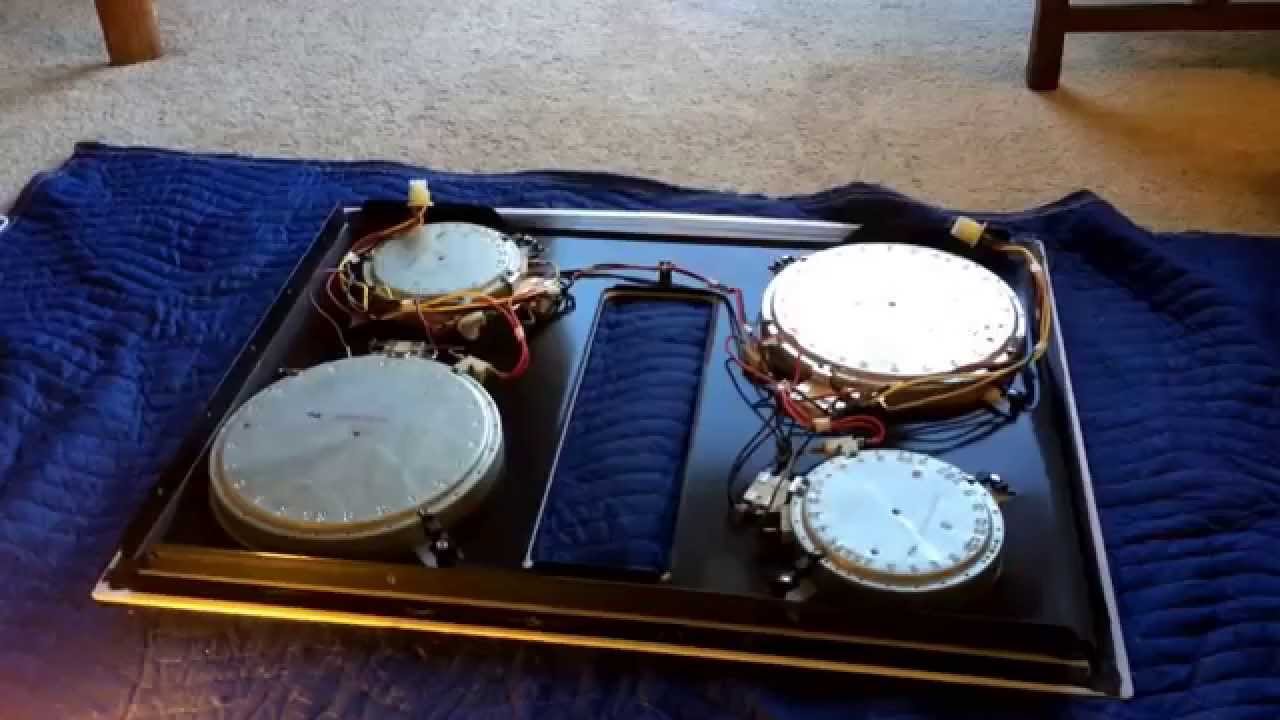
Step 2: Remove Burner Grates and Elements
With the power supply safely turned off, the next step in removing the glass cooktop from your counter involves the removal of the burner grates and elements. These components are integral parts of the cooktop and must be carefully detached to facilitate the subsequent stages of the removal process.
-
Allow the Cooktop to Cool: Before proceeding, ensure that the glass cooktop has cooled down if it was recently in use. Attempting to handle hot components can pose a burn risk, so exercising caution is essential.
-
Lift and Remove the Burner Grates: Begin by lifting the burner grates from the cooktop surface. These grates are designed to support the cookware and distribute heat evenly during cooking. Carefully lift them away from the cooktop and set them aside in a safe location, ensuring they are clear from the removal area.
-
Detach the Burner Elements: Once the grates have been removed, the burner elements can be detached. Depending on the cooktop model, the elements may be secured in place with screws or clips. Use the appropriate tools to loosen and disconnect the elements from their respective receptacles. Take note of their positioning and connections to facilitate reassembly later.
-
Inspect and Clean: With the burner grates and elements removed, take the opportunity to inspect them for any signs of wear or damage. Additionally, clean these components using a mild solution and a soft cloth to remove any accumulated residue or spills, ensuring they are in optimal condition for reinstallation.
By meticulously following these steps to remove the burner grates and elements, you pave the way for the subsequent phases of the glass cooktop removal process. This systematic approach not only ensures the safe detachment of essential components but also sets the stage for a seamless transition to the next steps, ultimately leading to the successful removal of the glass cooktop from your counter.
Step 3: Disconnect the Power Supply
Before initiating the process of removing the glass cooktop from your counter, it is crucial to prioritize safety by disconnecting the power supply. This step is paramount to prevent any electrical mishaps and ensure a secure working environment throughout the removal procedure.
To begin, locate the circuit breaker or fuse that controls the power supply to the cooktop. Typically, this can be found in the main electrical panel of your home. Once you have identified the corresponding circuit, switch it off to cut off the electricity flow to the cooktop. It's essential to verify that the power has been successfully disconnected by testing the cooktop's controls to ensure they are non-operational.
In some cases, the cooktop may be hardwired directly into the electrical supply, requiring you to turn off the main power switch for the kitchen or the entire house. This additional precautionary measure is necessary to guarantee complete isolation of the electrical current feeding into the cooktop.
Furthermore, it is advisable to use a voltage tester to confirm that the power has been effectively shut off. This simple yet crucial tool can help verify the absence of electrical current, providing an extra layer of safety before proceeding with the removal process.
By diligently adhering to these precautions and ensuring that the power supply is disabled, you mitigate the risk of electrical accidents and create a secure environment for the subsequent steps of removing the glass cooktop. Prioritizing safety at the outset of the removal process sets the foundation for a smooth and hazard-free operation, allowing you to proceed with confidence and peace of mind.
With the power supply successfully turned off and safety measures in place, you are now prepared to advance to the next step of removing the glass cooktop from your counter. This proactive approach to safety underscores the importance of meticulous preparation and sets the stage for a successful and secure removal process.
Before removing the glass cooktop from the counter, make sure to turn off the power and gas supply. Then, carefully lift the cooktop from the counter and disconnect any wires or brackets holding it in place. Be sure to have someone help you as the cooktop can be heavy and fragile.
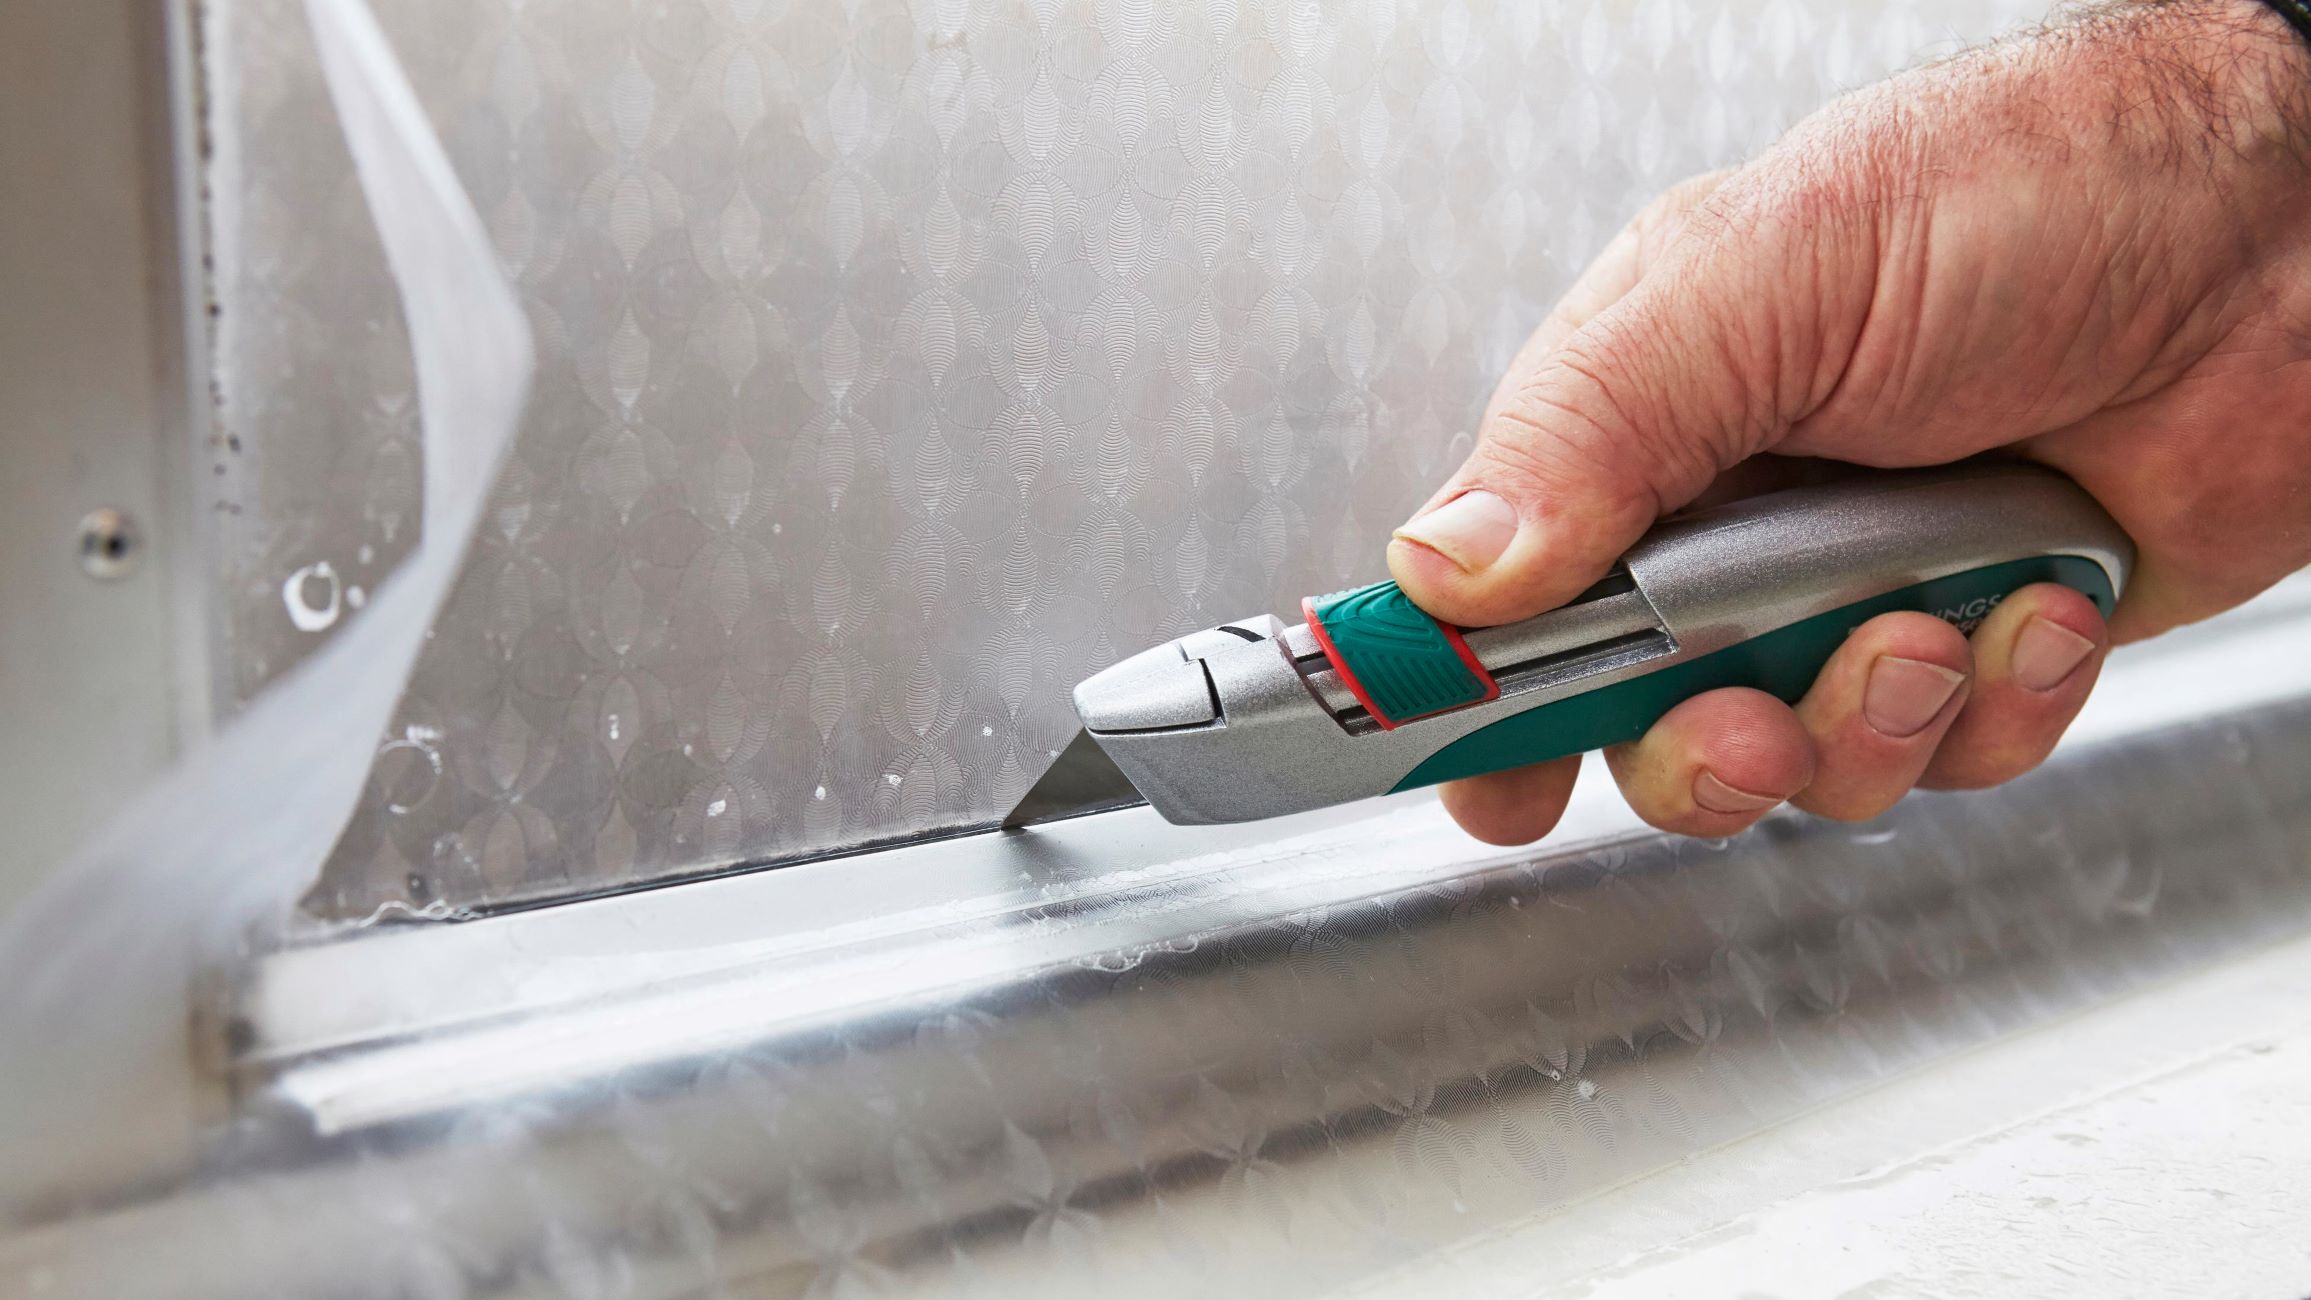
Step 4: Loosen the Cooktop
With the power supply safely turned off and the burner grates and elements removed, the next crucial step in removing the glass cooktop from your counter involves loosening the cooktop from its secured position. This process requires precision and care to ensure that the cooktop is detached without causing any damage to the surrounding area or the appliance itself.
-
Identify Fastenings: Begin by identifying the fastenings that secure the glass cooktop to the counter. In most cases, these fastenings consist of screws or clips located beneath the front edge of the cooktop. Use a flashlight to illuminate the area and locate these fastenings for easy access.
-
Use the Correct Tools: Once the fastenings are identified, select the appropriate screwdriver or nut driver to loosen and remove the screws or clips. It's essential to use the correct tool size to avoid damaging the fastenings and ensure a smooth removal process.
-
Exercise Caution: As you begin to loosen the fastenings, exercise caution to prevent excessive force that could lead to unintended damage. Gently and steadily loosen each fastening, taking care not to apply excessive pressure that may cause the cooktop to shift abruptly.
-
Enlist Assistance if Needed: Glass cooktops can be heavy and cumbersome, so enlisting the help of a partner or additional support may be beneficial when loosening the cooktop. Having an extra set of hands can provide stability and ensure that the cooktop is handled with care throughout the loosening process.
-
Verify Stability: As the fastenings are loosened, periodically verify the stability of the cooktop to prevent any unexpected movement. Ensuring that the cooktop remains level and secure during the loosening process is essential to avoid any potential accidents or damage.
By meticulously following these steps to loosen the glass cooktop, you pave the way for the subsequent phases of the removal process. This systematic approach not only ensures the safe detachment of the cooktop but also sets the stage for a seamless transition to the final steps of removing the glass cooktop from your counter. With the cooktop now loosened and prepared for removal, you are well-positioned to proceed with the subsequent step of lifting and removing the glass cooktop from its position on the counter.
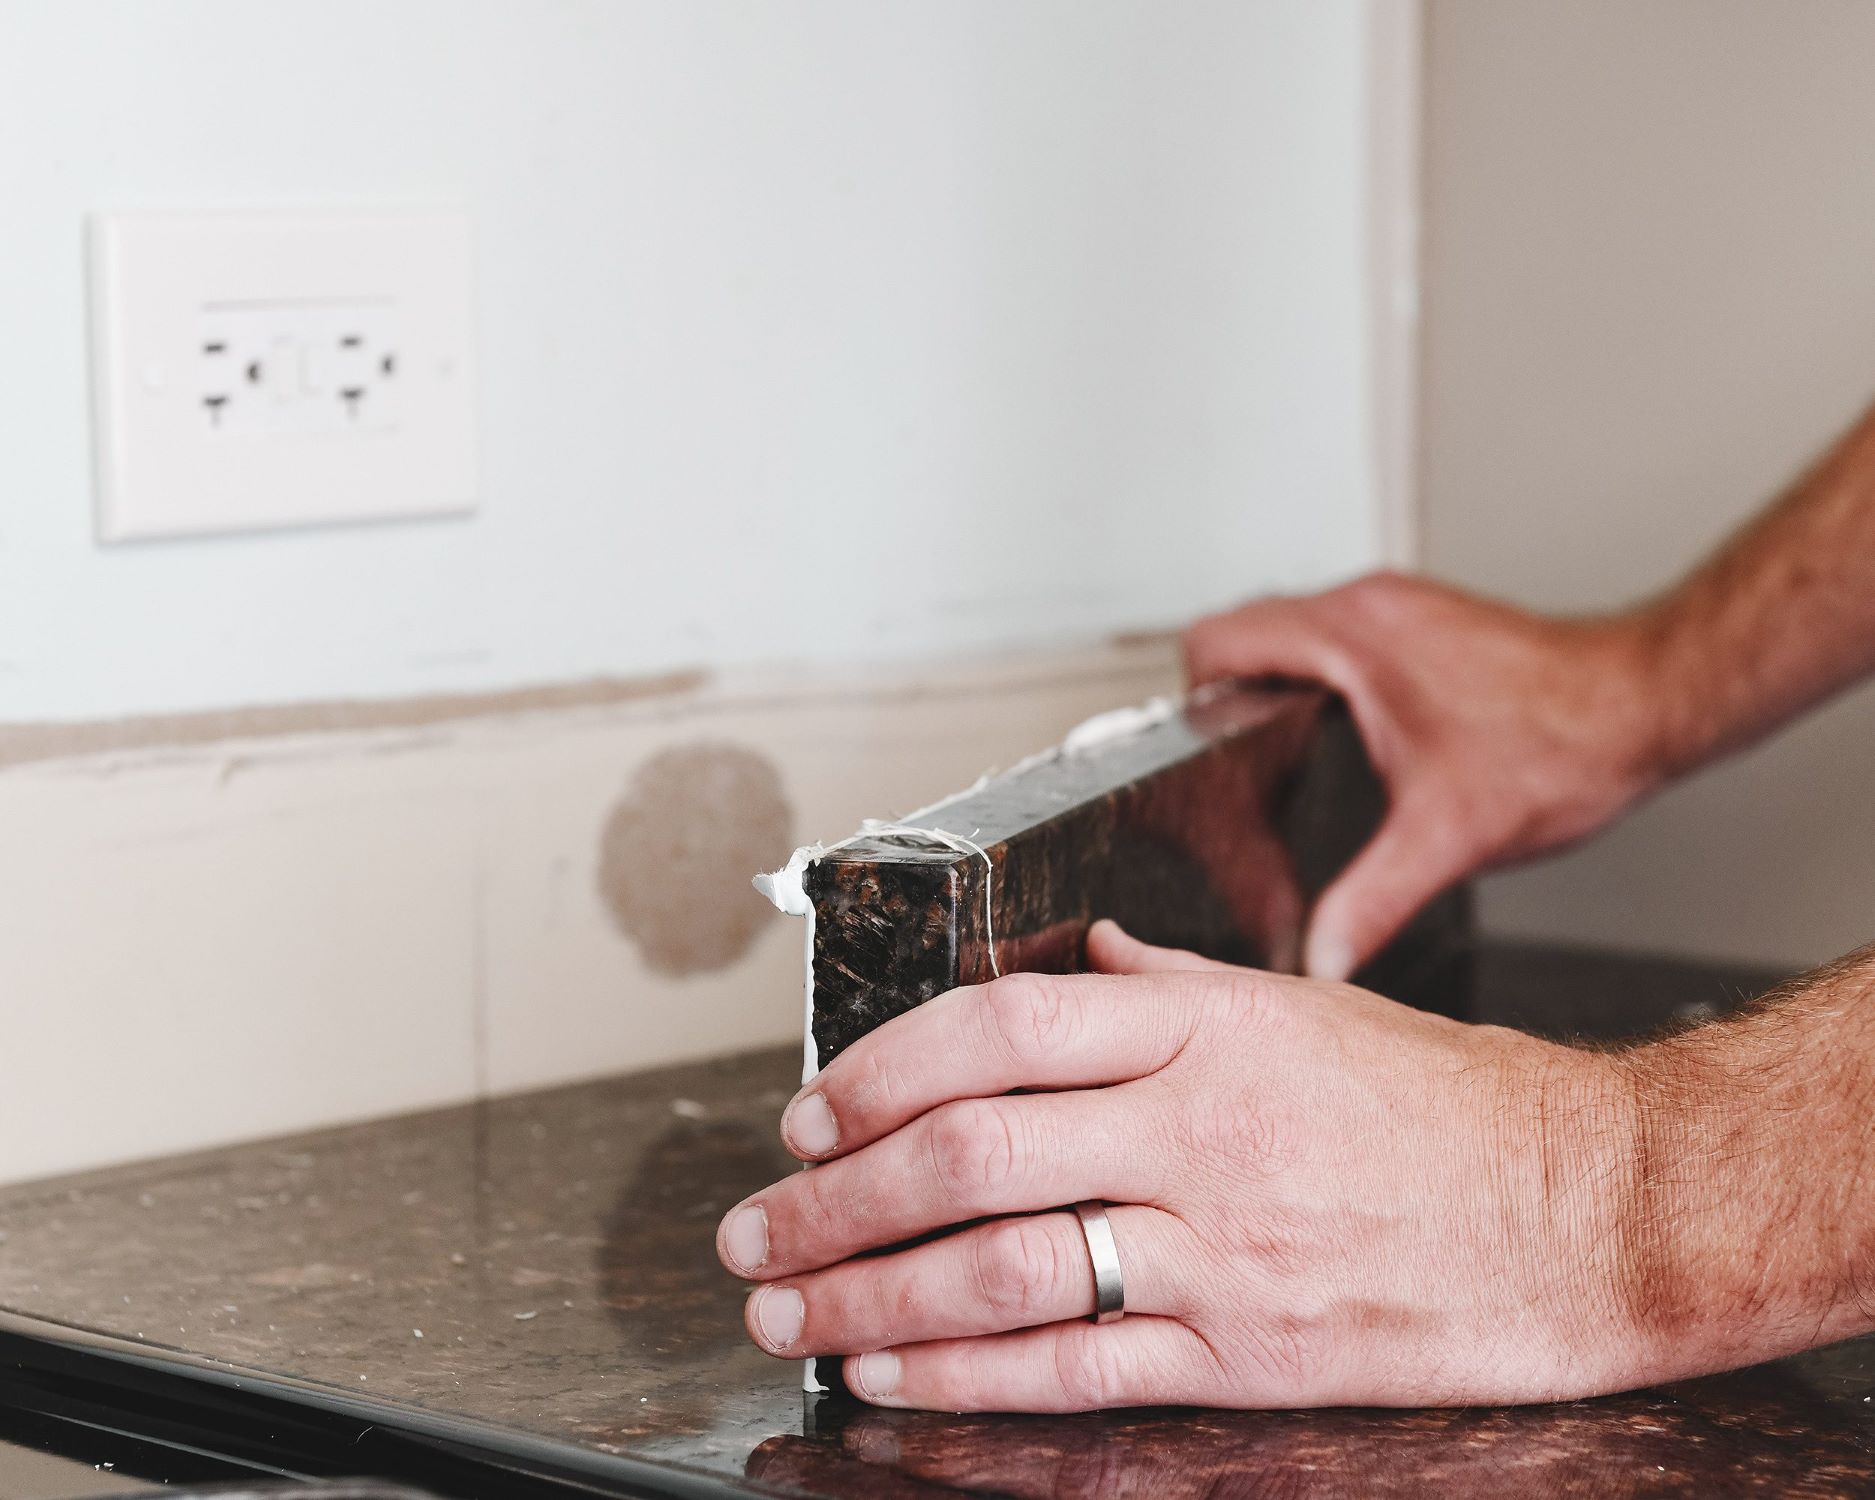
Step 5: Lift and Remove the Glass Cooktop
With the glass cooktop now loosened from its secured position, the final step in the removal process involves lifting and carefully removing the cooktop from the counter. This step requires precision, coordination, and attention to detail to ensure that the cooktop is safely detached without causing any damage to the surrounding area or the appliance itself.
-
Secure the Cooktop: Before lifting the glass cooktop, ensure that it is adequately secured and stable. Verify that all fastenings have been fully loosened and that the cooktop is free from any remaining attachments to the counter. Additionally, check for any electrical or gas connections that may still be in place and ensure they are disconnected to facilitate a smooth removal process.
-
Lift with Caution: Glass cooktops can be heavy and fragile, so it's essential to approach the lifting process with caution. Position yourself alongside the cooktop and, if possible, enlist the assistance of a partner to ensure stability and coordination during the lifting phase. Using a firm and balanced grip, carefully lift the cooktop from its position, taking care to support its weight evenly to prevent any undue stress on the glass surface.
-
Set Aside Safely: Once the cooktop has been lifted, place it on a soft, cushioned surface such as a blanket or towel to protect the glass from scratches or impact. Avoid placing the cooktop directly on hard surfaces to prevent potential damage. With the cooktop safely set aside, take a moment to inspect the exposed counter area for any debris or remnants that may require cleaning or maintenance.
-
Prepare for Reinstallation: If the removal of the glass cooktop is part of a maintenance or replacement project, take this opportunity to prepare the counter surface for reinstallation. Clean the area thoroughly, address any underlying issues, and ensure that it is ready to accommodate the reinstallation of the cooktop or any necessary repairs.
By meticulously following these steps to lift and remove the glass cooktop, you conclude the removal process with the successful detachment of the appliance from the counter. This systematic approach not only ensures the safe removal of the cooktop but also sets the stage for subsequent maintenance, repairs, or replacement as needed. With the glass cooktop now removed, you have completed the task with precision and care, paving the way for the next phase of your kitchen maintenance or renovation project.
Conclusion
In conclusion, the process of removing a glass cooktop from your counter demands careful planning, meticulous attention to detail, and a steadfast commitment to safety. By following the step-by-step guide outlined in this article, you have gained valuable insights into the essential procedures and considerations involved in this undertaking. From turning off the power supply and removing burner grates to loosening and lifting the glass cooktop, each step has been carefully crafted to ensure a seamless and secure removal process.
As you reflect on the successful completion of this task, it's important to acknowledge the newfound confidence and expertise you have acquired. The knowledge and skills gained from this experience extend beyond the specific task of removing a glass cooktop, empowering you to approach future home maintenance and improvement projects with a heightened sense of capability and assurance.
Furthermore, the emphasis on safety throughout the removal process underscores the paramount importance of prioritizing a secure working environment. By diligently adhering to safety protocols, such as turning off the power supply and exercising caution during the lifting phase, you have demonstrated a steadfast commitment to safeguarding yourself and your surroundings.
Looking ahead, the completion of this task marks a significant milestone in your journey as a proactive and resourceful homeowner. Whether you are preparing the counter for a new cooktop installation, conducting maintenance, or embarking on a kitchen renovation, the successful removal of the glass cooktop serves as a testament to your ability to tackle challenging projects with competence and precision.
As you proceed with the next steps in your home improvement endeavors, remember the valuable lessons learned from this experience. The attention to detail, methodical approach, and unwavering commitment to safety exemplify the qualities that define a capable and conscientious homeowner.
In closing, the successful removal of the glass cooktop from your counter signifies not only the completion of a specific task but also the cultivation of valuable skills and the embodiment of a proactive and resourceful mindset. With this accomplishment, you are well-equipped to navigate future home improvement projects with confidence, proficiency, and a deep-rooted commitment to safety and excellence.
Frequently Asked Questions about How To Remove Glass Cooktop From Counter
Was this page helpful?
At Storables.com, we guarantee accurate and reliable information. Our content, validated by Expert Board Contributors, is crafted following stringent Editorial Policies. We're committed to providing you with well-researched, expert-backed insights for all your informational needs.


0 thoughts on “How To Remove Glass Cooktop From Counter”