Home>Renovation & DIY>Home Renovation Guides>How To Remove Counter Backsplash
Home Renovation Guides
How To Remove Counter Backsplash
Modified: February 18, 2024
Learn how to remove a counter backsplash with our comprehensive home renovation guide. Follow our step-by-step instructions for a successful DIY project.
(Many of the links in this article redirect to a specific reviewed product. Your purchase of these products through affiliate links helps to generate commission for Storables.com, at no extra cost. Learn more)
Introduction
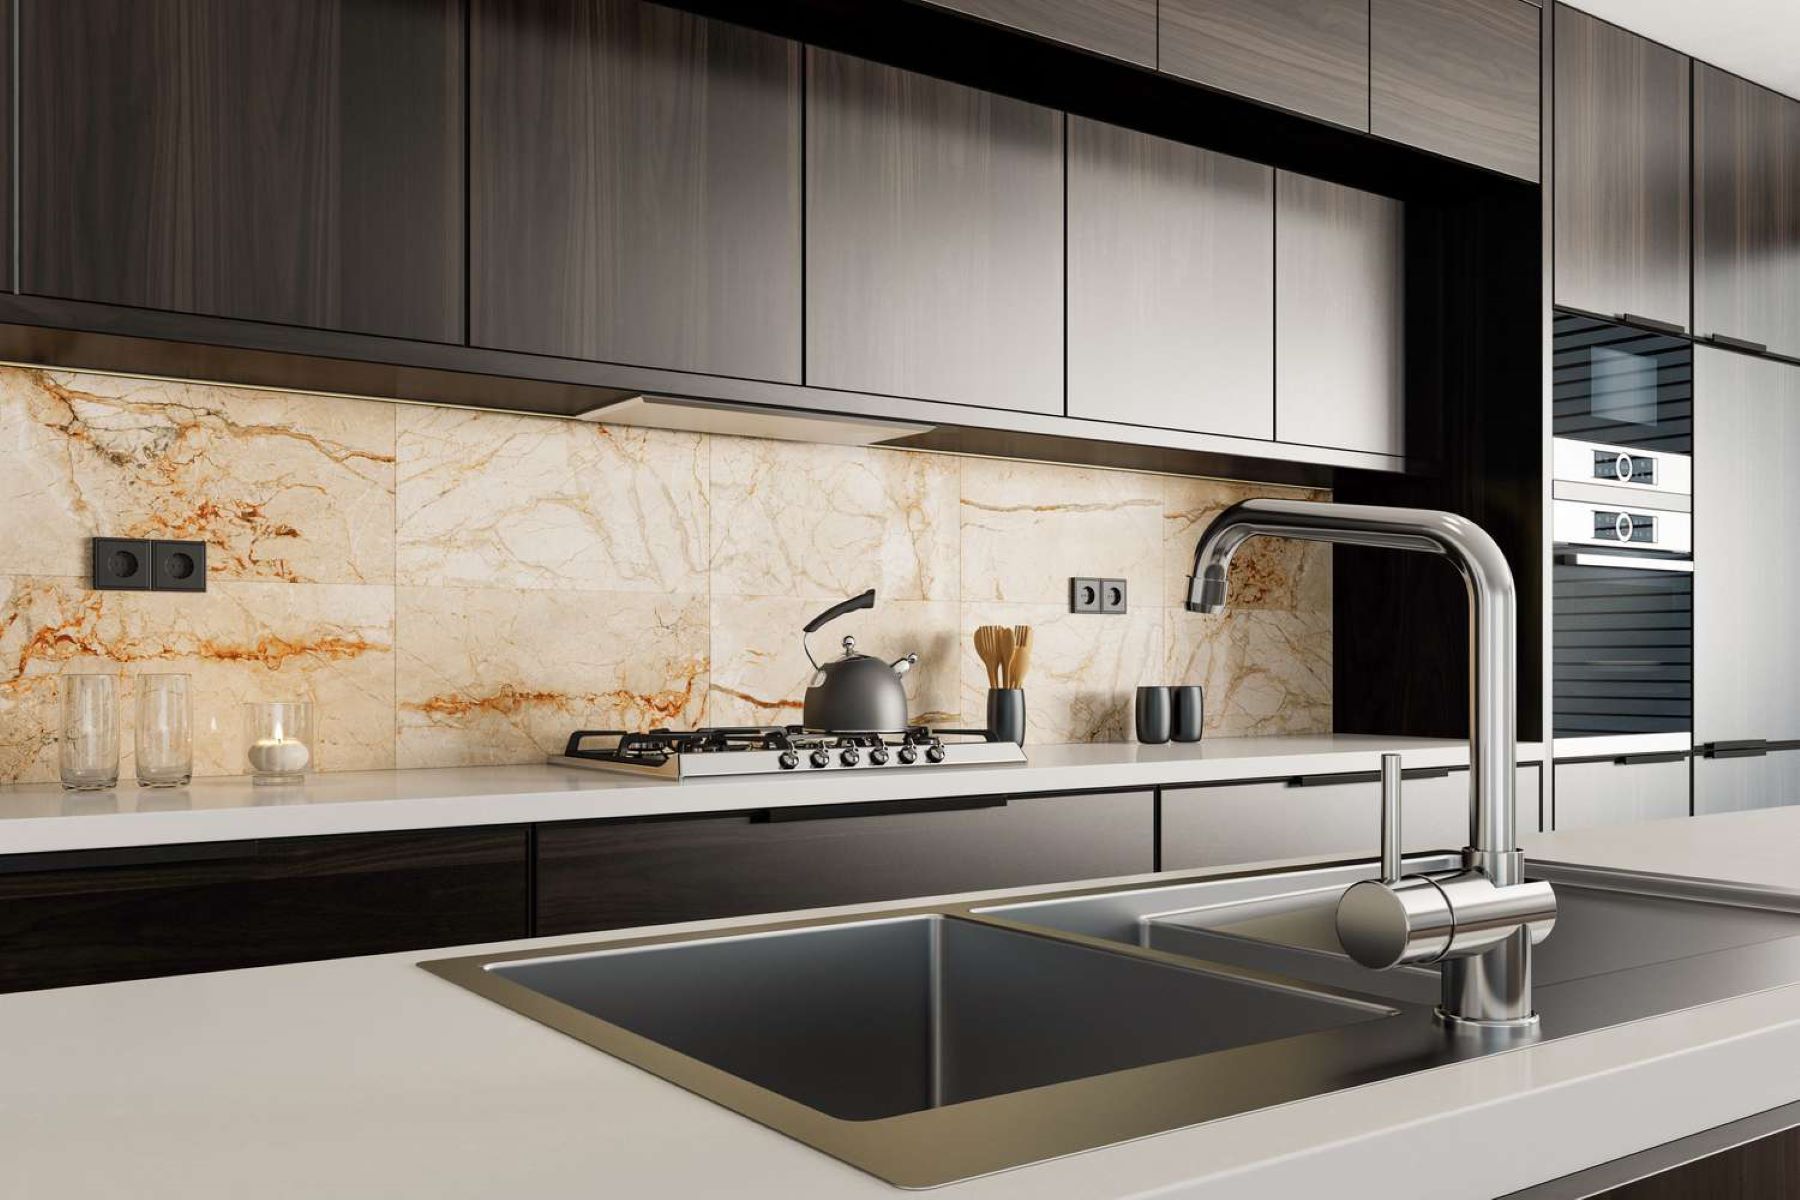
Removing a counter backsplash can breathe new life into your kitchen or bathroom, transforming the space with a fresh and updated look. Whether you're preparing for a complete renovation or simply seeking to replace the existing backsplash, this guide will walk you through the essential steps to achieve a seamless and successful removal process.
The backsplash serves as both a functional and aesthetic element in your kitchen or bathroom. Not only does it protect the walls from spills and splatters, but it also adds a touch of personality and style to the space. However, over time, you may find yourself wanting to upgrade to a different material, color, or design to better complement your evolving taste and decor.
By learning how to remove a counter backsplash, you gain the opportunity to revitalize the entire room. Whether you're a seasoned DIY enthusiast or a novice looking to tackle your first home improvement project, this guide will equip you with the knowledge and confidence to take on the task.
As we embark on this journey, it's important to approach the project with a clear plan and the right tools at your disposal. From gathering the necessary materials to preparing the area and executing the removal process, each step plays a crucial role in achieving a successful outcome. With careful attention to detail and a willingness to embrace the process, you'll soon be on your way to a rejuvenated space that reflects your personal style and vision.
So, roll up your sleeves and get ready to embark on a transformative journey as we delve into the step-by-step process of removing a counter backsplash. With the right guidance and a can-do attitude, you'll soon be well on your way to achieving the kitchen or bathroom of your dreams.
Key Takeaways:
- Revitalize your kitchen or bathroom by removing the old backsplash and installing a new one. With the right tools and careful preparation, you can transform your space with a fresh and updated look.
- By following a methodical approach, you can successfully remove the existing backsplash, clean the area, and install a new backsplash, infusing your personal style and creativity into the heart of your home.
Read more: How To Remove Electric Cooktop From Counter
Step 1: Gather the necessary tools and materials
Before diving into the process of removing a counter backsplash, it's essential to gather the right tools and materials to ensure a smooth and efficient undertaking. Here's a comprehensive list of what you'll need:
Tools:
- Safety Gear: Start by prioritizing your safety. Equip yourself with safety goggles, work gloves, and a dust mask to protect your eyes, hands, and respiratory system from debris and dust during the removal process.
- Pry Bar: A sturdy pry bar will be your go-to tool for loosening and removing the existing backsplash from the wall. Look for a bar with a flat, wide edge to effectively pry the tiles or panels away without causing damage to the surrounding area.
- Putty Knife: This versatile tool will come in handy for carefully scraping and loosening the adhesive or grout behind the backsplash. Opt for a putty knife with a flexible yet durable blade to facilitate smooth and precise removal.
- Utility Knife: Use a sharp utility knife to cut through any caulking or sealant holding the backsplash in place. This will help in separating the backsplash from the countertop and wall, making the removal process more manageable.
- Hammer: A hammer will be useful for tapping the pry bar and providing additional force when necessary, especially when dealing with stubborn tiles or panels.
- Screwdriver: Depending on the installation method, you may need a screwdriver to remove any screws holding the backsplash in place, particularly if it's attached to the wall or countertop using this fastening method.
- Bucket: Keep a bucket or container nearby to collect debris, discarded tiles, and any other materials removed during the process, helping to maintain a clean and organized work area.
Materials:
- Drop Cloth or Tarp: Lay down a protective drop cloth or tarp to safeguard the surrounding area from debris, dust, and potential damage during the removal process.
- Adhesive Remover: Depending on the type of adhesive used during the initial installation, you may need an adhesive remover to dissolve and loosen the adhesive, facilitating easier removal of the backsplash.
- Cleaning Solution: Prepare a cleaning solution or use a commercial cleaner to thoroughly clean the area once the backsplash has been removed, ensuring a clean and smooth surface for the installation of the new backsplash.
- Trash Bags: Have a supply of sturdy trash bags on hand to dispose of the removed backsplash materials and any debris, maintaining a tidy workspace throughout the project.
By ensuring that you have all the necessary tools and materials at your disposal, you'll be well-prepared to tackle the next steps with confidence and efficiency. With safety gear in place and the right equipment at hand, you're ready to move on to the next phase of the backsplash removal process.
Step 2: Prepare the area
Before initiating the removal process, it's crucial to prepare the surrounding area to minimize potential damage and streamline the overall workflow. Proper preparation not only safeguards the adjacent surfaces but also sets the stage for a more organized and efficient removal process.
Read more: How To Remove Backsplash Grout
Clear the Workspace
Begin by clearing the countertop and adjacent areas of any items, such as small appliances, utensils, or decorative items. This ensures that these items are not only out of harm's way but also allows for unobstructed access to the backsplash. Store these items in a safe location to prevent any accidental damage during the removal process.
Protect the Countertop
Safeguard the countertop from potential scratches, dents, or debris by covering it with a thick, durable material such as a heavy-duty drop cloth or tarp. This protective layer serves as a barrier, preventing any accidental damage while providing a clean and stable surface for the removal process.
Shield the Surrounding Area
Extend the protective measures to the surrounding walls and cabinets by covering them with additional drop cloths or tarp. This precautionary step helps prevent damage to the walls and cabinets from falling debris, dust, or accidental impacts during the removal process.
Ventilation and Lighting
Ensure that the workspace is well-ventilated by opening windows or using fans to promote air circulation. Adequate ventilation helps disperse dust and fumes, creating a more comfortable and safe working environment. Additionally, ensure that the area is well-lit to facilitate clear visibility during the removal process, reducing the risk of accidents and ensuring precision in the task at hand.
Read more: How To Remove Glass Tile Backsplash
Organize Tools and Materials
Arrange the gathered tools and materials within easy reach of the workspace. Having the necessary equipment readily accessible streamlines the removal process, minimizing disruptions and ensuring a more efficient workflow. This organization also reduces the likelihood of misplacing tools, allowing for a focused and uninterrupted removal process.
By meticulously preparing the area before commencing the removal process, you set the stage for a smoother and more controlled undertaking. These preparatory measures not only protect the surrounding surfaces but also contribute to a more organized and efficient removal process, laying the groundwork for a successful transition to the next phase of the project.
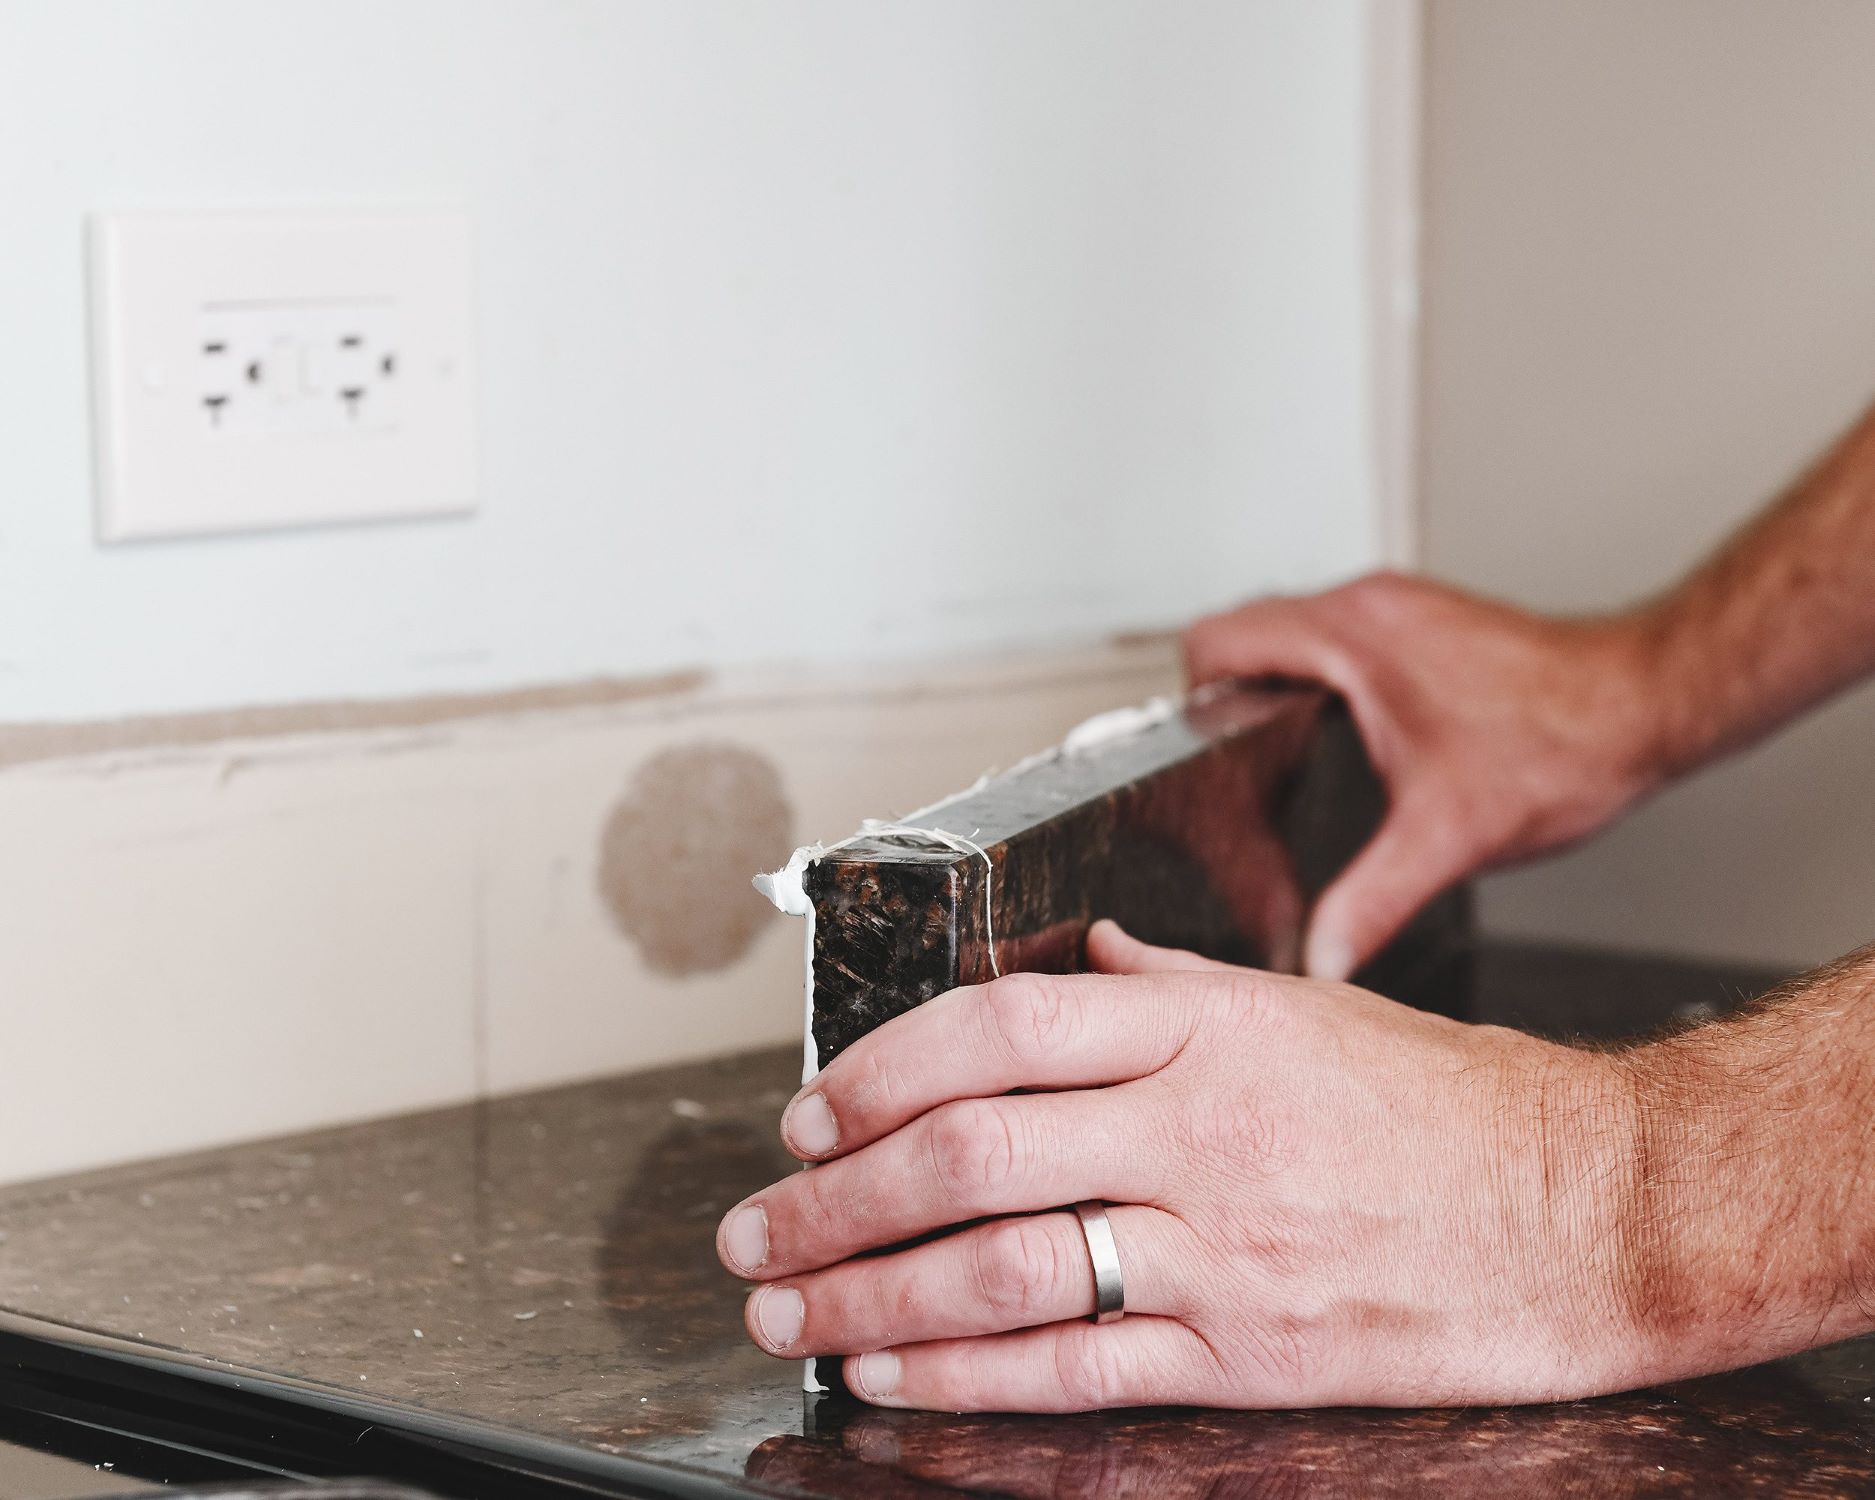
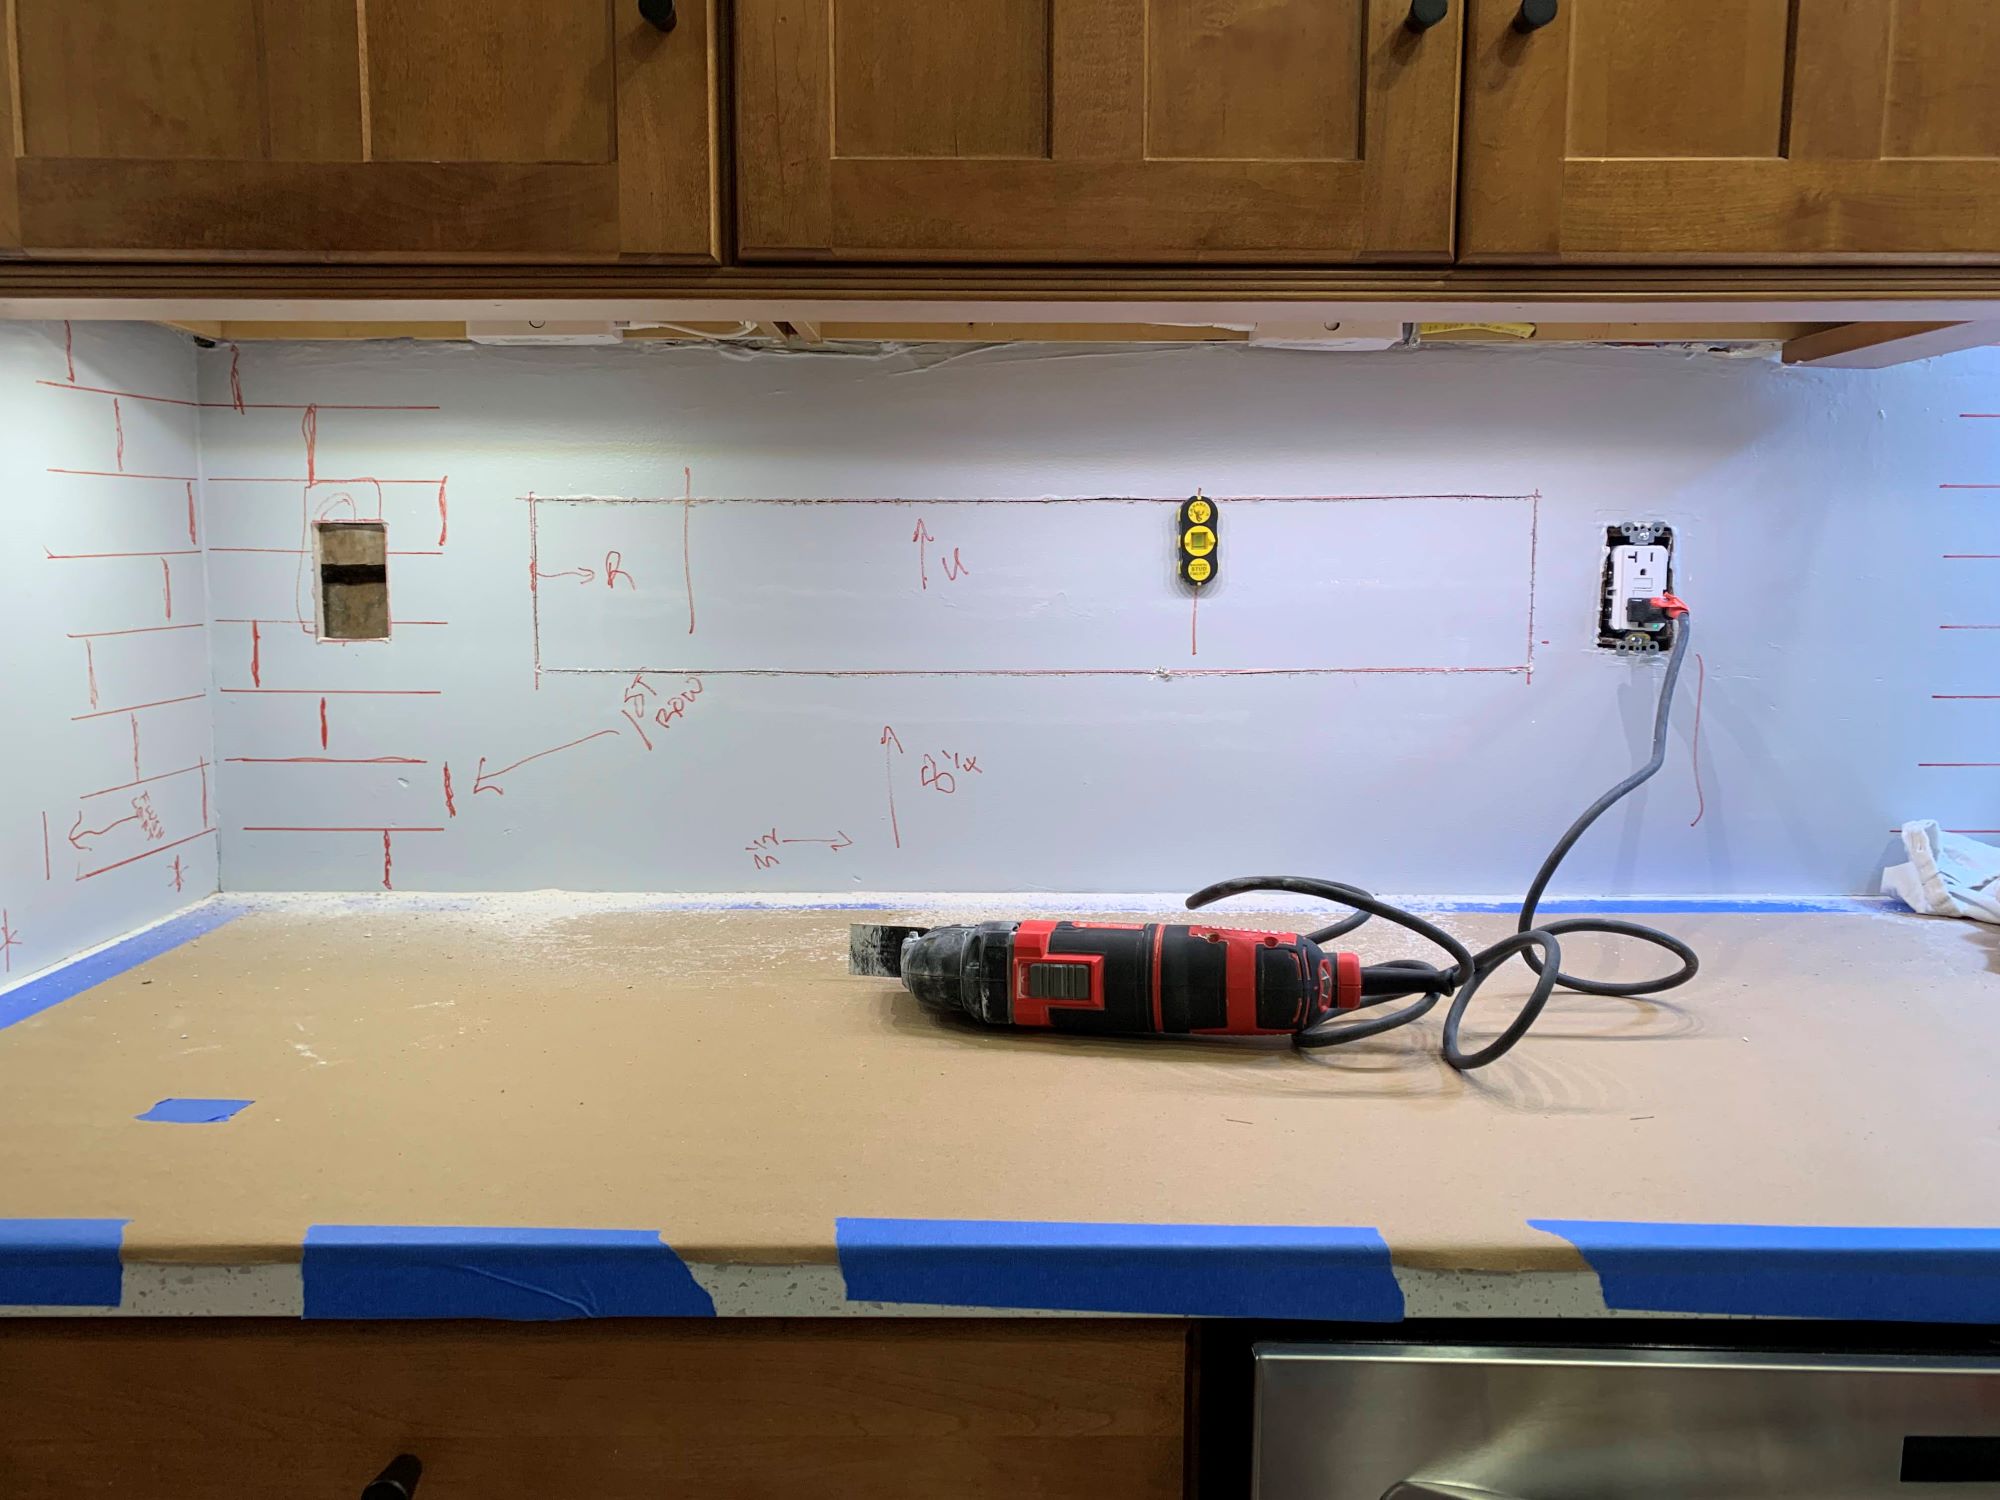
Step 3: Remove the existing backsplash
With the workspace prepared and the necessary tools at hand, it's time to embark on the pivotal phase of removing the existing backsplash. This process requires patience, precision, and a methodical approach to ensure the successful extraction of the backsplash without causing damage to the surrounding surfaces. Here's a detailed breakdown of the steps involved in removing the existing backsplash:
-
Assess the Backsplash: Begin by carefully examining the existing backsplash to determine the method of installation. Whether it's comprised of tiles, panels, or another material, understanding the structure and adhesive used will inform the approach for removal.
-
Loosen the Edges: Using a putty knife, gently pry the edges of the backsplash to create separation from the wall. Exercise caution to avoid excessive force, as this can lead to damage to the underlying surface.
-
Apply Adhesive Remover: If the backsplash is adhered with a strong adhesive, apply an appropriate adhesive remover as per the product instructions. This will help dissolve the adhesive, easing the removal process and minimizing the risk of wall damage.
-
Pry and Remove: With the aid of a pry bar, carefully work along the edges and between the tiles or panels to gradually loosen and detach them from the wall. Exercise patience and precision to avoid unnecessary force that could result in wall damage.
-
Address Stubborn Areas: For stubborn or tightly adhered sections, use a combination of the pry bar and a hammer to gently tap and loosen the backsplash. Take care to apply controlled force to avoid causing damage to the wall or countertop.
-
Remove Fasteners: If the backsplash is secured with screws, utilize a screwdriver to carefully remove them, allowing for the complete detachment of the backsplash from the wall.
-
Discard Debris: As the backsplash is removed, promptly collect and discard any debris, tiles, or panels in a designated trash bag to maintain a clean and organized workspace.
By methodically following these steps, you can effectively remove the existing backsplash, paving the way for the next phase of the renovation process. Patience, attention to detail, and a cautious approach are key to achieving a successful removal without compromising the integrity of the surrounding surfaces.
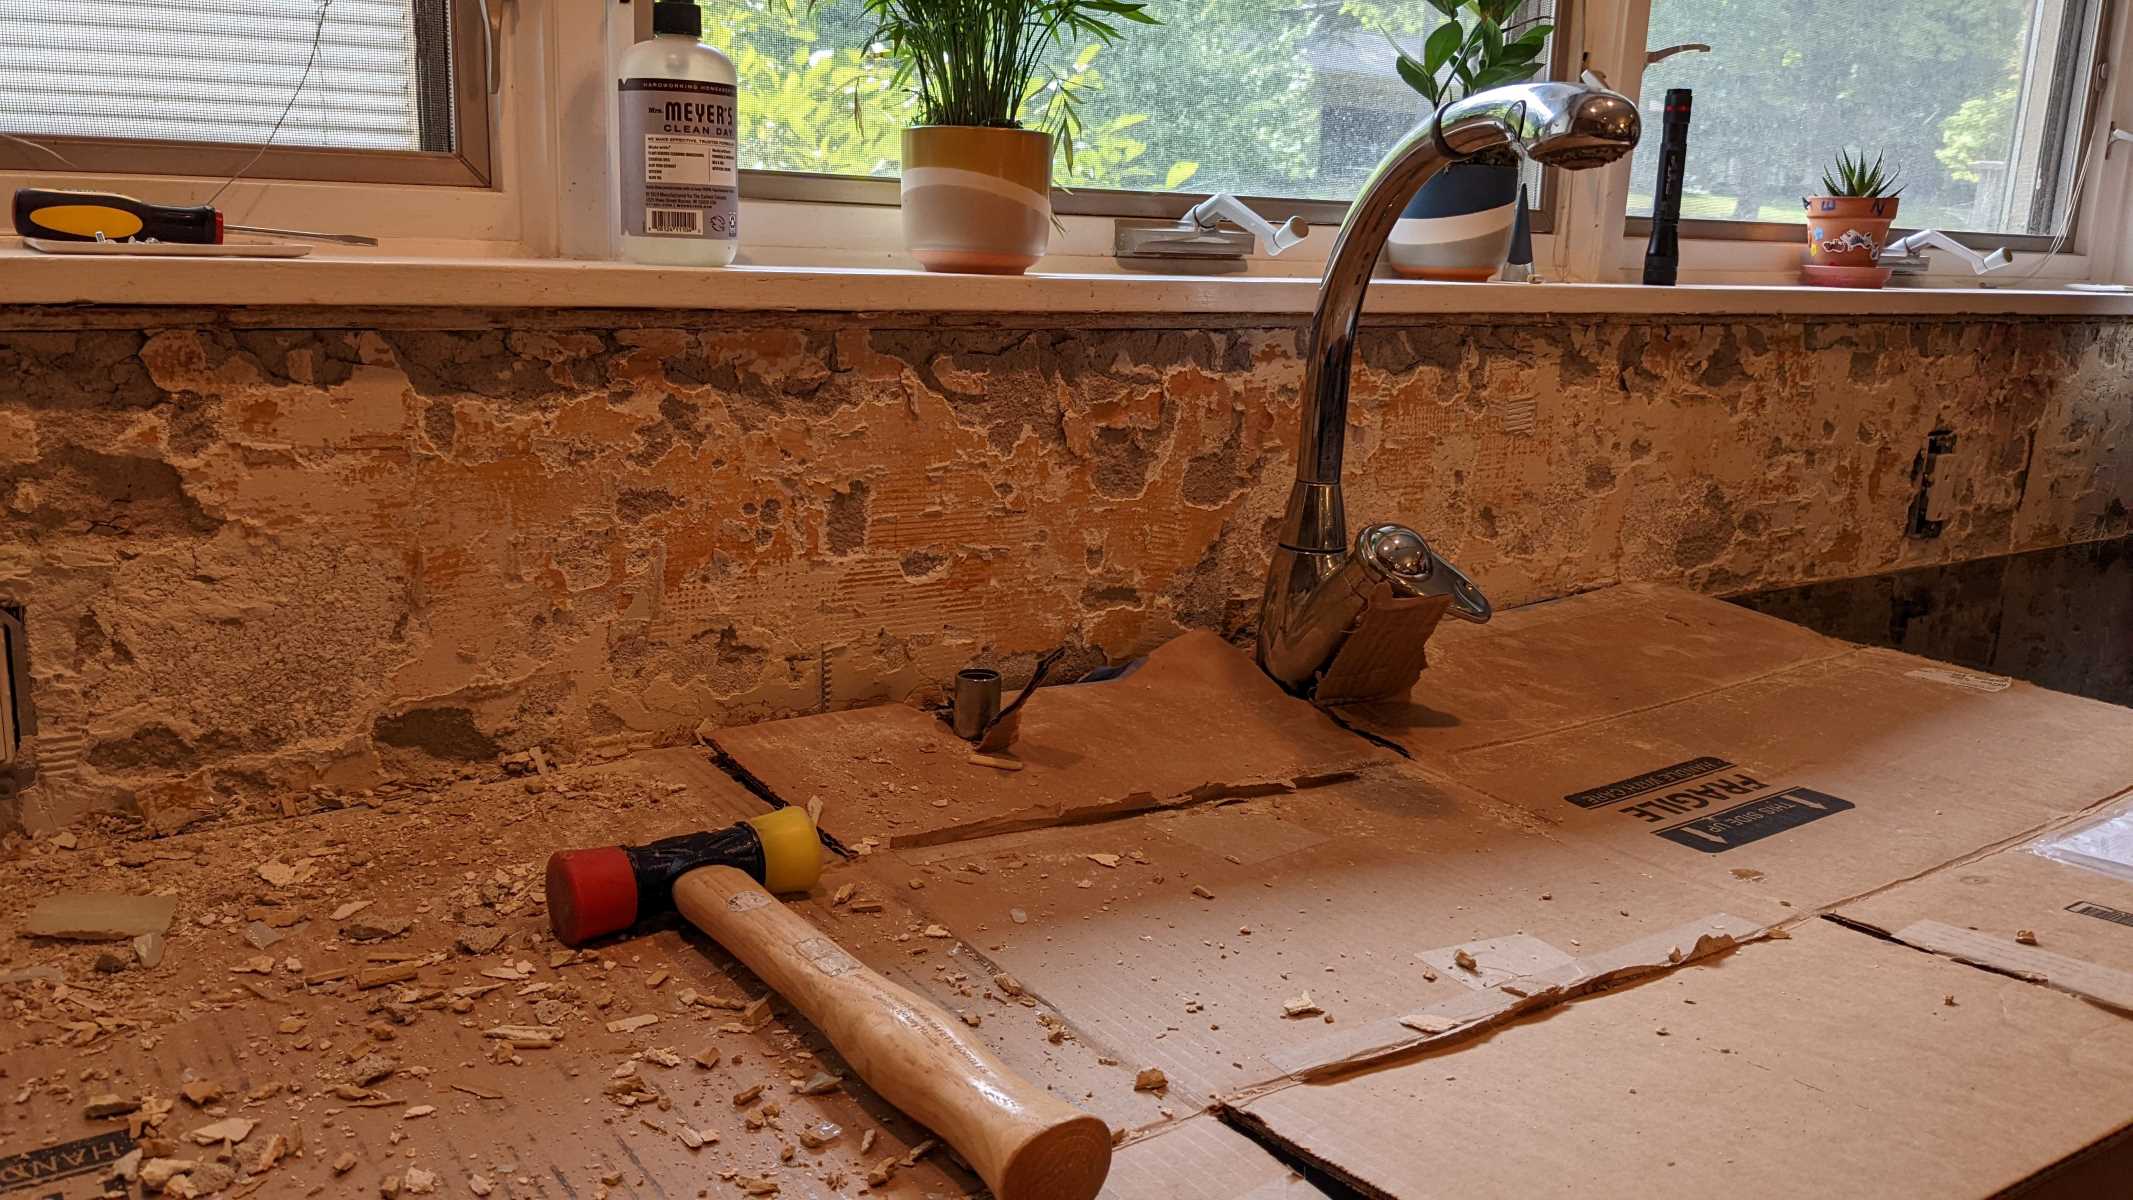
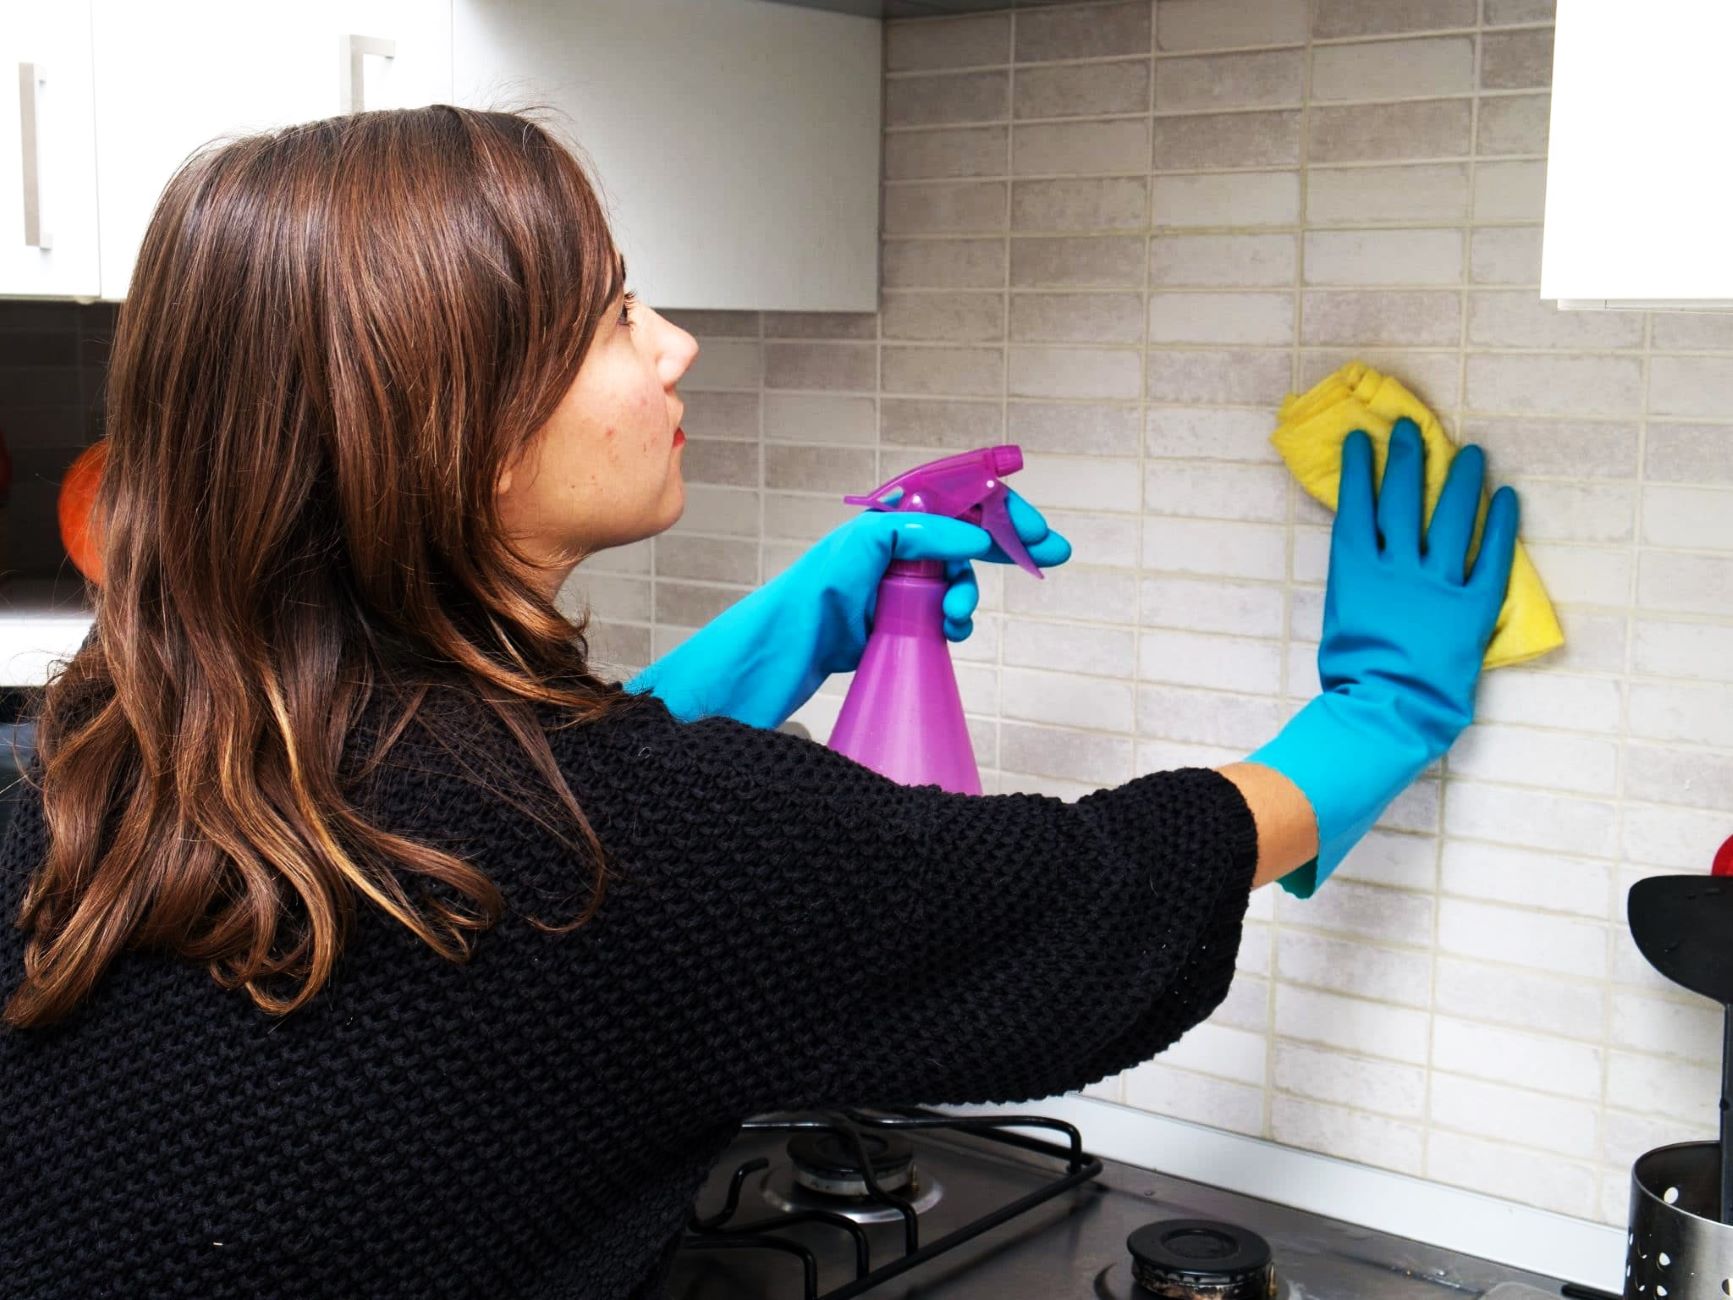
Step 4: Clean the area
Once the existing backsplash has been successfully removed, the next critical step involves thoroughly cleaning the area to prepare it for the installation of the new backsplash. This phase is essential for ensuring a smooth and secure foundation, free from debris, adhesive residue, and any remnants of the previous installation. A meticulous cleaning process sets the stage for a seamless transition to the final phase of the renovation project.
Clear Debris and Residue
Begin by meticulously clearing the workspace of any debris, discarded tiles, or panels left behind from the removal process. Promptly dispose of these materials in a designated trash bag to maintain a tidy and organized environment. Next, focus on removing any residual adhesive, grout, or caulking from the wall and countertop. Utilize a putty knife or a suitable scraping tool to gently eliminate any remaining adhesive or grout, ensuring a clean and smooth surface for the new backsplash.
Read more: How To Remove Laminate Countertop Backsplash
Thorough Cleaning
Prepare a cleaning solution by combining warm water with a mild detergent or a commercial cleaner suitable for the surface material. Use a sponge or soft cloth to apply the cleaning solution to the exposed wall and countertop, gently scrubbing to remove any stubborn residue. Thoroughly rinse the area with clean water to eliminate any traces of the cleaning solution, and then allow the surfaces to dry completely.
Surface Inspection
Once the area has been cleaned and dried, conduct a thorough inspection of the wall and countertop to ensure that they are free from any remaining debris, adhesive, or grout. This inspection is crucial for identifying any overlooked areas that may require further cleaning or preparation before the installation of the new backsplash.
Final Preparations
Before proceeding to the installation phase, take the time to re-evaluate the cleanliness and readiness of the area. Address any lingering debris or residue, and confirm that the wall and countertop are in optimal condition for the new backsplash. By meticulously cleaning and inspecting the area, you establish a pristine canvas for the seamless installation of the new backsplash, setting the stage for the final transformative phase of the renovation project.
By meticulously cleaning and inspecting the area, you establish a pristine canvas for the seamless installation of the new backsplash, setting the stage for the final transformative phase of the renovation project.
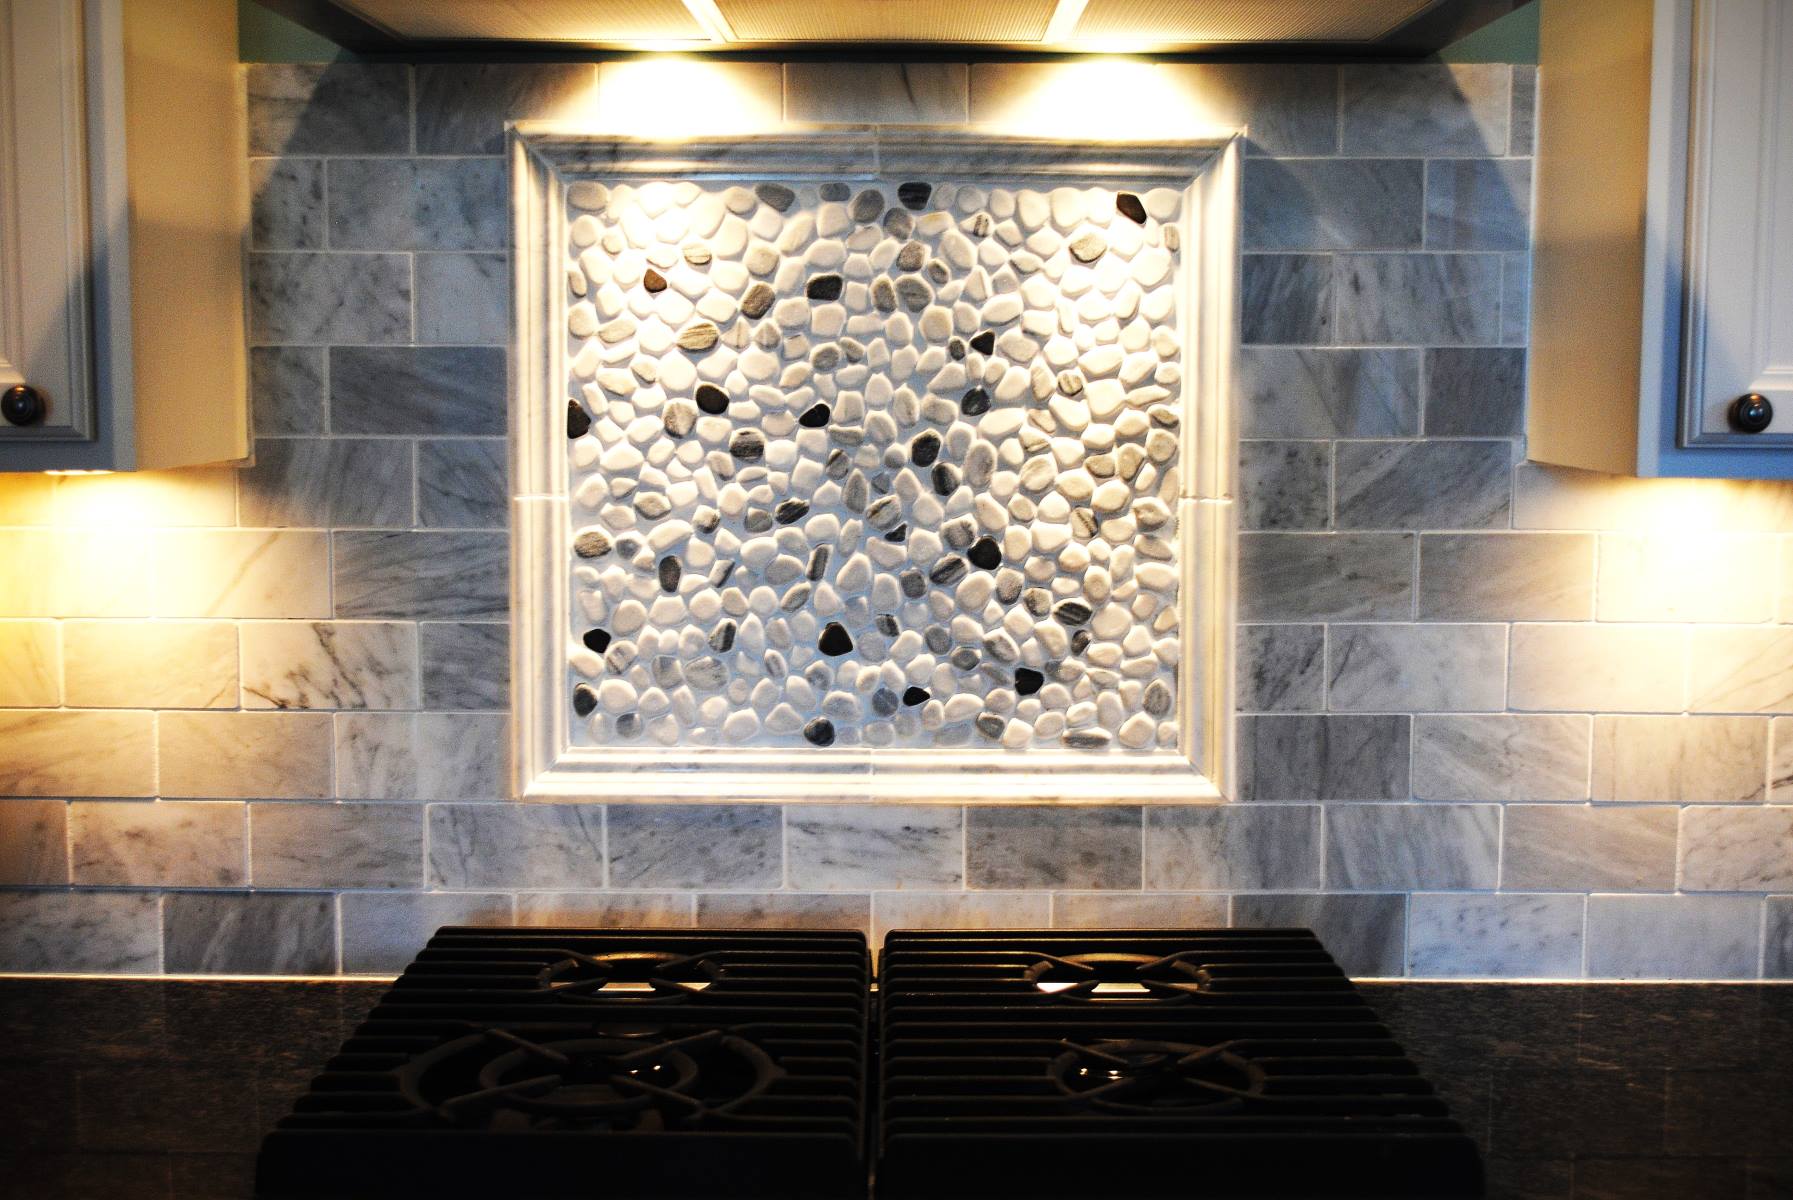
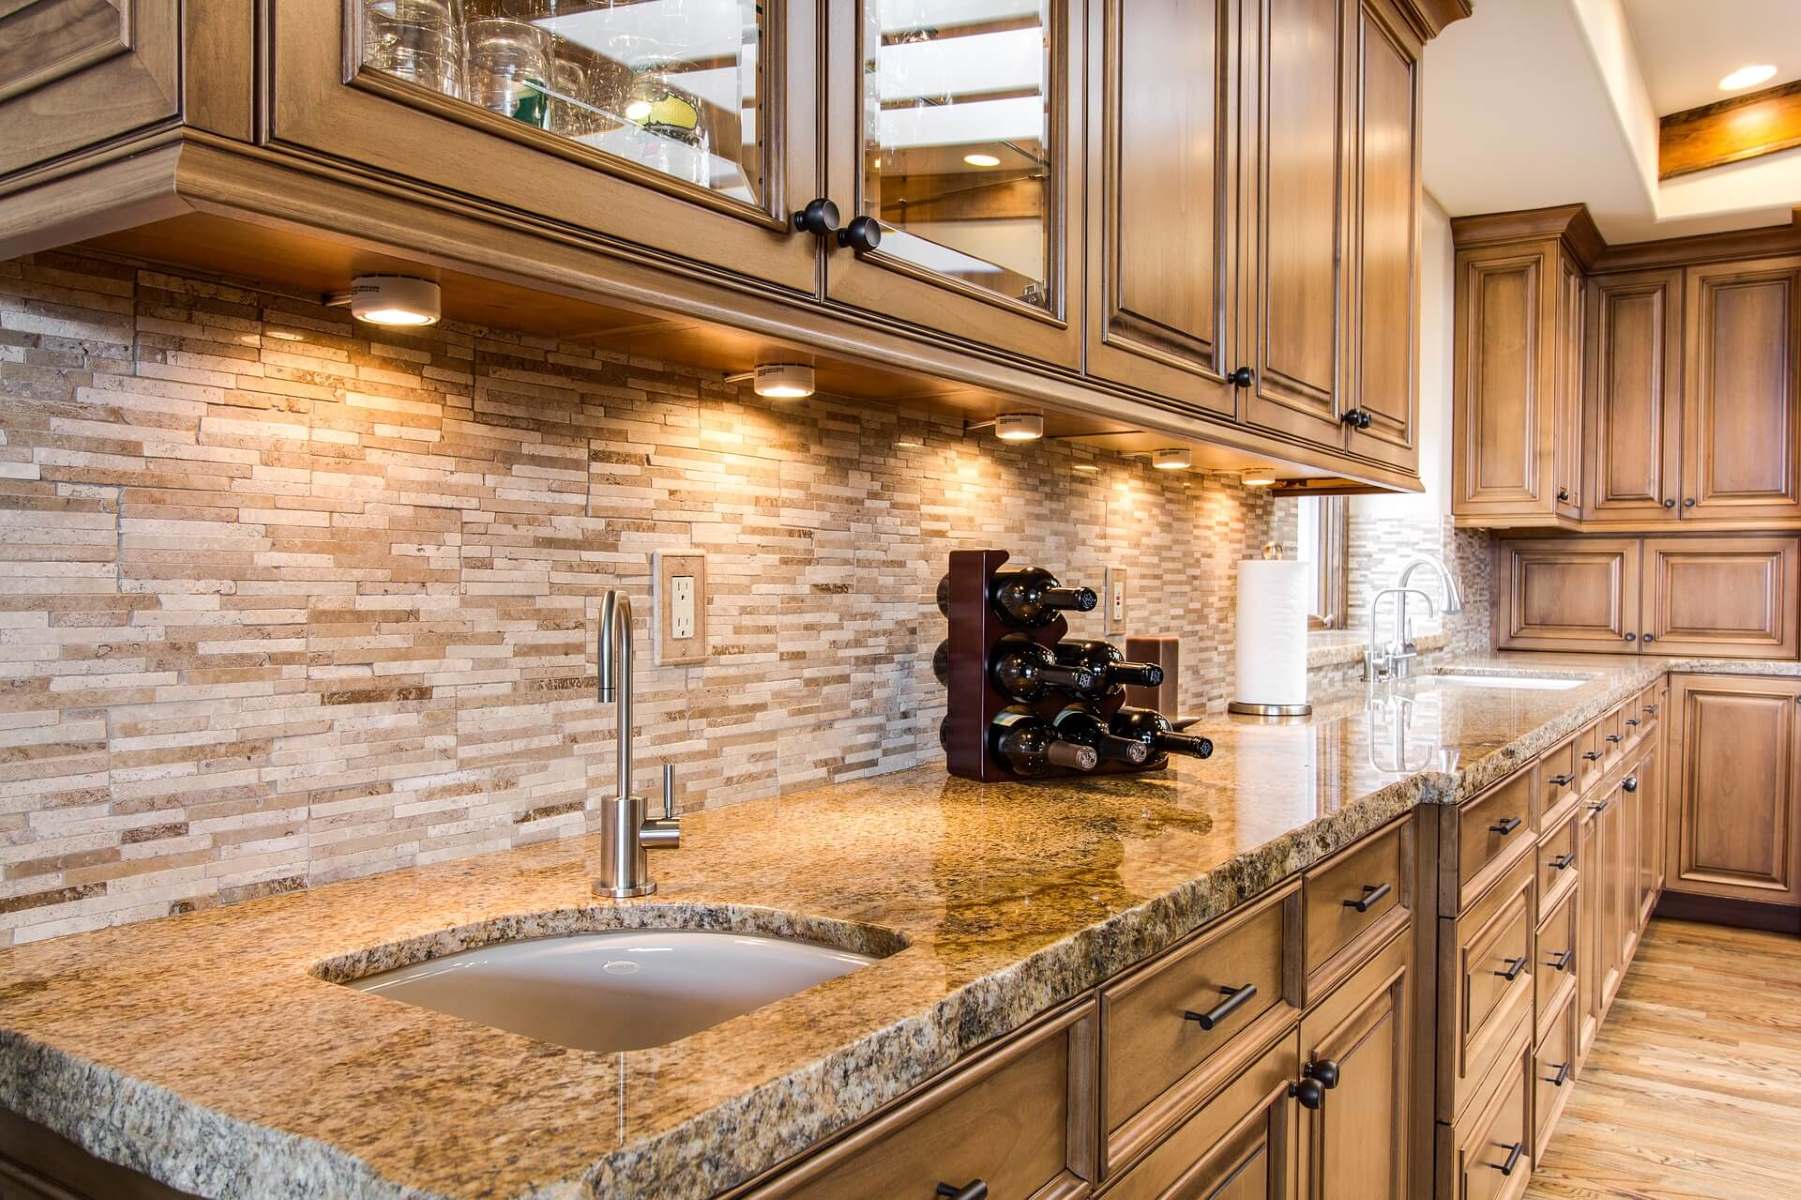
Step 5: Install the new backsplash
With the area meticulously prepared and the remnants of the previous backsplash removed, it's time to embark on the transformative phase of installing the new backsplash. This pivotal step presents an opportunity to infuse your personal style and creativity into the space, revitalizing the kitchen or bathroom with a fresh and updated aesthetic. Here's a comprehensive guide to navigating the installation process with confidence and precision.
Read more: How To Remove Grease From Granite Backsplash
Measure and Plan
Begin by carefully measuring the area where the new backsplash will be installed. Accurate measurements are essential for determining the quantity of tiles, panels, or material needed to cover the space effectively. Consider the layout and design of the new backsplash, whether it involves intricate tile patterns, a sleek and modern panel installation, or a classic and timeless design. Plan the layout to ensure a visually appealing and balanced arrangement that complements the overall aesthetic of the room.
Select the Material
Choose a material that not only aligns with your personal style but also offers durability and practicality. Whether opting for ceramic or porcelain tiles, glass panels, stainless steel, or natural stone, select a material that harmonizes with the existing decor and meets the functional requirements of the space. Consider factors such as ease of maintenance, resistance to moisture and heat, and the overall visual impact when making your selection.
Prepare the Surface
Before commencing the installation, ensure that the wall and countertop are clean, dry, and free from any debris or residue. If necessary, apply a suitable primer or sealer to the surface to promote adhesion and create a stable foundation for the new backsplash. This preparatory step is crucial for ensuring a secure and long-lasting installation.
Apply Adhesive
Depending on the chosen material, apply an appropriate adhesive to the back of the tiles, panels, or material, following the manufacturer's guidelines. Use a notched trowel to spread the adhesive evenly, creating a consistent layer that facilitates strong adhesion to the wall. Exercise care and precision to avoid excess adhesive that could seep through the gaps and compromise the aesthetic of the installation.
Read more: How To Store Produce On Counter
Install the Backsplash
Carefully position the tiles, panels, or material onto the wall, starting from the bottom and working upwards. Use spacers to maintain uniform spacing between the individual pieces, ensuring a cohesive and visually pleasing arrangement. Apply gentle pressure to secure the backsplash in place, taking care to maintain the planned layout and design. As you progress, periodically step back to assess the alignment and overall visual impact of the installation.
Grout and Finish
Once the tiles or panels are firmly in place, apply grout to the spaces between them, using a grout float to ensure thorough coverage and a seamless finish. Wipe away any excess grout with a damp sponge, taking care not to disturb the freshly applied grout. Allow the grout to cure according to the manufacturer's instructions, and then apply a suitable sealant to protect the grout and enhance the longevity of the installation.
By meticulously following these steps, you can achieve a successful and visually stunning installation of the new backsplash, elevating the aesthetic appeal and functionality of the kitchen or bathroom. With careful attention to detail and a focus on precision, you'll soon witness the transformative impact of the newly installed backsplash, breathing new life into the space and reflecting your unique style and vision.
Conclusion
As you reach the culmination of the backsplash removal and installation process, it's essential to reflect on the journey and the transformative impact it has had on your kitchen or bathroom. The completion of this project signifies not only the physical changes within the space but also the sense of accomplishment and personalization that comes with revitalizing an essential area of your home.
The removal of the existing backsplash marked the beginning of a journey toward a refreshed and updated space. With careful planning, meticulous preparation, and the right tools at your disposal, you successfully navigated the process of removing the old backsplash, setting the stage for the installation of a new and visually captivating element.
The meticulous cleaning and preparation of the area served as a crucial bridge between the removal and installation phases. By ensuring that the walls and countertops were free from debris, residue, and imperfections, you established a pristine canvas for the seamless integration of the new backsplash. This preparatory phase not only contributed to the visual appeal of the final installation but also laid the groundwork for a durable and long-lasting transformation.
The installation of the new backsplash represented the culmination of your efforts, infusing the space with your personal style and vision. Whether you opted for a sleek and modern design, a timeless and classic arrangement, or a bold and expressive statement, the installation process allowed you to imprint your creativity onto the heart of your home. Each carefully positioned tile, panel, or material contributed to the overall aesthetic and functionality of the space, reflecting your unique taste and preferences.
As you stand back and admire the newly installed backsplash, take a moment to appreciate the dedication, patience, and attention to detail that brought this project to fruition. The journey from the removal of the old backsplash to the installation of the new one represents not only a physical transformation but also a testament to your ability to embrace change and infuse your living space with renewed vitality.
In conclusion, the removal and installation of a counter backsplash transcend the realm of home improvement; it embodies the spirit of transformation, creativity, and personalization. By embarking on this journey, you have not only revitalized a key area of your home but also cultivated a deeper connection to the space, making it a true reflection of your style and vision. As you revel in the beauty and functionality of the newly installed backsplash, take pride in the journey you've undertaken and the remarkable impact it has had on your living environment.
Frequently Asked Questions about How To Remove Counter Backsplash
Was this page helpful?
At Storables.com, we guarantee accurate and reliable information. Our content, validated by Expert Board Contributors, is crafted following stringent Editorial Policies. We're committed to providing you with well-researched, expert-backed insights for all your informational needs.


0 thoughts on “How To Remove Counter Backsplash”