Home>Furniture & Design>Interior Design Trends>How To Remove Glass Globe From Light Fixture
Interior Design Trends
How To Remove Glass Globe From Light Fixture
Modified: August 18, 2024
Learn how to safely remove a glass globe from a light fixture with our expert interior design tips. Keep up with the latest interior design trends!
(Many of the links in this article redirect to a specific reviewed product. Your purchase of these products through affiliate links helps to generate commission for Storables.com, at no extra cost. Learn more)
Introduction
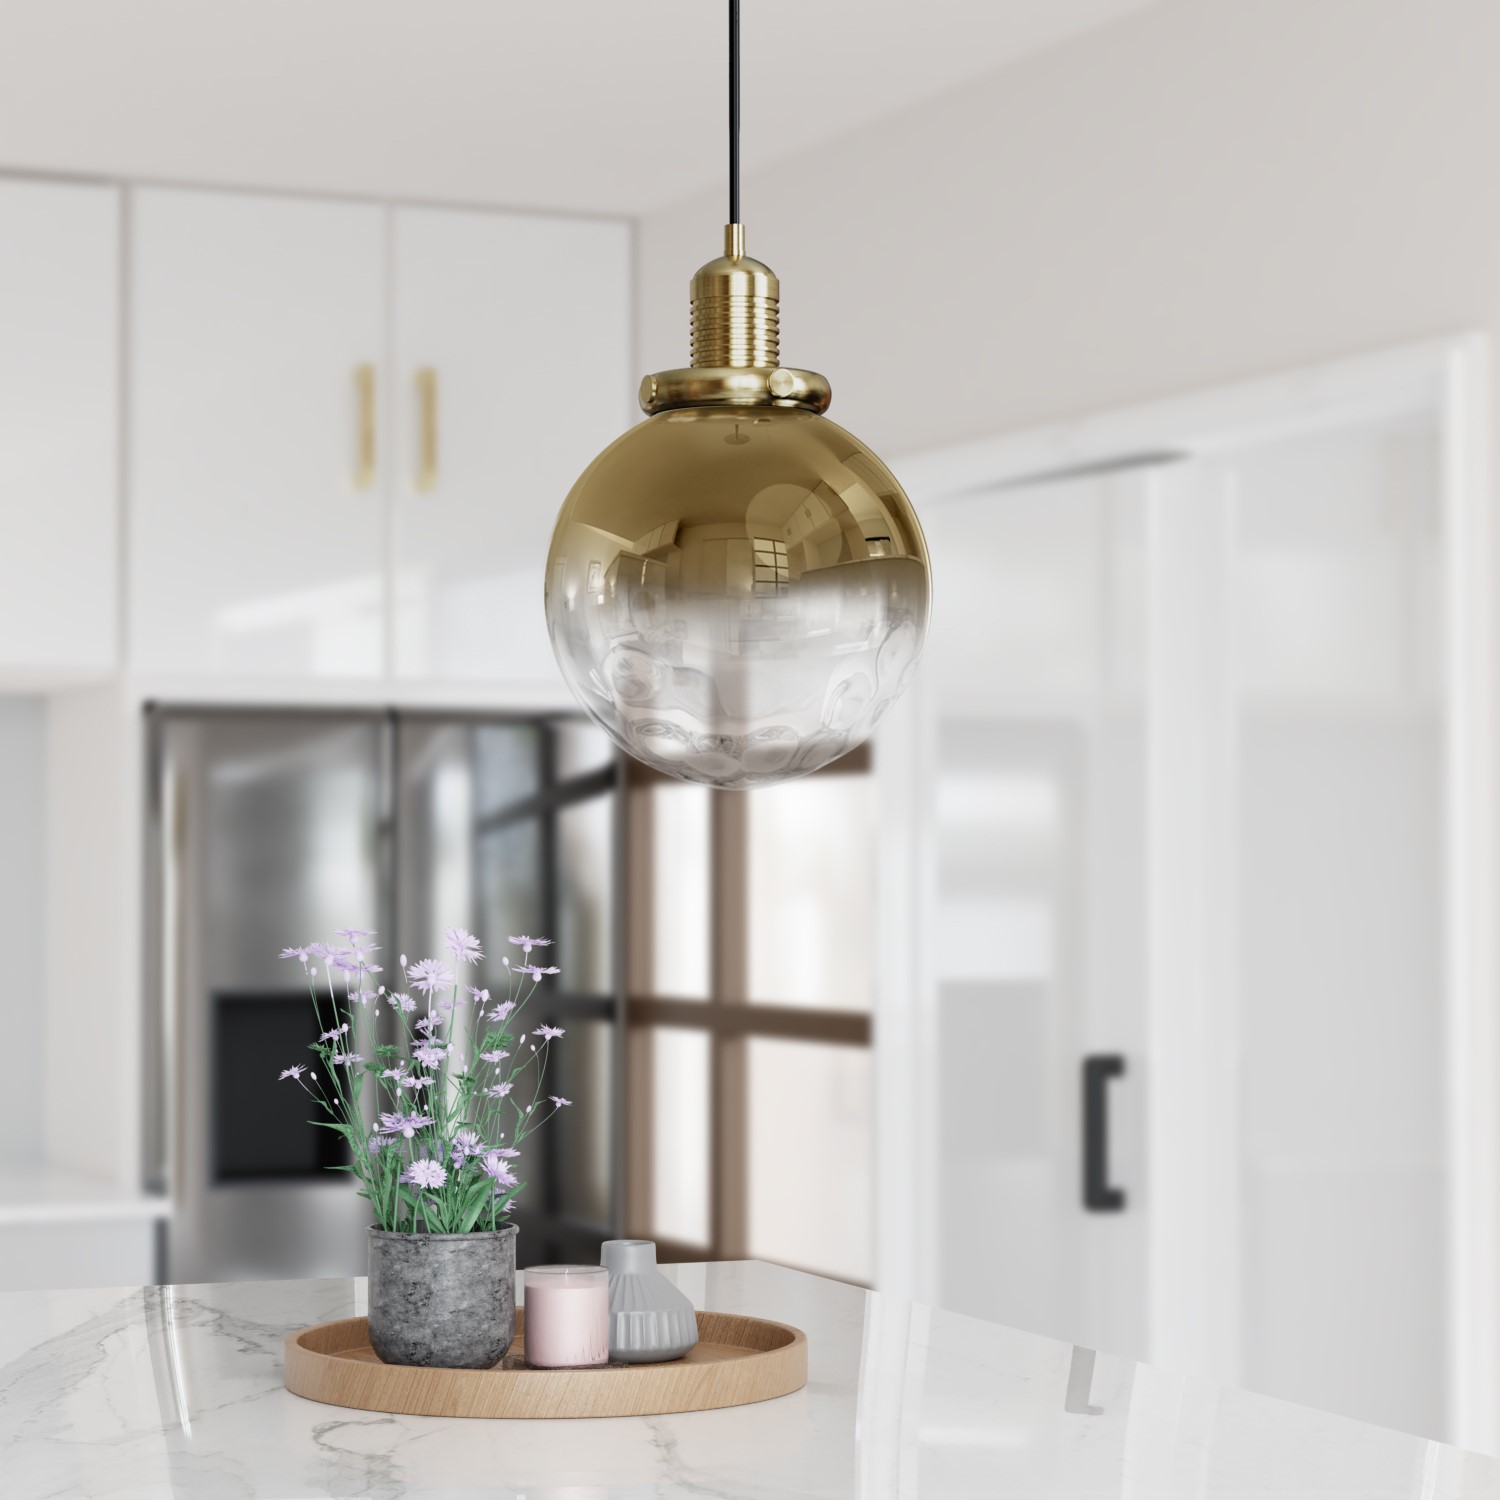
Removing a glass globe from a light fixture may seem like a daunting task, but with the right tools and a systematic approach, it can be a straightforward process. Whether you're replacing a burnt-out bulb, cleaning the fixture, or updating the look of your space, knowing how to safely remove the glass globe is essential. This guide will walk you through the step-by-step process, ensuring that you can complete the task with confidence and ease.
Understanding the intricacies of light fixtures and their components is crucial for maintaining a safe and functional home environment. By learning how to remove the glass globe from your light fixture, you gain valuable insight into the inner workings of your lighting system. This knowledge empowers you to perform basic maintenance and upgrades, ultimately enhancing the ambiance and functionality of your living spaces.
As you embark on this DIY journey, it's important to approach the task with patience and attentiveness. Each step in the process plays a crucial role in ensuring a successful outcome. By following the instructions carefully and using the recommended tools and materials, you can effectively remove the glass globe without causing damage to the fixture or risking personal injury.
Whether you're a seasoned DIY enthusiast or a novice homeowner looking to expand your skill set, mastering the art of removing a glass globe from a light fixture is a valuable skill. It allows you to take control of your home maintenance and design projects, saving time and money in the long run. With this guide, you'll gain the knowledge and confidence needed to tackle this task with precision and finesse.
Now, let's gather the necessary tools and materials and dive into the step-by-step process of safely removing the glass globe from your light fixture.
Key Takeaways:
- Safely remove a glass globe from a light fixture by turning off the power, removing the light bulb, and gently loosening the screws or nuts. Clean and replace the globe for a well-maintained and inviting atmosphere in your living space.
- Mastering the art of removing a glass globe empowers homeowners to take control of lighting maintenance and design projects. Prioritize safety, patience, and precision for a seamless and hassle-free experience.
Tools and Materials Needed
Before embarking on the process of removing a glass globe from a light fixture, it's essential to gather the necessary tools and materials to ensure a smooth and safe procedure. Here's a comprehensive list of items you'll need for this task:
Tools:
-
Ladder or Step Stool: Depending on the height of the light fixture, a stable and appropriately sized ladder or step stool is essential for reaching the fixture safely.
-
Screwdriver: A screwdriver, either flathead or Phillips, will be required to loosen the screws or nuts holding the glass globe in place. Ensure that the screwdriver matches the type of screws on your light fixture for a secure grip.
-
Rubber Gloves: It's advisable to wear rubber gloves to protect your hands from any dust, dirt, or potential sharp edges on the glass globe.
-
Soft Cloth or Towel: Having a soft cloth or towel on hand will be useful for handling the glass globe and providing a cushioned surface for it during removal and cleaning.
-
Cleaning Supplies: Depending on the condition of the glass globe, you may need glass cleaner, a mild detergent, or vinegar solution for cleaning.
Materials:
-
Replacement Bulb (Optional): If you're planning to replace the light bulb after removing the glass globe, ensure that you have a suitable replacement bulb on standby.
-
Safety Glasses (Optional): While not always necessary, safety glasses can provide an extra layer of protection for your eyes, especially when dealing with older fixtures or glass globes that may be fragile.
-
Replacement Screws or Nuts (Optional): If the existing screws or nuts are worn or damaged, having replacement hardware available can be helpful for reinstallation.
By gathering these tools and materials before starting the process, you'll be well-prepared to tackle the task of removing the glass globe from your light fixture. With the right equipment at your disposal, you can proceed with confidence, knowing that you have everything needed to complete the job efficiently and safely.
Step 1: Turn Off the Power
Before beginning the process of removing the glass globe from your light fixture, it is crucial to prioritize safety by turning off the power supply to the fixture. This step is essential to prevent the risk of electrical shock or injury during the removal process.
To ensure the power is completely disconnected, start by locating the circuit breaker or fuse box that controls the electricity supply to the specific light fixture. If you're unsure which circuit or fuse corresponds to the fixture, it's advisable to turn off the main power switch to guarantee complete isolation.
Once you've identified the correct circuit or fuse, switch it off to cut off the electricity supply to the light fixture. It's important to verify that the power has been successfully turned off by testing the light switch associated with the fixture. If the light remains off when the switch is toggled, you can proceed with confidence, knowing that the power supply has been effectively disconnected.
Turning off the power serves as a critical safety measure, preventing the risk of electrical accidents while handling the fixture and glass globe. By taking this precautionary step, you create a secure environment for the subsequent tasks of removing the light bulb and glass globe, minimizing the potential for harm or damage.
Additionally, it's advisable to place a prominent note or sign near the light switch and the circuit breaker/fuse box, indicating that maintenance work is in progress and the power should not be turned back on until the task is completed. This serves as a visual reminder to anyone in the household, enhancing overall safety and preventing accidental power restoration during the removal process.
By diligently following this initial step and ensuring that the power supply is safely deactivated, you set the stage for a secure and controlled environment in which to proceed with the subsequent steps of removing the glass globe from the light fixture. This proactive approach prioritizes safety and minimizes the potential for mishaps, allowing you to proceed with confidence and peace of mind.
Step 2: Remove the Light Bulb
With the power supply to the light fixture safely turned off, the next step in the process of removing the glass globe involves taking out the light bulb. This step is essential for gaining clear access to the glass globe and ensuring a smooth removal process.
Start by allowing the light bulb to cool down if it has been in use recently. This precautionary measure prevents the risk of burns or injuries from handling a hot bulb. Once the bulb has cooled, carefully unscrew it from its socket in a counterclockwise direction. If you're dealing with a fixture that uses pin-based bulbs, gently depress the pins and twist the bulb to release it from the socket.
As you remove the light bulb, handle it with care to avoid breakage or damage. If you plan to reuse the bulb, inspect it for any signs of wear or damage, such as a blackened or broken filament. If the bulb shows any such signs, it's advisable to replace it with a new one to ensure optimal lighting performance.
After successfully removing the light bulb, set it aside in a safe place, away from the immediate work area. Placing it on a soft cloth or towel can provide a cushioned surface and prevent accidental rolling or damage. If you're planning to replace the bulb with a new one, ensure that the replacement bulb is readily accessible for installation after the glass globe has been removed.
By carefully and methodically removing the light bulb, you create a clear pathway for the subsequent steps of loosening and removing the glass globe from the fixture. This preparatory step sets the stage for a seamless transition to the next phase of the removal process, ensuring that you can proceed with confidence and precision.
With the light bulb safely removed, you're now ready to move on to the next step of loosening the screws or nuts that secure the glass globe in place. This gradual progression through each stage of the removal process ensures a systematic and controlled approach, ultimately leading to a successful and hassle-free removal of the glass globe from your light fixture.
Step 3: Loosen the Screws or Nuts
Loosening the screws or nuts that secure the glass globe in place is a pivotal step in the process of removing the globe from your light fixture. This step requires precision and attention to detail to ensure a smooth and safe removal process.
Using the appropriate screwdriver, carefully locate and access the screws or nuts that hold the glass globe in position. Depending on the design of your light fixture, these fasteners may be situated along the rim or base of the fixture, typically in a symmetrical arrangement. It's important to approach this step methodically, ensuring that the screwdriver fits securely into the screw heads or nut slots to prevent slippage or damage to the fasteners.
Once the screws or nuts are identified, gently rotate the screwdriver in a counterclockwise direction to loosen them. It's crucial to apply steady and controlled pressure, avoiding excessive force that could potentially strip the screws or cause damage to the fixture. If the fasteners have accumulated dirt or debris, consider using a small brush or compressed air to clean the area before attempting to loosen them, ensuring a smooth and unhindered rotation.
As the screws or nuts begin to loosen, be mindful of any accompanying washers or decorative elements that may be attached to them. These components should be carefully set aside in a designated container or on a clean surface to prevent misplacement or damage. If the fasteners exhibit resistance or stubbornness, applying a small amount of lubricant, such as WD-40, can aid in easing their removal without compromising the integrity of the fixture.
Once all the screws or nuts have been successfully loosened, gently hold the glass globe in place with one hand while using the other hand to support the fixture. Slowly and cautiously lower the glass globe, ensuring a controlled descent to prevent sudden movements or accidental slipping. If the globe is secured by a central finial, ensure that it is carefully unscrewed before attempting to lower the glass globe.
By methodically and patiently loosening the screws or nuts, you pave the way for the final step of gently removing the glass globe from the fixture. This meticulous approach ensures that the fixture remains intact, and the glass globe can be safely and smoothly detached, setting the stage for the subsequent cleaning and replacement processes.
Step 4: Gently Remove the Glass Globe
With the screws or nuts successfully loosened, the time has come to delicately remove the glass globe from the light fixture. This step requires a steady hand and cautious maneuvering to ensure the safe extraction of the globe without causing any damage to the fixture or the glass itself.
Begin by ensuring that the fixture is adequately supported, either by holding it securely or having a stable surface to place it on. With one hand supporting the fixture, carefully grasp the glass globe with the other hand, applying gentle pressure to keep it steady. It's essential to maintain a firm yet controlled grip to prevent any accidental slipping or sudden movements.
As you begin to lift the glass globe, be mindful of any residual dust or debris that may have accumulated around the rim. A gentle tap or a quick puff of air can help dislodge any loose particles, ensuring a clean and unobstructed removal. Additionally, wearing rubber gloves can provide a secure grip and protect your hands from any sharp edges or potential residue on the glass surface.
Slowly and steadily lift the glass globe away from the fixture, maintaining a consistent and upward trajectory. It's crucial to exercise patience and avoid any abrupt movements that could lead to the globe slipping from your grasp. If the globe is secured by a central finial, ensure that it is carefully unscrewed before lifting the glass globe to prevent any resistance or obstruction.
Once the glass globe is successfully detached from the fixture, place it on a soft, clean surface, such as a towel or cloth, to prevent any accidental rolling or damage. Take a moment to inspect the interior of the fixture, ensuring that no loose components or debris remain that could impede the reinstallation of the glass globe.
By gently and methodically removing the glass globe from the fixture, you have completed a crucial phase of the removal process, setting the stage for the subsequent cleaning and replacement steps. This careful and attentive approach ensures that the glass globe is safely extracted, ready to be cleaned and, if necessary, replaced before being reinstalled onto the light fixture.
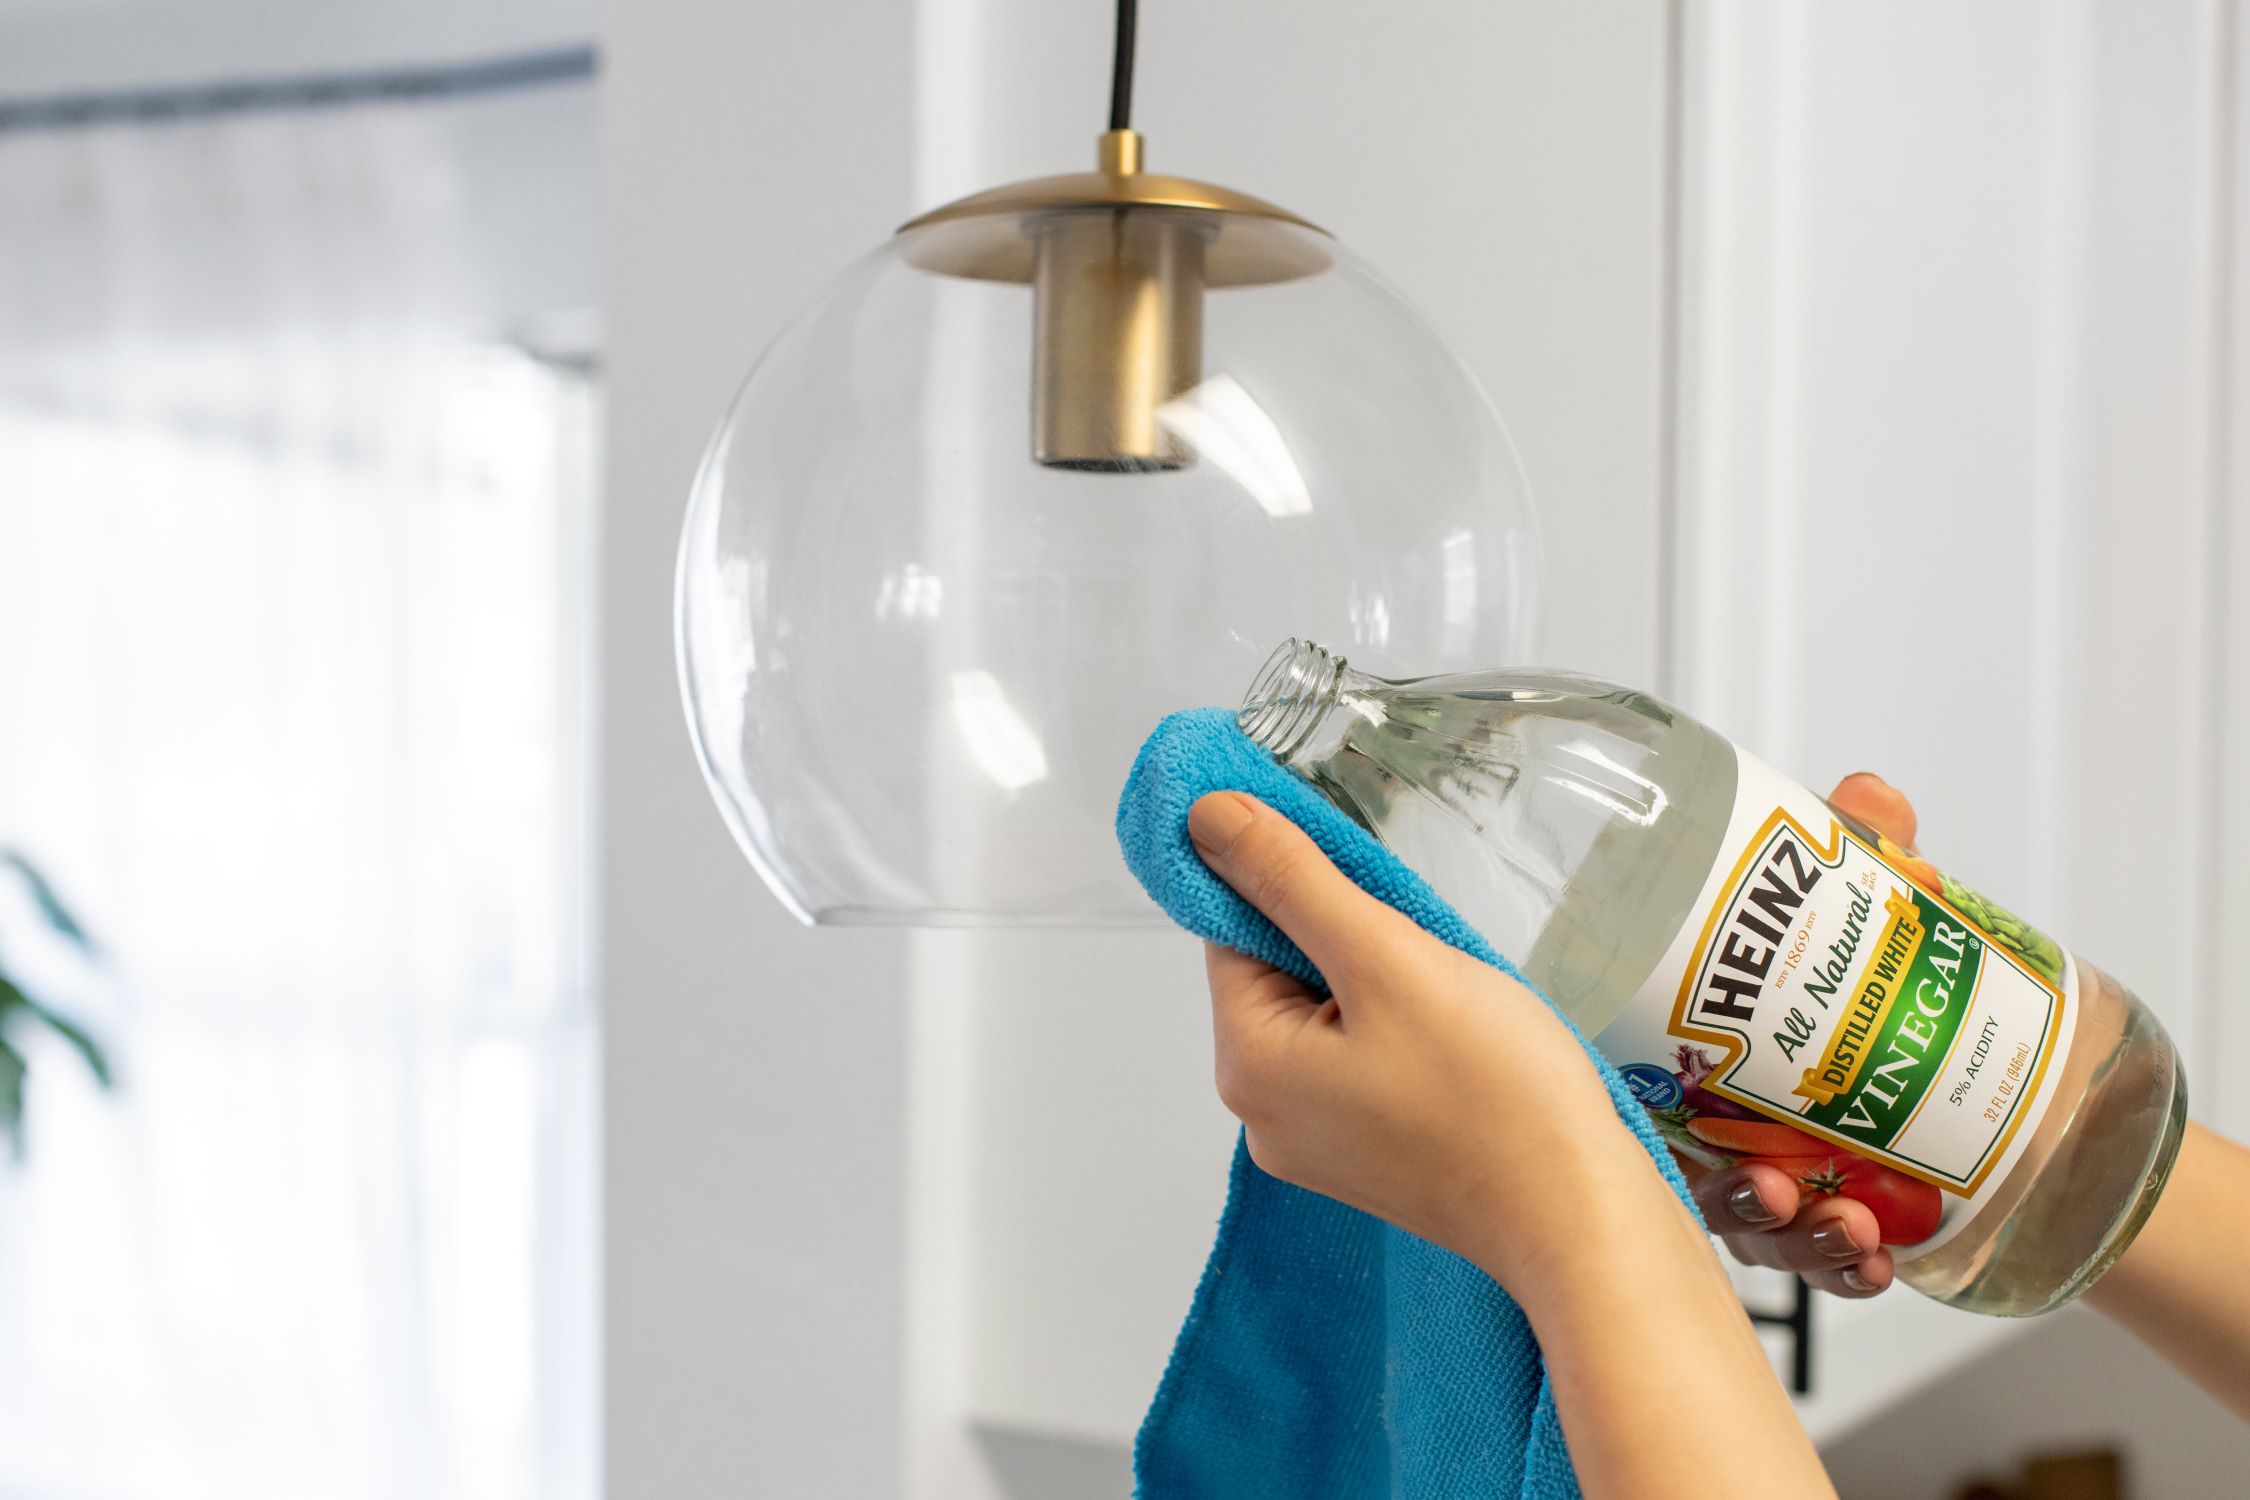
Step 5: Clean and Replace the Glass Globe
After successfully removing the glass globe from the light fixture, the next crucial step involves cleaning and, if necessary, replacing the globe to ensure optimal aesthetics and functionality. This phase of the process allows for the restoration of the glass globe's clarity and the enhancement of its visual appeal, ultimately contributing to the overall ambiance of the illuminated space.
Read more: How To Clean Glass Light Fixtures
Cleaning the Glass Globe
Begin by inspecting the glass globe for any accumulated dust, dirt, or residue that may have diminished its transparency or marred its surface. Using a soft cloth or towel, gently wipe the exterior and interior of the globe to remove any visible particles, ensuring a thorough and even cleaning. For stubborn stains or grime, a mild detergent solution or a mixture of vinegar and water can be applied to a soft cloth for targeted cleaning, followed by a gentle rinse and thorough drying.
In the case of more intricate or textured glass globes, a small brush or cotton swab can be utilized to access hard-to-reach areas and crevices, ensuring a comprehensive cleaning process. It's essential to exercise caution and avoid using abrasive materials or harsh chemicals that could potentially scratch or damage the glass surface, preserving its pristine condition.
Inspecting and Replacing the Light Bulb
While the glass globe is removed, take the opportunity to inspect the light bulb socket and the condition of the existing bulb. Ensure that the socket is clean and free of any debris that could hinder the installation of a new bulb. If the existing bulb shows signs of wear, such as dimming or flickering, it's advisable to replace it with a new, compatible bulb to maintain optimal illumination.
Reinstalling the Glass Globe
Once the glass globe is thoroughly cleaned and dried, carefully position it back onto the fixture, aligning it with the screw holes or mounting points. If the globe is secured by screws, gently tighten them in a clockwise direction, ensuring a snug fit without over-tightening. For globes secured by nuts, carefully thread and secure them in place, maintaining a balanced and symmetrical alignment.
Final Inspection and Testing
After reattaching the glass globe, perform a final visual inspection to ensure that it is securely and evenly positioned on the fixture. Once satisfied with the placement, restore the power supply to the light fixture and test the illumination to verify that the globe is properly installed and the lighting functions as intended.
By meticulously cleaning and, if necessary, replacing the glass globe, you contribute to the overall maintenance and visual appeal of your light fixture, ensuring a well-maintained and inviting atmosphere within your living space.
Before attempting to remove the glass globe from a light fixture, make sure to turn off the power to the fixture to avoid any accidents. Then, carefully unscrew or unclip the globe from the fixture and gently lower it down to avoid breakage.
Conclusion
In conclusion, mastering the art of removing a glass globe from a light fixture is a valuable skill that empowers homeowners to take control of their lighting maintenance and design projects. By following the systematic steps outlined in this guide and utilizing the recommended tools and materials, individuals can confidently and safely navigate the process, ensuring a successful outcome.
Understanding the importance of prioritizing safety, the initial step of turning off the power supply to the light fixture sets the stage for a secure and controlled environment in which to proceed with the subsequent tasks. This proactive approach minimizes the risk of electrical accidents and underscores the significance of precautionary measures in DIY maintenance projects.
The subsequent steps of removing the light bulb, loosening the screws or nuts, and gently extracting the glass globe from the fixture emphasize the value of patience, precision, and attentiveness. Each phase of the removal process plays a crucial role in ensuring the integrity of the fixture and the safe extraction of the glass globe, ultimately contributing to a seamless and hassle-free experience.
Furthermore, the cleaning and potential replacement of the glass globe underscore the commitment to maintaining a well-kept and visually appealing lighting fixture. By carefully inspecting, cleaning, and repositioning the glass globe, homeowners can enhance the ambiance of their living spaces while preserving the functionality of the fixture.
Ultimately, mastering the process of removing a glass globe from a light fixture empowers individuals to engage in proactive home maintenance, fostering a sense of accomplishment and self-sufficiency. By acquiring the knowledge and confidence to tackle this task, homeowners can elevate the aesthetics and functionality of their living spaces while saving time and resources in the process.
As you embark on your DIY journey, remember that each step in the process is an opportunity to enhance your understanding of home maintenance and design. By embracing the challenge with patience and attentiveness, you can transform the removal of a glass globe from a light fixture into a rewarding and empowering experience.
Frequently Asked Questions about How To Remove Glass Globe From Light Fixture
Was this page helpful?
At Storables.com, we guarantee accurate and reliable information. Our content, validated by Expert Board Contributors, is crafted following stringent Editorial Policies. We're committed to providing you with well-researched, expert-backed insights for all your informational needs.


0 thoughts on “How To Remove Glass Globe From Light Fixture”