
Articles
How To Remove Electric Cooktop From Counter
Modified: February 27, 2024
Learn the step-by-step process to remove an electric cooktop from your kitchen counter with our informative articles.
(Many of the links in this article redirect to a specific reviewed product. Your purchase of these products through affiliate links helps to generate commission for Storables.com, at no extra cost. Learn more)
Introduction
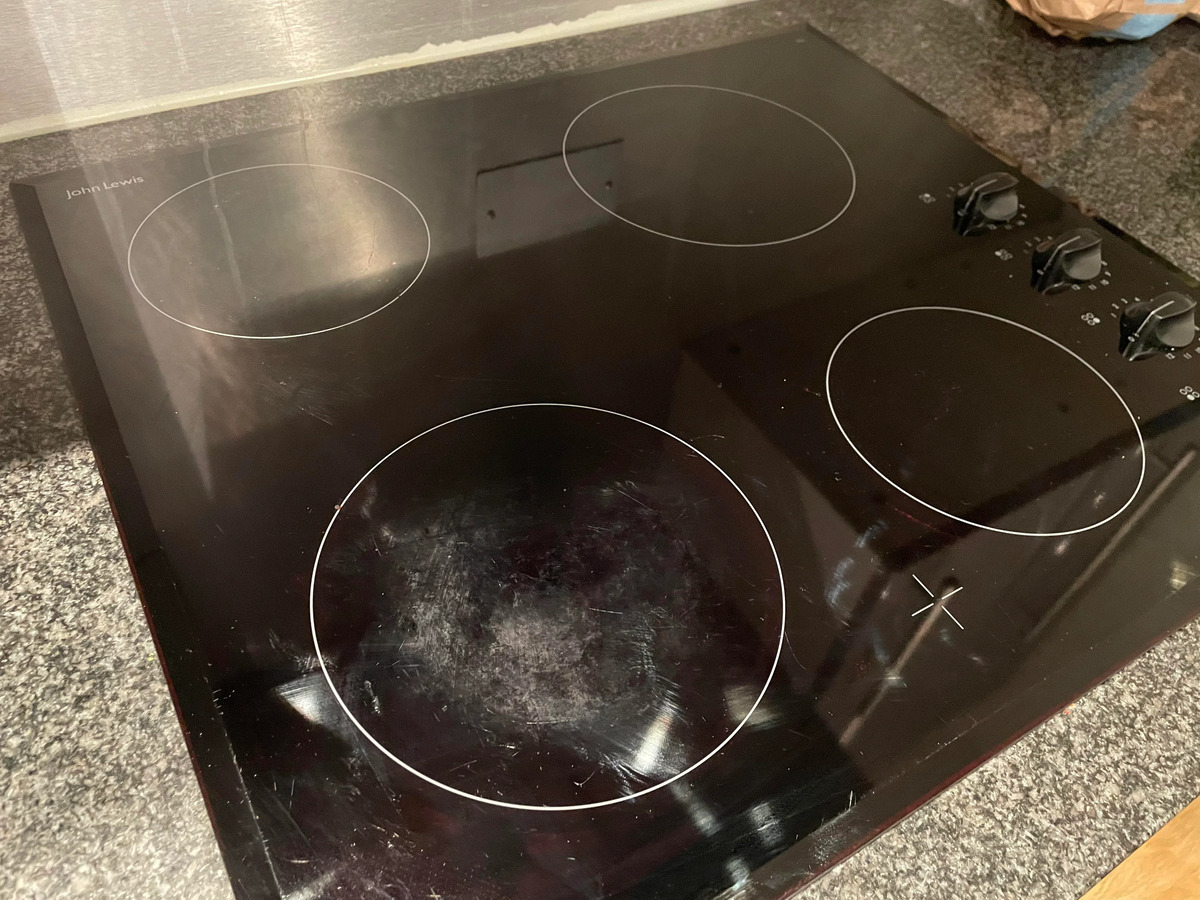
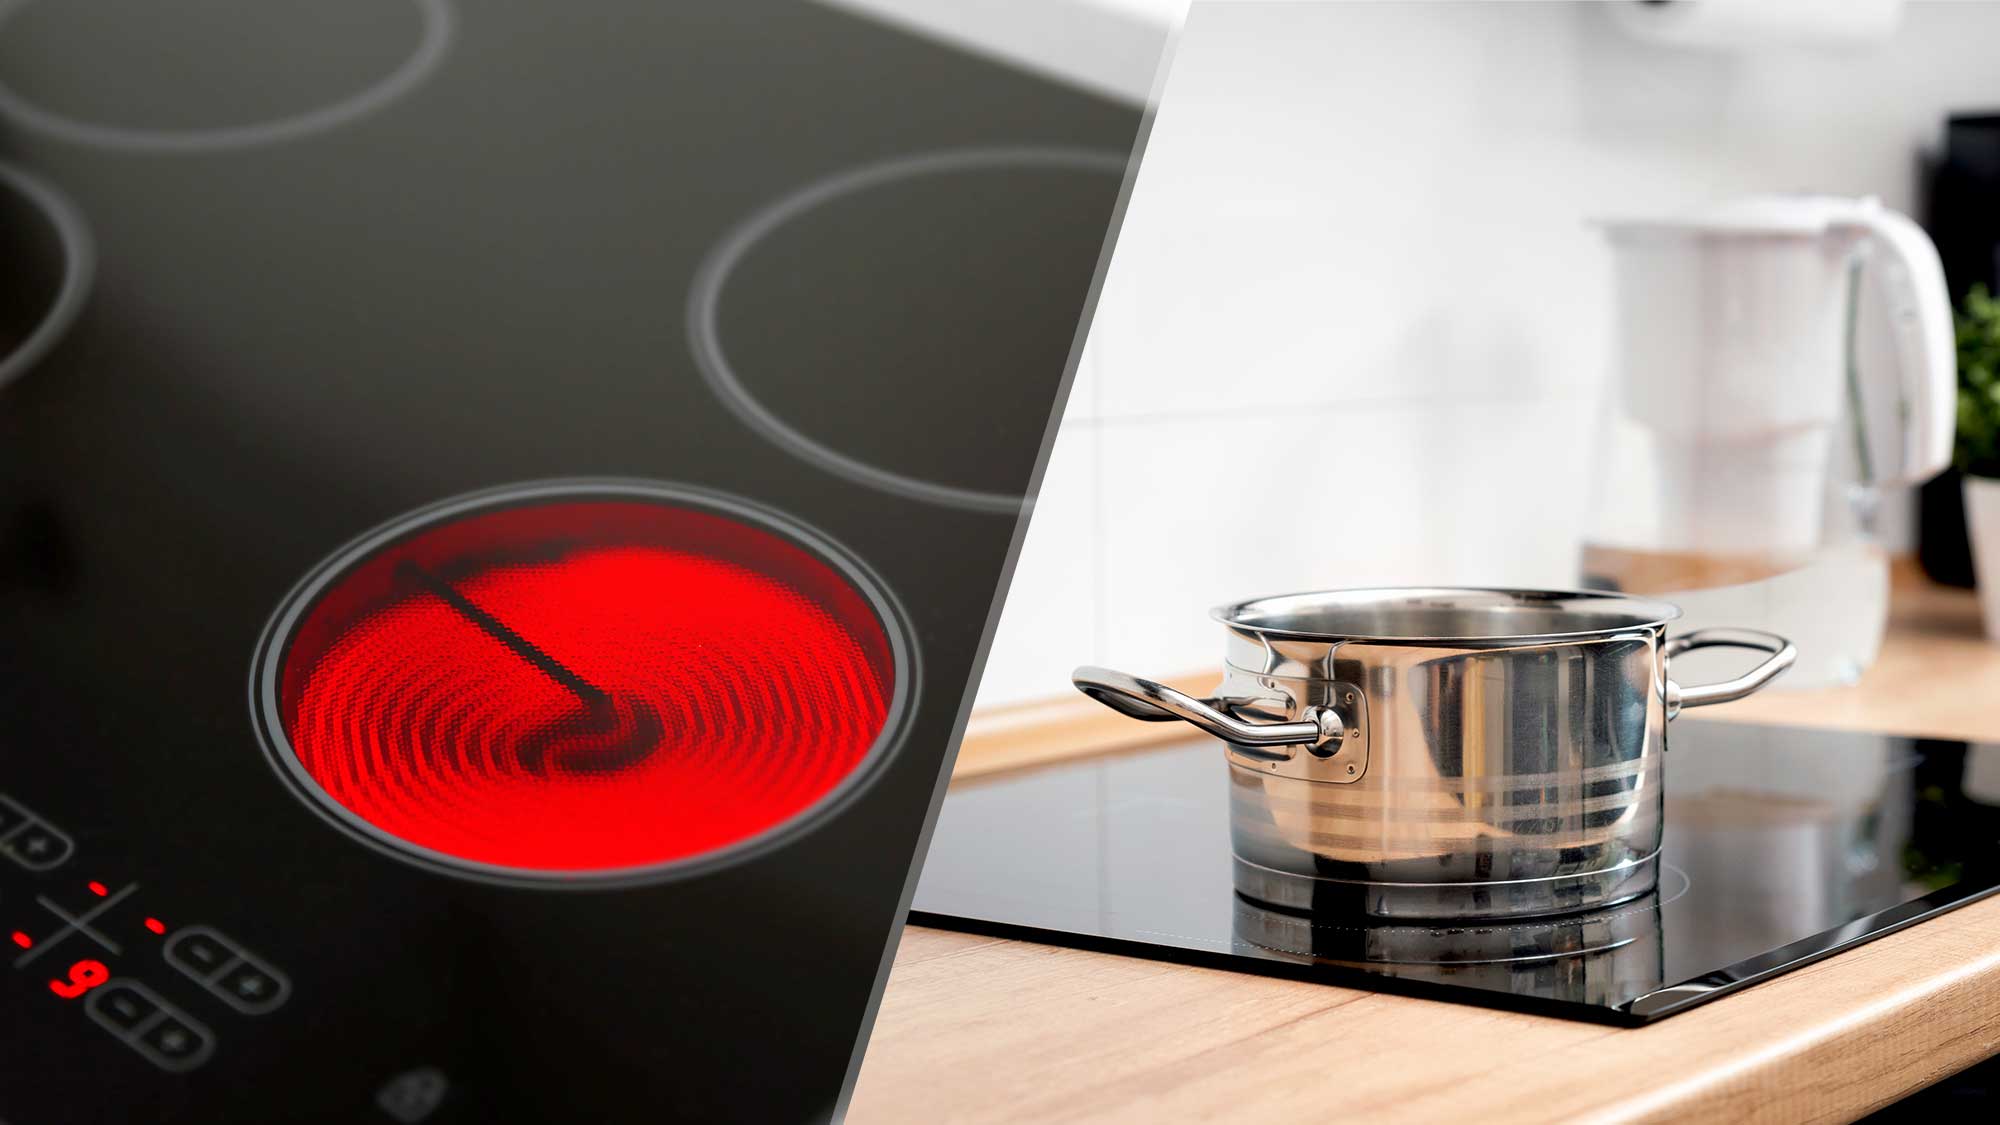
Removing an electric cooktop from your counter may be necessary for various reasons, such as cleaning, repair, or replacement. Whether you’re a seasoned DIY enthusiast or a novice in home improvement projects, this step-by-step guide will walk you through the process of safely and effectively removing an electric cooktop from your counter.
Before we dive into the steps, it’s important to note that working with electricity can be dangerous if proper precautions are not taken. Always consult the manufacturer’s instructions and exercise caution throughout the process. If you’re unsure about any step, it’s best to seek professional assistance.
Now, let’s get started!
Key Takeaways:
- Safely remove an electric cooktop by turning off the power, disconnecting the electrical supply, and clearing the area. Follow proper lifting techniques to avoid accidents and ensure successful removal.
- Prioritize safety when removing an electric cooktop, from turning off the power to employing proper lifting techniques. Seek professional assistance if uncertain, and empower yourself to tackle maintenance tasks confidently.
Read more: How To Remove Counter Backsplash
Step 1: Turn off the power
The first and most crucial step in removing an electric cooktop from your counter is to ensure that the power supply is completely turned off. This step is essential to avoid the risk of electrical shock or damage to the appliance.
To turn off the power, locate the circuit breaker or fuse box in your home. Look for the corresponding circuit breaker that controls the electricity supply to the cooktop. It is usually labeled and can be identified by the position or label on the breaker panel.
Switch off the circuit breaker by flipping it to the “off” position. This will cut off the electricity supply to the cooktop, ensuring your safety during the removal process.
Once you have turned off the power, it’s important to verify that the cooktop is indeed without electricity. You can use a voltage detector or a multimeter to check for any residual voltage. Simply follow the manufacturer’s instructions to perform the test.
Remember, safety should always be your top priority when working with electrical appliances. Double-checking that the power is turned off will help prevent accidents and potential damage to both yourself and the cooktop.
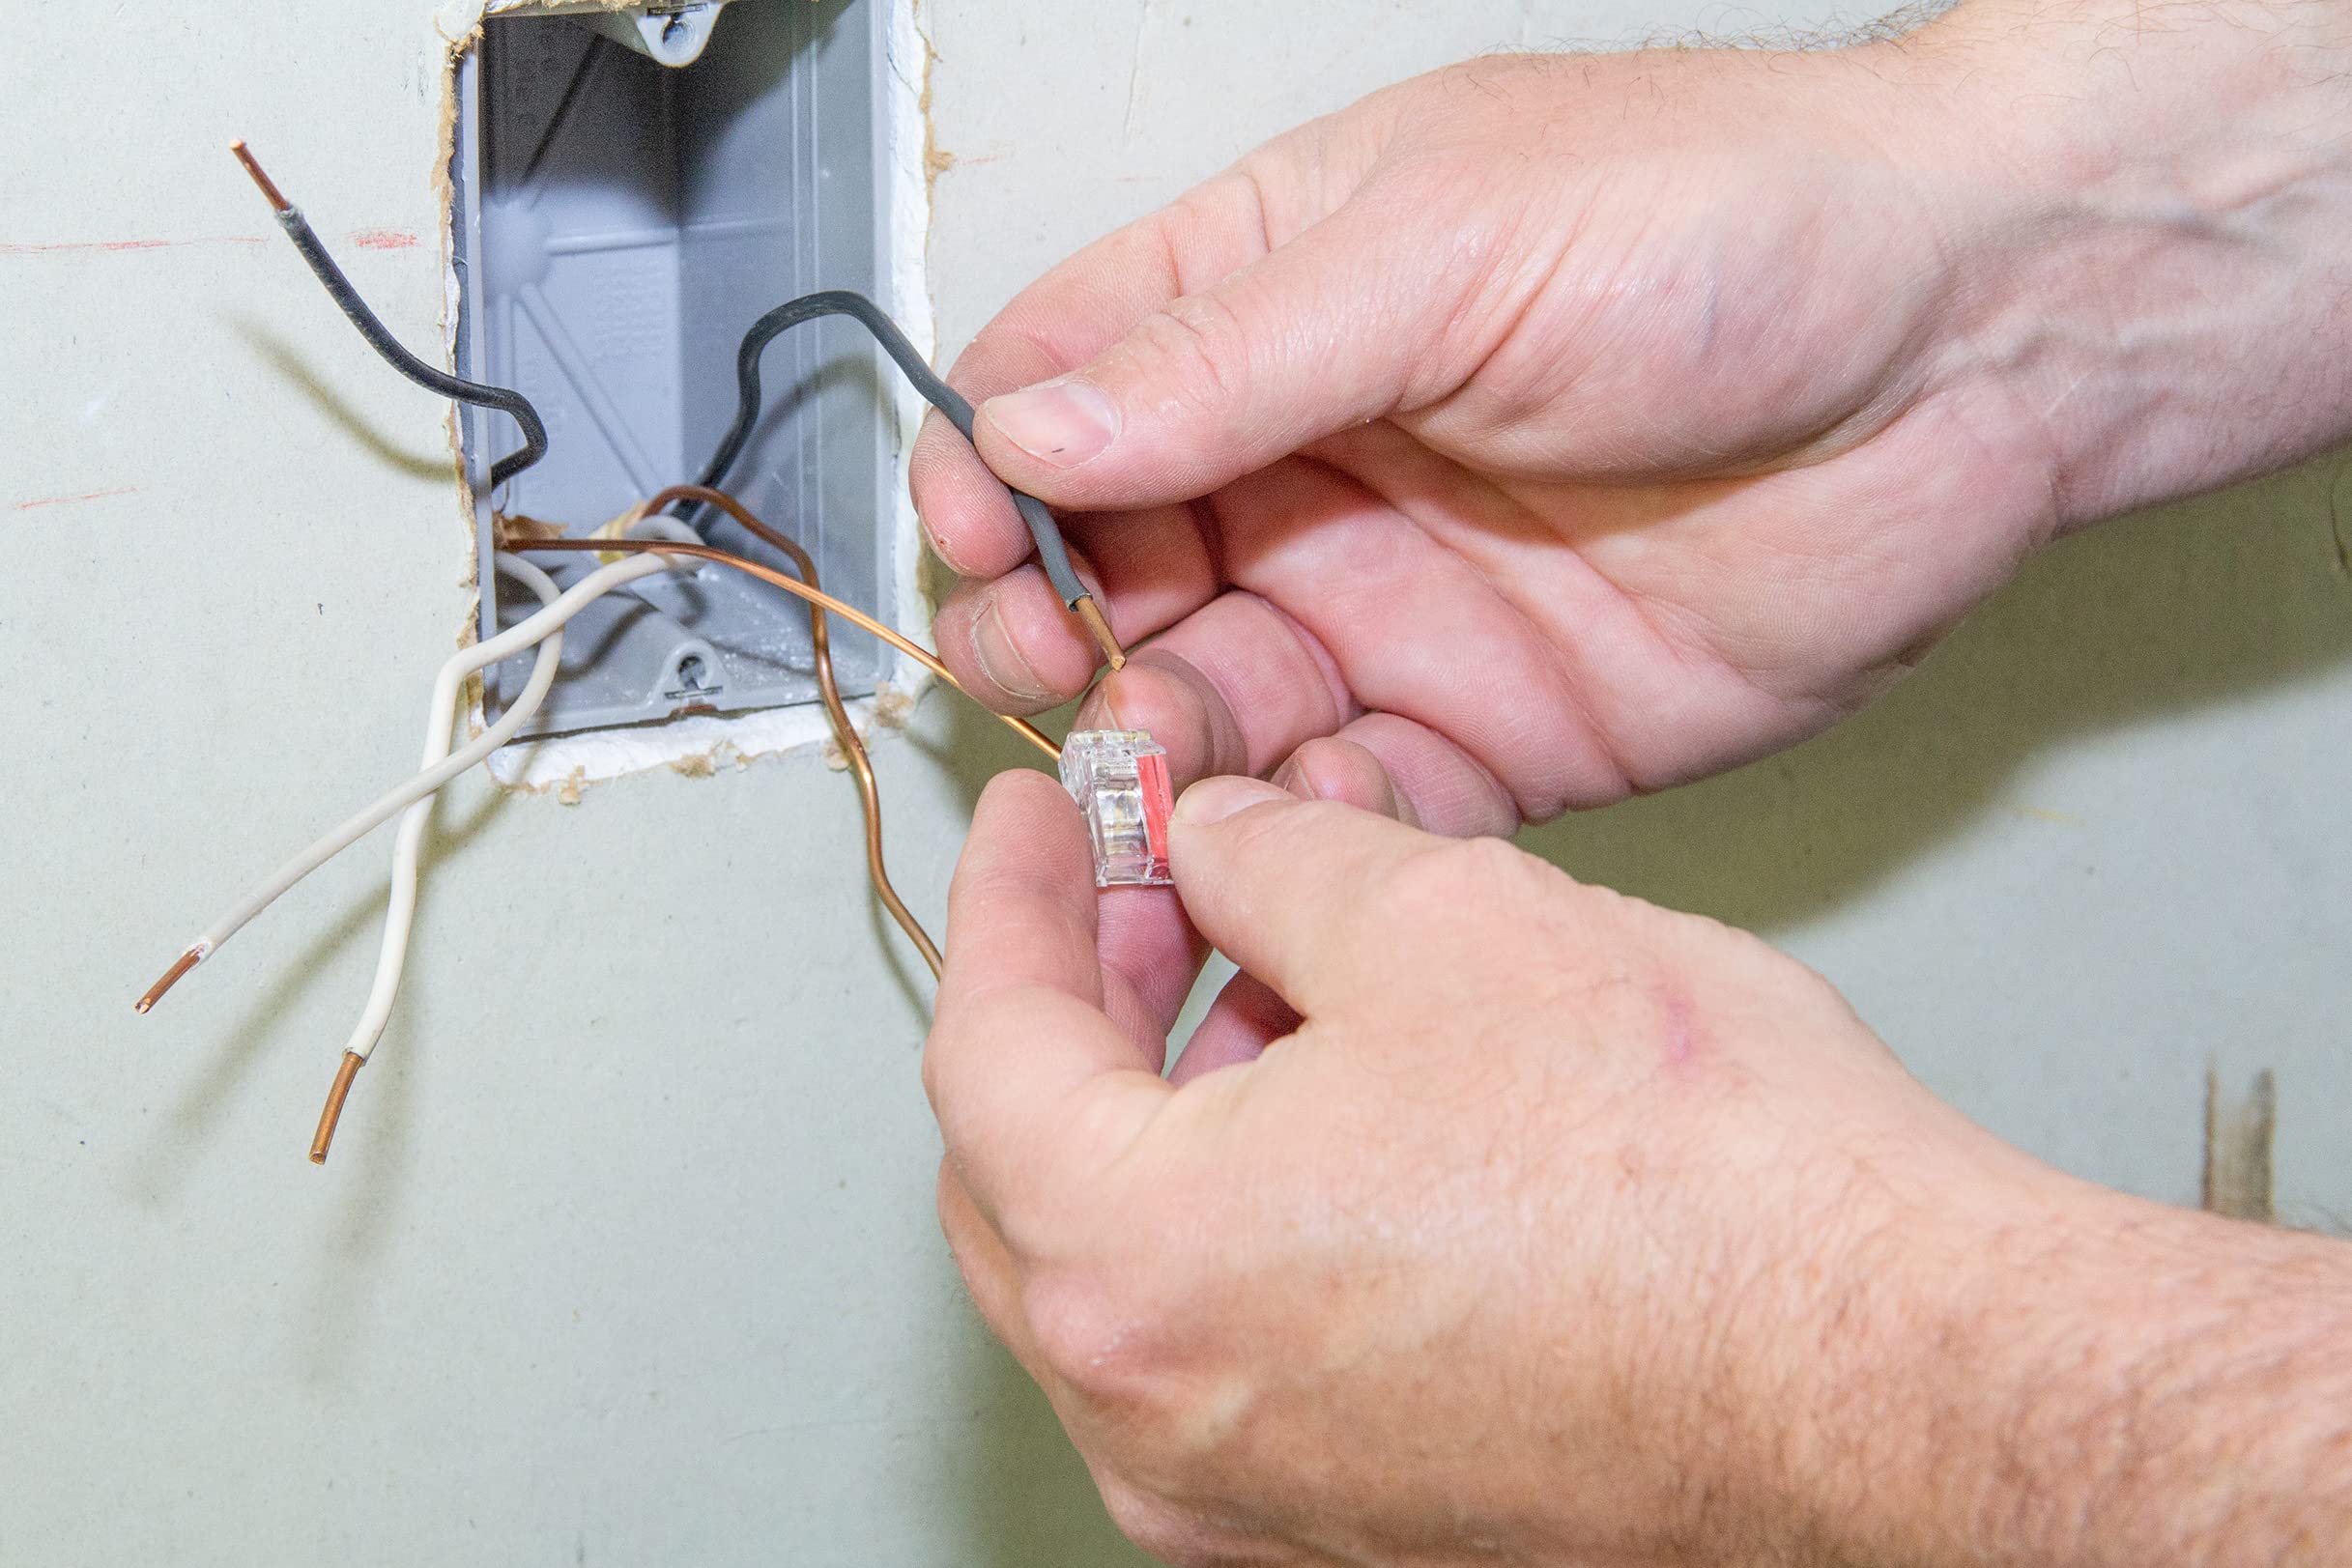
Step 2: Disconnect the cooktop from the electrical supply
With the power turned off, the next step is to disconnect the electric cooktop from the electrical supply. This involves removing any wires or cables that connect the cooktop to the power source.
Start by locating the junction box or wiring connection point behind or underneath the cooktop. This is usually where the electrical wires connect to the appliance. You may need to remove a cover or access panel to reveal the junction box.
Before disconnecting any wires, it’s a good practice to take a picture or make a note of the wire connections. This will help you remember how to reconnect them later when reinstalling the cooktop.
Using a screwdriver or a wrench, carefully remove the screws or nuts that secure the wires to the terminal block or wire connectors. Take note of which wire is connected to which terminal by labeling them if necessary.
Once the wires are detached, gently pull them out from the junction box, taking care not to damage them. Some wires may be connected using wire nuts, which can be unscrewed to disconnect the wires.
Remember to take your time and be cautious when handling electrical wirings. Ensure that no wires are left connected to the power supply before proceeding to the next step.
Step 3: Remove any surrounding elements
Before you can lift and remove the electric cooktop from the counter, it’s important to clear the area and remove any surrounding elements that may obstruct the process. This step will provide you with easier access to the cooktop and prevent any potential damage to the surrounding materials.
First, ensure that there are no pots, pans, or any other items on the cooktop. Remove them and place them in a safe location away from your work area.
Next, inspect the edges of the cooktop to see if there are any trims, seals, or adhesive tapes holding it in place. Depending on the model, you may need to carefully peel off any adhesive tapes or remove any screws or fasteners securing these elements.
If your cooktop is installed next to a wall, there may be a backsplash or tile that extends up to the bottom of the cooktop. In this case, you will need to remove any trim pieces, caulk, or adhesive holding the backsplash in place. Use a putty knife or a flathead screwdriver to gently pry the trim pieces away from the wall.
Additionally, if your cooktop is mounted in a cabinet, there may be a trim piece or molding that covers the edges of the cutout. Remove any screws or nails securing the trim piece and carefully take it off.
By removing these surrounding elements, you will have a clear path to safely remove the cooktop from the counter without causing any damage to the surrounding materials.
Before removing the electric cooktop from the counter, make sure to turn off the power at the circuit breaker to avoid any electrical hazards. Then, carefully lift the cooktop out of the counter and disconnect the electrical wiring. Be sure to have someone help you with the lifting to avoid any accidents.
Step 4: Loosen the mounting brackets
Now that you have cleared the area around the electric cooktop, it’s time to loosen the mounting brackets that secure it to the counter. These brackets are typically located underneath the cooktop and are responsible for holding it securely in place.
Start by locating the mounting brackets, which are usually made of metal and attached to the underside of the cooktop. They may be secured with screws or clips, depending on the make and model of your cooktop.
Using a screwdriver or a wrench, loosen the screws or remove the clips that hold the mounting brackets in place. Take note of the number and location of the brackets as you will need to reinstall them later.
Once the mounting brackets are loosened or removed, you can now gently lift the cooktop a few inches to ensure that it is loose from the counter. Be careful not to lift it too much at this stage, as there may still be electrical connections or other attachments that need to be disconnected.
If you find that the cooktop is still stuck or resistant to lifting, double-check for any hidden screws or fasteners that may be securing it to the counter. Some cooktops have additional mounting brackets or clamps that are not immediately visible.
By loosening the mounting brackets, you are preparing the cooktop for removal from the counter. This step ensures that the cooktop is no longer securely attached, making it easier to lift and remove in the next step.
Read more: How To Remove Scratches From Glass Cooktop
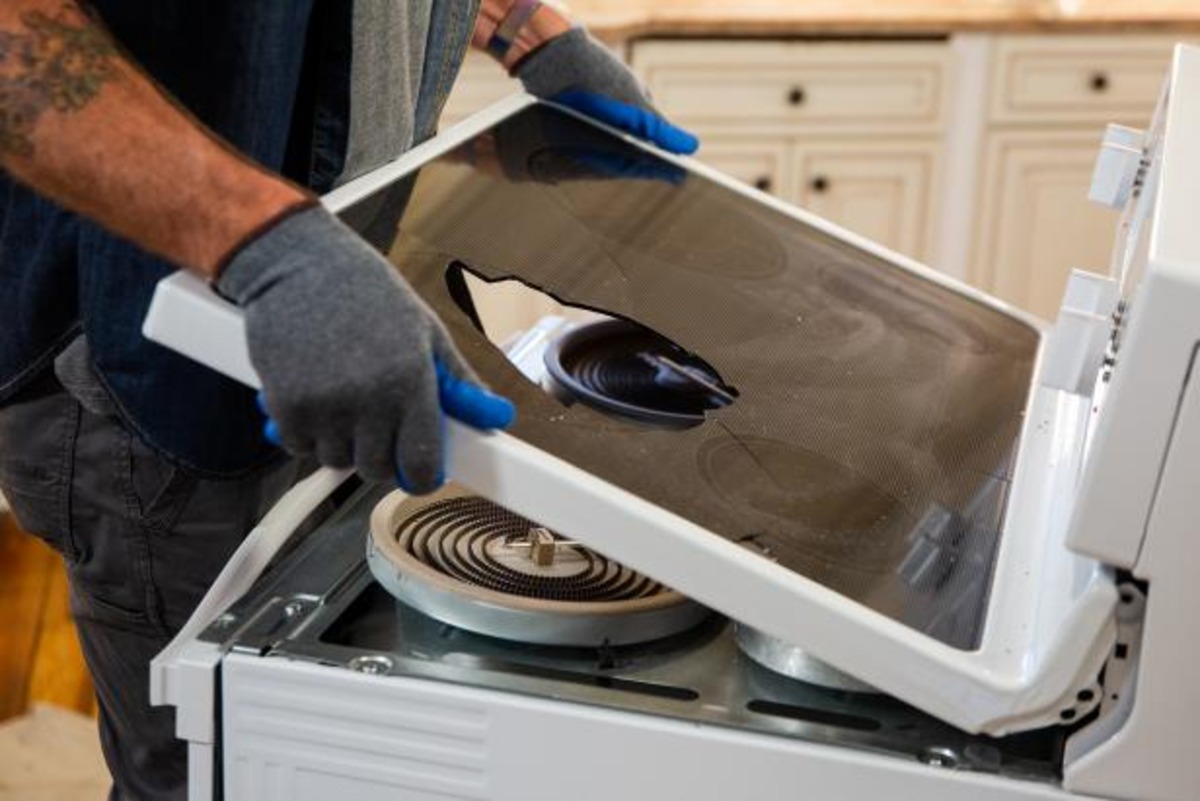
Step 5: Lift and remove the cooktop from the counter
Now that you have completed the previous steps, you are ready to lift and remove the electric cooktop from the counter. This step requires caution and proper lifting techniques to avoid any accidents or damage to the appliance.
Start by positioning yourself in a comfortable and stable position in front of the cooktop. Place your hands on opposite sides of the cooktop, ensuring a secure grip.
Slowly and steadily lift the cooktop upward, applying even pressure on both sides. Be mindful of the weight of the cooktop and avoid putting excessive strain on your back or arms. If needed, ask for assistance from another person to ensure a safe and controlled lift.
As you lift the cooktop, be mindful of any remaining electrical connections or attachments that may still be connected. Carefully examine the underside of the cooktop to ensure that all wires, screws, or fasteners have been disconnected or removed.
Once you have fully lifted the cooktop, carefully maneuver it out from the counter, keeping it level and avoiding any contact or damage to the surrounding materials or edges.
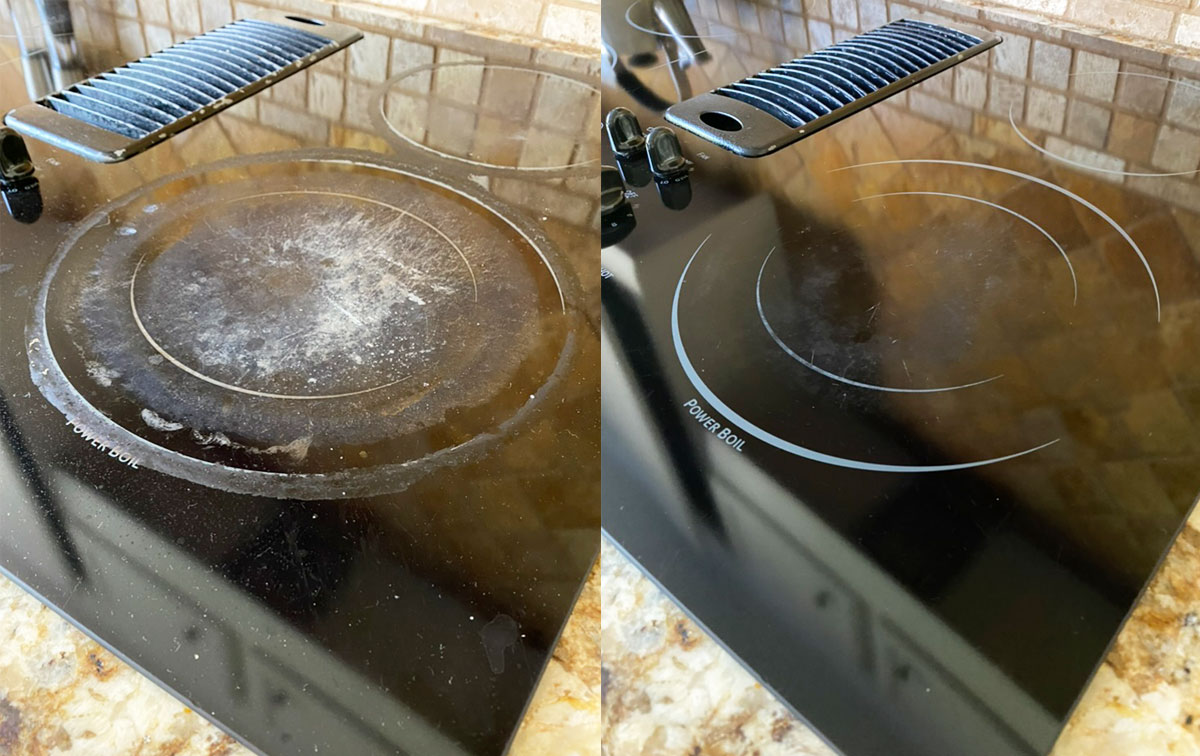
Place the removed cooktop on a secure and stable surface nearby. Take this opportunity to inspect the cooktop for any signs of damage, wear, or debris. Clean the underside of the cooktop and the surrounding area as needed.
With the cooktop successfully removed, you can now proceed with your desired cleaning, repair, or replacement tasks. Ensure that the counter surface is also cleaned and prepared for the installation of a new cooktop, if necessary.
Remember to handle the removed cooktop with care to avoid any accidents or injuries. Store it in a safe and appropriate location until you are ready to reinstall it or dispose of it properly.
By following these steps, you have successfully removed the electric cooktop from your counter, allowing you to carry out the necessary maintenance or upgrades required.
Conclusion
Removing an electric cooktop from your counter may seem like a daunting task, but with the right guidance and precautions, it can be a straightforward process. By following the step-by-step instructions outlined in this guide, you can safely and effectively remove the cooktop for cleaning, repair, or replacement purposes.
Remember to always prioritize your safety when working with electricity. Begin by turning off the power to the cooktop and verifying that it is indeed without electricity. Take extra care when disconnecting the cooktop from the electrical supply, ensuring that all wires are properly detached.
Clearing the area and removing any surrounding elements will provide you with easier access to the cooktop, making the removal process smoother. Loosening the mounting brackets will free the cooktop from the counter, allowing you to lift it with ease.
Finally, by employing proper lifting techniques, you can safely remove the cooktop from the counter and place it on a stable surface. Take this opportunity to inspect the cooktop and clean the area before proceeding with any necessary maintenance.
Should you encounter any difficulties or feel uncertain about any step in the process, it is always wise to seek professional assistance. A trained technician can offer valuable guidance and ensure that the removal is carried out safely and efficiently.
With the cooktop successfully removed, you can now proceed with cleaning, repairing, or replacing the appliance as needed. Ensure that the counter is also prepared for the installation of a new cooktop, if required.
By following these guidelines, you have empowered yourself to take control of maintaining your electric cooktop. Remember to consult the manufacturer’s instructions and exercise caution while handling electrical components.
Now, armed with the knowledge and skills to remove an electric cooktop from your counter, you can confidently tackle this task whenever the need arises.
Frequently Asked Questions about How To Remove Electric Cooktop From Counter
Was this page helpful?
At Storables.com, we guarantee accurate and reliable information. Our content, validated by Expert Board Contributors, is crafted following stringent Editorial Policies. We're committed to providing you with well-researched, expert-backed insights for all your informational needs.


0 thoughts on “How To Remove Electric Cooktop From Counter”