Home>Furniture & Design>Interior Design Trends>How To Remove Protective Glass From Phone
Interior Design Trends
How To Remove Protective Glass From Phone
Published: February 6, 2024
Learn how to safely remove protective glass from your phone with our expert tips. Stay updated on the latest interior design trends.
(Many of the links in this article redirect to a specific reviewed product. Your purchase of these products through affiliate links helps to generate commission for Storables.com, at no extra cost. Learn more)
Introduction
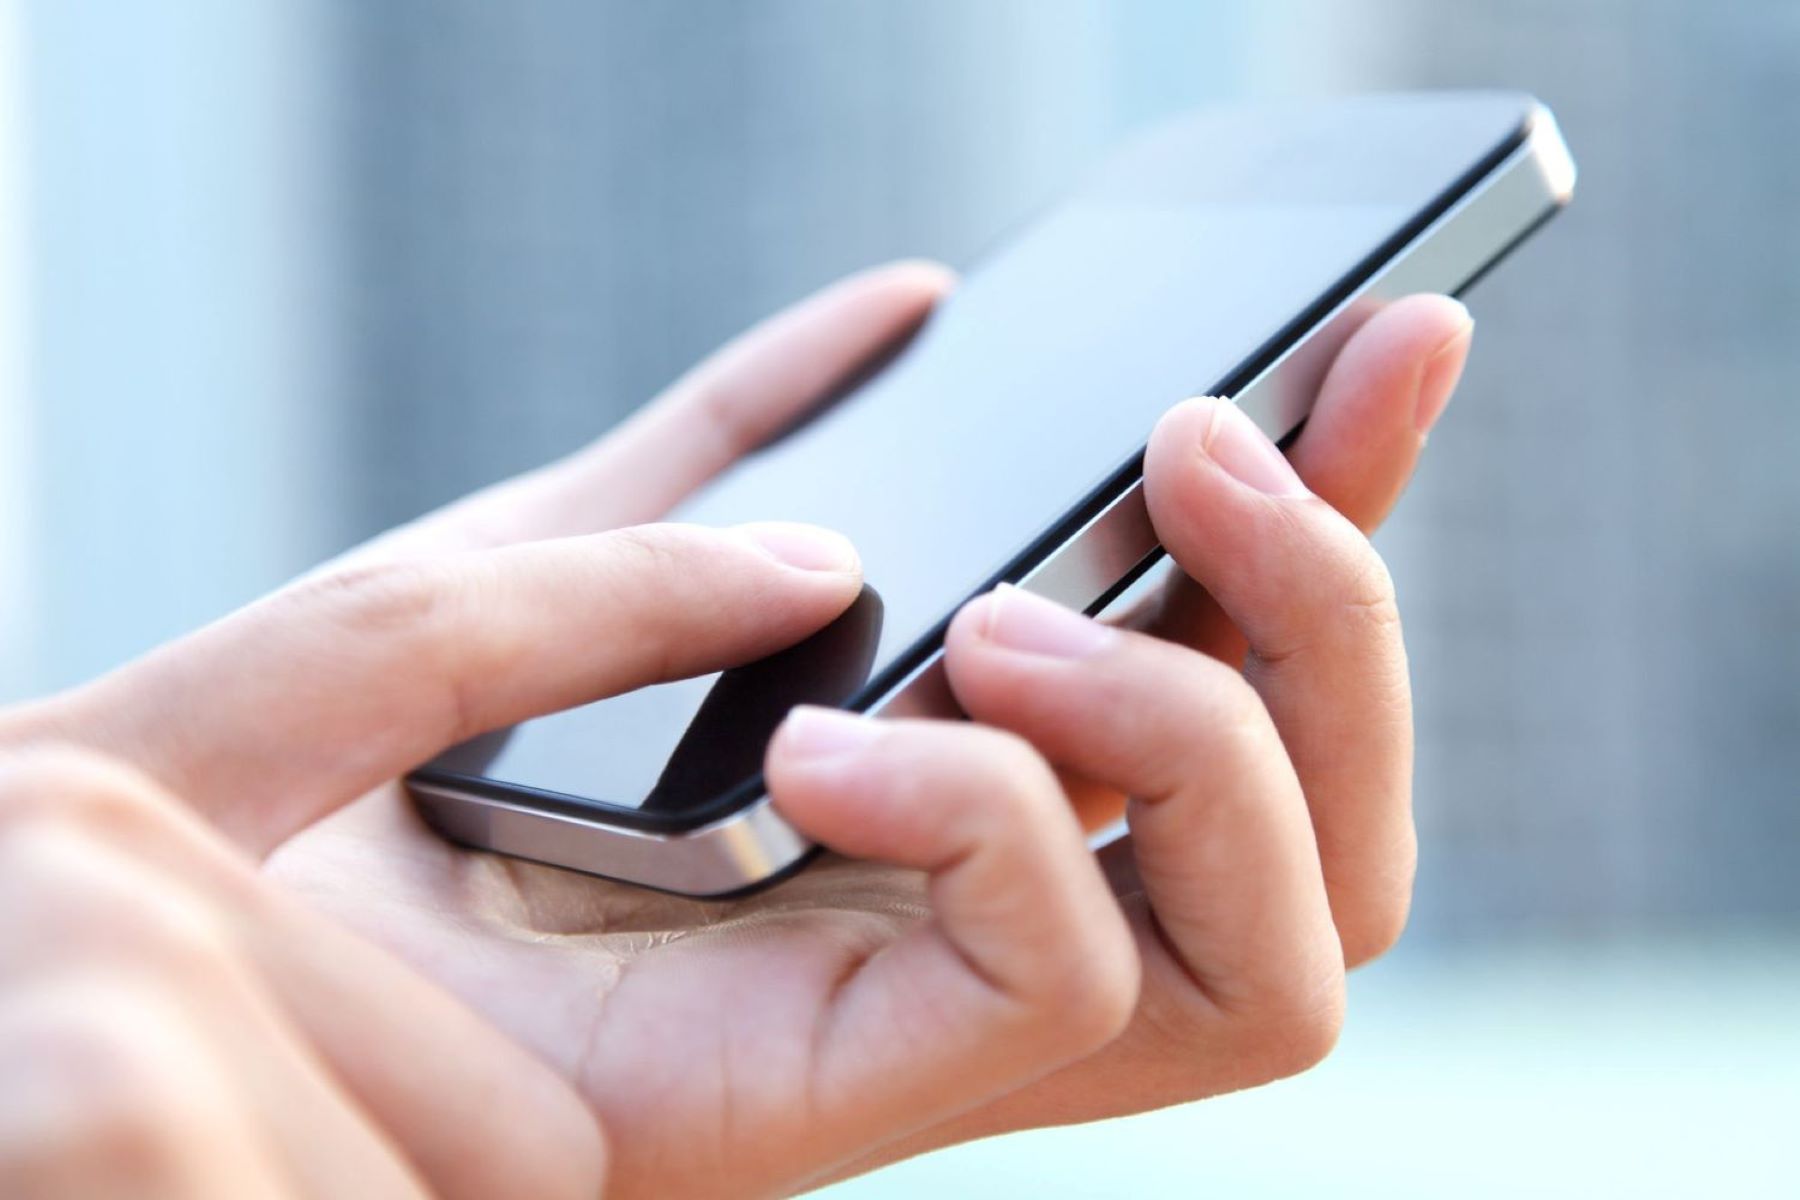
Removing the protective glass from a phone can be a daunting task for many individuals. Whether it's due to wear and tear, the need for a replacement, or simply wanting to switch to a different type of protection, the process requires careful attention and the right tools. By following a few simple steps, you can safely remove the protective glass from your phone without causing any damage to the device.
In this comprehensive guide, we will walk you through the step-by-step process of removing the protective glass from your phone. From powering off the device to cleaning the screen, we will cover each essential detail to ensure a smooth and successful removal process. By the end of this guide, you will have the knowledge and confidence to tackle this task with ease.
Let's dive into the tools you'll need and the precise steps to follow for a hassle-free removal of the protective glass from your phone.
Key Takeaways:
- Safely remove protective glass from your phone using tools like a suction cup and heat source. Power off the phone, remove the case, and clean the screen for a smooth removal process.
- Carefully follow step-by-step instructions to remove protective glass without damaging your phone. Use patience, precision, and the right tools for a successful removal experience.
Read more: How To Protect Glass Cooktop From Scratches
Tools Needed
Before embarking on the process of removing the protective glass from your phone, it's crucial to gather the necessary tools to ensure a smooth and safe removal. Here are the essential tools you'll need:
-
Microfiber Cloth: This soft and gentle cloth is perfect for wiping away any dust, fingerprints, or smudges from the phone screen. It's important to have a clean surface before and after removing the protective glass.
-
Suction Cup: A reliable suction cup will aid in lifting the protective glass off the phone screen. It provides a secure grip, making it easier to detach the glass without causing any damage to the device.
-
Heat Source: Whether it's a hairdryer or a heat gun, having a heat source is crucial for softening the adhesive that holds the protective glass in place. This will make it easier to detach the glass without applying excessive force.
-
Plastic Pry Tool: A plastic pry tool is essential for safely separating the protective glass from the phone. It helps in creating a gap between the glass and the screen, allowing for a controlled and careful removal process.
-
Adhesive Remover (Optional): In some cases, adhesive residue may remain on the phone screen after removing the protective glass. An adhesive remover can help in cleaning any leftover adhesive, ensuring a pristine screen for the new protective glass.
-
Protective Gloves (Optional): While not mandatory, wearing protective gloves can provide an added layer of safety, especially when using a heat source or handling the glass.
-
Patience and Precision: While not physical tools, patience and precision are essential for this task. Taking your time and being meticulous in each step will contribute to a successful and damage-free removal process.
By ensuring you have these tools at your disposal, you'll be well-prepared to proceed with the subsequent steps for removing the protective glass from your phone. With the right tools and a methodical approach, you can effectively accomplish this task with confidence and ease.
Step 1: Power Off the Phone
Before initiating the process of removing the protective glass from your phone, it is imperative to power off the device. This step is crucial for ensuring the safety of both the phone and the individual performing the removal. By turning off the phone, you minimize the risk of accidental screen interactions and ensure a stable environment for the subsequent steps.
To power off your phone, locate the power button, which is typically situated on the side or the top of the device. Press and hold the power button until the power-off menu appears on the screen. Depending on the phone model, you may need to swipe or tap on the screen to confirm the power-off action. Once the phone is completely powered off, you can proceed with the next steps of the removal process.
By powering off the phone, you prevent any unintended screen activations while handling the device. This precautionary measure reduces the likelihood of accidental damage to the screen or interference with the removal process. Additionally, it creates a safer environment for utilizing the heat source in the subsequent steps, as the device will be in a dormant state.
It is important to note that powering off the phone is a fundamental step that should not be overlooked. Even if the protective glass is cracked or damaged, taking the time to power off the device demonstrates a responsible approach to the removal process. By adhering to this initial step, you set the stage for a controlled and secure removal of the protective glass from your phone.
With the phone powered off, you are now ready to proceed to the next step, which involves removing the case from the device. This step sets the foundation for the subsequent actions, ensuring a systematic and well-prepared approach to the overall removal process.
Step 2: Remove the Case
After powering off the phone, the next crucial step in the process of removing the protective glass is to take off the phone case. The case serves as a protective layer for the exterior of the phone, and its removal is essential to access the edges of the protective glass and prepare the device for the subsequent steps.
To remove the case, carefully inspect the edges and corners to identify any latches, buttons, or locking mechanisms that secure the case to the phone. Depending on the type of case, it may have a snap-on, slide-on, or flexible design. Gently press on the designated release points or edges of the case to disengage it from the phone. If the case has a snap-on design, apply gentle pressure to the designated release areas while carefully lifting the case away from the phone. For slide-on cases, gently slide the case in the direction of the designated release mechanism to detach it from the phone. In the case of flexible cases, carefully peel back the edges to release the grip on the phone.
Once the case is removed, inspect the phone for any accumulated dust, debris, or residue that may have collected between the case and the device. Use a microfiber cloth to gently wipe the phone's exterior, ensuring that it is clean and free from any particles that could interfere with the subsequent steps of the removal process.
Removing the case provides unobstructed access to the edges of the protective glass, allowing for a seamless transition to the next steps. By carefully and methodically removing the case, you create a clear pathway for the subsequent actions, ensuring a well-prepared and organized approach to the overall removal process.
With the case successfully removed, you are now ready to proceed to the next step, which involves preparing to heat the edges of the protective glass. This pivotal step sets the stage for softening the adhesive and initiating the careful detachment of the protective glass from the phone screen.
Step 3: Heat the Edges of the Glass
Heating the edges of the protective glass is a critical step in the removal process, as it softens the adhesive that secures the glass to the phone screen. This softening effect makes it easier to detach the glass without applying excessive force, minimizing the risk of damage to the screen. To effectively heat the edges of the glass, you will need a reliable heat source, such as a hairdryer or a heat gun.
Begin by selecting a low to medium heat setting on the heat source to avoid overheating the glass or the phone screen. Hold the heat source approximately 3 to 4 inches away from the edges of the protective glass, ensuring even distribution of heat across the surface. Gently move the heat source along the edges in a sweeping motion, allowing the warmth to gradually penetrate the adhesive beneath the glass.
As you apply the heat, be mindful of the duration and intensity to prevent overheating the glass or the phone screen. Continuous movement of the heat source along the edges ensures that the heat is evenly distributed, effectively softening the adhesive without causing any damage to the device. It is important to exercise caution and patience during this step, as overheating can lead to unintended consequences.
After heating the edges for approximately 3 to 5 minutes, test the temperature of the glass by lightly tapping the edges with your fingertips. If the glass feels slightly warm to the touch, it indicates that the adhesive has been adequately softened, preparing it for the subsequent steps of the removal process.
Heating the edges of the protective glass serves as a pivotal preparatory step, setting the stage for the controlled and careful detachment of the glass from the phone screen. By effectively softening the adhesive, you create an optimal environment for the subsequent actions, ensuring a smooth and damage-free removal process.
With the edges of the protective glass adequately heated, you are now ready to proceed to the next step, which involves using a suction cup to initiate the detachment process. This transition marks a crucial phase in the overall removal process, leading towards the successful removal of the protective glass from your phone.
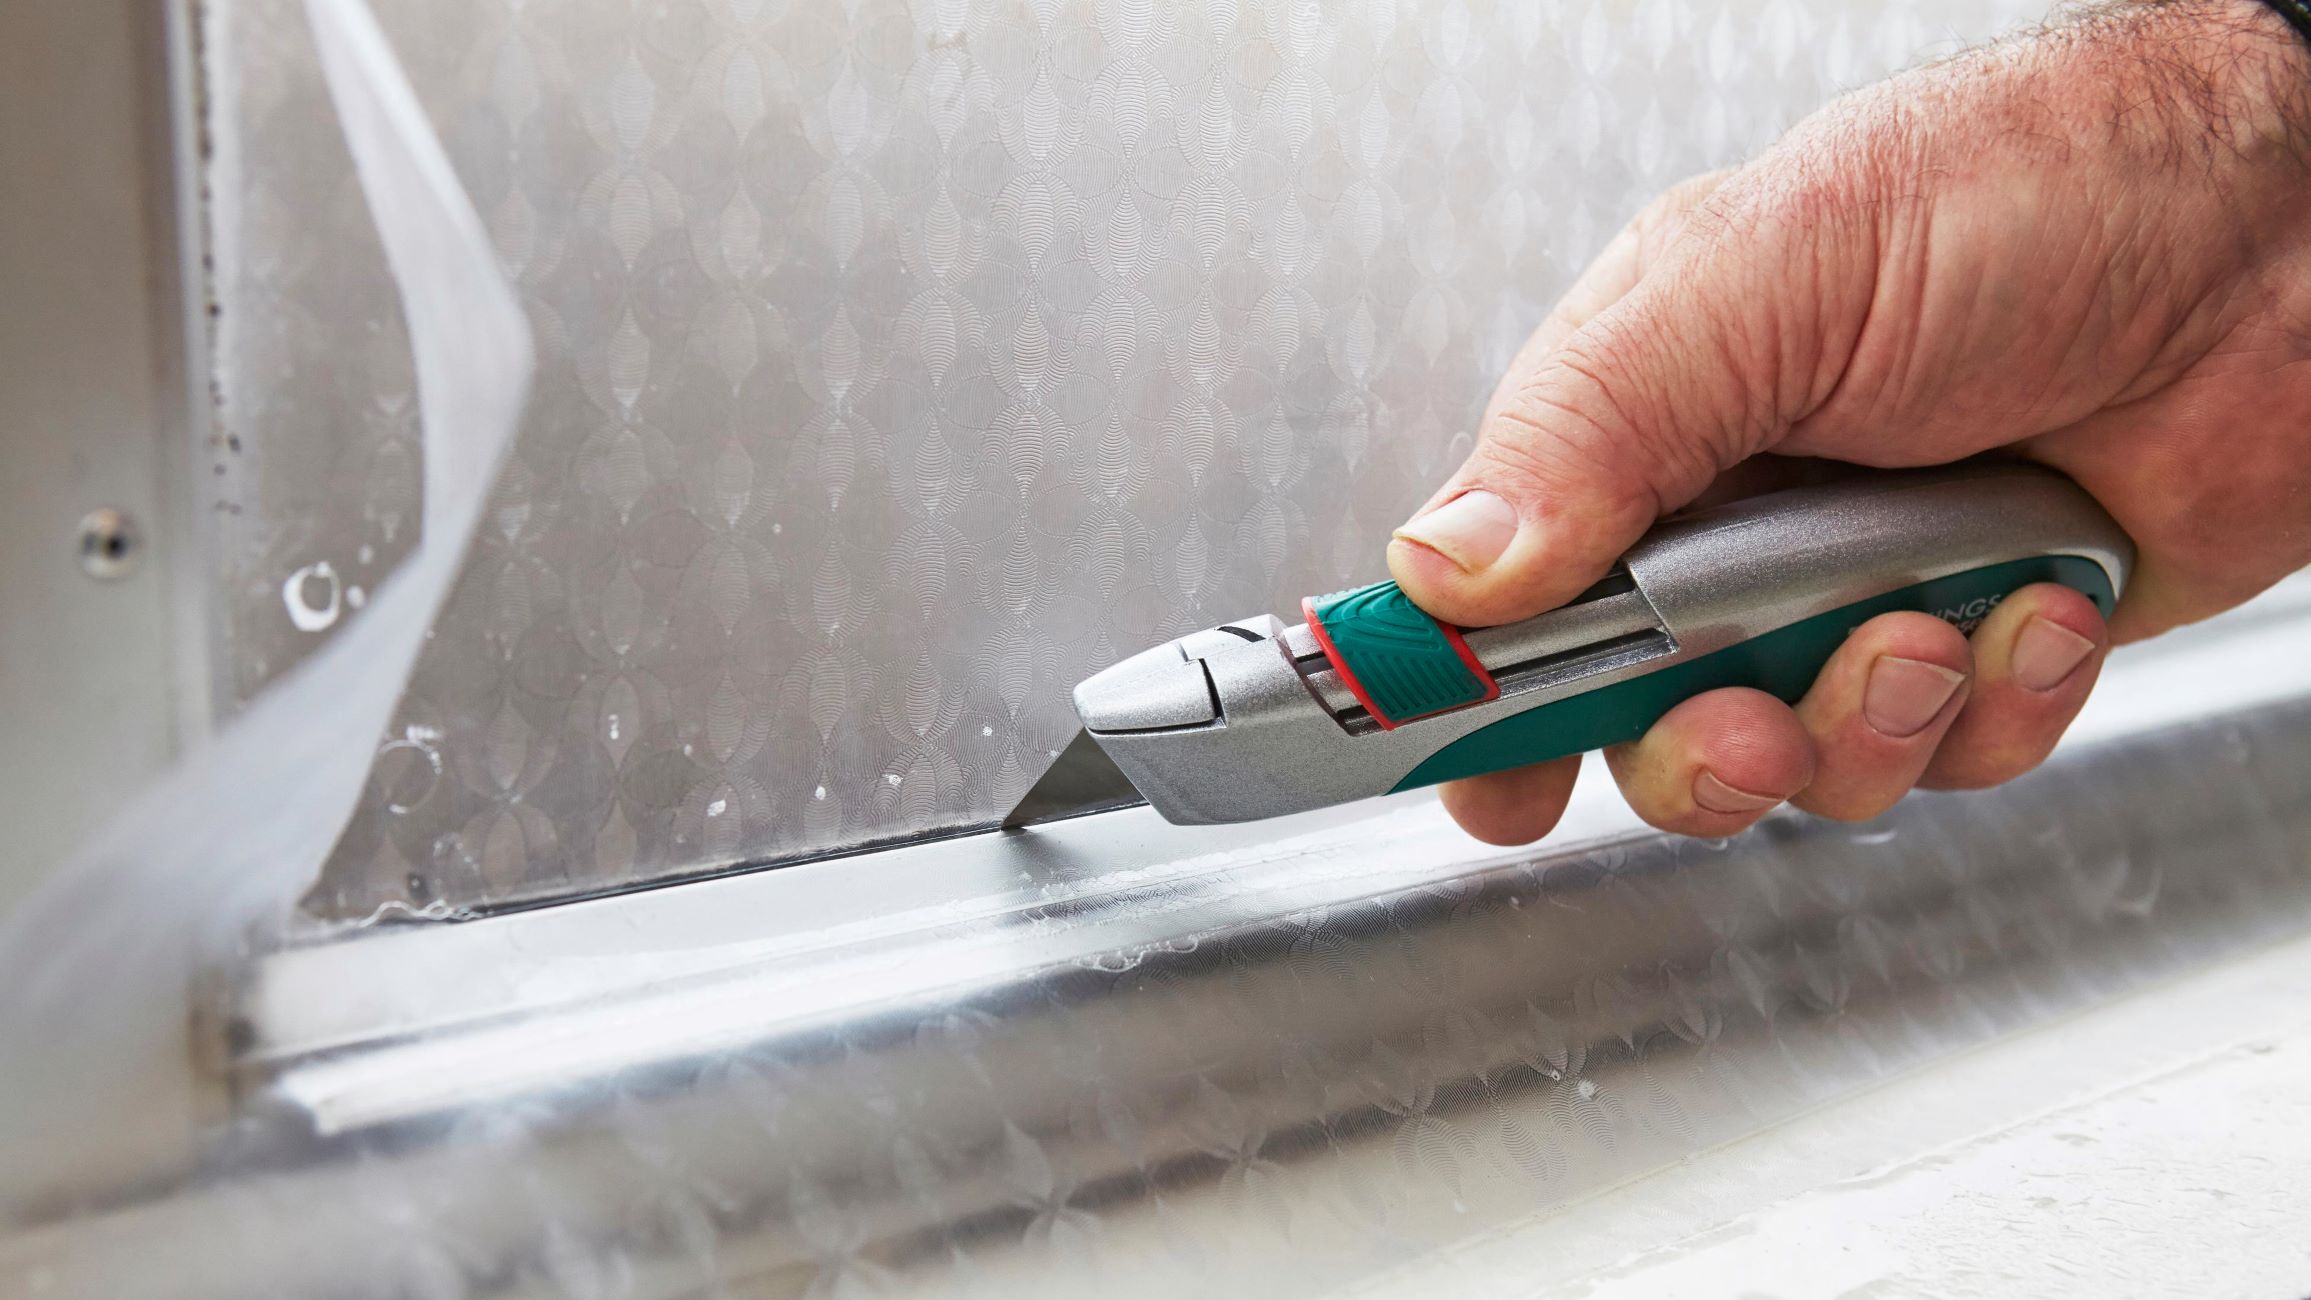
Use a hairdryer to heat the edges of the glass for a few minutes. Then, use a thin, strong card to gently pry the glass away from the phone. Be careful not to apply too much pressure to avoid damaging the phone.
Step 4: Use a Suction Cup
With the edges of the protective glass adequately heated, the next step involves using a suction cup to initiate the detachment process. The suction cup provides a secure grip on the glass, allowing for controlled and gradual separation from the phone screen. This method minimizes the risk of damage to the screen and facilitates a smooth removal process.
Begin by firmly pressing the suction cup onto the center of the protective glass. Ensure that the suction cup forms a tight seal and adheres securely to the surface. Once the suction cup is in place, gently pull up on the attached tab or handle, creating a slight and controlled lifting force on the glass.
As the suction cup creates a separation between the glass and the screen, you may notice a slight gap forming along the edges. This indicates that the adhesive is gradually releasing its grip, allowing for the subsequent steps of the removal process. It is important to exert gentle and consistent pressure while using the suction cup, avoiding sudden or forceful movements that could lead to unintended damage.
If the glass does not lift easily, you can introduce a thin plastic pry tool into the gap created by the suction cup. Carefully slide the pry tool along the edges, gradually widening the gap and further loosening the adhesive. This method provides additional support in separating the glass from the screen, ensuring a controlled and meticulous detachment process.
As the glass begins to lift from the screen, continue to apply gentle upward pressure using the suction cup and the pry tool as needed. Exercise patience and precision during this phase, as the goal is to gradually release the adhesive without causing any damage to the phone screen. By maintaining a methodical and careful approach, you can effectively navigate the detachment process with confidence.
Once the protective glass is successfully detached from the phone screen, carefully lift it away from the device, ensuring that no residual adhesive remains attached. Set the glass aside in a safe location, and proceed to the final step of cleaning the phone screen to prepare it for a new protective layer.
Using a suction cup to initiate the detachment process is a pivotal step that sets the stage for the controlled and careful removal of the protective glass from your phone. By leveraging the suction cup's secure grip and employing gentle and precise movements, you can accomplish this phase with confidence and meticulous attention to detail.
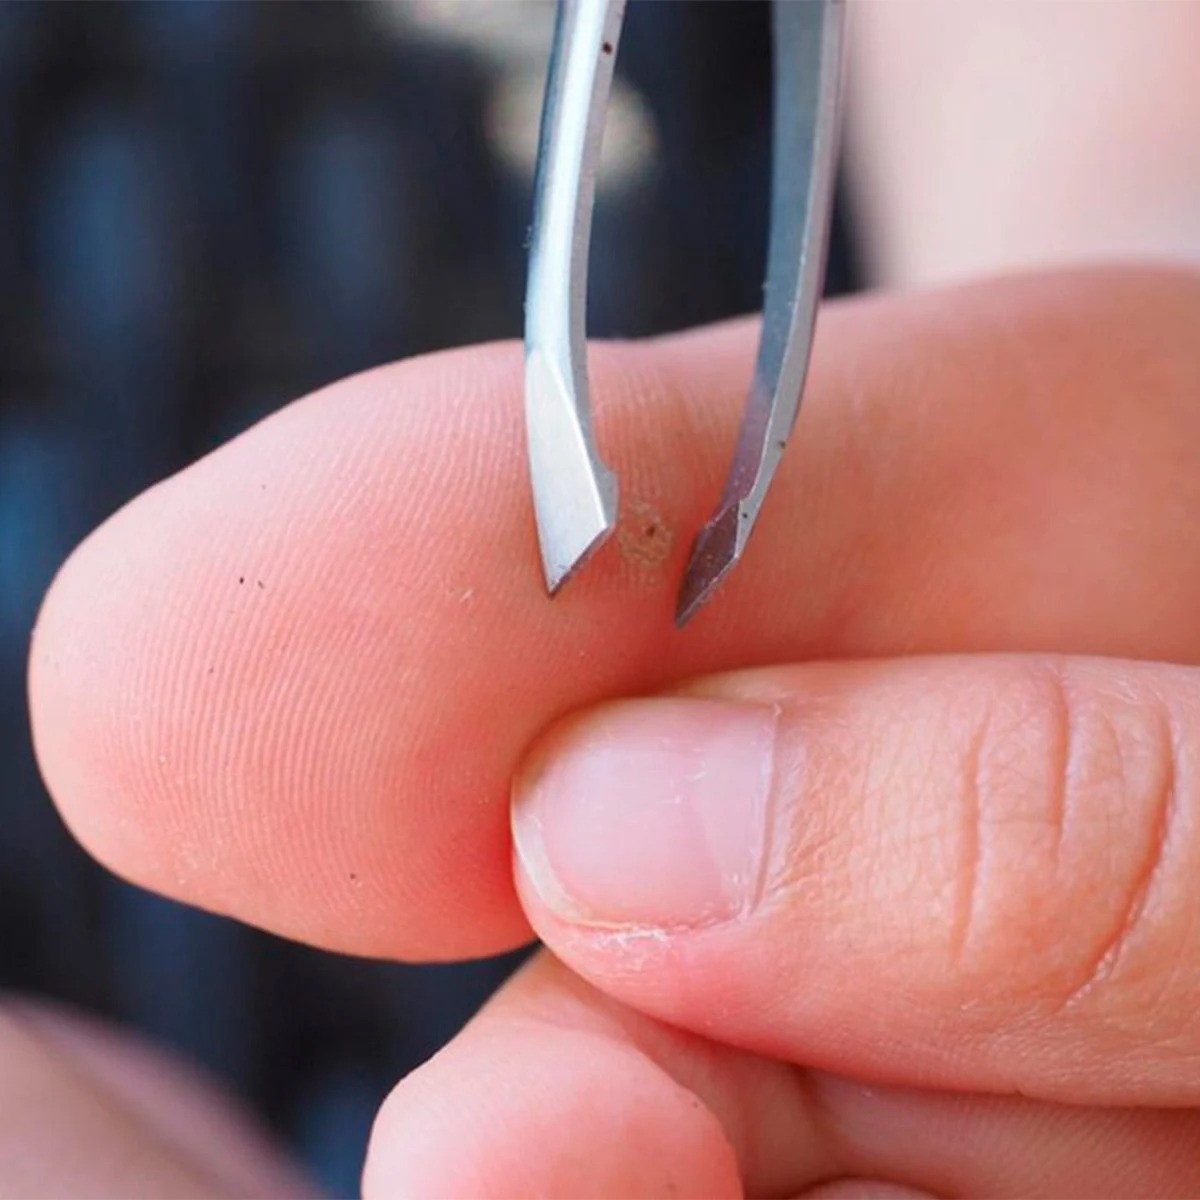
Step 5: Pry the Glass Off
As the protective glass begins to lift from the phone screen, the next step involves carefully prying the glass off to complete its detachment. This phase requires a delicate and methodical approach to ensure the safe removal of the glass without causing any damage to the underlying screen.
Using a plastic pry tool, gently insert the edge into the gap created between the protective glass and the phone screen. The goal is to gradually widen the gap, allowing for the controlled release of the adhesive securing the glass. It is essential to exercise patience and precision during this process, avoiding sudden or forceful movements that could potentially harm the screen.
As the plastic pry tool navigates along the edges, continue to apply gentle pressure, gradually loosening the adhesive and creating a separation between the glass and the screen. The plastic pry tool serves as a valuable aid in carefully maneuvering the detachment process, ensuring that the adhesive releases without causing any undue stress on the phone screen.
While prying the glass off, it is important to maintain a steady and even pace, allowing the adhesive to release gradually. By methodically working around the edges, you can effectively navigate the detachment process, ensuring that the glass separates smoothly from the screen.
As the gap widens, continue to guide the plastic pry tool along the edges, ensuring that the adhesive releases evenly. Exercise caution and attentiveness throughout this phase, as the meticulous approach contributes to a successful and damage-free removal process.
Once the protective glass is fully detached from the phone screen, carefully lift it away from the device, ensuring that no residual adhesive remains attached. Set the glass aside in a safe location, and proceed to the final step of cleaning the phone screen to prepare it for a new protective layer.
Prying the glass off marks a crucial phase in the overall removal process, requiring careful attention and precision to ensure a seamless and damage-free detachment. By employing a methodical and gentle approach, you can successfully navigate this phase with confidence, setting the stage for the subsequent cleaning and preparation of the phone screen.
Step 6: Clean the Phone Screen
After successfully removing the protective glass from your phone, the final step involves thoroughly cleaning the phone screen to ensure a pristine surface for the application of a new protective layer. This critical phase requires meticulous attention to detail and the use of appropriate cleaning materials to eliminate any residue or particles that may have accumulated during the removal process.
Begin by using a microfiber cloth to gently wipe the phone screen, removing any dust, fingerprints, or adhesive remnants that may be present. The soft and non-abrasive nature of the microfiber cloth ensures that the screen is cleaned without the risk of scratching or damaging the surface. Employ gentle and circular motions to effectively remove any remaining particles, ensuring that the screen is free from any debris.
If adhesive residue persists on the screen, you can utilize an adhesive remover to facilitate the cleaning process. Apply a small amount of the adhesive remover to a clean section of the microfiber cloth and gently rub the affected areas on the screen. The adhesive remover aids in dissolving and lifting any stubborn residue, restoring the screen to a pristine condition.
Once the screen is free from any residue, inspect it under adequate lighting to ensure that no particles or streaks remain. If necessary, perform a final wipe using a dry section of the microfiber cloth to achieve a polished and clear surface. This thorough cleaning process prepares the phone screen for the application of a new protective glass or screen protector, ensuring optimal adhesion and clarity.
By meticulously cleaning the phone screen, you create an ideal foundation for the installation of a new protective layer, whether it's a tempered glass screen protector or a protective film. The clean and smooth surface enhances the adherence of the new protective layer, providing effective coverage and safeguarding the phone screen against scratches and impacts.
With the phone screen meticulously cleaned and prepared, you are now ready to apply a new protective layer, ensuring that your phone remains shielded and resilient in the face of daily use and potential hazards. This comprehensive cleaning process sets the stage for the seamless transition to a new protective layer, maintaining the integrity and longevity of your phone screen.
Conclusion
In conclusion, the process of removing the protective glass from your phone requires careful attention, the right tools, and a methodical approach. By following the step-by-step guide outlined in this comprehensive article, you can confidently navigate each phase of the removal process, ensuring a smooth and damage-free experience.
From powering off the phone and removing the case to heating the edges of the glass, using a suction cup, prying the glass off, and meticulously cleaning the phone screen, each step contributes to the overall success of the removal process. The emphasis on patience, precision, and the utilization of the appropriate tools ensures that the phone screen remains unharmed throughout the entire procedure.
By adhering to the recommended techniques and exercising caution at each stage, you can effectively remove the protective glass from your phone without compromising the integrity of the device. The thorough cleaning of the phone screen sets the stage for the application of a new protective layer, ensuring that your phone remains shielded and resilient against daily wear and tear.
It is important to note that while the removal process may seem intricate, the careful execution of each step leads to a rewarding outcome. Whether you are replacing the protective glass, switching to a different type of protection, or addressing wear and tear, the knowledge and confidence gained from this guide empower you to undertake the removal process with ease.
Ultimately, the successful removal of the protective glass from your phone not only ensures a clean and pristine screen but also sets the stage for the application of a new protective layer, maintaining the longevity and functionality of your device. With the right tools, a methodical approach, and a focus on meticulous detail, you can accomplish this task with confidence and precision, safeguarding your phone against potential damage and preserving its visual clarity.
As you embark on the journey of removing the protective glass from your phone, remember that each step contributes to the overall success of the process. By embracing the guidance provided in this article, you are equipped to navigate the removal process with confidence, ensuring that your phone remains well-protected and ready for the next phase of its journey.
Frequently Asked Questions about How To Remove Protective Glass From Phone
Was this page helpful?
At Storables.com, we guarantee accurate and reliable information. Our content, validated by Expert Board Contributors, is crafted following stringent Editorial Policies. We're committed to providing you with well-researched, expert-backed insights for all your informational needs.


0 thoughts on “How To Remove Protective Glass From Phone”