Home>Furniture & Design>Interior Design Trends>How To Clean Glass Pendant Lights
Interior Design Trends
How To Clean Glass Pendant Lights
Modified: August 16, 2024
Learn how to effectively clean glass pendant lights to keep up with the latest interior design trends. Discover expert tips and techniques for maintaining the shine and clarity of your lighting fixtures.
(Many of the links in this article redirect to a specific reviewed product. Your purchase of these products through affiliate links helps to generate commission for Storables.com, at no extra cost. Learn more)
Introduction
Glass pendant lights are a stunning addition to any home, exuding elegance and sophistication. Their sleek design and ambient glow can transform a space, creating a captivating focal point that draws the eye and elevates the overall aesthetic. However, to maintain their allure, it's crucial to keep these fixtures clean and free from dust, grime, and smudges. Regular cleaning not only preserves their beauty but also ensures that they emit a radiant, unobstructed light.
In this comprehensive guide, we will delve into the step-by-step process of cleaning glass pendant lights, providing you with the knowledge and techniques needed to restore their brilliance. Whether your pendant lights adorn the kitchen, dining area, or living room, this cleaning ritual will help them sparkle like new, revitalizing the ambiance of your home.
By following these cleaning steps, you can effortlessly rejuvenate your glass pendant lights, allowing them to radiate their full luminosity and enhance the allure of your living spaces. So, let's embark on this journey to restore the gleaming allure of your glass pendant lights, ensuring that they continue to illuminate your home with timeless elegance.
Key Takeaways:
- Transform your home with sparkling glass pendant lights by following a simple, step-by-step cleaning process. Rejuvenate their allure and create a captivating ambiance with timeless elegance.
- Prioritize safety, precision, and gentle cleaning techniques to restore the radiant glow of your glass pendant lights. Embrace the transformative ritual of maintaining these luminous adornments.
Read more: DIY Guide To Installing A Pendant Light
Step 1: Gather the necessary supplies
Before embarking on the cleaning process for your glass pendant lights, it's essential to gather the necessary supplies to ensure a thorough and effective cleaning session. Here's a comprehensive list of items you'll need:
-
Microfiber Cloth: Opt for a soft, lint-free microfiber cloth to prevent scratching or leaving behind fibers on the glass surface. Microfiber cloths are gentle yet effective at capturing dust and grime without causing damage.
-
Glass Cleaner: Select a high-quality glass cleaner specifically formulated for delicate surfaces. Look for a non-abrasive, streak-free formula to achieve a pristine finish without residue or smudges.
-
Rubbing Alcohol: This versatile cleaning agent is excellent for tackling stubborn stains, grease, and fingerprints on glass surfaces. Dilute the rubbing alcohol with water for an effective cleaning solution.
-
Mild Dish Soap: A gentle dish soap can be used to remove accumulated dirt and grime from the glass shades. Opt for a mild, non-abrasive formula to avoid damaging the glass.
-
Warm Water: Prepare a basin or bucket of warm water to dilute the cleaning solutions and facilitate the cleaning process.
-
Soft-bristled Brush or Toothbrush: A soft-bristled brush or toothbrush can be used to reach intricate crevices and remove dirt from the metal fixtures without causing scratches.
-
Step Stool or Ladder: Depending on the height of your pendant lights, ensure you have a stable step stool or ladder to safely access and clean the fixtures.
-
Protective Gloves: While cleaning the metal fixtures, it's advisable to wear protective gloves to shield your hands from any sharp edges or cleaning solutions.
By assembling these essential supplies, you'll be well-equipped to embark on the glass pendant light cleaning process with confidence and efficiency. With the right tools at your disposal, you can ensure that the cleaning endeavor yields impeccable results, restoring the radiant allure of your glass pendant lights and revitalizing the ambiance of your living spaces.
Step 2: Turn off the power
Before initiating the cleaning process for your glass pendant lights, it is imperative to prioritize safety by turning off the power supply to the fixtures. This crucial step ensures that you can clean the lights without the risk of electrical shock or other potential hazards. Here's a detailed guide on how to safely turn off the power and prepare for the cleaning procedure.
-
Locate the Circuit Breaker: Begin by identifying the circuit breaker that controls the power supply to the pendant lights. This may be located in your home's electrical panel or fuse box. If you are unsure which breaker corresponds to the lights, it's advisable to seek assistance from a qualified electrician to avoid any mishaps.
-
Switch Off the Circuit Breaker: Once you have located the appropriate circuit breaker, switch it off to cut off the electricity supply to the pendant lights. It's essential to verify that the power has been successfully disconnected by testing the lights to ensure they no longer illuminate.
-
Use a Voltage Tester (Optional): For an added layer of safety, consider using a voltage tester to confirm that the power has been effectively shut off. This device can detect the presence of electrical current, providing peace of mind before proceeding with the cleaning process.
-
Secure the Circuit Breaker: To prevent accidental reconnection of the power supply while cleaning the pendant lights, consider securing the circuit breaker with a lock or tag to indicate that maintenance work is in progress. This precautionary measure helps to avoid any inadvertent power restoration during the cleaning procedure.
By diligently following these steps to turn off the power supply to your glass pendant lights, you prioritize safety and create a secure environment for the subsequent cleaning tasks. This proactive approach ensures that you can proceed with confidence, knowing that the risk of electrical hazards has been effectively mitigated. With the power safely turned off, you are now ready to proceed to the next steps in the glass pendant light cleaning process.
Step 3: Remove the pendant lights
Removing the pendant lights is a crucial step in the cleaning process, allowing for thorough access to both the glass shades and the metal fixtures. This task requires careful attention to ensure the safe removal of the lights without causing damage to the electrical components or the surrounding area. Here's a detailed guide on how to effectively remove the pendant lights in preparation for the cleaning procedure.
-
Switch Off the Lights: Before handling the pendant lights, ensure that they are turned off and have been disconnected from the power supply. This precautionary measure eliminates the risk of electrical shock and creates a safe environment for the removal process.
-
Prepare a Stable Surface: Place a soft, non-abrasive surface, such as a clean towel or blanket, on the floor or a nearby table to serve as a cushioning layer for the glass shades and metal fixtures. This protective measure prevents accidental damage or scratches during the removal and subsequent cleaning.
-
Unscrew the Fastenings: Using a suitable screwdriver or wrench, carefully loosen and remove the fastenings that secure the pendant lights to the ceiling or mounting bracket. It's essential to support the weight of the fixtures while unscrewing the fastenings to prevent them from falling or sustaining damage.
-
Seek Assistance if Needed: If the pendant lights are large or heavy, consider enlisting the help of a friend or family member to assist with the removal process. This collaborative effort ensures that the lights are handled and detached safely, minimizing the risk of accidents or mishaps.
-
Lower the Lights Gently: Once the fastenings are detached, carefully lower the pendant lights to the prepared surface, ensuring a smooth and controlled descent. Avoid sudden movements or jerks that could lead to accidental damage or dislodging of the glass shades.
-
Detach Electrical Connections (If Applicable): If the pendant lights are hardwired, carefully disconnect the electrical connections according to the manufacturer's instructions. Take note of the wiring configuration or consider labeling the wires to facilitate reinstallation after the cleaning process.
By meticulously following these steps, you can safely remove the pendant lights in preparation for the cleaning procedure. This methodical approach ensures that the lights are handled with care and precision, setting the stage for a thorough cleaning of both the glass shades and the metal fixtures. With the pendant lights successfully detached, you are now ready to proceed to the next phase of the cleaning process, rejuvenating the allure of your glass pendant lights.
Step 4: Clean the glass shades
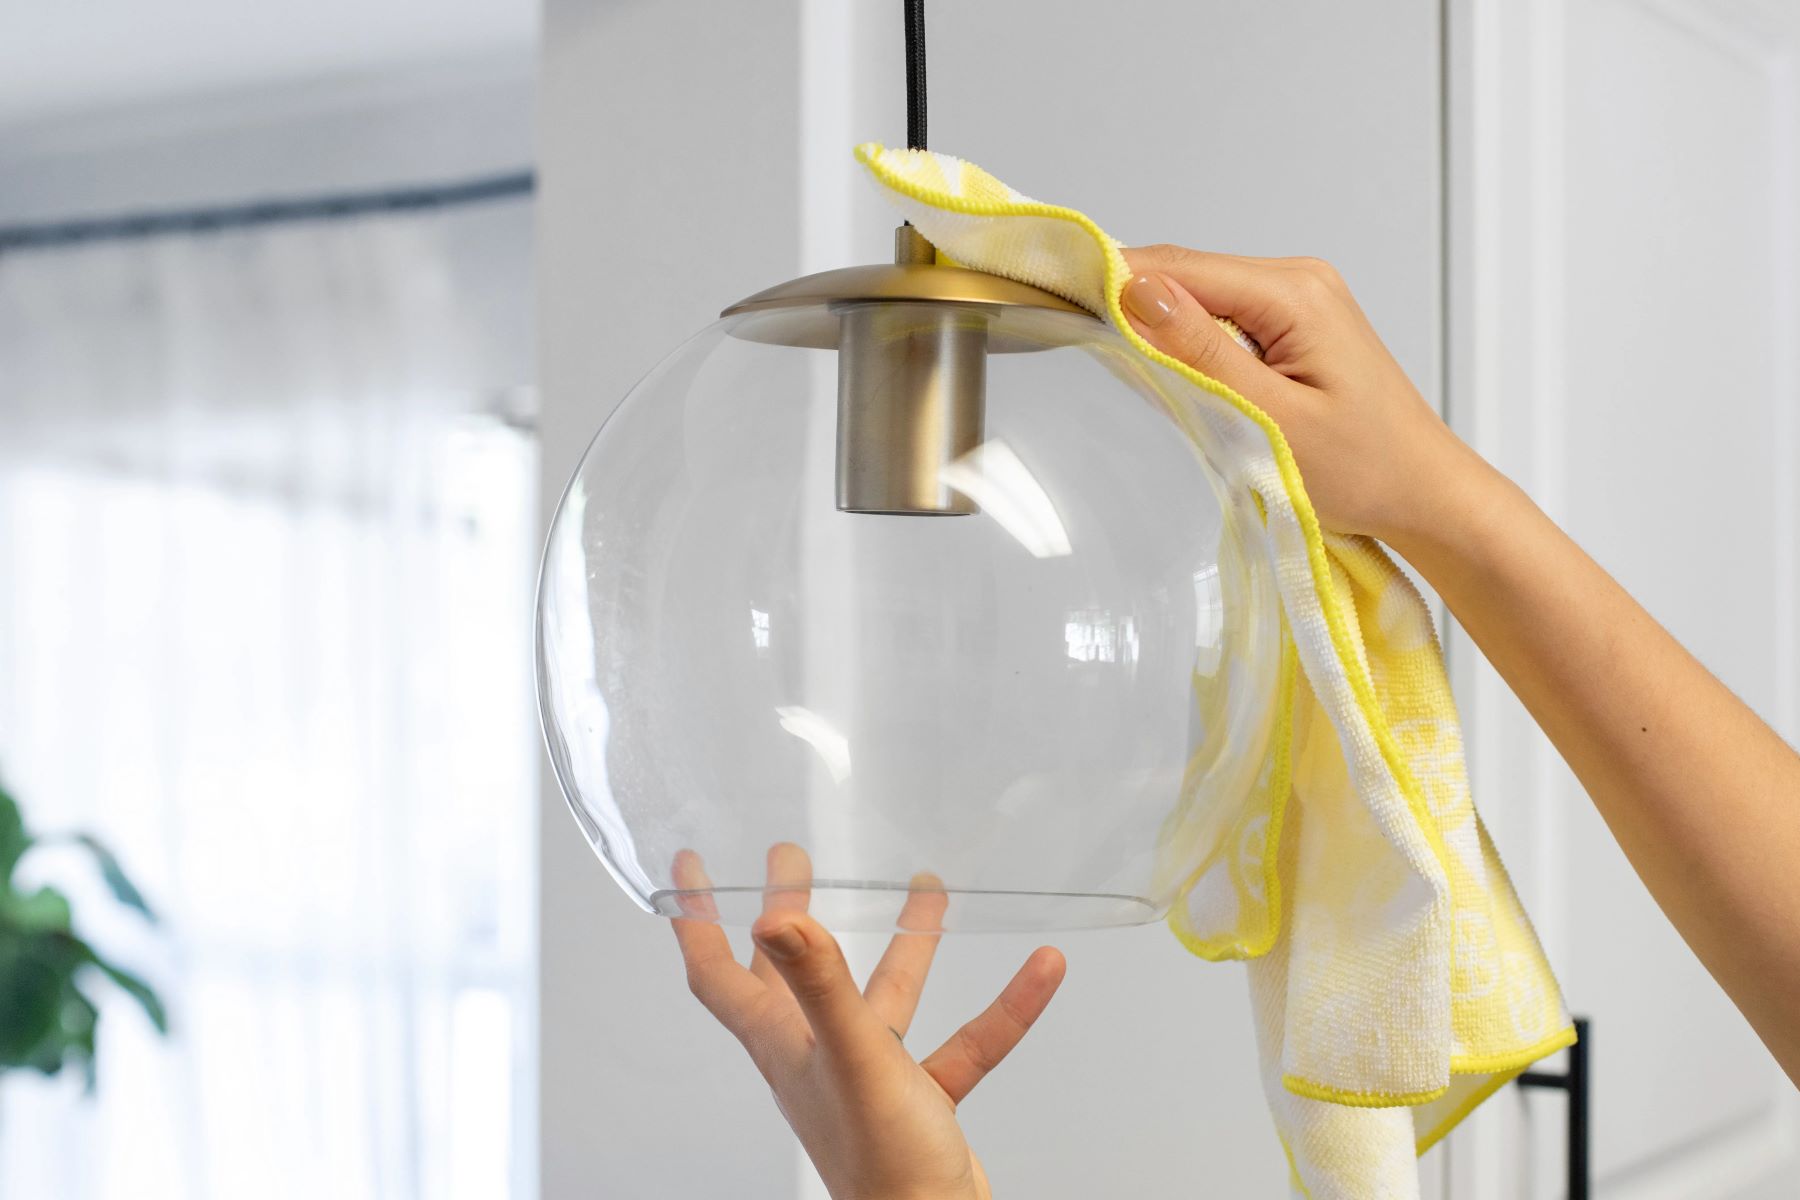
Cleaning the glass shades of your pendant lights is a pivotal step in revitalizing their luminous allure. Over time, these delicate surfaces can accumulate dust, fingerprints, and grime, diminishing their brilliance and obstructing the emission of light. By following a meticulous cleaning process, you can restore the pristine clarity of the glass shades, allowing them to radiate a captivating glow once again.
Read more: How To Clean Glass Light Fixtures
Substep 1: Dusting and Initial Inspection
Begin by gently dusting the exterior of the glass shades using a soft, dry microfiber cloth. This initial step helps remove loose particles and surface-level dust, providing a clear view of any stubborn stains or smudges that require targeted cleaning. Take this opportunity to inspect the glass shades for any intricate details or decorative elements that may require specialized cleaning techniques.
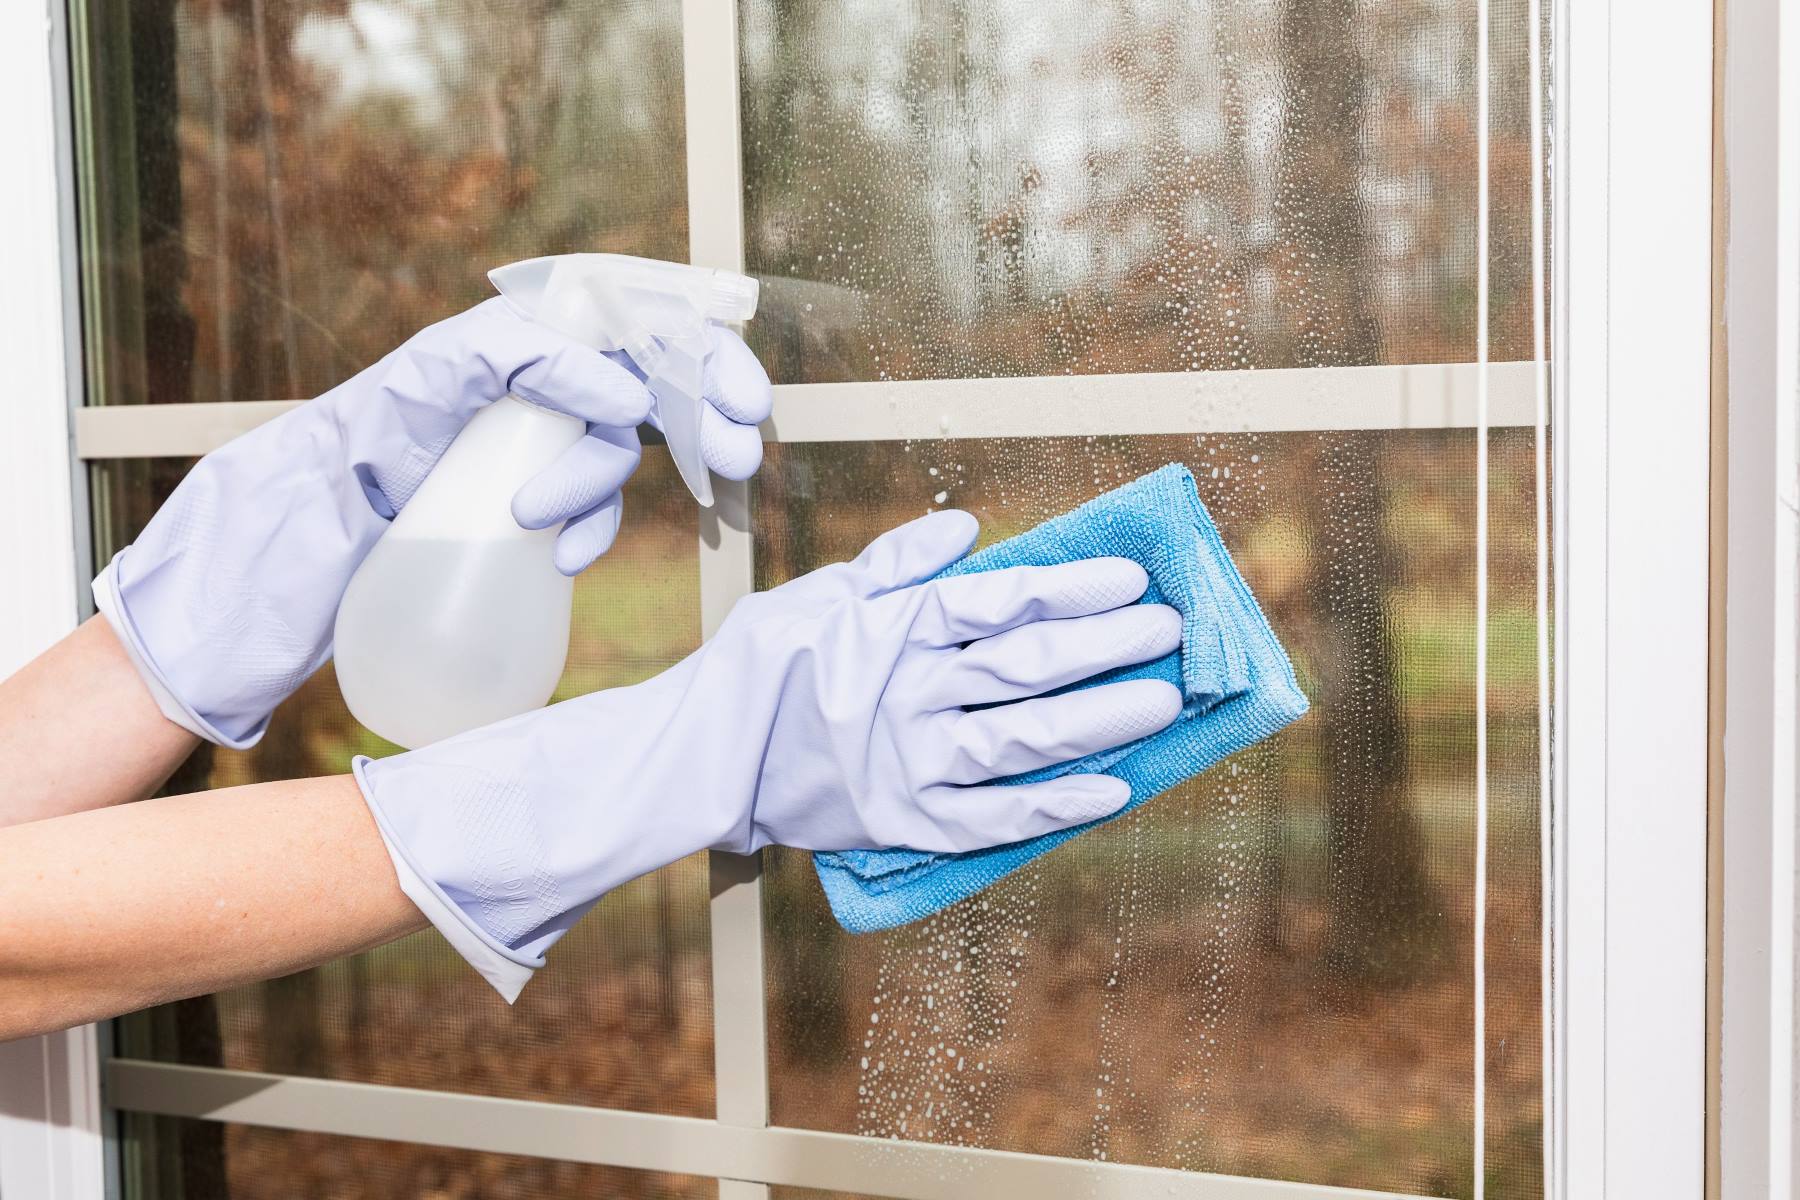
Substep 2: Preparing the Cleaning Solution
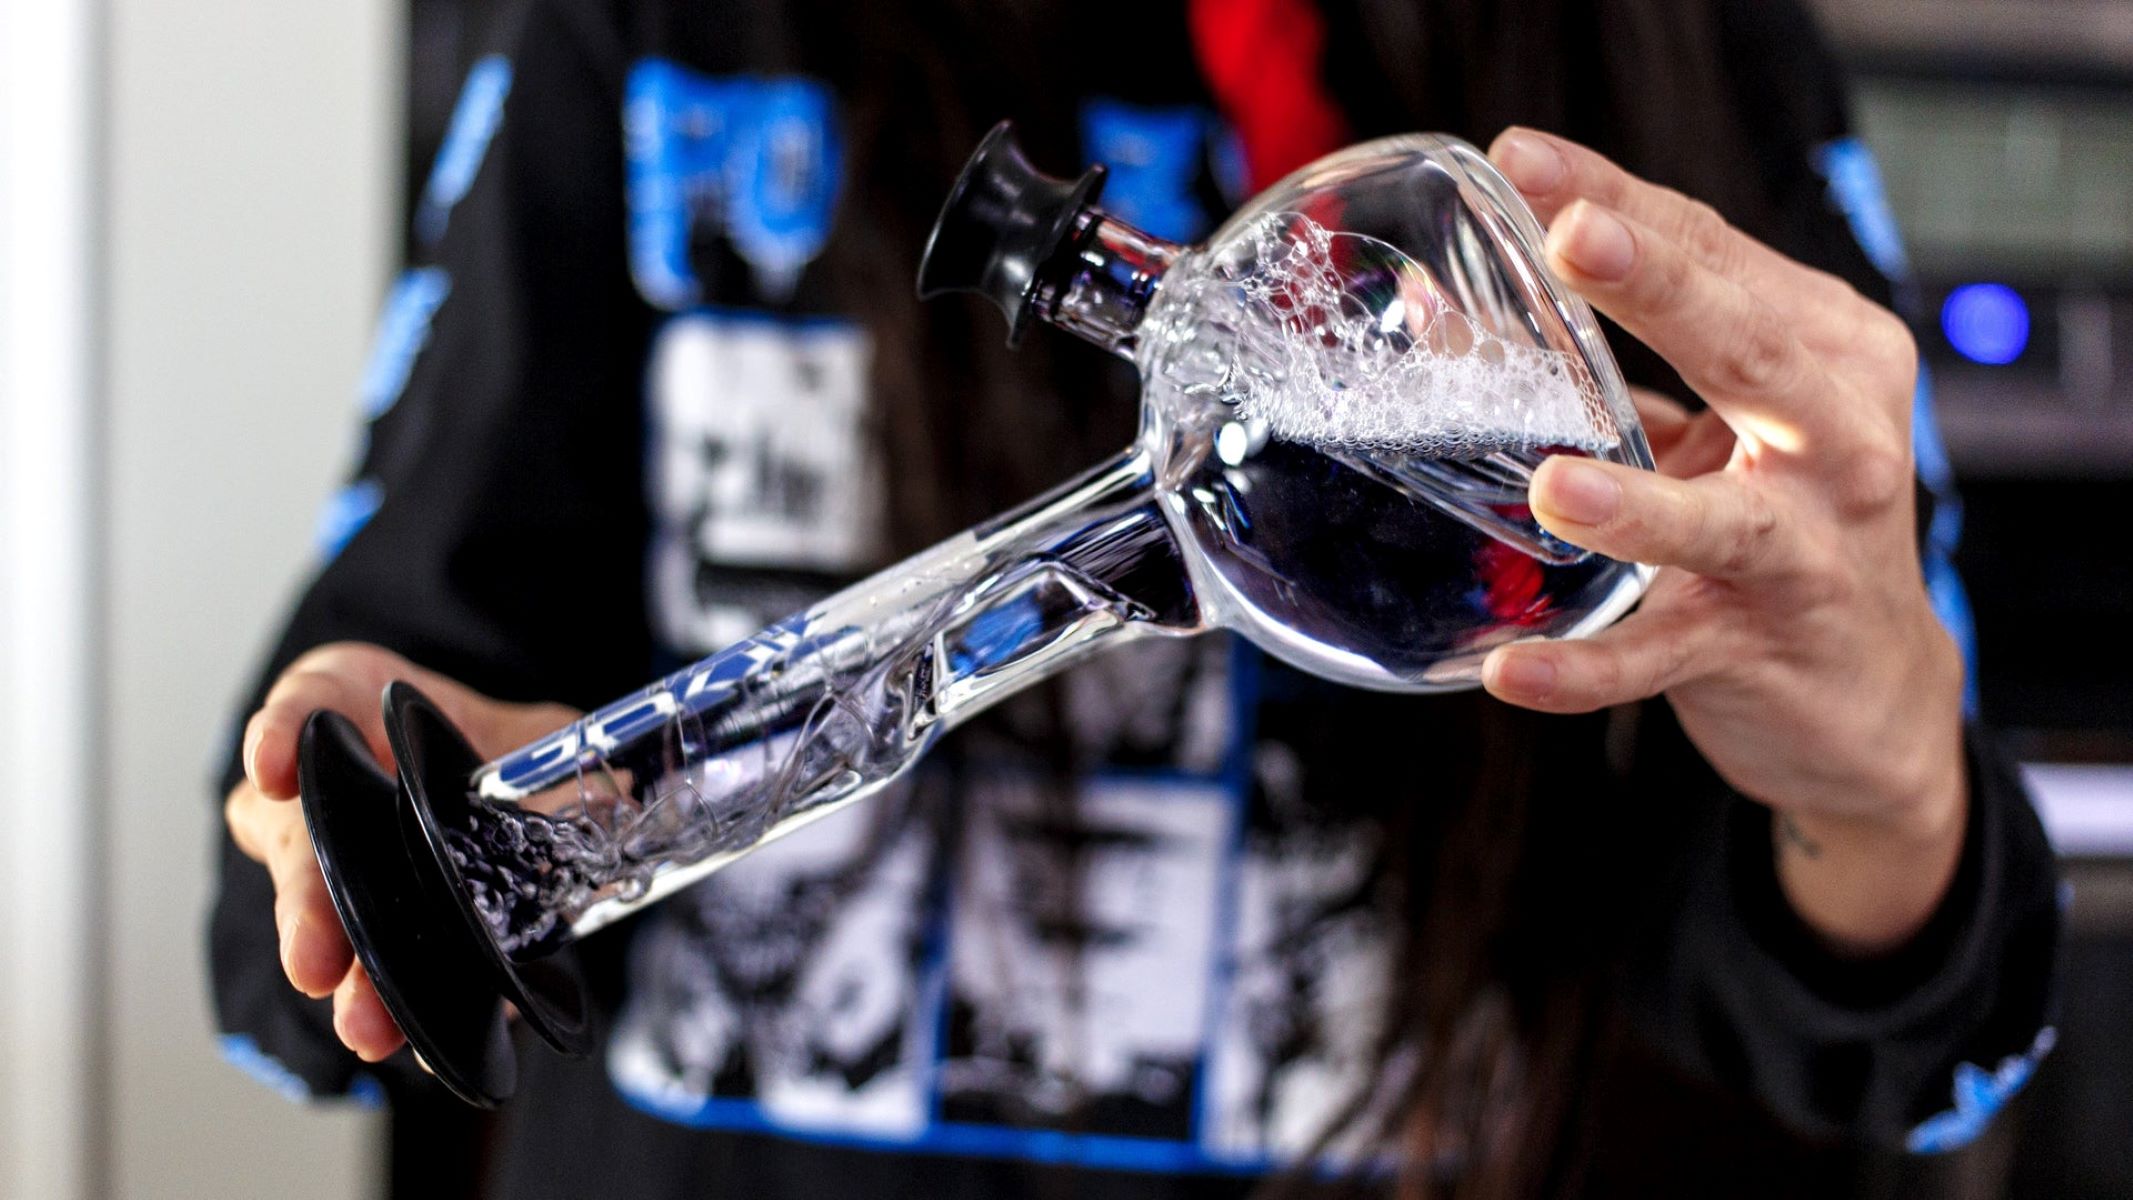
In a basin or bucket, combine a small amount of mild dish soap with warm water to create a gentle cleaning solution. Avoid using abrasive or harsh cleaners that could damage the glass surfaces. Alternatively, you can opt for a specialized glass cleaner formulated for delicate surfaces, ensuring a streak-free and residue-free finish.
Substep 3: Cleaning the Glass Shades
Dip a clean microfiber cloth into the prepared cleaning solution, ensuring it is damp but not excessively wet. Gently wipe the glass shades in circular motions, starting from the top and working your way down to cover the entire surface. Pay special attention to areas with visible smudges or stains, applying slightly more pressure while avoiding abrasive scrubbing.
Substep 4: Addressing Stubborn Stains
For persistent stains or greasy residue, a diluted solution of rubbing alcohol and water can be used to target specific areas. Apply the diluted rubbing alcohol to a small section of the microfiber cloth and carefully dab at the stubborn stains until they begin to lift. Exercise caution to prevent excessive saturation of the glass shades.
Substep 5: Drying and Polishing
Once the glass shades have been thoroughly cleaned, use a separate dry microfiber cloth to gently dry and polish the surfaces. This final step helps eliminate any remaining moisture and ensures a streak-free, crystal-clear finish. Take care to inspect the glass shades under proper lighting to confirm that they are free from smudges or streaks.
By meticulously following these substeps, you can effectively clean the glass shades of your pendant lights, rejuvenating their luminous allure and restoring their captivating radiance. This meticulous cleaning process ensures that the glass shades remain a focal point of elegance and sophistication, enhancing the ambiance of your living spaces with their renewed brilliance.
Step 5: Clean the metal fixtures
Cleaning the metal fixtures of your glass pendant lights is essential to ensure that every aspect of these luminous adornments exudes brilliance. Over time, metal fixtures can accumulate dust, grease, and tarnish, detracting from the overall allure of the pendant lights. By meticulously cleaning the metal components, you can elevate the visual impact of the fixtures and maintain their pristine appearance.
Substep 1: Dusting and Surface Preparation
Commence the cleaning process by using a soft-bristled brush or a dry microfiber cloth to gently remove any surface-level dust and debris from the metal fixtures. Pay particular attention to intricate details, crevices, and decorative elements to ensure thorough dust removal. This initial step sets the stage for a more comprehensive cleaning of the metal surfaces.
Substep 2: Preparing the Cleaning Solution
In a basin or container, mix a small amount of mild dish soap with warm water to create a gentle cleaning solution suitable for metal surfaces. This mild solution effectively removes accumulated grime and grease without causing damage to the metal finishes. Alternatively, if the fixtures are tarnished, consider using a specialized metal cleaner or polish recommended for the specific type of metal.
Substep 3: Cleaning the Metal Fixtures
Dip a soft-bristled brush or a clean, dampened microfiber cloth into the prepared cleaning solution. Gently scrub the metal fixtures, ensuring thorough coverage of all surfaces. Pay close attention to areas with visible tarnish, grease, or stubborn residue, applying gentle pressure to lift and remove the accumulated grime. For intricate details and hard-to-reach areas, a toothbrush can be used to ensure comprehensive cleaning.
Substep 4: Rinsing and Drying
After cleaning the metal fixtures, use a separate cloth dampened with clean water to rinse off any remaining soapy residue. Ensure that all traces of the cleaning solution are thoroughly removed to prevent streaking or residue buildup. Once rinsed, use a dry microfiber cloth to gently dry and polish the metal surfaces, restoring their lustrous sheen and eliminating any water spots.
Substep 5: Applying Metal Polish (If Applicable)
If the metal fixtures exhibit tarnish or lackluster areas, consider applying a suitable metal polish according to the manufacturer's instructions. This step can revitalize the metal finishes, restoring their brilliance and providing a protective layer against future tarnishing. Carefully follow the application guidelines and buff the metal surfaces to achieve a radiant, polished finish.
By meticulously following these substeps, you can effectively clean the metal fixtures of your glass pendant lights, ensuring that every aspect of these luminous adornments exudes timeless elegance. This comprehensive cleaning process revitalizes the metal finishes, allowing the pendant lights to radiate their full luminosity and enhance the ambiance of your living spaces with their renewed allure.
Step 6: Reassemble the pendant lights
After completing the meticulous cleaning of the glass shades and metal fixtures, the final step involves reassembling the pendant lights to restore their captivating presence in your living spaces. This crucial phase requires careful attention to detail and precision to ensure that the lights are securely reinstalled, allowing them to once again illuminate your home with timeless elegance.
Substep 1: Inspecting the Components
Before reassembling the pendant lights, carefully inspect the glass shades and metal fixtures to ensure that they are impeccably clean and free from any residual moisture or cleaning agents. Verify that the electrical connections, if applicable, are in optimal condition and free from any damage or wear.
Substep 2: Aligning and Securing the Glass Shades
Begin by aligning the clean glass shades with the metal fixtures, ensuring a snug and secure fit. Gently lift the glass shades into position, taking care to align them evenly and symmetrically. Once aligned, fasten the glass shades to the metal fixtures using the appropriate fastenings or screws, ensuring that they are securely attached without overtightening.
Substep 3: Reconnecting the Electrical Components
If the pendant lights were hardwired, carefully reconnect the electrical components according to the manufacturer's instructions and any labeling that was applied during the removal process. Exercise caution and precision to ensure that the electrical connections are secure and correctly aligned, minimizing the risk of electrical issues or malfunctions.
Substep 4: Testing the Lights
Once the glass shades are securely reattached and any electrical connections are restored, it's essential to test the pendant lights to verify that they are functioning as expected. Switch on the power supply and observe the lights to confirm that they illuminate without flickering or irregularities. This step provides assurance that the reassembly has been executed successfully and that the pendant lights are ready to once again adorn your living spaces.
By meticulously following these substeps, you can effectively reassemble the pendant lights, culminating in the restoration of their radiant allure and captivating presence in your home. This meticulous reassembly process ensures that the pendant lights are securely reinstated, ready to illuminate your living spaces with their timeless elegance and luminous charm.
Conclusion
In conclusion, the process of cleaning glass pendant lights is not only a practical maintenance task but also a transformative ritual that revitalizes the ambiance of your living spaces. By following the comprehensive steps outlined in this guide, you have embarked on a journey to restore the gleaming allure of your glass pendant lights, ensuring that they continue to illuminate your home with timeless elegance.
Through the meticulous cleaning of the glass shades, you have rejuvenated their luminous allure, allowing them to radiate a captivating glow once again. The careful removal and reassembly of the pendant lights have not only facilitated the cleaning process but also emphasized the importance of safety and precision in handling these delicate fixtures.
Furthermore, the thorough cleaning of the metal fixtures has revitalized every aspect of these luminous adornments, ensuring that they exude timeless elegance and maintain their pristine appearance. The attention to detail and the use of gentle cleaning solutions have preserved the lustrous sheen of the metal finishes, allowing the pendant lights to once again enhance the ambiance of your living spaces with their renewed allure.
As you witness the restored brilliance of your glass pendant lights, you are not only preserving their aesthetic appeal but also creating an inviting and captivating atmosphere within your home. The interplay of light and elegance that these fixtures bring to your living spaces is now revitalized, allowing them to serve as captivating focal points that elevate the overall aesthetic and ambiance of your home.
By embracing the art of cleaning and maintaining your glass pendant lights, you are nurturing a space that exudes sophistication and timeless allure. The radiant glow and captivating presence of these fixtures now continue to enrich your living spaces, creating an environment that is both inviting and visually stunning.
In essence, the process of cleaning glass pendant lights transcends mere maintenance; it is a transformative practice that rekindles the luminous allure of these fixtures, ensuring that they remain a source of timeless elegance and captivating radiance within your home.
Frequently Asked Questions about How To Clean Glass Pendant Lights
Was this page helpful?
At Storables.com, we guarantee accurate and reliable information. Our content, validated by Expert Board Contributors, is crafted following stringent Editorial Policies. We're committed to providing you with well-researched, expert-backed insights for all your informational needs.


0 thoughts on “How To Clean Glass Pendant Lights”