Home>Construction & Tools>Building Materials>How To Replace Siding With Brick
Building Materials
How To Replace Siding With Brick
Modified: August 28, 2024
Learn how to replace siding with brick using high-quality building materials. Follow our step-by-step guide for a seamless and durable transformation.
(Many of the links in this article redirect to a specific reviewed product. Your purchase of these products through affiliate links helps to generate commission for Storables.com, at no extra cost. Learn more)
Introduction
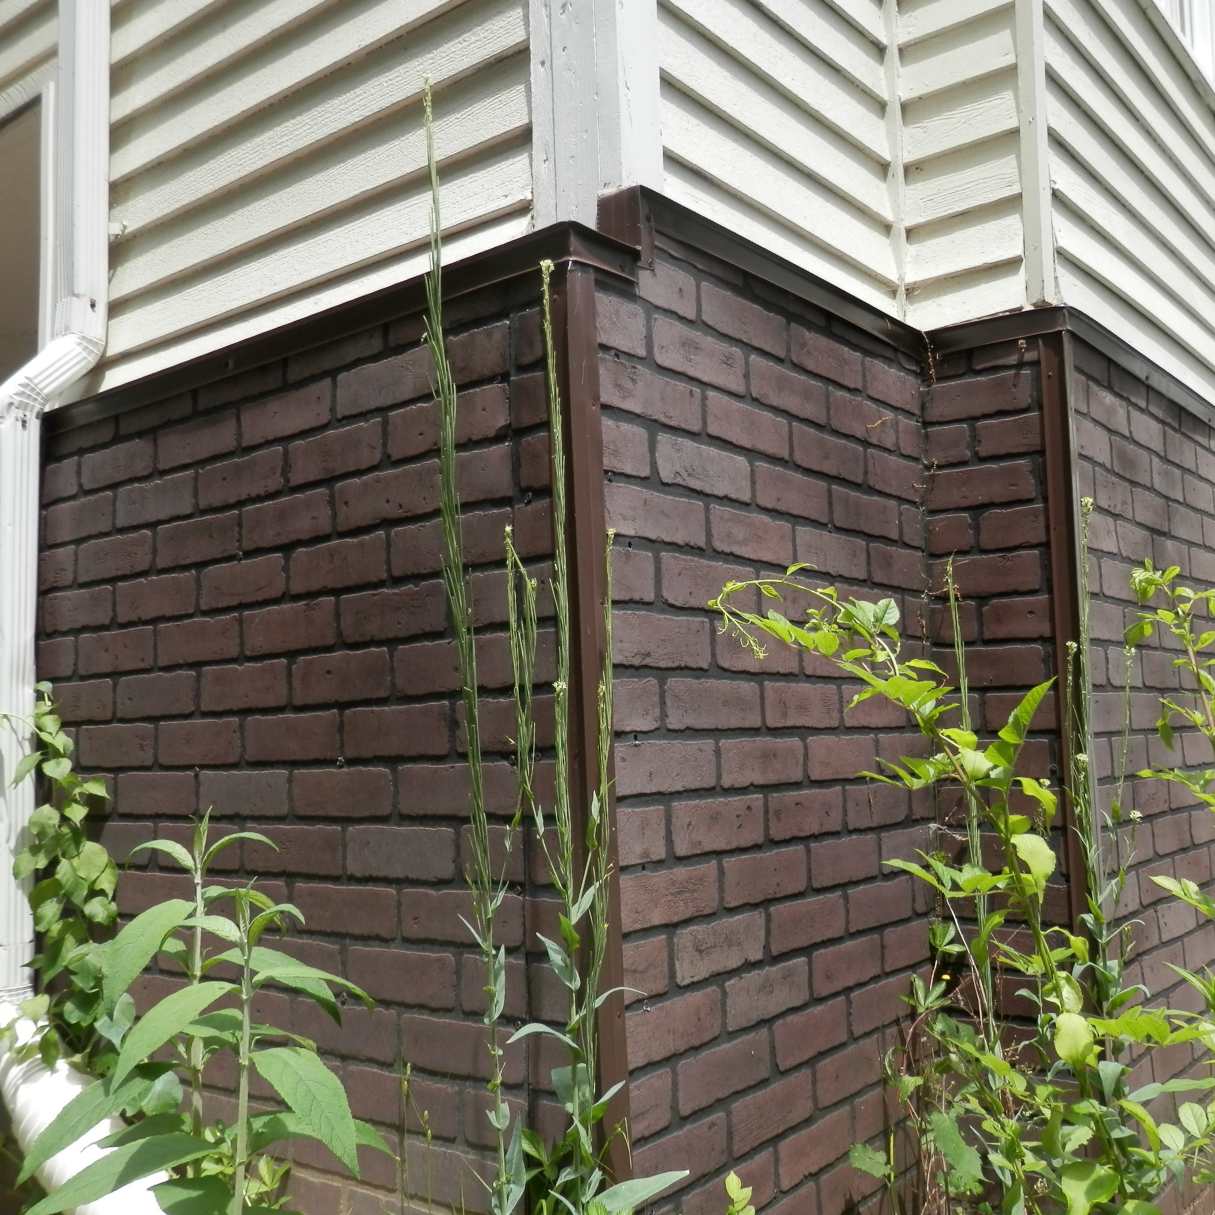
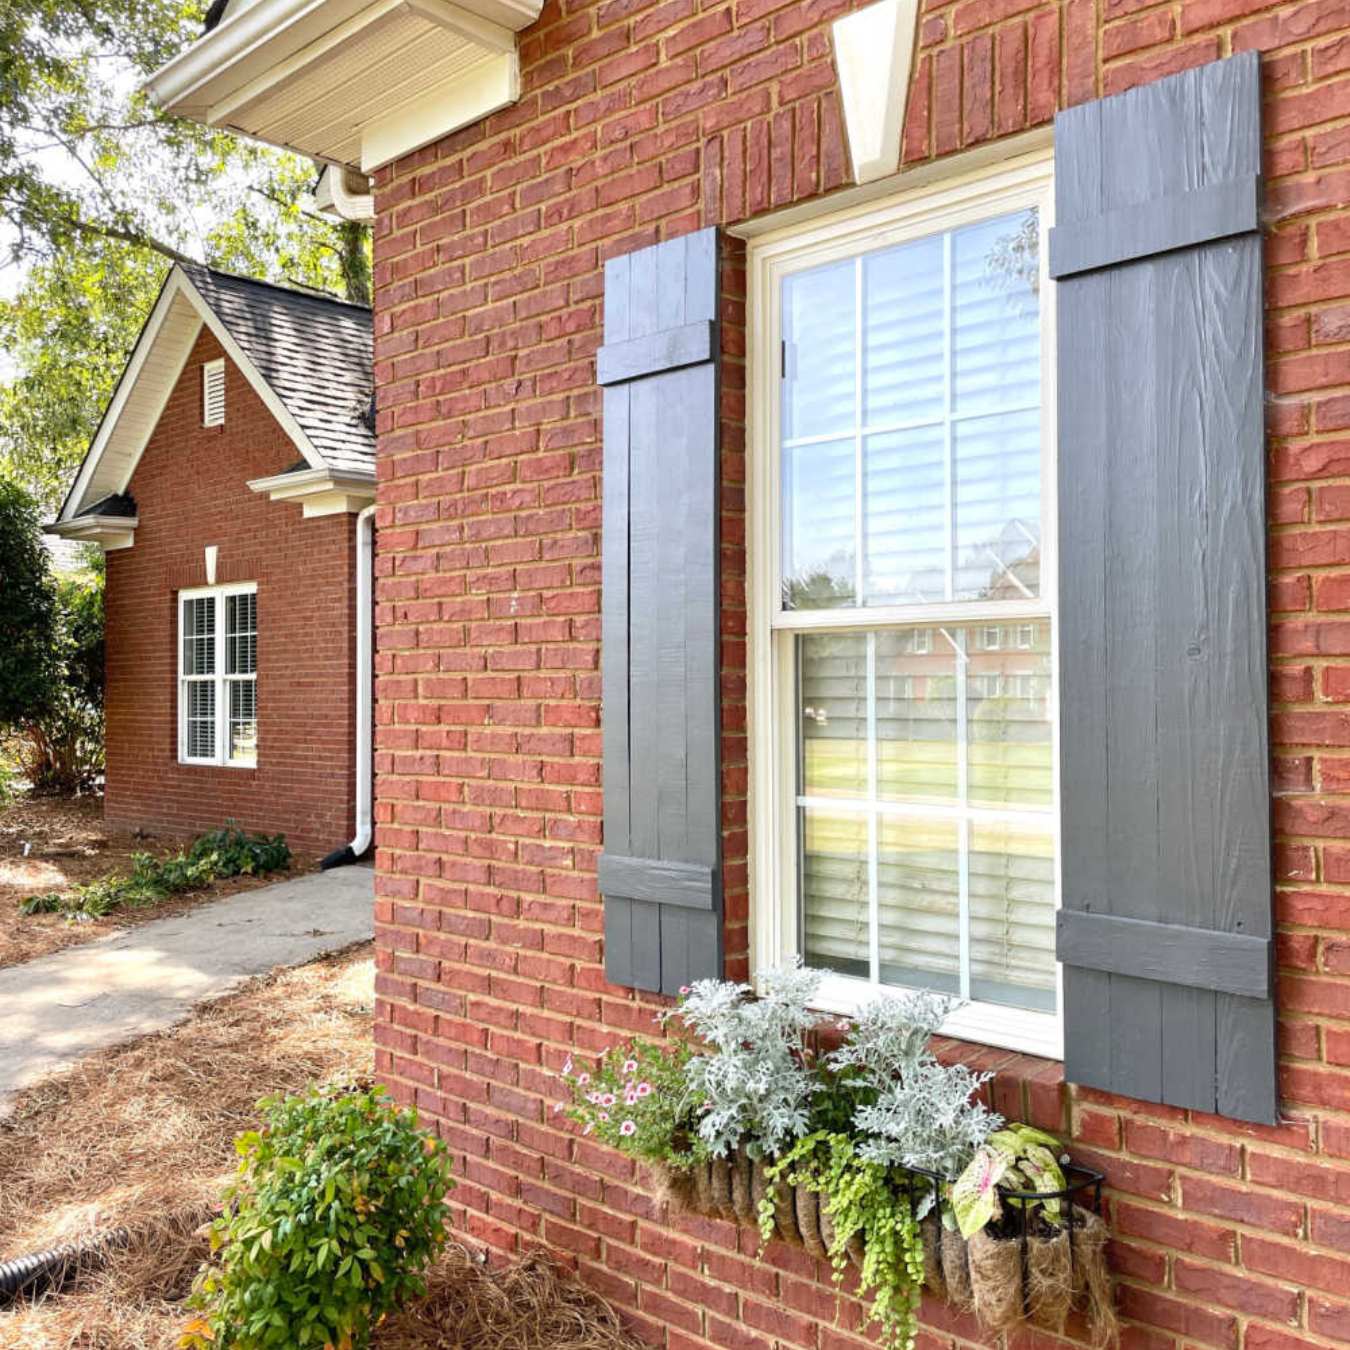
Replacing siding with brick can dramatically enhance the aesthetic appeal and durability of your home. Brick is a timeless and durable building material that adds a touch of elegance and sophistication to any property. Whether you’re looking to upgrade your home’s exterior or seeking a more robust and low-maintenance solution, transitioning from siding to brick can be a rewarding endeavor.
In this comprehensive guide, we’ll walk you through the step-by-step process of replacing siding with brick. From gathering the necessary materials and tools to the finishing touches, you’ll gain valuable insights into the intricacies of this transformation. By following these detailed instructions, you can elevate your home’s curb appeal and create a lasting impression.
Embark on this journey with us as we explore the art of seamlessly integrating brick into your home’s exterior, transforming it into a timeless masterpiece that exudes charm and durability.
Key Takeaways:
- Replacing siding with brick enhances your home’s beauty and durability. Follow the step-by-step guide to seamlessly transition to timeless elegance and create a lasting impression.
- From gathering materials to applying finishing touches, the process of replacing siding with brick is an artistic endeavor that harmonizes beauty and functionality, transforming your home into a timeless masterpiece.
Read more: Brick Siding Ideas
Step 1: Gather Materials and Tools
Before commencing the siding replacement with brick, it’s essential to gather all the necessary materials and tools to ensure a smooth and efficient transition. Here’s a comprehensive list of items you’ll need:
- Brick veneer or full bricks
- Mortar mix
- Metal flashing
- Weep hole inserts
- House wrap
- Pressure-treated lumber for ledgers
- Concrete footing (if required)
- Weather-resistant barrier
- Corrosion-resistant fasteners
- Hammer drill
- Masonry drill bits
- Level
- Masonry trowel
- Jointer tool
- Grinder with a diamond blade
- Safety goggles and gloves
- Measuring tape
- Chalk line
- Caulk and caulk gun
- Painter’s tape
- Paintbrushes
- Sealant
These materials and tools are essential for a successful siding-to-brick conversion. It’s crucial to ensure that all materials are of high quality and suitable for the specific requirements of your project. Additionally, safety equipment such as goggles and gloves should be worn throughout the process to prevent any potential hazards.
By gathering these materials and tools, you’ll be fully prepared to embark on the journey of transforming your home’s exterior with the enduring beauty of brick.
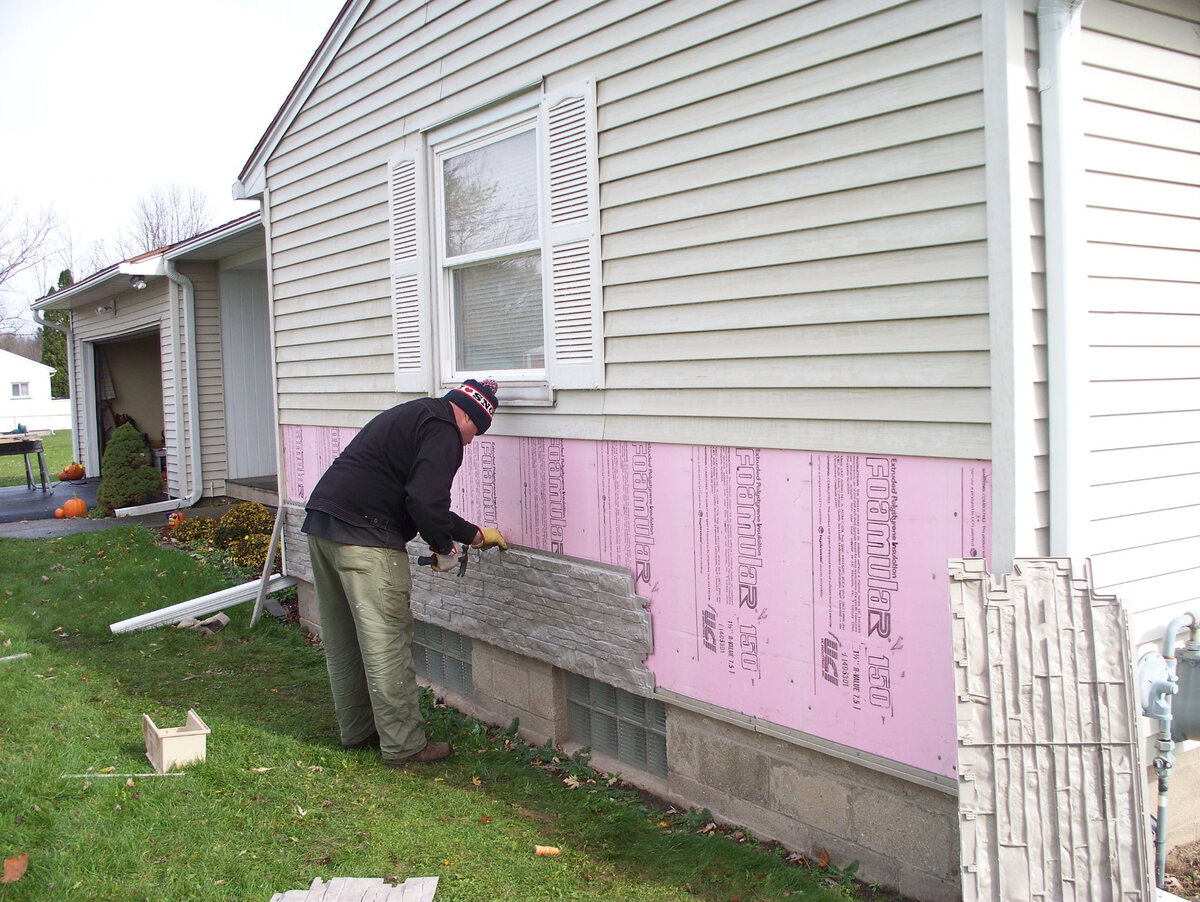
Step 2: Remove Old Siding
Removing the old siding is a critical initial step in the process of transitioning to brick. This phase requires precision and care to ensure that the underlying structure remains intact and ready to receive the new brick installation. Here’s a detailed guide on how to effectively remove the old siding:
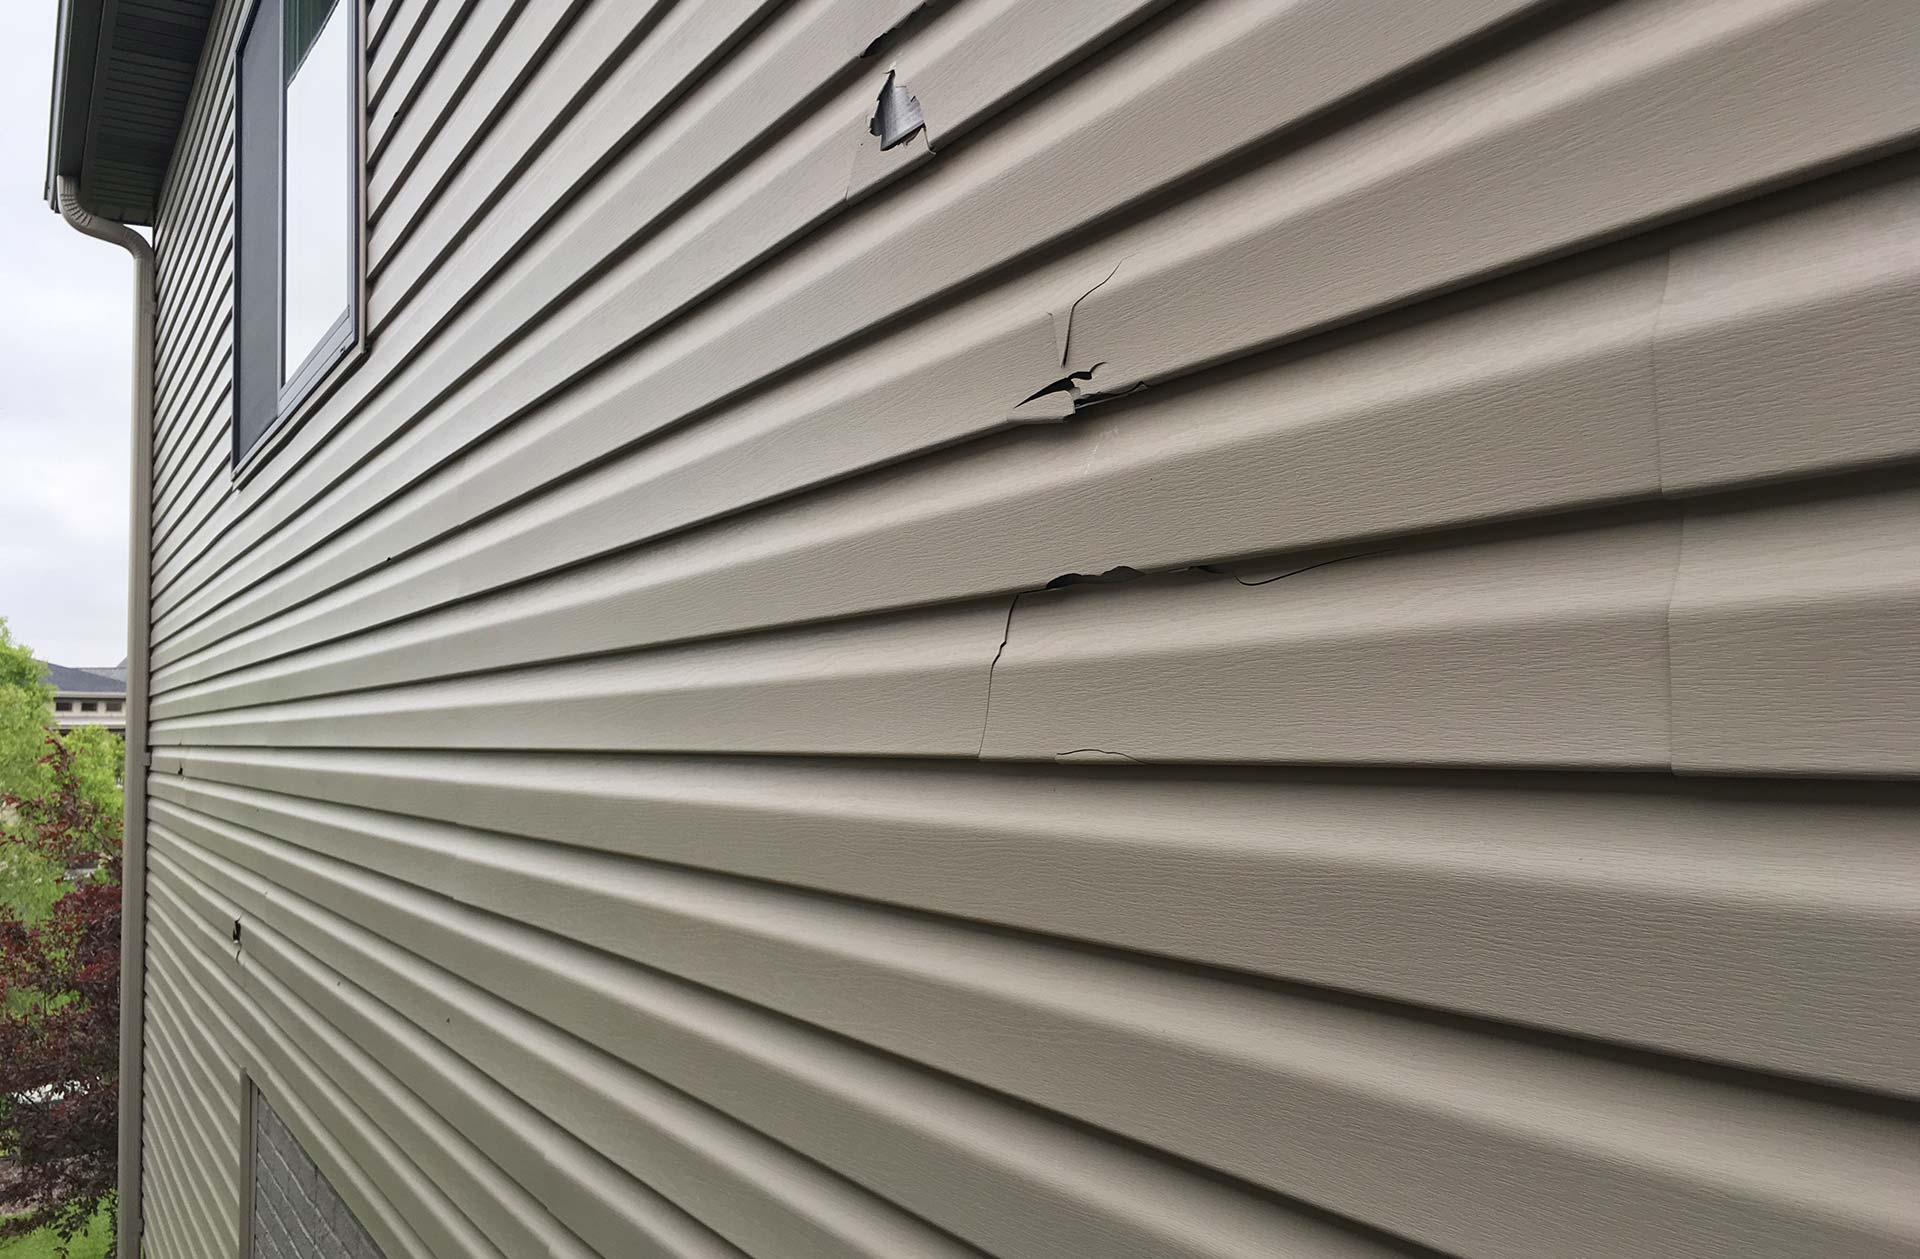
- Assessment: Begin by thoroughly assessing the condition of the existing siding. Look for signs of damage, rot, or mold, and identify any areas that may require additional attention.
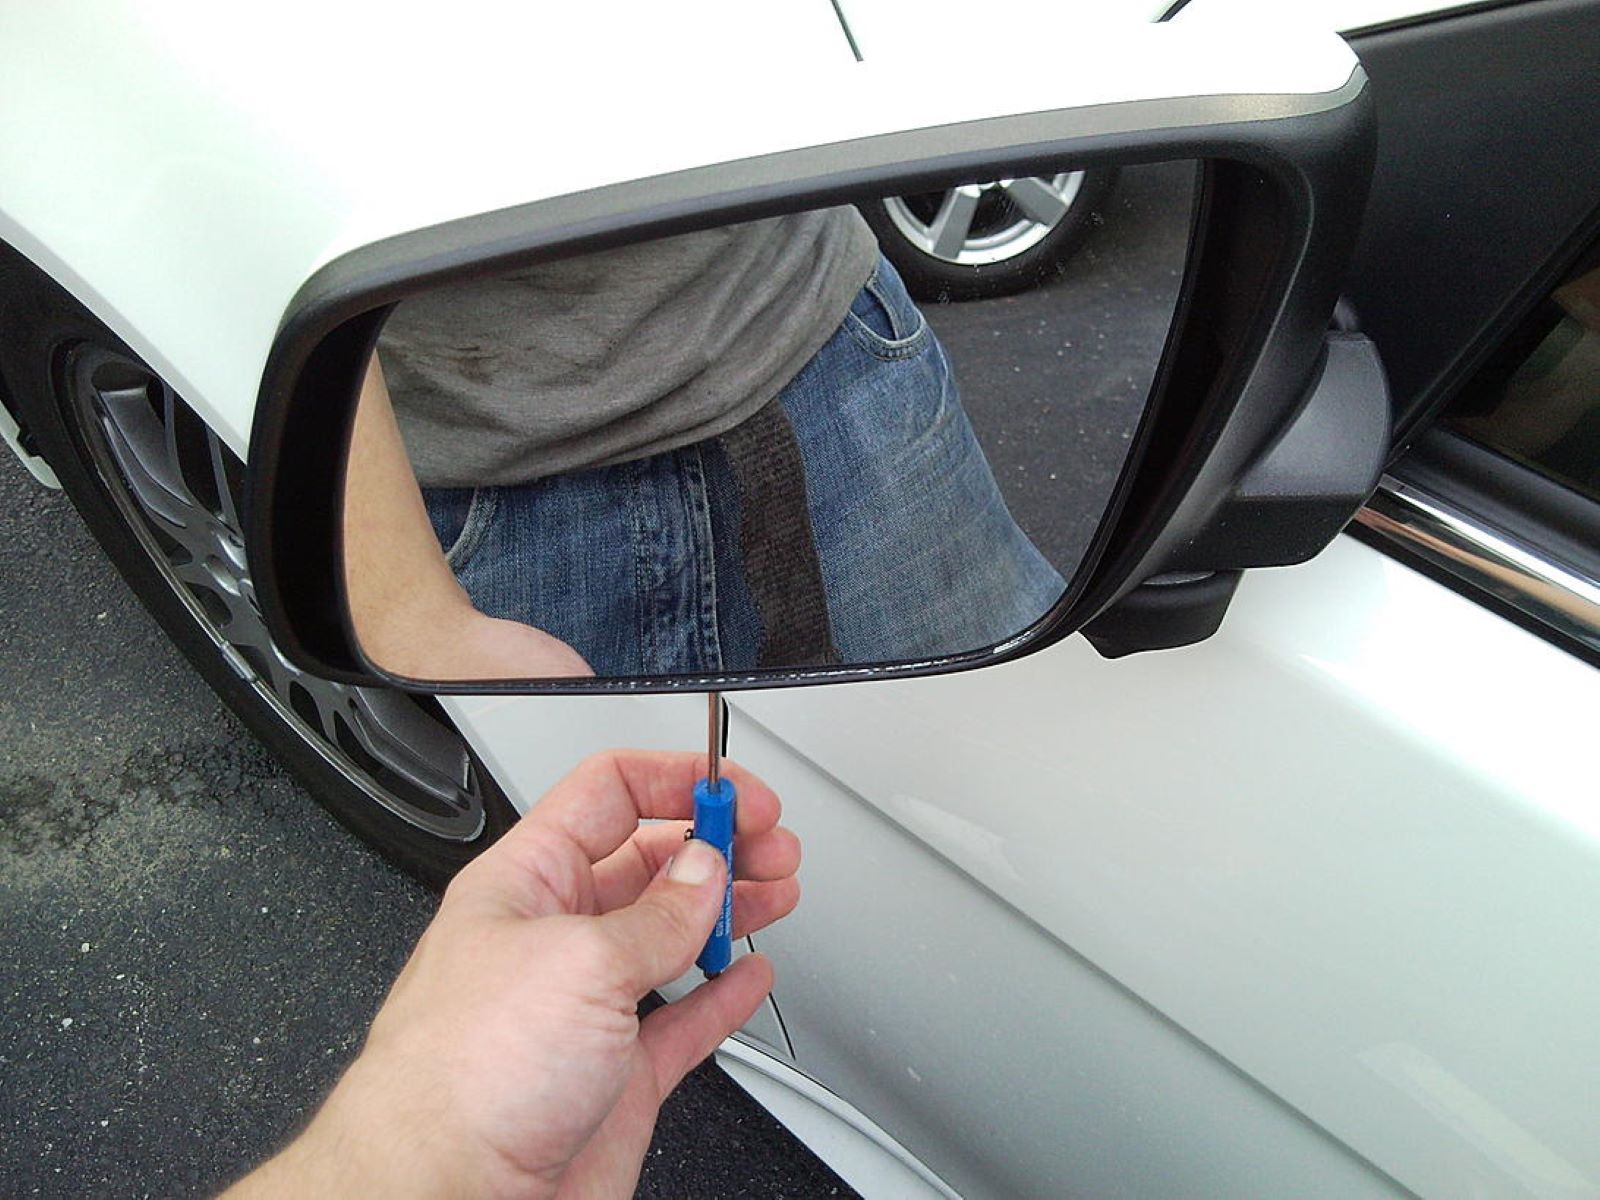
- Preparation: Prior to removal, disconnect any utilities, such as electrical fixtures or outdoor outlets, that may be attached to the siding. This precautionary measure ensures safety and prevents damage to these components.
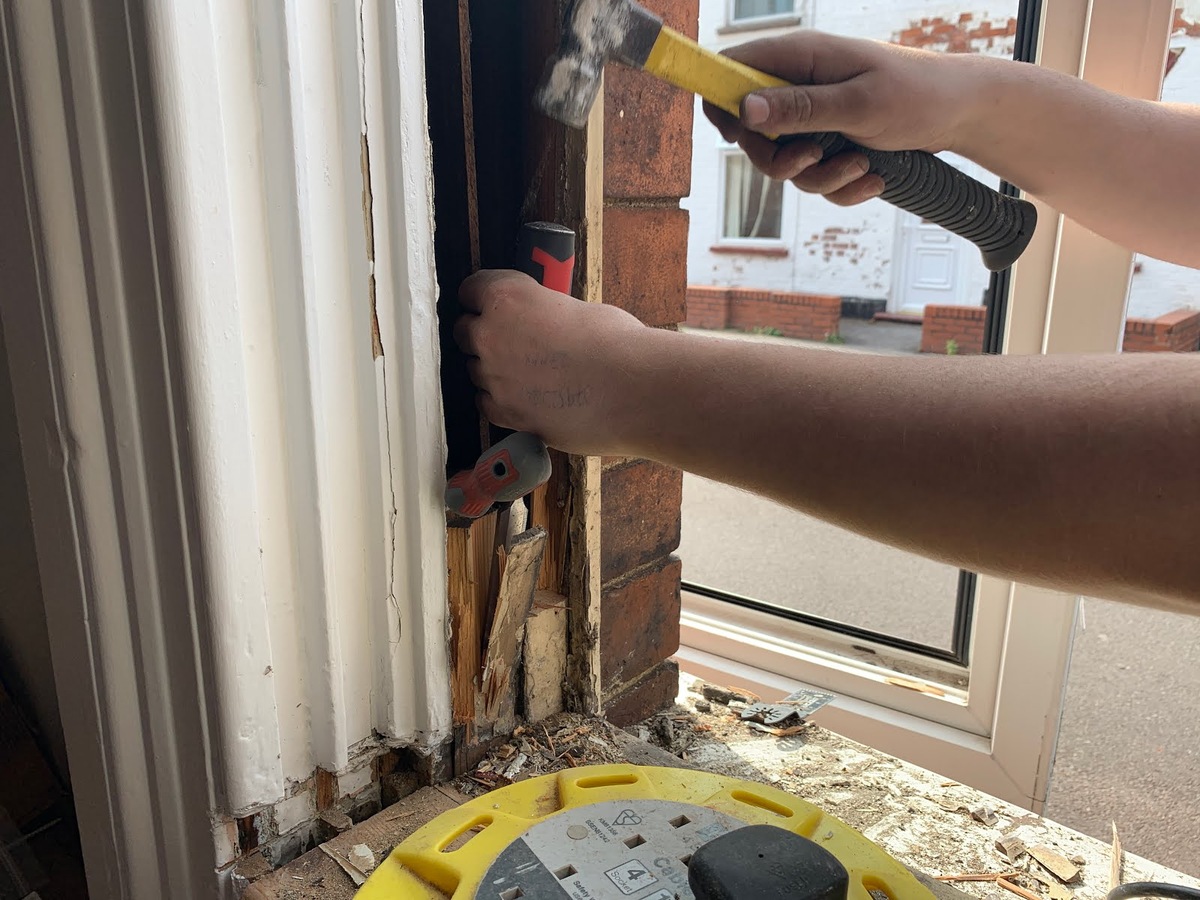
- Removal: Using appropriate tools, carefully remove the old siding, starting from the top and working your way down. Exercise caution to avoid damaging the underlying structure or insulation. Dispose of the old siding responsibly, adhering to local waste disposal regulations.
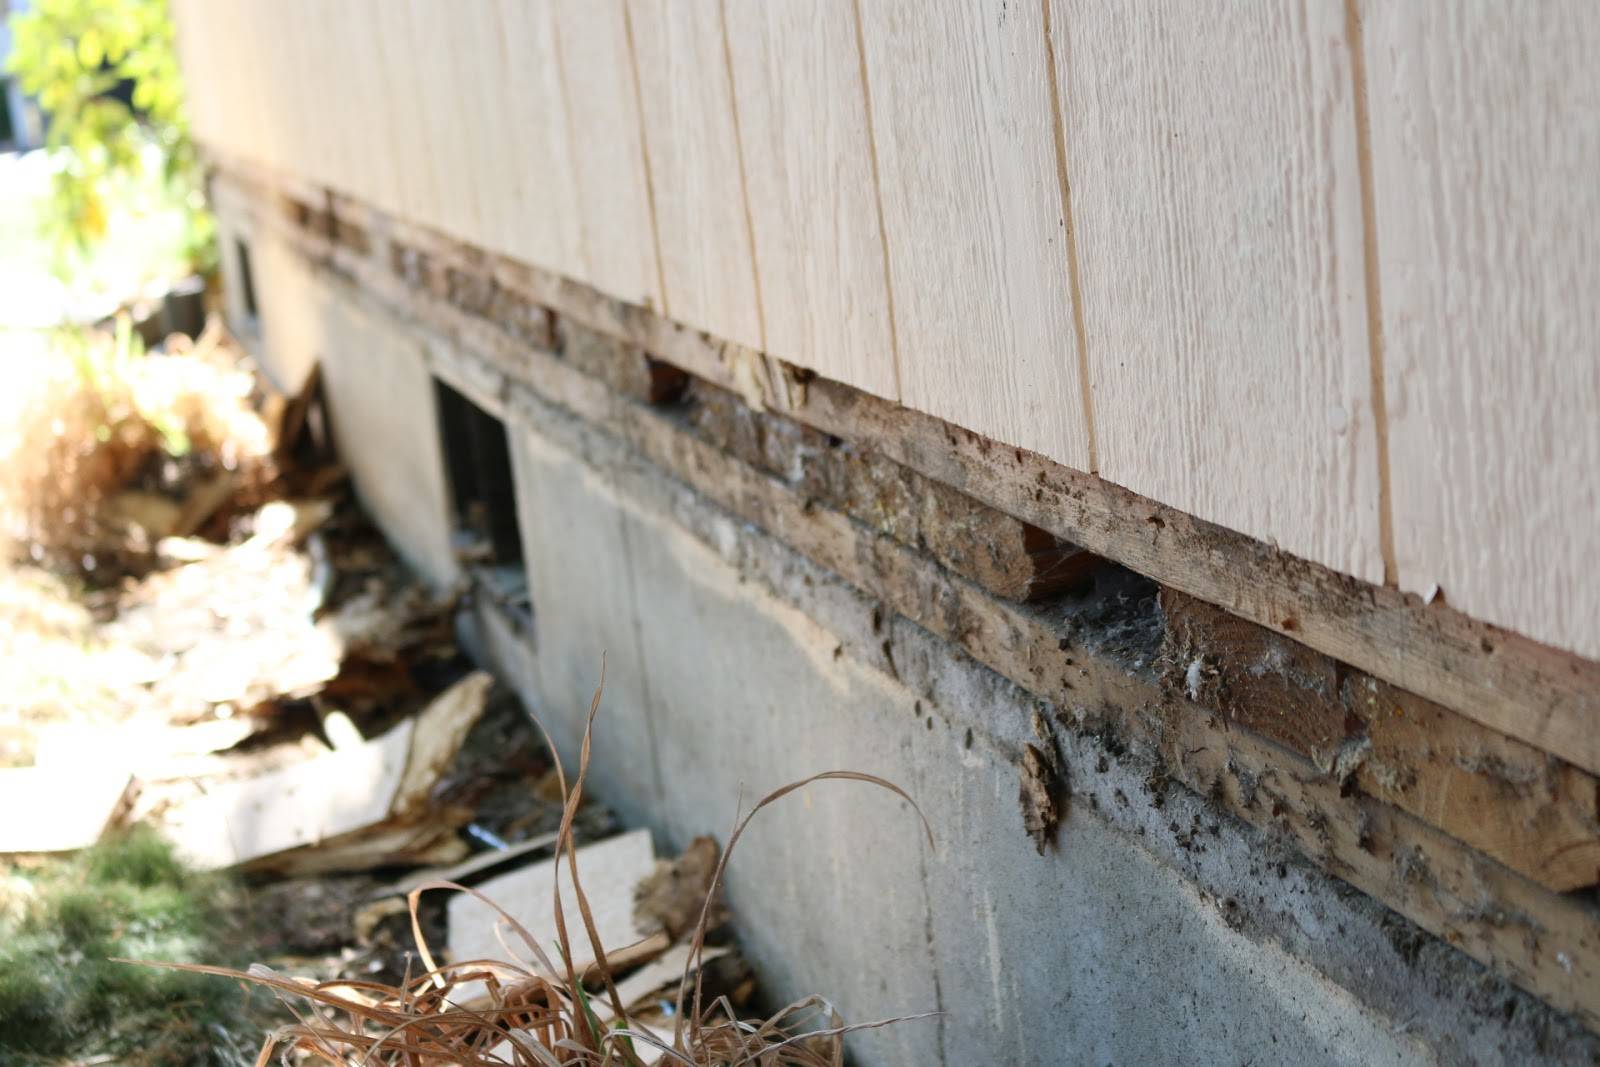
- Inspection: Once the old siding has been removed, thoroughly inspect the exposed exterior for any signs of damage or deterioration. Address any issues promptly to ensure a sound foundation for the upcoming brick installation.
It’s important to approach the removal of old siding with meticulous attention to detail and a focus on preserving the structural integrity of your home. By following these steps, you’ll pave the way for a seamless transition to the enduring beauty of brick, enhancing your home’s aesthetic appeal and resilience.
Step 3: Prepare Surface
Preparing the surface for the installation of brick is a crucial phase that sets the foundation for a successful and long-lasting transformation. This step involves meticulous attention to detail and the use of appropriate materials to ensure the surface is ready to receive the new brick installation. Here’s a comprehensive guide on how to prepare the surface:
- Clean and Repair: Thoroughly clean the exposed surface, removing any debris, dirt, or remnants of the old siding. Inspect the surface for any signs of damage or deterioration, and address any issues promptly. Repair any cracks or imperfections to create a smooth and even base for the brick installation.
- Install House Wrap: Apply a weather-resistant house wrap to the prepared surface, ensuring proper coverage and sealing all seams and edges. The house wrap acts as a protective barrier, guarding against moisture infiltration and enhancing the overall resilience of the exterior.
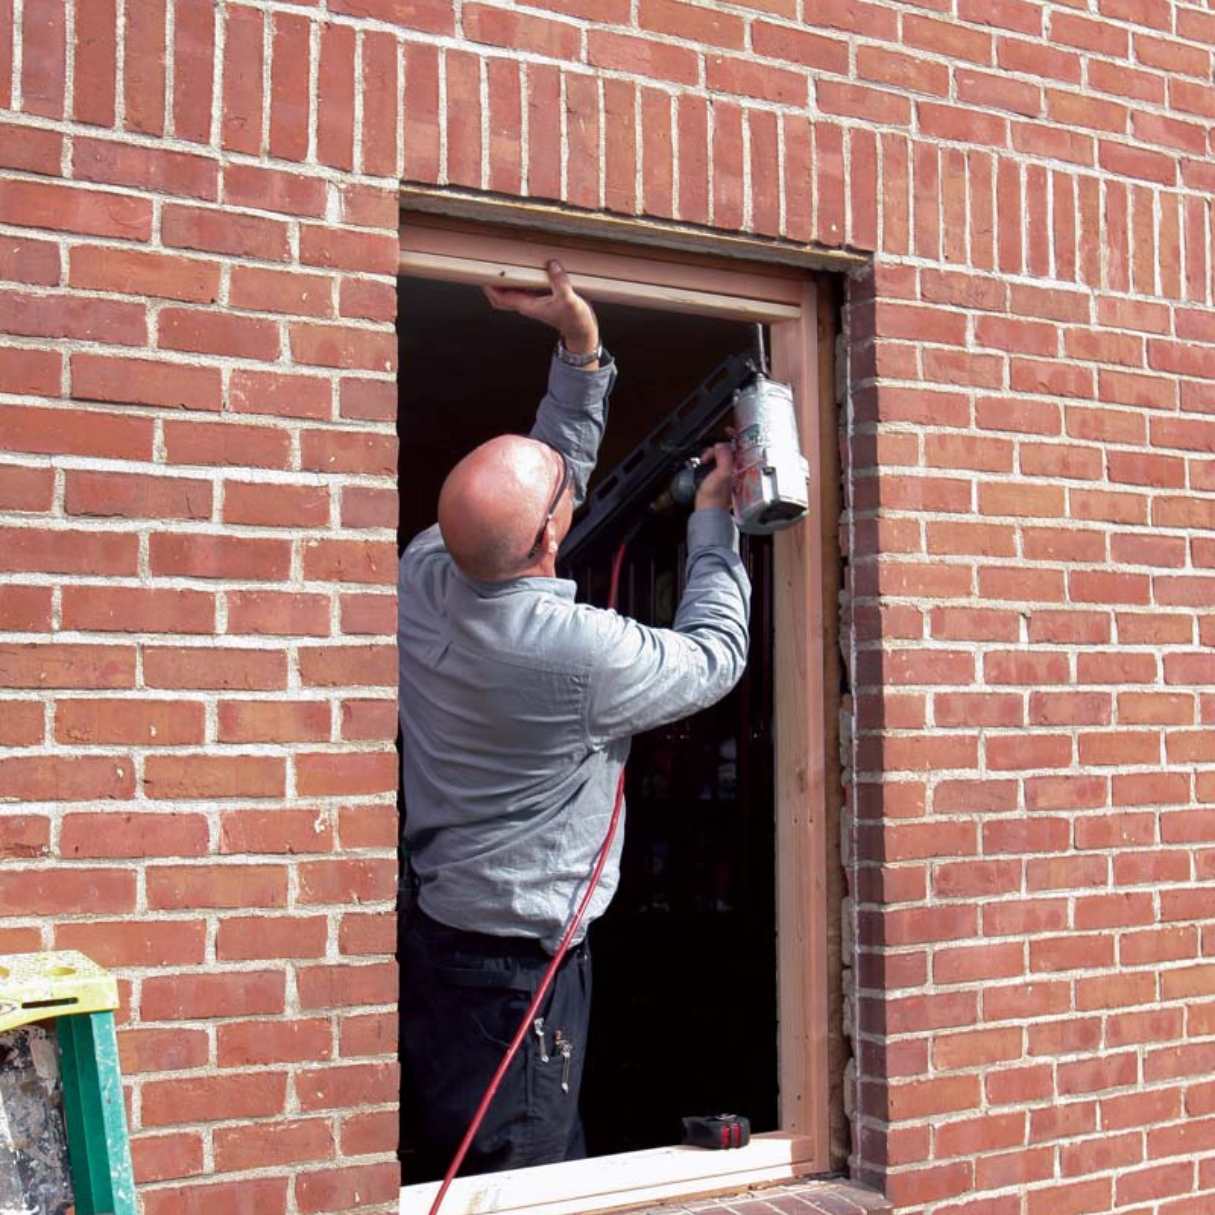
- Install Flashing and Ledgers: Install metal flashing around windows, doors, and other openings to prevent water intrusion. Additionally, if ledgers are required for supporting the brick, ensure they are securely installed and properly aligned.
- Apply Weather-Resistant Barrier: Apply a weather-resistant barrier over the house wrap, further fortifying the surface against the elements. This additional layer of protection enhances the longevity and durability of the brick installation.
By meticulously preparing the surface, you’ll create an ideal canvas for the installation of brick, ensuring a seamless and resilient transition. This careful preparation sets the stage for the next phase, where the enduring beauty of brick will take center stage, transforming your home’s exterior into a timeless masterpiece.
Before replacing siding with brick, consult a professional to assess the structural integrity of your home. Ensure proper insulation and moisture barriers are in place to prevent potential issues.
Step 4: Install Brick
As you embark on the installation of brick, you are poised to witness the transformation of your home’s exterior into a timeless testament of durability and elegance. This phase requires precision, patience, and a meticulous approach to ensure that the brick is seamlessly integrated, creating a lasting impression. Here’s a comprehensive guide on how to install brick:
- Prepare Mortar Mix: Begin by preparing the mortar mix according to the manufacturer’s instructions. Achieving the right consistency is crucial for the structural integrity and aesthetic appeal of the brick installation.
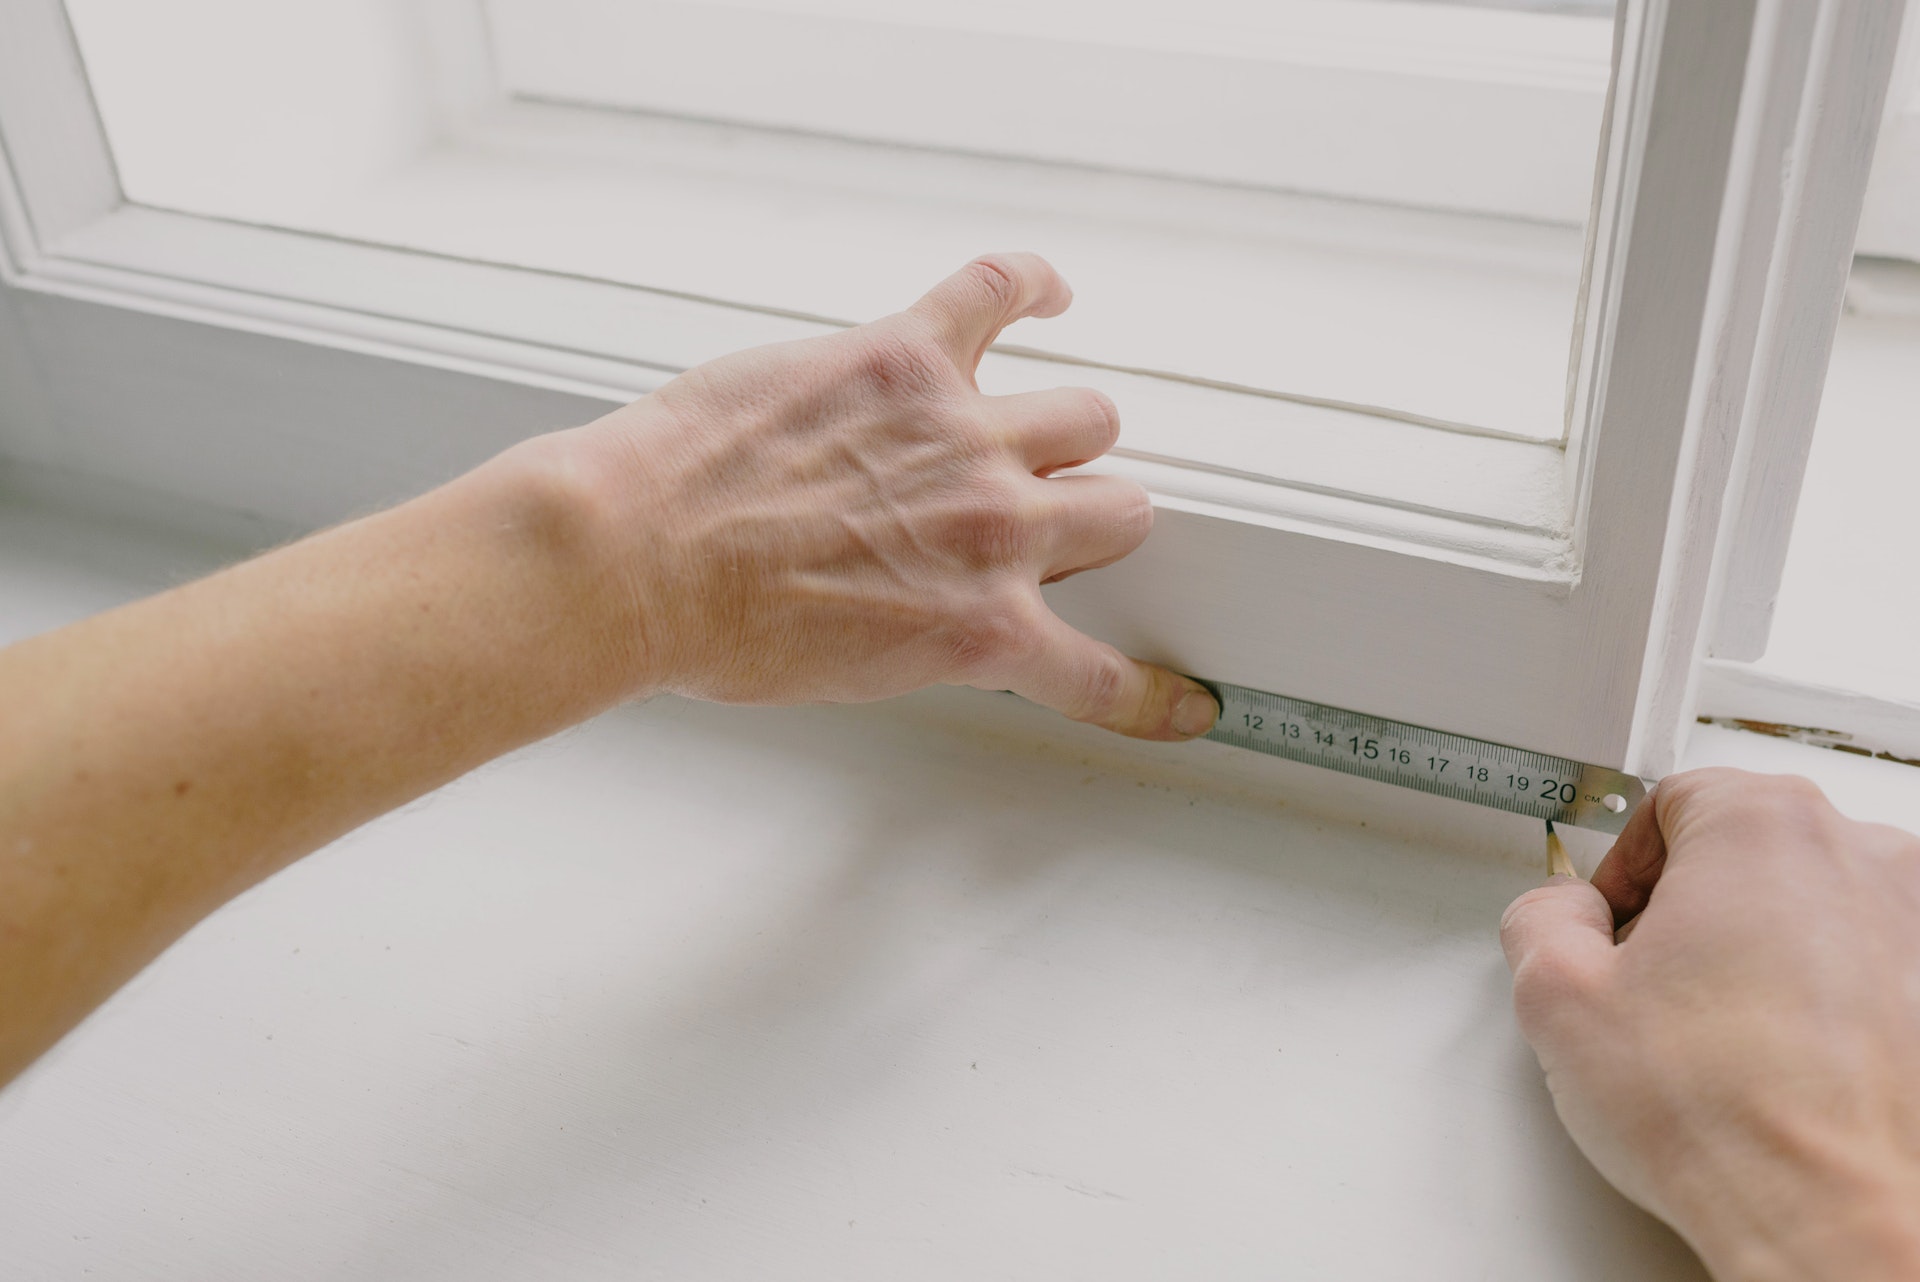
- Layout and Marking: Use a level and chalk line to establish precise layout and markings for the brick installation. This step is essential for ensuring uniformity and precision throughout the process.
- Apply Mortar: Apply a generous layer of mortar to the prepared surface, using a masonry trowel to create an even bed for the brick. Ensure that the mortar is evenly distributed and of the appropriate thickness to support the weight of the brick.
- Place and Align Brick: Carefully place each brick onto the mortar bed, pressing gently and ensuring proper alignment with the established layout. Use a level to maintain the desired orientation and ensure uniformity across the installation.
- Secure and Finish: Once the brick is in place, use a jointer tool to finish the mortar joints, creating a cohesive and visually appealing surface. Ensure that weep hole inserts are installed at appropriate intervals to facilitate moisture drainage and ventilation.
By following these steps with precision and care, you’ll witness the seamless integration of brick, elevating your home’s exterior with enduring beauty and resilience. The installation of brick marks a significant milestone in the transformation process, setting the stage for the final touches that will complete the masterpiece.
Read more: How To Install Brick Siding
Step 5: Finishing Touches
As the installation of brick nears completion, attention to detail and the application of finishing touches will elevate the overall aesthetic appeal and resilience of your home’s exterior. This phase encompasses the final steps that add a touch of finesse and ensure that the transition from siding to brick is seamless and visually captivating. Here’s a comprehensive guide on the finishing touches:
- Grouting and Cleaning: Once the mortar has set, carefully remove any excess mortar and grout from the brick surface. Use a brush and gentle cleaning solution to achieve a clean and uniform appearance, enhancing the visual appeal of the installation.
- Sealing and Protection: Apply a high-quality sealant to the brick surface, providing protection against moisture infiltration and enhancing the longevity of the installation. This step is essential for safeguarding the brick against the elements and preserving its timeless allure.
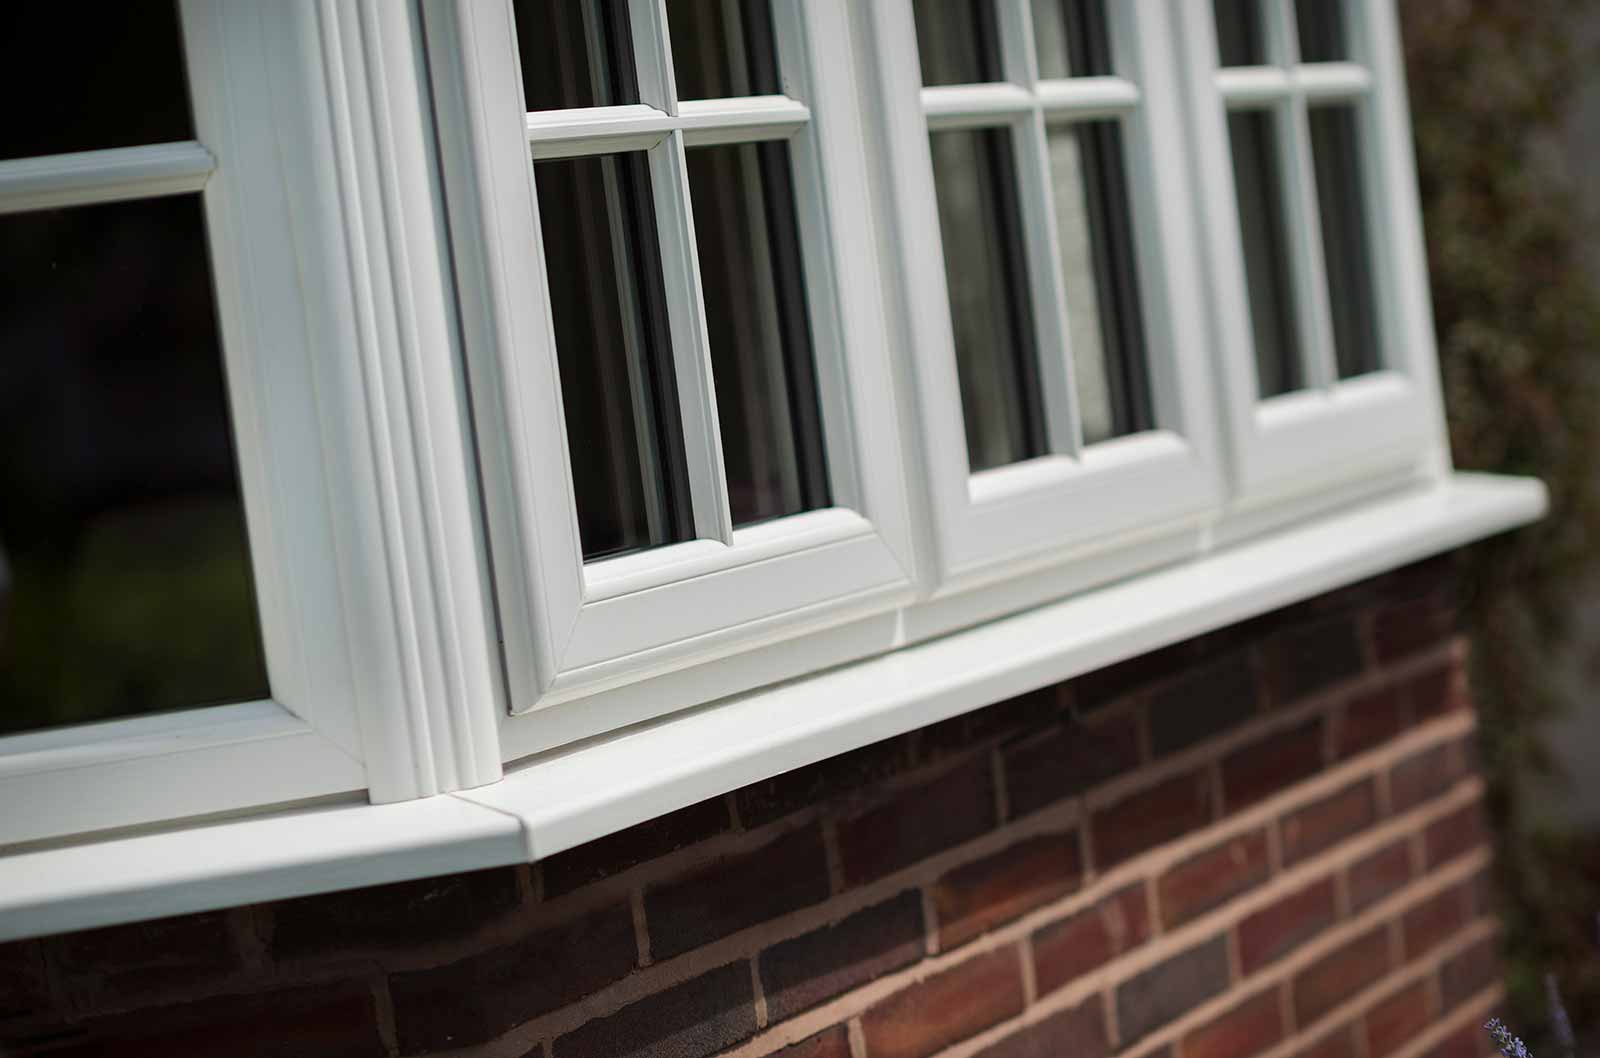
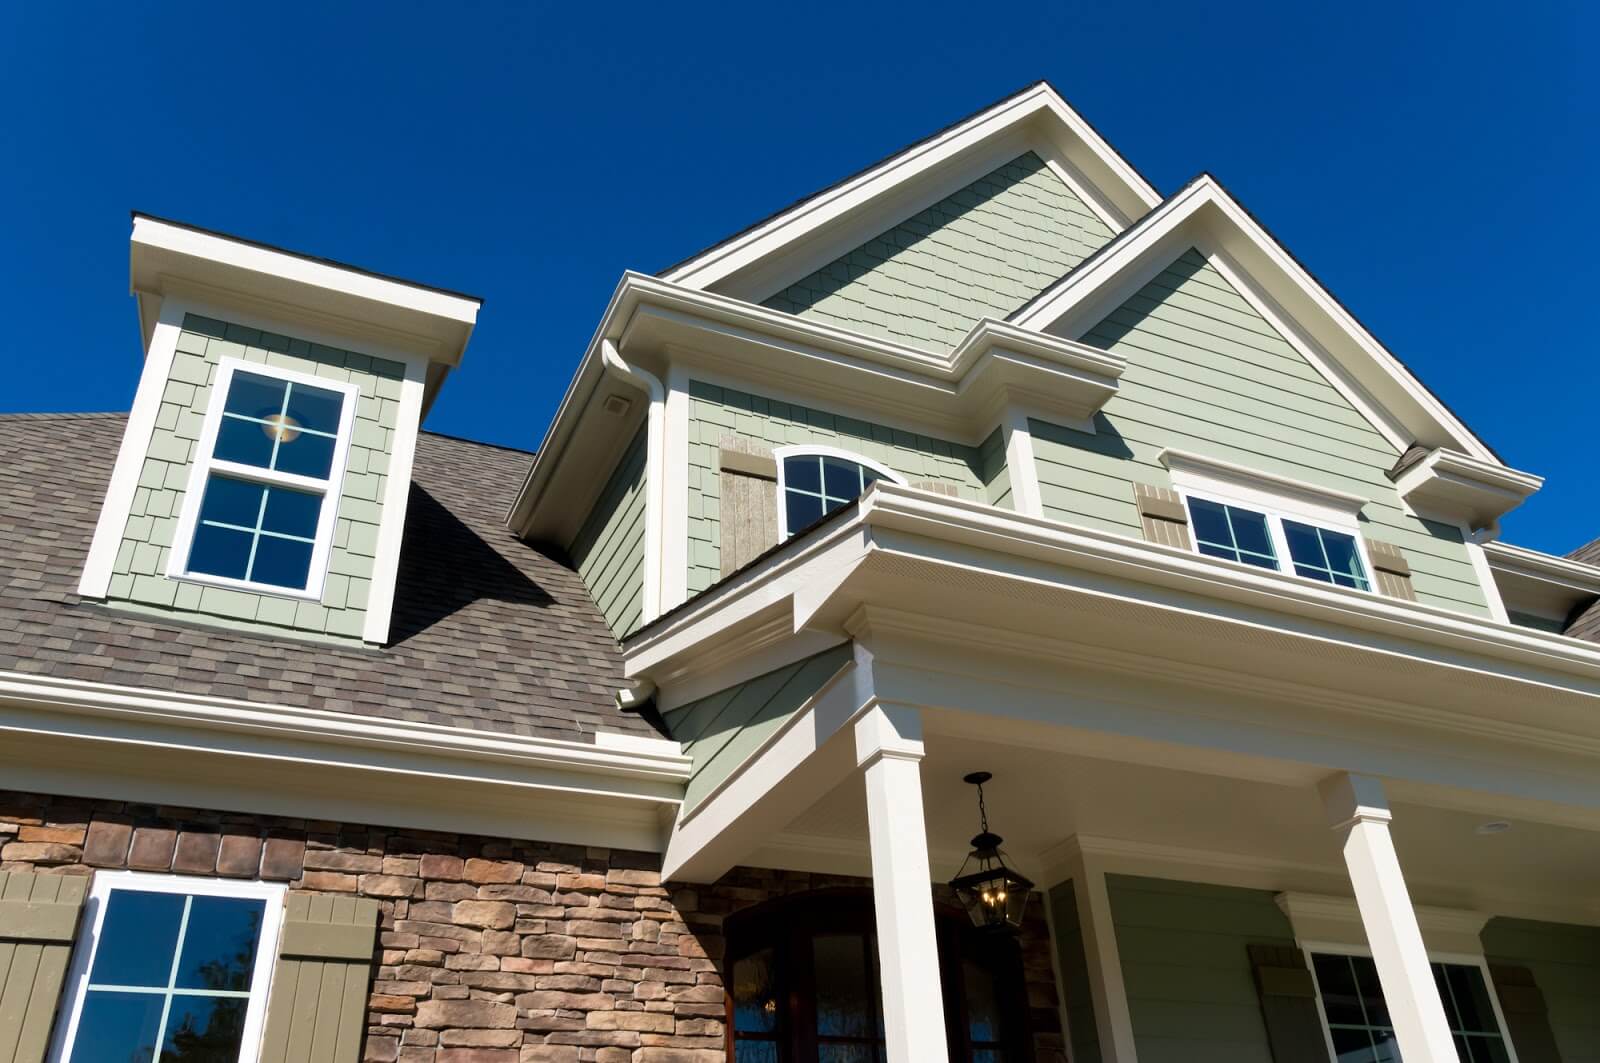
- Integration with Existing Features: Ensure seamless integration of the brick installation with existing architectural features, such as windows, doors, and trim. Pay attention to detail to create a harmonious and unified exterior that exudes charm and sophistication.
- Landscaping and Accents: Complement the new brick exterior with thoughtfully designed landscaping and accents. Consider incorporating planters, lighting fixtures, or architectural elements that enhance the overall visual impact of your home’s exterior.
- Final Inspection: Conduct a thorough inspection of the completed brick installation, ensuring that all elements are in place and that the exterior exudes a cohesive and captivating allure. Address any minor imperfections or inconsistencies to achieve a flawless finish.
By meticulously attending to these finishing touches, you’ll elevate the exterior of your home into a timeless masterpiece that exudes charm, durability, and visual appeal. The seamless transition from siding to brick will leave a lasting impression, transforming your home into a captivating embodiment of enduring elegance.
Conclusion
Embarking on the journey of replacing siding with brick is a transformative endeavor that elevates the aesthetic appeal and durability of your home. Throughout this comprehensive guide, we’ve delved into the intricacies of this process, from gathering materials and tools to the application of finishing touches. The transition to brick represents a timeless investment in your home, creating a lasting impression and enhancing its resilience.
By meticulously following each step, you’ve embarked on a journey that transcends mere construction; it’s an artistic endeavor that harmonizes beauty and functionality. The enduring allure of brick, coupled with the meticulous attention to detail in the installation process, culminates in a home exterior that stands as a testament to timeless elegance.
As you witness the seamless integration of brick, you’re not just witnessing a structural transformation; you’re witnessing the creation of a lasting legacy. Your home’s exterior now reflects the enduring beauty and resilience of brick, setting the stage for years of admiration and appreciation.
With the completion of this transformative process, your home stands as a masterpiece, exuding charm, durability, and a timeless allure that captivates the eye and commands admiration. The transition from siding to brick is not just a renovation; it’s a statement—a statement of enduring elegance and a testament to the artistry of construction.
As you admire the newly transformed exterior of your home, take pride in the craftsmanship and dedication that have brought this vision to life. Your home now stands as a beacon of enduring beauty, a testament to the timeless allure of brick, and a reflection of your unwavering commitment to creating a space that transcends the ordinary.
Embrace the transformation, savor the enduring elegance, and revel in the timeless allure of your home’s new exterior. The journey from siding to brick is not just a renovation; it’s a celebration of enduring beauty and an embodiment of timeless sophistication.
Frequently Asked Questions about How To Replace Siding With Brick
Was this page helpful?
At Storables.com, we guarantee accurate and reliable information. Our content, validated by Expert Board Contributors, is crafted following stringent Editorial Policies. We're committed to providing you with well-researched, expert-backed insights for all your informational needs.


0 thoughts on “How To Replace Siding With Brick”