Home>Furniture & Design>Bathroom Accessories>How To Replace A Medicine Cabinet Mirror
Bathroom Accessories
How To Replace A Medicine Cabinet Mirror
Modified: February 24, 2024
Learn how to easily replace a medicine cabinet mirror in your bathroom with our step-by-step guide. Upgrade your bathroom accessories with this simple DIY project.
(Many of the links in this article redirect to a specific reviewed product. Your purchase of these products through affiliate links helps to generate commission for Storables.com, at no extra cost. Learn more)
Introduction
Replacing a medicine cabinet mirror can breathe new life into your bathroom, transforming its appearance and functionality. Whether you're seeking to update the style of your bathroom or simply need to replace a damaged or outdated mirror, this task can be accomplished with the right tools and a methodical approach. By following the steps outlined in this guide, you can successfully complete this project and enjoy a refreshed and polished bathroom space.
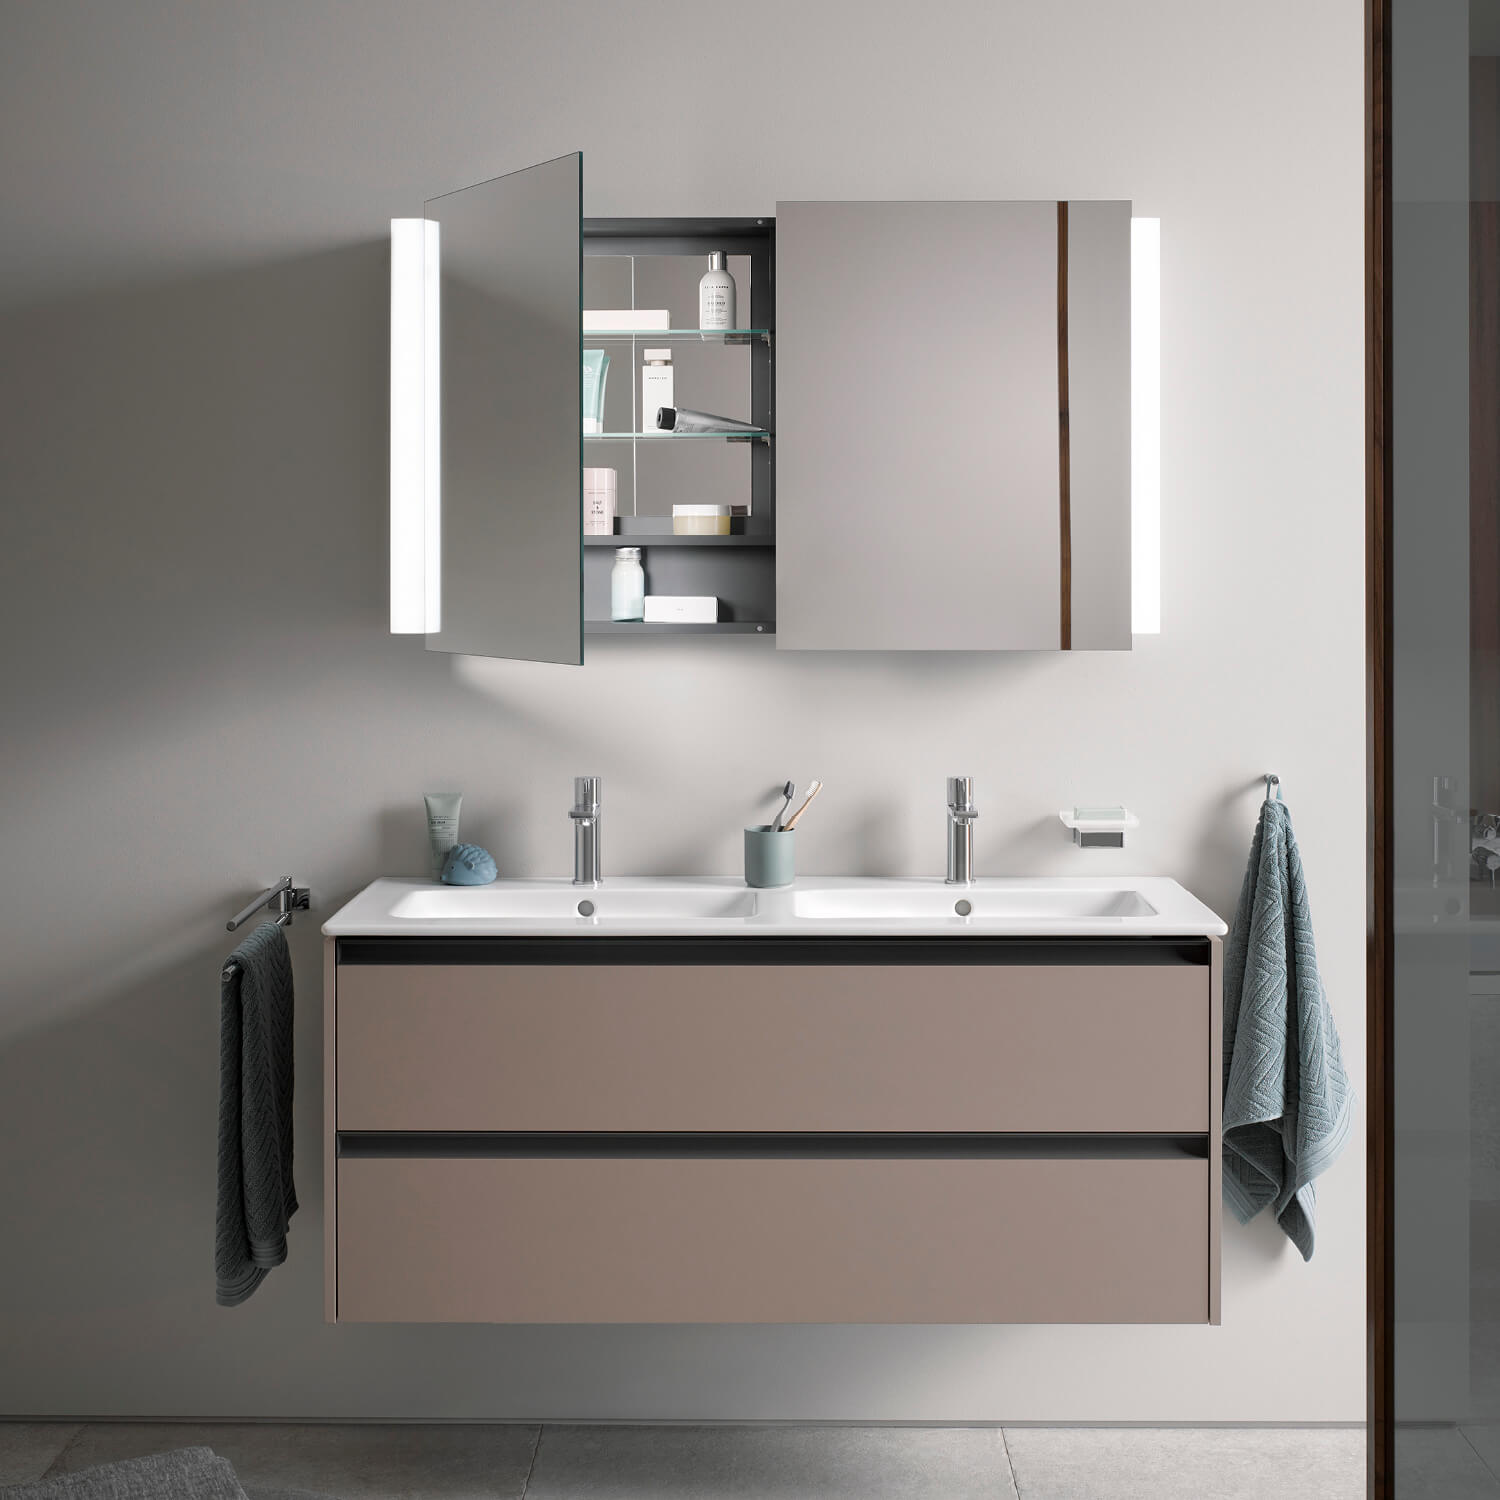
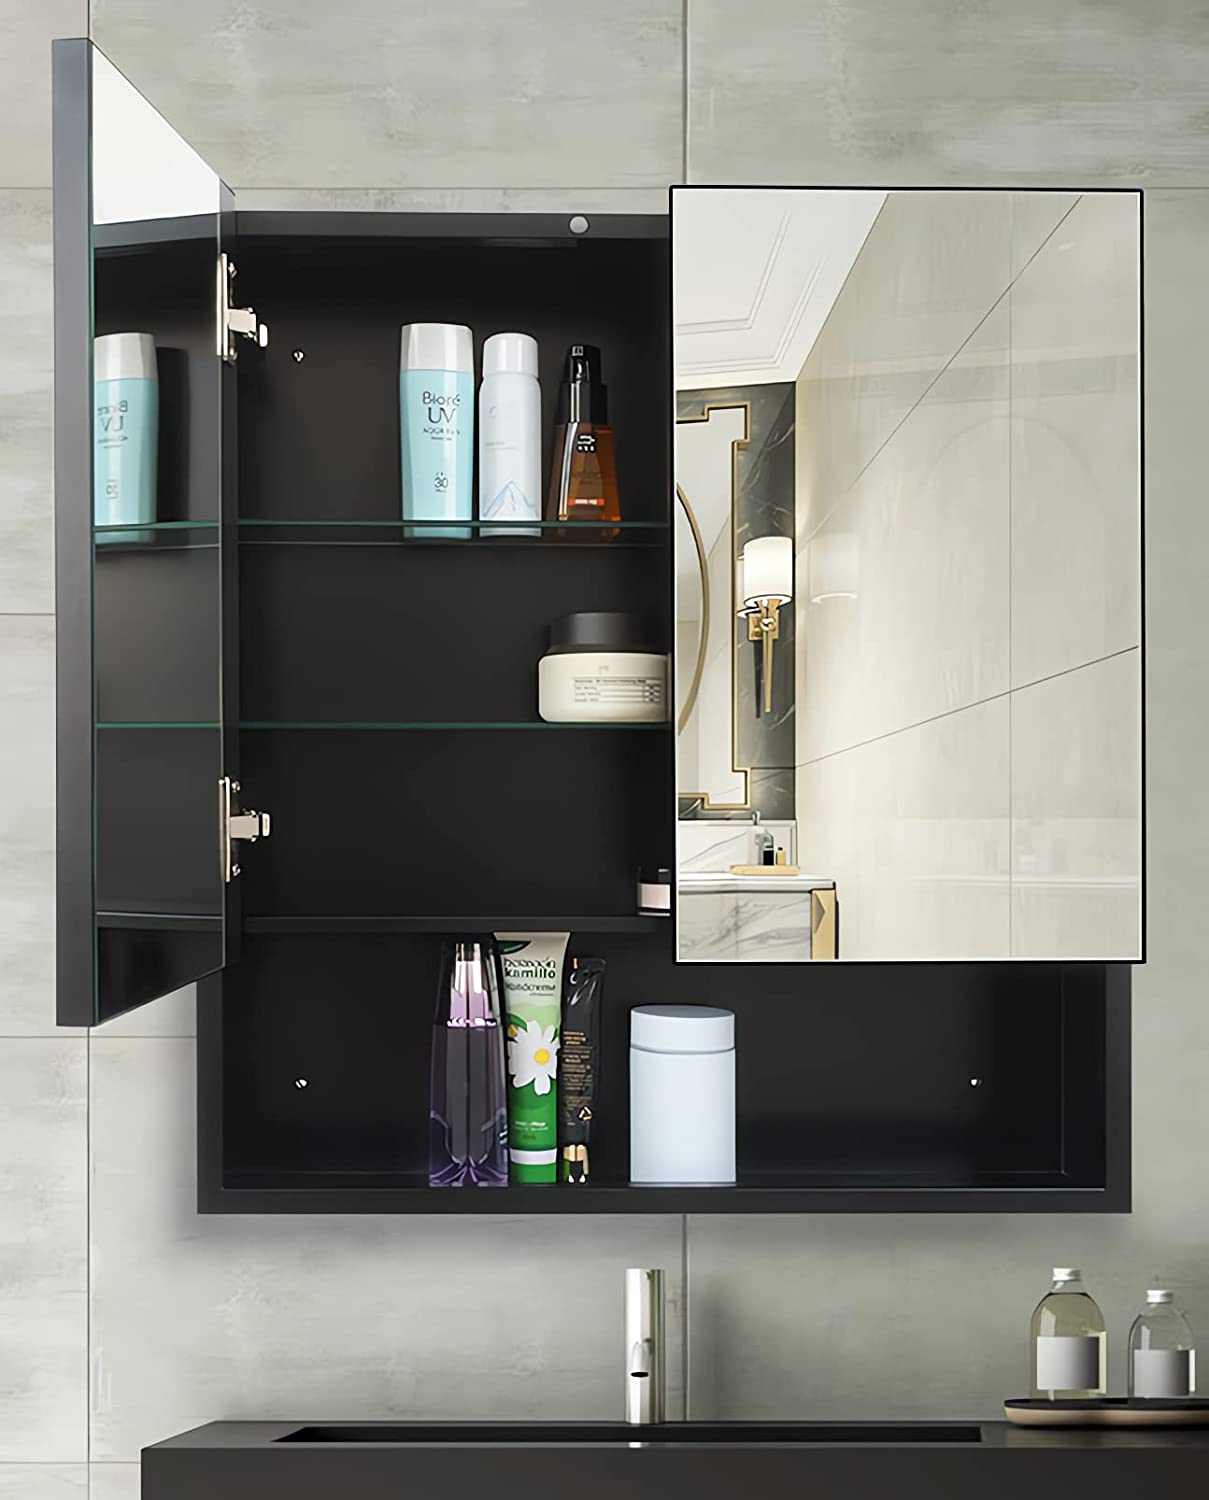
A medicine cabinet mirror serves both practical and aesthetic purposes, providing a convenient storage solution while also reflecting light and visually expanding the room. Over time, these mirrors may become worn, develop unsightly blemishes, or simply fall out of sync with your evolving design preferences. Fortunately, replacing a medicine cabinet mirror is a manageable DIY project that can yield impressive results.
Before embarking on this endeavor, it's essential to gather the necessary tools and materials, ensuring that you have everything at your disposal to complete the task efficiently and safely. From protective gear to specialized tools for mirror removal and installation, each item plays a crucial role in the successful execution of this project.
As you prepare to remove the old mirror and install the new one, it's important to approach each step with care and attention to detail. By taking the time to properly prepare the cabinet for the new mirror and meticulously execute the installation process, you can achieve a professional-looking result that enhances the overall appeal of your bathroom.
In the subsequent sections, we will delve into the specific steps required to replace a medicine cabinet mirror, providing clear instructions and valuable insights to guide you through each phase of the project. By following these steps and incorporating best practices, you can revitalize your bathroom space and elevate its visual impact. Let's embark on this journey to transform your bathroom with a brand-new medicine cabinet mirror.
Key Takeaways:
- Transform your bathroom by replacing a medicine cabinet mirror. Follow the detailed steps to revitalize your space with a brand-new mirror, enhancing both style and functionality.
- With careful preparation and methodical installation, you can achieve a flawless result. Enjoy a polished and inviting bathroom space with a seamlessly integrated new mirror.
Read more: How To Replace A Medicine Cabinet
Step 1: Gather the necessary tools and materials
Before diving into the process of replacing a medicine cabinet mirror, it's crucial to gather all the essential tools and materials to ensure a smooth and efficient project execution. Here's a comprehensive list of items you'll need:
Tools:
- Safety goggles and gloves: Protect your eyes and hands from potential injuries caused by broken glass or sharp edges.
- Putty knife: Used to carefully pry the old mirror away from the cabinet without causing damage.
- Utility knife: Helpful for cutting through any adhesive or caulking securing the old mirror in place.
- Screwdriver: Depending on the type of fasteners holding the mirror in place, you may need a Phillips or flat-head screwdriver.
- Measuring tape: Essential for accurately determining the dimensions of the new mirror and ensuring a precise fit.
- Level: Ensures that the new mirror is installed perfectly straight and aligned with the cabinet.
- Caulking gun: Used to apply new adhesive or caulking when installing the new mirror.
- Stud finder: If the mirror needs to be anchored to the wall, a stud finder helps locate the best points for secure attachment.
Materials:
- New medicine cabinet mirror: Select a mirror that fits the dimensions of your existing cabinet and complements your bathroom's aesthetic.
- Mirror adhesive or mounting clips: Depending on the installation method, you'll need either adhesive designed for mirrors or mounting clips to secure the new mirror in place.
- Painter's tape: Useful for marking the edges of the old mirror and protecting the surrounding cabinet and wall surfaces during removal.
- Rubbing alcohol and clean cloth: These are used to thoroughly clean the cabinet surface before installing the new mirror, ensuring proper adhesion.
- Optional: Paint and brush: If the wall behind the old mirror will be exposed after removal, consider having matching paint on hand to touch up the area.
By ensuring that you have all the necessary tools and materials at your disposal, you can approach the mirror replacement process with confidence and readiness. This proactive approach minimizes interruptions and allows for a seamless transition from one phase of the project to the next. With everything in place, you're now prepared to move on to the next step: removing the old mirror.
Step 2: Remove the old mirror
Removing the old mirror from your medicine cabinet requires precision and caution to avoid damage and ensure safety. Here's a detailed guide on how to accomplish this task effectively:
-
Prepare the Work Area: Before starting, clear the surrounding area and lay down protective material, such as a drop cloth, to catch any debris. It's also advisable to open a window or use a fan for ventilation.
-
Wear Safety Gear: Put on your safety goggles and gloves to shield your eyes and hands from potential injuries caused by broken glass or sharp edges.
-
Mark the Edges: Use painter's tape to outline the edges of the mirror on the cabinet door. This not only serves as a visual guide but also helps protect the surrounding surfaces during the removal process.
-
Loosen the Mirror: Carefully insert a putty knife between the mirror and the cabinet, applying gentle pressure to gradually loosen the adhesive or caulking securing the mirror. Work your way around the edges, taking care not to force the knife and risk damaging the cabinet.
-
Cut Through Adhesive: If the mirror is firmly attached, use a utility knife to cut through any adhesive or caulking, further loosening the mirror from the cabinet. Exercise caution and ensure that the knife is angled away from you to prevent accidental injuries.
-
Remove the Mirror: Once the adhesive is sufficiently loosened, carefully lift the mirror away from the cabinet. Enlist the help of a partner if the mirror is large or heavy to ensure safe handling.
-
Clean the Cabinet Surface: After removing the mirror, use rubbing alcohol and a clean cloth to thoroughly clean the cabinet surface. This step is crucial to ensure proper adhesion when installing the new mirror.
-
Dispose of the Old Mirror: Safely dispose of the old mirror according to your local regulations. It's important to handle and dispose of glass materials responsibly to prevent accidents and minimize environmental impact.
By following these steps with care and attention to detail, you can successfully remove the old mirror from your medicine cabinet, setting the stage for the next phase of the project: preparing the cabinet for the new mirror.
Read more: How To Replace Medicine Cabinet
Step 3: Prepare the cabinet for the new mirror
With the old mirror successfully removed, it's time to prepare the cabinet for the installation of the new mirror. This crucial step sets the foundation for a seamless and secure mounting process, ensuring that the new mirror fits perfectly and enhances the overall aesthetics of your bathroom. Here's a detailed guide on how to prepare the cabinet for the new mirror:
-
Inspect the Cabinet Interior: Take a close look at the interior of the cabinet to assess its condition. Clean any accumulated dust, debris, or residue from the previous mirror installation. A damp cloth or mild cleaning solution can be used to wipe down the interior surfaces, ensuring a clean and smooth base for the new mirror.
-
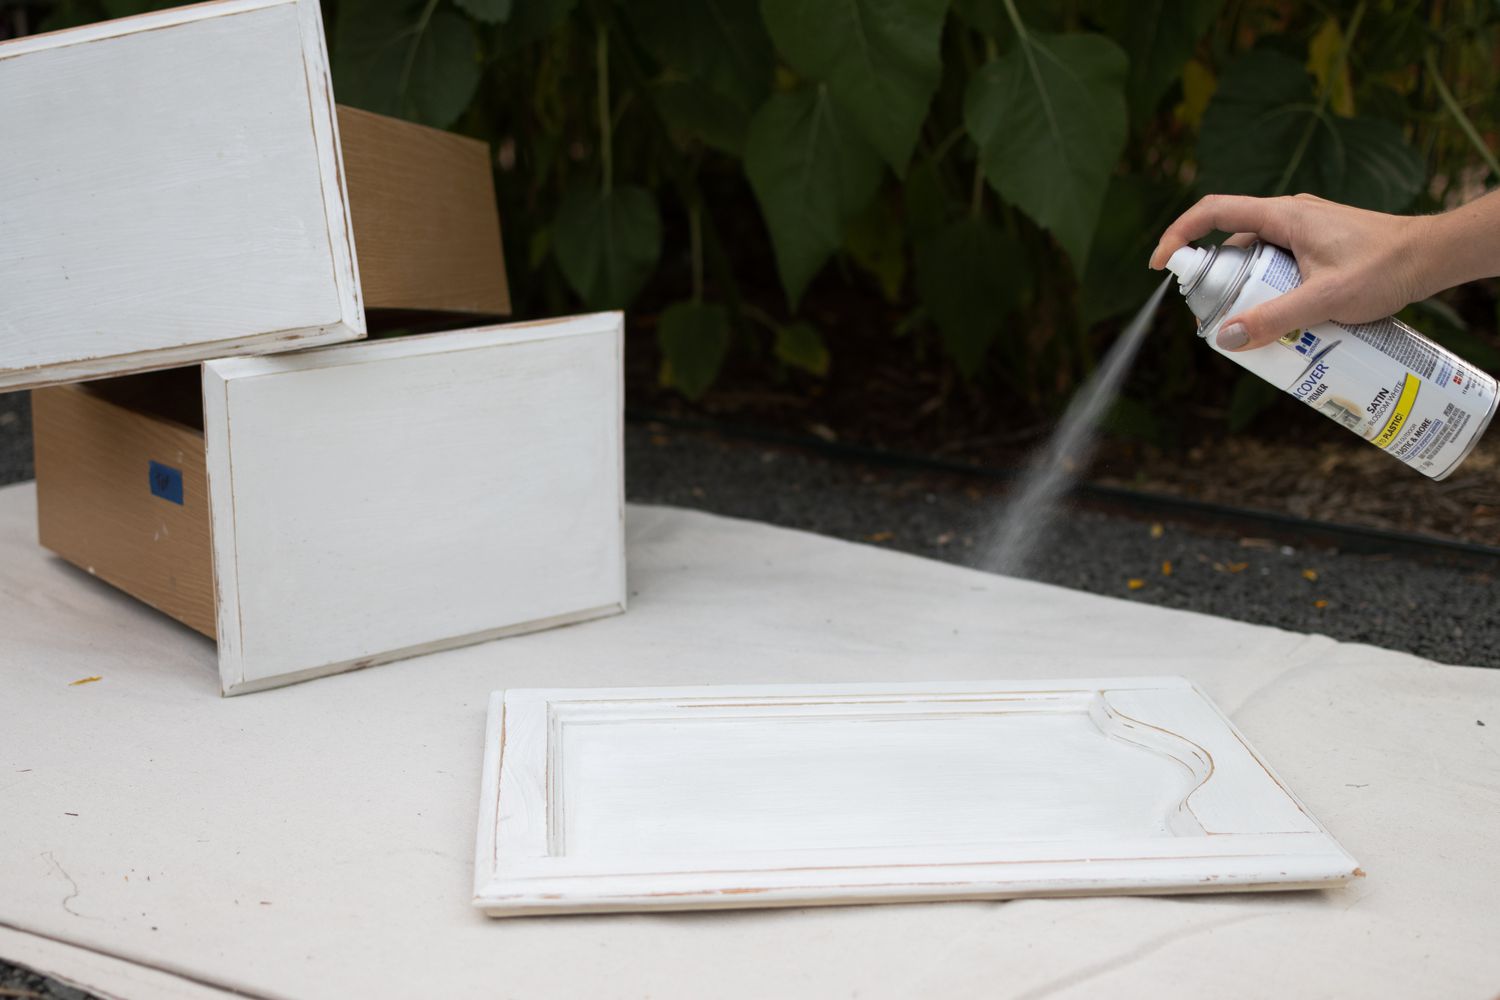
Check for Damage or Wear: Examine the cabinet door and surrounding areas for any signs of damage, wear, or discoloration. If the cabinet shows visible wear or damage, consider addressing these issues before proceeding with the new mirror installation. Minor touch-ups or refinishing may be necessary to restore the cabinet's appearance.
-
Measure and Mark Mounting Points: If the new mirror requires specific mounting points or hardware, use a measuring tape to determine the precise locations for installation. Mark these points on the cabinet door, ensuring accuracy and alignment. This step is crucial for ensuring that the new mirror is securely positioned and level once installed.
-
Apply New Adhesive or Mounting Hardware: Depending on the mounting method specified for the new mirror, apply the appropriate adhesive or mounting hardware to the designated areas on the cabinet door. Follow the manufacturer's instructions for the adhesive application, ensuring even coverage and proper adhesion. If using mounting hardware, ensure that it is securely attached and aligned with the marked points.
-
Protect Surrounding Surfaces: Before installing the new mirror, use painter's tape to protect the surrounding surfaces, including the cabinet door and adjacent walls. This precautionary measure helps prevent accidental damage or adhesive transfer during the installation process.
-
Double-Check Alignment and Level: Prior to placing the new mirror, double-check the alignment and level of the mounting points or adhesive application. Using a level, ensure that the mounting surface is perfectly horizontal and aligned with the cabinet door. This meticulous approach contributes to a professional and visually appealing installation.
By meticulously preparing the cabinet for the new mirror, you set the stage for a successful and visually impactful installation. This attention to detail ensures that the new mirror integrates seamlessly with the cabinet, elevating the overall aesthetic of your bathroom space. With the cabinet primed and ready, you're now poised to move on to the next pivotal step: installing the new mirror.
Step 4: Install the new mirror
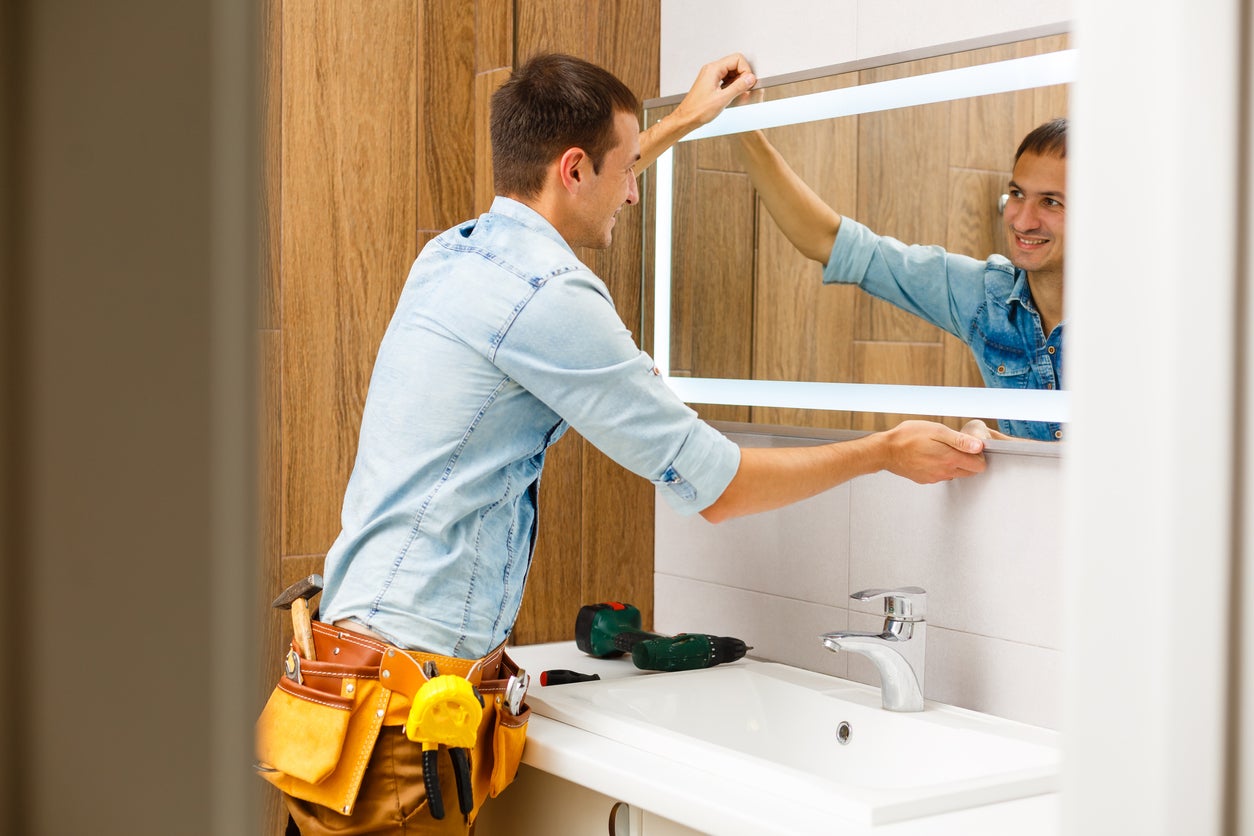
With the cabinet meticulously prepared, the time has come to install the new mirror, marking a pivotal phase in the transformation of your bathroom space. This step demands precision, attention to detail, and a methodical approach to ensure a seamless and secure installation. Here's a comprehensive guide on how to install the new mirror with confidence and proficiency:
-
Positioning the Mirror: Carefully lift the new mirror and position it onto the prepared mounting points or adhesive on the cabinet door. Enlist the assistance of a partner if the mirror is large or heavy to ensure safe and controlled placement.
-
Alignment and Leveling: Once the mirror is in place, use a level to ensure that it is perfectly aligned and level. Adjust the position as needed to achieve an ideal placement that complements the cabinet and enhances the overall visual appeal of the bathroom.
-
Securing the Mirror: If the new mirror requires mounting clips, carefully attach them to the designated points on the cabinet door, ensuring a secure and balanced hold. If adhesive is used, apply gentle pressure to the mirror to promote proper adhesion, following the manufacturer's guidelines for curing time.
-
Cleaning and Finishing Touches: After the mirror is securely installed, use a clean cloth and glass cleaner to remove any smudges or marks on the mirror's surface. Take this opportunity to inspect the surrounding areas for any adhesive residue and carefully remove it to achieve a pristine finish.
-
Final Inspection: Step back and visually inspect the installed mirror, ensuring that it is level, securely mounted, and seamlessly integrated with the cabinet. Check for any imperfections or misalignments, addressing them promptly to achieve a flawless result.
By following these steps with precision and care, you can successfully install the new mirror, elevating the aesthetic appeal of your bathroom and bringing the project one step closer to completion. With the mirror securely in place, the final phase of the project awaits, inviting you to add the finishing touches and carry out a thorough cleanup to unveil the revitalized and polished ambiance of your bathroom space.
When replacing a medicine cabinet mirror, be sure to measure the existing mirror before purchasing a new one to ensure a proper fit.
Step 5: Finishing touches and cleanup
With the new mirror securely installed, it's time to add the finishing touches and carry out a thorough cleanup to unveil the revitalized and polished ambiance of your bathroom space. This phase of the project focuses on refining the visual presentation, ensuring the functionality of the newly installed mirror, and tidying up the work area to achieve a pristine result.
Here's a detailed guide on how to approach the finishing touches and cleanup with precision and attention to detail:
-
Inspect and Adjust: Take a moment to inspect the newly installed mirror, ensuring that it is free from any smudges, marks, or imperfections. If necessary, use a clean, lint-free cloth and glass cleaner to gently remove any residual marks on the mirror's surface, enhancing its clarity and visual appeal.
-
Test Functionality: Open and close the cabinet door to test the functionality of the new mirror. Ensure that the door operates smoothly and that the mirror remains securely in place without any shifting or instability. This step verifies the practical integration of the mirror within the cabinet, confirming its seamless functionality.
-
Remove Protective Coverings: If painter's tape or protective coverings were applied to the surrounding surfaces during the installation process, carefully remove them to reveal the pristine cabinet door and adjacent walls. Take care to peel away the tape or coverings without causing any damage to the freshly installed mirror or the cabinet's finish.
-
Cleanup Debris and Residue: Thoroughly clean the work area, removing any debris, adhesive residue, or discarded packaging materials. Use a vacuum cleaner or a damp cloth to eliminate dust and small particles, ensuring that the surrounding space is left immaculate and free from any remnants of the installation process.
-
Final Visual Inspection: Step back and visually inspect the entire area, including the newly installed mirror, the cabinet door, and the surrounding walls. Verify that the installation is flawless, the surfaces are clean and unblemished, and the overall presentation exudes a refreshed and polished aesthetic.
By meticulously attending to these finishing touches and conducting a comprehensive cleanup, you can unveil the full impact of the newly installed mirror, elevating the visual appeal and functionality of your bathroom space. This meticulous approach ensures that every aspect of the project is executed with precision and care, culminating in a revitalized and polished ambiance that enhances the overall allure of your bathroom.
Conclusion
In conclusion, the process of replacing a medicine cabinet mirror is a transformative endeavor that rejuvenates the aesthetic appeal and functionality of your bathroom space. By following the detailed steps outlined in this guide, you have embarked on a journey to revitalize your bathroom and elevate its visual impact through the installation of a brand-new mirror.
Throughout this project, meticulous attention to detail and a methodical approach have been paramount. From gathering the necessary tools and materials to carefully removing the old mirror, preparing the cabinet for the new mirror, and executing a seamless installation, each step has contributed to the successful transformation of your bathroom space.
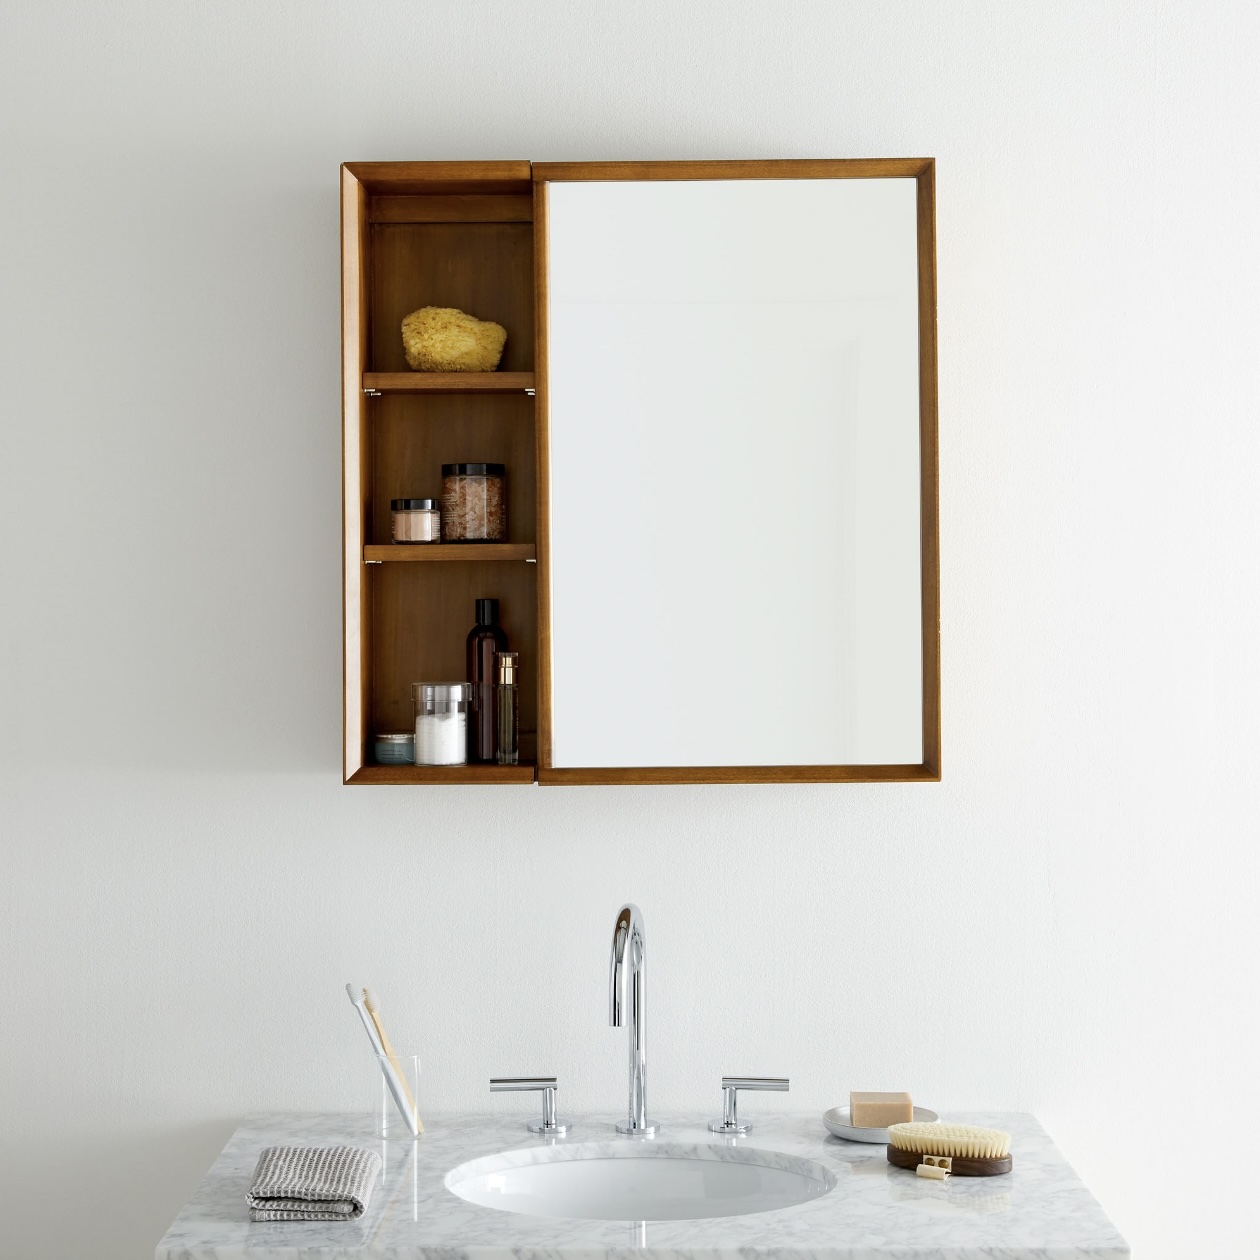
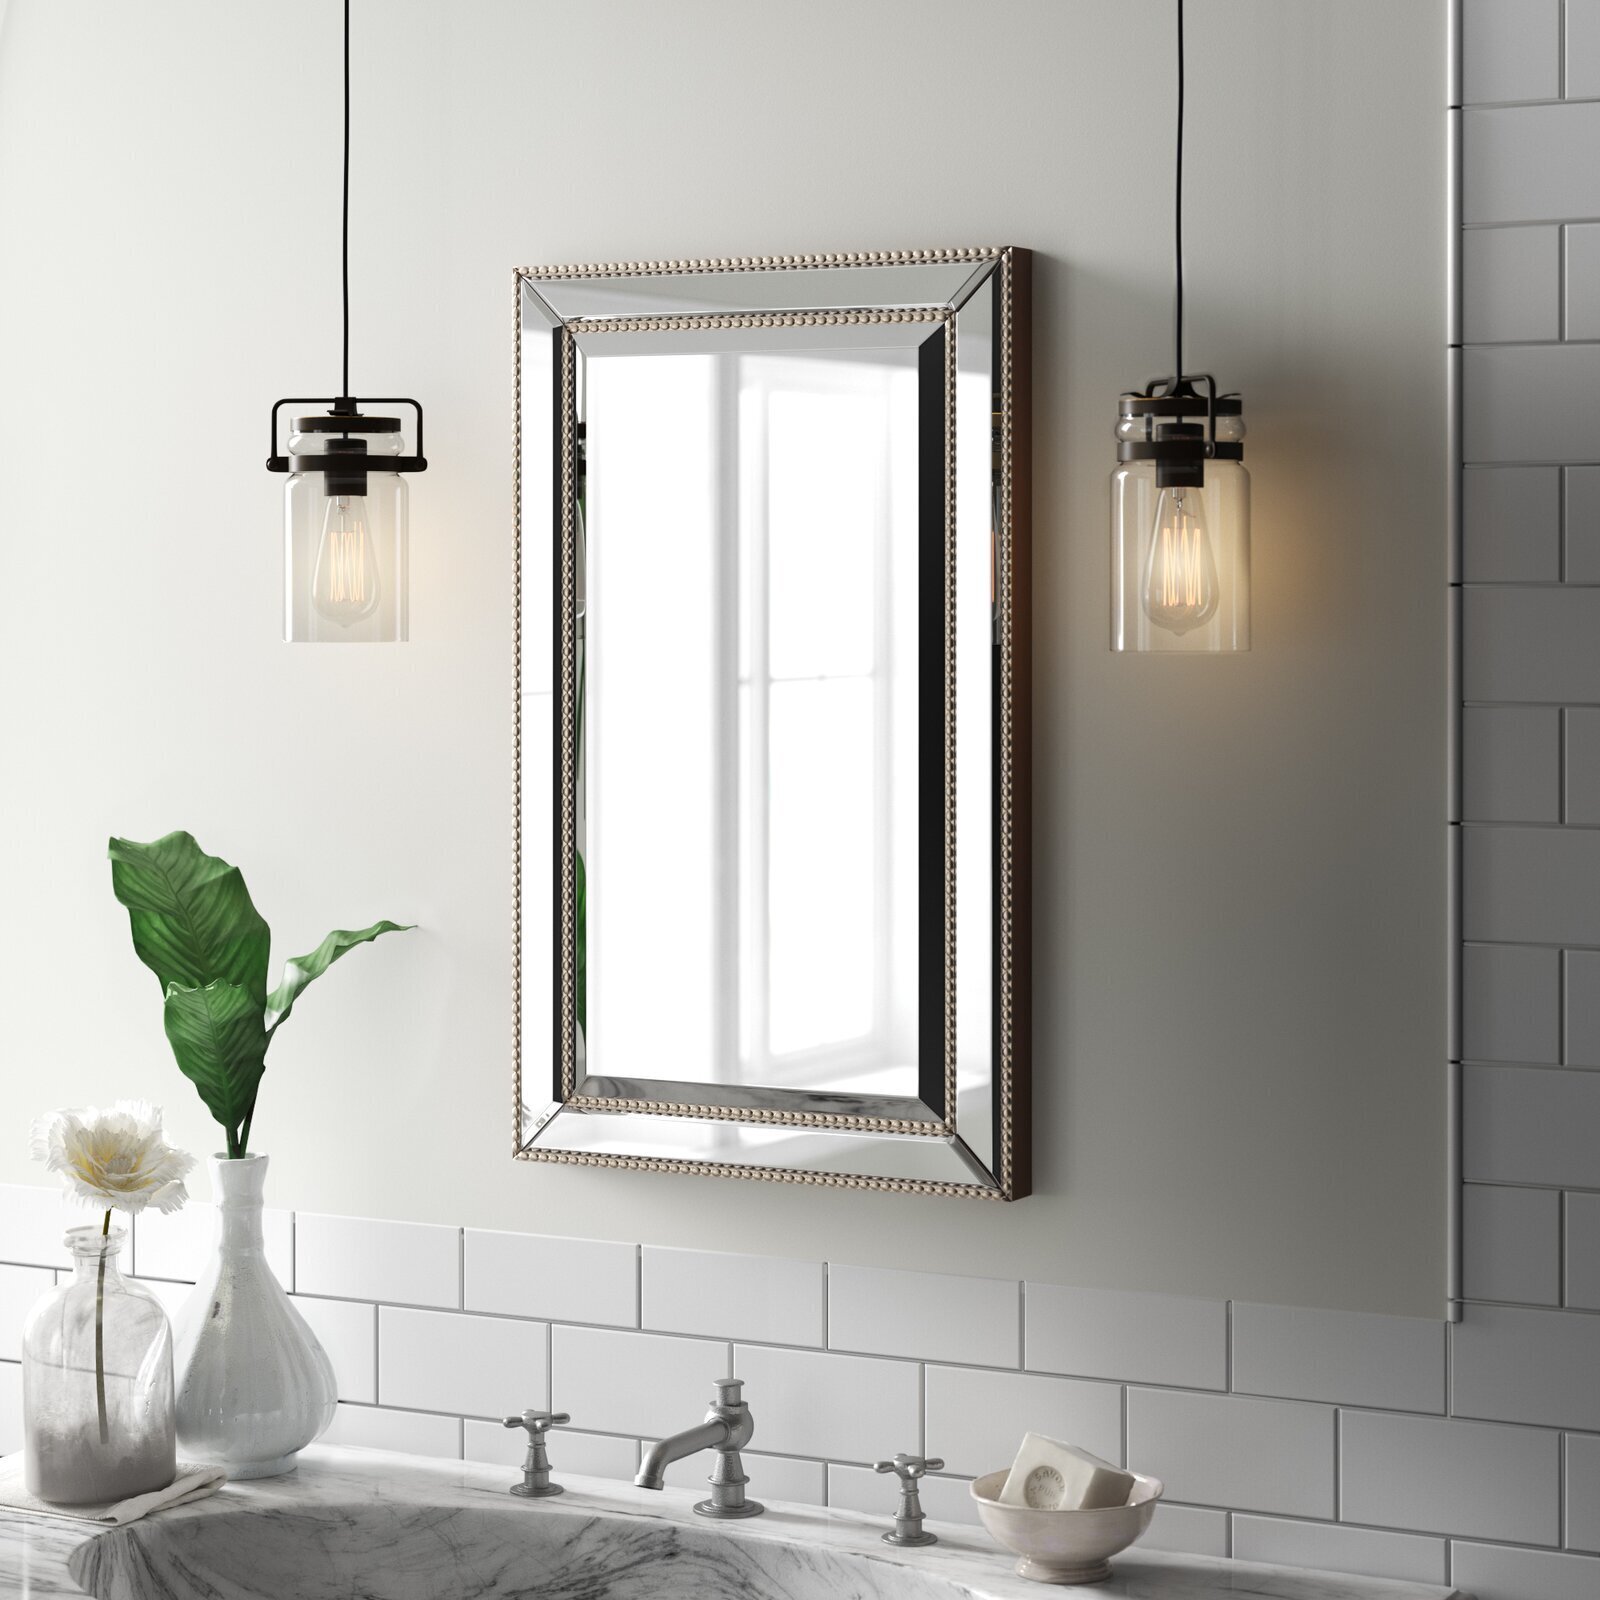
As you reflect on the completion of this project, take pride in the newfound allure and practicality that the new mirror brings to your bathroom. The revitalized cabinet door now showcases a pristine and stylish mirror, reflecting light and visually expanding the room while offering a convenient storage solution. The seamless integration of the new mirror with the cabinet door enhances the overall ambiance, contributing to a polished and inviting atmosphere.
Furthermore, the meticulous attention to detail during the finishing touches and cleanup phase ensures that the project culminates in a flawless result. The surrounding area is left immaculate, free from debris and residue, allowing the newly installed mirror to take center stage in a refreshed and polished setting.
As you admire the revitalized ambiance of your bathroom, take a moment to appreciate the craftsmanship and dedication that have gone into this project. The successful replacement of the medicine cabinet mirror stands as a testament to your ability to undertake transformative DIY endeavors and elevate the visual appeal of your living spaces.
With the completion of this project, you have not only enhanced the aesthetic allure of your bathroom but also gained valuable experience in executing meticulous home improvement tasks. The newfound charm and functionality of your bathroom space serve as a testament to your ability to create inviting and visually captivating environments within your home.
As you revel in the revitalized ambiance of your bathroom, take pride in the accomplishment of this project and the positive impact it has brought to your living space. The installation of a new medicine cabinet mirror has not only refreshed the visual appeal of your bathroom but has also imbued it with a renewed sense of style and practicality, enriching your daily living experience.
Frequently Asked Questions about How To Replace A Medicine Cabinet Mirror
Was this page helpful?
At Storables.com, we guarantee accurate and reliable information. Our content, validated by Expert Board Contributors, is crafted following stringent Editorial Policies. We're committed to providing you with well-researched, expert-backed insights for all your informational needs.

0 thoughts on “How To Replace A Medicine Cabinet Mirror”