Home>Furniture & Design>Interior Design Trends>How To Seal Vinyl On Glass
Interior Design Trends
How To Seal Vinyl On Glass
Modified: August 27, 2024
Learn how to effectively seal vinyl on glass to keep up with the latest interior design trends. Follow our step-by-step guide for a flawless finish.
(Many of the links in this article redirect to a specific reviewed product. Your purchase of these products through affiliate links helps to generate commission for Storables.com, at no extra cost. Learn more)
Introduction
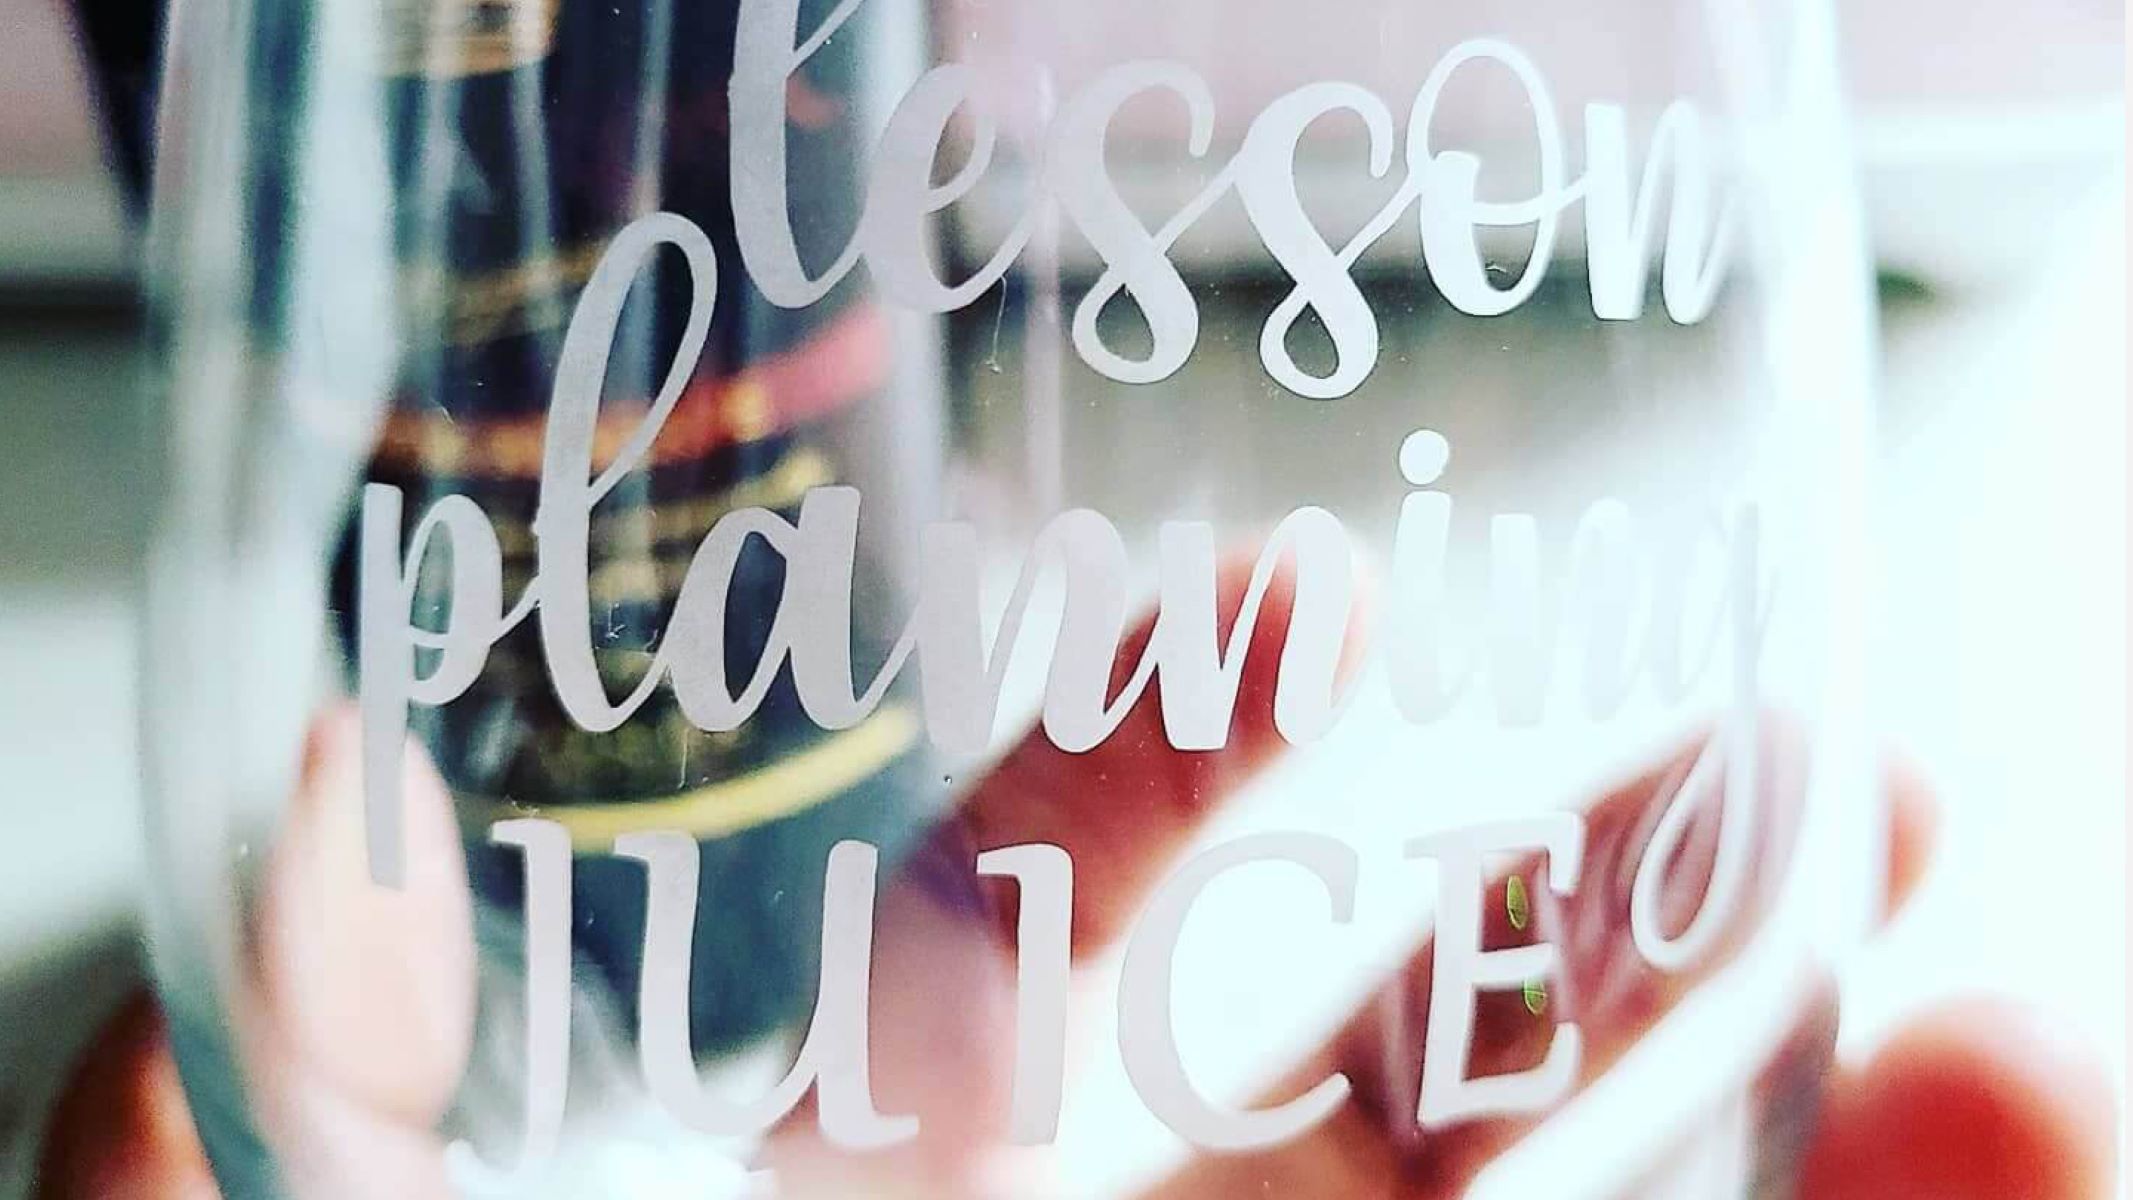
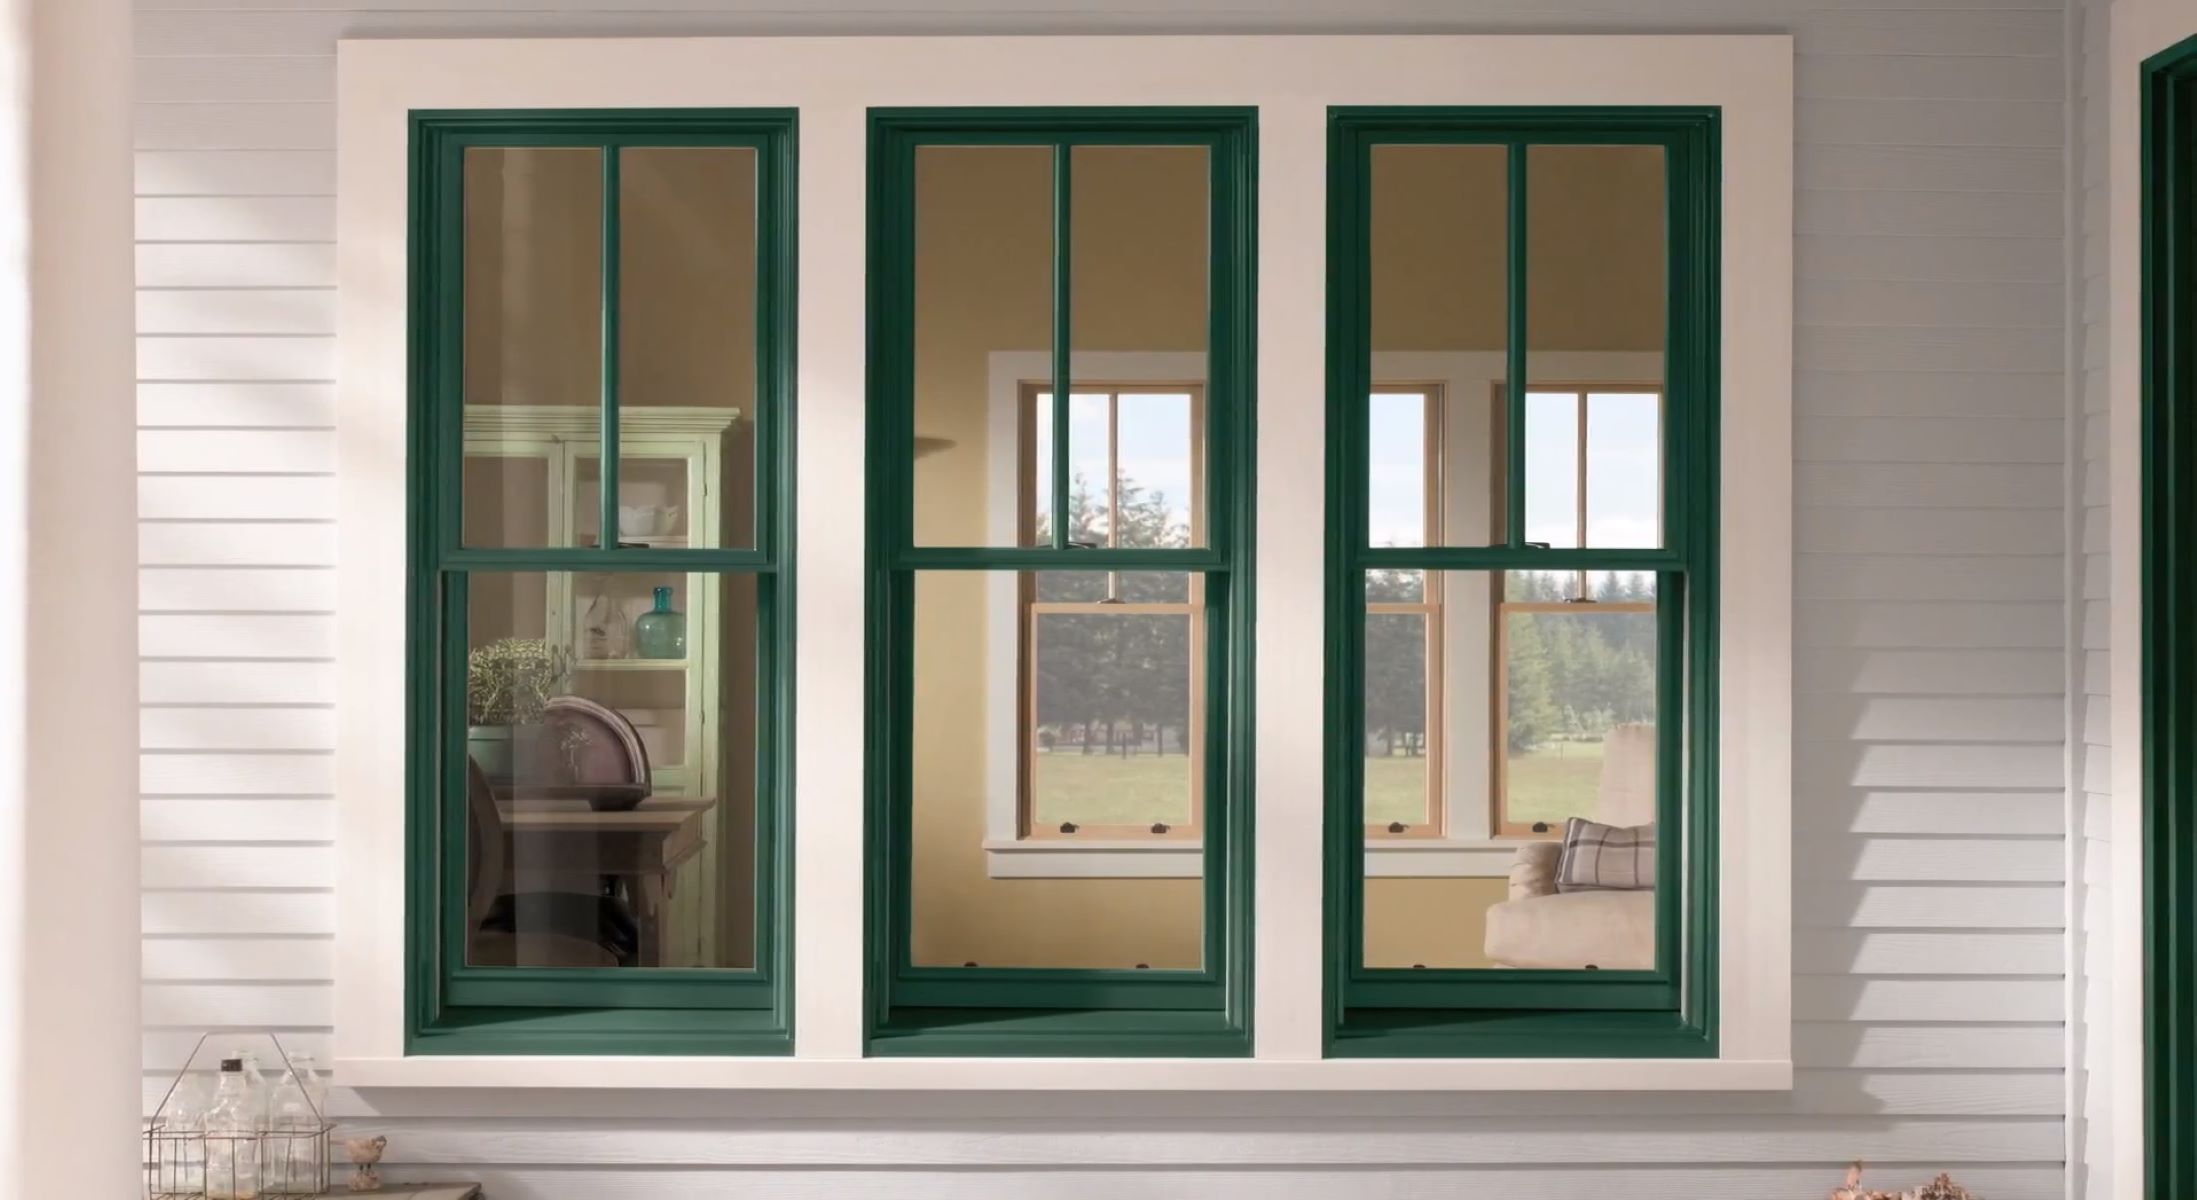
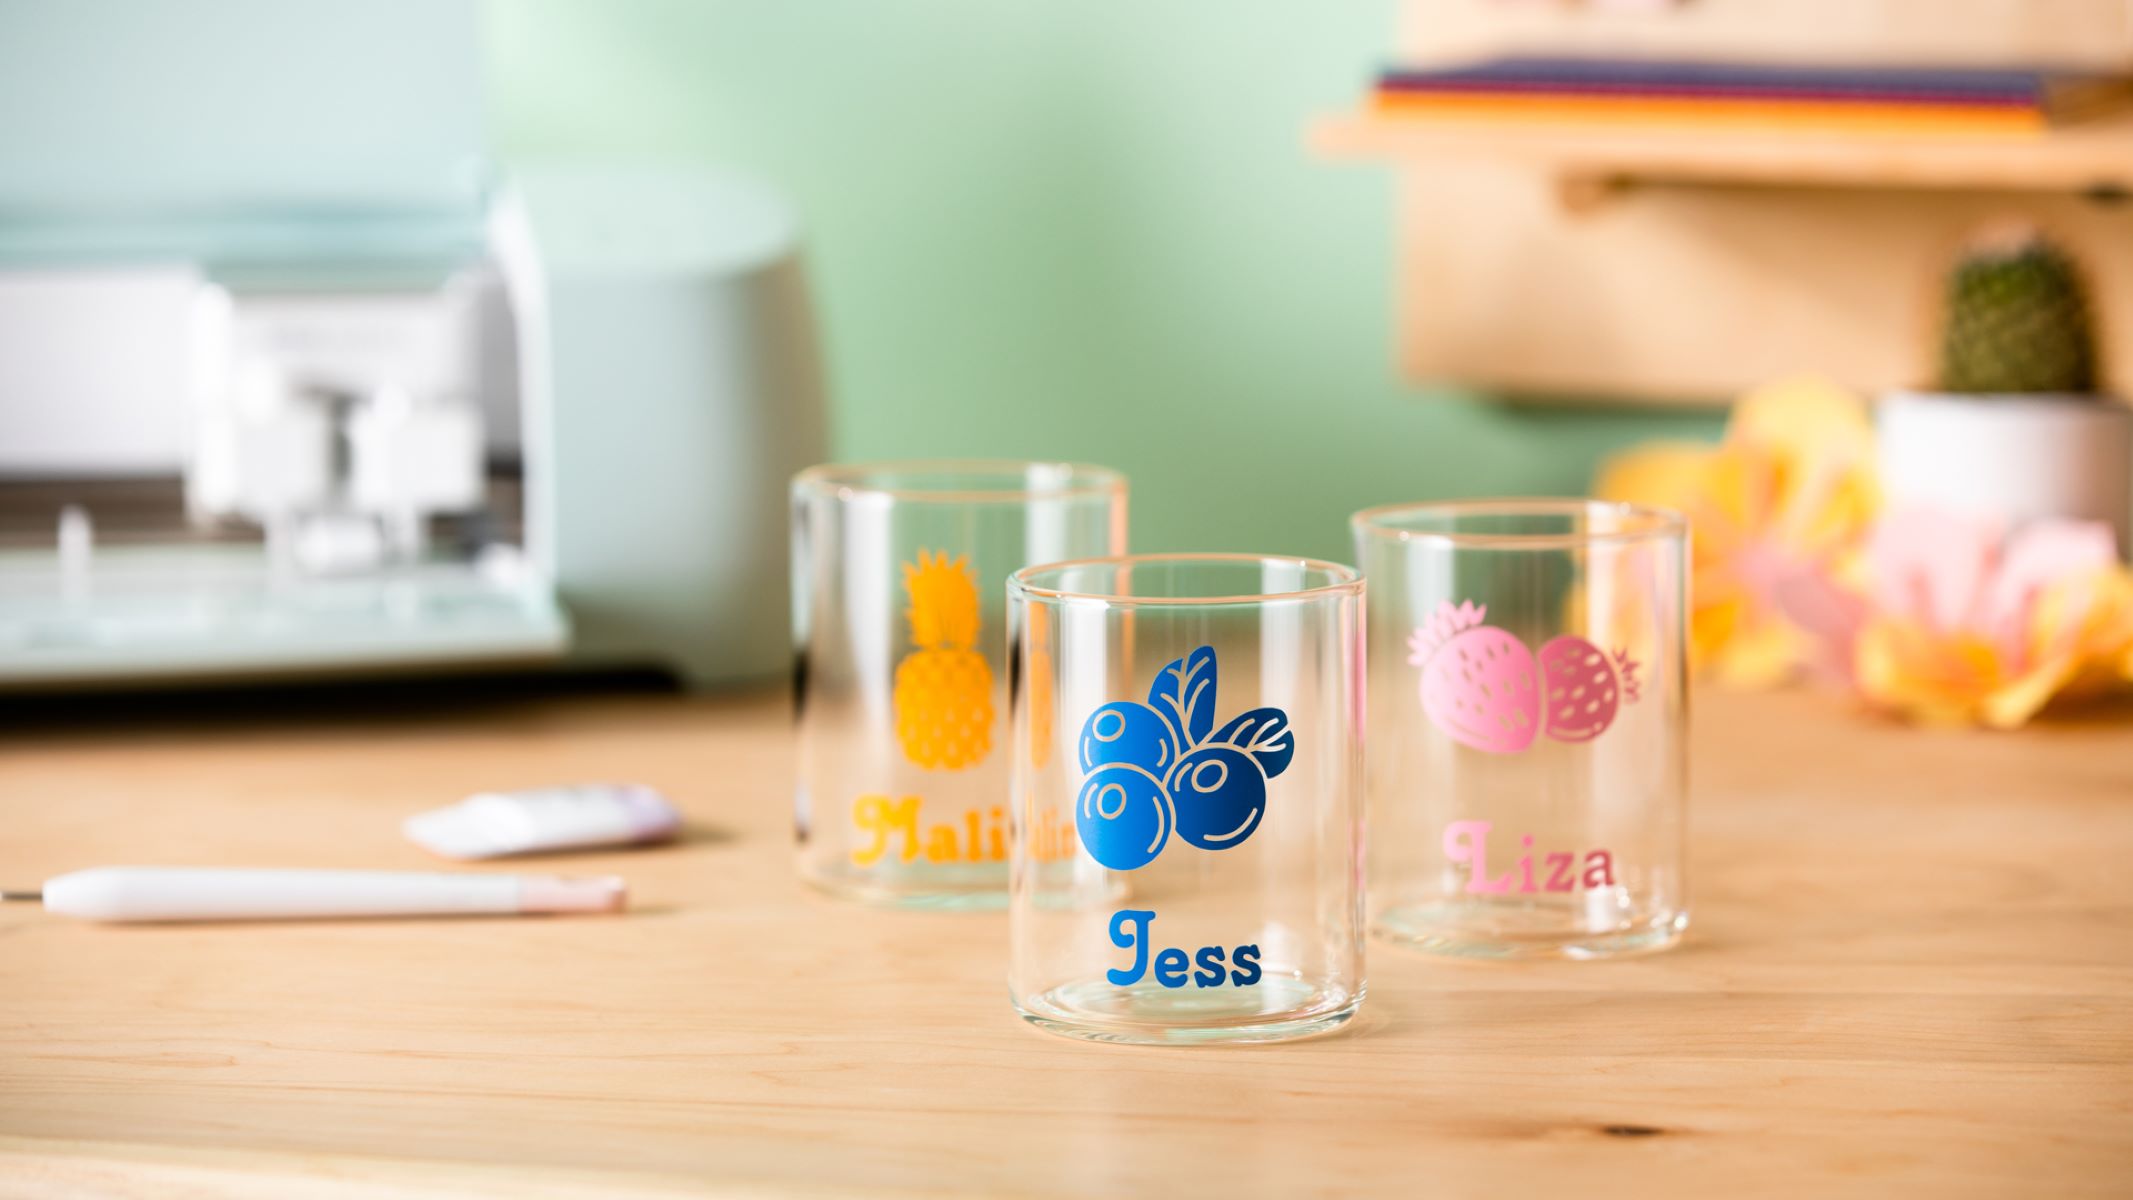
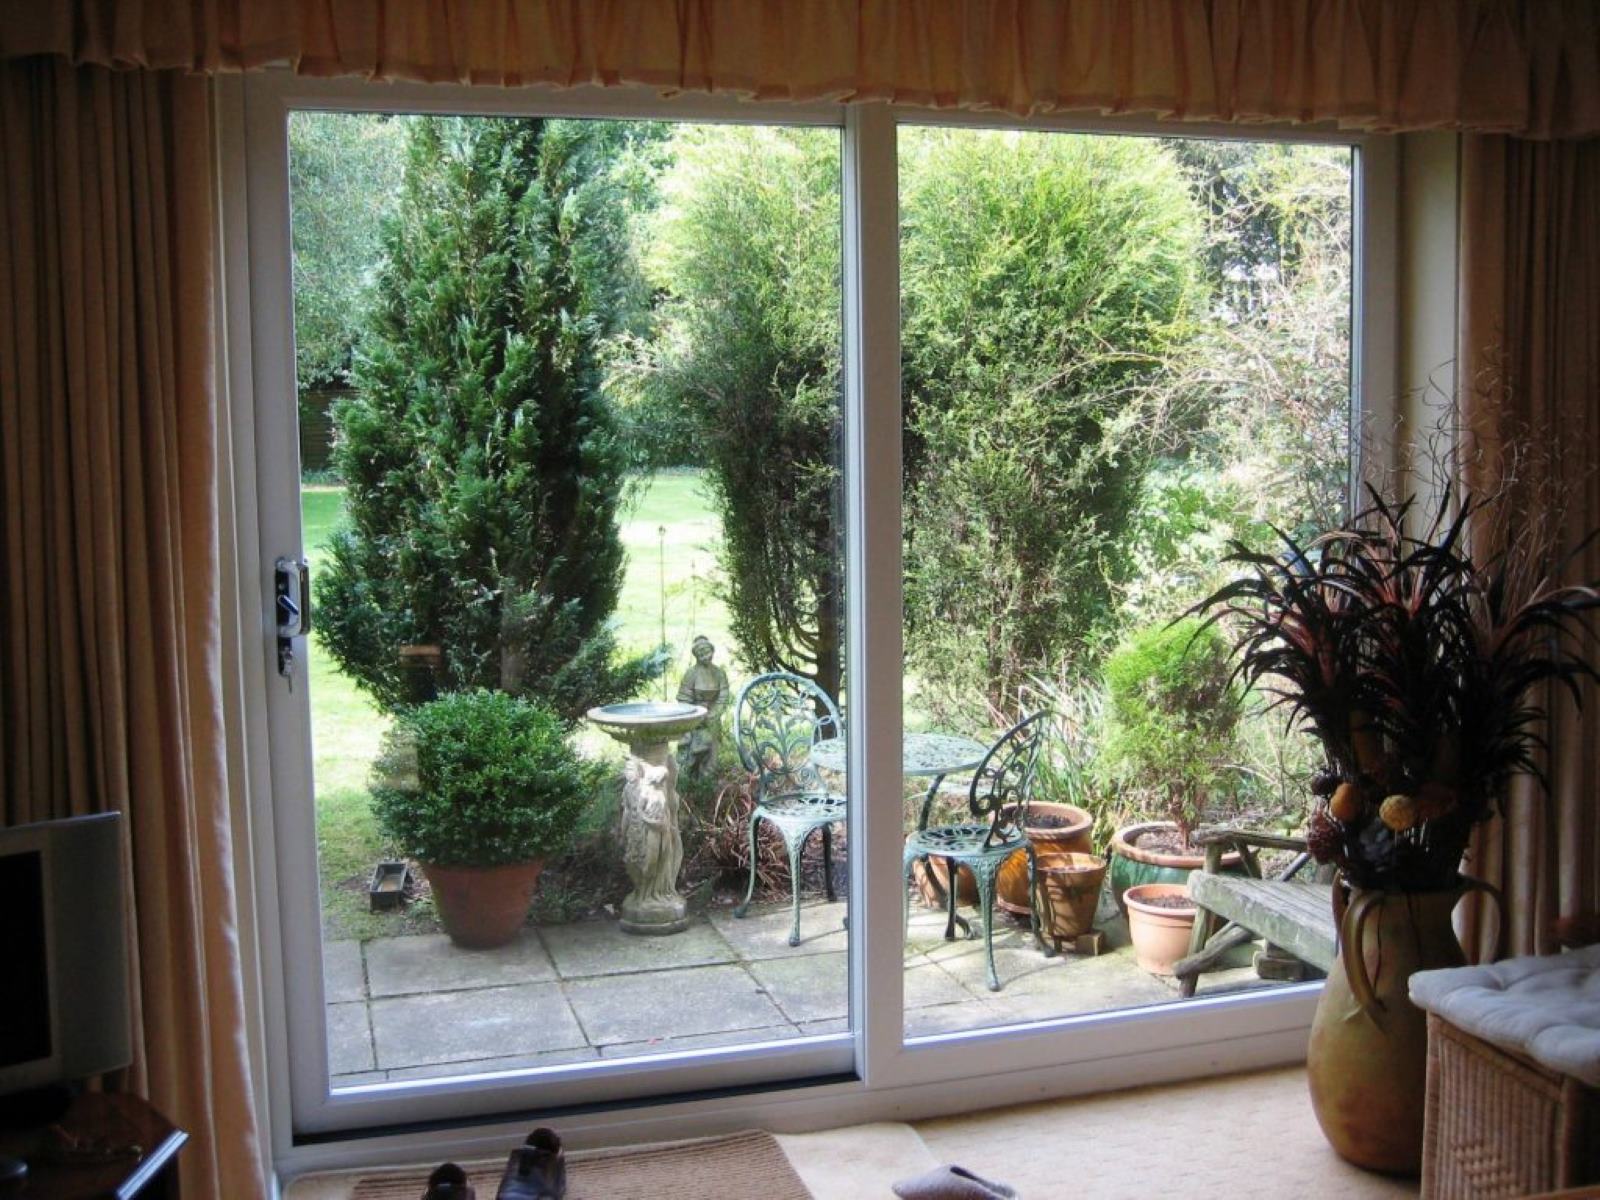
When it comes to adding a personal touch to glass surfaces, vinyl designs are a popular choice. Whether you're looking to decorate your windows, glass doors, or tabletops, applying vinyl designs can instantly transform the look and feel of any space. However, to ensure that your vinyl designs stand the test of time, it's crucial to seal them properly onto the glass surface.
In this comprehensive guide, we will walk you through the step-by-step process of sealing vinyl on glass. From preparing the glass surface to applying the sealant, we'll cover everything you need to know to achieve a professional and long-lasting finish. By following these simple yet effective techniques, you can elevate the aesthetic appeal of your glass surfaces while protecting the vinyl designs from wear and tear.
So, gather your materials and get ready to embark on a creative journey as we delve into the art of sealing vinyl on glass. With the right tools and a dash of creativity, you'll be able to showcase your unique style and personality through stunning vinyl designs that are built to last. Let's dive in and discover the secrets to achieving a flawless and durable seal for your vinyl creations on glass.
Key Takeaways:
- Transform glass surfaces with stunning vinyl designs by following a step-by-step process. Clean, measure, apply, and seal for a professional and enduring finish that reflects your unique style and creativity.
- Elevate your space with visually captivating and resilient vinyl designs on glass. From meticulous cleaning to expert sealing, unleash your creativity and showcase your personality with confidence.
Read more: How To Seal Glass Jars
Materials Needed
Before you embark on the journey of sealing vinyl on glass, it's essential to gather the necessary materials to ensure a smooth and successful process. Here's a comprehensive list of the items you'll need:
-
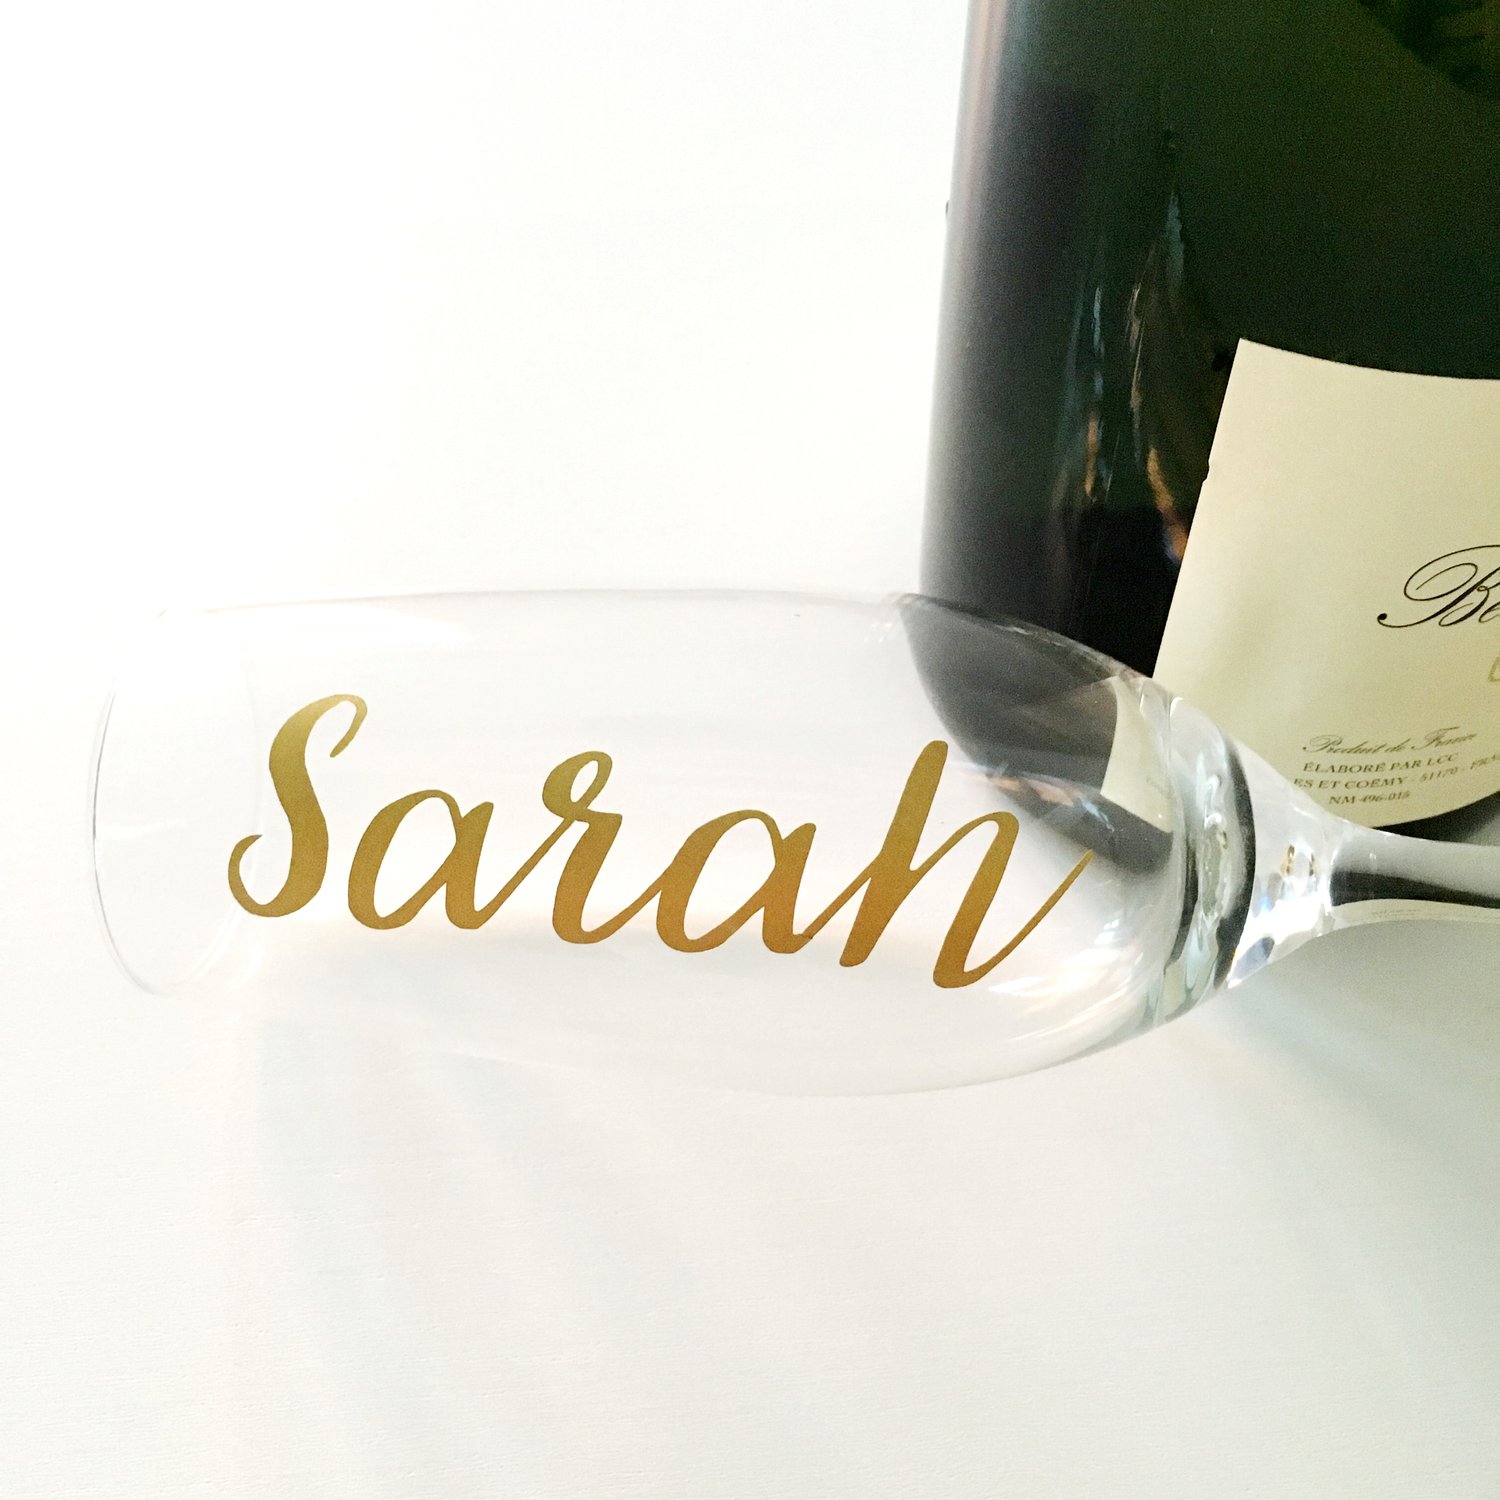
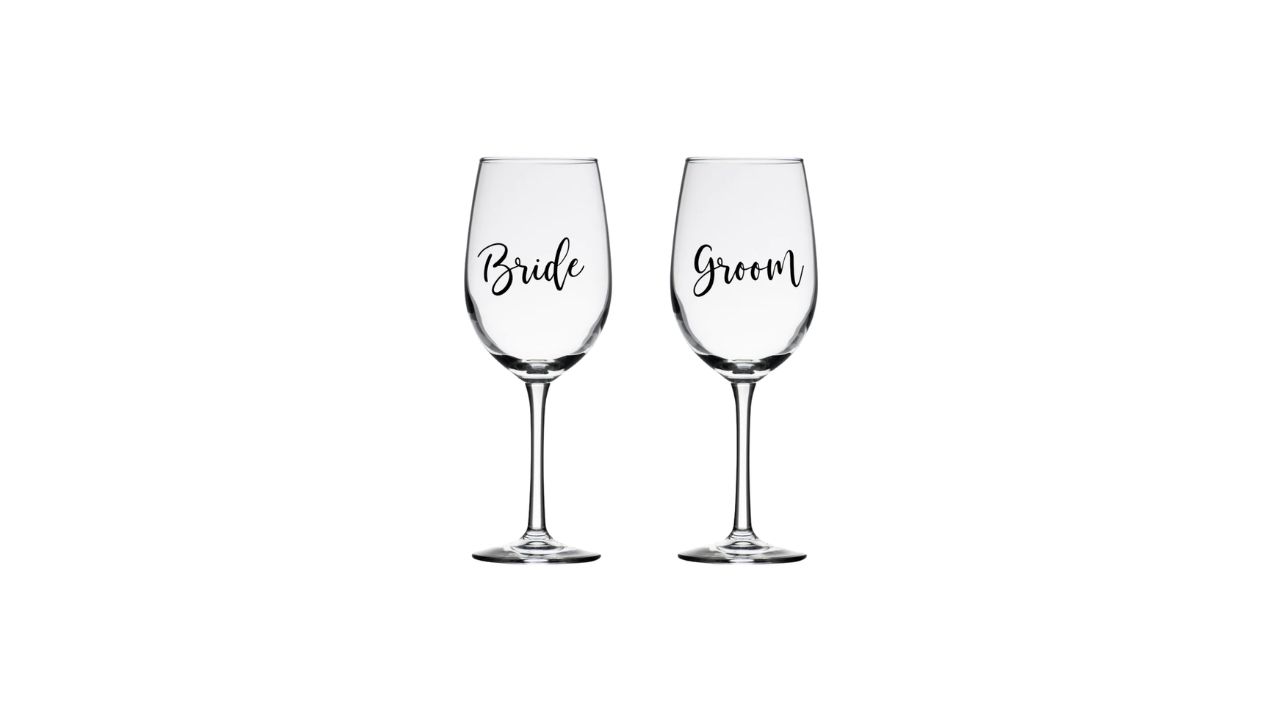
Vinyl Design: Select the vinyl design of your choice, ensuring that it complements the aesthetics of the glass surface you intend to decorate. Whether it's a decorative pattern, inspirational quote, or intricate artwork, the vinyl design serves as the centerpiece of your creative project.
-
Glass Cleaner: A high-quality glass cleaner is essential to prepare the glass surface for the application of vinyl. Ensure that the cleaner is free from streaks and residues, as a clean surface is crucial for achieving a seamless seal.
-
Microfiber Cloth: Opt for a soft microfiber cloth to wipe the glass surface after cleaning. This will help remove any remaining particles or lint, leaving the glass impeccably clean and ready for the vinyl application.
-
Measuring Tape: Accurate measurements are key to ensuring that the vinyl design fits perfectly on the glass surface. A reliable measuring tape will allow you to determine the precise dimensions for cutting the vinyl.
-
Scissors or Cutting Tool: To trim the vinyl design to the required size, you'll need a pair of sharp scissors or a cutting tool. This will enable you to achieve clean and precise cuts, ensuring that the vinyl fits flawlessly on the glass.
-
Transfer Tape: Transfer tape is essential for transferring the vinyl design from its backing onto the glass surface. It provides stability and facilitates the smooth application of the vinyl without causing wrinkles or air bubbles.
-
Vinyl Sealant: Select a high-quality vinyl sealant specifically designed for glass surfaces. The sealant will not only protect the vinyl design from damage but also enhance its longevity, ensuring that it remains vibrant and intact over time.
-
Foam Brush or Squeegee: A foam brush or squeegee is indispensable for applying the vinyl sealant onto the glass surface. It allows for even distribution and smooth application, resulting in a professional finish.
-
Protective Gloves: As you work with the vinyl sealant, protective gloves will safeguard your hands from direct contact with the sealant and ensure a safe and comfortable sealing process.
-
Ventilation: Adequate ventilation is crucial when working with sealants. Ensure that the workspace is well-ventilated to minimize exposure to fumes and promote a comfortable working environment.
By gathering these essential materials, you'll be well-prepared to embark on the process of sealing vinyl on glass. With the right tools at your disposal, you can proceed with confidence, knowing that you have everything you need to achieve a stunning and durable seal for your vinyl designs.
Step 1: Clean the Glass Surface
The first and most crucial step in sealing vinyl on glass is to thoroughly clean the glass surface. A pristine and debris-free surface is essential for ensuring that the vinyl adheres seamlessly and the sealant bonds effectively. Here's a detailed guide on how to clean the glass surface in preparation for applying the vinyl design and sealant.
Gather Your Cleaning Supplies
Begin by assembling your glass cleaning supplies, including a high-quality glass cleaner and a soft microfiber cloth. Ensure that the glass cleaner is specifically formulated for glass surfaces and does not leave streaks or residues behind. Additionally, have the microfiber cloth on hand to wipe the glass surface and remove any remaining particles or lint.
Clear the Surface
Before applying the glass cleaner, clear the glass surface of any decorative items, such as ornaments or plants, to allow unobstructed access for cleaning. This step is essential for ensuring thorough cleaning and preventing any debris from interfering with the vinyl application process.
Read more: How To Put Vinyl On Glass
Apply the Glass Cleaner
Spray the glass cleaner generously onto the glass surface, ensuring complete coverage. Using a systematic approach, work from one side to the other, ensuring that the entire surface is treated with the cleaner. Pay special attention to any areas with visible smudges or dirt, as these may require additional cleaning.
Wipe with a Microfiber Cloth
After applying the glass cleaner, use the microfiber cloth to wipe the glass surface in a circular motion. This gentle yet effective technique helps remove dirt, grime, and any remaining cleaner residue, leaving the glass surface impeccably clean and ready for the next steps.
Inspect for Streaks or Residues
Once you've wiped the glass surface, inspect it carefully for streaks or residues. If any streaks or residues are present, re-wipe the affected areas with the microfiber cloth until the surface is completely clear and free from any blemishes.
By following these meticulous cleaning steps, you'll ensure that the glass surface is primed and ready for the application of the vinyl design and sealant. A clean and smooth glass surface provides the ideal foundation for achieving a flawless and long-lasting seal for your vinyl creations.
Step 2: Measure and Cut the Vinyl
Accurate measurements and precise cutting are essential for ensuring that the vinyl design fits perfectly on the glass surface. This step requires attention to detail and a methodical approach to achieve a seamless and professional result. Here's a comprehensive guide on how to measure and cut the vinyl for optimal fit and visual impact.
Read more: How To Seal Glitter On Glass
Gather Your Tools
Before you begin measuring and cutting the vinyl, gather the necessary tools, including a measuring tape, a pencil or marker, and a pair of sharp scissors or a cutting tool. Having these tools at hand will streamline the process and enable you to work with precision.
Measure the Glass Surface
Start by measuring the dimensions of the glass surface where you intend to apply the vinyl design. Use a measuring tape to determine the width and height of the area, ensuring that your measurements are accurate to avoid any misalignment or overhang of the vinyl.
Mark the Vinyl Backing
Lay the vinyl design on a clean, flat surface with the backing facing up. Using the measurements you obtained, mark the dimensions on the backing of the vinyl using a pencil or marker. This step serves as a guide for cutting the vinyl to the exact size required for the glass surface.
Cut the Vinyl Design
Carefully use a pair of sharp scissors or a cutting tool to trim the vinyl along the marked dimensions. Exercise caution to achieve clean and straight cuts, as precision is key to ensuring a seamless fit on the glass surface. Take your time and follow the marked lines to maintain accuracy throughout the cutting process.
Read more: How To Seal Cracked Glass
Trim Excess Material
Once the vinyl design is cut to the correct size, inspect it to ensure that there are no overhanging edges or excess material that may interfere with the application process. Trim any excess material as needed to achieve a precise and tailored fit for the glass surface.
Verify the Fit
Before proceeding to the next steps, place the cut vinyl design on the glass surface to verify the fit. Ensure that it aligns perfectly with the dimensions of the area and make any necessary adjustments to achieve an optimal fit.
By meticulously measuring and cutting the vinyl design, you'll lay the foundation for a successful application and sealing process. Attention to detail during this step will contribute to a visually striking and professionally executed vinyl design on the glass surface.
Step 3: Apply the Vinyl to the Glass
With the vinyl design cut to the precise dimensions and the glass surface impeccably clean, it's time to embark on the exciting process of applying the vinyl to the glass. This step requires precision and a methodical approach to ensure that the vinyl adheres seamlessly, creating a visually captivating display. Here's a detailed guide on how to apply the vinyl to the glass surface with finesse and expertise.
Prepare the Vinyl for Application
Before proceeding with the application, carefully peel away the backing from the vinyl design, exposing the adhesive side. Take care to avoid any creases or folds in the vinyl, as a smooth and even surface will facilitate a seamless application process. If the vinyl design features intricate details or delicate elements, handle it with care to preserve the integrity of the design.
Read more: How To Seal Paint On Wine Glasses
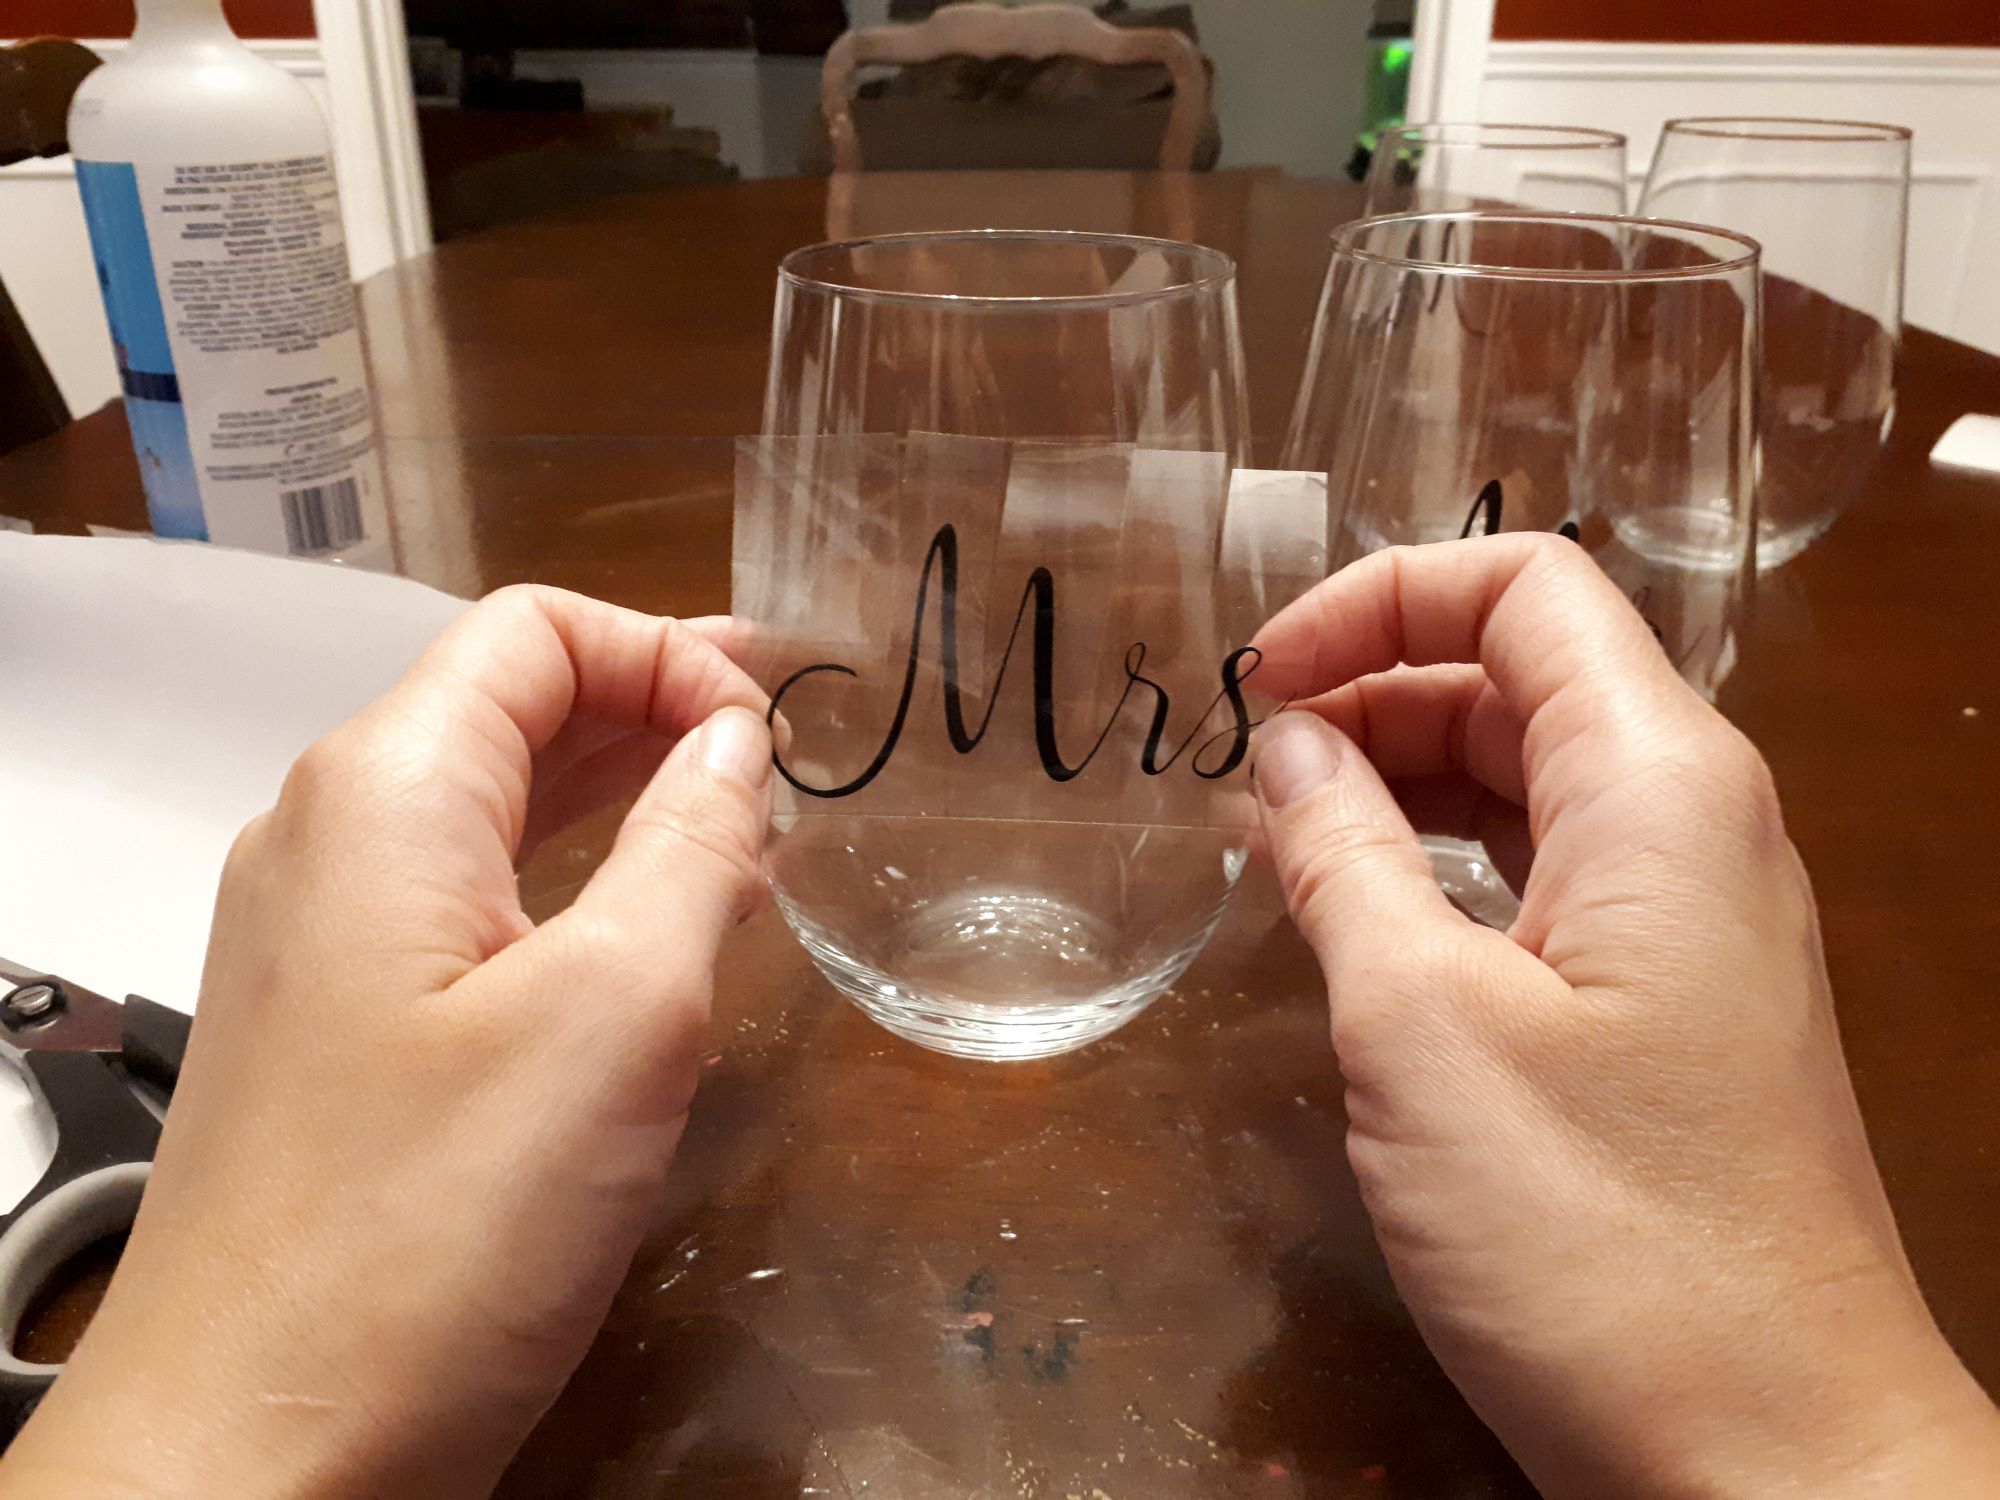
Position the Vinyl on the Glass
With the adhesive side of the vinyl exposed, position it onto the glass surface with precision. Begin by aligning one edge of the vinyl with the corresponding edge of the glass, ensuring that it is level and centered according to your desired placement. As you gently press the vinyl onto the glass, use a squeegee or a flat-edged tool to smooth out any air bubbles and ensure a secure bond between the vinyl and the glass.
Smooth Out the Vinyl Design
As you continue to apply the vinyl to the glass, use the squeegee or flat-edged tool to gradually smooth out the design, working from the center towards the edges. This technique helps eliminate any trapped air bubbles and ensures that the vinyl adheres uniformly to the glass surface. Pay close attention to intricate details and fine lines, exerting gentle pressure to maintain the integrity of the design throughout the application process.
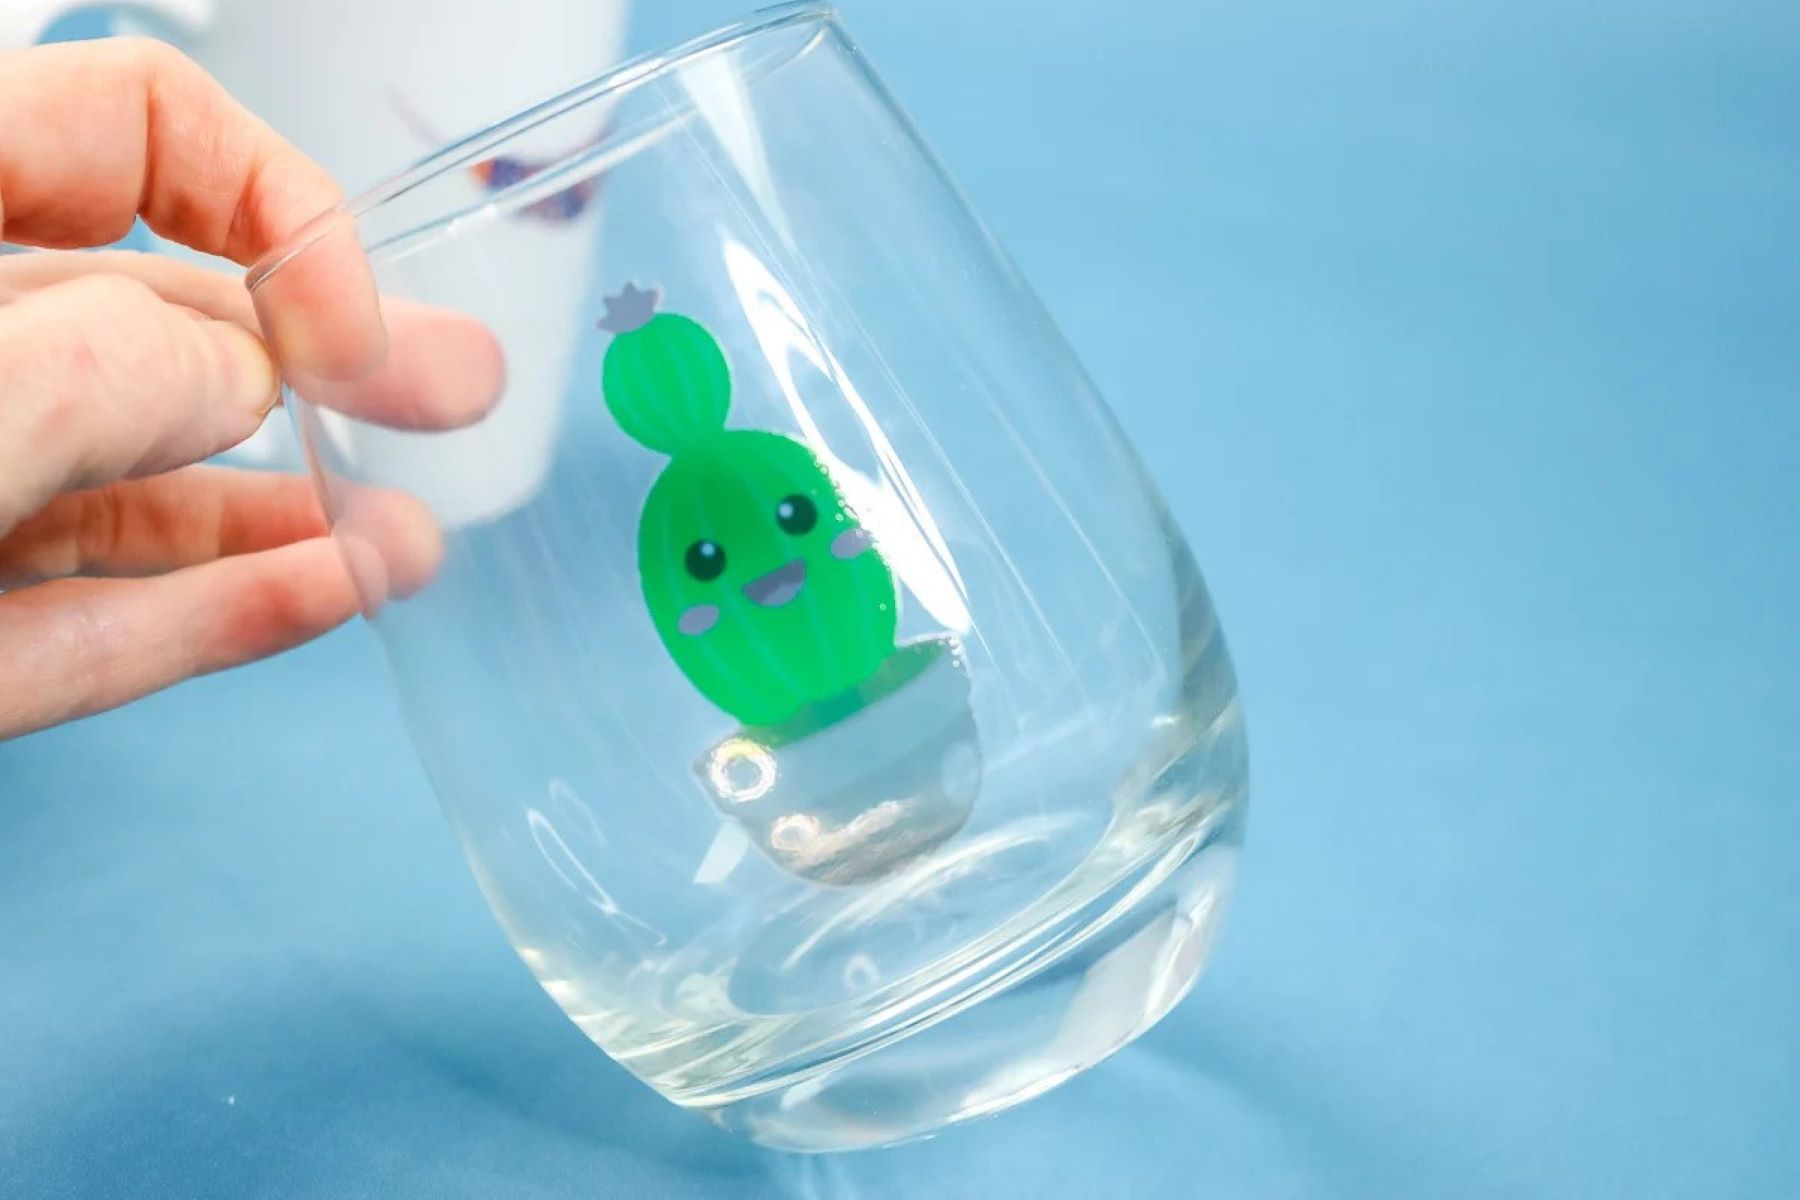
Remove the Transfer Tape
If the vinyl design is accompanied by transfer tape, carefully peel away the transfer tape from the vinyl at a 45-degree angle. This step should be executed slowly and deliberately to prevent any lifting or displacement of the vinyl from the glass surface. As the transfer tape is removed, the vinyl design will remain securely adhered to the glass, revealing the full splendor of the design in its rightful place.
By following these meticulous steps, you'll successfully apply the vinyl to the glass surface, creating a stunning visual impact that reflects your unique style and creativity. With the vinyl design seamlessly integrated onto the glass, you're now ready to proceed to the next crucial step: sealing the vinyl to ensure its longevity and durability.
Step 4: Seal the Vinyl on the Glass
Sealing the vinyl on the glass is a pivotal step that not only enhances the longevity of the vinyl design but also provides protection against wear and tear. The sealant acts as a safeguard, shielding the vinyl from environmental elements and ensuring that the design remains vibrant and intact over time. Here's a comprehensive guide on how to seal the vinyl on the glass with precision and expertise.
Read more: How To Remove Vinyl From Glass
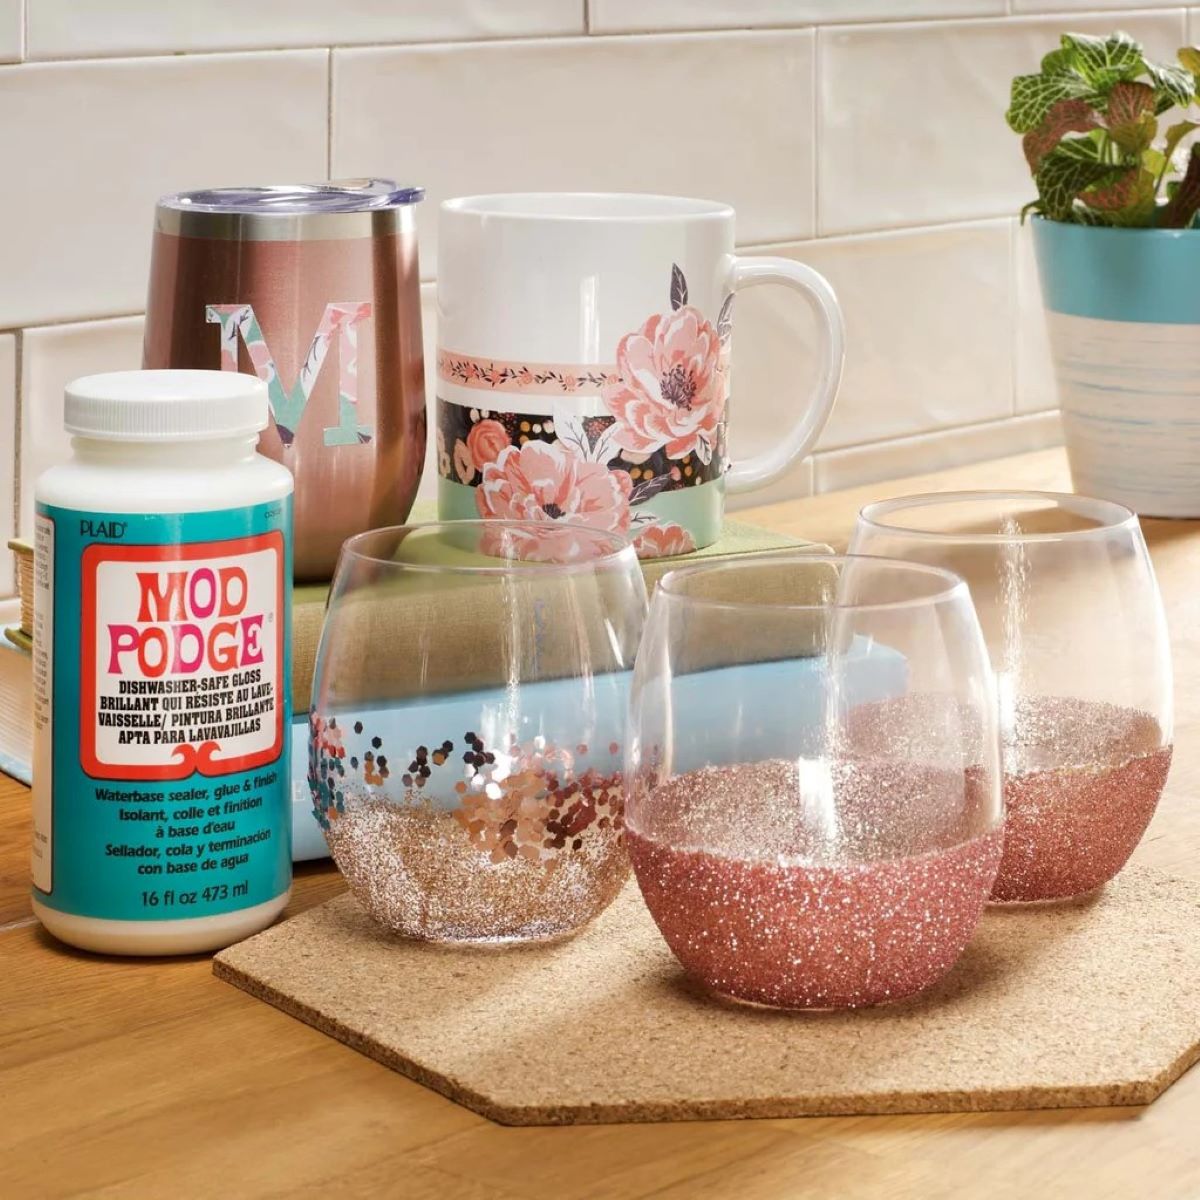
Selecting the Vinyl Sealant
Choose a high-quality vinyl sealant specifically formulated for glass surfaces. Opt for a sealant that offers UV protection and is designed to withstand the rigors of daily use. Consider factors such as transparency, durability, and compatibility with the vinyl material to ensure optimal results.
Applying the Sealant
Begin by ensuring that the glass surface, along with the applied vinyl design, is clean and free from any dust or debris. Shake the sealant container well to ensure proper mixing of the formula. Using a foam brush or applicator, apply a thin and even layer of the sealant over the entire surface of the vinyl design. Work methodically to cover the design completely, paying attention to intricate details and edges.
Smoothing and Leveling
After applying the sealant, use the foam brush or applicator to smooth and level the sealant layer. This step helps eliminate any excess sealant and ensures uniform coverage across the entire vinyl design. Pay special attention to achieving a seamless transition between the vinyl and the glass surface, creating a visually cohesive and polished finish.
Drying and Curing
Allow the sealant to dry and cure according to the manufacturer's instructions. Ensure that the workspace is well-ventilated during the drying process to facilitate proper curing of the sealant. Depending on the specific sealant product, the drying and curing times may vary, so refer to the product guidelines for accurate timing.
Read more: How To Seal Alcohol Ink On Glass
Final Inspection
Once the sealant has dried and cured, inspect the sealed vinyl design for any imperfections or inconsistencies. Verify that the sealant has formed a protective layer over the vinyl, enhancing its resilience and visual appeal. Address any minor touch-ups if necessary, ensuring that the sealed vinyl design meets your expectations in terms of durability and aesthetics.
By meticulously sealing the vinyl on the glass using these expert techniques, you'll elevate the visual impact of the design while safeguarding it against external factors. The sealed vinyl design will exude a professional and enduring allure, making a lasting impression in any space it adorns.
Step 5: Allow the Sealant to Dry
After meticulously applying the sealant to the vinyl design on the glass surface, the crucial final step is to allow the sealant to dry thoroughly. This phase is essential for ensuring that the sealant forms a resilient and protective layer over the vinyl, enhancing its durability and visual appeal.
As the sealant begins to dry, it undergoes a transformation, gradually solidifying to create a robust shield that safeguards the vinyl design from environmental elements and daily wear. The drying process allows the sealant to bond securely with the vinyl and the glass surface, ensuring a seamless and enduring seal.
During this period, it's imperative to maintain a controlled environment to facilitate optimal drying conditions. Adequate ventilation is essential, as it promotes the evaporation of solvents within the sealant, contributing to a uniform and thorough drying process. Additionally, maintaining a moderate temperature and humidity level in the workspace can expedite the drying time while ensuring consistent results.
The duration required for the sealant to dry completely varies depending on factors such as the specific sealant product used, environmental conditions, and the thickness of the applied layer. It's advisable to refer to the manufacturer's guidelines for the recommended drying time, as this ensures that the sealant achieves its full protective potential.
As the sealant progresses through the drying phase, it's important to exercise patience and refrain from disturbing the sealed vinyl design. Any premature contact or manipulation of the sealant layer can compromise its integrity and result in an uneven finish. By allowing the sealant to dry undisturbed, you're facilitating the formation of a robust and uniform protective barrier over the vinyl, enhancing its resilience and longevity.
Once the sealant has dried completely, conduct a thorough inspection to ensure that the sealed vinyl design meets your expectations in terms of durability and visual appeal. The dried sealant should exhibit a transparent and uniform finish, seamlessly integrating with the vinyl design and the glass surface. Any minor touch-ups or adjustments can be addressed at this stage to achieve a flawless and enduring seal.
By allowing the sealant to dry thoroughly, you're cementing the longevity and resilience of the vinyl design on the glass surface. The dried sealant forms a protective shield that not only enhances the visual allure of the design but also ensures that it withstands the test of time, making a lasting impression in any space it adorns.
Conclusion
In conclusion, the process of sealing vinyl on glass is a transformative journey that combines creativity, precision, and expertise to achieve stunning and enduring results. By following the step-by-step guide outlined in this comprehensive resource, you've gained valuable insights into the art of preparing, applying, and sealing vinyl designs on glass surfaces. From meticulous cleaning and precise measurements to the seamless application of the vinyl and the expert sealing process, each step contributes to the creation of visually captivating and resilient designs that elevate any space they adorn.
As you embark on your creative endeavors, whether it's embellishing windows, glass doors, or tabletops with captivating vinyl designs, the knowledge and techniques shared in this guide empower you to showcase your unique style and personality with confidence. The meticulous cleaning of the glass surface sets the stage for a flawless application, ensuring that the vinyl adheres seamlessly and the sealant bonds effectively, creating a professional and enduring finish.
The application of the vinyl design onto the glass surface is a moment of artistic expression, where precision and finesse come together to bring your vision to life. By carefully positioning the vinyl, smoothing out air bubbles, and removing the transfer tape with precision, you've learned how to achieve a visually striking and seamless integration of the vinyl design onto the glass.
The pivotal step of sealing the vinyl design with a high-quality sealant ensures that your creative endeavors withstand the test of time. The sealant forms a protective shield, enhancing the durability and resilience of the vinyl design while preserving its vibrant colors and intricate details. Through the meticulous application and drying of the sealant, you've learned how to safeguard your vinyl designs against environmental elements and daily wear, ensuring that they maintain their allure for years to come.
As you reflect on the journey of sealing vinyl on glass, remember that your creativity knows no bounds. Whether you're embellishing your living space, adding a personal touch to your workspace, or creating unique gifts for loved ones, the art of sealing vinyl on glass empowers you to infuse every environment with your distinctive style and creativity.
With the knowledge and expertise gained from this guide, you're equipped to embark on future projects with confidence, knowing that you possess the skills to create enduring and visually captivating vinyl designs on glass surfaces. Embrace the art of sealing vinyl on glass as a testament to your creativity and passion, and let your unique designs leave a lasting impression in every space they grace.
Frequently Asked Questions about How To Seal Vinyl On Glass
Was this page helpful?
At Storables.com, we guarantee accurate and reliable information. Our content, validated by Expert Board Contributors, is crafted following stringent Editorial Policies. We're committed to providing you with well-researched, expert-backed insights for all your informational needs.
0 thoughts on “How To Seal Vinyl On Glass”