Home>Furniture & Design>Interior Design Trends>How To Seal Glitter On Glass
Interior Design Trends
How To Seal Glitter On Glass
Modified: August 17, 2024
Learn how to seal glitter on glass to add a touch of sparkle to your interior design. Discover the latest interior design trends and techniques.
(Many of the links in this article redirect to a specific reviewed product. Your purchase of these products through affiliate links helps to generate commission for Storables.com, at no extra cost. Learn more)
Introduction
Sealing glitter on glass is a fantastic way to add a touch of sparkle and glamour to your home decor. Whether you're creating custom glassware, decorative vases, or unique ornaments, sealing glitter on glass can elevate the visual appeal of everyday items. This simple yet effective technique allows you to infuse your personal style and creativity into your living space, making it truly one-of-a-kind.
By sealing glitter on glass, you can transform ordinary objects into dazzling focal points that catch the light and draw the eye. This process not only adds a glamorous touch to your interior design but also provides an opportunity for self-expression and artistic exploration. Whether you prefer subtle shimmer or bold, eye-catching sparkle, sealing glitter on glass allows you to customize your decor to suit your individual taste and style.
Moreover, sealing glitter on glass is a versatile and cost-effective way to revamp old or plain glass items, breathing new life into them and preventing them from ending up in the discard pile. With the right materials and techniques, you can unleash your creativity and transform mundane glass surfaces into stunning, personalized works of art.
In the following sections, we will explore the materials needed and provide a step-by-step guide to help you master the art of sealing glitter on glass. Additionally, we will share valuable tips and tricks to ensure that your glitter-sealed glass creations stand the test of time and continue to dazzle for years to come. Let's embark on this glittery journey and unlock the potential of transforming ordinary glass into extraordinary decor pieces!
Key Takeaways:
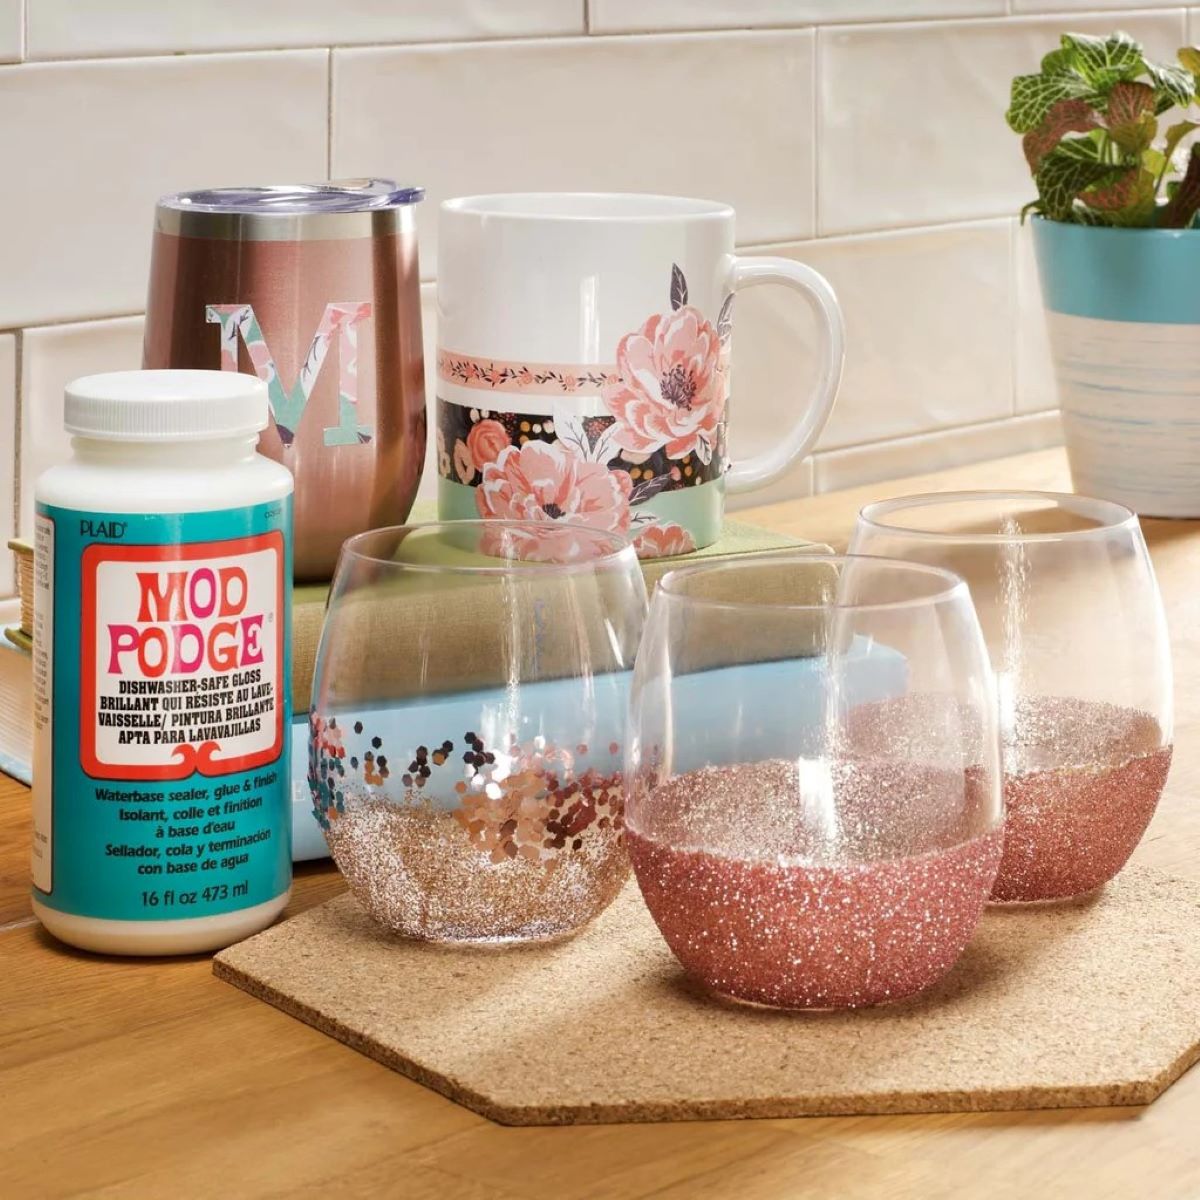
- Transform plain glass into dazzling decor by sealing glitter with Mod Podge or clear glue. Add sparkle to your space and prevent old glassware from fading into obscurity.
- Embrace creativity and personalize your living space with glitter-sealed glass items. Enjoy a budget-friendly DIY project that adds luxury and allure to your home decor.
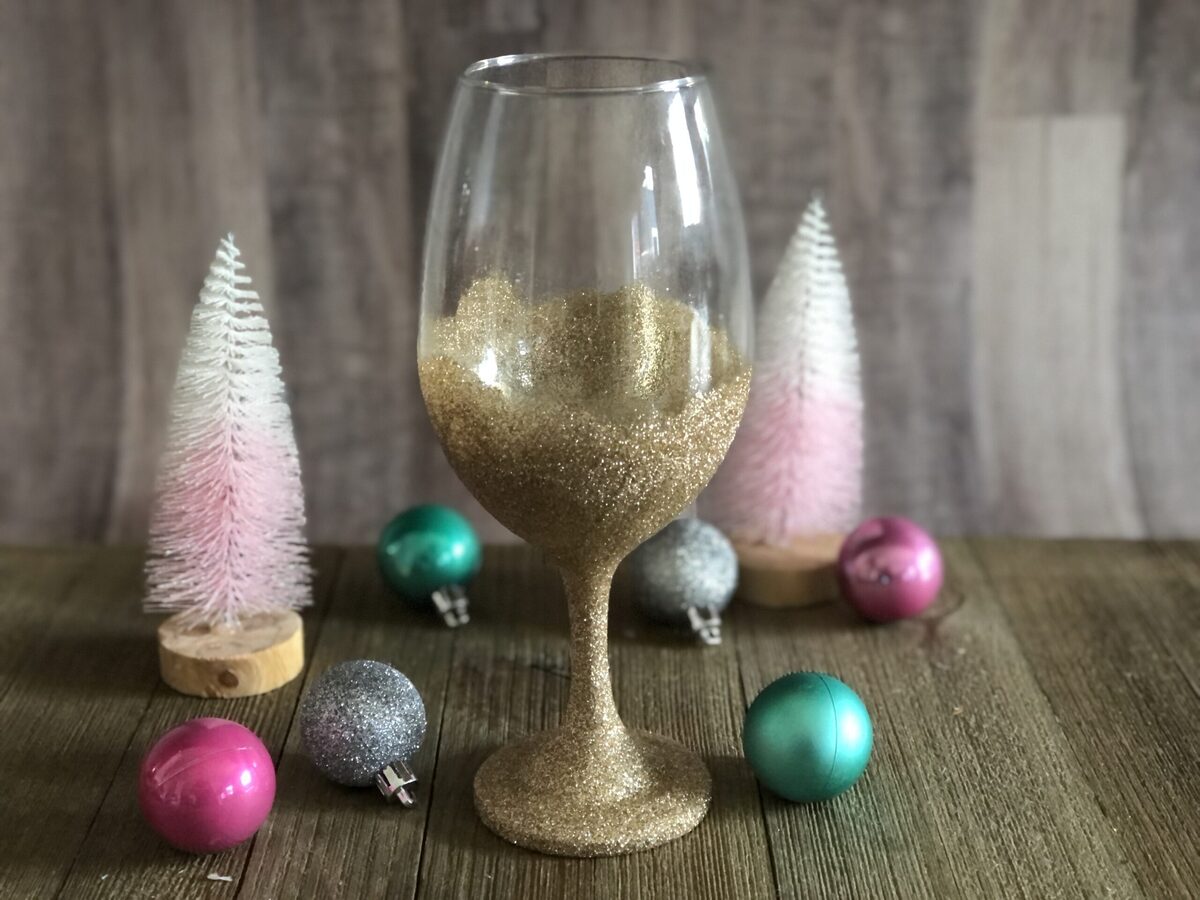
Read more: How To Glitter A Wine Glass
Materials Needed
To embark on the enchanting journey of sealing glitter on glass, you will need a few essential materials to ensure a successful and visually stunning outcome. These materials are readily available and relatively inexpensive, making this DIY project both accessible and rewarding. Here's a comprehensive list of the materials you'll need to get started:
-
Glass Items: Select the glass items you wish to embellish with glitter. This could include vases, jars, candle holders, or any other glass surfaces that you want to transform into sparkling decor pieces.
-
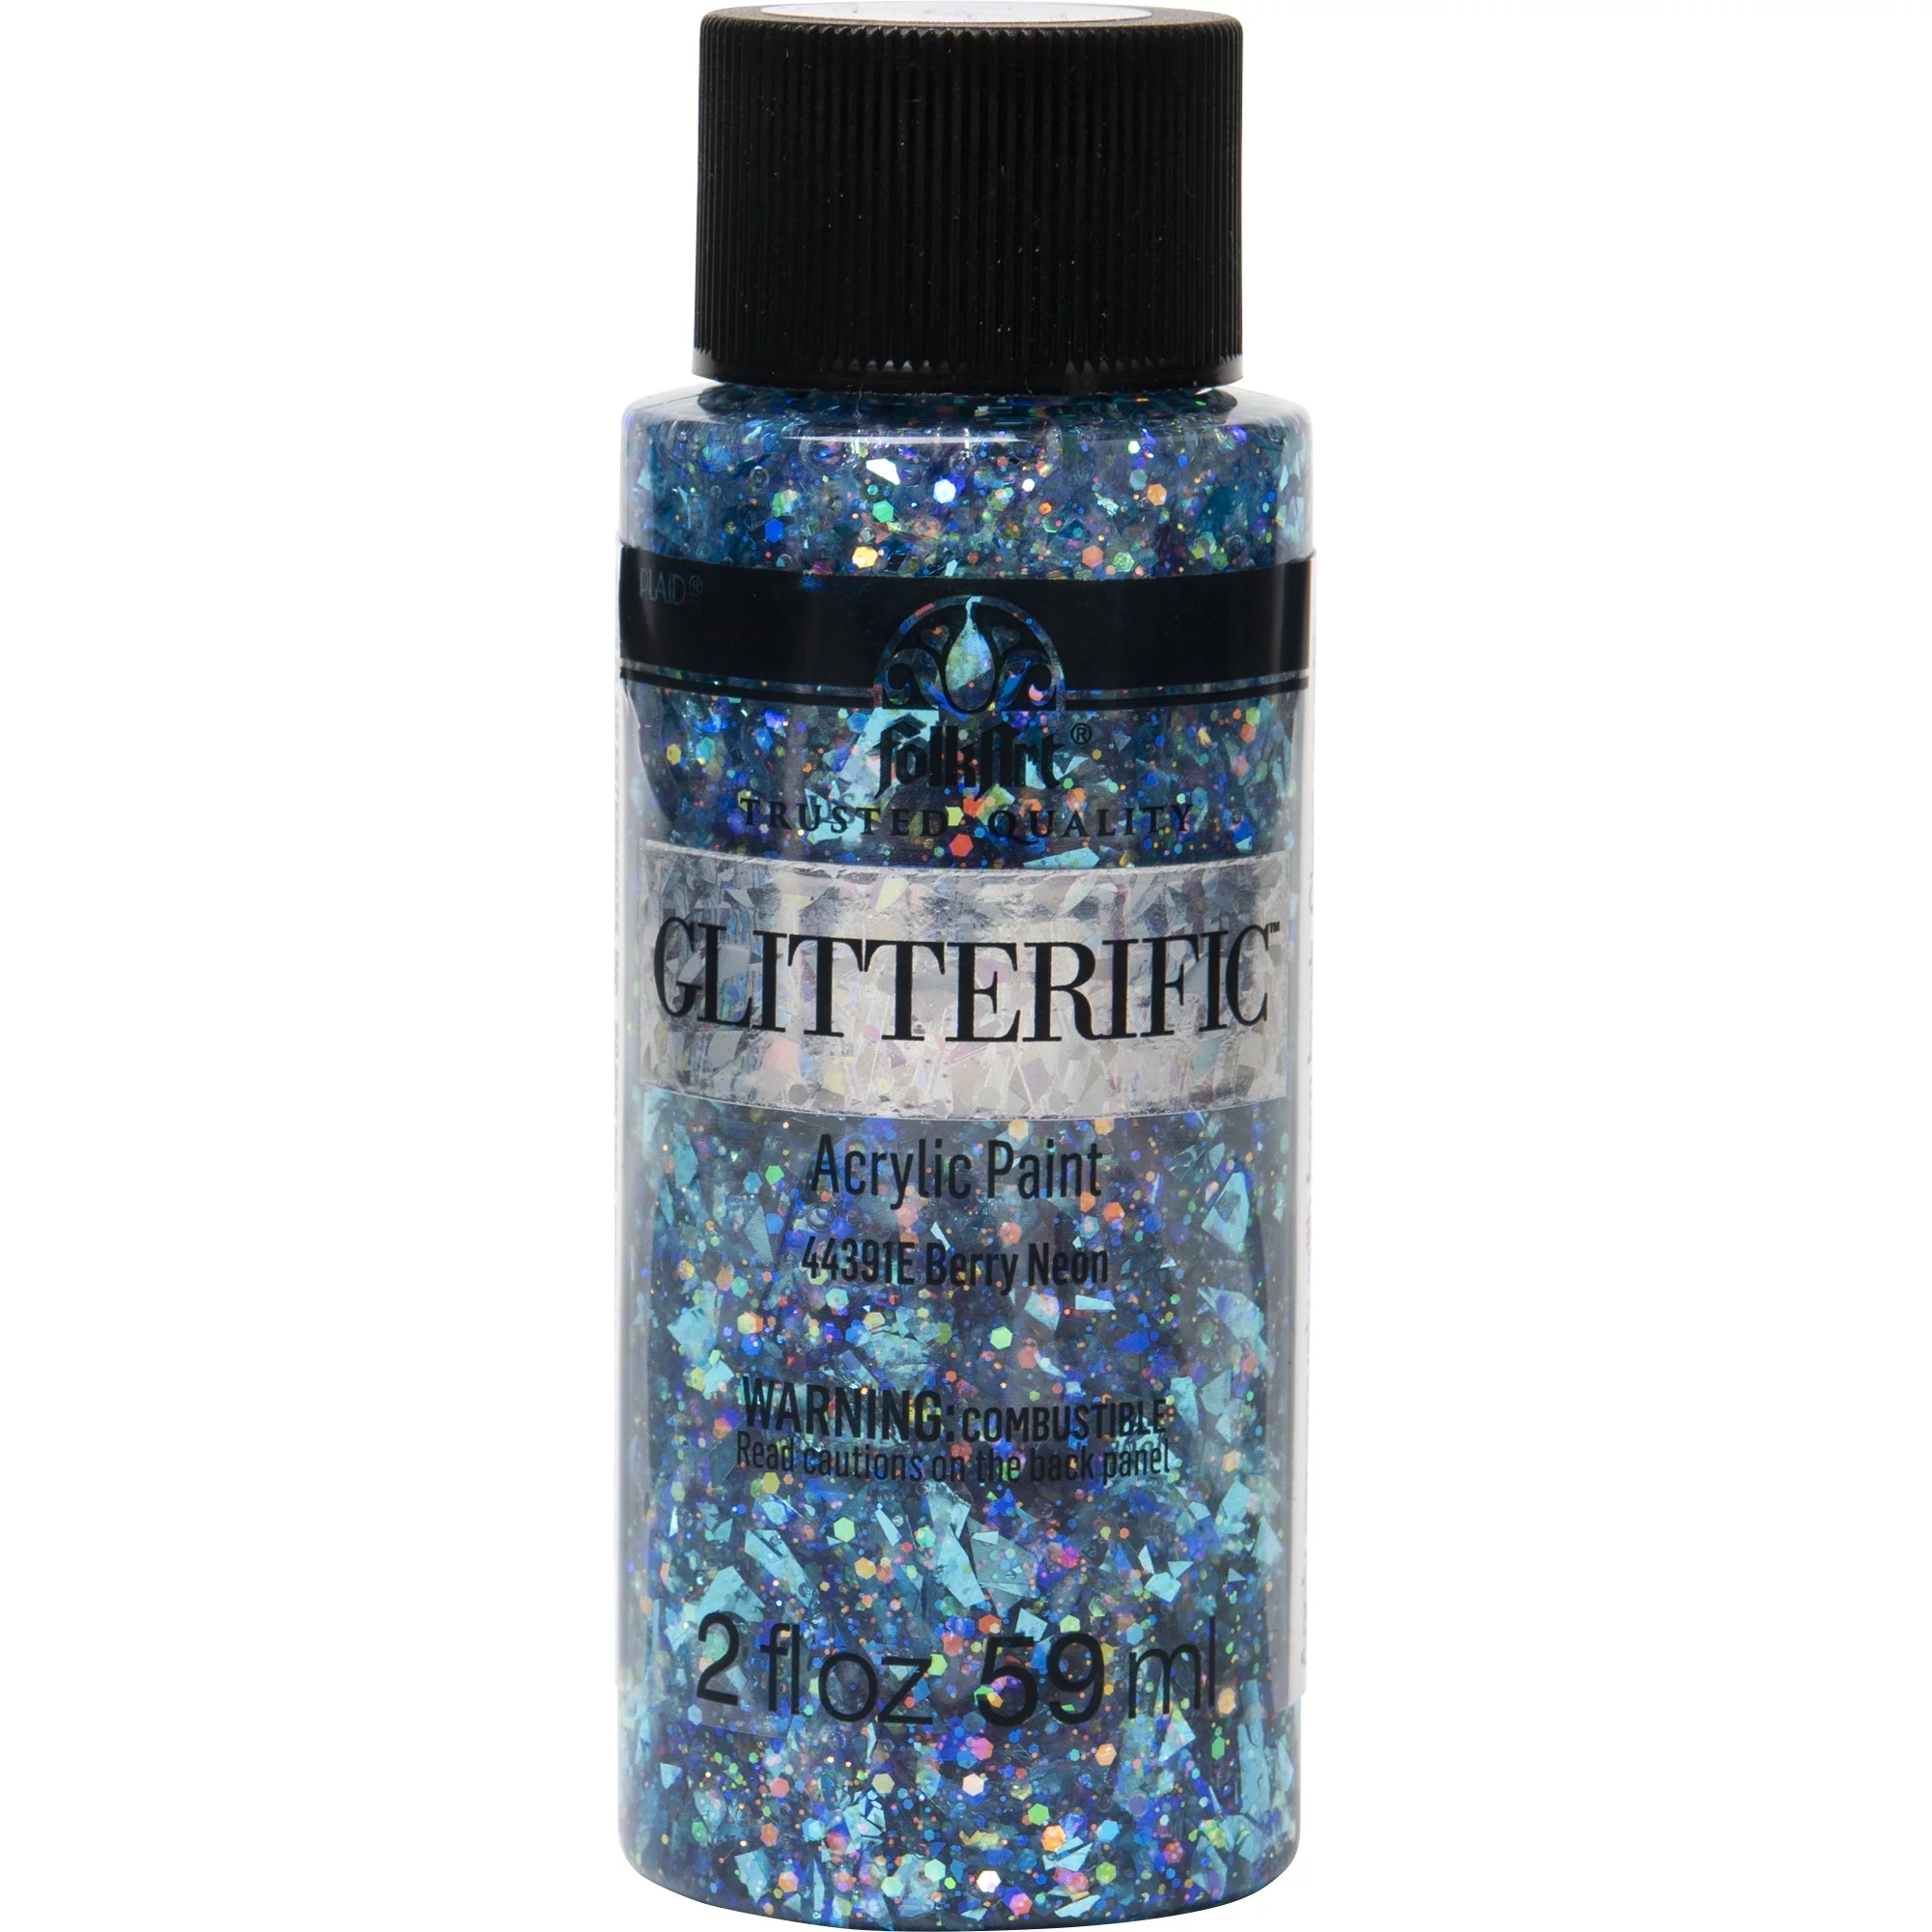
Glitter: Choose high-quality, fine glitter in the color of your preference. Whether you opt for classic silver or gold, or decide to experiment with vibrant hues, the glitter will be the star of your project, so select it thoughtfully.
-
Mod Podge or Clear Glue: Mod Podge, a popular decoupage medium, or clear glue will serve as the adhesive and sealant for the glitter. Ensure that the glue is transparent when dry to maintain the glitter's brilliance.
-
Foam Brushes or Paintbrushes: These will be used to apply the Mod Podge or clear glue onto the glass surfaces. Opt for foam brushes for a smooth application and easy cleanup.
-
Protective Sealant (Optional): Consider using a clear protective sealant to further safeguard the glitter and enhance its longevity. This step is particularly beneficial if the glitter-sealed glass items will be frequently handled or exposed to moisture.
-
Protective Covering: Lay down a protective covering, such as a plastic tablecloth or old newspapers, to shield your work surface from any potential mess during the glitter application process.
-
Disposable Bowls or Plates: These will be used to hold the glitter and make the application process more organized and manageable.
-
Paper Towels: Keep paper towels handy for any spills or to wipe excess glitter from the glass surfaces.
-
Rubbing Alcohol: Use rubbing alcohol to clean the glass surfaces before applying the glitter, ensuring a clean and smooth base for the adhesive.
-
Gloves (Optional): If you prefer to keep your hands clean during the glitter application and sealing process, consider wearing disposable gloves.
Gathering these materials will set the stage for a delightful and creative experience as you embark on the process of sealing glitter on glass. With these essentials at your disposal, you're well-equipped to bring a touch of sparkle and elegance to your home decor through this enchanting DIY endeavor.
Steps to Seal Glitter on Glass
-
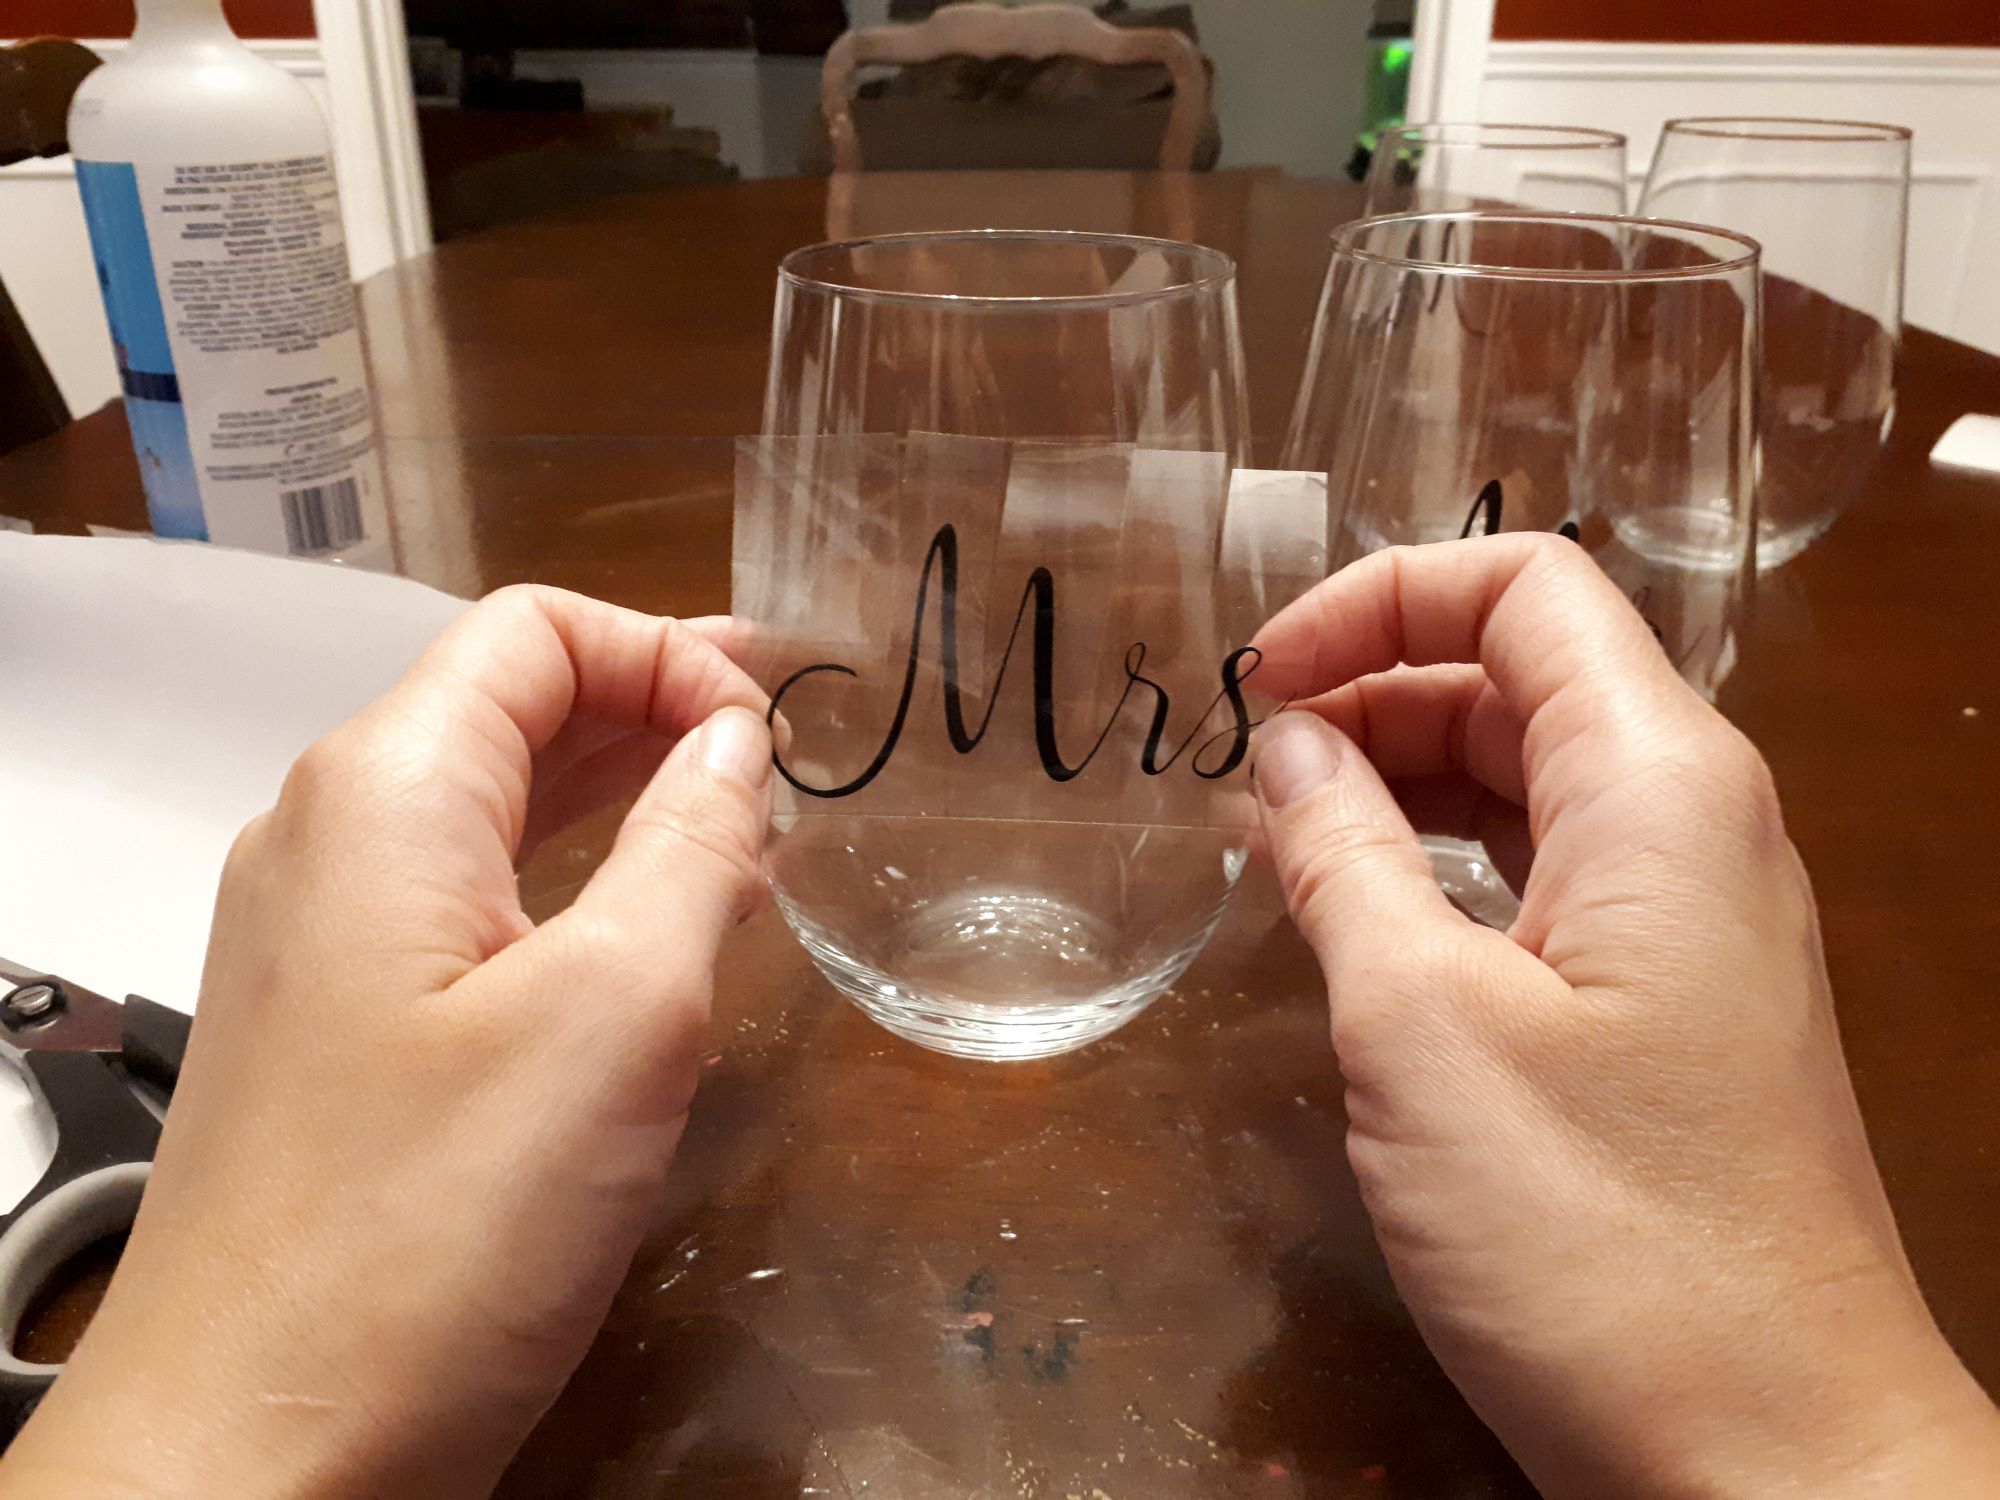
Prepare the Glass Surface: Begin by ensuring that the glass surface is clean and free of any dust, dirt, or residue. Wipe the glass with rubbing alcohol and a lint-free cloth to create a pristine base for the glitter application.
-
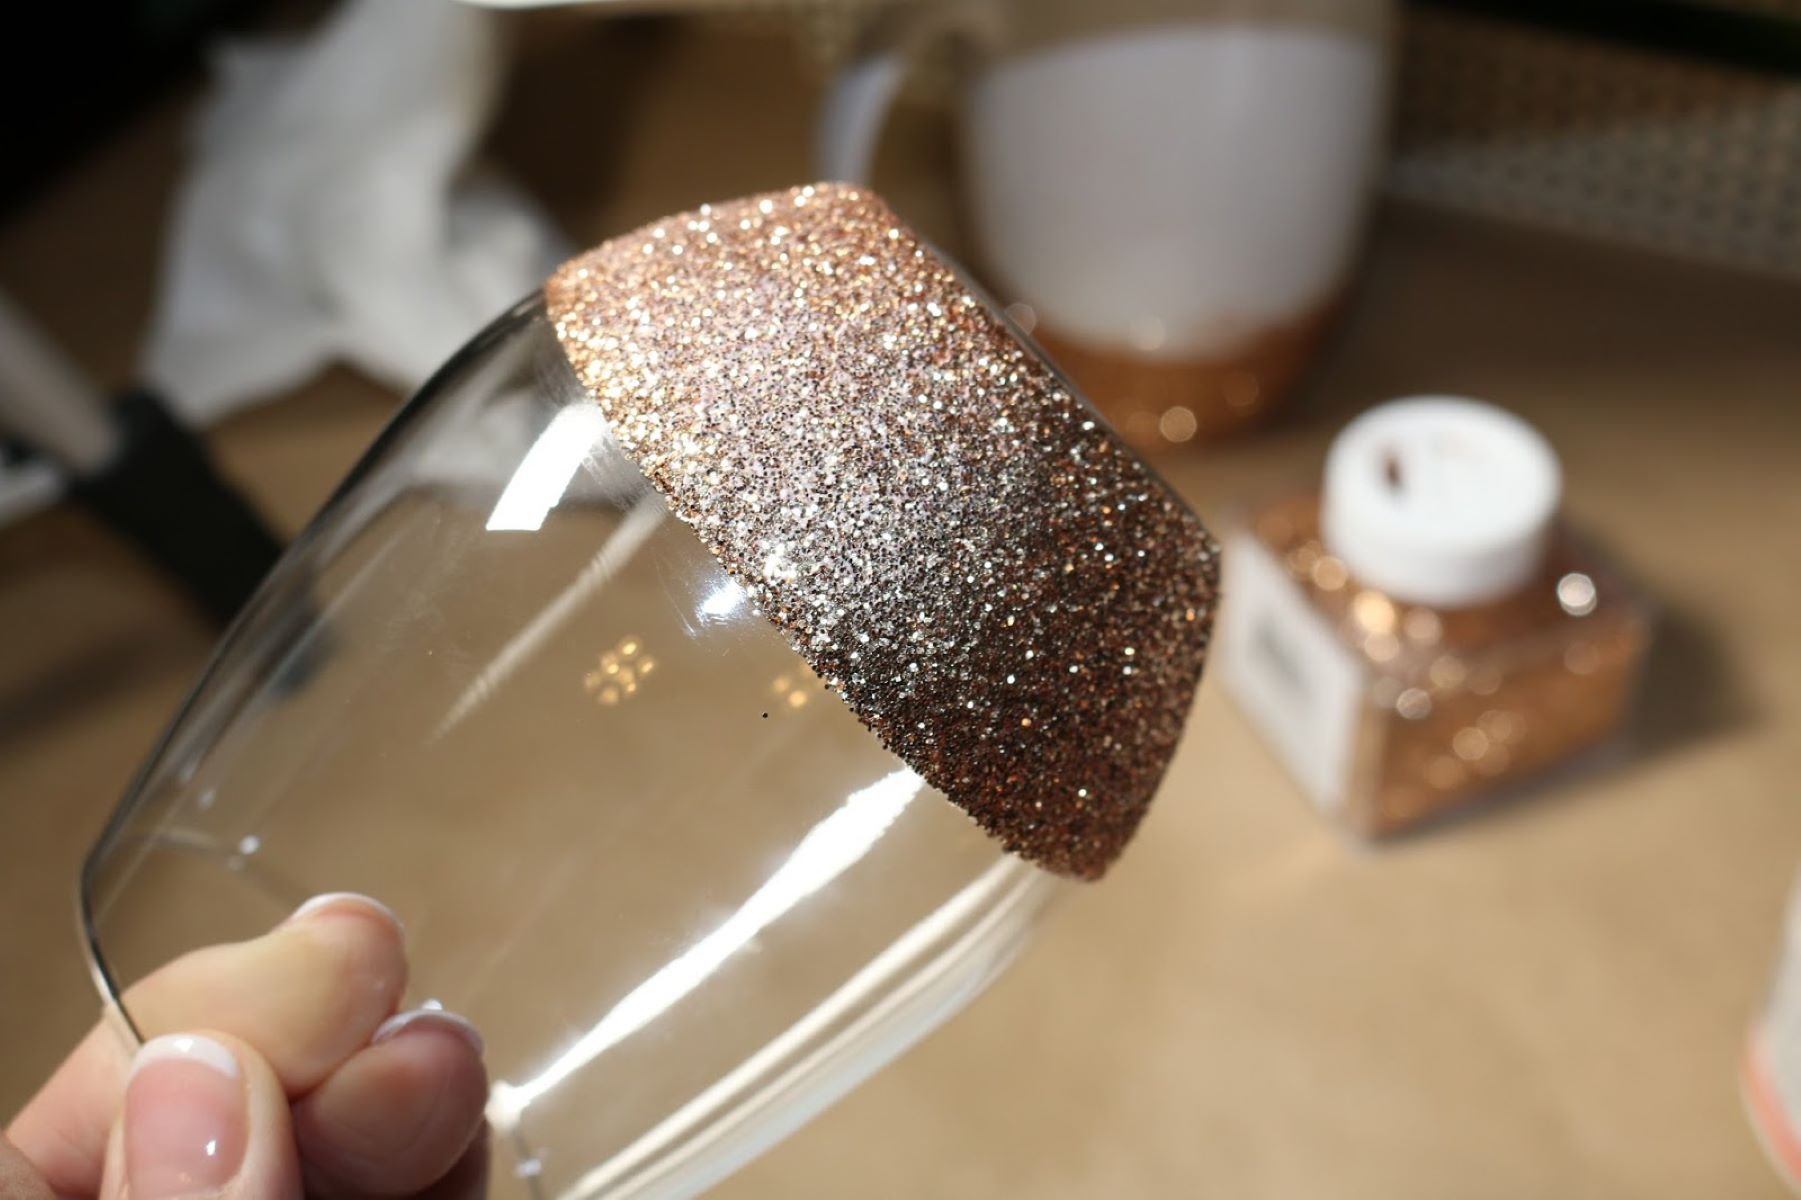
Select and Apply the Glitter: Once the glass surface is prepped, it's time to apply the glitter. Pour a moderate amount of Mod Podge or clear glue into a disposable bowl or plate. Using a foam brush or paintbrush, apply a thin, even layer of the adhesive onto the glass surface. Sprinkle the glitter generously over the adhesive, ensuring that the entire area is covered. You can use a variety of techniques to apply the glitter, such as tapping the glass gently to distribute the glitter evenly or using a spoon to sprinkle it over the adhesive.
-
Allow the Glitter to Set: After applying the glitter, allow it to set and dry completely. This step is crucial to ensure that the glitter adheres securely to the glass surface and forms a durable bond with the adhesive. Depending on the type of adhesive used, the drying time may vary, so refer to the product instructions for guidance.
-
Seal the Glitter: Once the glitter is dry, it's time to seal it to prevent any flaking or shedding. Apply another layer of Mod Podge or clear glue over the glitter, ensuring complete coverage. This sealing layer will not only secure the glitter in place but also add a protective barrier, enhancing the longevity of the glitter-sealed glass item.
-
Optional Protective Sealant: For added durability, consider applying a clear protective sealant over the sealed glitter. This extra layer of protection can safeguard the glitter from wear and tear, making the glass item more resilient and long-lasting, especially if it will be frequently handled or exposed to moisture.
-
Allow for Proper Drying Time: After sealing the glitter, allow the glass item to dry thoroughly. This final drying stage is essential to ensure that the adhesive and sealant set completely, providing a resilient and lustrous finish to the glitter-sealed glass.
By following these steps with care and attention to detail, you can master the art of sealing glitter on glass, transforming ordinary glass items into dazzling, personalized decor pieces that exude charm and elegance. With a touch of creativity and the right materials, you can infuse your living space with a captivating sparkle that reflects your unique style and artistic flair.
After applying glitter to glass, seal it with a clear sealant spray to prevent it from flaking off. Make sure to apply multiple thin coats for best results.
Tips and Tricks
Sealing glitter on glass is a delightful and creative endeavor that offers endless possibilities for personal expression and decorative enhancement. To ensure a successful and visually captivating outcome, consider the following tips and tricks as you embark on your glitter-sealing journey:
-
Choose the Right Glitter: Opt for fine, high-quality glitter to achieve a dazzling and refined finish. Fine glitter adheres more effectively to glass surfaces and creates a smoother, more uniform sparkle compared to larger, chunkier glitter particles.
-
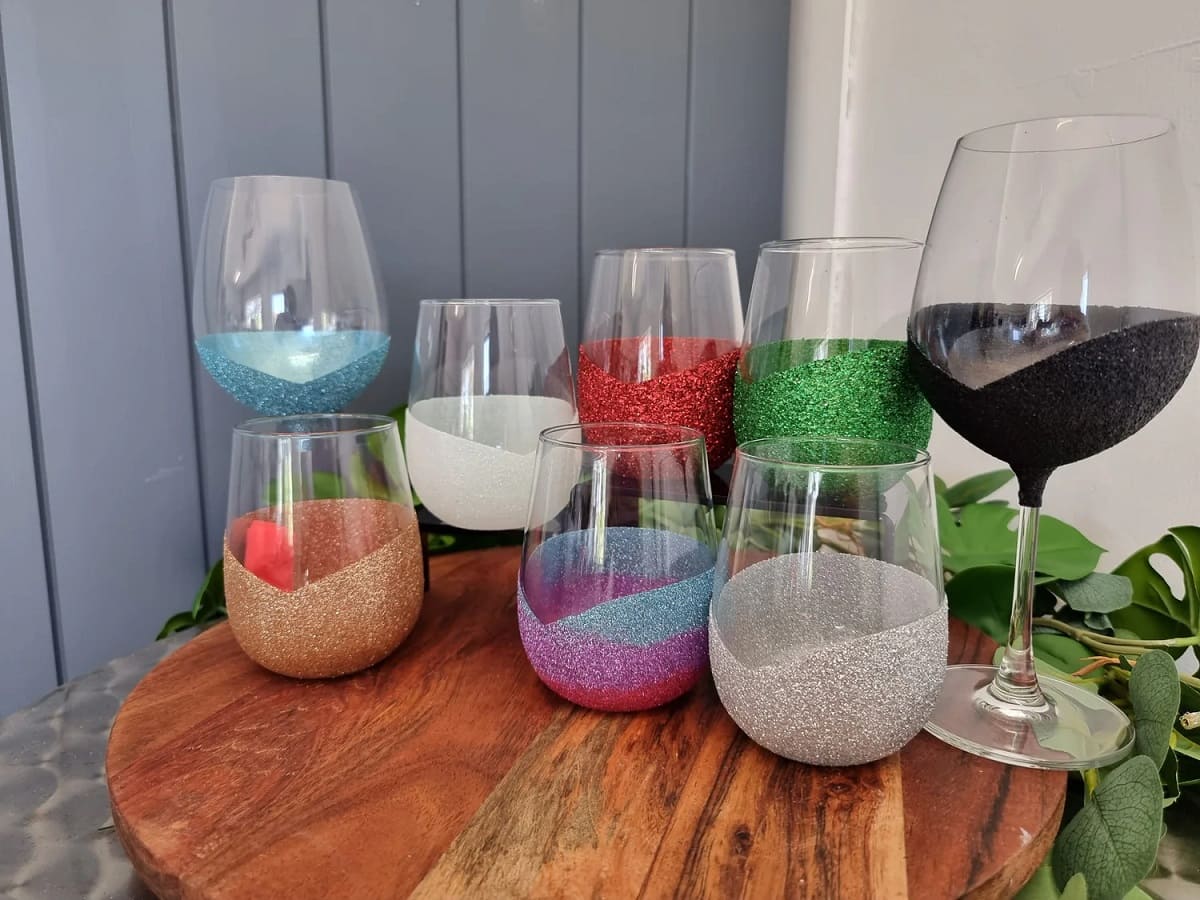
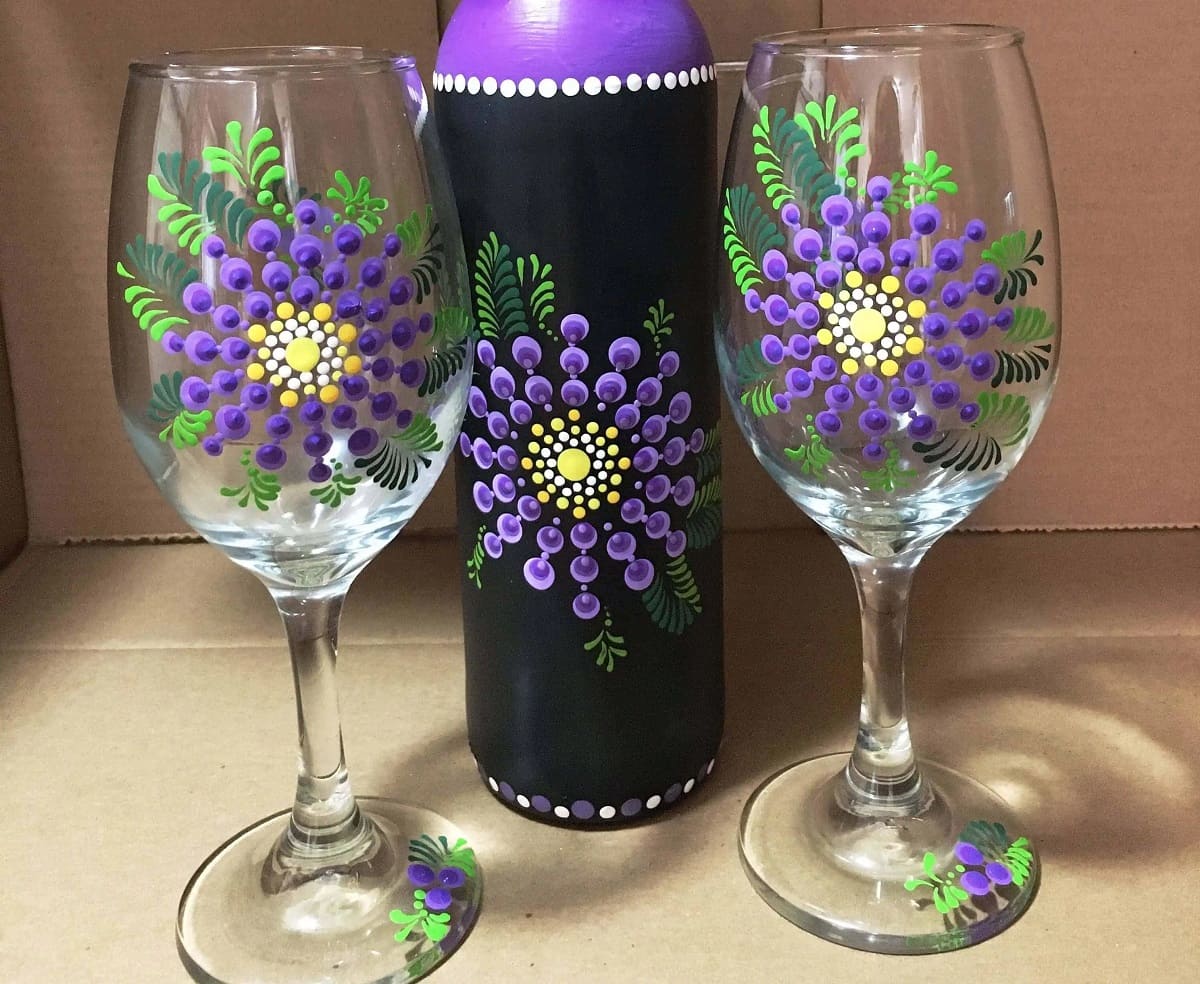
Experiment with Colors and Textures: Don't be afraid to explore a variety of glitter colors and textures to create unique and eye-catching designs. Consider mixing different shades or layering glitter to achieve captivating visual effects that reflect your personal style.
-
Apply Adhesive with Precision: When applying the Mod Podge or clear glue onto the glass surface, strive for precision and even coverage. Avoid applying excessive adhesive, as this can lead to clumping and uneven glitter distribution. A thin, consistent layer of adhesive will ensure optimal glitter adhesion and a polished finish.
-
Control Glitter Application: To prevent excessive glitter wastage and achieve precise application, consider using a spoon or small scoop to sprinkle the glitter onto the adhesive. This technique allows for controlled distribution and minimizes excess glitter, resulting in a more efficient and tidy process.
-
Tap Off Excess Glitter: After applying the glitter, gently tap the glass surface to dislodge any excess glitter particles. This simple yet effective step helps remove loose glitter and ensures a smooth, even distribution across the adhesive, minimizing the risk of clumping or uneven coverage.
-
Consider Multiple Layers: For a more intense and radiant sparkle, consider applying multiple layers of glitter and adhesive. Building up the layers gradually can create a mesmerizing depth of shimmer and enhance the overall luminosity of the glitter-sealed glass item.
-
Maintain Cleanliness and Precision: Keep the work area clean and organized throughout the glitter-sealing process. Wipe away any stray glitter particles with a dry brush or lint-free cloth to maintain precision and prevent unintended smudges or blemishes on the glass surface.
-
Protect and Preserve: If the glitter-sealed glass item will be frequently handled or exposed to moisture, consider applying a clear protective sealant over the sealed glitter. This additional layer of protection can safeguard the glitter from abrasion and ensure its long-lasting brilliance.
By incorporating these tips and tricks into your glitter-sealing process, you can elevate your DIY project to new heights of creativity and visual allure. With attention to detail and a touch of ingenuity, you can transform ordinary glass items into captivating decor pieces that radiate charm and sophistication, adding a touch of glamour to your living space.
Conclusion
In conclusion, the art of sealing glitter on glass presents a captivating opportunity to infuse your living space with personalized charm and elegance. By following the step-by-step process and incorporating valuable tips and tricks, you can transform ordinary glass items into dazzling decor pieces that reflect your unique style and creativity. The versatility of this DIY technique allows for endless customization, enabling you to tailor the level of sparkle and shimmer to suit your preferences.
Sealing glitter on glass not only offers a creative outlet for self-expression but also breathes new life into old or plain glassware, preventing them from fading into obscurity. Whether you're embellishing vases, candle holders, or decorative jars, the process of sealing glitter on glass empowers you to revitalize your home decor with a touch of glamour and sophistication.
Furthermore, the materials required for this DIY project are easily accessible and budget-friendly, making it an inclusive and rewarding endeavor for individuals seeking to add a personalized touch to their living spaces. The process itself is both enjoyable and fulfilling, allowing you to unleash your creativity and experiment with different glitter colors and textures to achieve stunning visual effects.
By sealing glitter on glass, you can create captivating focal points that catch the light and captivate the eye, adding a touch of luxury and allure to your interior design. Whether you prefer subtle, understated shimmer or bold, eye-catching sparkle, the possibilities are endless when it comes to customizing your glitter-sealed glass items.
In essence, the art of sealing glitter on glass transcends mere decoration; it represents a form of artistic expression that allows you to imbue your living space with a personalized, enchanting ambiance. Embracing this DIY technique opens the door to a world of creative possibilities, where ordinary glass items are transformed into extraordinary, bespoke decor pieces that reflect your individuality and style.
So, gather your materials, unleash your creativity, and embark on the enchanting journey of sealing glitter on glass. Let your imagination sparkle and shine as you breathe new life into your home decor, one glitter-sealed glass item at a time.
Frequently Asked Questions about How To Seal Glitter On Glass
Was this page helpful?
At Storables.com, we guarantee accurate and reliable information. Our content, validated by Expert Board Contributors, is crafted following stringent Editorial Policies. We're committed to providing you with well-researched, expert-backed insights for all your informational needs.


0 thoughts on “How To Seal Glitter On Glass”