Home>Furniture & Design>Living Room Furniture>How To Disassemble An Ashley Power Recliner Sofa

Living Room Furniture
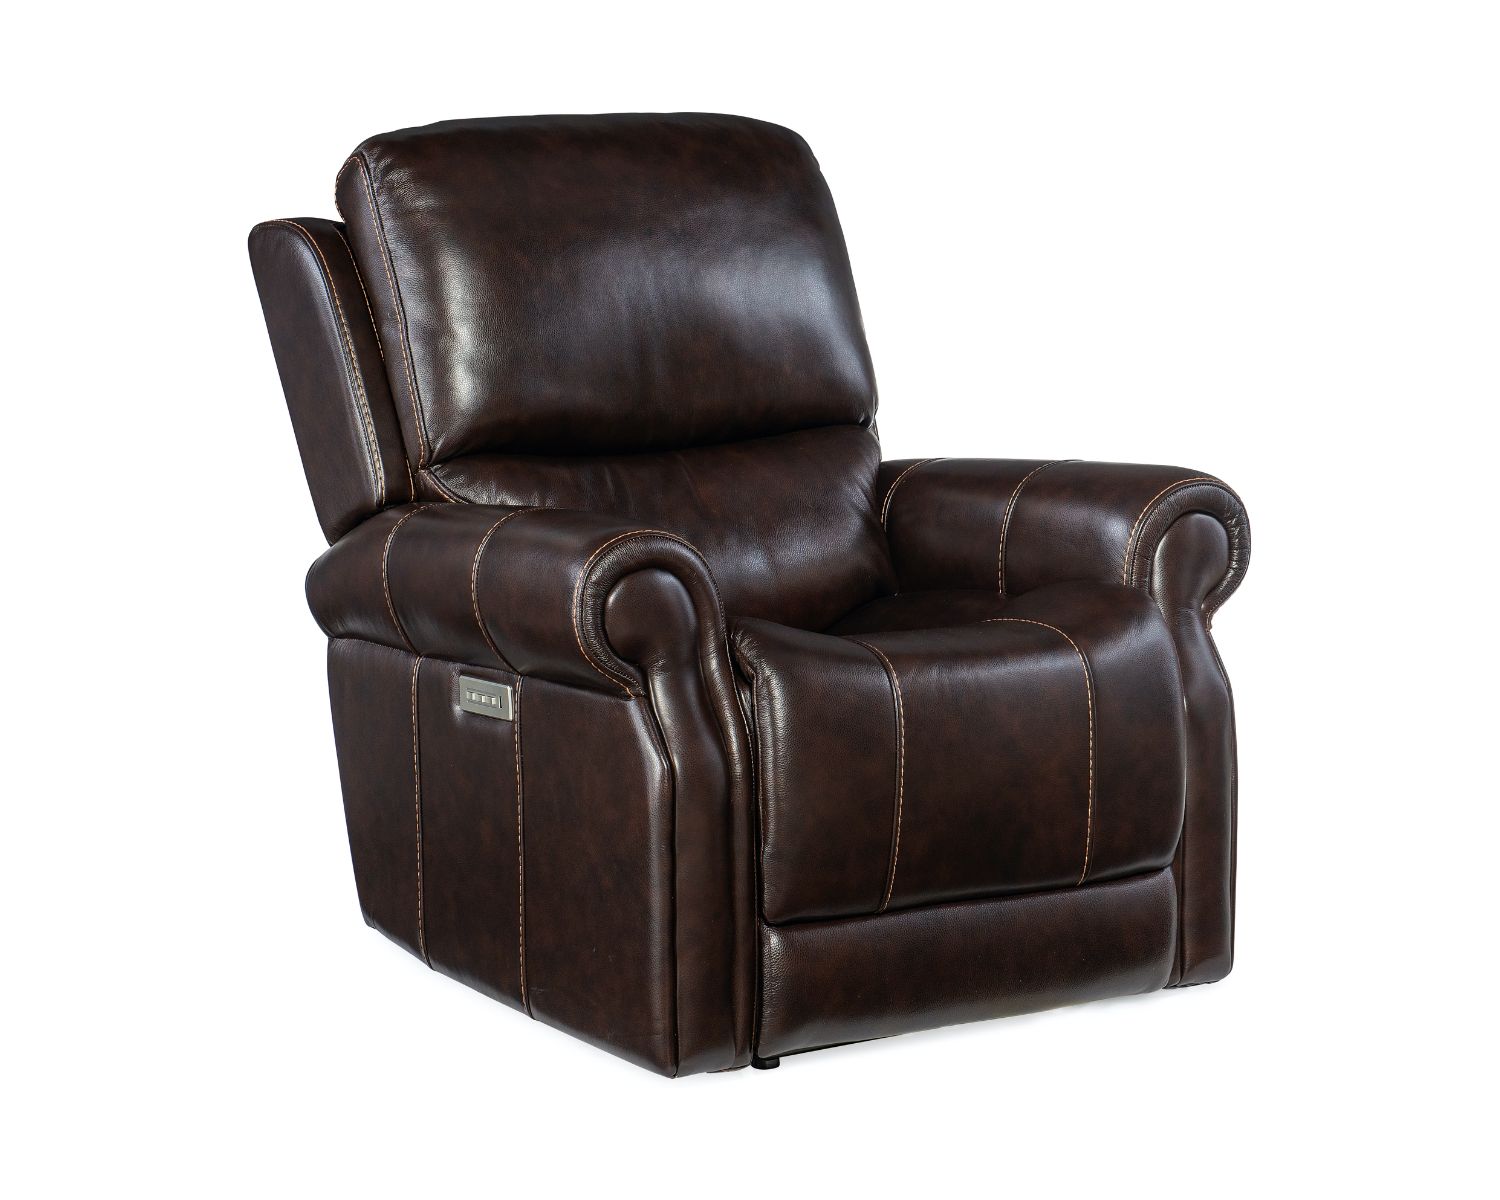
How To Disassemble An Ashley Power Recliner Sofa
Modified: March 2, 2024
Learn how to disassemble your Ashley power recliner sofa with our step-by-step guide. Get expert tips for maintaining your living room furniture and design.
(Many of the links in this article redirect to a specific reviewed product. Your purchase of these products through affiliate links helps to generate commission for Storables.com, at no extra cost. Learn more)
Introduction
Disassembling an Ashley power recliner sofa may seem like a daunting task, but with the right tools and a systematic approach, it can be a manageable and rewarding endeavor. Whether you are moving to a new home, rearranging your living space, or simply need to transport the sofa to another location, knowing how to disassemble it properly is essential. By following the step-by-step guide provided here, you can ensure that the process is smooth and efficient, allowing you to safely disassemble your Ashley power recliner sofa without any unnecessary stress or complications.
Taking apart a power recliner sofa requires careful attention to detail and a methodical approach to avoid damaging any components. It's important to gather all the necessary tools before starting the disassembly process. This includes basic tools such as a screwdriver, pliers, and possibly a socket wrench, depending on the specific model of the sofa. Additionally, having a clear workspace with ample room to maneuver around the sofa will make the disassembly process much easier.
As you embark on this disassembly journey, it's essential to keep in mind that safety should always be a top priority. Be mindful of any electrical components and power sources, and take precautions to avoid any potential hazards during the disassembly process. By approaching the task with a focused and cautious mindset, you can ensure that the disassembly is carried out safely and effectively.
Understanding the layout and construction of the Ashley power recliner sofa is also crucial before beginning the disassembly process. This knowledge will help you identify the key components that need to be removed and disconnected in order to take the sofa apart. By familiarizing yourself with the specific design and mechanisms of the sofa, you can proceed with confidence and clarity, knowing exactly what steps need to be taken to disassemble it properly.
In the subsequent steps, we will delve into the detailed process of disassembling an Ashley power recliner sofa, providing clear instructions and insights to guide you through each stage of the disassembly. With the right approach and a methodical mindset, you can successfully disassemble your sofa and prepare it for relocation or storage with ease. Let's begin the disassembly journey and unlock the secrets to safely and efficiently taking apart an Ashley power recliner sofa.
Key Takeaways:
- Disassembling an Ashley power recliner sofa requires patience, the right tools, and a focus on safety. By following the step-by-step guide, you can safely and efficiently take apart the sofa for relocation or storage.
- Labeling and organizing disassembled components is crucial for a smooth reassembly process. Approach each step with attentiveness to ensure the sofa is dismantled thoroughly and comprehensively.
Step 1: Gather the necessary tools
Before embarking on the disassembly of an Ashley power recliner sofa, it's crucial to gather the essential tools that will facilitate a smooth and efficient process. Having the right tools at your disposal will not only streamline the disassembly but also ensure that you can handle any unexpected challenges that may arise during the process.
Here are the necessary tools you will need:
-
Screwdriver: A versatile and indispensable tool for removing screws from various components of the sofa. Depending on the specific model of the sofa, you may require both Phillips and flat-head screwdrivers to accommodate different types of screws.
-
Pliers: Useful for gripping and manipulating small components, such as wires and connectors, during the disassembly process. They provide a firm grip and allow for precise handling of delicate parts.
-
Socket wrench: In some cases, a socket wrench may be necessary to loosen and remove bolts or nuts securing certain components of the sofa. It's important to have a set of sockets in different sizes to accommodate various fasteners.
-
Allen wrench: Many power recliner sofas feature components that are secured with Allen head screws. Having an Allen wrench set will enable you to loosen and remove these screws efficiently.
-
Electrical tape: As you will be dealing with electrical components, having electrical tape on hand is essential for safely securing and insulating any disconnected wires or connectors.
-
Zip ties: Useful for organizing and securing loose wires and cables to prevent tangling and ensure a tidy disassembly process. They can also be used to bundle small components together for safekeeping.
-
Protective gloves: To protect your hands from sharp edges, moving parts, and potential electrical hazards during the disassembly process. Opt for durable gloves that provide a good grip without compromising dexterity.
-
Clear workspace: While not a traditional tool, having a clear and spacious workspace is essential for maneuvering around the sofa and laying out the disassembled components in an organized manner. Ensure that there is ample room to work comfortably and safely.
By ensuring that you have these essential tools at your disposal, you can approach the disassembly of your Ashley power recliner sofa with confidence and preparedness. These tools will enable you to tackle each step of the disassembly process effectively, ensuring that the sofa is taken apart safely and efficiently.
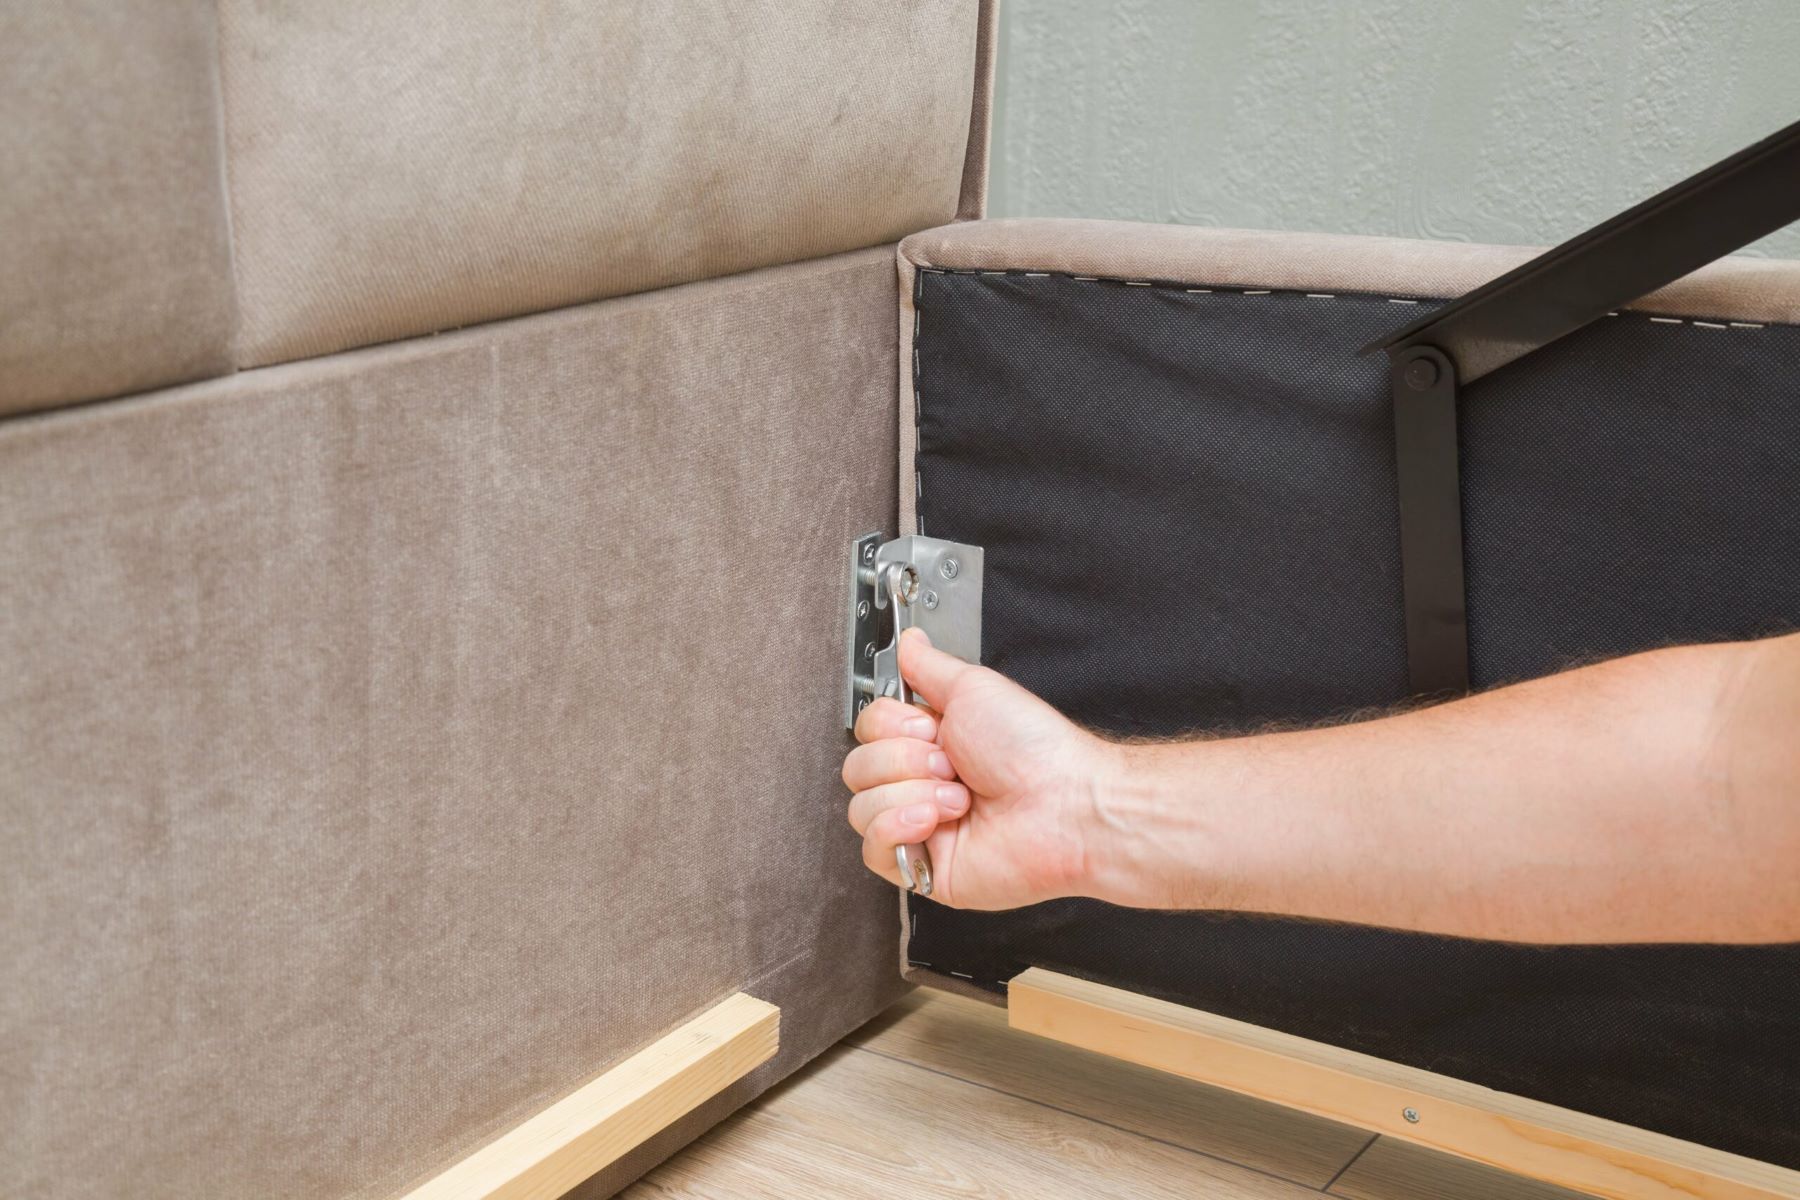
Step 2: Remove the back panel
Removing the back panel of an Ashley power recliner sofa is a crucial step in the disassembly process, as it provides access to the internal components and mechanisms that need to be disconnected and removed. This step requires careful attention to detail and a methodical approach to ensure that the back panel is safely detached without causing any damage to the sofa.
To begin, carefully tilt the sofa forward onto its front to access the underside of the back panel. Depending on the specific model of the sofa, you may need to locate and remove the retaining screws or clips that secure the back panel to the frame. Using a suitable screwdriver or tool, carefully remove the screws or release the clips to detach the back panel from the frame.
Once the retaining fasteners are removed, gently lift the back panel upward to disengage it from the frame. It's important to exercise caution and ensure that any electrical wires or connectors attached to the back panel are carefully disconnected before fully removing it. Take note of the placement and orientation of any wires to facilitate reassembly later.
As you detach the back panel, be mindful of any electrical components such as power cords, control modules, or wiring harnesses that may be connected to the panel. Carefully disconnect these components, taking care to label or mark each connector to ensure proper reconnection during the reassembly process.
After all electrical connections are safely disconnected, carefully lift the back panel away from the sofa and set it aside in a safe and designated area. It's important to handle the back panel with care to avoid any accidental damage, especially if it contains delicate electronic components or wiring.
With the back panel successfully removed, you have now gained access to the internal components of the sofa, setting the stage for the subsequent steps of the disassembly process. This pivotal step lays the groundwork for further dismantling of the sofa, allowing you to proceed with confidence and precision as you continue to disassemble the remaining components.
By following these detailed instructions and approaching the removal of the back panel with patience and attentiveness, you can ensure that this critical step is carried out smoothly and safely. With the back panel successfully detached, you are now ready to move on to the next stages of disassembling your Ashley power recliner sofa.
Step 3: Disconnect the power source
Disconnecting the power source is a crucial step in the disassembly of an Ashley power recliner sofa, as it ensures the safe handling of electrical components and minimizes the risk of electrical hazards during the dismantling process. Prior to disconnecting the power source, it is essential to prioritize safety and exercise caution when dealing with electrical connections.
Begin by locating the power cord or power supply unit of the recliner sofa. In most cases, the power cord can be found either at the rear of the sofa or within a designated compartment. Carefully trace the power cord from the sofa to its point of connection, which may be a wall outlet, power strip, or directly to the sofa's control module.
Once the power source is located, proceed to disconnect the power cord from the electrical outlet or power supply. Ensure that the power cord is fully unplugged to eliminate any risk of electrical current flowing through the sofa during the disassembly process. It is advisable to verify that the power source has been completely disconnected by checking for the absence of any indicator lights or power-related activity on the sofa.
In the case of sofas equipped with battery packs or rechargeable power sources, such as lithium-ion batteries, it is important to remove or isolate the power supply to prevent any potential electrical discharge. Follow the manufacturer's guidelines for safely detaching or deactivating the battery pack, ensuring that it is securely disconnected to mitigate the risk of electrical shock or short circuits.
As you disconnect the power source, take note of any additional components, such as control modules or power adapters, that may be integrated into the electrical system of the sofa. Carefully detach any auxiliary power components, ensuring that all electrical connections are safely disconnected and insulated to prevent accidental contact or damage.
By meticulously disconnecting the power source and associated electrical components, you can create a safe working environment for the subsequent stages of disassembling the sofa. This proactive approach not only minimizes the risk of electrical accidents but also sets the stage for a smooth and efficient dismantling process, allowing you to proceed with confidence and peace of mind.
With the power source safely disconnected, you have now laid the groundwork for the next steps in disassembling your Ashley power recliner sofa. This pivotal stage paves the way for the seamless removal of the remaining components, bringing you closer to the successful disassembly of the sofa and the realization of your relocation or storage goals.
Step 4: Remove the seat cushion
Removing the seat cushion of an Ashley power recliner sofa is a fundamental step in the disassembly process, as it grants access to the internal mechanisms and structural elements that need to be addressed. This step requires careful attention to detail and a methodical approach to ensure that the seat cushion is safely detached without causing any damage to the sofa.
To begin, carefully lift the seat cushion upward to access the underside of the sofa. Depending on the specific model of the sofa, the seat cushion may be secured in place by retaining clips, screws, or brackets. Using a suitable tool, such as a screwdriver or pliers, carefully remove any fasteners that secure the seat cushion to the frame of the sofa. It's important to exercise caution and ensure that any electrical wires or connectors attached to the seat cushion are carefully disconnected before fully removing it. Take note of the placement and orientation of any wires to facilitate reassembly later.
As you detach the seat cushion, be mindful of any electrical components such as wiring harnesses or connectors that may be connected to the cushion. Carefully disconnect these components, taking care to label or mark each connector to ensure proper reconnection during the reassembly process.
Once all fasteners and electrical connections are safely disconnected, carefully lift the seat cushion away from the sofa and set it aside in a safe and designated area. It's important to handle the seat cushion with care to avoid any accidental damage, especially if it contains delicate electronic components or wiring.
With the seat cushion successfully removed, you have now gained access to the internal components and mechanisms of the sofa, setting the stage for the subsequent steps of the disassembly process. This pivotal step lays the groundwork for further dismantling of the sofa, allowing you to proceed with confidence and precision as you continue to disassemble the remaining components.
By following these detailed instructions and approaching the removal of the seat cushion with patience and attentiveness, you can ensure that this critical step is carried out smoothly and safely. With the seat cushion successfully detached, you are now ready to move on to the next stages of disassembling your Ashley power recliner sofa.
Before disassembling an Ashley Power Recliner Sofa, unplug the power cord and remove the back panel to access the internal components. Keep track of the screws and parts to reassemble correctly.
Read more: How To Disassemble A Recliner
Step 5: Disconnect the reclining mechanism
Disassembling the reclining mechanism of an Ashley power recliner sofa is a pivotal step in the overall disassembly process, as it involves disconnecting the intricate components that enable the sofa to recline and adjust positions. This step demands meticulous attention to detail and a systematic approach to ensure that the reclining mechanism is safely and effectively detached without compromising its functionality.
To initiate the disconnection of the reclining mechanism, it is essential to access the underside of the sofa where the mechanism is located. Carefully tilt the sofa forward onto its front, providing clear visibility and access to the reclining mechanism. Depending on the specific model of the sofa, the reclining mechanism may be housed within a compartment or secured to the frame with retaining brackets or fasteners.
Once the reclining mechanism is accessible, carefully examine the components and identify the key elements that facilitate the reclining function. This may include motorized actuators, control modules, wiring harnesses, and mechanical linkages that enable the reclining motion. It is crucial to approach the disconnection process with a clear understanding of the layout and interconnections of these components to ensure a methodical and efficient disassembly.
Begin by disconnecting any electrical components associated with the reclining mechanism, such as wiring harnesses, connectors, and control modules. Exercise caution and use appropriate tools, such as pliers or screwdrivers, to safely detach the electrical connections, ensuring that each connector is labeled or marked for future reassembly. It is imperative to handle the electrical components with care to prevent any damage or accidental disconnection.
Following the disconnection of electrical components, proceed to address the mechanical linkages and fasteners that secure the reclining mechanism to the frame of the sofa. Depending on the design of the sofa, this may involve removing retaining clips, bolts, or brackets that hold the mechanism in place. Utilize the necessary tools to carefully release and remove these fasteners, taking care to support the weight of the reclining mechanism as it becomes detached from the frame.
As the reclining mechanism is safely disconnected, ensure that all associated components are organized and secured to prevent any tangles or misplacement. Labeling the disconnected components and fasteners can streamline the reassembly process and facilitate a seamless transition when reassembling the sofa.
By meticulously disconnecting the reclining mechanism, you have successfully navigated a critical phase of the disassembly process, bringing you closer to the comprehensive dismantling of your Ashley power recliner sofa. This pivotal step sets the stage for the subsequent stages of disassembling the remaining components, allowing you to proceed with confidence and precision as you continue the disassembly journey.
Step 6: Separate the sofa into sections
Separating the sofa into sections is a critical phase in the disassembly process, as it involves dividing the sofa into manageable parts for ease of transportation or storage. This step requires careful planning and coordination to ensure that each section is detached and handled with precision, allowing for a seamless reassembly process in the future.
Begin by assessing the structural layout of the sofa and identifying the key points where it can be separated into sections. Depending on the design of the sofa, it may consist of distinct modular units, such as individual seat sections, armrests, and backrests. Carefully examine the connections and fasteners that hold these sections together, taking note of any retaining clips, bolts, or brackets that need to be addressed.
Using appropriate tools, such as screwdrivers or wrenches, carefully remove the fasteners that secure the individual sections of the sofa. It's important to approach this step methodically, ensuring that each fastener is safely detached without causing any damage to the surrounding components. As each section is released, handle it with care and set it aside in a designated area to prevent any accidental damage or misplacement.
As you separate the sofa into sections, it's advisable to enlist the assistance of another individual to facilitate the handling and movement of the larger components. Clear communication and coordination can streamline the process, allowing for a smooth and efficient division of the sofa into manageable sections.
Labeling each section and its corresponding fasteners can be immensely helpful for the reassembly process, providing clear guidance on how the components fit together. Additionally, organizing the sections in a logical sequence can simplify the task of reconstructing the sofa at a later stage, ensuring that each part is readily accessible and identifiable.
By successfully separating the sofa into sections, you have achieved a significant milestone in the disassembly process, bringing you closer to your relocation or storage objectives. This strategic division of the sofa into manageable sections sets the stage for the subsequent stages of the disassembly, allowing you to proceed with confidence and clarity as you continue to dismantle the remaining components.
With the sofa effectively separated into sections, you are now prepared to advance to the final stages of disassembling your Ashley power recliner sofa, bringing you one step closer to achieving your disassembly goals.
Step 7: Remove the remaining components
With the sofa separated into manageable sections, the focus now shifts to removing the remaining components that are integral to the structure and functionality of the Ashley power recliner sofa. This step involves addressing any remaining fixtures, attachments, or accessories that have not yet been detached, ensuring that the disassembly process is comprehensive and thorough.
Carefully inspect each section of the sofa to identify any remaining components that may need to be removed before the disassembly is considered complete. This may include additional fasteners, brackets, or decorative elements that are essential to the overall integrity of the sofa. Take a systematic approach, addressing each section methodically to ensure that no components are overlooked.
Using the appropriate tools, such as screwdrivers, pliers, or wrenches, carefully remove any remaining fasteners or attachments that secure the components of the sofa. Exercise caution to avoid damaging the surrounding structures as you detach these components, ensuring that each fastener is released smoothly and without undue force.
As you remove the remaining components, take note of their placement and orientation to facilitate the reassembly process. Labeling the components and their corresponding fasteners can streamline the task of reconstructing the sofa, providing clear guidance on how each part fits together. This proactive approach will prove invaluable when reassembling the sofa at a later stage.
In addition to fasteners and attachments, pay attention to any decorative elements or trim pieces that may need to be removed. These components, while primarily aesthetic, contribute to the overall appearance and finish of the sofa. Carefully detach these elements, taking care to preserve their condition for future reassembly.
As each remaining component is safely removed, set it aside in an organized manner, ensuring that it is protected from damage and easily accessible when needed for reassembly. By systematically addressing the remaining components, you can ensure that the disassembly process is thorough and that all essential elements of the sofa have been properly detached.
With the remaining components successfully removed, you have completed a comprehensive disassembly of the Ashley power recliner sofa, laying the groundwork for its safe transportation or storage. This meticulous approach ensures that the sofa can be reassembled with ease and precision, allowing you to proceed with confidence and satisfaction, knowing that the disassembly has been carried out effectively and thoroughly.
Conclusion
In conclusion, the process of disassembling an Ashley power recliner sofa requires careful planning, attention to detail, and a methodical approach to ensure a smooth and efficient dismantling process. By following the step-by-step guide provided in this comprehensive disassembly tutorial, individuals can confidently tackle the task of taking apart their power recliner sofa with the necessary knowledge and insights to navigate each stage of the disassembly process effectively.
Throughout the disassembly journey, the importance of safety and meticulous handling of electrical components has been emphasized, underscoring the need for a cautious and proactive mindset when addressing the power source and associated electrical connections. By prioritizing safety and adhering to the recommended procedures for disconnecting the power source, individuals can mitigate the risk of electrical hazards and create a secure working environment for the disassembly process.
The systematic approach to removing the back panel, disconnecting the power source, removing the seat cushion, disconnecting the reclining mechanism, separating the sofa into sections, and removing the remaining components has been outlined in detail, providing clear instructions and insights to guide individuals through each phase of the disassembly. By approaching each step with patience and attentiveness, individuals can ensure that the disassembly is carried out smoothly and safely, allowing for the successful separation of the sofa into manageable sections.
Furthermore, the emphasis on labeling and organizing the disassembled components serves as a valuable strategy for facilitating the reassembly process, ensuring that each part is readily identifiable and that the task of reconstructing the sofa is streamlined and efficient. This proactive approach to organization and documentation can significantly contribute to the ease and precision of reassembling the sofa at a later stage.
By successfully completing the disassembly process and addressing each component with care and precision, individuals can achieve their relocation or storage objectives with confidence, knowing that the sofa has been dismantled thoroughly and comprehensively. The insights and knowledge gained from this disassembly guide empower individuals to navigate the process with confidence and clarity, ensuring that the disassembly of an Ashley power recliner sofa is a manageable and rewarding endeavor.
In essence, the successful disassembly of an Ashley power recliner sofa is a testament to the careful planning, attention to detail, and methodical approach employed throughout the process, culminating in the achievement of the desired disassembly goals and the readiness for the subsequent reassembly or relocation of the sofa.
Frequently Asked Questions about How To Disassemble An Ashley Power Recliner Sofa
Was this page helpful?
At Storables.com, we guarantee accurate and reliable information. Our content, validated by Expert Board Contributors, is crafted following stringent Editorial Policies. We're committed to providing you with well-researched, expert-backed insights for all your informational needs.


0 thoughts on “How To Disassemble An Ashley Power Recliner Sofa”