Home>Furniture & Design>Living Room Furniture>How To Remove Back Of A Flexsteel Recliner
Living Room Furniture
How To Remove Back Of A Flexsteel Recliner
Modified: October 19, 2024
Learn how to remove the back of a Flexsteel recliner with our step-by-step guide. Get expert tips for maintaining your living room furniture.
(Many of the links in this article redirect to a specific reviewed product. Your purchase of these products through affiliate links helps to generate commission for Storables.com, at no extra cost. Learn more)
Introduction
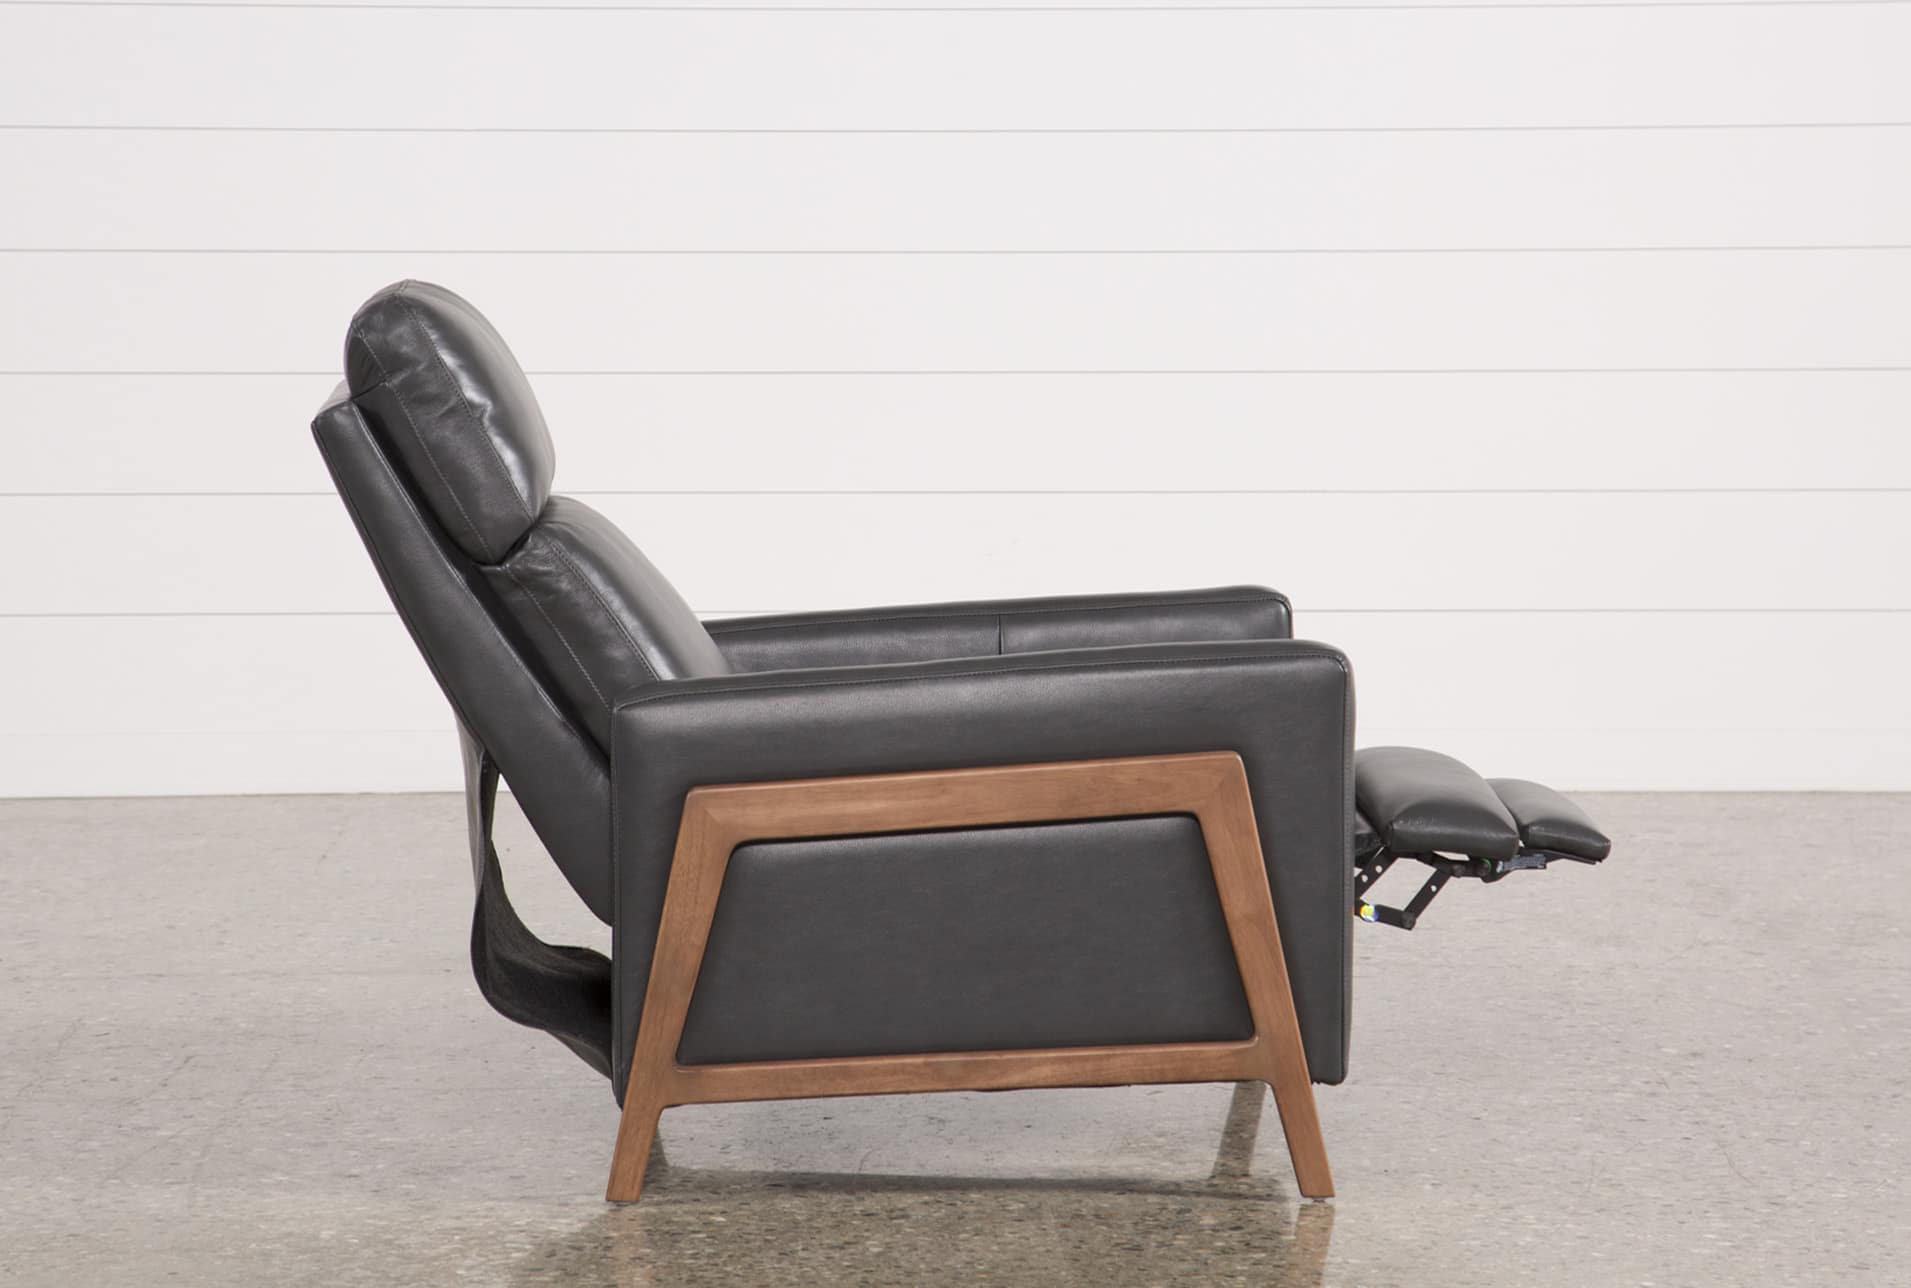
Removing the back of a Flexsteel recliner may seem like a daunting task, but with the right tools and techniques, it can be a straightforward process. Whether you need to clean behind the back or transport the recliner through a narrow doorway, knowing how to remove the back of a Flexsteel recliner can be incredibly useful.
Flexsteel recliners are known for their durability and comfort, making them a popular choice for many households. However, there are times when accessing the back of the recliner becomes necessary. This could be due to the accumulation of dust and debris, or the need to make repairs or adjustments to the internal mechanisms.
In this guide, we will walk you through the step-by-step process of removing the back of a Flexsteel recliner. By following these instructions, you can ensure that the task is completed safely and efficiently, allowing you to maintain your recliner in top condition.
Let's dive into the details of the tools needed and the precise steps to successfully remove the back of your Flexsteel recliner.
Key Takeaways:
- Removing the back of a Flexsteel recliner is a manageable task with the right tools and careful steps. By locating the latches, using the correct tool, and applying gentle pressure, you can safely maintain your recliner.
- Mastering the process of removing the back of a Flexsteel recliner empowers you to care for your furniture effectively. It ensures a clean and well-maintained living space while preserving the comfort and functionality of your recliner.
Tools Needed
Before embarking on the process of removing the back of a Flexsteel recliner, it's essential to gather the necessary tools. Having the right tools at your disposal will streamline the task and ensure that you can execute each step effectively. Here are the tools you will need:
-
Screwdriver: A screwdriver is a fundamental tool for removing the back of a Flexsteel recliner. It is crucial for loosening and removing any screws or fasteners that secure the back to the frame of the recliner.
-
Allen Wrench: In some Flexsteel recliner models, an Allen wrench may be required to loosen specific types of fasteners. It's important to determine if your recliner utilizes Allen wrench fasteners and have the appropriate size on hand.
-
Protective Gloves: When working with furniture, especially when removing components, it's advisable to wear protective gloves. This will safeguard your hands from any sharp edges and provide a better grip when handling the recliner's components.
-
Assistance: While not a traditional tool, having an extra set of hands can be incredibly beneficial. Enlist the help of a friend or family member to assist with lifting and maneuvering the recliner during the back removal process.
By ensuring that you have these tools readily available, you can proceed with confidence, knowing that you are well-equipped to tackle the task at hand. With the tools in place, you are now prepared to move on to the next step: locating the latches for the back of the Flexsteel recliner.
Step 1: Locate the Latches
Locating the latches is the crucial first step in removing the back of a Flexsteel recliner. The latches are typically positioned on either side of the recliner, securing the back to the base. To begin, carefully inspect the lower portion of the recliner, near the back, to identify the latches. These latches are designed to hold the back in place, ensuring stability during normal use.
In most Flexsteel recliner models, the latches are discreetly positioned to maintain the recliner's aesthetic appeal. They may be partially concealed by fabric or upholstery, so a thorough visual examination is necessary. Once located, the latches can be accessed for the subsequent steps of the removal process.
It's important to approach this step with patience and attention to detail. Take the time to visually trace the outline of the back, feeling for any indentations or irregularities that may indicate the presence of the latches. Additionally, referring to the recliner's manual or any provided documentation can offer valuable insights into the specific location and mechanism of the latches.
As you locate the latches, it's advisable to clear the surrounding area to ensure unobstructed access. This may involve temporarily moving any nearby furniture or objects to create a workspace that allows for easy maneuvering around the recliner. By doing so, you can work comfortably and minimize the risk of accidental damage to the recliner or its surroundings.
Once the latches are identified, take note of their position and any specific instructions provided by the manufacturer for disengaging them. Understanding the latching mechanism and its operation is essential for the subsequent steps, as it will dictate the approach required to release the back from the recliner's base.
By successfully locating the latches, you have laid the groundwork for the subsequent steps in removing the back of your Flexsteel recliner. With this critical initial step completed, you are now ready to proceed to the next phase of the removal process, which involves using the appropriate tool to disengage the latches and release the back.
Step 2: Use the Right Tool
After successfully locating the latches, the next pivotal step in removing the back of a Flexsteel recliner is using the right tool to disengage the latches and release the back from the base. The choice of tool is crucial, as it directly impacts the efficiency and safety of the removal process.
In most cases, a screwdriver is the primary tool required for this step. The screwdriver should be selected based on the type of fasteners securing the latches. If the latches are held in place by screws, a screwdriver with the appropriate head size – typically a Phillips or flathead – should be used. It's essential to ensure that the screwdriver fits snugly into the screw heads to prevent slippage and potential damage to the fasteners.
For Flexsteel recliner models that utilize Allen wrench fasteners, it's imperative to use the correctly sized Allen wrench. The precise fit of the Allen wrench is essential for effectively turning the fasteners and disengaging the latches. Care should be taken to avoid using an incorrectly sized Allen wrench, as this can lead to stripped fasteners and complicate the removal process.
When using the screwdriver or Allen wrench, it's important to apply steady and controlled force to loosen the fasteners. Avoid excessive force that may cause the tool to slip, potentially resulting in damage to the recliner or personal injury. If the fasteners are particularly tight, consider using a penetrating lubricant to ease their removal. This can help loosen stubborn fasteners and facilitate a smoother disengagement process.
Additionally, it's advisable to wear protective gloves when using tools to disengage the latches. Gloves provide a better grip and protect your hands from any sharp edges or protruding fasteners. This precautionary measure enhances safety and minimizes the risk of accidental injuries during the removal process.
By using the right tool and exercising caution, you can effectively disengage the latches and prepare to move on to the subsequent steps of removing the back of your Flexsteel recliner. With the latches released, the next phase involves applying pressure to initiate the separation of the back from the recliner's base.
To remove the back of a Flexsteel recliner, locate the release levers on each side of the back and lift them up while pulling the back away from the seat. Be sure to follow the manufacturer’s instructions for your specific model.
Step 3: Apply Pressure
With the latches disengaged, the next critical step in removing the back of a Flexsteel recliner involves applying pressure to initiate the separation of the back from the recliner's base. This step requires a careful and deliberate approach to ensure that the back is released smoothly and without causing any damage to the recliner or its components.
Begin by positioning yourself strategically to apply controlled pressure to the back of the recliner. It's advisable to have a firm footing and a stable stance to maintain balance and exert force evenly. If possible, enlist the assistance of a friend or family member to provide additional support and ensure that the recliner remains steady during this process.
Gently grasp the top of the backrest with both hands, ensuring a secure grip without placing excessive pressure on any specific area. By distributing the pressure evenly, you can minimize the risk of uneven force application, which could potentially lead to tilting or instability of the recliner.
As you prepare to apply pressure, it's essential to proceed gradually and with caution. Begin by exerting a steady, even force in an upward direction, aiming to gradually lift the back away from the recliner's base. It's important to avoid sudden or jerky movements, as these can destabilize the recliner and compromise the safety of the removal process.
While applying pressure, maintain awareness of any resistance or obstacles that may impede the separation of the back from the base. If you encounter significant resistance, pause and reassess the positioning and alignment of the back. It may be necessary to slightly adjust the angle or orientation of the back to facilitate a smoother separation.
Throughout this process, it's crucial to prioritize the safety of both yourself and the recliner. Avoid overexertion and be mindful of your physical limitations to prevent strain or injury. If at any point the pressure required feels excessive or unmanageable, consider seeking additional assistance to ensure the safe and effective removal of the back.
By applying controlled pressure and maintaining a cautious approach, you can successfully initiate the separation of the back from the base of your Flexsteel recliner. With the back gradually releasing from the recliner, you are now prepared to proceed to the final step of removing the back and completing this essential maintenance task.
Read more: How To Take Back Of Recliner Off
Step 4: Remove the Back
As the back of the Flexsteel recliner begins to separate from the base, the final step involves carefully removing it to complete the process. This step requires attentiveness and precision to ensure that the back is detached smoothly and without causing any damage to the recliner or its components.
Once the back has been sufficiently lifted away from the base, continue to exert controlled pressure while maintaining a firm grip. As the separation progresses, be mindful of any electrical components or wiring that may be connected between the back and the base. If your Flexsteel recliner features built-in massage or heating functions, it's essential to identify and disconnect any electrical connections before fully removing the back.
As you continue to lift the back, be prepared to support its weight to prevent any sudden tilting or imbalance. Enlist the assistance of a friend or family member to stabilize the back as it is being removed, ensuring a safe and coordinated effort.
With the back in a lifted position, carefully inspect the underside to confirm that all latches and fasteners have been fully disengaged. It's important to verify that no components are still connected or obstructing the removal process. Once you have confirmed that the back is free from any attachments, proceed to lift it away from the recliner's base, maintaining a steady and controlled motion.
As the back is removed, take note of its orientation and any specific alignment required for reinstallation. This can be particularly important if the back features specialized components or connectors that necessitate precise positioning. By documenting the orientation or taking reference photographs, you can streamline the reattachment process when the time comes.
Once the back has been successfully removed, place it in a safe and designated area, ensuring that it is positioned securely to prevent any accidental damage. Take this opportunity to clean the exposed area behind the back of the recliner, addressing any accumulated dust or debris to maintain a hygienic and well-maintained environment.
With the back removed and the surrounding area attended to, you have successfully completed the process of removing the back of your Flexsteel recliner. Whether for cleaning, maintenance, or transportation purposes, this task equips you with the knowledge and capability to address the back of your recliner as needed, ensuring its continued functionality and comfort.
By following these steps with care and attention to detail, you have effectively navigated the process of removing the back of your Flexsteel recliner, empowering you to maintain and care for your furniture with confidence and proficiency.
Conclusion
In conclusion, mastering the art of removing the back of a Flexsteel recliner is a valuable skill that empowers individuals to maintain and care for their furniture effectively. By following the step-by-step process outlined in this guide, individuals can confidently tackle this task, whether for routine cleaning, maintenance, or the need to transport the recliner through tight spaces.
The process begins with the crucial step of locating the latches, which are discreetly positioned to secure the back to the base of the recliner. Through careful examination and attention to detail, individuals can identify these latches and prepare for the subsequent steps.
Using the right tool is paramount in the removal process, as it ensures the efficient disengagement of the latches. Whether utilizing a screwdriver or an Allen wrench, the choice of tool directly influences the smooth execution of the task. By exercising caution and applying controlled force, individuals can release the latches and prepare to separate the back from the recliner's base.
Applying pressure in a deliberate and cautious manner is the next critical step, as it initiates the gradual separation of the back from the base. By maintaining a steady grip and being mindful of potential obstacles, individuals can navigate this phase with confidence, ensuring the safety of both themselves and the recliner.
Finally, the careful removal of the back completes the process, allowing individuals to attend to the exposed area behind the recliner and address any accumulated dust or debris. This comprehensive approach not only facilitates the maintenance of the recliner but also contributes to a hygienic and well-kept living space.
By mastering the process of removing the back of a Flexsteel recliner, individuals gain a deeper understanding of their furniture and the necessary maintenance it requires. This knowledge empowers them to address the specific needs of their recliner, ensuring its longevity and continued comfort.
In essence, the ability to remove the back of a Flexsteel recliner is a testament to the care and attention individuals invest in their living spaces. It reflects a commitment to preserving the functionality and aesthetic appeal of their furniture, ultimately contributing to a welcoming and well-maintained home environment.
Frequently Asked Questions about How To Remove Back Of A Flexsteel Recliner
Was this page helpful?
At Storables.com, we guarantee accurate and reliable information. Our content, validated by Expert Board Contributors, is crafted following stringent Editorial Policies. We're committed to providing you with well-researched, expert-backed insights for all your informational needs.


0 thoughts on “How To Remove Back Of A Flexsteel Recliner”