Home>Gardening & Outdoor>Outdoor Recreation & Activities>How To Disassemble A Springfree Trampoline
Outdoor Recreation & Activities
How To Disassemble A Springfree Trampoline
Modified: March 2, 2024
Learn how to safely disassemble a Springfree trampoline with our step-by-step guide. Keep your outdoor recreation area tidy and organized. Ideal for anyone interested in outdoor recreation and activities.
(Many of the links in this article redirect to a specific reviewed product. Your purchase of these products through affiliate links helps to generate commission for Storables.com, at no extra cost. Learn more)
Introduction
Welcome to the comprehensive guide on disassembling a Springfree trampoline. Whether you're moving to a new home, preparing for winter storage, or simply need to dismantle your trampoline for maintenance, understanding the step-by-step disassembly process is crucial. With the right tools and a systematic approach, you can safely and efficiently take apart your Springfree trampoline without any hassle.
In this guide, we will walk you through each stage of the disassembly process, providing clear instructions and valuable tips to ensure that you can successfully dismantle your trampoline with confidence. From gathering the necessary tools to carefully packing and storing the components, you'll gain the knowledge and insights needed to complete the task effectively.
So, if you're ready to learn how to disassemble your Springfree trampoline like a pro, let's dive into the first step: gathering the necessary tools.
Key Takeaways:
- Disassembling a Springfree trampoline requires specific tools like the Springfree Disassembly Tool and protective gloves. Carefully removing the mat, net, frame, springs, and FlexiNet is crucial for safe storage or relocation.
- After disassembling, organize and pack the trampoline components methodically, labeling them for easy identification. Store them in a clean, dry area and maintain an inventory for future reassembly.
Read more: How To Assemble A Springfree Trampoline
Step 1: Gather the Necessary Tools
Before you begin disassembling your Springfree trampoline, it’s essential to gather all the required tools and equipment. Having the right tools at hand will streamline the process and ensure that you can tackle each step with ease. Here’s a list of the tools you’ll need:
- Springfree Disassembly Tool: This specialized tool is designed to help you safely and efficiently remove the mat rods and net rods from the trampoline frame. It’s an essential component for disassembly.
- Springfree FlexiNet Tool: The FlexiNet tool is specifically designed for removing the FlexiNet from the trampoline enclosure. It allows for smooth disassembly without causing any damage to the components.
- Springfree Mat Rods: These rods are a key part of the trampoline’s structure. Having the Springfree Mat Rods on hand will ensure that you can safely detach the mat from the frame during the disassembly process.
- Springfree Net Rods: Similarly, the Net Rods are crucial for securing the net to the trampoline. Having these rods readily available will facilitate the removal of the net during disassembly.
- Springfree Springs: The springs play a vital role in the trampoline’s functionality. You’ll need to have the appropriate tools for detaching the springs from the frame as part of the disassembly process.
- Protective Gloves: It’s important to prioritize safety during disassembly. Wearing protective gloves will help safeguard your hands as you handle various components of the trampoline.
- Assistance: While not a physical tool, having an extra pair of hands to assist you during the disassembly process can be incredibly helpful. Enlist the help of a friend or family member to make the task more manageable.
By ensuring that you have all the necessary tools and equipment ready, you’ll be well-prepared to proceed with the disassembly of your Springfree trampoline. With the next step, we’ll delve into the process of removing the mat and net from the trampoline frame.
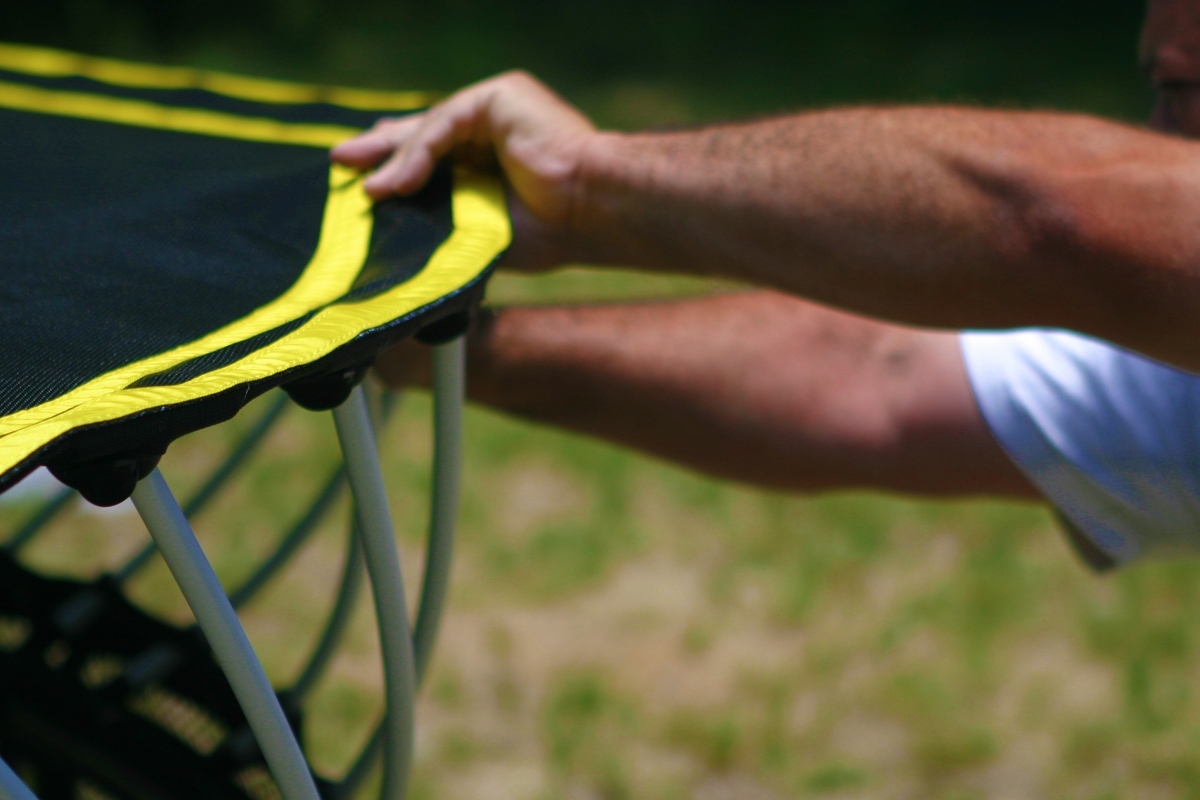
Step 2: Remove the Mat and Net
Now that you have gathered the essential tools, it’s time to begin the disassembly process by removing the mat and net from your Springfree trampoline. Follow these steps to accomplish this stage efficiently:
- Secure the Disassembly Tool: Begin by ensuring that you have the Springfree Disassembly Tool readily accessible. This tool will be instrumental in safely removing the mat rods and net rods from the trampoline frame.
- Detach the Mat: Using the disassembly tool, carefully detach the mat rods from the trampoline frame. Work methodically around the perimeter of the trampoline, gradually releasing the tension of the mat rods to free the mat from the frame.
- Remove the Net: With the mat detached, proceed to remove the net rods from the trampoline enclosure using the disassembly tool. Gently release the net rods from their positions, ensuring that the net is free from the frame.
- Inspect and Fold: Once the mat and net are removed, take a moment to inspect them for any signs of wear or damage. If needed, clean the mat and net to maintain their condition. Then, carefully fold and set them aside for safekeeping during the remaining disassembly process.
By following these steps, you can effectively remove the mat and net from your Springfree trampoline, setting the stage for the subsequent phases of disassembly. With the mat and net safely removed, you’re ready to move on to the next critical step: disassembling the trampoline frame.
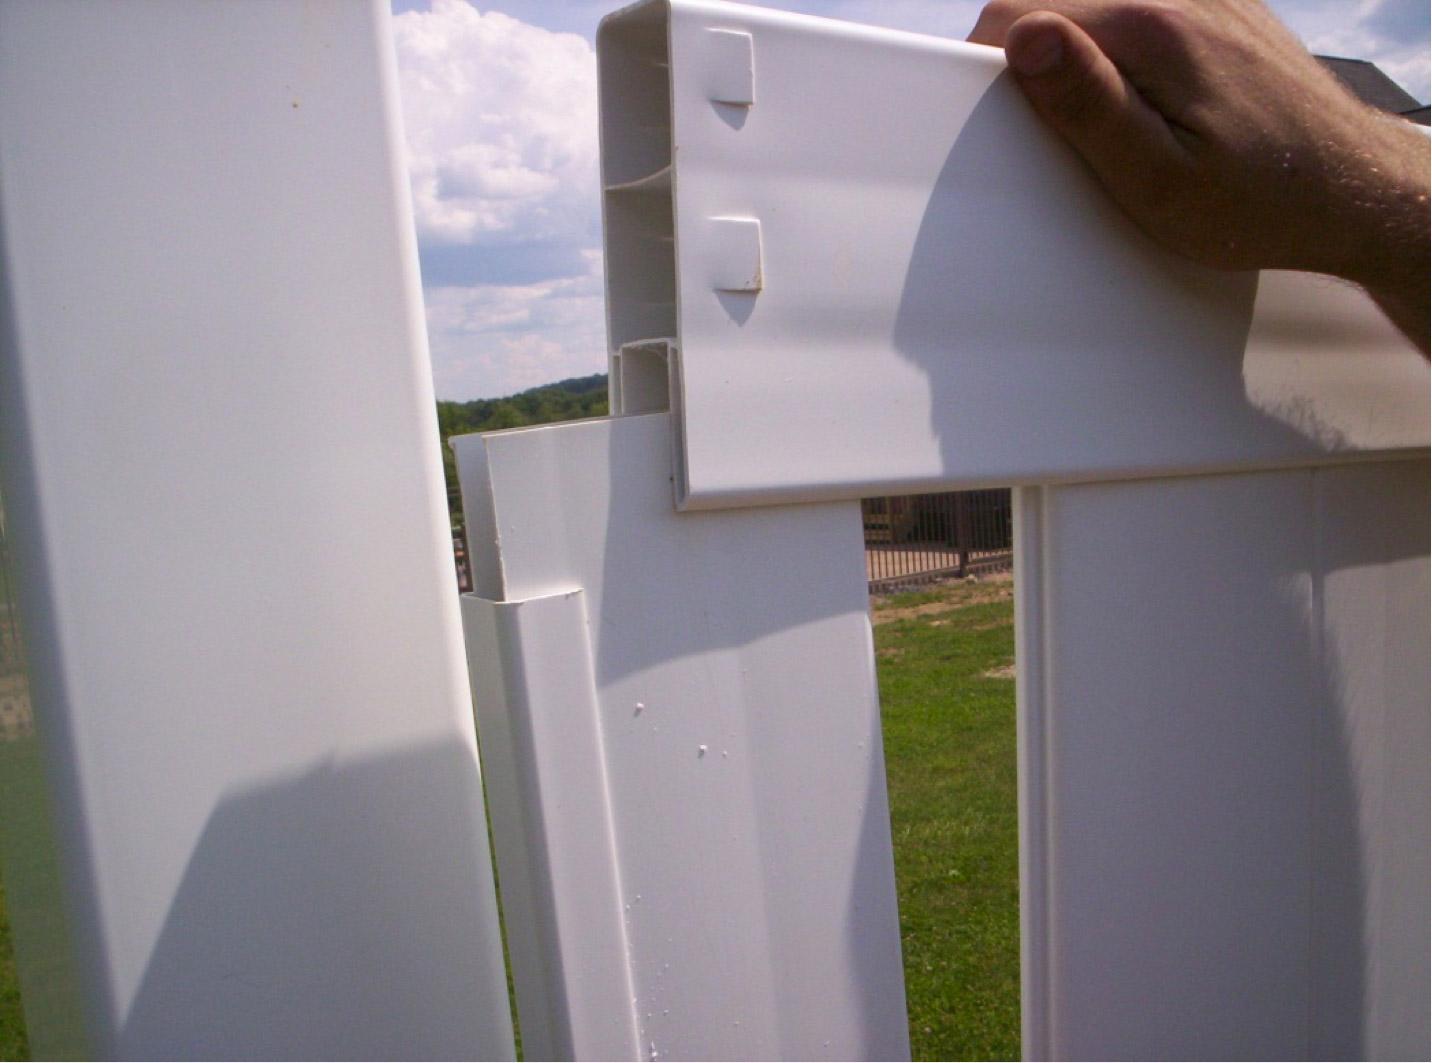
Step 3: Disassemble the Frame
With the mat and net successfully removed, the next pivotal stage of disassembling your Springfree trampoline involves dismantling the frame. Follow these steps to navigate this phase effectively:
- Identify Key Components: Take a moment to familiarize yourself with the key components of the trampoline frame, including the frame sections, T-joiners, and other structural elements.
- Begin at the Base: Starting from the base of the trampoline, carefully disassemble the frame sections by releasing the T-joiners and separating the frame components. Work methodically around the trampoline, ensuring that each section is detached securely.
- Handle with Care: As you disassemble the frame, handle the components with care to avoid any unnecessary strain or damage. Pay attention to the alignment of the frame sections and ensure that they are safely set aside for the next steps.
- Clear the Area: Once the frame sections are detached, clear the immediate area around the trampoline to create space for the subsequent disassembly tasks. This will allow for smoother progress as you proceed with the dismantling process.
By following these steps, you can effectively disassemble the frame of your Springfree trampoline, preparing the components for the next stages of the disassembly process. With the frame safely dismantled, you’re ready to move on to the next step: detaching the springs from the trampoline.
When disassembling a Springfree trampoline, start by removing the net and rods, then disassemble the frame and mat. Keep track of all the parts and hardware to make reassembly easier.
Step 4: Detach the Springs
As you progress through the disassembly process of your Springfree trampoline, the next crucial step involves detaching the springs from the trampoline frame. Follow these steps to accomplish this phase effectively:
- Assess the Spring Configuration: Take a moment to assess the arrangement of the springs on the trampoline frame. Familiarize yourself with the distribution of the springs and their attachment points.
- Utilize the Appropriate Tools: With the assistance of the designated spring removal tool, carefully disengage the springs from their anchor points on the trampoline frame. Exercise caution and ensure that each spring is released securely.
- Work Methodically: Proceed to detach the springs systematically, working your way around the trampoline to ensure that each spring is safely removed. Pay close attention to the tension of the springs as you release them from the frame.
- Secure the Springs: Once detached, secure the springs in a designated container or storage area to prevent misplacement. Organizing the springs systematically will facilitate the reassembly process in the future.
By following these steps, you can successfully detach the springs from your Springfree trampoline, marking a significant milestone in the disassembly process. With the springs securely removed, you’re prepared to proceed to the subsequent step: dismantling the rods and FlexiNet.
Read more: How To Disassemble A Trampoline
Step 5: Dismantle the Rods and FlexiNet
As you advance through the disassembly process of your Springfree trampoline, the next critical step involves dismantling the rods and FlexiNet. Follow these steps to navigate this phase effectively:
- Prepare the FlexiNet Tool: Ensure that the Springfree FlexiNet Tool is readily available for use in safely removing the FlexiNet from the trampoline enclosure. This specialized tool is designed to facilitate the disassembly process without causing damage to the components.
- Release the FlexiNet: Using the FlexiNet Tool, carefully release the FlexiNet from its secure fastenings on the trampoline enclosure. Work methodically around the perimeter, ensuring that the FlexiNet is detached without any undue strain.
- Detach the Rods: With the FlexiNet removed, proceed to detach the rods from the trampoline frame using the designated disassembly tool. Exercise caution and systematically release the rods from their positions, allowing for safe removal.
- Inspect and Store: Take a moment to inspect the FlexiNet and rods for any signs of wear or damage. If needed, clean the components before carefully storing them for future use or reassembly.
By following these steps, you can effectively dismantle the rods and FlexiNet from your Springfree trampoline, preparing the components for safe storage or future assembly. With the rods and FlexiNet successfully removed, you’re ready to proceed to the final step: carefully packing and storing the disassembled components.
Step 6: Carefully Pack and Store the Components
As you near the completion of the disassembly process for your Springfree trampoline, it’s essential to focus on carefully packing and storing the components to ensure their safety and integrity. Follow these steps to effectively handle this final phase:
- Organize the Components: Begin by organizing the disassembled components, including the mat, net, frame sections, springs, rods, and FlexiNet, in a clean and spacious area. Group related components together to facilitate the packing process.
- Secure Packaging Materials: Gather suitable packaging materials, such as durable boxes, plastic bags, or containers, to safely store the trampoline components. Ensure that the packaging materials provide adequate protection against dust, moisture, and potential damage.
- Methodical Packing: Carefully pack each component, taking care to wrap or cushion fragile parts to prevent any impact-related damage during storage. Label the packaged components clearly to aid in easy identification during future assembly.
- Designate Storage Space: Identify a suitable storage area for the packaged trampoline components, ensuring that the space is dry, clean, and free from potential hazards. Consider factors such as temperature control and accessibility when selecting the storage location.
- Maintain an Inventory: Keep a detailed inventory of the packed components, noting their specific contents and any relevant assembly instructions or labels. This inventory will serve as a valuable reference when you are ready to reassemble the trampoline.
By following these steps, you can ensure that the disassembled components of your Springfree trampoline are carefully packed and stored, preserving their condition for future use. With the components securely stored, you’ve successfully completed the disassembly process, ready to address your storage or relocation needs with confidence.
Conclusion
Congratulations on successfully completing the comprehensive disassembly of your Springfree trampoline! By following the step-by-step guide and utilizing the necessary tools, you’ve effectively dismantled the trampoline, preparing it for storage, relocation, or maintenance.
Throughout the disassembly process, you’ve gained valuable insights into handling the various components of the trampoline with care and precision. From removing the mat and net to detaching the springs, dismantling the frame, and carefully packing the components, your attention to detail and systematic approach have ensured a smooth and efficient disassembly experience.
As you look ahead, whether you’re storing the trampoline for the winter, relocating to a new home, or simply performing maintenance, the thorough disassembly process you’ve completed will set the stage for a seamless reassembly in the future. With the components securely packed and stored, you can rest assured that your Springfree trampoline is well-prepared for its next phase.
Remember to keep the inventory of the packed components readily accessible, and store them in a designated space that offers protection from environmental factors. By maintaining the integrity of the components during storage, you’ll ensure that the trampoline retains its quality and functionality for years to come.
Thank you for dedicating the time and effort to master the art of disassembling your Springfree trampoline. Your commitment to proper trampoline care and maintenance reflects your dedication to safety and enjoyment, ensuring that your trampoline will continue to be a source of fun and recreation for all who use it.
Should you have any questions or require further guidance on trampoline maintenance, assembly, or safety, feel free to refer to the comprehensive resources provided by Springfree or consult with a trampoline specialist. With your newfound expertise, you’re well-equipped to navigate the world of trampoline care with confidence and proficiency.
Frequently Asked Questions about How To Disassemble A Springfree Trampoline
Was this page helpful?
At Storables.com, we guarantee accurate and reliable information. Our content, validated by Expert Board Contributors, is crafted following stringent Editorial Policies. We're committed to providing you with well-researched, expert-backed insights for all your informational needs.


0 thoughts on “How To Disassemble A Springfree Trampoline”