Home>Furniture & Design>Living Room Furniture>How To Disassemble Ashley Power Recliner Sofa
Living Room Furniture
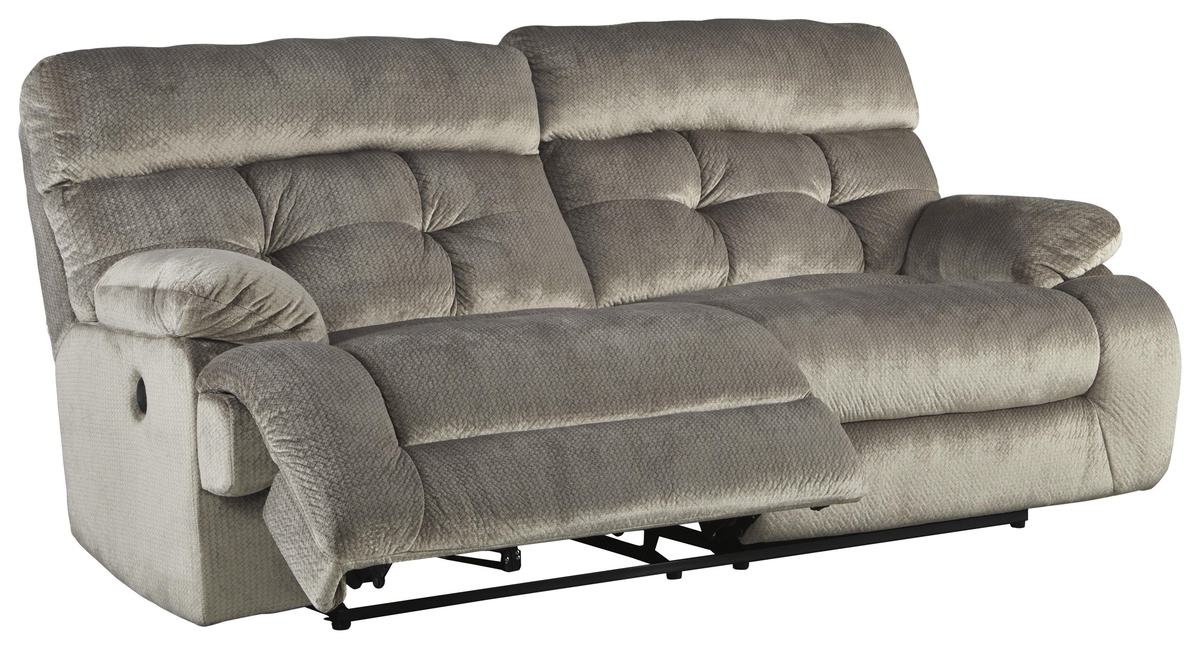
How To Disassemble Ashley Power Recliner Sofa
Modified: October 19, 2024
Learn how to easily disassemble your Ashley power recliner sofa with our step-by-step guide. Upgrade your living room furniture with our expert tips and advice.
(Many of the links in this article redirect to a specific reviewed product. Your purchase of these products through affiliate links helps to generate commission for Storables.com, at no extra cost. Learn more)
Introduction
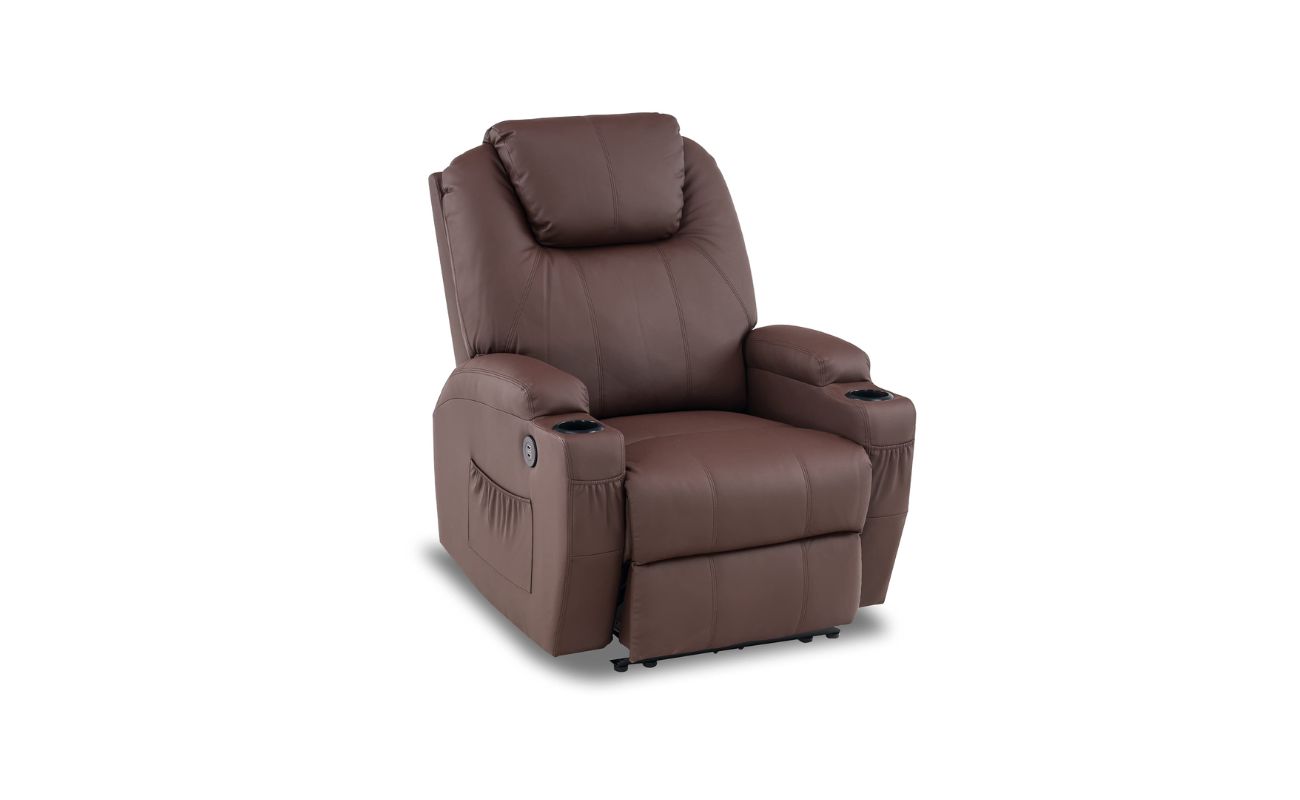
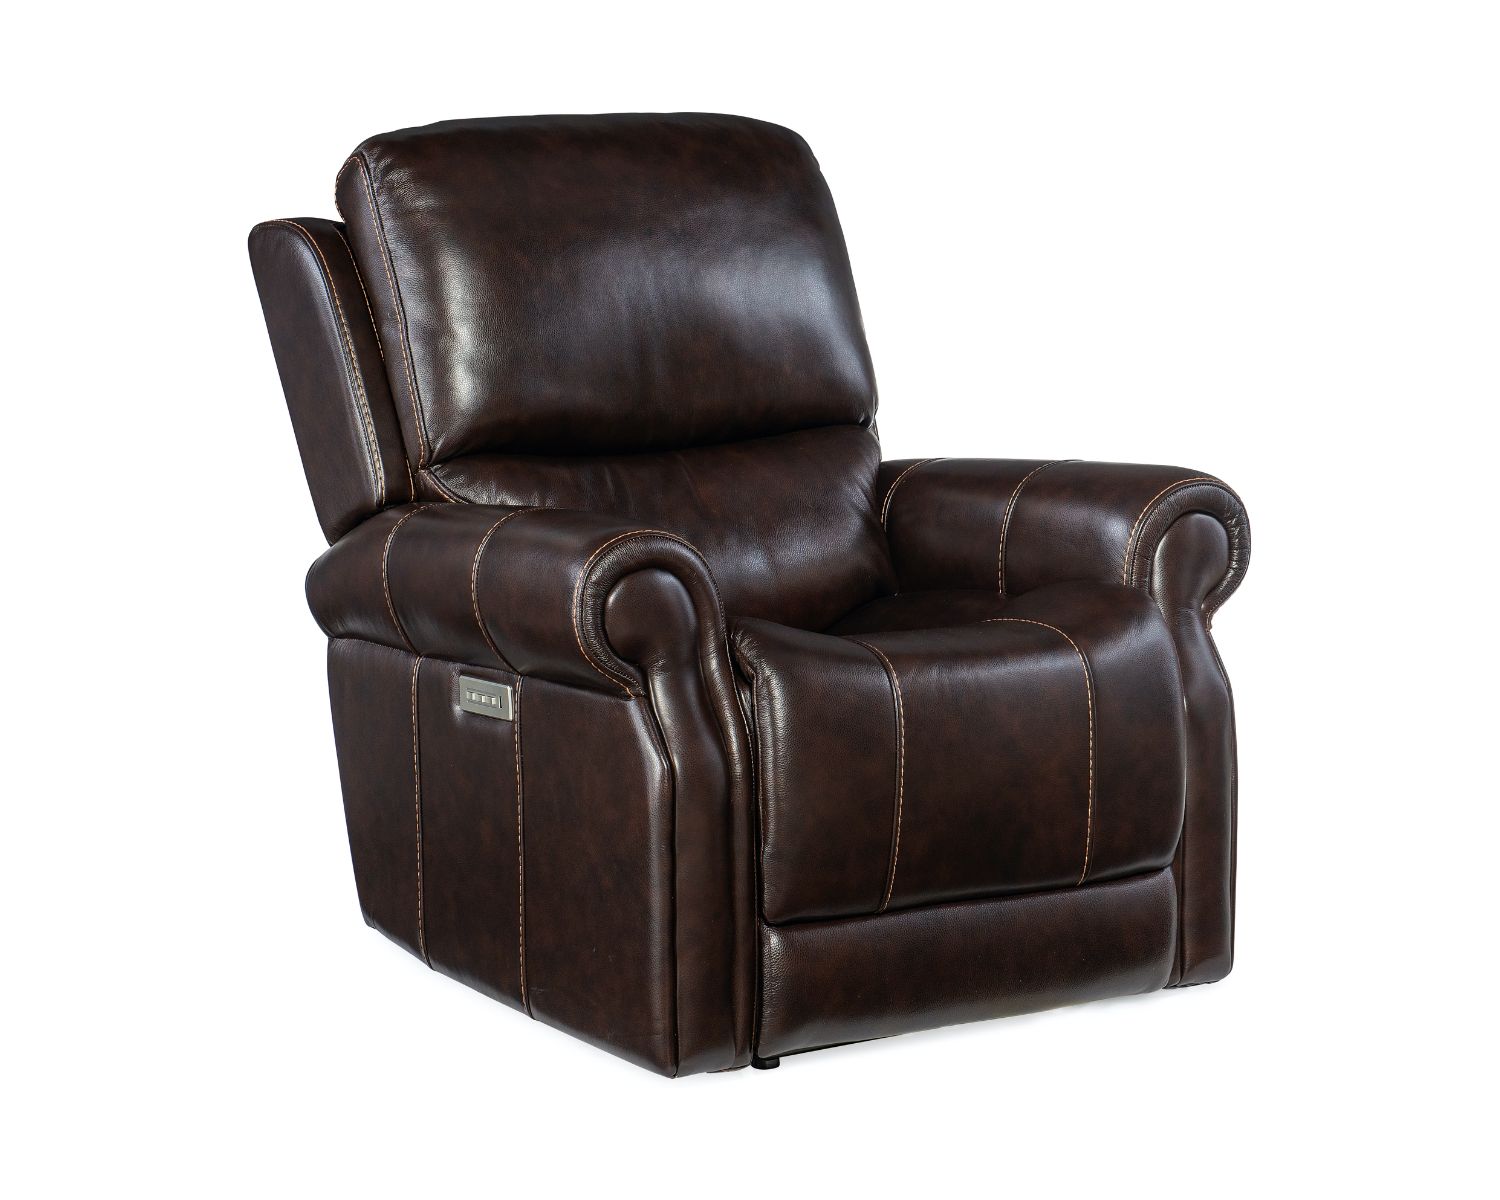
Buying a new piece of furniture for your living room can be an exciting experience. Whether you’re updating your existing decor or starting fresh, choosing the right living room furniture is crucial for both style and comfort. One popular option is a power recliner sofa, which offers the convenience of adjustable seating positions with just the push of a button.
However, there may come a time when you need to disassemble your Ashley power recliner sofa. This could be due to moving homes, cleaning, or repairing specific parts of the sofa. Disassembling the sofa might seem like a challenging task, but with the right tools and a little know-how, you can easily break it down into manageable pieces.
In this article, we will guide you through the step-by-step process of disassembling an Ashley power recliner sofa. From preparing the workspace to safely removing each component, you’ll learn everything you need to know to take apart your sofa efficiently and without any damage.
Before we begin, let’s go over the tools and materials you’ll need:
- Phillips screwdriver
- Flathead screwdriver
- Adjustable wrench
- Allen wrench
- Non-abrasive cleaning cloth
- Protective gloves
- Plastic bag or container for storing small parts
Key Takeaways:
- Disassembling an Ashley power recliner sofa requires proper preparation, the right tools, and a methodical approach. By following the step-by-step guide, you can safely dismantle and clean each component, ensuring the longevity of your furniture.
- Cleaning and maintaining the disassembled parts is crucial for preserving the condition and functionality of your Ashley power recliner sofa. Regular upkeep and attention to detail will extend the lifespan of the individual components, allowing you to enjoy your furniture for years to come.
Read more: How To Disassemble A Recliner
Tools and Materials Needed
Before taking on the task of disassembling your Ashley power recliner sofa, it’s essential to gather all the necessary tools and materials. Having the right equipment will make the process much more manageable and ensure that you can complete the job effectively. Here’s a list of items you’ll need:
- Phillips screwdriver: You’ll need this type of screwdriver to remove any screws holding the sofa’s components together. Make sure it’s the right size to fit the screws on your particular sofa model.
- Flathead screwdriver: This screwdriver will come in handy for prying and removing panels or other parts that are attached using clips or tabs.
- Adjustable wrench: An adjustable wrench is essential for loosening and tightening nuts and bolts. It will be useful when disassembling any metal components of the recliner.
- Allen wrench: Some Ashley power recliner sofas may have bolts or screws that require an Allen wrench to loosen or tighten. Check the manufacturer’s instructions or the sofa’s manual to determine if you need this tool.
- Non-abrasive cleaning cloth: A soft, non-abrasive cloth will be useful for wiping down and cleaning various parts of the sofa during the disassembly process.
- Protective gloves: Depending on the condition of the sofa and the cleaning methods you choose, it may be beneficial to wear protective gloves. This will prevent any potential injuries or irritation to your hands.
- Plastic bag or container for storing small parts: As you disassemble the sofa, there may be small screws, nuts, or other components that need to be kept safe. Having a plastic bag or container to store these items will ensure they don’t get lost.
Step 1: Prepare the Workspace
Before you begin disassembling your Ashley power recliner sofa, it’s essential to set up a proper workspace. This will ensure that you have enough room to work comfortably and safely. Here are some steps to follow when preparing your workspace:
- Clear the area: Start by clearing the space around the sofa. Remove any nearby furniture or obstacles that could hinder your movement or cause accidents. Make sure you have enough room to move around the sofa freely.
- Protect the floor: Place a drop cloth or old blanket underneath the sofa to protect the floor from any scratches or damage during the disassembly process. It’s also a good idea to have some padding or cardboard nearby to place the sofa components on as you take them apart.
- Disconnect the power: If your Ashley power recliner sofa is plugged into an electrical outlet, make sure to unplug it before starting the disassembly. This will prevent any potential accidents or electrical shocks while handling the sofa.
- Remove cushions and accessories: Take off any removable cushions or accessories from the sofa, such as throw pillows or decorative covers. Set them aside in a safe location, away from the workspace.
By taking these steps to prepare your workspace, you’ll create a safe and efficient environment for disassembling your Ashley power recliner sofa. This will make it easier to navigate and handle the various components of the sofa without any unnecessary obstructions or risks.
Step 2: Remove the Backrest
Once you’ve prepared your workspace, it’s time to start disassembling your Ashley power recliner sofa. The first step is to remove the backrest. Here’s how to do it:
- Locate the latches or fasteners: Take a close look at the backrest of your sofa. Look for any latches or fasteners that are holding it in place. These may be located on the sides or the back of the sofa.
- Unlock the latches: If your sofa has latches, use your flathead screwdriver to unlock them. Insert the screwdriver into the latch and gently pry it open. This will release the backrest from its locked position.
- Remove the backrest: Once the latches are unlocked, carefully lift the backrest away from the sofa frame. You may need to enlist the help of another person to hold the backrest steady as you remove it.
At this point, you may also need to unplug any electrical connections if your power recliner sofa has built-in features such as USB ports or speakers. Follow the manufacturer’s instructions or consult the owner’s manual for guidance on disconnecting these components.
Set the removed backrest aside in a safe and out-of-the-way location, making sure it is secure and won’t get damaged during the rest of the disassembly process. Remember to keep track of any screws, bolts, or other small parts that came off with the backrest and store them in a plastic bag or container.
With the backrest removed, you’re ready to move on to the next step in disassembling your Ashley power recliner sofa.
Step 3: Detach the Arms
With the backrest removed, the next step in disassembling your Ashley power recliner sofa is to detach the arms. Here’s how to do it:
- Locate the screws or bolts: Look for the screws or bolts that are holding the arms of the sofa in place. These may be located on the underside of the arms or on the sides of the sofa frame.
- Use the appropriate tool: Depending on the type of fasteners used, use the appropriate tool, such as a screwdriver or adjustable wrench, to unscrew or loosen the screws/bolts.
- Remove the arms: Once the screws/bolts are loosened, gently lift the arms away from the sofa frame. It may be helpful to have another person assist you in holding the arms steady as you detach them.
It’s important to take care when removing the arms, as they may be heavy or awkward to handle. Make sure to support them properly to prevent any damage or injuries.
As you remove the arms, pay attention to any electrical connections or wiring that may be attached to them, especially if your Ashley power recliner sofa has built-in features like USB ports or LED lighting. Follow the manufacturer’s instructions or consult the owner’s manual to safely disconnect these components if necessary.
Once the arms are detached, set them aside in a safe location where they won’t get damaged. Remember to keep track of any screws, bolts, or other small parts that were removed with the arms and store them in a plastic bag or container.
With the backrest and arms removed, you’re ready to move on to the next step in disassembling your Ashley power recliner sofa.
Read more: How To Dismantle A Sofa Recliner
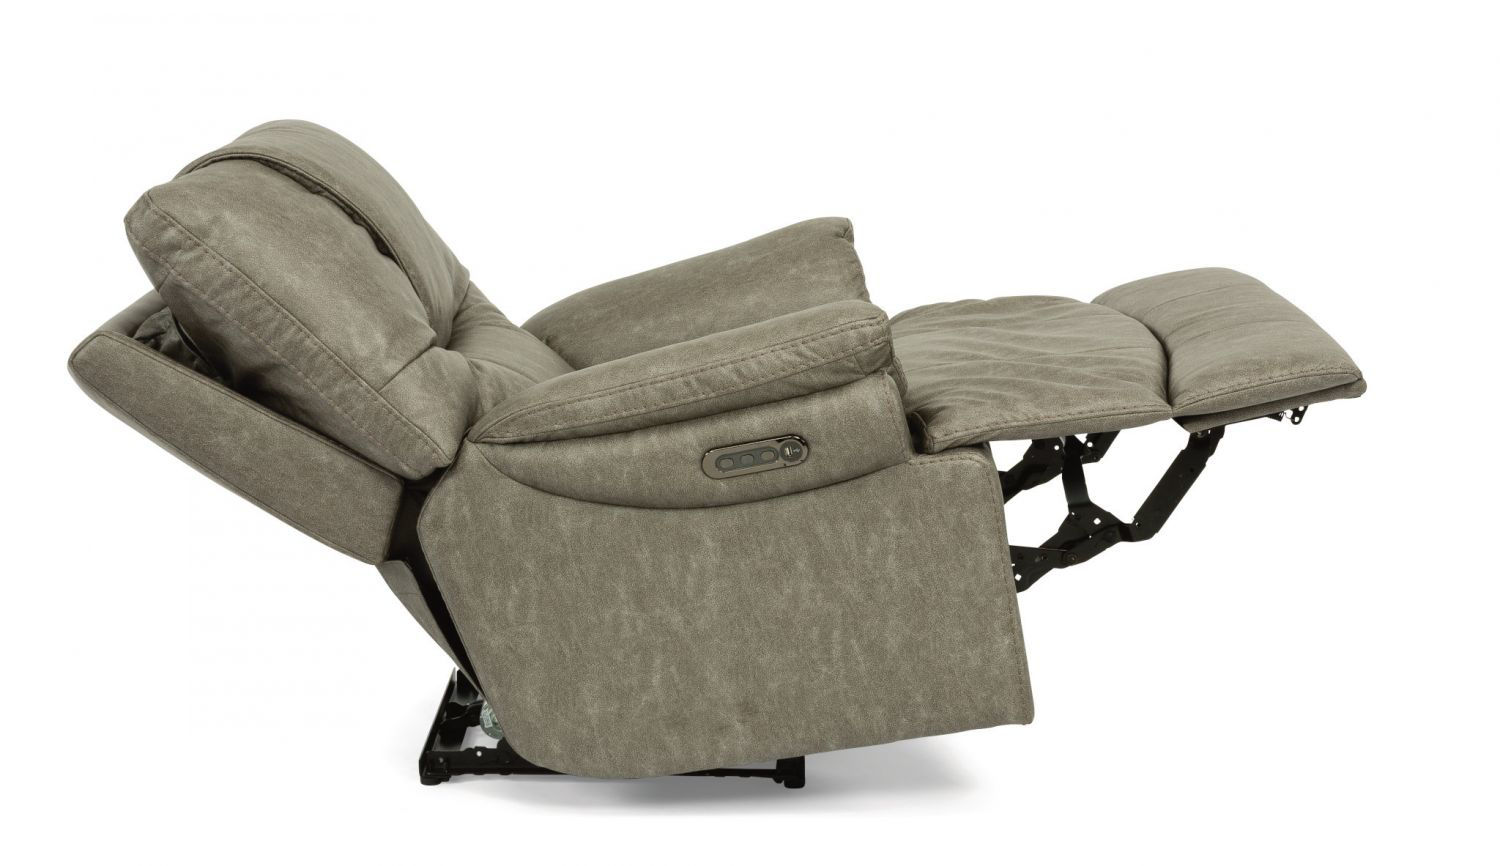
Step 4: Disconnect the Reclining Mechanism
After removing the backrest and arms, it’s time to disconnect the reclining mechanism of your Ashley power recliner sofa. Follow these steps to safely disconnect the mechanism:
- Locate the reclining release lever: Look for the reclining release lever on the side of the sofa. This lever is typically located near the front bottom section of the recliner.
- Engage the reclining release: Using your hand or a tool, engage the reclining release lever by pushing or pulling it. This action will disengage the reclining mechanism and allow the seat back to move more freely.
- Remove the retaining screws: Once the reclining release lever is engaged, locate the retaining screws that secure the reclining mechanism to the sofa frame. These screws are typically found on the bottom side of the sofa.
- Use a screwdriver or wrench: Depending on the type of screws used, use a screwdriver or wrench to unscrew and remove the retaining screws. Set the screws aside in a safe place for reassembly.
- Disconnect the reclining mechanism: With the retaining screws removed, disconnect the reclining mechanism from the sofa frame by gently lifting and separating the two components. Take care not to damage any wiring or electrical connections that may be present.
If there are any electrical connections or wires between the reclining mechanism and other parts of the sofa, such as USB ports or heating elements, follow the manufacturer’s instructions or consult the owner’s manual to safely disconnect them.
Set the disconnected reclining mechanism aside, making sure it is secure and won’t get damaged during the rest of the disassembly process. Remember to keep track of any screws, bolts, or other small parts that were removed with the mechanism and store them in a plastic bag or container.
With the reclining mechanism disconnected, you’re ready to move on to the next step in disassembling your Ashley power recliner sofa.
Before disassembling an Ashley power recliner sofa, make sure to unplug the power source and remove the back panel to access the internal components. Keep track of the screws and parts to reassemble correctly.
Step 5: Take Apart the Seat Cushions
After disconnecting the reclining mechanism, it’s time to take apart the seat cushions of your Ashley power recliner sofa. Follow these steps to safely remove the cushions:
- Flip the sofa upside down: Carefully flip the sofa upside down, making sure to protect the upholstery by placing it on a soft surface or using a drop cloth. This will give you better access to the underside of the seat cushions.
- Locate the attachment points: Look for the attachment points that secure the seat cushions to the sofa frame. These may include screws, clips, or velcro.
- Unscrew or release the attachment points: If the seat cushions are attached with screws, use a screwdriver to unscrew them. If they are held in place with clips or velcro, carefully release them to detach the cushions.
- Remove the seat cushions: Once the attachment points are unscrewed or released, gently lift and remove the seat cushions from the sofa frame. Take care not to damage the cushions or the upholstery.
As you remove the seat cushions, inspect their condition and clean them if necessary. Use a non-abrasive cleaning cloth and a mild upholstery cleaner to spot clean any stains or dirt. Allow the cushions to air dry completely before moving on to the next step.
Set the removed seat cushions aside in a safe location, ensuring they are stacked carefully to prevent any damage. If there are any screws or attachments that came off with the cushions, store them in a plastic bag or container for later reassembly.
With the seat cushions removed, you’re ready to move on to the next step in disassembling your Ashley power recliner sofa.
Step 6: Remove the Bottom Dust Cover
With the seat cushions taken apart, the next step in disassembling your Ashley power recliner sofa is to remove the bottom dust cover. Here’s how to do it:
- Locate the dust cover: Flip the sofa back upright and locate the bottom dust cover. This is a fabric or plastic covering that is attached to the underside of the sofa frame.
- Identify the attachment points: Look for the attachment points that secure the dust cover to the sofa frame. These may be in the form of staples, screws, or adhesive strips.
- Remove the attachment points: Use a staple remover, screwdriver, or utility knife to carefully remove the attachment points. If there are staples, gently pry them out. If there are screws, unscrew them. If there are adhesive strips, carefully peel them off.
- Take off the dust cover: Once the attachment points are removed, carefully pull the bottom dust cover away from the sofa frame. Take your time to avoid any tears or damage to the cover.
As you remove the dust cover, take note of any additional components or wiring that may be hidden beneath it. These could be related to the reclining mechanism, electrical connections, or other features of your Ashley power recliner sofa. Take care not to damage or disrupt these components.
If the dust cover is washable, you may choose to clean it at this time. Follow the manufacturer’s instructions for cleaning and care. Alternatively, you can replace the dust cover if it is torn, worn, or damaged.
Set the removed dust cover aside in a safe place, ensuring it is free from any wrinkles or folds that could cause damage. Continue to keep track of any screws, bolts, or other small parts that were removed with the dust cover, and store them in a plastic bag or container.
With the bottom dust cover removed, you’re ready to move on to the next step in disassembling your Ashley power recliner sofa.
Step 7: Disassemble the Legs
After removing the bottom dust cover, it’s time to disassemble the legs of your Ashley power recliner sofa. Follow these steps to safely remove the legs:
- Position the sofa securely: Ensure that the sofa is stable and won’t tip over while removing the legs. If necessary, have someone assist you in holding the sofa steady.
- Inspect the legs: Take a close look at the legs to determine how they are attached to the sofa frame. This may vary depending on the specific model of your sofa.
- Remove any visible screws or bolts: If there are visible screws or bolts holding the legs in place, use the appropriate tool, such as a screwdriver or wrench, to unscrew and remove them. Set the screws or bolts aside for reassembly later.
- Check for additional attachment points: In some cases, the legs may be attached using other methods, such as brackets or clips. Take a careful look to identify any hidden attachment points that need to be released.
- Release the legs: Once you’ve removed any visible screws or bolts and identified any hidden attachment points, carefully release the legs from the sofa frame. Gently lift or wiggle the legs to free them from their attachments.
As you remove the legs, take note of the condition of the leg caps or glides. If they are worn or damaged, you may need to replace them for proper support and stability.
Set the removed legs aside in a safe location, ensuring they won’t get damaged. Keep track of any screws, bolts, or other small parts that were removed with the legs and store them in a plastic bag or container.
With the legs disassembled, you’re ready to move on to the next step in disassembling your Ashley power recliner sofa.
Read more: How To Assemble A Recliner Sofa
Step 8: Separate any Remaining Components
After disassembling the legs, it’s time to separate any remaining components of your Ashley power recliner sofa. Follow these steps to safely detach any additional parts:
- Inspect the remaining components: Take a thorough look at the sofa to identify any remaining parts that are still attached to the frame. This may include panels, cushions, or other accessories.
- Refer to the manufacturer’s instructions: If you’re unsure how to detach specific components, consult the manufacturer’s instructions or the sofa’s manual. This will provide guidance on the proper removal procedure for each part.
- Use the appropriate tools: Depending on the attachment method, use the necessary tools, such as a screwdriver or wrench, to remove any screws, bolts, or fasteners holding the remaining components in place.
- Gently detach the components: Once the screws, bolts, or fasteners are removed, gently detach the remaining components from the sofa frame. Take care not to force or damage any parts in the process.
As you separate the remaining components, be mindful of any electrical connections or wiring that may still be attached. Follow the manufacturer’s instructions or consult the owner’s manual to safely disconnect these connections, if necessary.
Set the separated components aside in a safe location, making sure they are protected from any potential damage. Keep track of any screws, bolts, or small parts that were removed alongside these components, and store them in a plastic bag or container.
By properly separating all remaining components, you’ve successfully disassembled your Ashley power recliner sofa. You’re now ready to move on to the cleaning and maintenance phase.
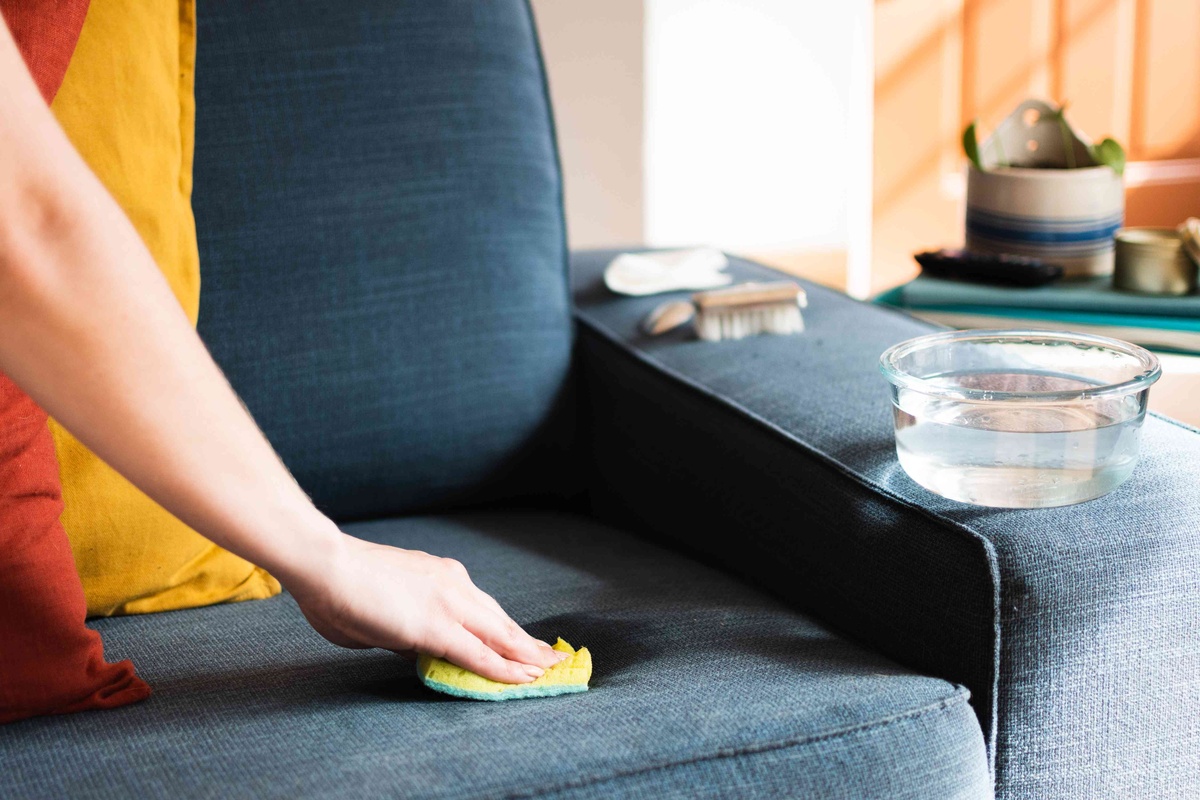
Step 9: Clean and Maintain the Recliner Parts
After disassembling your Ashley power recliner sofa, it’s essential to clean and maintain the individual parts to keep them in good condition. Follow these steps to ensure proper cleaning and maintenance:
- Inspect the parts: Before cleaning, thoroughly inspect each component for any dirt, stains, or damage. This will help you identify the specific areas that require cleaning.
- Clean the upholstery: Depending on the material of your sofa’s upholstery, use an appropriate cleaner or solution to remove any stains or dirt. Gently scrub the affected areas using a soft cloth or sponge. Be sure to follow the manufacturer’s instructions for cleaning and avoid using harsh chemicals that could damage the fabric.
- Dust or vacuum the components: Use a soft brush attachment or a handheld vacuum to gently remove any dust, crumbs, or debris from the disassembled parts, such as the backrest, cushions, and legs. Pay special attention to crevices and hard-to-reach areas.
- Polish any metal components: If your Ashley power recliner sofa has any metal parts, such as the reclining mechanism or legs, use a suitable metal polish to restore their shine and remove any tarnish or fingerprints. Follow the instructions on the polish and use a clean, soft cloth for application.
- Check and tighten hardware: Inspect all the screws, bolts, and fasteners that were removed during disassembly. Ensure they are in good condition and tighten them if necessary. Replace any damaged or worn-out hardware to maintain structural integrity.
- Reassemble the sofa: Once all the components are clean and dry, carefully reassemble the sofa in the reverse order of disassembly. Use the stored screws, bolts, and small parts to securely attach each piece.
Regularly cleaning and maintaining your disassembled recliner parts will prolong their lifespan, keeping them looking and functioning their best. Additionally, periodic maintenance can prevent any issues that may arise from dirt or wear, ensuring your sofa remains comfortable and reliable.
By following these cleaning and maintenance steps, you can enjoy your Ashley power recliner sofa for years to come.
Conclusion
Disassembling your Ashley power recliner sofa may seem like a daunting task, but with the right tools, knowledge, and preparation, it can be a straightforward and rewarding process. By following the step-by-step guide provided in this article, you can safely dismantle your sofa to facilitate moving, cleaning, or repair.
Remember to prepare your workspace properly by clearing the area and protecting the floor. Gather all the necessary tools and materials before you start, including various screwdrivers, wrenches, and a non-abrasive cleaning cloth.
Begin by removing the backrest, followed by detaching the arms. Disconnect the reclining mechanism, disassemble the seat cushions, and remove the bottom dust cover. Then, proceed to remove the legs and separate any remaining components.
After disassembling, take the time to clean and maintain each part. Inspect for any dirt, stains, or damage, and use appropriate cleaning solutions to restore the upholstery’s cleanliness. Dust or vacuum the components, polish any metal parts, and check and tighten all hardware.
When you’re ready, reassemble your sofa in the reverse order of disassembly, ensuring all screws, bolts, and fasteners are securely attached.
By following these steps and giving attention to proper cleaning and maintenance, you can extend the lifespan of your Ashley power recliner sofa, keeping it in excellent condition for continued use and enjoyment.
Remember, if you ever feel unsure or encounter any difficulties during the disassembly or reassembly process, consult the manufacturer’s instructions or seek professional assistance.
Enjoy the satisfaction of successfully disassembling and reassembling your Ashley power recliner sofa, knowing that you’ve accomplished a task that can contribute to the longevity and functionality of your furniture.
Now that you've mastered disassembling your Ashley power recliner sofa, why not dive deeper into the origins of your beloved furniture pieces? If you're curious about the craftsmanship and origin of Ashley Furniture, our detailed article sheds light on the manufacturing processes and global locations involved. Understanding where and how your furniture is made can offer insights into its quality and sustainability, enhancing your appreciation and making informed buying decisions easier.
Frequently Asked Questions about How To Disassemble Ashley Power Recliner Sofa
Was this page helpful?
At Storables.com, we guarantee accurate and reliable information. Our content, validated by Expert Board Contributors, is crafted following stringent Editorial Policies. We're committed to providing you with well-researched, expert-backed insights for all your informational needs.


0 thoughts on “How To Disassemble Ashley Power Recliner Sofa”