Home>Furniture & Design>Living Room Furniture>How To Take Back Of Recliner Off

Living Room Furniture
How To Take Back Of Recliner Off
Modified: February 18, 2024
Learn how to easily remove the back of your recliner for maintenance or transportation. Follow our step-by-step guide for hassle-free recliner disassembly. Ideal for living room furniture and design enthusiasts.
(Many of the links in this article redirect to a specific reviewed product. Your purchase of these products through affiliate links helps to generate commission for Storables.com, at no extra cost. Learn more)
Introduction
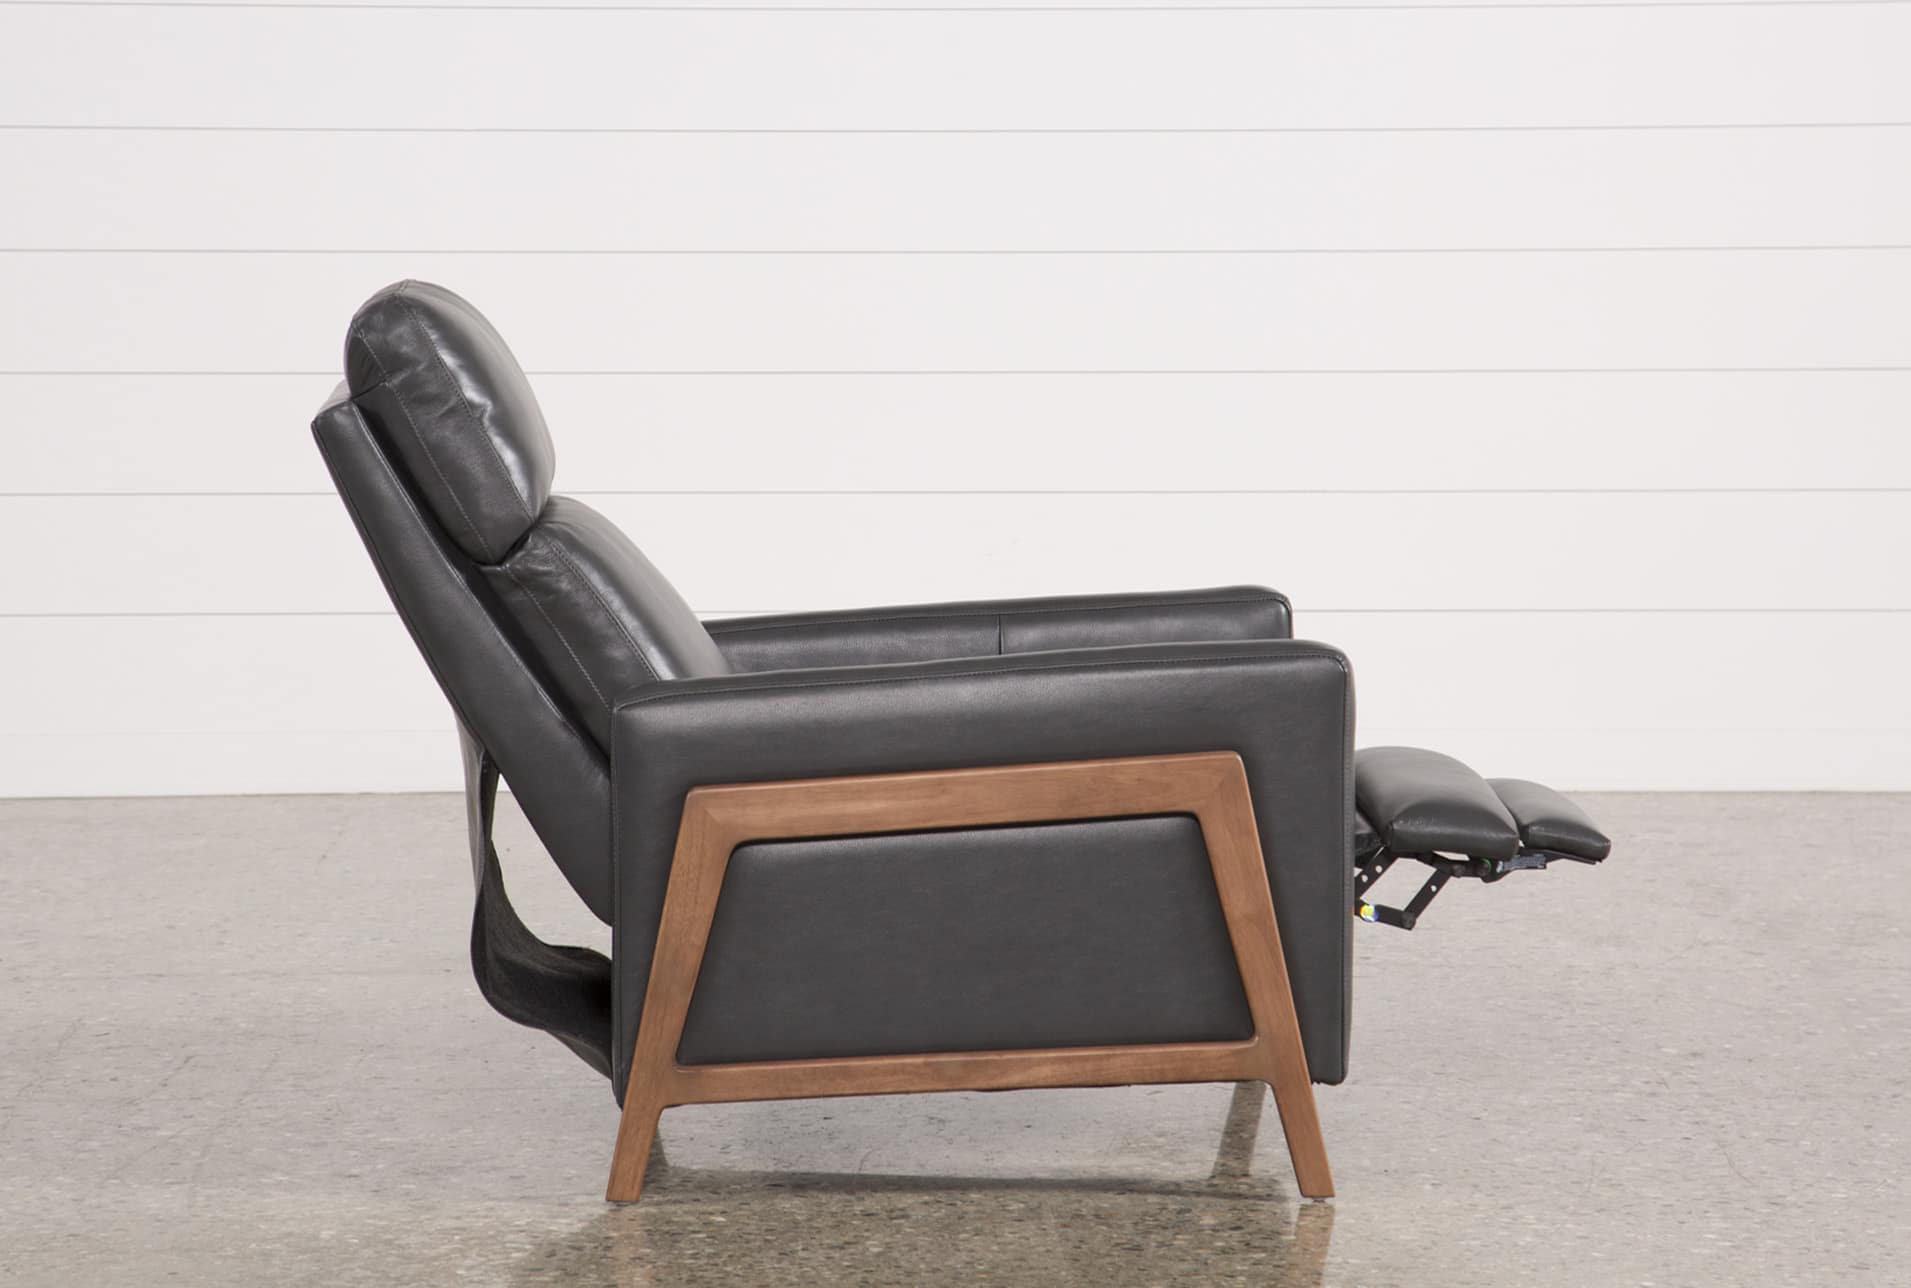
Taking the back off a recliner may seem like a daunting task, but with the right guidance and tools, it can be a straightforward process. Whether you need to clean behind the recliner, transport it through a narrow doorway, or make repairs, knowing how to remove the back of a recliner is a valuable skill for any furniture owner. By following a few simple steps, you can easily disassemble the recliner and access the components hidden beneath the backrest.
Understanding the inner workings of your recliner can also provide insight into its construction and functionality. This knowledge can be empowering, especially for those who enjoy DIY projects or want to troubleshoot minor issues without the need for professional assistance. Additionally, being able to remove the back of a recliner can facilitate thorough cleaning, allowing you to maintain the furniture in top condition for years to come.
In the following sections, we will walk through the process of removing the back of a recliner, providing clear instructions and tips to ensure a smooth and successful disassembly. From identifying the latches or levers to safely lifting off the backrest, each step is designed to help you navigate this task with confidence. So, gather your tools and let's embark on this practical journey to uncover the inner workings of your recliner.
Key Takeaways:
- Mastering the art of removing a recliner’s back empowers owners to understand and maintain their furniture, enhancing its lifespan and performance.
- By carefully locating, removing, and lifting off the back of a recliner, owners gain access to hidden components for cleaning and maintenance, fostering a deeper connection to their furniture.
Read more: What Is A Push Back Recliner
Tools Needed
Before embarking on the process of removing the back of a recliner, it's essential to gather the necessary tools to ensure a smooth and efficient disassembly. Having the right equipment at your disposal can significantly simplify the task and minimize the risk of damage to the furniture. Here are the essential tools needed for this undertaking:
-
Screwdriver Set: A versatile screwdriver set with various head types, including Phillips and flathead, is indispensable for accessing and removing screws that secure the backrest to the recliner frame. Ensure that the screwdriver set includes long-handled options to reach recessed or hard-to-access screws.
-
Protective Gloves: It's advisable to wear protective gloves to safeguard your hands during the disassembly process. Gloves can provide a better grip when handling the recliner components and protect your skin from sharp edges or potential splinters.
-
Assistance: While not a traditional tool, having an extra pair of hands can be immensely helpful when lifting off the back of the recliner. Enlist the assistance of a family member or friend to provide support and ensure a safe and controlled removal of the backrest.
-
Clean Cloth or Towel: Having a clean cloth or towel on hand can be beneficial for protecting the floor or surrounding surfaces during the disassembly process. Placing a cloth underneath the recliner can prevent scratches or damage to the flooring and provide a soft surface for the removed backrest.
-
Flashlight: In some cases, the area behind the recliner may be dimly lit or obscured, making it challenging to identify the latches, levers, or screws. A flashlight can illuminate the workspace, allowing for better visibility and precision during the disassembly.
By assembling these essential tools, you can approach the task of removing the back of a recliner with confidence and preparedness. With the right equipment at your disposal, you'll be well-equipped to navigate each step of the disassembly process and gain a deeper understanding of your recliner's construction and functionality.
Step 1: Locate the Latches or Levers
Before delving into the physical removal of the back of a recliner, the initial step involves identifying the latches or levers that secure the backrest to the recliner frame. These latches or levers are typically positioned on either side of the recliner, often concealed beneath fabric or upholstery. The exact location and design of the latches may vary depending on the recliner model and manufacturer, so it's essential to carefully inspect the back of the recliner to pinpoint these securing mechanisms.
To begin, visually examine the lower portion of the backrest, near the base of the recliner. In some recliner models, the latches or levers may be partially hidden by fabric or upholstery, requiring a closer inspection to locate them. If the recliner features a detachable backrest, the latches or levers are likely positioned where the backrest meets the seat, typically on both sides of the recliner.
Once the general area of the latches or levers is identified, gently feel along the seam where the backrest meets the seat to locate any protruding tabs, handles, or discrete mechanisms. These latches or levers are designed to release the backrest from the recliner frame when activated, allowing for its removal. Some recliners may feature a combination of latches and levers, each serving the purpose of securing the backrest in place.
In certain recliner models, the latches or levers may be concealed beneath a fabric flap or panel, requiring careful manipulation to access them. If this is the case, gently lift or move the fabric covering to reveal the latches or levers. Exercise caution during this process to avoid damaging the upholstery or fabric.
In the event that the latches or levers are not immediately visible, refer to the recliner's manual or documentation for specific guidance on their location and operation. Manufacturers often provide detailed instructions for disassembling and maintaining their recliner models, including the precise location of latches or levers.
By meticulously locating the latches or levers, you pave the way for the subsequent steps of removing the back of the recliner. This initial phase sets the foundation for a methodical and successful disassembly, ensuring that the backrest can be safely and effectively detached from the recliner frame.
To take the back of a recliner off, look for the release levers or screws on the bottom of the chair. Once located, use a screwdriver or your hands to loosen them, then carefully lift the back off the recliner.
Step 2: Remove the Latches or Levers
After successfully locating the latches or levers securing the backrest to the recliner frame, the next crucial step is to remove these mechanisms to facilitate the disassembly process. Depending on the design of the recliner, the method for releasing the latches or levers may vary. It's essential to approach this step with care and precision to avoid damage to the recliner and ensure a smooth removal of the backrest.
If the recliner features latches, they are typically disengaged by applying gentle pressure or pulling a release handle. In some models, the latches may require simultaneous activation on both sides of the recliner to release the backrest. Carefully follow the manufacturer's instructions or guidelines specific to your recliner model to ensure the correct method for disengaging the latches.
For recliners equipped with levers, the removal process often involves lifting or manipulating the levers to release the backrest. Depending on the design, the levers may be spring-loaded or require a specific motion to disengage. It's important to approach the levers with caution, ensuring that any spring-loaded components are handled carefully to prevent injury.
In cases where the latches or levers are concealed beneath fabric or upholstery, take care to gently manipulate the covering to access and operate the release mechanisms. Avoid applying excessive force or abrupt movements, as this can lead to damage to the fabric or upholstery. Patience and precision are key when removing concealed latches or levers.
As you disengage the latches or levers, pay close attention to any accompanying sounds or sensations that indicate the release of the backrest. Once the latches or levers are successfully removed, the backrest should be ready for the next step of the disassembly process.
By methodically removing the latches or levers, you pave the way for the safe and controlled removal of the backrest. This step sets the stage for accessing the internal components of the recliner and addressing any maintenance or repair needs. With the latches or levers successfully disengaged, you are now prepared to proceed to the next phase of lifting off the back of the recliner, bringing you closer to gaining a deeper understanding of your furniture's construction and functionality.
Step 3: Lift Off the Back of the Recliner
With the latches or levers successfully disengaged, the final step involves lifting off the back of the recliner from the frame. This phase requires caution and coordination to ensure the safe removal of the backrest without causing damage to the recliner or injury to yourself. By following these guidelines, you can execute this step with confidence and precision.
-
Secure Assistance: Before lifting off the back of the recliner, enlist the assistance of another person to provide support and ensure a controlled removal. Having an extra pair of hands can facilitate the process and minimize the risk of accidents. Coordinate with your assistant to synchronize the lifting motion and maintain stability throughout the removal.
-
Steady Lifting: Position yourself on one side of the recliner, while your assistant stands on the opposite side. Place one hand underneath the bottom edge of the backrest and the other hand on the upper portion, ensuring a balanced grip. Instruct your assistant to mirror this hand placement to achieve a coordinated lift.
-
Smooth Removal: With synchronized coordination, apply steady upward pressure to lift the backrest away from the recliner frame. Maintain a controlled and even lift to prevent sudden movements that could destabilize the furniture. Communicate with your assistant throughout the lifting process to ensure a harmonized effort.
-
Clearance and Placement: As the backrest is lifted, ensure that there is sufficient clearance to safely remove it from the recliner frame. Be mindful of any protruding components or obstacles that may impede the removal. Once the backrest is clear of the frame, carefully set it aside in a secure and stable location, taking care to avoid collisions with nearby objects.
-
Inspect and Store: With the backrest removed, take a moment to inspect the recliner frame and the exposed components. This is an opportune time to clean the area behind the backrest and address any maintenance needs. Store the backrest in a safe and designated area, ensuring that it is positioned securely to prevent accidental damage.
By executing these steps with precision and care, you can successfully lift off the back of the recliner, gaining access to the internal components and creating opportunities for maintenance, repair, or thorough cleaning. This process not only enhances your understanding of the recliner's construction but also equips you with the knowledge and confidence to navigate future disassembly and reassembly tasks.
Read more: How To Remove Back Of A Flexsteel Recliner
Conclusion
In conclusion, mastering the art of removing the back of a recliner is a valuable skill that empowers furniture owners to delve into the inner workings of their beloved recliners. By following the outlined steps and utilizing the essential tools, individuals can confidently disassemble the recliner, gaining access to hidden components and creating opportunities for maintenance, repair, or thorough cleaning.
The process begins with the crucial step of locating the latches or levers that secure the backrest to the recliner frame. This initial phase sets the foundation for a methodical and successful disassembly, requiring careful inspection and attention to detail. By meticulously identifying the latches or levers, individuals pave the way for the subsequent steps of removing the back of the recliner, ensuring a safe and controlled removal of the backrest.
The next phase involves removing the latches or levers with precision and care, ensuring that the disengagement process is executed in accordance with the manufacturer's guidelines. By methodically disengaging the latches or levers, individuals prepare the recliner for the final step of lifting off the backrest from the frame. This phase requires coordination, caution, and the assistance of another person to ensure a smooth and safe removal.
Upon successfully lifting off the back of the recliner, individuals gain access to the internal components, providing an opportunity to inspect, clean, or address any maintenance needs. This hands-on approach not only enhances understanding of the recliner's construction and functionality but also instills confidence in navigating future disassembly and reassembly tasks.
By mastering the process of removing the back of a recliner, individuals can take proactive steps to maintain and care for their furniture, prolonging its lifespan and ensuring optimal performance. Whether it's for cleaning hard-to-reach areas, transporting the recliner through narrow doorways, or addressing maintenance needs, the ability to disassemble and reassemble the recliner is a valuable skill that empowers furniture owners to take control of their living spaces.
In essence, the journey of removing the back of a recliner transcends the physical act of disassembly, offering a deeper connection to the furniture and a sense of accomplishment in mastering a practical skill. With the knowledge and confidence gained from this process, individuals can embark on a journey of discovery and maintenance, ensuring that their recliners remain cherished and functional pieces within their living spaces.
Frequently Asked Questions about How To Take Back Of Recliner Off
Was this page helpful?
At Storables.com, we guarantee accurate and reliable information. Our content, validated by Expert Board Contributors, is crafted following stringent Editorial Policies. We're committed to providing you with well-researched, expert-backed insights for all your informational needs.


0 thoughts on “How To Take Back Of Recliner Off”