Home>Furniture & Design>Living Room Furniture>How To Remove The Back Of A Catnapper Recliner

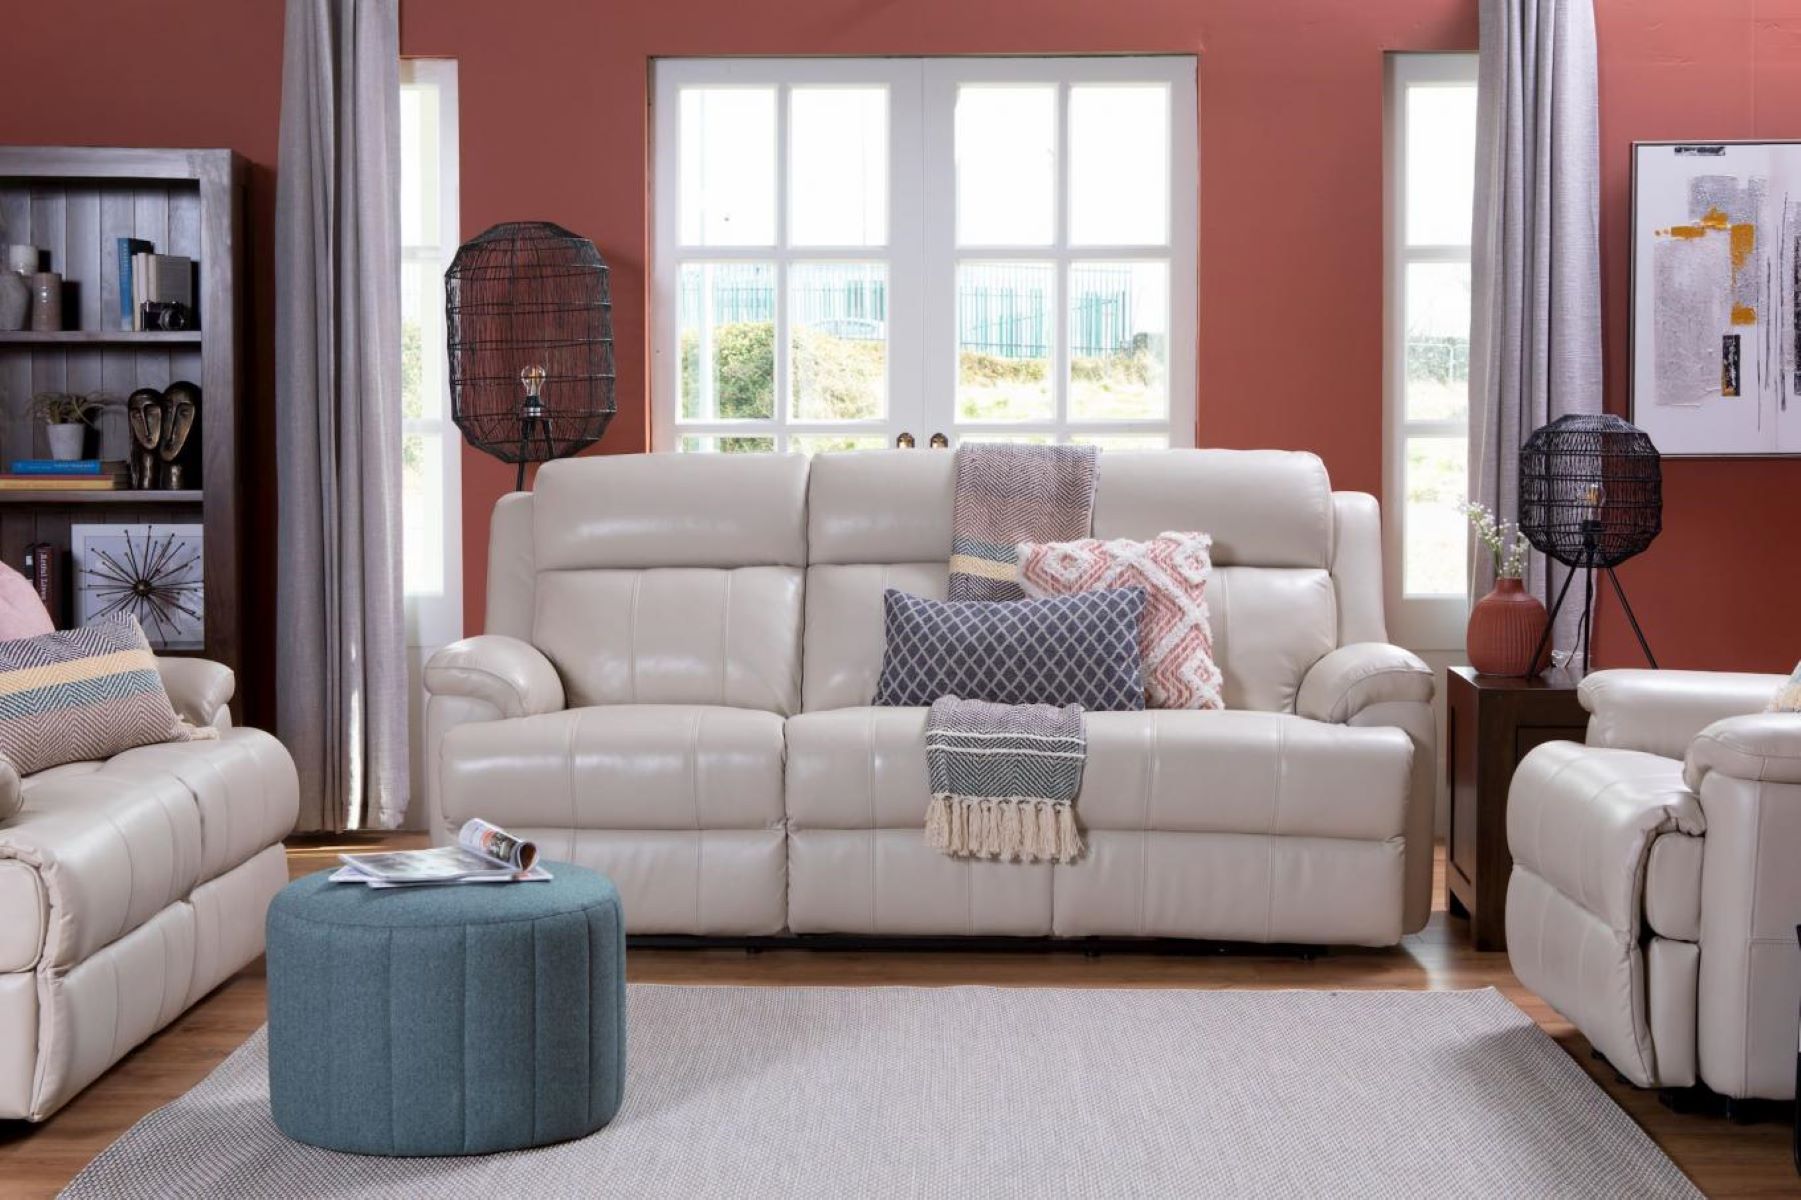
Living Room Furniture
How To Remove The Back Of A Catnapper Recliner
Modified: October 20, 2024
Learn how to easily remove the back of a Catnapper recliner for maintenance or repair. Get step-by-step instructions for this living room furniture.
(Many of the links in this article redirect to a specific reviewed product. Your purchase of these products through affiliate links helps to generate commission for Storables.com, at no extra cost. Learn more)
Introduction
Removing the back of a Catnapper recliner may seem like a daunting task, but with the right tools and a clear understanding of the process, it can be a manageable and rewarding endeavor. Whether you're looking to clean hard-to-reach areas, make repairs, or simply explore the inner workings of your beloved recliner, this guide will walk you through the steps to successfully remove the back panel of your Catnapper recliner.
Understanding the anatomy of your recliner and the specific mechanisms holding the back panel in place is crucial before embarking on this task. By following the steps outlined in this guide, you'll gain valuable insight into the inner workings of your recliner, empowering you to maintain and troubleshoot it effectively.
So, gather your tools and prepare to embark on a journey into the heart of your Catnapper recliner. With patience and attention to detail, you'll soon master the art of removing and reassembling the back panel, ensuring that your recliner remains a source of comfort and relaxation for years to come.
Key Takeaways:
- Uncover the Inner Workings
Removing the back of a Catnapper recliner is a manageable task with the right tools. By locating and removing latches or screws, you can explore and maintain your recliner effectively. - Restore Comfort and Functionality
After lifting off the back panel, reassembling the recliner ensures it remains a cherished centerpiece of comfort. With patience and precision, you can maintain and care for your Catnapper recliner effectively.
Read more: How To Remove Back Of A Flexsteel Recliner
Tools and Materials Needed
Before delving into the process of removing the back of your Catnapper recliner, it's essential to gather the necessary tools and materials. Having the right equipment at your disposal will streamline the task and ensure a smooth and efficient experience. Here's a comprehensive list of the items you'll need:
Tools:
- Screwdriver Set: A set of screwdrivers with various head types, including Phillips and flathead, will be indispensable for accessing and removing screws securing the back panel.
- Needle-Nose Pliers: These will come in handy for manipulating small components and reaching into tight spaces, particularly when dealing with latches or clips.
- Flashlight: A reliable flashlight will aid in illuminating the recliner's interior, especially if the removal process requires visibility in dimly lit areas.
- Protective Gloves: It's advisable to wear protective gloves to safeguard your hands from sharp edges or any debris that may be encountered during the disassembly process.
Materials:
- Clean Cloth or Towel: Having a clean cloth or towel nearby will allow you to wipe down any components that may have accumulated dust or debris over time.
- Plastic Bags or Containers: Utilize these to store screws, nuts, and other small parts that are removed during the disassembly, ensuring they are kept safe and organized for reassembly.
- Marker or Labeling Tool: To maintain organization, consider using a marker or labeling tool to mark and identify the various components and their placement as you disassemble the recliner.
By ensuring that you have these tools and materials readily available, you'll be well-prepared to tackle the task of removing the back of your Catnapper recliner with confidence and precision. With these essentials at your disposal, you can proceed to the next steps of the process, knowing that you have everything necessary to complete the task effectively.
Step 1: Locate the Latches or Screws
Before initiating the process of removing the back of your Catnapper recliner, it's crucial to identify the specific latches or screws that secure the back panel in place. Understanding the placement and mechanism of these fasteners is essential for a successful disassembly. Here's a detailed exploration of this initial step:
-
Examine the Recliner's Exterior: Begin by carefully inspecting the exterior of the recliner to locate any visible screws or latches that may be holding the back panel in position. These fasteners are typically situated along the edges or at the rear of the recliner, and their visibility can vary based on the recliner's model and design.
-
Refer to the Manufacturer's Manual: If available, consult the manufacturer's manual or assembly instructions that accompanied your Catnapper recliner. These resources often provide valuable insights into the recliner's construction and can offer specific guidance on the location of latches or screws securing the back panel.
-
Explore Underneath the Recliner: In some cases, the latches or screws may be concealed beneath the recliner. Carefully tilt the recliner forward or onto its side to gain access to the underside, where you may find the fasteners securing the back panel.
-
Utilize a Flashlight for Enhanced Visibility: Given that the latches or screws may be nestled in recessed or shadowed areas, employing a flashlight can significantly aid in illuminating these components, allowing for a clearer view and easier identification.
-
Differentiate Between Latches and Screws: It's important to differentiate between latches and screws, as they may require distinct removal methods. Latches are often found in the form of clips or hooks that secure the back panel, while screws are fastened using a screwdriver and may be concealed beneath covers or caps.
By meticulously locating and understanding the latches or screws that hold the back panel in place, you'll lay a solid foundation for the subsequent steps of the removal process. This initial phase sets the stage for a systematic and informed disassembly, ensuring that you proceed with confidence and precision as you embark on the journey of uncovering the inner workings of your Catnapper recliner.
Read more: How To Take Apart A Catnapper Recliner
Step 2: Remove the Latches or Screws
Once you have successfully located the latches or screws securing the back panel of your Catnapper recliner, the next crucial step is to proceed with their removal. This phase demands careful attention to detail and a methodical approach to ensure the safe and effective disengagement of the fasteners. Here's a comprehensive guide on how to navigate this pivotal stage of the disassembly process:
-
Select the Appropriate Tool: Depending on whether your recliner is fastened with latches or screws, choose the suitable tool for their removal. If the back panel is secured by latches, employ needle-nose pliers to disengage them. For screws, utilize the corresponding screwdriver from your set, ensuring it fits securely into the screw head to prevent slippage and potential damage.
-
Exercise Caution: Before initiating the removal process, exercise caution to avoid any mishaps or damage to the recliner. Ensure that the recliner is placed on a stable surface, and if necessary, enlist the assistance of another individual to provide support and stability during the disassembly.
-
Unfasten the Latches: If your recliner is equipped with latches securing the back panel, carefully manipulate the latches using the needle-nose pliers. Gently disengage them from their locked position, taking care to exert even pressure to prevent bending or distortion of the components.
-
Loosen the Screws: In the case of screws, insert the appropriate screwdriver into the screw head and rotate it counterclockwise to loosen and remove the screws. It's advisable to maintain a firm grip on the screwdriver and apply steady, controlled force to prevent slippage and potential damage to the screw heads.
-
Organize and Store Fasteners: As you remove the latches or screws, ensure that they are carefully organized and stored in a secure location. Consider utilizing plastic bags or containers to keep the fasteners safely contained, preventing misplacement and facilitating ease of access during the reassembly phase.
-
Exercise Patience and Precision: Throughout the removal process, exercise patience and precision to avoid rushing or applying excessive force. By proceeding methodically and attentively, you'll mitigate the risk of damage to the recliner and its components, ensuring a smooth and successful disassembly.
By meticulously following these steps, you'll effectively remove the latches or screws securing the back panel of your Catnapper recliner, paving the way for the subsequent phase of lifting off the back panel and gaining access to the recliner's interior. This methodical approach ensures that the disassembly is executed with care and precision, setting the stage for a seamless and rewarding experience as you delve deeper into the inner workings of your beloved recliner.
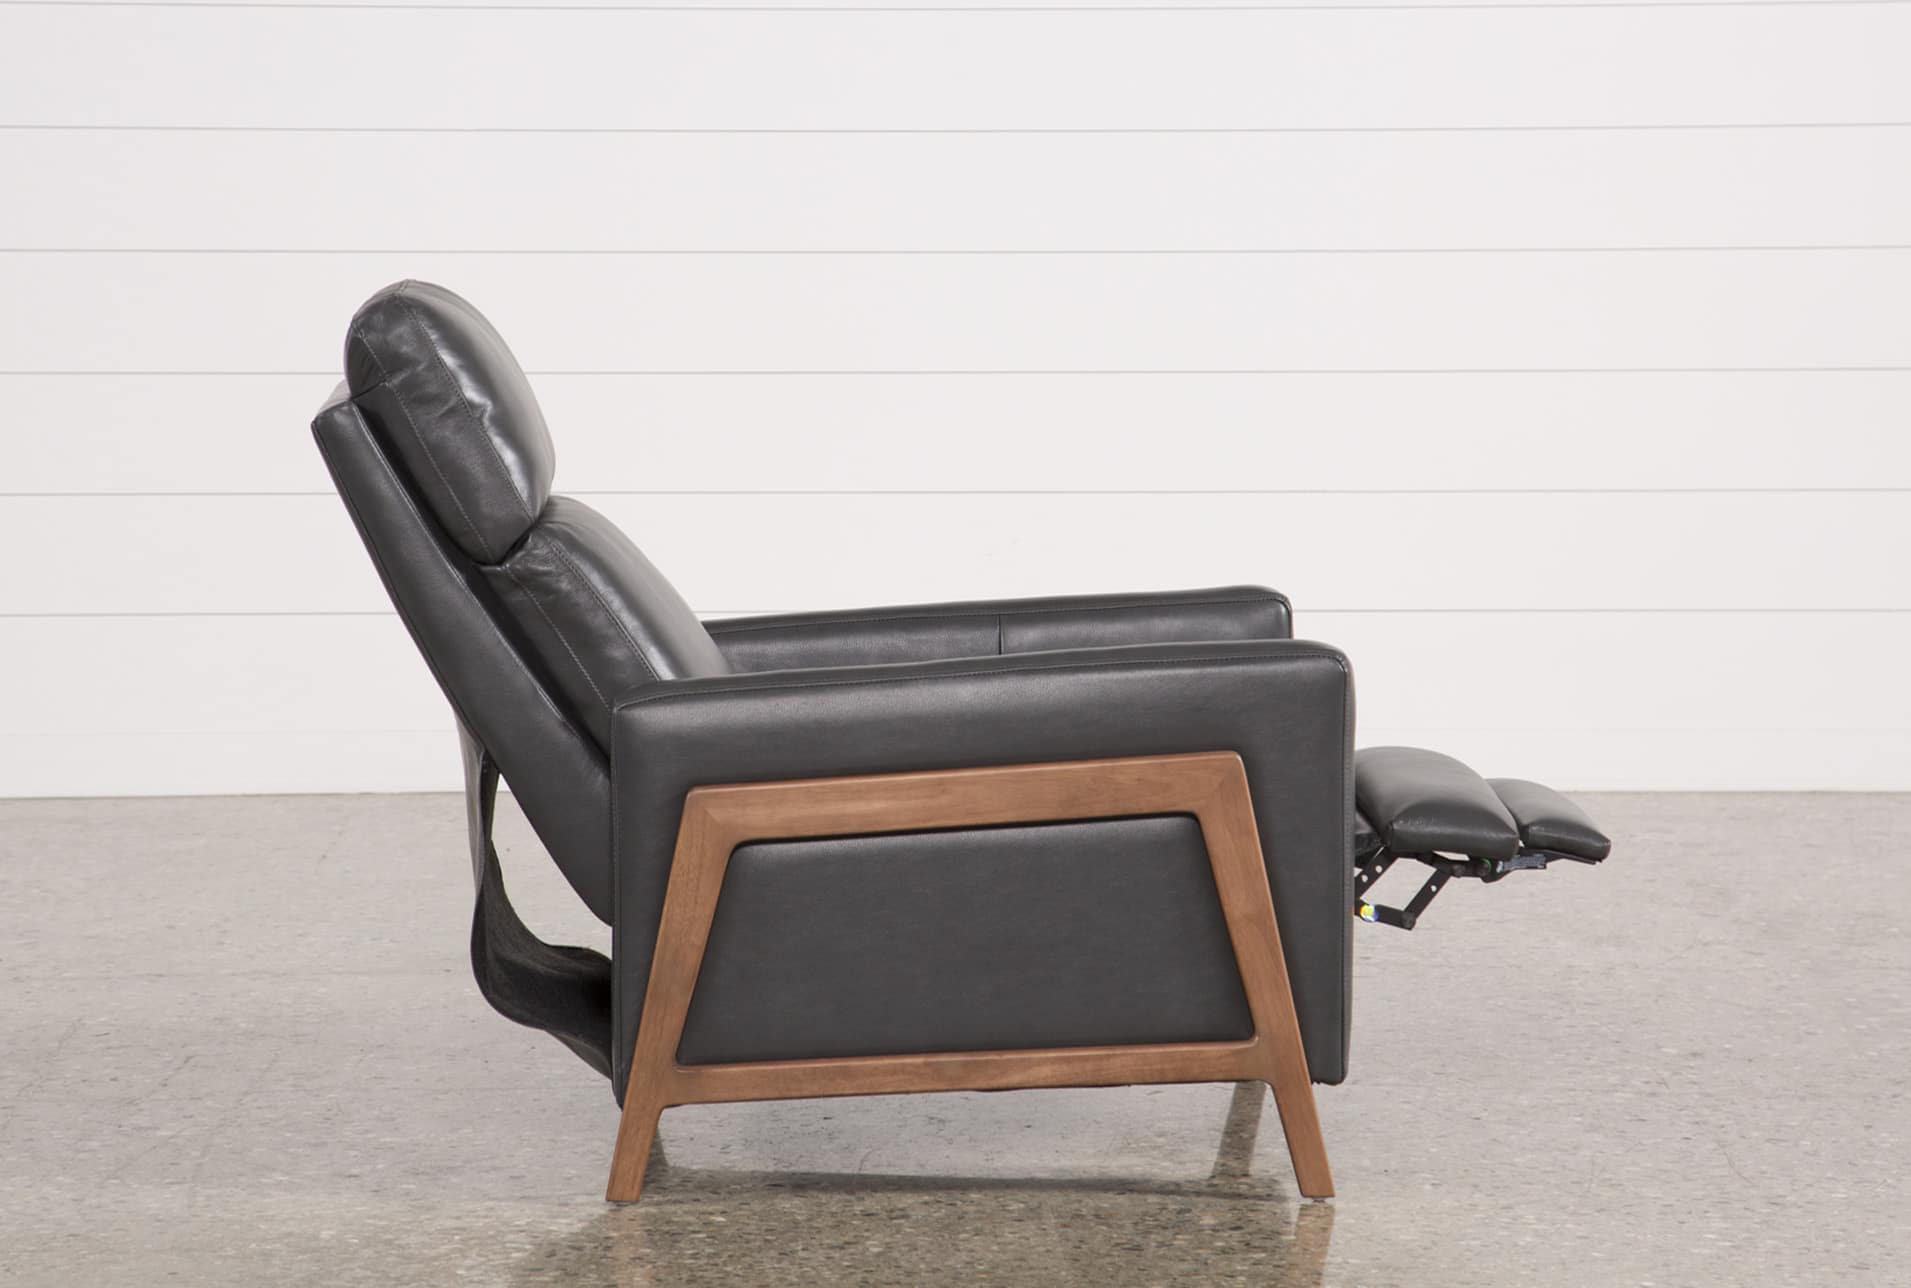
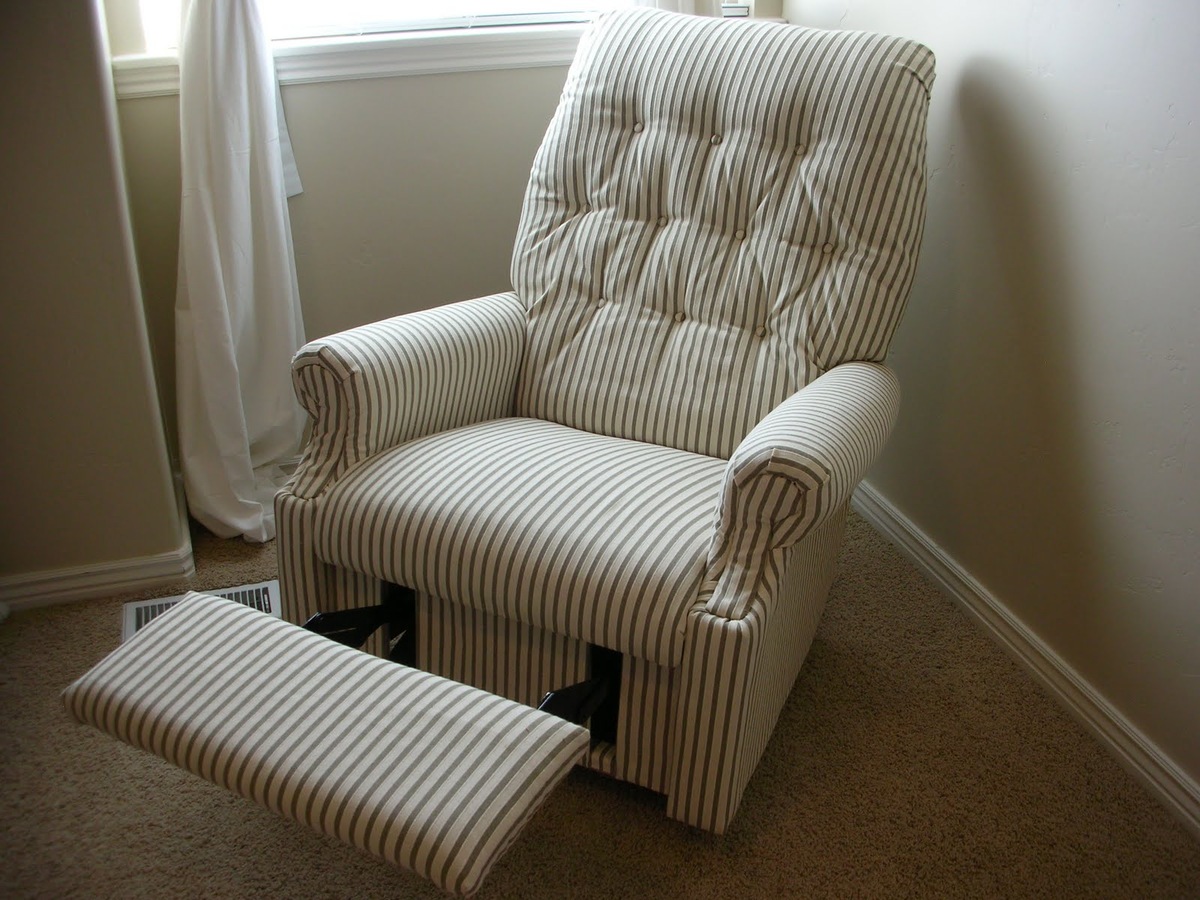
Step 3: Lift Off the Back Panel
With the latches or screws successfully removed, the pivotal moment arrives to lift off the back panel of your Catnapper recliner. This step requires a delicate balance of precision and attentiveness to ensure the safe and seamless detachment of the panel, granting access to the recliner's interior. Here's a detailed exploration of the process:
-
Assess the Back Panel: Before proceeding with lifting off the back panel, take a moment to assess its size and weight. Depending on the recliner model, the back panel may vary in dimensions and heft. Understanding these factors will inform your approach to lifting and handling the panel, ensuring a controlled and secure maneuver.
-
Enlist Assistance if Needed: If the back panel is substantial or unwieldy, consider enlisting the assistance of another individual to provide support and stability during the lifting process. Having an extra set of hands can enhance safety and minimize the risk of mishandling the panel.
-
Lift with Care: Position yourself securely and evenly grasp the back panel, ensuring that your grip is balanced to prevent tilting or uneven lifting. Apply controlled upward force, gradually raising the panel to disengage it from any remaining fixtures or slots.
-
Mindful Maneuvering: As the back panel begins to lift, maintain a vigilant approach to ensure that no components or wiring within the recliner are disturbed or entangled. Proceed with caution, keeping a watchful eye on the surrounding areas to prevent any unintended contact or interference.
-
Clear the Path: As the back panel is lifted, verify that the path is clear of any obstacles or obstructions that may impede its removal. Clearing the surrounding space will facilitate a smooth and unhindered extraction of the panel, minimizing the risk of damage or disruption.
-
Secure Placement: Once the back panel is successfully lifted off, place it in a secure and stable location, ensuring that it is positioned safely to prevent accidental tipping or damage. Consider utilizing a clean cloth or towel to cushion the panel and protect it from scratches or abrasions.
By meticulously adhering to these steps, you'll adeptly lift off the back panel of your Catnapper recliner, unveiling the inner sanctum of its construction. This phase marks a significant milestone in your disassembly journey, offering a glimpse into the intricate mechanisms and components that contribute to the comfort and functionality of your cherished recliner. With the back panel removed, you're poised to explore, clean, or address any maintenance needs within the recliner, fostering a deeper understanding of its inner workings.
To remove the back of a Catnapper recliner, locate the release levers on each side of the back and lift them up. Then, gently pull the back away from the base to remove it. Be sure to keep track of any screws or bolts that may need to be removed before lifting the back off.
Step 4: Reassemble the Recliner
Reassembling the Catnapper recliner is a crucial phase that follows the successful removal of the back panel. This step demands meticulous attention to detail and a methodical approach to ensure that the recliner is restored to its optimal condition. Here's a comprehensive guide on how to navigate this pivotal stage of the reassembly process:
-
Inspect the Components: Before commencing the reassembly, carefully inspect the back panel, latches, screws, and any other components that were removed. Verify their condition and cleanliness, addressing any accumulated dust or debris to ensure that the components are in prime condition for reinstallation.
-
Position the Back Panel: Align the back panel with the recliner, taking care to orient it correctly to match the designated fixtures and slots. Ensure that the panel is positioned securely and evenly, ready to be affixed back onto the recliner's frame.
-
Engage the Latches or Screws: If the recliner utilizes latches, carefully secure them back into position, ensuring a snug and stable fit. For recliners fastened with screws, delicately insert and tighten the screws, taking care not to overtighten to avoid potential damage to the components.
-
Verify Stability and Alignment: Once the back panel is affixed, verify its stability and alignment with the recliner's frame. Ensure that the panel sits flush and securely, with no protrusions or misalignments that may compromise the recliner's structural integrity.
-
Test the Recliner's Functionality: With the back panel reattached, test the recliner's functionality to ensure that it operates smoothly and without any impediments. Verify that the reclining mechanism, footrest, and other features function as intended, providing the comfort and convenience synonymous with the Catnapper brand.
-
Clean and Tidy the Surrounding Area: Upon completing the reassembly, take a moment to clean and tidy the surrounding area, removing any tools, materials, or debris that may have accumulated during the process. This final touch ensures that the recliner is presented in its best light, ready to provide comfort and relaxation.
By meticulously following these steps, you'll adeptly reassemble the Catnapper recliner, restoring it to its original state of comfort and functionality. This methodical approach ensures that the reassembly is executed with care and precision, reaffirming the recliner as a cherished centerpiece of comfort within your living space.
Conclusion
In conclusion, the process of removing the back of a Catnapper recliner is a task that, with the right tools, attention to detail, and patience, can be accomplished effectively. By following the outlined steps, individuals can gain valuable insight into the inner workings of their recliner, empowering them to maintain, clean, or address any maintenance needs with confidence.
The initial step of locating the latches or screws sets the stage for a systematic and informed disassembly. This phase ensures that individuals approach the task with a clear understanding of the recliner's construction, leading to a successful identification of the fasteners securing the back panel.
Subsequently, the careful removal of the latches or screws is pivotal in ensuring the safe disengagement of the back panel. By exercising caution, patience, and precision, individuals can effectively remove the fasteners, laying the groundwork for the subsequent phase of lifting off the back panel.
Lifting off the back panel marks a significant milestone in the disassembly process, offering a glimpse into the intricate mechanisms and components that contribute to the comfort and functionality of the recliner. This step demands a delicate balance of precision and attentiveness to ensure the safe and seamless detachment of the panel, granting access to the recliner's interior.
Finally, the reassembly phase solidifies the completion of the task, ensuring that the recliner is restored to its optimal condition. By meticulously aligning and securing the back panel, individuals can verify the recliner's stability and functionality, reaffirming its status as a cherished centerpiece of comfort within the living space.
In essence, the process of removing the back of a Catnapper recliner not only allows individuals to delve into the inner workings of their beloved furniture but also empowers them to maintain and care for it effectively. With the right approach and attention to detail, this task can be a rewarding endeavor, fostering a deeper connection with the comfort and functionality that the Catnapper recliner provides.
Frequently Asked Questions about How To Remove The Back Of A Catnapper Recliner
Was this page helpful?
At Storables.com, we guarantee accurate and reliable information. Our content, validated by Expert Board Contributors, is crafted following stringent Editorial Policies. We're committed to providing you with well-researched, expert-backed insights for all your informational needs.


0 thoughts on “How To Remove The Back Of A Catnapper Recliner”