Home>Furniture & Design>Living Room Furniture>How To Remove A Recliner Back

Living Room Furniture
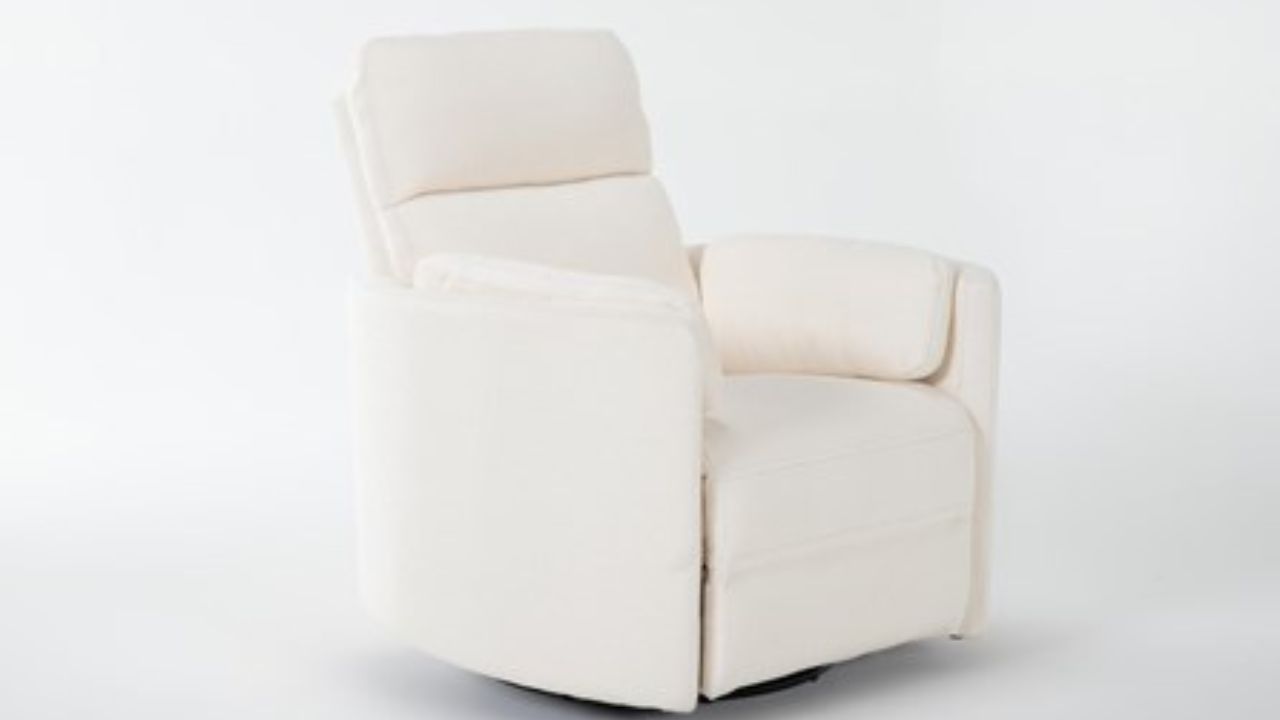
How To Remove A Recliner Back
Modified: February 18, 2024
Learn how to easily remove a recliner back at home with our step-by-step guide. Upgrade your living room furniture and design effortlessly.
(Many of the links in this article redirect to a specific reviewed product. Your purchase of these products through affiliate links helps to generate commission for Storables.com, at no extra cost. Learn more)
Introduction
Removing the back of a recliner may seem like a daunting task, but with the right guidance and tools, it can be a straightforward process. Whether you're looking to clean behind the recliner, transport it through narrow doorways, or simply want to change its appearance, knowing how to remove the recliner back is a valuable skill for any furniture enthusiast. By following the steps outlined in this guide, you'll gain the confidence to tackle this task with ease.
Understanding the mechanics of a recliner and how its components fit together is essential before embarking on this endeavor. It's important to approach the process with patience and a methodical mindset to ensure that the recliner back is removed and reattached safely and efficiently. With the right approach, you can successfully accomplish this task and gain a deeper understanding of your beloved recliner's construction.
In the following steps, we'll explore the tools needed for the job, locate the release mechanism, and carefully remove the back of the recliner. Additionally, we'll cover optional steps for reattaching the back, providing a comprehensive guide for both removal and reassembly. Whether you're a DIY enthusiast or simply want to learn more about the inner workings of your furniture, this guide will equip you with the knowledge and skills to confidently remove and reattach the back of your recliner.
Key Takeaways:
- Removing the back of a recliner is a manageable task with the right tools and careful approach. Understanding the release mechanism and disengaging the back safely allows for maintenance, cleaning, and customization.
- Reattaching the recliner back, if necessary, completes the task with precision and care. Aligning the back, reconnecting electrical components, and securing attachment points ensures the recliner’s integrity and optimal condition.
Step 1: Gather the necessary tools
Before embarking on the task of removing the back of your recliner, it's essential to gather the necessary tools to ensure a smooth and efficient process. Having the right tools at your disposal will not only simplify the task but also contribute to the overall safety of the operation. Here's a comprehensive list of tools you'll need for this endeavor:
-
Screwdriver Set: A set of screwdrivers, including both flathead and Phillips head varieties, will be indispensable for accessing and removing screws that secure the recliner back.
-
Allen Wrench Set: Many recliners are equipped with bolts that require an Allen wrench for removal. Ensure you have a set of Allen wrenches in various sizes to accommodate different recliner models.
-
Protective Gloves: It's advisable to wear protective gloves to safeguard your hands during the removal process. Gloves provide a better grip and protect your skin from any sharp edges or potential pinching hazards.
-
Safety Glasses: When working with tools and moving parts, safety glasses are essential to protect your eyes from any debris or accidental contact with moving components.
-
Blanket or Drop Cloth: Having a blanket or drop cloth on hand will allow you to protect the floor and the recliner itself from any potential scratches or damage during the removal process.
-
Flashlight: A flashlight can be incredibly useful for illuminating hard-to-see areas within the recliner, especially if the removal process requires working in dimly lit spaces.
-
Marker or Labeling Tape: As you disassemble the recliner, it's helpful to label or mark the components and their placement to ensure seamless reassembly.
By ensuring that you have these tools readily available, you'll be well-prepared to tackle the task of removing the back of your recliner. With the right tools in hand, you can approach the subsequent steps with confidence, knowing that you have everything necessary to complete the process efficiently and safely.
Step 2: Locate the release mechanism
Locating the release mechanism is a crucial step in the process of removing the back of a recliner. The release mechanism is the key to disengaging the back from the reclining mechanism, allowing for its safe removal. While the specific location of the release mechanism may vary depending on the recliner model, there are several common areas where it can typically be found.
-
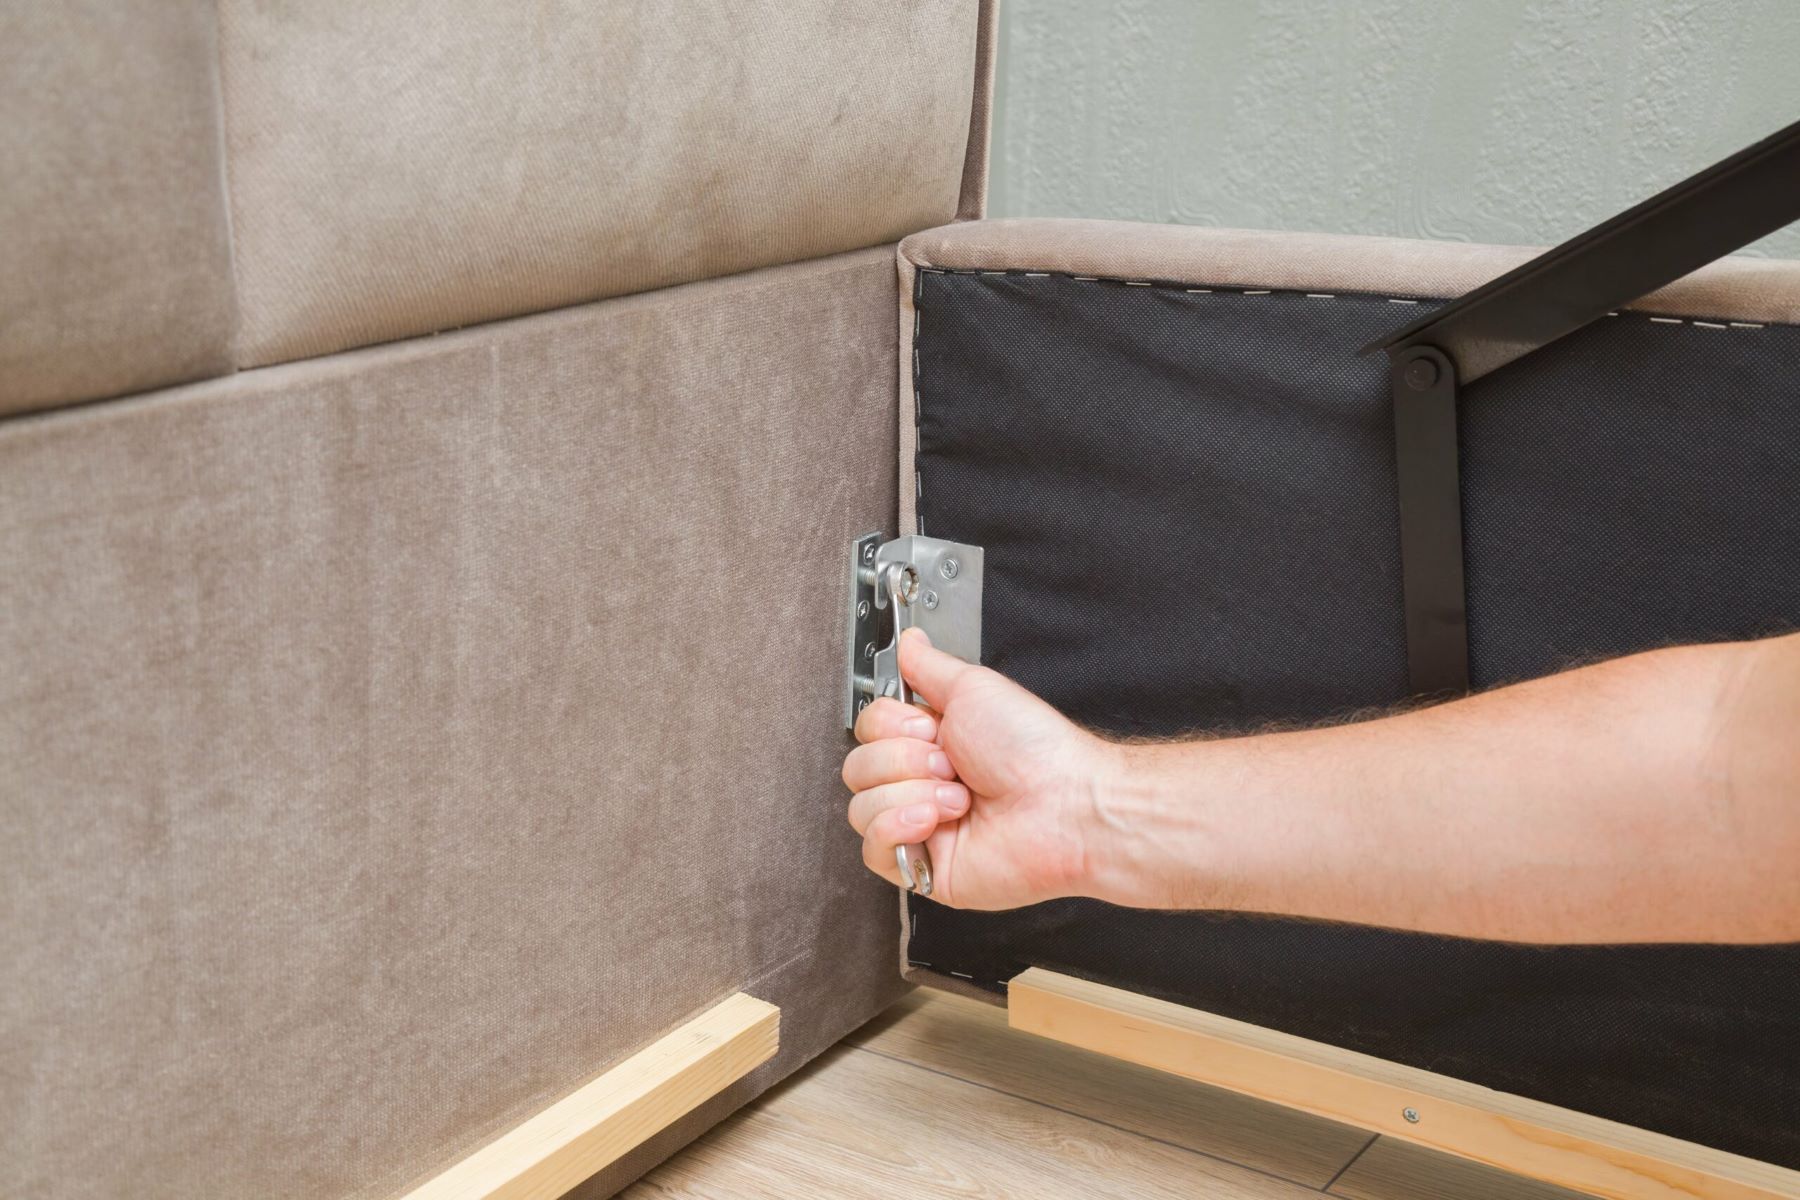
Underneath the Recliner: In many recliner models, the release mechanism is located underneath the chair, often near the base or along the sides. It may be concealed by a fabric flap or a plastic cover. By gently lifting or moving these coverings, you can gain access to the release mechanism.
-
Between the Seat and Armrest: Some recliners feature the release lever or mechanism between the seat and the armrest. This area may require you to reach into the gap between the seat and the armrest to locate and operate the release mechanism.
-
Behind the Seat Cushion: In certain recliner designs, the release mechanism is positioned behind the seat cushion, typically near the lower back area. Removing the seat cushion or reaching behind it may be necessary to access the release mechanism.
-
Side of the Recliner: The release lever or button may be located on the side of the recliner, often near the bottom or along the armrest. It could be a visible lever or a discreetly integrated button that requires a specific sequence of presses to disengage the back.
Once you have identified the general area where the release mechanism is located, take the time to familiarize yourself with its operation. Depending on the recliner's design, the release mechanism may involve pulling a lever, pressing a button, or engaging a latch. It's essential to approach the release mechanism with care and attention to detail to avoid any accidental damage to the recliner or injury to yourself.
By locating and understanding the release mechanism, you'll be prepared to proceed to the next step of releasing the back of the recliner, setting the stage for the safe and successful removal of the recliner back.
Step 3: Release the back of the recliner
Releasing the back of the recliner is a pivotal step in the process of removing it from the reclining mechanism. Once you have located the release mechanism, it's time to carefully disengage the back to prepare it for removal. The specific method for releasing the back may vary depending on the recliner's design, so it's essential to approach this step with attentiveness and precision.
If the release mechanism involves a lever, gently pull or lift the lever while applying steady pressure to the back of the recliner. As you do so, you should feel the back beginning to disengage from the reclining mechanism. It's crucial to maintain a firm grip on the back to ensure that it remains stable during this process.
For recliners with a button-operated release mechanism, follow the manufacturer's instructions for the sequence of presses required to release the back. Typically, a combination of presses or a prolonged press may be necessary to initiate the disengagement of the back from the reclining mechanism.
In the case of a latch-based release mechanism, carefully manipulate the latch according to the recliner's specifications. This may involve sliding, lifting, or pressing the latch to release the back. It's important to exercise caution and patience to avoid any abrupt movements that could potentially damage the recliner or cause injury.
As the back begins to release from the reclining mechanism, be mindful of any resistance or unexpected movements. If the back appears to be sticking or catching on any components, pause and reassess the release mechanism to ensure that it is fully disengaged. By proceeding with a methodical approach, you can mitigate the risk of mishaps and ensure a smooth release of the recliner back.
Once the back is successfully released from the reclining mechanism, carefully lift it away from the recliner, taking care to maintain a balanced and controlled grip. It's advisable to have an additional person assist with this step, especially if the recliner back is large or cumbersome.
By following these steps, you can effectively release the back of the recliner, setting the stage for its safe removal and any subsequent maintenance or modifications. With the back disengaged, you are now ready to proceed to the next step of removing the back from the recliner, further advancing toward your goal of successfully managing this furniture-related task.
Before removing a recliner back, make sure to unplug the recliner and locate the release levers or screws on the back. Use a screwdriver or wrench to loosen the screws and gently lift the back off the recliner. Be careful not to force it to avoid damaging the recliner.
Step 4: Remove the back from the recliner
With the recliner back successfully released from the reclining mechanism, the next crucial step is to carefully remove it from the recliner. This process requires attention to detail and a methodical approach to ensure the safe handling and disassembly of the back. Whether you're aiming to clean behind the recliner, transport it through narrow doorways, or make modifications to its design, the proper removal of the back is essential.
Begin by gently lifting the released back away from the recliner, ensuring that you maintain a stable grip and balanced control throughout the process. It's advisable to have an additional person assist with this step, especially if the recliner back is large or cumbersome. Clear communication and coordinated movements can significantly contribute to the safe and efficient removal of the back.
As you lift the back, be mindful of any attached wires or cables that may be connected to the recliner's electrical components, such as massage or heating features. If the recliner is equipped with such functionalities, carefully locate and disconnect any electrical connections before fully removing the back. It's essential to handle these connections with care to avoid damage and ensure seamless reconnection during the reassembly process.
Once any electrical connections are safely detached, continue to lift the back away from the recliner, taking note of its weight distribution and any potential obstacles in the surrounding area. If the back features integrated headrests or additional components, ensure that these are carefully maneuvered to prevent any accidental damage during the removal process.
As the back is lifted clear of the recliner, place it in a secure and designated area, such as a clean and spacious work surface or a protective covering on the floor. It's crucial to avoid placing the back in a position where it may tip over or sustain damage, especially if it features delicate upholstery or intricate components.
With the back successfully removed from the recliner, take a moment to inspect the recliner's exposed components and the area from which the back was detached. This is an opportune time to clean and maintain the recliner's internal mechanisms, address any accumulated dust or debris, and assess the condition of the components that were previously concealed by the back.
By following these steps, you can effectively remove the back from the recliner, paving the way for any desired maintenance, transportation, or modifications. With the back safely removed, you are now poised to proceed with your intended endeavors, equipped with the knowledge and skills to navigate this aspect of recliner care and maintenance.
Read more: How To Remove Back Of A Flexsteel Recliner
Step 5: Reattach the back (optional)
Reattaching the back of the recliner is an optional yet significant step, especially if the removal was part of a maintenance or customization endeavor. Whether you've cleaned behind the recliner, transported it through narrow doorways, or made modifications to its design, reattaching the back is a crucial aspect of completing the task with precision and care.
Begin by positioning the recliner back in close proximity to the recliner, ensuring that it is aligned with the attachment points and the reclining mechanism. If the back features integrated headrests or additional components, take care to position them correctly to facilitate a seamless reattachment process.
Next, carefully maneuver the back into position, aligning it with the attachment points and the reclining mechanism. It's essential to approach this step with attentiveness and precision to ensure that the back is correctly oriented and poised for secure reattachment.
If the recliner back features electrical components, such as massage or heating functionalities, carefully reconnect any detached wires or cables to their respective counterparts within the recliner. Exercise caution and patience during this process to avoid any damage to the electrical connections and ensure their secure reestablishment.
Once the back is aligned and any electrical connections are safely reconnected, gently guide it into place, taking care to engage the attachment points with precision. Depending on the recliner's design, this may involve aligning and securing hooks, latches, or other fastening mechanisms to ensure a stable and secure reattachment.
As the back is reattached, take a moment to inspect the recliner's exposed components and the area to which the back is being secured. Ensure that the attachment points are fully engaged and that the back is stable and properly aligned with the recliner. This is an opportune time to verify that all components are functioning as intended and that the reattachment process has been executed with precision.
By following these steps, you can effectively reattach the back to the recliner, completing the task with meticulous attention to detail and ensuring that the recliner is restored to its optimal condition. Whether you're concluding a maintenance session or finalizing a customization project, the successful reattachment of the back signifies the culmination of your efforts, leaving you with a well-maintained and carefully reassembled recliner.
Conclusion
In conclusion, the process of removing and reattaching the back of a recliner is a task that requires careful consideration, attention to detail, and the right tools. By following the steps outlined in this guide, you can confidently navigate this endeavor, whether it's for routine maintenance, cleaning, transportation, or customization purposes.
Understanding the mechanics of your recliner and familiarizing yourself with the release mechanism are fundamental aspects of successfully removing the recliner back. By locating the release mechanism and carefully disengaging the back from the reclining mechanism, you set the stage for safe and efficient removal.
With the back successfully removed, you gain the opportunity to address any maintenance needs, clean hard-to-reach areas, or transport the recliner through narrow doorways. This process also allows for modifications or customization, providing a versatile approach to caring for your furniture.
Reattaching the back, if necessary, signifies the completion of the task with precision and care. Ensuring that the back is correctly aligned, any electrical connections are securely reconnected, and the attachment points are engaged with precision contributes to the overall integrity of the recliner.
By approaching the removal and reattachment of the recliner back with patience and a methodical mindset, you not only gain a deeper understanding of your furniture but also develop the confidence to tackle similar tasks in the future. The right tools, careful handling, and attention to detail are essential elements in successfully managing this aspect of recliner care and maintenance.
Ultimately, the ability to remove and reattach the back of a recliner empowers you to take proactive steps in maintaining and customizing your furniture, ensuring that it remains in optimal condition and meets your specific preferences and needs. With the knowledge and skills acquired from this guide, you are well-equipped to navigate the intricacies of recliner care and confidently manage the removal and reattachment of the recliner back.
Frequently Asked Questions about How To Remove A Recliner Back
Was this page helpful?
At Storables.com, we guarantee accurate and reliable information. Our content, validated by Expert Board Contributors, is crafted following stringent Editorial Policies. We're committed to providing you with well-researched, expert-backed insights for all your informational needs.





0 thoughts on “How To Remove A Recliner Back”