Home>Home Security and Surveillance>How To Remove The Back Of Blink Outdoor Camera
Home Security and Surveillance
How To Remove The Back Of Blink Outdoor Camera
Modified: March 6, 2024
Learn how to remove the back of your Blink Outdoor Camera easily with our step-by-step guide. Enhance your home security and surveillance today with this simple DIY solution.
(Many of the links in this article redirect to a specific reviewed product. Your purchase of these products through affiliate links helps to generate commission for Storables.com, at no extra cost. Learn more)
Introduction
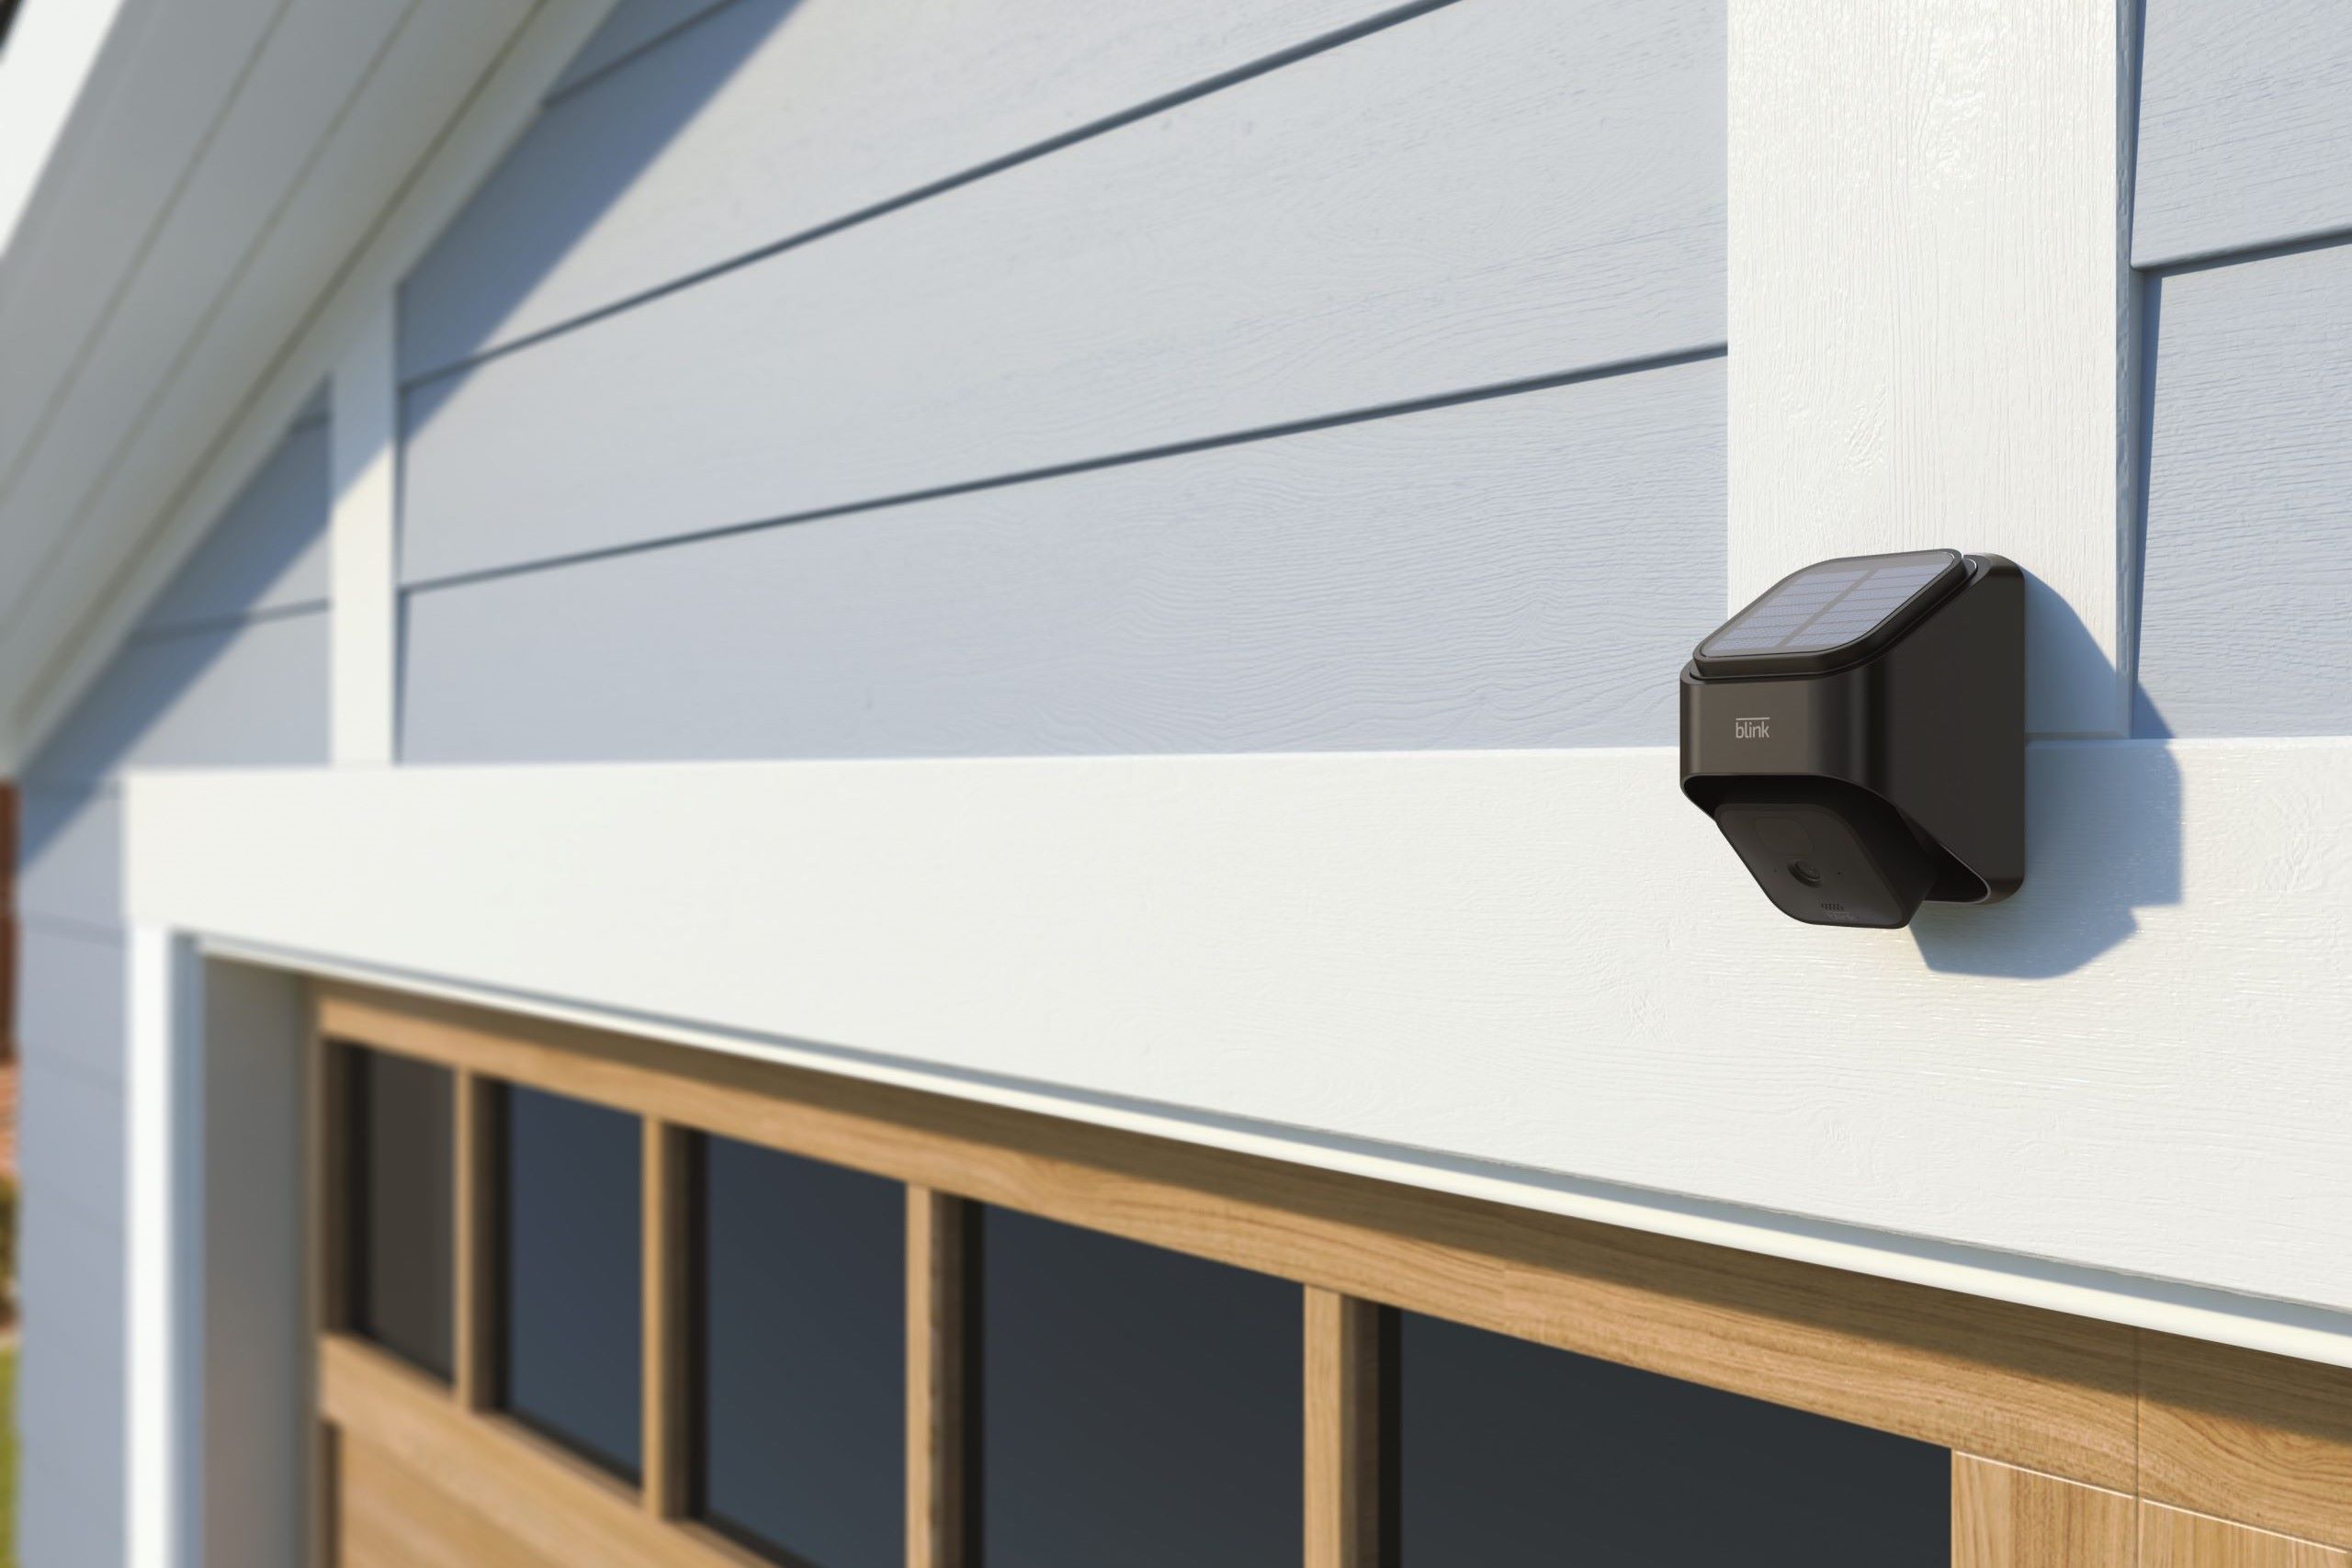
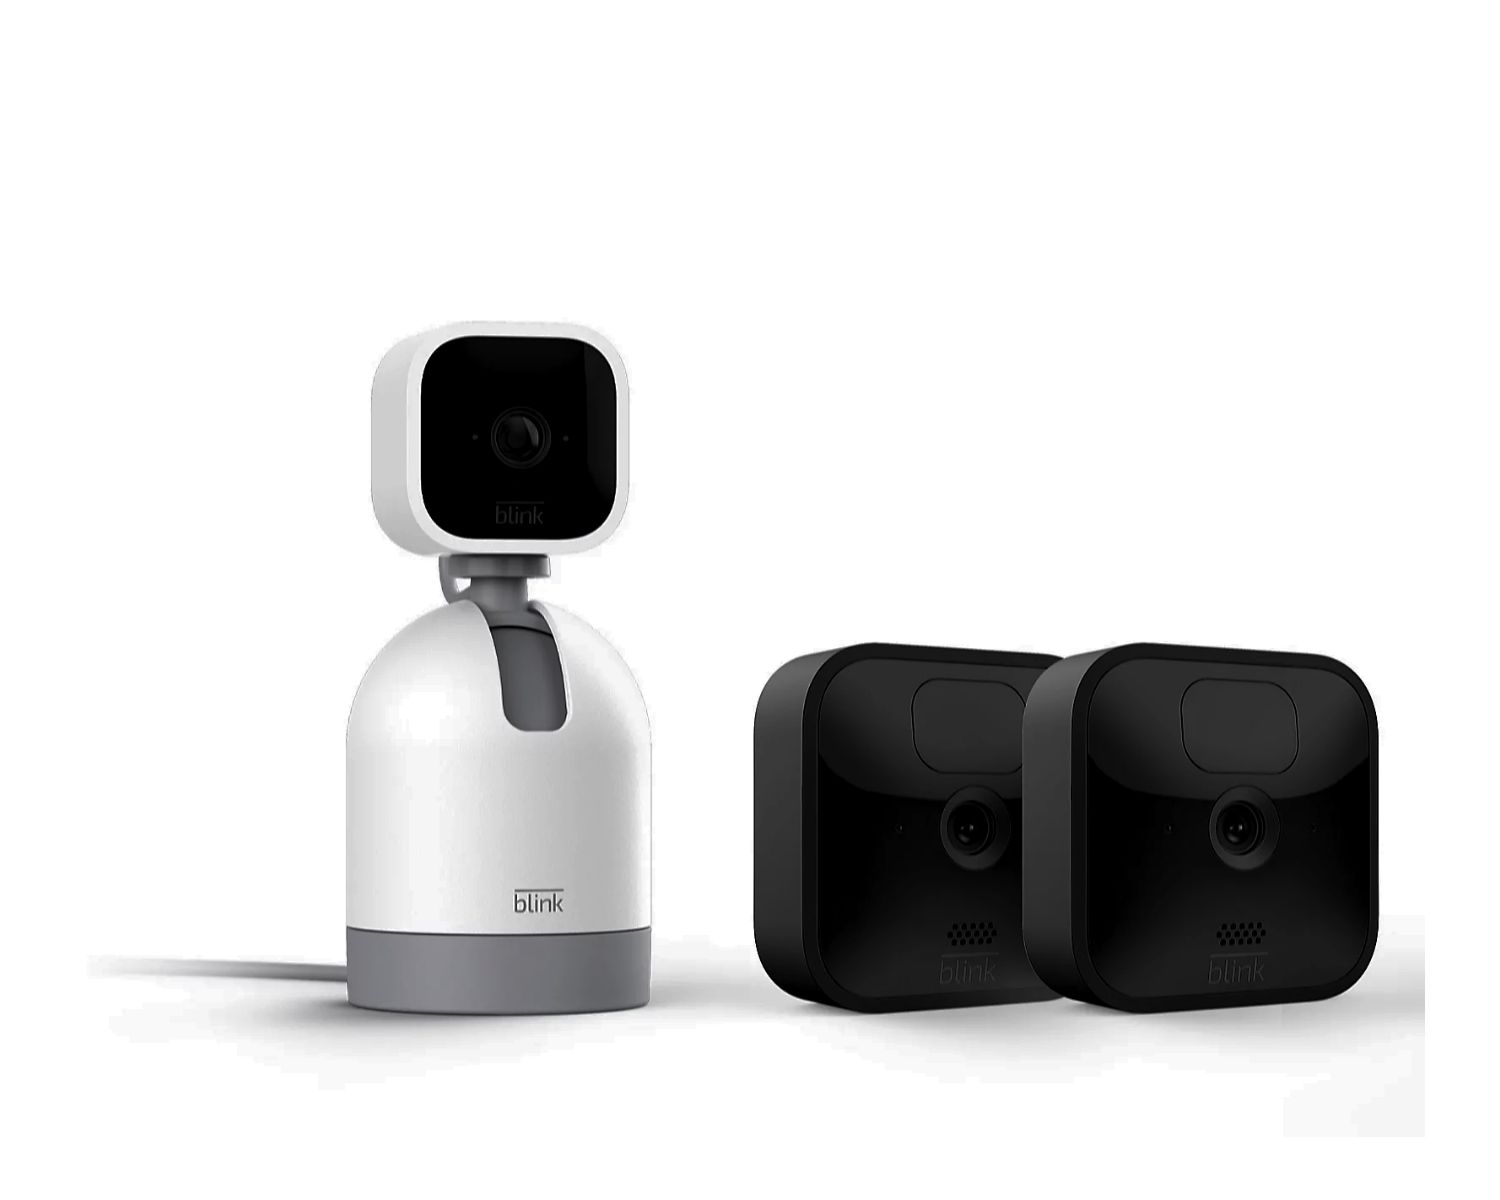
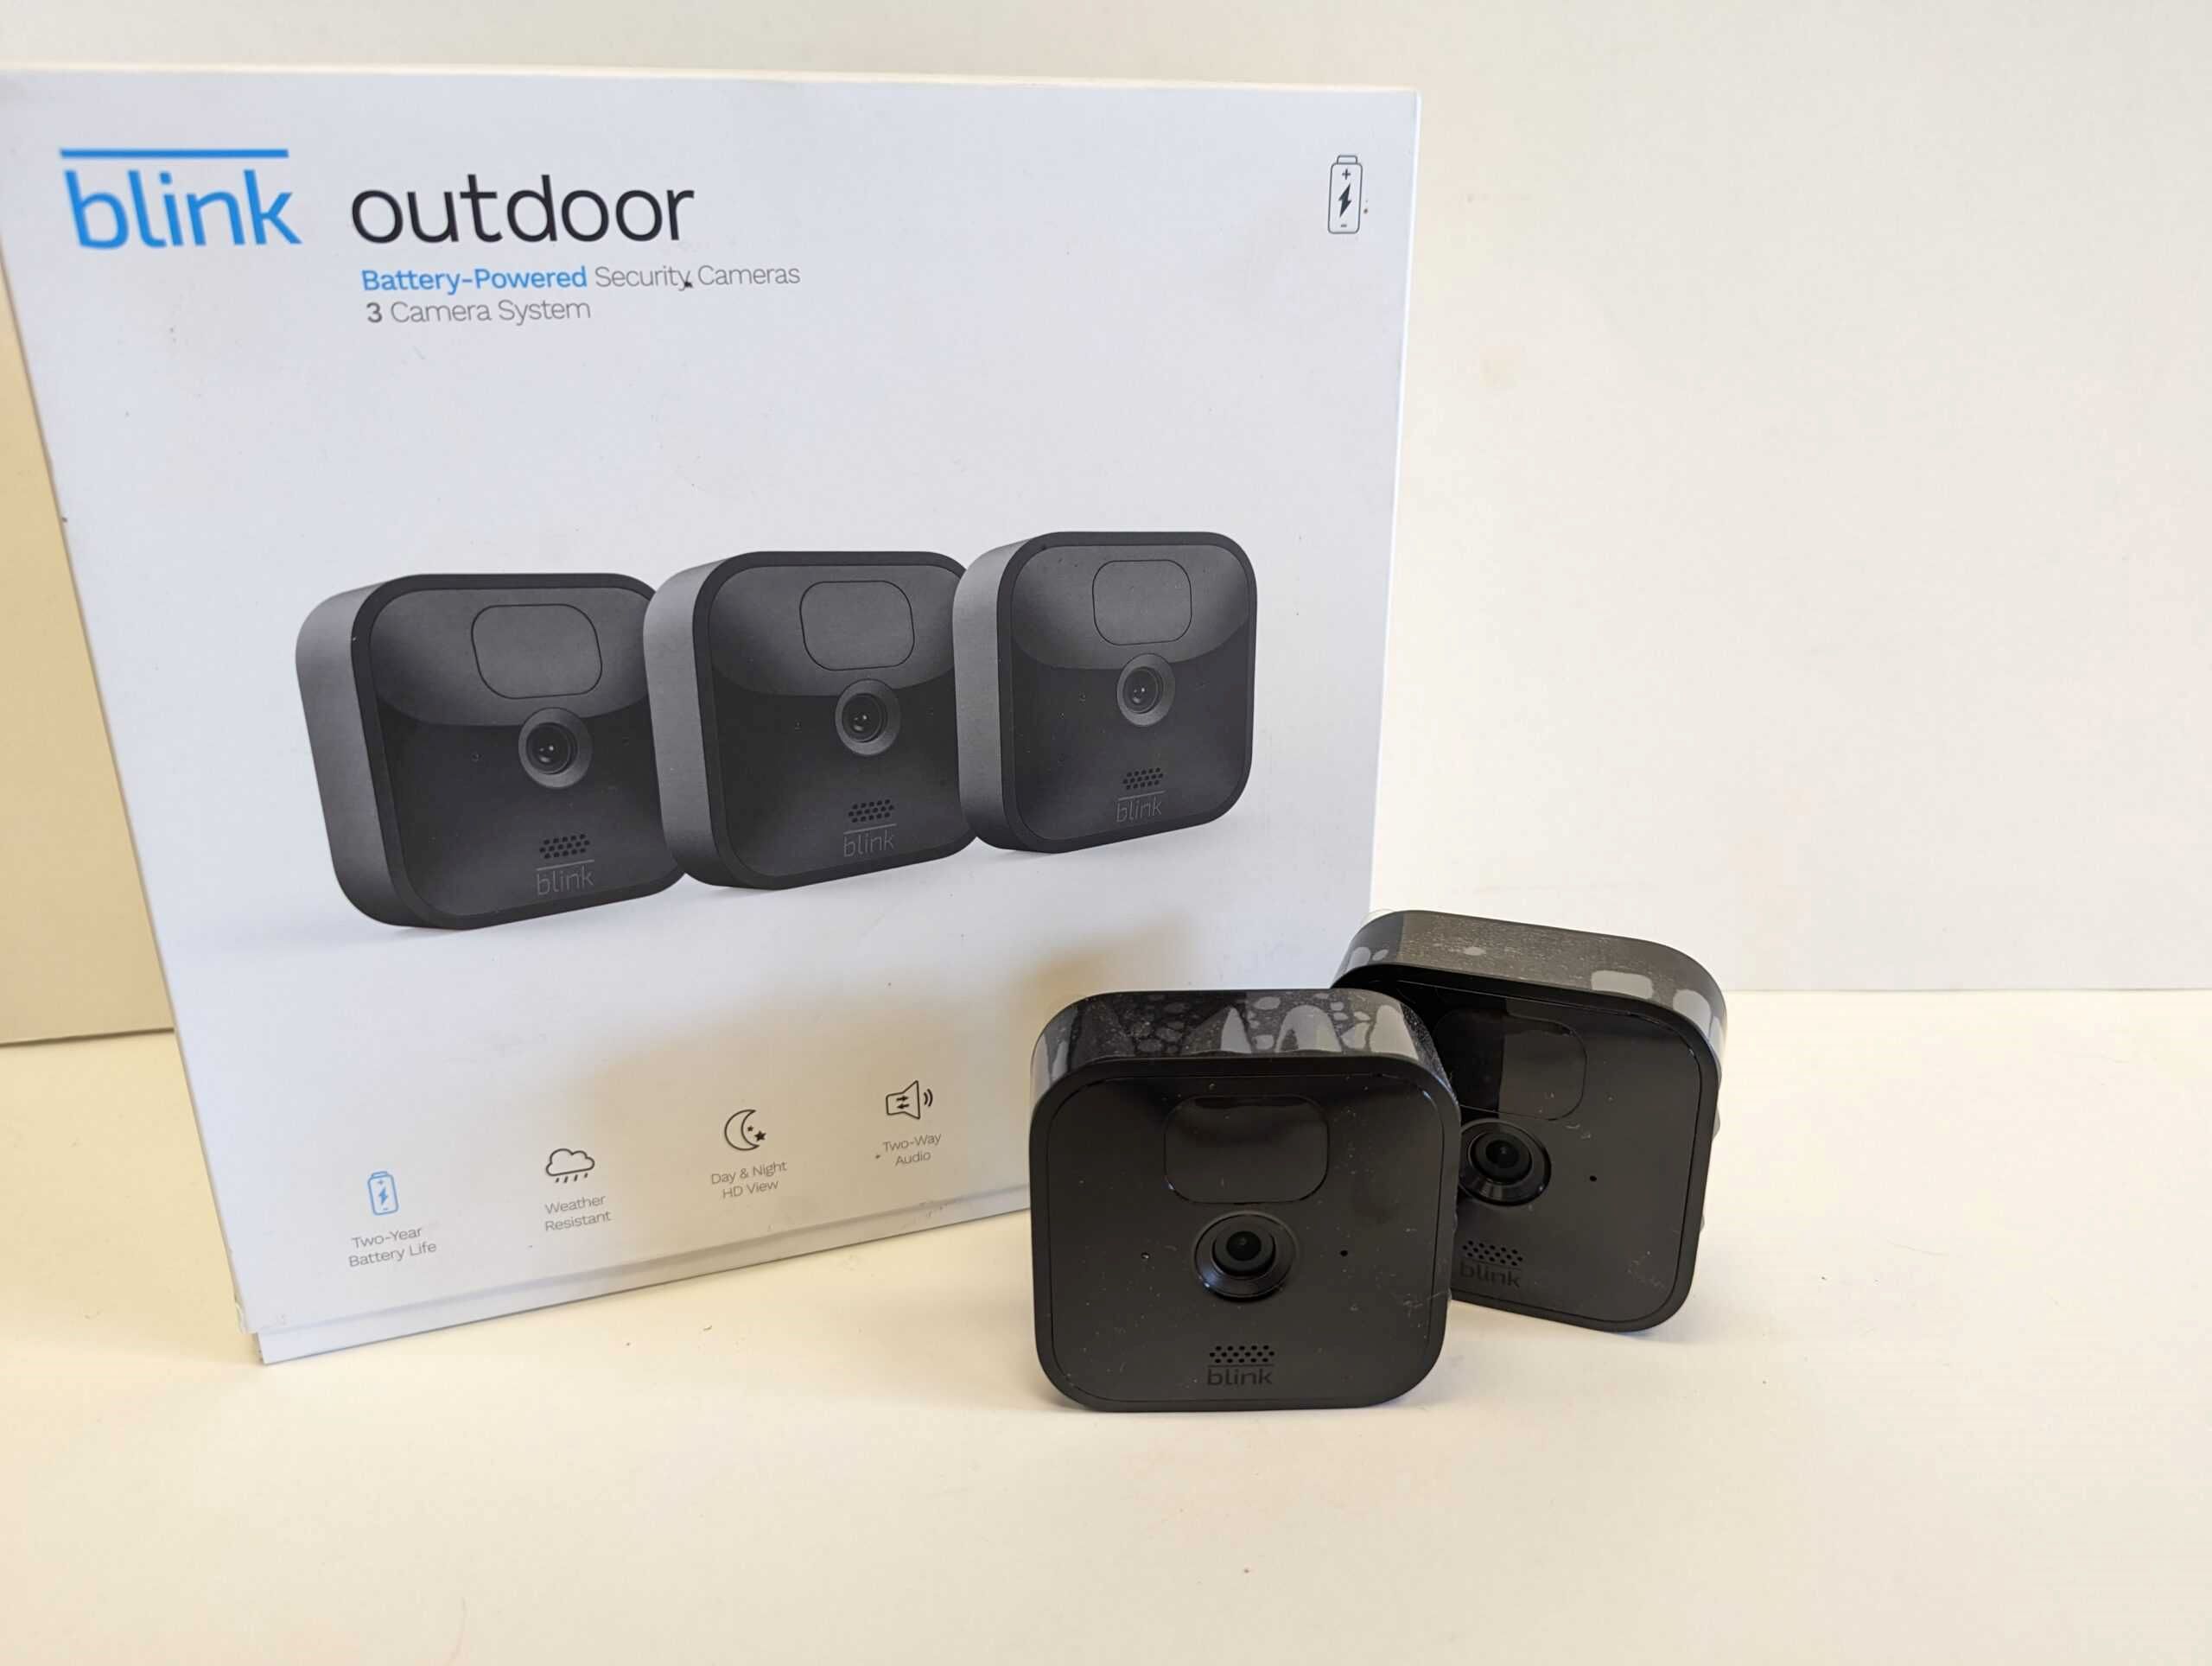
Welcome to our guide on how to remove the back of a Blink Outdoor Camera. The Blink Outdoor Camera is a popular choice for home security and surveillance, providing users with a reliable and easy-to-use solution for monitoring their property. Whether you’re looking to access the battery compartment, replace the back cover, or troubleshoot any issues, understanding how to remove the back of the camera is essential.
In this article, we will walk you through the step-by-step process of safely removing the back of a Blink Outdoor Camera. We will also provide helpful tips and precautions to ensure that you can perform the task correctly without causing any damage to the camera.
Before we dive into the details, it’s important to note that disassembling your Blink Outdoor Camera may void any warranties or support offered by the manufacturer. If you are unsure about performing this task yourself, we recommend reaching out to Blink’s customer service for assistance.
Now, let’s gather the tools and materials you’ll need before starting the removal process.
Key Takeaways:
- Safely remove the back of your Blink Outdoor Camera by following simple steps, ensuring you can access internal components for maintenance, replacement, or troubleshooting without causing damage.
- Remember to power off the camera, detach the battery cover, unscrew the back cover, and gently remove it to access the inner components. Reassemble in reverse order for continued use.
Read more: How To Unscrew Blink Outdoor Camera
Tools and Materials Needed
Before you begin removing the back of your Blink Outdoor Camera, make sure you have the following tools and materials ready:
- Small Phillips-head screwdriver: You will need this to unscrew the screws holding the back cover in place.
- Soft cloth or microfiber cloth: This will help protect the camera’s surface from scratches during the removal process.
- Patience: As with any delicate task, it’s important to approach it with patience and caution. Take your time to avoid any accidental damage to the camera.
Once you have gathered these tools and materials, we can now move on to the step-by-step process of removing the back of your Blink Outdoor Camera.
Step 1: Powering off the Blink Outdoor Camera
Before you begin the process of removing the back of your Blink Outdoor Camera, it is crucial to power off the device to prevent any potential electrical mishaps.
To power off your Blink Outdoor Camera, follow these simple steps:
- Locate the power button on the back or side of the camera.
- Press and hold the power button for a few seconds.
- Wait for the camera’s LED indicator light to turn off, indicating that the device is powered off.
By properly powering off the camera, you minimize the risk of electrical shock or damage to the device while you are working on removing the back cover.
Now that the Blink Outdoor Camera is safely powered off, we can move on to the next step in the process.
Step 2: Removing the Camera Mount
Once you have powered off the Blink Outdoor Camera, the next step is to remove the camera mount. This will allow you easier access to the back of the camera for the removal process.
Follow these steps to remove the camera mount:
- Locate the mounting bracket or plate that is attached to the back of the camera.
- Using a small Phillips-head screwdriver, unscrew the screws securing the camera mount to the back of the camera. The number of screws may vary depending on the specific Blink Outdoor Camera model.
- Gently remove the camera mount from the back of the camera.
Make sure to set aside the camera mount and screws in a safe place, as you will need them to reattach the camera mount later.
With the camera mount removed, you are now ready to proceed to the next step of removing the battery cover.
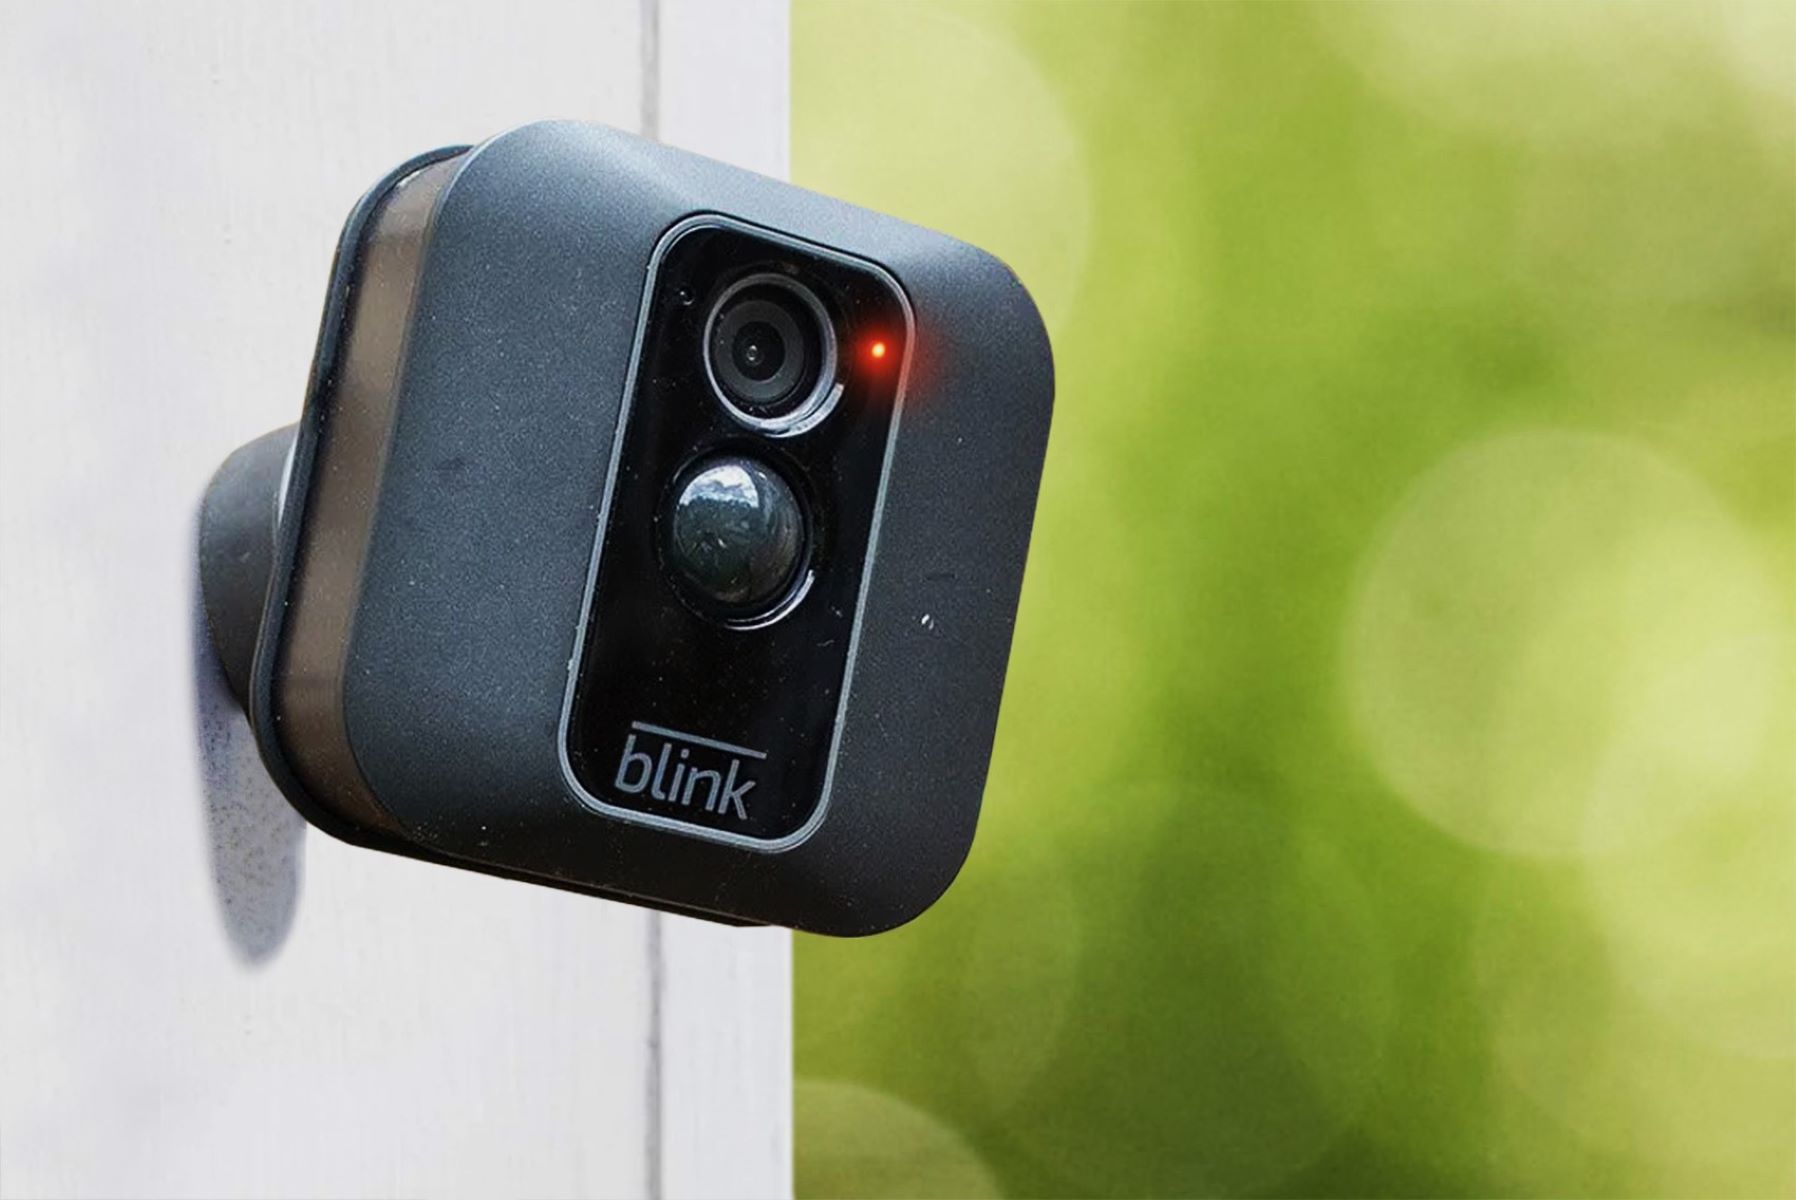
To remove the back of a Blink Outdoor camera, press the release button on the bottom and slide the back cover off. Be gentle to avoid damaging the camera.
Step 3: Detaching the Battery Cover
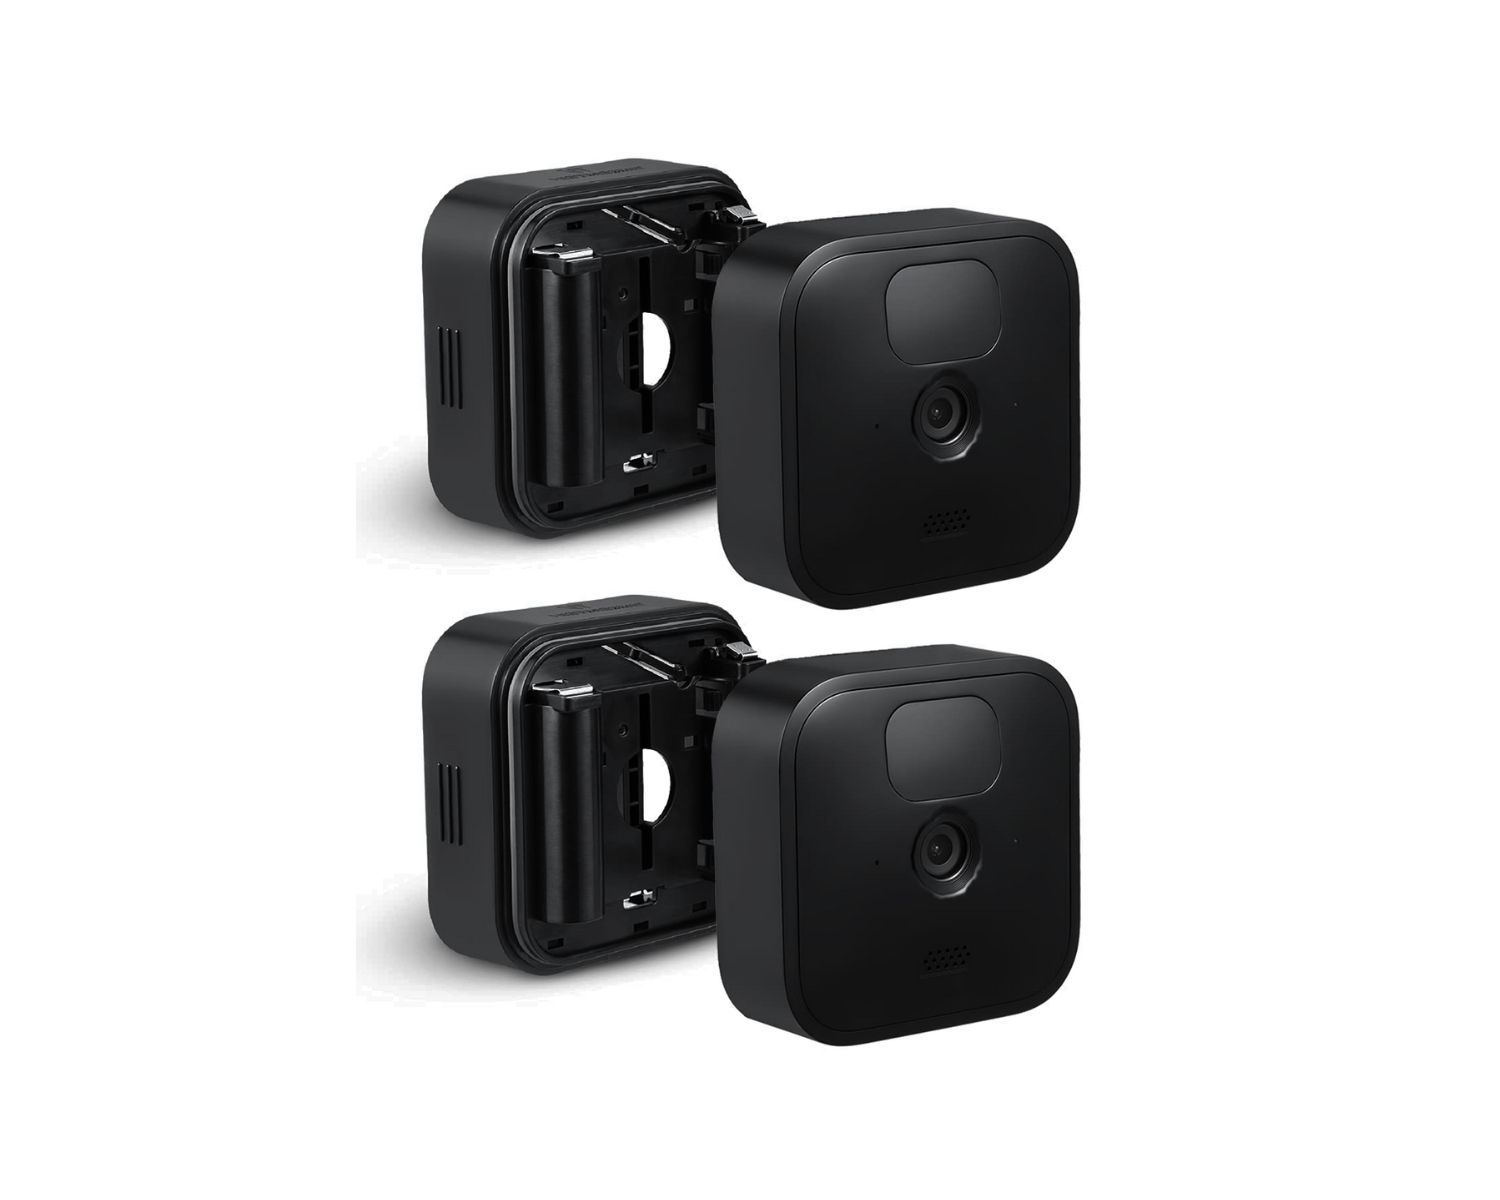
With the camera mount removed, the next step is to detach the battery cover. This will allow you to access the screws that are holding the back cover in place.
Follow these steps to detach the battery cover:
- Locate the battery compartment on the Blink Outdoor Camera.
- Gently slide the battery cover towards the bottom of the camera to detach it.
- Set aside the battery cover in a safe place.
By detaching the battery cover, you will have a clear view of the screws that secure the back cover of the camera. This will enable you to proceed with the next step of removing the back cover.
Now that the battery cover is detached, let’s move on to the process of unscrewing the back cover of the Blink Outdoor Camera.
Read more: How To Install Blink Outdoor Cameras
Step 4: Unscrewing the Back Cover
With the battery cover detached, it’s time to unscrew the back cover of the Blink Outdoor Camera. This step requires the use of a small Phillips-head screwdriver.
Follow these steps to unscrew the back cover:
- Identify the screws that are securing the back cover of the camera. Typically, there are two or more screws located around the edges of the back cover.
- Take your small Phillips-head screwdriver and carefully unscrew each screw in a counterclockwise direction.
- Set aside the screws in a secure place, as you will need them to reassemble the camera later.
Ensure that you have safely removed all the screws before proceeding to the next step. Take your time and be gentle to avoid damaging the camera or losing any screws.
Now that the screws are removed, we can move on to the final step of removing the back cover of the Blink Outdoor Camera.
Step 5: Removing the Back of the Blink Outdoor Camera
After unscrewing the back cover, you are now ready to remove it from the Blink Outdoor Camera. This step requires caution and a gentle touch to avoid any damage to the camera or its internal components.
Follow these steps to remove the back of the Blink Outdoor Camera:
- Hold the camera securely in one hand while using your other hand to gently lift and separate the back cover from the camera’s main body.
- Apply even pressure on all sides of the back cover and carefully pull it away from the camera.
- Continue to gently wiggle and lift the back cover until it comes off completely.
As you remove the back cover, be mindful of any cables or connectors that may be attached. Take care not to yank or pull on these components to avoid causing any damage.
Once the back cover is successfully removed, set it aside in a safe place. You now have access to the inner components of the Blink Outdoor Camera.
Great job! You have successfully removed the back of your Blink Outdoor Camera. Whether you need to perform maintenance, replace a part, or troubleshoot an issue, you now have the necessary knowledge to access the internal components of the camera.
Remember, when you are ready to reassemble the camera, simply follow the steps in reverse order, starting from attaching the back cover, screwing it back in, reattaching the battery cover, and finally re-mounting the camera if necessary.
Enjoy your continued use of the Blink Outdoor Camera and its advanced home security features!
Conclusion
Congratulations! You have successfully learned how to remove the back of a Blink Outdoor Camera. This knowledge will empower you to access the camera’s internal components for maintenance, replacement, or troubleshooting purposes.
Throughout this guide, we have walked you through each step, from powering off the camera to detaching the battery cover, unscrewing the back cover, and finally removing the back of the camera. By following these steps carefully and using the necessary tools, you can safely disassemble your Blink Outdoor Camera without causing any damage.
Remember, disassembling your camera may void any warranties or support from the manufacturer. If you have any concerns or are unsure about performing the task yourself, it is always recommended to contact Blink’s customer service for assistance.
When reassembling your camera, make sure to follow the steps in reverse order, ensuring the back cover is securely fastened, the screws are tightened, and the camera mount and battery cover are properly reattached.
We hope this guide has been helpful to you, providing you with the knowledge and confidence to remove the back of your Blink Outdoor Camera. Enjoy the continued use of your camera and the enhanced security and surveillance it provides to your home!
Now that you've mastered removing the back of your Blink Outdoor Camera, why stop there? Discover the reasons maintaining robust home surveillance should be your next step. With rising neighborhood concerns, understanding the benefits of a solid security setup is more critical than ever. For those curious about expanding their surveillance system, finding top-notch outdoor cameras offers peace of mind through enhanced visibility and protection. Ready to learn more about safeguarding your space or choosing the best devices for outdoor monitoring? Dive into our detailed articles that cover everything you need for a safer home.
Frequently Asked Questions about How To Remove The Back Of Blink Outdoor Camera
Was this page helpful?
At Storables.com, we guarantee accurate and reliable information. Our content, validated by Expert Board Contributors, is crafted following stringent Editorial Policies. We're committed to providing you with well-researched, expert-backed insights for all your informational needs.