Home>Furniture & Design>Living Room Furniture>How To Fix Car Seat Recliner Handle
Living Room Furniture
How To Fix Car Seat Recliner Handle
Modified: April 23, 2024
Learn how to easily fix the recliner handle on your living room furniture. Our step-by-step guide will help you get your furniture back in shape.
(Many of the links in this article redirect to a specific reviewed product. Your purchase of these products through affiliate links helps to generate commission for Storables.com, at no extra cost. Learn more)
Introduction
Welcome to the ultimate guide on fixing a car seat recliner handle! If you’ve ever experienced the frustration of a broken or malfunctioning car seat recliner handle, you’re not alone. A faulty recliner handle can make adjusting your seat position a cumbersome and uncomfortable experience, detracting from the overall enjoyment of your drive. However, fear not, as this comprehensive guide will walk you through the process of diagnosing, repairing, and replacing a faulty car seat recliner handle, allowing you to reclaim the comfort and convenience of your car seat.
In the following sections, we’ll delve into the intricacies of the car seat recliner handle, exploring its functionality and common issues that may arise. You’ll also discover the essential tools and materials needed for the repair, ensuring that you’re well-prepared to tackle the task at hand. From removing the old recliner handle to installing a new one and conducting thorough testing, each step of the repair process will be thoroughly explained, empowering you to confidently address the issue with precision and expertise.
Whether you’re a seasoned DIY enthusiast or a novice with a passion for hands-on projects, this guide is designed to cater to all skill levels, providing clear and concise instructions that are easy to follow. By the end of this journey, you’ll not only have a deep understanding of the car seat recliner handle mechanism but also the satisfaction of having successfully restored its functionality.
So, buckle up and get ready to embark on this repair adventure. With a positive attitude and a willingness to learn, you’ll soon be on your way to enjoying a smoothly operating car seat recliner handle, making every drive a more comfortable and enjoyable experience. Let’s dive in and learn how to fix a car seat recliner handle!
Key Takeaways:
- Fixing a car seat recliner handle is a manageable DIY project that can enhance your driving experience by restoring comfort and convenience to your car seat.
- By understanding the mechanism, using the right tools, and following step-by-step instructions, you can successfully diagnose, replace, and test a faulty car seat recliner handle, gaining valuable hands-on skills in automotive maintenance.
Read more: How To Fix Car Seat Recliner
Understanding the Car Seat Recliner Handle
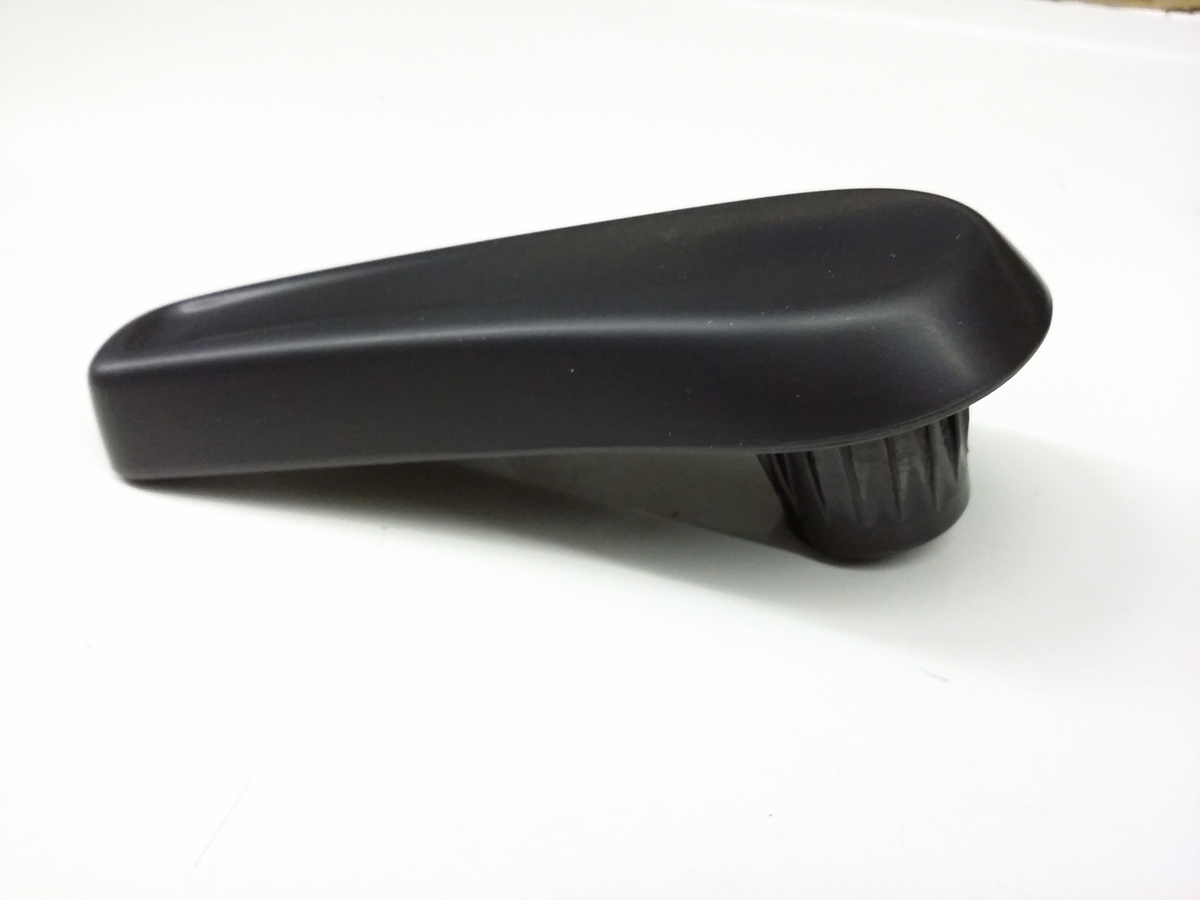
Before delving into the repair process, it’s essential to gain a comprehensive understanding of the car seat recliner handle and its role in ensuring optimal seating comfort and adjustability. The recliner handle is a fundamental component of the car seat, allowing passengers to effortlessly modify the seat’s position to suit their preferences, whether it’s reclining for relaxation or adjusting the backrest for lumbar support.
The mechanism of the car seat recliner handle is typically designed with a series of interconnected levers and gears, enabling the seamless adjustment of the seat’s position with a simple pull or push motion. When functioning correctly, the handle facilitates smooth and precise changes in the seat’s orientation, enhancing the overall ergonomics of the driving or riding experience.
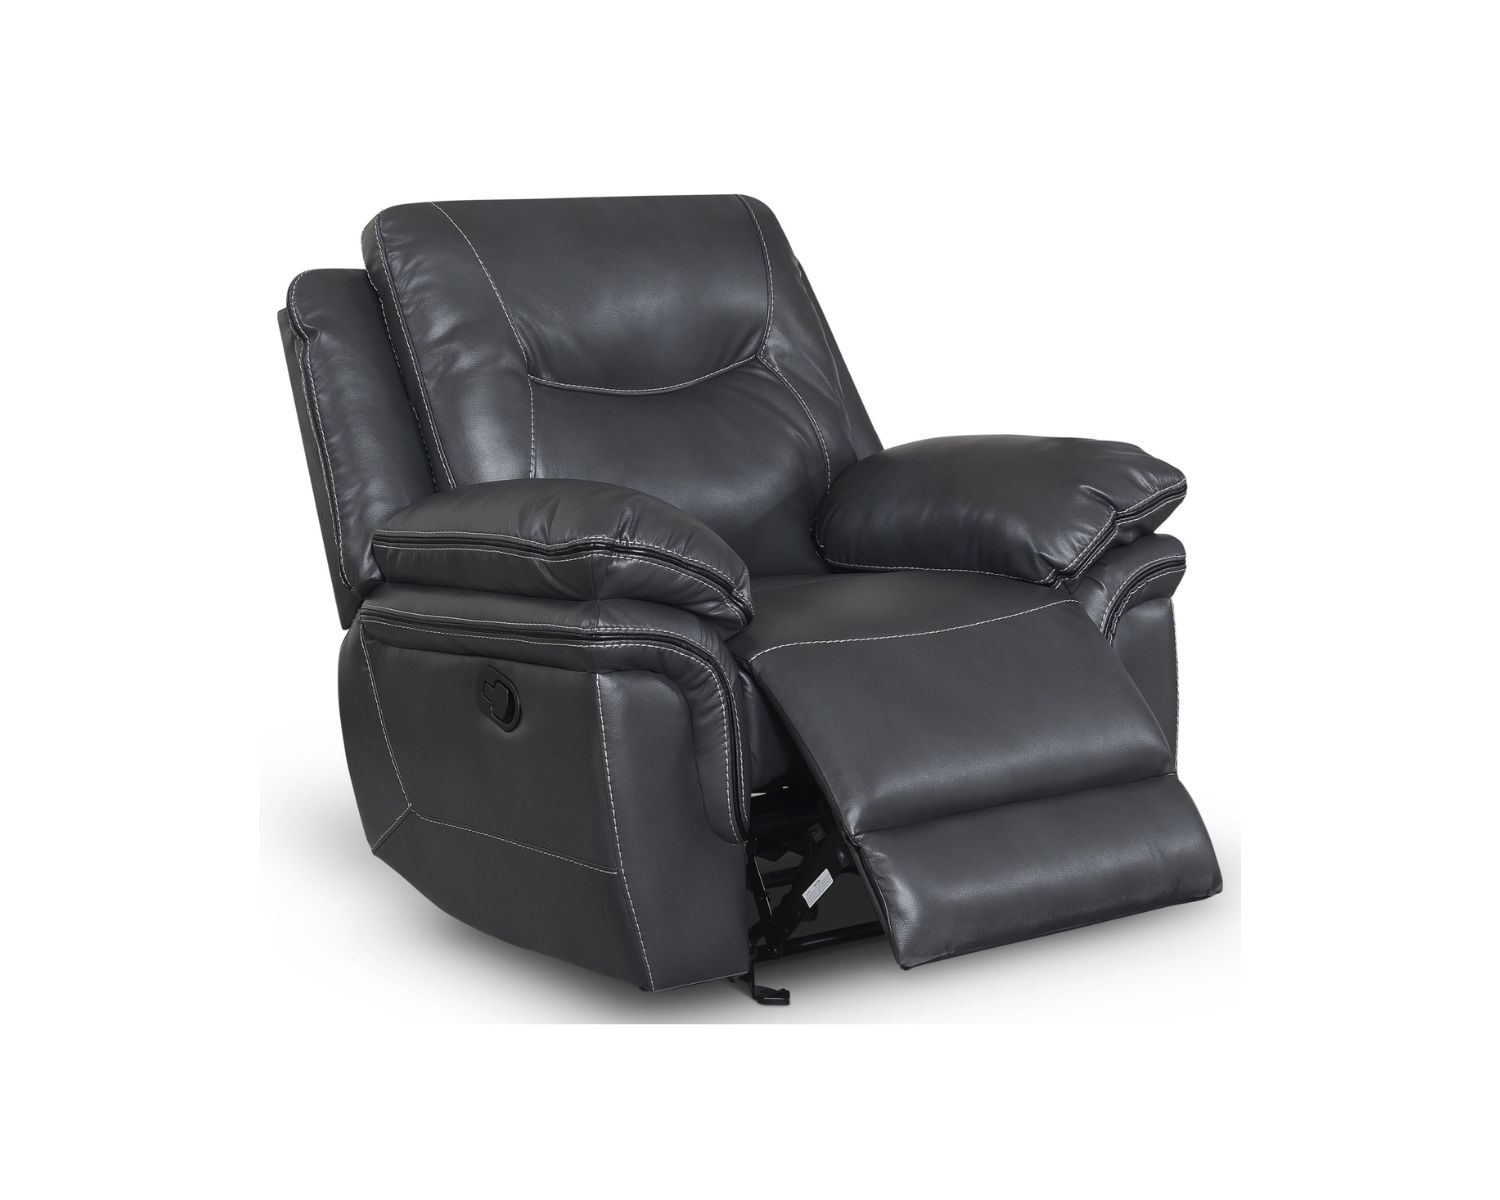
However, over time, various factors such as wear and tear, mechanical stress, or accidental damage can lead to the deterioration of the recliner handle’s performance. Common issues include the handle becoming loose, unresponsive, or completely non-functional, posing a significant inconvenience to the vehicle’s occupants.
It’s important to note that the specific design and location of the car seat recliner handle may vary depending on the make and model of the vehicle. Some cars feature recliner handles integrated into the side of the seat, while others may have them positioned on the seat’s lower front panel. Regardless of the handle’s placement, the underlying mechanics and principles of operation remain relatively consistent across different car seat configurations.
By gaining insight into the intricate workings of the car seat recliner handle, you’ll be better equipped to diagnose potential issues and understand the steps required to rectify any malfunctions. With this foundational knowledge in place, you’ll be ready to proceed with confidence as we embark on the journey of repairing and restoring the functionality of the car seat recliner handle.
Tools and Materials Needed
Before initiating the repair process, it’s crucial to ensure that you have the necessary tools and materials at your disposal. Having the right equipment on hand will streamline the repair procedure and contribute to a successful outcome. Here’s a comprehensive list of the tools and materials you’ll need:
- Replacement Recliner Handle: Start by acquiring a compatible replacement recliner handle that matches the specifications of your car seat. Ensure that the new handle is designed to seamlessly integrate with your vehicle’s seating mechanism.
- Screwdriver Set: A set of screwdrivers with various head types, including flathead and Phillips screwdrivers, will be essential for removing and installing screws securing the recliner handle and associated components.
- Pliers: A pair of pliers will aid in gripping and maneuvering small components, facilitating the disassembly and reassembly of the recliner handle assembly.
- Socket Wrench Set: Depending on the specific fasteners used in your car seat’s construction, a socket wrench set with a versatile range of socket sizes may be required for accessing and manipulating bolts or nuts.
- Trim Panel Removal Tool: If the recliner handle is integrated into a trim panel, a specialized trim panel removal tool can assist in safely detaching the panel without causing damage to the surrounding upholstery or interior surfaces.
- Protective Gloves: Wearing protective gloves is recommended to safeguard your hands during the repair process, particularly when handling sharp or abrasive components.
- Flashlight: A reliable flashlight will aid in illuminating the work area, especially if the recliner handle is located in a dimly lit or confined space within the vehicle.
- Clean Cloth and Interior Cleaner: It’s beneficial to have a clean cloth and interior cleaner on hand to tidy up the surrounding area after completing the repair, ensuring a polished and professional finish.
By gathering these essential tools and materials, you’ll be well-prepared to address the car seat recliner handle repair with confidence and efficiency. With everything in place, you’re ready to embark on the first step of the repair process: removing the old recliner handle.
Step 1: Removing the Old Recliner Handle
Removing the old recliner handle is the initial step in the repair process, and it sets the stage for the subsequent installation of the new handle. By carefully following these steps, you can safely and effectively disassemble the existing handle, paving the way for a seamless transition to the replacement component.
1. Prepare the Work Area: Park the vehicle in a well-lit and spacious area, ensuring that there is ample room to maneuver around the car seat. Engage the parking brake and, if applicable, disconnect the vehicle’s battery to prevent accidental deployment of the airbag system.
2. Locate and Access the Recliner Handle: Depending on the seat design, the recliner handle may be integrated into the side panel of the seat or positioned on the lower front panel. Identify the location of the handle and carefully inspect the surrounding area for any securing screws or fasteners.
3. Remove Securing Screws or Fasteners: Utilizing the appropriate screwdriver or socket wrench, carefully remove any screws or fasteners that secure the recliner handle to the seat assembly. Exercise caution to prevent damage to the surrounding upholstery or trim panels during the removal process.
4. Disconnect the Handle Mechanism: Once the securing screws or fasteners have been removed, assess the method of attachment for the handle mechanism. In some cases, the handle may be directly connected to a series of levers and cables within the seat assembly. Safely disconnect any linkages or cables, taking note of their orientation for future reference.
5. Extract the Old Recliner Handle: With the securing screws removed and the handle mechanism disconnected, gently extract the old recliner handle from its position, ensuring that no remaining components are inadvertently left behind.
6. Inspect the Surrounding Area: Take this opportunity to inspect the area previously occupied by the old recliner handle. Clear any debris or obstructions and ensure that the mounting surface is clean and free from any residual adhesive or fastener remnants.
By meticulously following these steps, you can effectively remove the old recliner handle, preparing the groundwork for the subsequent installation of the new handle. With the old handle safely removed, you’re now ready to proceed to the next crucial phase of the repair process: installing the new recliner handle.
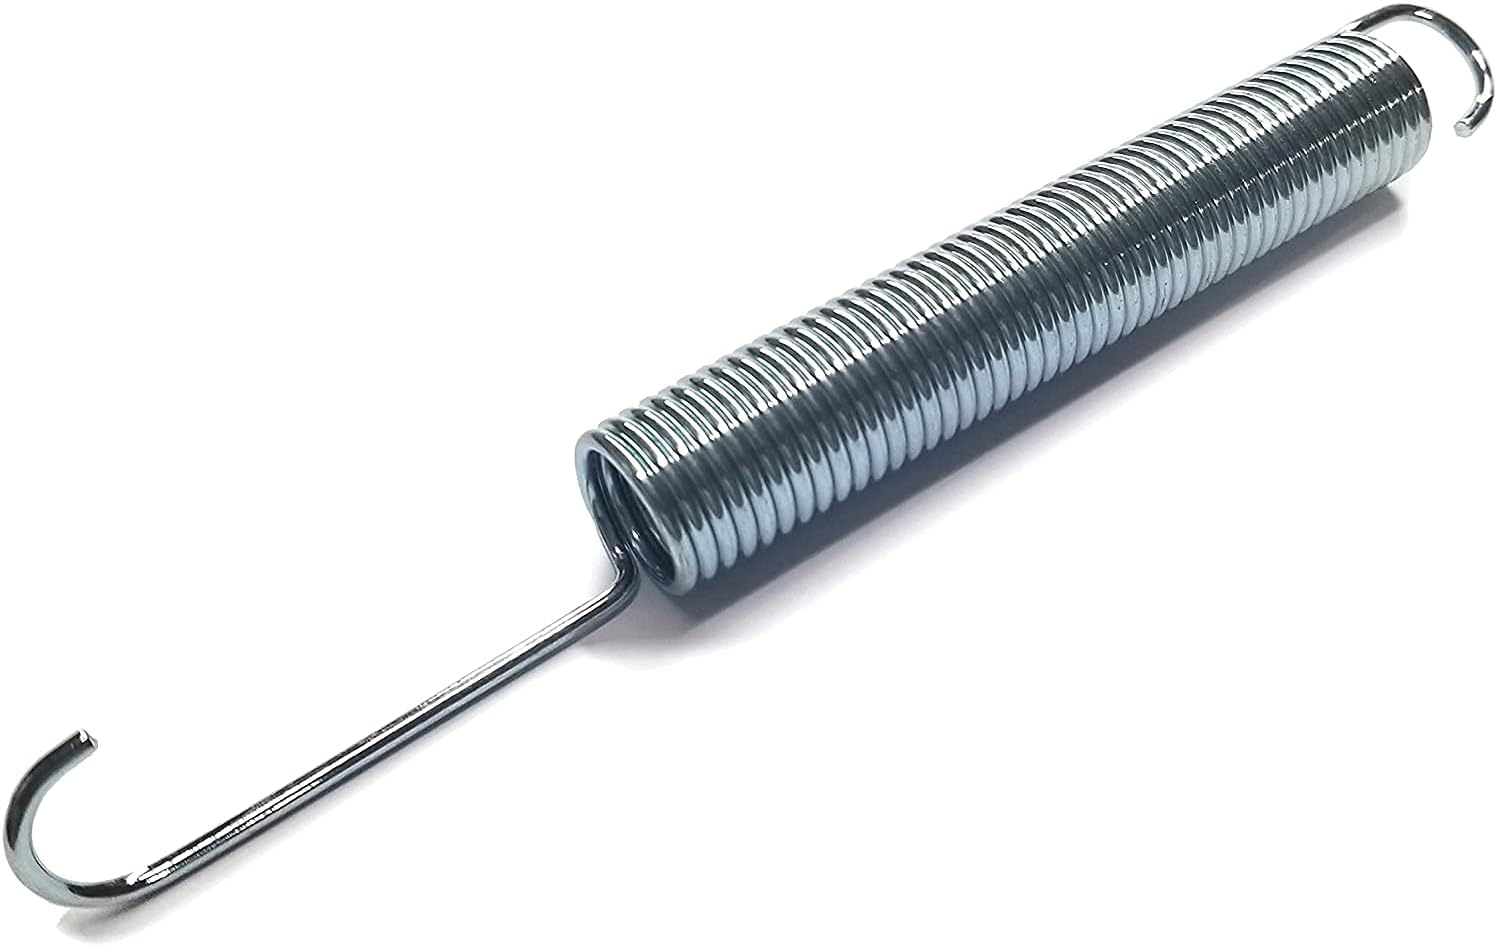
If the car seat recliner handle is not working, try checking for any obstructions or debris that may be preventing it from moving. You can also try lubricating the mechanism with silicone spray to help it move more smoothly.
Step 2: Installing the New Recliner Handle
With the old recliner handle successfully removed, the next pivotal phase of the repair process involves installing the new handle with precision and care. By meticulously following these steps, you can seamlessly integrate the replacement recliner handle, restoring the functionality and convenience of the car seat’s adjustment mechanism.
1. Verify Compatibility: Prior to installation, verify that the replacement recliner handle is compatible with the specific make and model of your vehicle. Confirm that the dimensions, mounting points, and operational features align with the original handle, ensuring a seamless integration into the seat assembly.
2. Position the New Handle: Carefully align the new recliner handle with the designated mounting points on the seat assembly, ensuring that it sits flush and securely against the surface. Take note of any alignment markers or guide indents that facilitate accurate positioning.
3. Reconnect Handle Mechanism: If the new handle features integrated linkages or cables, reconnect these components to the corresponding levers and mechanisms within the seat assembly. Ensure that the connections are secure and that the handle operates smoothly without any binding or excessive resistance.
4. Secure the Handle: Utilize the provided screws or fasteners to secure the new recliner handle to the seat assembly. Exercise caution to avoid over-tightening the fasteners, as this may lead to damage or distortion of the mounting points or surrounding components.
5. Test the Handle Operation: With the new handle securely installed, perform a preliminary test of its operation. Engage the recliner mechanism and verify that the handle facilitates smooth and responsive adjustments to the seat’s position. Ensure that the reclining and backrest adjustment functions operate as intended without any irregularities.
6. Fine-Tune Alignment: If necessary, make minor adjustments to the positioning of the new recliner handle to optimize its alignment and ergonomics. Confirm that the handle’s orientation and operation align with the manufacturer’s specifications and the user’s intuitive expectations.
By meticulously executing these steps, you can effectively install the new recliner handle, setting the stage for a fully restored and functional car seat adjustment mechanism. With the new handle securely in place, you’re now poised to embark on the final phase of the repair process: testing the recliner handle to ensure its seamless operation.
Read more: How To Fix A Recliner Handle
Step 3: Testing the Recliner Handle
After successfully installing the new recliner handle, the final phase of the repair process involves conducting comprehensive testing to ensure that the handle operates seamlessly and facilitates smooth adjustments to the car seat’s position. By meticulously following these steps, you can verify the functionality of the new handle and address any potential issues before concluding the repair.
1. Perform Basic Functionality Tests: Begin by engaging the recliner handle to initiate both the seat reclining and backrest adjustment functions. Verify that the handle operates smoothly and responsively, allowing for incremental changes in the seat’s orientation without any unexpected resistance or irregularities.
2. Assess Stability and Security: While operating the recliner handle, pay close attention to the stability and security of its attachment to the seat assembly. Ensure that the handle remains firmly affixed without any perceptible wobbling or shifting during use, indicating a secure and reliable installation.
3. Verify Ergonomic Comfort: Test the ergonomic comfort and user-friendliness of the new recliner handle by assessing its ease of use and intuitive operation. Confirm that the handle’s design and positioning align with the user’s natural reach and provide a comfortable grip for effortless adjustments.
4. Conduct Multi-Position Adjustments: Explore the full range of the recliner handle’s functionality by adjusting the seat through various positions, including incremental reclining and backrest adjustments. Verify that the handle facilitates precise and consistent changes in the seat’s orientation across the entire range of adjustment settings.
5. Inspect for Abnormal Noises or Resistance: While operating the recliner handle, listen for any abnormal noises or sensations that may indicate underlying issues, such as grinding, scraping, or excessive resistance. These symptoms could signify potential misalignments or mechanical impediments that require further attention.
6. Confirm User Satisfaction: Engage the vehicle’s occupants, if applicable, to test the functionality of the recliner handle and gather feedback on their experience. Confirm that the adjustments provided by the handle meet their comfort preferences and ergonomic expectations, ensuring overall user satisfaction.
By meticulously executing these testing procedures, you can thoroughly evaluate the performance of the new recliner handle and address any potential concerns or irregularities. With the handle’s functionality verified and confirmed, you can conclude the repair process with the confidence of knowing that your car seat’s adjustment mechanism has been successfully restored to optimal working condition.
Conclusion
Congratulations on successfully navigating the process of fixing a car seat recliner handle! By embarking on this repair journey, you’ve demonstrated a commendable commitment to enhancing the comfort and functionality of your vehicle’s seating arrangement. Through a combination of knowledge, precision, and hands-on expertise, you’ve effectively diagnosed, removed, and replaced the recliner handle, culminating in a fully restored and reliable adjustment mechanism for your car seat.
Throughout this comprehensive guide, you’ve gained a deeper understanding of the intricate workings of the car seat recliner handle, empowering you to address potential malfunctions with confidence and proficiency. By meticulously following the step-by-step instructions and leveraging the essential tools and materials, you’ve seamlessly transitioned from the removal of the old handle to the installation and testing of the new component, ensuring a comprehensive and thorough repair process.
As you reflect on this repair endeavor, take pride in the newfound knowledge and hands-on skills you’ve acquired. The ability to diagnose and address issues related to the car seat recliner handle serves as a valuable asset, equipping you with the confidence to tackle similar automotive maintenance tasks in the future. Whether it’s restoring the functionality of other interior components or undertaking broader vehicle maintenance projects, your newfound expertise positions you as a capable and resourceful steward of your vehicle’s well-being.
Furthermore, the successful repair of the car seat recliner handle contributes to an enhanced driving or riding experience, allowing you and your passengers to enjoy the comfort and ergonomics of a fully functional seating arrangement. The seamless operation of the recliner handle fosters a more relaxed and enjoyable journey, underscoring the significance of maintaining the optimal functionality of essential interior features.
As you conclude this repair journey, remember that the skills and knowledge you’ve gained are not only applicable to your own vehicle but also valuable for assisting others in similar endeavors. Your newfound proficiency in addressing car seat recliner handle issues positions you as a capable resource within your community, offering assistance and guidance to fellow automotive enthusiasts facing similar challenges.
With the successful repair of the car seat recliner handle, you’ve not only revitalized a fundamental component of your vehicle but also embarked on a fulfilling and educational journey of hands-on automotive maintenance. As you continue to explore the world of automotive repair and maintenance, may your experiences be marked by continued learning, empowerment, and the satisfaction of a job well done.
Frequently Asked Questions about How To Fix Car Seat Recliner Handle
Was this page helpful?
At Storables.com, we guarantee accurate and reliable information. Our content, validated by Expert Board Contributors, is crafted following stringent Editorial Policies. We're committed to providing you with well-researched, expert-backed insights for all your informational needs.


0 thoughts on “How To Fix Car Seat Recliner Handle”