Home>Gardening & Outdoor>Outdoor Recreation & Activities>How To Seal A Beer Pong Table
Outdoor Recreation & Activities
How To Seal A Beer Pong Table
Published: January 20, 2024
Learn how to seal a beer pong table for outdoor recreation and activities. Step-by-step guide to protect your table from the elements and ensure durability.
(Many of the links in this article redirect to a specific reviewed product. Your purchase of these products through affiliate links helps to generate commission for Storables.com, at no extra cost. Learn more)
Introduction
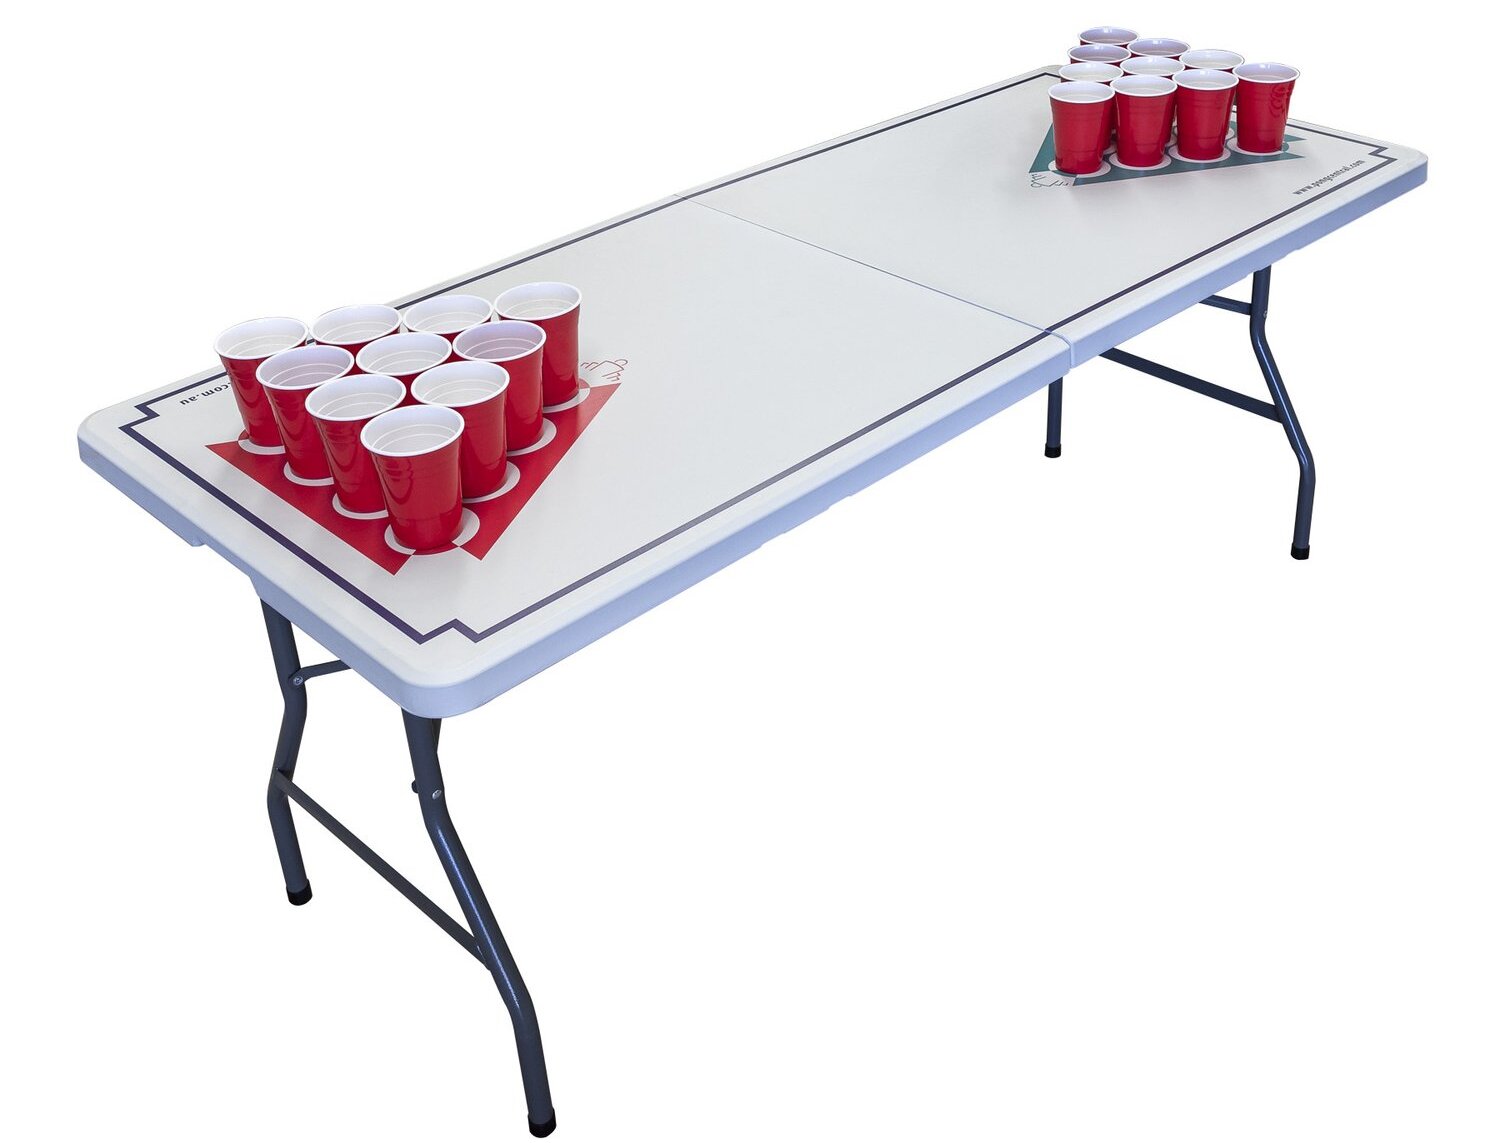
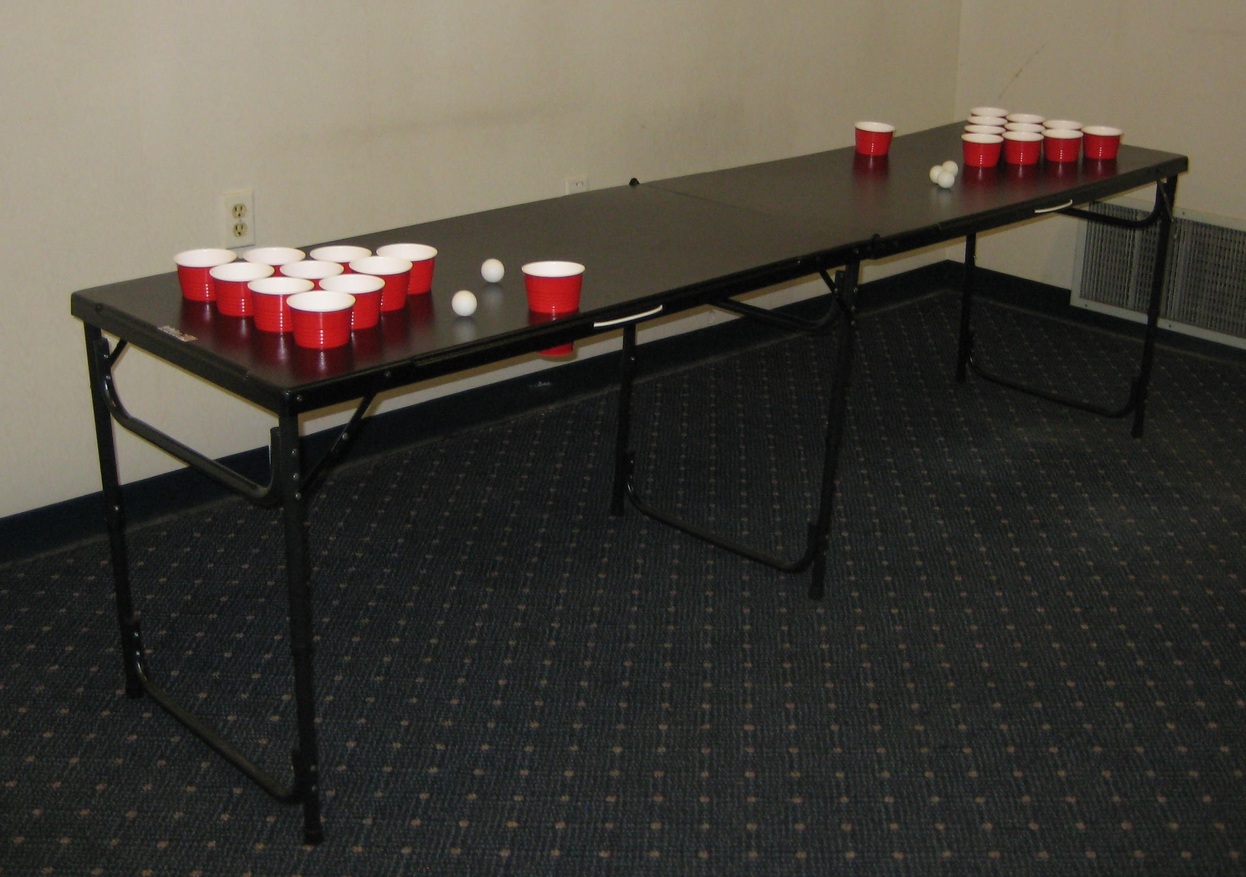
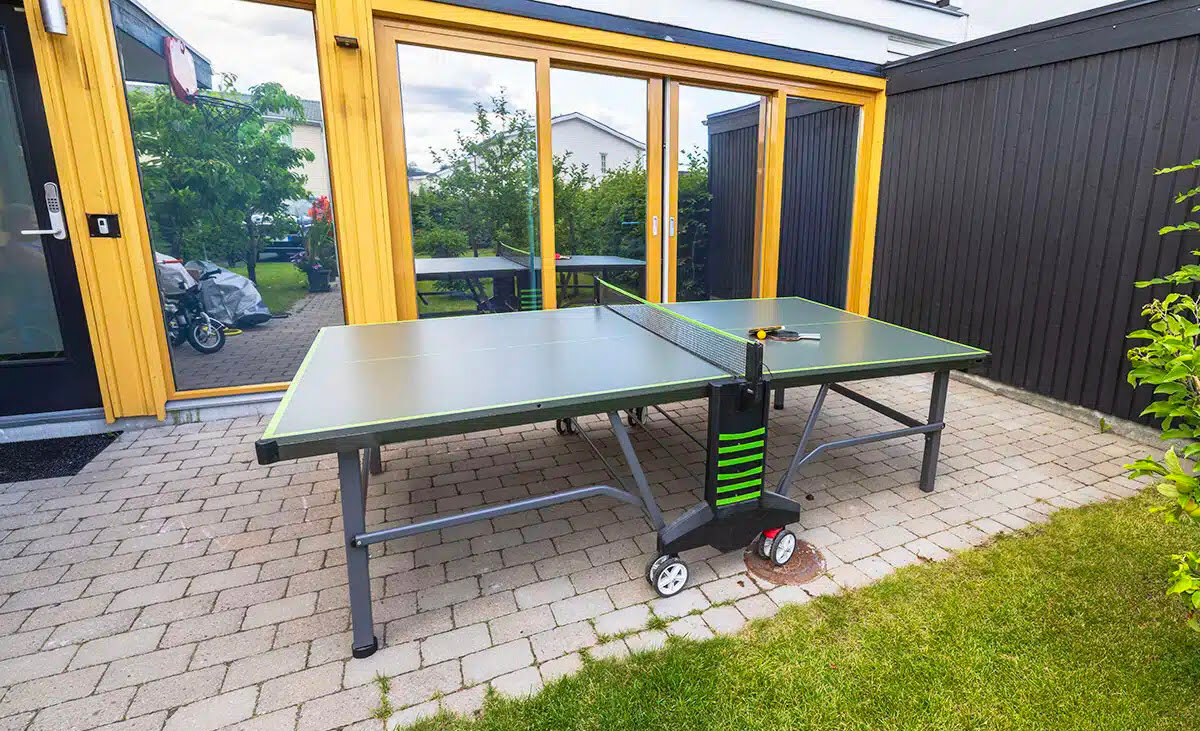
So, you've got a beer pong table and you want to ensure it lasts through countless epic battles and parties. The key to achieving this is by properly sealing the table to protect it from spills, scratches, and the wear and tear of enthusiastic gameplay. Sealing a beer pong table not only prolongs its lifespan but also enhances its appearance, making it a centerpiece of fun and entertainment at any gathering.
In this comprehensive guide, we'll walk you through the step-by-step process of sealing your beer pong table. From preparing the materials to applying the sealant and allowing it to cure, we've got you covered. Whether you're a seasoned DIY enthusiast or a first-time table sealer, this article will equip you with the knowledge and confidence to tackle this project like a pro.
So, grab your supplies and let's dive into the exciting world of beer pong table sealing!
Key Takeaways:
- Protect your beer pong table by sealing it with the right materials and techniques, ensuring it lasts through epic battles and parties while looking great.
- Sealing your beer pong table is a fun and rewarding DIY project that not only enhances its durability but also adds a personalized touch for endless entertainment.
Read more: How Large Is A Ping Pong Table
Materials Needed
Before embarking on the beer pong table sealing journey, it’s essential to gather the necessary materials. Here’s a list of items you’ll need to ensure a successful and effective sealing process:
- Beer pong table
- Sandpaper (medium and fine grit)
- Tack cloth or microfiber cloth
- Wood sealant or polyurethane sealant
- Paintbrush or foam brush
- Protective gloves
- Well-ventilated workspace or outdoor area
- Drop cloth or plastic sheeting
- Masking tape (if applying designs or patterns)
These materials are readily available at hardware stores or online retailers, making it convenient to gather everything you need to seal your beer pong table. Once you have these items on hand, you’re ready to move on to the next steps of the process.
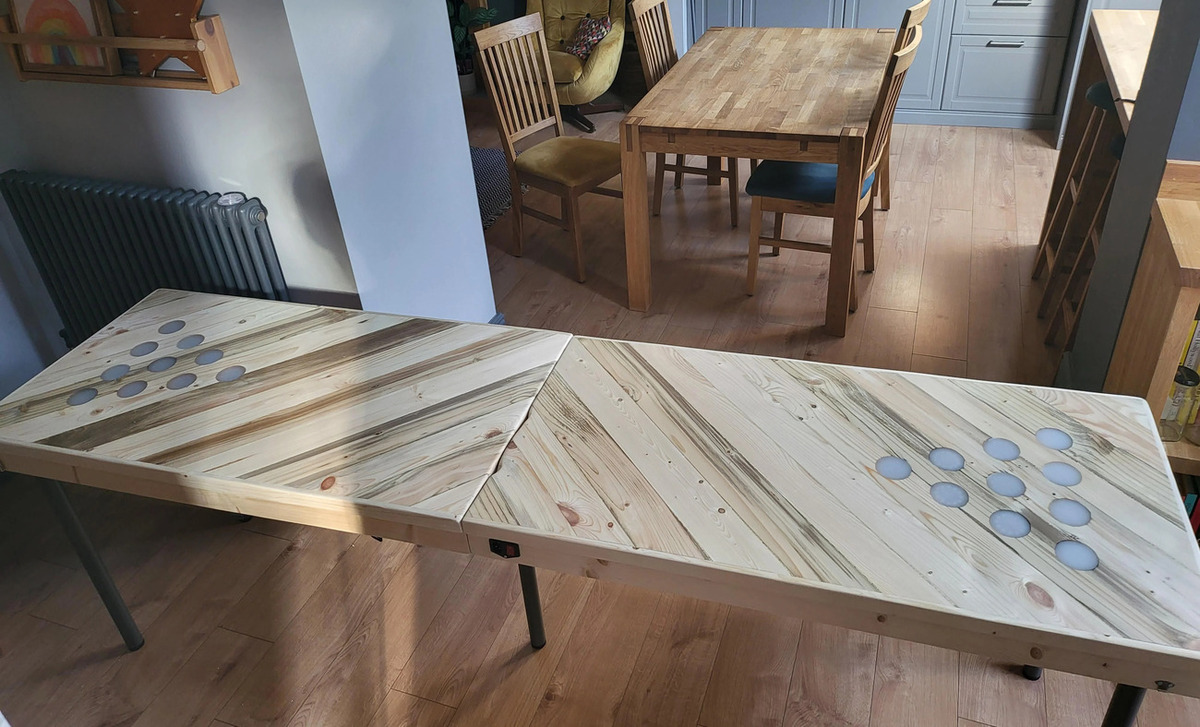
Step 1: Sanding the Table
Before applying the sealant, it’s crucial to prepare the surface of the beer pong table to ensure proper adhesion and a smooth, professional finish. Sanding the table serves two primary purposes: it removes any existing finish or imperfections and creates a slightly rough texture for the sealant to grip onto.
Start by setting up your workspace in a well-ventilated area, preferably outdoors, to minimize dust and fumes. Place a drop cloth or plastic sheeting to protect the surrounding area from dust and debris.
Using medium-grit sandpaper, begin sanding the entire surface of the table, working in the direction of the wood grain. This process will effectively remove any existing finish, such as varnish or paint, and smooth out any minor imperfections or scratches. Once the existing finish is removed, switch to a fine-grit sandpaper to further refine the surface and ensure a uniform texture.
After sanding, use a tack cloth or microfiber cloth to thoroughly remove any dust and debris from the table’s surface. It’s essential to achieve a clean, dust-free surface before proceeding to the next step.
By meticulously sanding the table, you’re laying the foundation for a flawless sealing process. The smooth and properly textured surface will allow the sealant to adhere evenly, resulting in a professional-looking finish that enhances the table’s durability and aesthetic appeal.
With the table now expertly sanded and prepped, you’re ready to move on to the next exciting phase of the sealing process: applying the sealant.
Step 2: Applying the Sealant
With the beer pong table expertly sanded and prepared, it’s time to apply the sealant. The sealant serves as a protective barrier, safeguarding the table from spills, stains, and the rigors of enthusiastic gameplay. Whether you opt for a wood sealant or polyurethane sealant, the application process remains consistent.
Before starting, ensure that your workspace is still well-ventilated, and the table’s surface is clean and free of any dust or debris. If you’re working outdoors, be mindful of wind and debris that may affect the application process.
Using a high-quality paintbrush or foam brush, begin applying the sealant in smooth, even strokes, following the direction of the wood grain. It’s crucial to maintain a consistent application to achieve a uniform finish. Take care to avoid drips or pooling of the sealant, as these can result in an uneven surface.
Depending on the specific sealant you’ve chosen, you may need to apply multiple coats to achieve the desired level of protection and sheen. Refer to the manufacturer’s instructions for guidance on the number of coats recommended for optimal results.
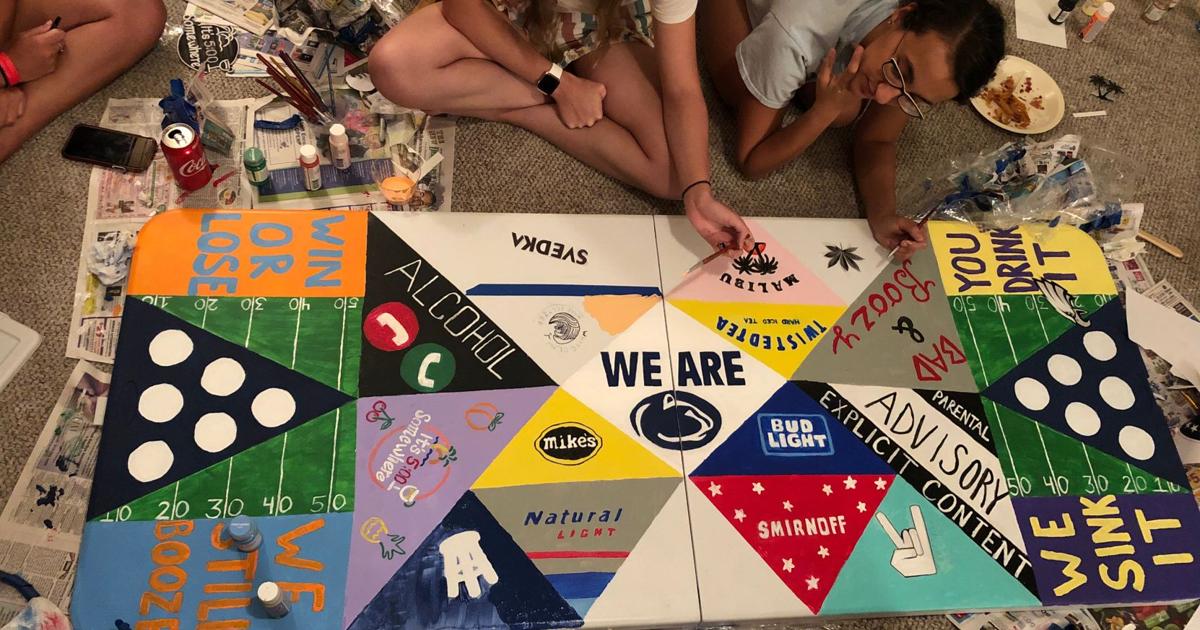
If you’re incorporating designs or patterns into the table, such as sports team logos or intricate artwork, consider using masking tape to create clean, defined edges. This extra step adds a personalized touch to your beer pong table while showcasing your creativity.
As you apply the sealant, take your time and maintain a steady pace to ensure thorough coverage and a professional finish. Once the entire surface is coated, allow the sealant to dry according to the manufacturer’s recommended drying time.
By diligently applying the sealant, you’re not only protecting the table but also elevating its visual appeal. The sealant acts as a shield, preserving the table’s pristine condition and enhancing its overall durability.
With the sealant expertly applied, it’s time to proceed to the next crucial step: allowing the sealant to dry and cure.
To seal a beer pong table, use a clear polyurethane sealant to protect the surface from spills and damage. Apply multiple thin coats for best results, and allow each coat to dry completely before applying the next.
Step 3: Drying and Curing
After applying the sealant to your beer pong table, the next vital step is allowing it to dry and cure properly. This phase is essential for the sealant to bond with the table’s surface and form a robust, protective layer that can withstand the demands of gameplay and social gatherings.
Once the sealant has been applied, it’s crucial to allow the table to dry in a well-ventilated area, free from dust and debris. The drying time can vary depending on factors such as temperature, humidity, and the specific sealant used. Refer to the manufacturer’s instructions for the recommended drying time to ensure optimal results.
During the drying process, it’s important to protect the table from airborne particles that may settle on the surface. If you’re working outdoors, consider covering the table with a breathable cloth or mesh to prevent dust and debris from compromising the sealant’s finish.
As the sealant dries, it begins the crucial process of curing, where it hardens and forms a protective barrier. This curing phase is essential for the sealant to achieve its maximum durability and resilience. While the sealant may feel dry to the touch, it’s important to allow ample time for complete curing before subjecting the table to regular use.
Once the sealant has fully dried and cured, your beer pong table will be fortified with a resilient, protective finish that enhances its longevity and maintains its aesthetic appeal. The thorough drying and curing process ensure that the sealant effectively safeguards the table from spills, scratches, and the impact of intense gameplay, allowing it to remain a centerpiece of entertainment for years to come.
With the sealant successfully dried and cured, you’re ready to explore the optional step of adding additional coats for enhanced protection and a polished finish.
Read more: How Thick Should A Ping Pong Table Be?
Step 4: Adding Additional Coats (Optional)
While a single coat of sealant provides effective protection for your beer pong table, adding additional coats can further enhance its durability and aesthetic appeal. The decision to apply multiple coats depends on your preference for a higher level of protection and a glossier finish.
If you choose to add extra coats, it’s essential to assess the condition of the initial sealant layer. Ensure that it has dried and cured completely before proceeding with additional coats. Thoroughly inspect the table’s surface for any imperfections, uneven areas, or areas that may benefit from added protection.
Before applying additional coats, lightly sand the surface with fine-grit sandpaper to create a slightly rough texture for the new coat to adhere to. This step promotes optimal adhesion and a seamless integration of the new layer with the existing sealant.
Once the surface has been lightly sanded, proceed to apply the additional coat of sealant using the same meticulous technique employed for the initial application. Maintain even strokes and consistent coverage to achieve a uniform finish that complements the previous coat.
After applying the extra coats, allow the sealant to dry and cure according to the manufacturer’s recommendations. This additional drying and curing phase further solidifies the protective layer, ensuring that your beer pong table is fortified against spills, stains, and the rigors of gameplay.
By adding extra coats of sealant, you’re not only bolstering the table’s resilience but also intensifying its visual allure. The glossy finish achieved through multiple coats elevates the table’s appearance, making it a striking centerpiece for entertainment and social gatherings.
With the optional step of adding additional coats completed, your beer pong table is now fortified with a robust, multi-layered protective finish that ensures its longevity and enduring appeal.
Conclusion
Congratulations! You’ve successfully navigated the exhilarating journey of sealing your beer pong table, transforming it into a resilient and visually stunning centerpiece for endless hours of entertainment. By following the step-by-step process outlined in this guide, you’ve equipped your table to withstand spills, scratches, and the spirited energy of gameplay, ensuring its longevity and enduring appeal.
Through meticulous sanding, expert application of sealant, and the optional addition of extra coats, you’ve elevated your beer pong table to a new level of durability and aesthetic allure. The protective barrier formed by the sealant not only safeguards the table’s surface but also accentuates its natural beauty, making it a focal point of fun and camaraderie at social gatherings and events.
As you admire your newly sealed beer pong table, take pride in the craftsmanship and care you’ve invested in preserving and enhancing this essential element of recreational enjoyment. Whether it’s a casual game with friends or a lively party, your sealed beer pong table is poised to be the catalyst for unforgettable moments and shared laughter.
Remember, the process of sealing a beer pong table is not just about protection; it’s a celebration of craftsmanship, creativity, and the joy of creating a space for lighthearted competition and connection. Your sealed table stands as a testament to your dedication to quality and your commitment to fostering memorable experiences.
So, gather your friends, set up the cups, and let the games begin. With your expertly sealed beer pong table at the center, you’re ready to embark on countless adventures, creating indelible memories and forging lasting bonds over the spirited clatter of bouncing ping pong balls and the shared triumphs and laughter that define the game.
Here’s to your newly sealed beer pong table, a testament to craftsmanship, camaraderie, and the enduring spirit of fun and recreation.
Frequently Asked Questions about How To Seal A Beer Pong Table
Was this page helpful?
At Storables.com, we guarantee accurate and reliable information. Our content, validated by Expert Board Contributors, is crafted following stringent Editorial Policies. We're committed to providing you with well-researched, expert-backed insights for all your informational needs.
0 thoughts on “How To Seal A Beer Pong Table”