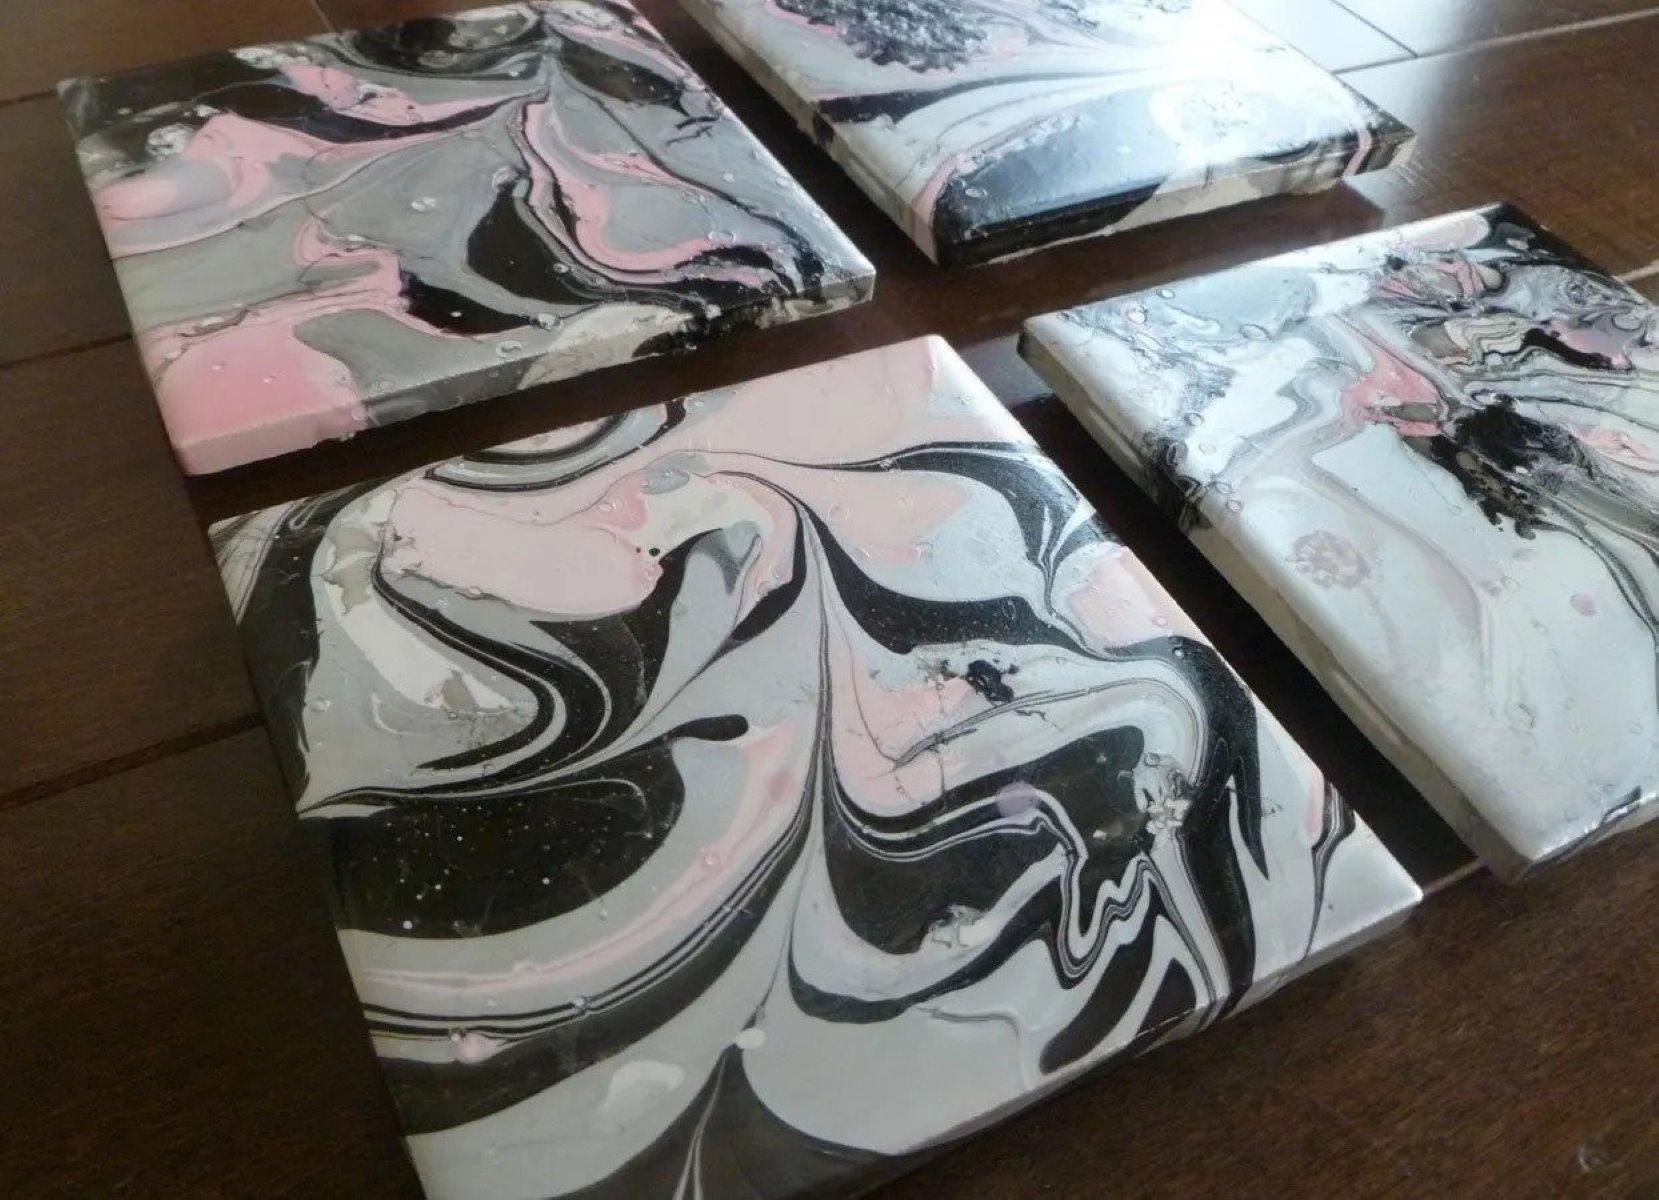

Tableware
How To Seal Coasters After Painting
Modified: January 9, 2024
Learn how to properly seal your painted tableware coasters to ensure long-lasting durability and protection. Follow our step-by-step guide today!
(Many of the links in this article redirect to a specific reviewed product. Your purchase of these products through affiliate links helps to generate commission for Storables.com, at no extra cost. Learn more)
Introduction
Welcome to the wonderful world of tableware! Whether you’re a seasoned pro or just starting out, one thing is for certain – tableware can make all the difference in elevating the dining experience. From elegant plates and bowls to stylish glasses and silverware, the right tableware can add a touch of sophistication and charm to any meal.
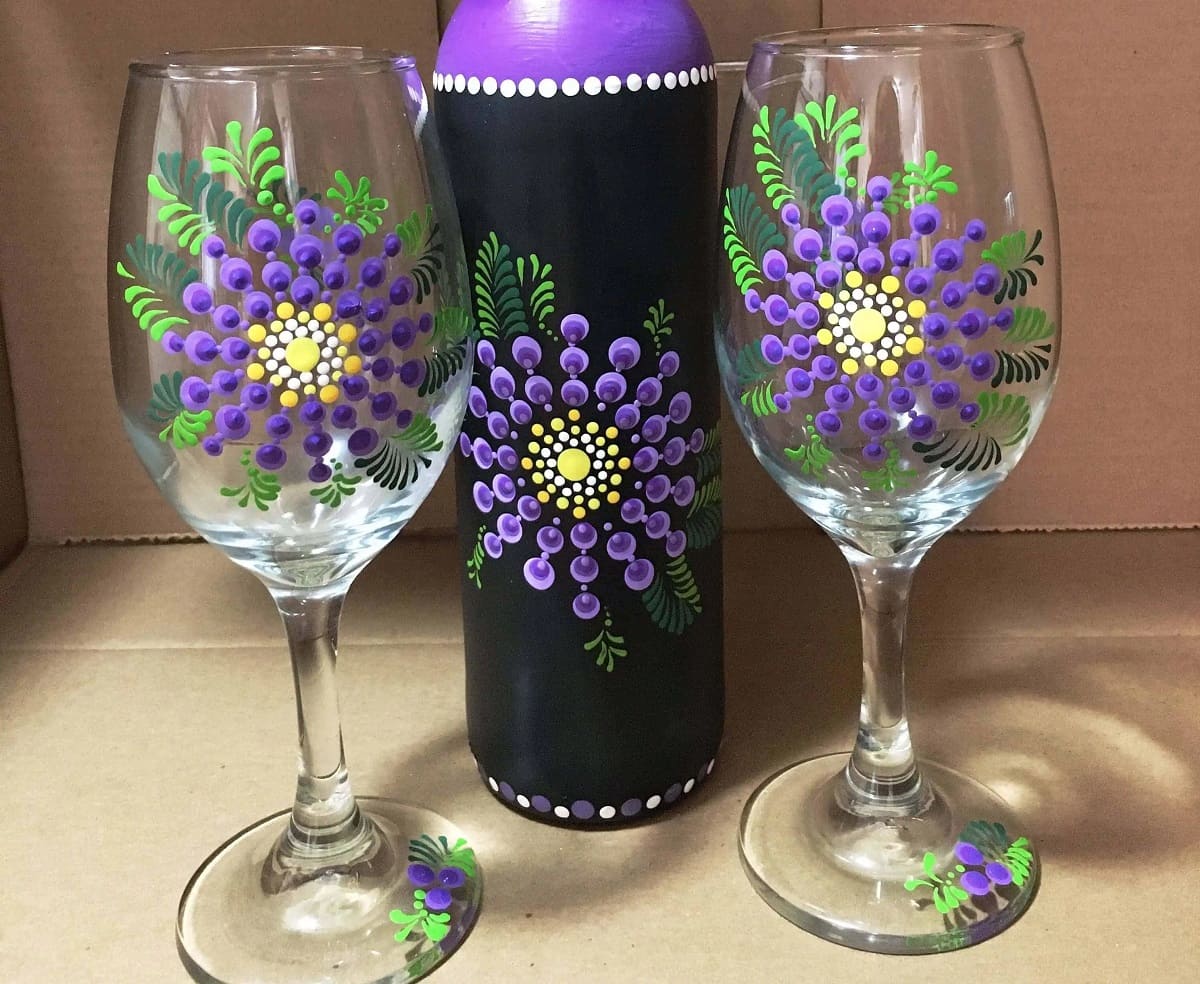
But what happens when you want to personalize your tableware and make it truly your own? That’s where painting and sealing come in. Painting your own tableware allows you to unleash your creativity and add a unique touch to your dining collection. And to ensure that your painted designs last for years to come, it’s essential to properly seal your coasters.
In this article, we’ll guide you through the step-by-step process of sealing your coasters after painting them. We’ll cover everything from preparing the coasters to choosing the right sealant and applying it effectively. So, grab your paintbrushes and let’s get started!
Key Takeaways:
- Unleash your creativity and personalize your tableware by painting and sealing coasters. Follow the step-by-step process to ensure vibrant, protected, and durable designs that elevate your dining experience.
- Choose the right sealant and apply it effectively to preserve your painted coasters. Consider material compatibility, finish preference, and durability for long-lasting, personalized tableware.
Read more: How To Seal Resin Coasters
Materials Needed
Before you begin the process of sealing your coasters, it’s important to gather all the necessary materials. Here’s what you’ll need:
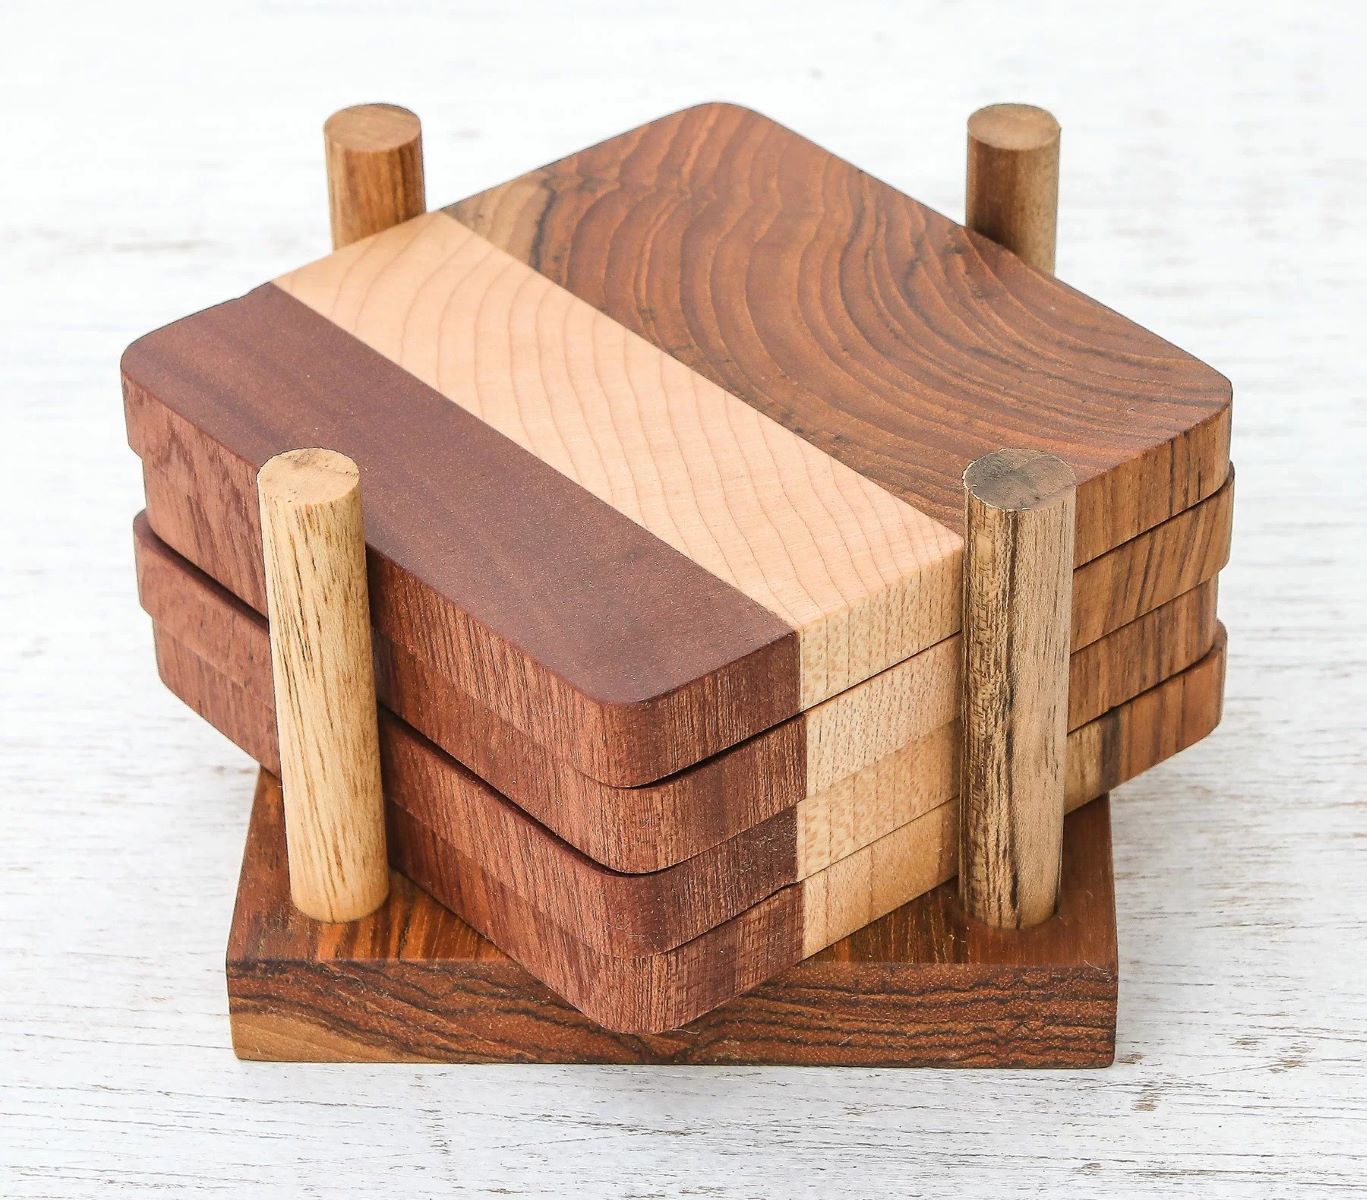
- Coasters: Start with a set of plain coasters made of materials such as ceramic, wood, or cork. These will serve as your canvas for painting.
- Paints: Choose acrylic paints in the colors of your choice. Ensure that the paints are water-based and suitable for the material of your coasters.
- Paintbrushes: Get a variety of paintbrushes in different sizes to allow for different painting techniques.
- Sealant: Look for a clear, water-based sealant that is compatible with the material of your coasters. Options include polyurethane, varnish, or resin.
- Paint Palette: Use a palette or palette paper to mix and blend your paints.
- Painting Supplies: Have a cloth or paper towels handy for any spills or cleanups that may occur during the painting process.
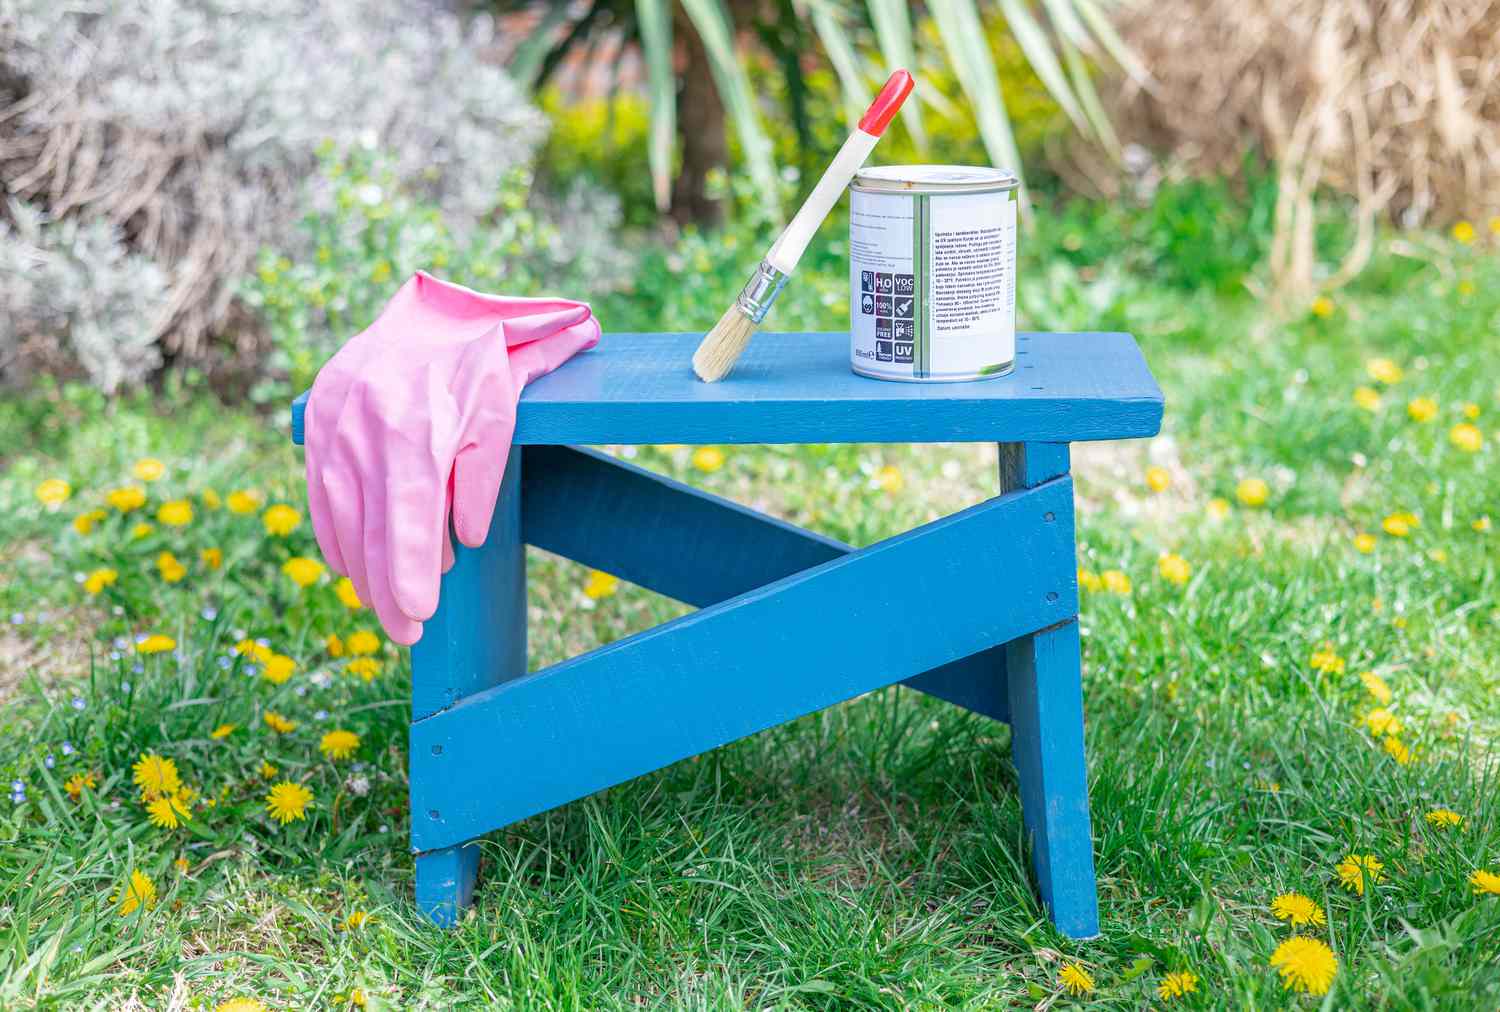
- Disposable Gloves: Protect your hands from paint and sealant by wearing disposable gloves.
- Protective Surface: Use a protective covering, such as newspaper or a drop cloth, to prevent any paint or sealant from damaging your work surface.
- Ventilation: Ensure that you have proper ventilation in the painting area, as some sealants may emit fumes.
By having all these materials ready, you’ll be well-prepared to seal your coasters effectively and efficiently.
Step 1: Preparing the Coasters
Before you can begin painting and sealing your coasters, it’s crucial to properly prepare them. Follow these steps to ensure your coasters are clean and ready for the painting process:
- Clean the coasters: Use a damp cloth or sponge to clean the surface of the coasters and remove any dust or debris. This will help the paint adhere properly and ensure a smooth finish.
- Sand the coasters (if necessary): If your coasters have a glossy or uneven surface, lightly sand them using fine-grit sandpaper. This will create a slightly rough texture that will enhance paint adhesion.
- Smooth the edges (if necessary): Examine the edges of your coasters and use sandpaper or a sanding block to smooth out any rough or sharp edges. This will give your coasters a polished look.
- Wipe off any residue: After sanding, wipe off any sanding residue or dust from the coasters using a clean, dry cloth. This will prevent any particles from interfering with the painting process.
- Ensure a dust-free environment: Before you start painting, make sure the area is free of any dust or airborne particles. Cover nearby surfaces to prevent any accidental spills or splatters from ruining your work area.
By taking the time to properly prepare your coasters, you’ll create a clean canvas for your painting and ensure better results in the final sealed product.
Step 2: Painting the Coasters
Now that your coasters are prepped and ready, it’s time to unleash your creativity and start painting! Follow these steps to paint your coasters:
- Plan your design: Before you begin painting, decide on the design or pattern you want to create on your coasters. You can sketch it out on a piece of paper or visualize it in your mind. This will help you stay focused and organized during the painting process.
- Start with a base coat: To create a solid foundation for your design, apply a base coat of paint to the entire surface of each coaster. Use a wide brush to cover the area evenly. Let the base coat dry completely before moving on to the next step.
- Add layers and details: Once the base coat is dry, start adding layers of paint to create your desired design. Use different brushes to achieve various textures and effects. Let each layer dry before adding another to prevent smudging or mixing of colors.
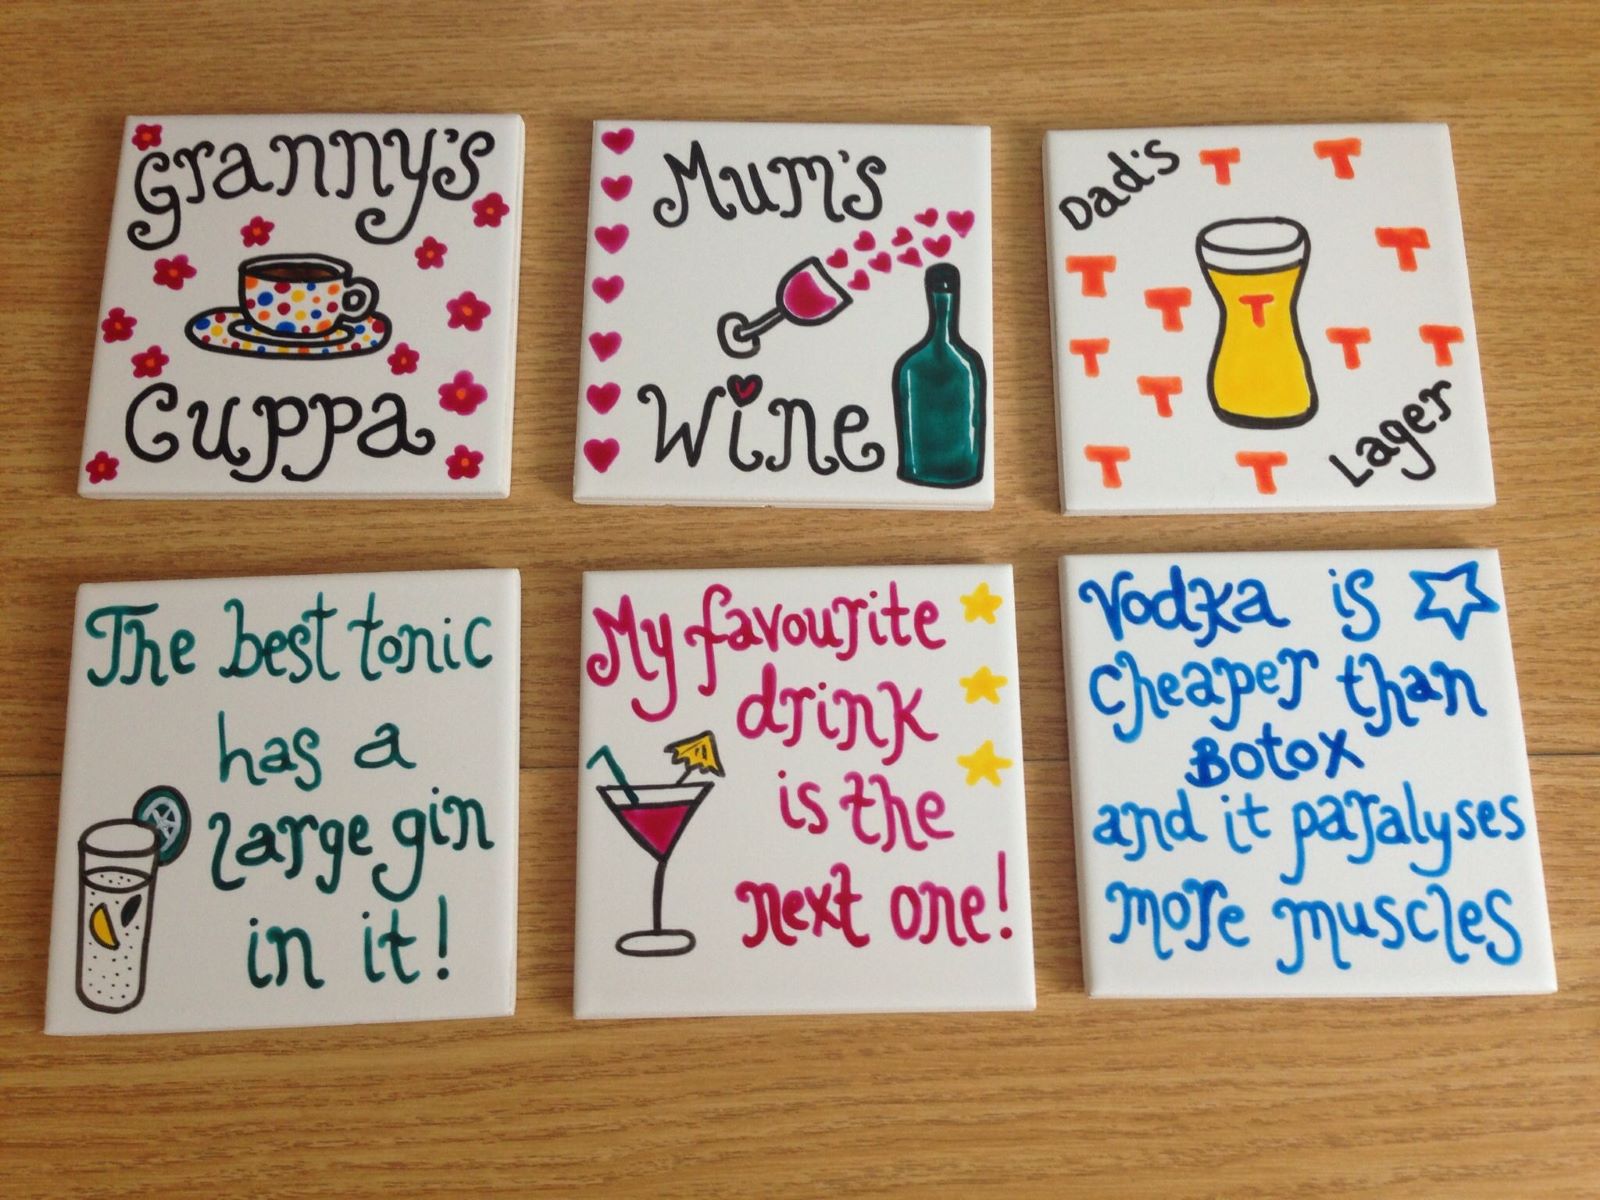
- Experiment with techniques: Don’t be afraid to try different painting techniques, such as blending colors, stippling, or using stencils. Get creative and explore different ways to bring your design to life.
- Allow for drying time: Painting can be a time-consuming process, as each layer needs to dry thoroughly before moving on. Be patient and give each coat enough time to dry before applying another layer or adding details.
- Touch up and refine: Once you’re satisfied with your design, take a step back and assess the overall look. Make any necessary touch-ups or refinements using a small brush. Pay attention to details and make sure everything looks neat and well-defined.
Remember, painting is all about expressing your creativity, so have fun and enjoy the process. Don’t worry about perfection – imperfections can add character and uniqueness to your coasters.
Step 3: Allowing the Paint to Dry
After completing the painting phase, it’s crucial to let the paint completely dry before moving on to sealing your coasters. Follow these steps to ensure proper drying:
- Check the manufacturer’s instructions: Different types of paint have varying drying times. Refer to the product label or manufacturer’s instructions to determine the recommended drying time for the specific paint you used.
- Allow adequate air circulation: Place your painted coasters in a well-ventilated area to promote air circulation, which aids in the drying process. Avoid stacking the coasters, as this may lead to smudging or sticking.
- Be patient: Give the paint ample time to dry. Depending on the thickness of your paint layers and the humidity levels in your environment, it may take a few hours or even overnight for the paint to fully dry.
- Perform a touch test: Before proceeding with sealing, perform a touch test to ensure your paint is dry. Gently touch a small area of the painted surface to check if it feels tacky or smears. If the paint comes off, it needs more drying time.
- Double-check for dryness: To confirm that the paint is completely dry, inspect the surface closely. Look for any signs of wetness, shine, or smudging. If everything appears dry and stable, you’re ready to move on to the next step.
Properly allowing the paint to dry before sealing is essential for achieving a flawless result. Rushing this step can cause the paint to smudge or peel when the sealant is applied. Take your time and ensure the paint is fully cured before proceeding.
After painting your coasters, use a clear acrylic sealer to protect the paint and prevent it from chipping or fading. Apply multiple thin coats for best results.
Read more: How To Seal Diamond Art Coasters
Step 4: Choosing a Sealant
Choosing the right sealant is crucial to protect and enhance the longevity of your painted coasters. With various options available, consider the following factors when selecting a sealant:
- Type of material: Consider the material of your coasters when choosing a sealant. Different materials, such as ceramic, wood, or cork, may require specific sealants to ensure proper adhesion and protection.
- Finish preference: Determine the type of finish you want for your coasters. Sealants come in different finishes, including matte, satin, and glossy. Consider the aesthetic you’re trying to achieve and select a sealant that complements your design.
- Durability and resistance: Ensure the sealant provides adequate protection against moisture, heat, and daily wear and tear. Look for a sealant that is water-resistant, heat-resistant, and durable enough to withstand frequent handling.
- Application method: Consider the ease of application when selecting a sealant. Some sealants come in spray form, while others require brush-on application. Choose a method that you are comfortable with and suits your specific project requirements.
- Safety considerations: Take into account any safety concerns associated with the sealant you choose. Consider factors such as odor, toxicity, and proper ventilation requirements. Opt for a sealant that aligns with your preferences and the environment you are working in.
Furthermore, it’s always a good idea to read product reviews and recommendations from fellow artists or crafters who have used the sealant for similar projects. Their experiences can provide valuable insights and help you make an informed decision.
By carefully considering these factors, you can choose a sealant that not only protects your painted coasters but also enhances their appearance.
Step 5: Applying the Sealant
Now that you’ve chosen the perfect sealant for your coasters, it’s time to apply it and provide a protective barrier for your artwork. Follow these steps to effectively apply the sealant:
- Prepare the workspace: Set up your workspace in a well-ventilated area and protect the surrounding surfaces with newspaper or a drop cloth.
- Read the instructions: Carefully read the instructions provided with your chosen sealant. Familiarize yourself with the application method and any specific guidelines or precautions.
- Start with a test area: If you’re using a new sealant or trying it for the first time, it’s a good idea to do a test application on a small, inconspicuous area of one coaster. This will allow you to check the compatibility and appearance of the sealant on your painted surface.
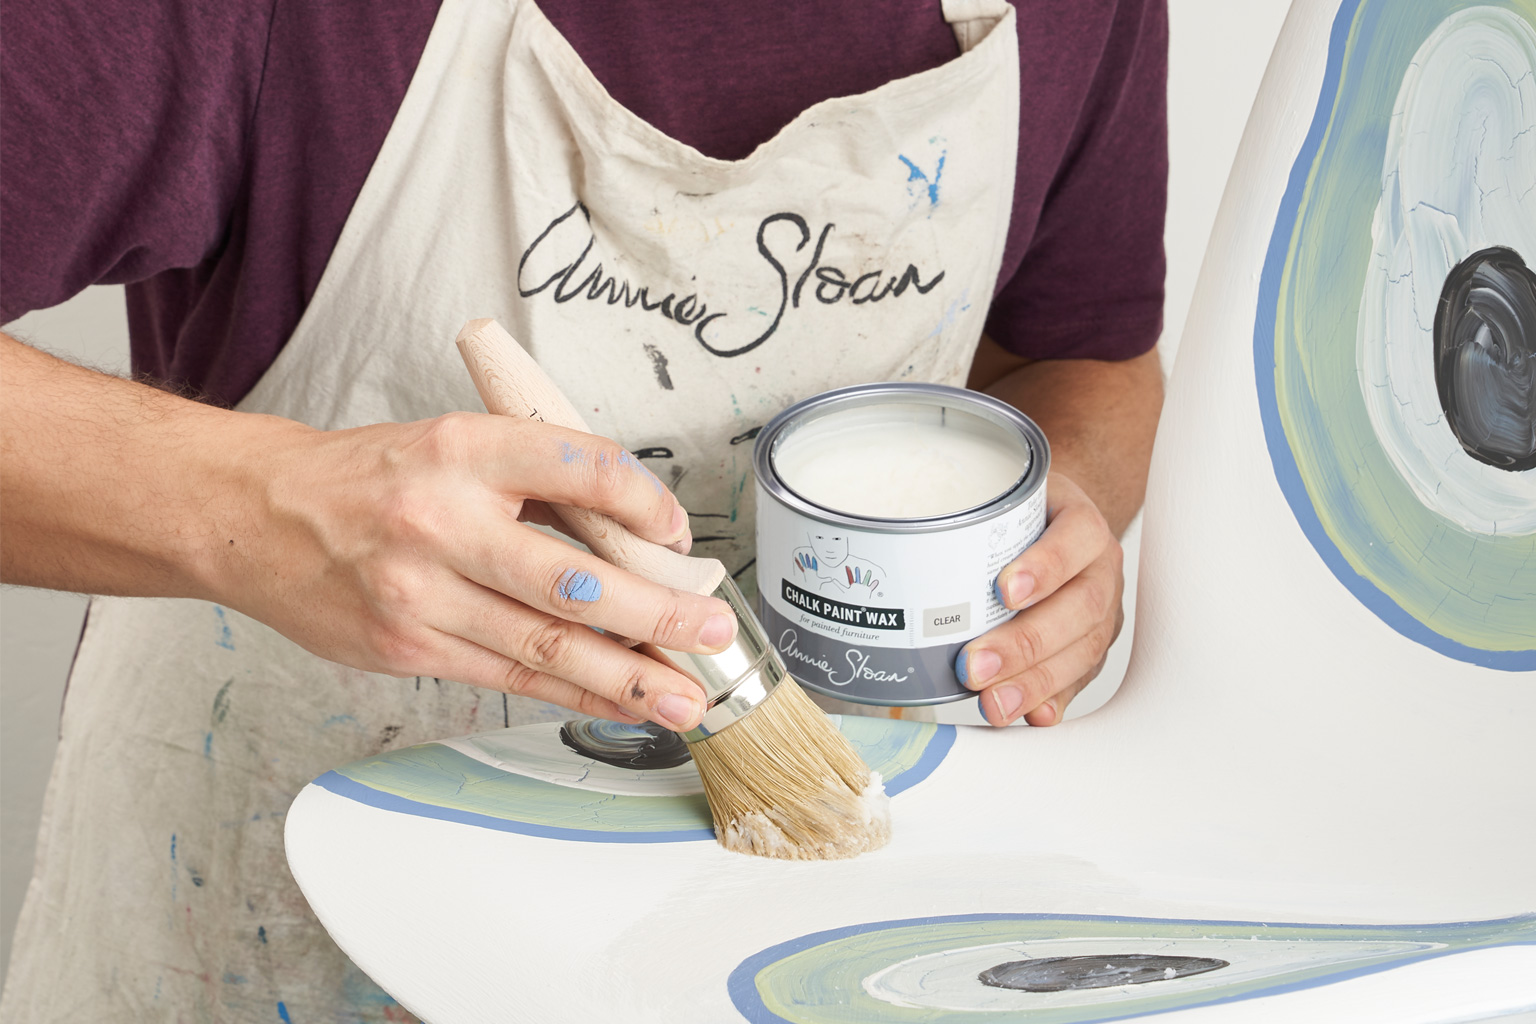
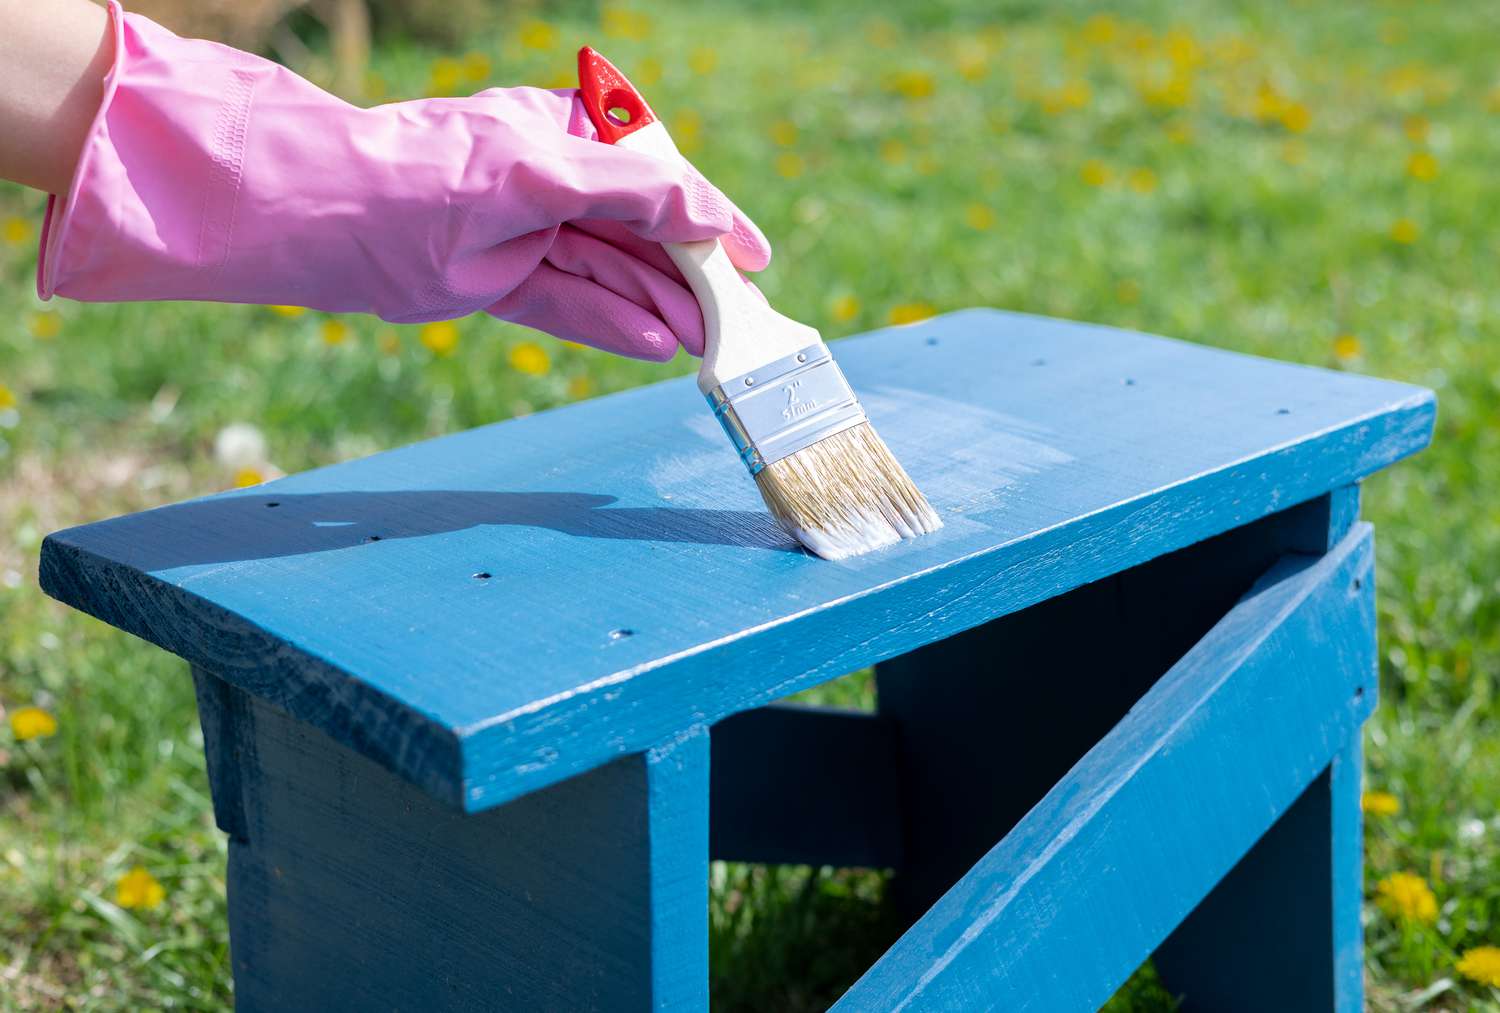
- Apply a thin, even layer: Begin by applying a thin, even layer of the sealant to the surface of each coaster using a brush or sponge. Work in one direction to ensure a smooth and consistent finish.
- Avoid excessive brushing or dragging: Be mindful not to overbrush or drag the sealant, as this can cause streaks or brush marks on the surface. Apply the sealant gently and avoid going over the same area too many times.
- Seal the edges: Pay extra attention to the edges of the coasters, as they often receive the most wear and tear. Ensure that they are adequately sealed to provide complete protection for your artwork.
- Allow for drying time: Follow the drying time specified by the sealant manufacturer. Depending on the sealant type, it may take a few hours or longer for the first layer to dry. Avoid touching or moving the coasters during this time.
- Apply additional coats (optional): Depending on the desired level of protection, you may choose to apply additional coats of sealant. Follow the manufacturer’s instructions for the recommended number of coats and drying times between each layer.
By following these application steps, you’ll ensure that your coasters receive a thorough and even coat of sealant, protecting your painted designs and preserving their beauty for years to come.
Step 6: Allowing the Sealant to Dry
After applying the sealant to your coasters, it’s essential to allow them to dry properly for optimal results. Follow these steps to ensure the sealant is fully cured:
- Refer to the manufacturer’s instructions: Different sealants have varying drying times, so refer to the product label or manufacturer’s instructions to determine the recommended drying time for the specific sealant you used.
- Avoid touching or moving the coasters: During the drying process, it’s important to avoid touching or moving the coasters to prevent smudging or compromising the sealant’s effectiveness. Keep them in a safe and undisturbed location.
- Provide sufficient air circulation: Place the coasters in a well-ventilated area to promote air circulation, which aids in the drying process. This will help the sealant cure evenly and efficiently.
- Be patient: Drying times can vary depending on the sealant, temperature, humidity, and number of coats applied. It’s best to allow at least 24 to 48 hours for the sealant to completely dry and cure.
- Perform a touch test: To check if the sealant is dry, gently touch a small, inconspicuous area of one coaster to see if it feels tacky or leaves any residue on your finger. If not, it’s a good indication that the sealant has dried properly.
- Double-check for dryness: Inspect the entire surface of the coasters closely to ensure there are no areas that feel damp or look shiny. If you notice any signs of wetness or stickiness, give the coasters more time to dry before using or storing them.
Properly allowing the sealant to dry is crucial for its effectiveness in protecting your painted coasters. Rushing this step can compromise the integrity of the sealant and result in a less durable finish. Take your time and ensure the sealant is fully cured before handling or using your coasters.
Conclusion
Sealing your painted coasters is the final step in transforming them into functional and durable pieces of tableware. By following the step-by-step process outlined in this article, you can ensure that your coasters remain vibrant, protected, and ready to enhance your dining experience for years to come.
We started by preparing the coasters, ensuring they were clean and ready for the painting process. Then, we delved into the exciting stage of painting, where you had the opportunity to unleash your creativity and design unique patterns or images on your coasters.
After allowing the paint to dry thoroughly, we discussed the crucial step of choosing the right sealant. By considering factors such as material compatibility, desired finish, durability, and safety, you can select a sealant that suits your specific needs and preferences.
Next, we explored the process of applying the sealant, emphasizing the importance of even application and proper drying time between coats. Applying the sealant not only adds a protective layer but also enhances the visual appeal of your painted coasters.
Lastly, we highlighted the significance of allowing the sealant to dry completely. Patience is key here, as allowing sufficient drying time ensures a strong and long-lasting seal that will safeguard your painted designs.
With the conclusion of this guide, you are now equipped with the knowledge and steps necessary to seal your painted coasters effectively. Whether you’re creating a set for your own home or crafting personalized gifts for loved ones, this process allows you to express your creativity and add a personal touch to your tableware collection.
So, embrace your artistic side, choose your favorite colors, and dive into the wonderful journey of painting and sealing your coasters. Your dining table will never be the same!
Frequently Asked Questions about How To Seal Coasters After Painting
Was this page helpful?
At Storables.com, we guarantee accurate and reliable information. Our content, validated by Expert Board Contributors, is crafted following stringent Editorial Policies. We're committed to providing you with well-researched, expert-backed insights for all your informational needs.


0 thoughts on “How To Seal Coasters After Painting”