Furniture
How To Wire A Lamp Post Light Sensor
Modified: May 6, 2024
Discover how to wire a lamp post light sensor and enhance your furniture with this step-by-step guide. Illuminate your outdoor space with ease!
(Many of the links in this article redirect to a specific reviewed product. Your purchase of these products through affiliate links helps to generate commission for Storables.com, at no extra cost. Learn more)
Introduction
Welcome to our guide on how to wire a lamp post light sensor. Adding a light sensor to your lamp post can greatly enhance its functionality, providing convenient and energy-efficient lighting for your outdoor spaces. Whether you want to enhance the security of your property or simply improve the aesthetics of your outdoor lighting, installing a light sensor is a simple and effective solution.
In this article, we will take you through the step-by-step process of wiring a lamp post light sensor. We will cover everything from gathering the necessary tools and materials to testing the light sensor and securing the installation. So, let’s get started!
Before we dive into the instructions, let’s briefly discuss what a light sensor is and how it works. A light sensor, also known as a photoelectric sensor or a photocell, is an electronic device that detects the presence or absence of light. When installed in a lamp post, the light sensor can automatically turn the light on at dusk and off at dawn, ensuring that your outdoor area is well-lit during the night while conserving energy during the day.
Now that you understand the benefits of wiring a lamp post light sensor, let’s move on to the first step: gathering the necessary tools and materials.
Key Takeaways:
- Enhance outdoor lighting: Wiring a lamp post light sensor adds convenience and energy efficiency, automatically illuminating outdoor spaces at dusk and conserving energy during the day.
- Step-by-step installation: From gathering tools to testing the sensor, this guide provides a comprehensive and easy-to-follow process for wiring a lamp post light sensor.
Read more: How To Light A Gas Lamp Post
Step 1: Gathering the Necessary Tools and Materials
Before you can start wiring a lamp post light sensor, you’ll need to gather the following tools and materials:
- Light sensor – Purchase a high-quality light sensor that is compatible with your lamp post and electrical system. Look for a sensor that is weather-resistant and designed for outdoor use.
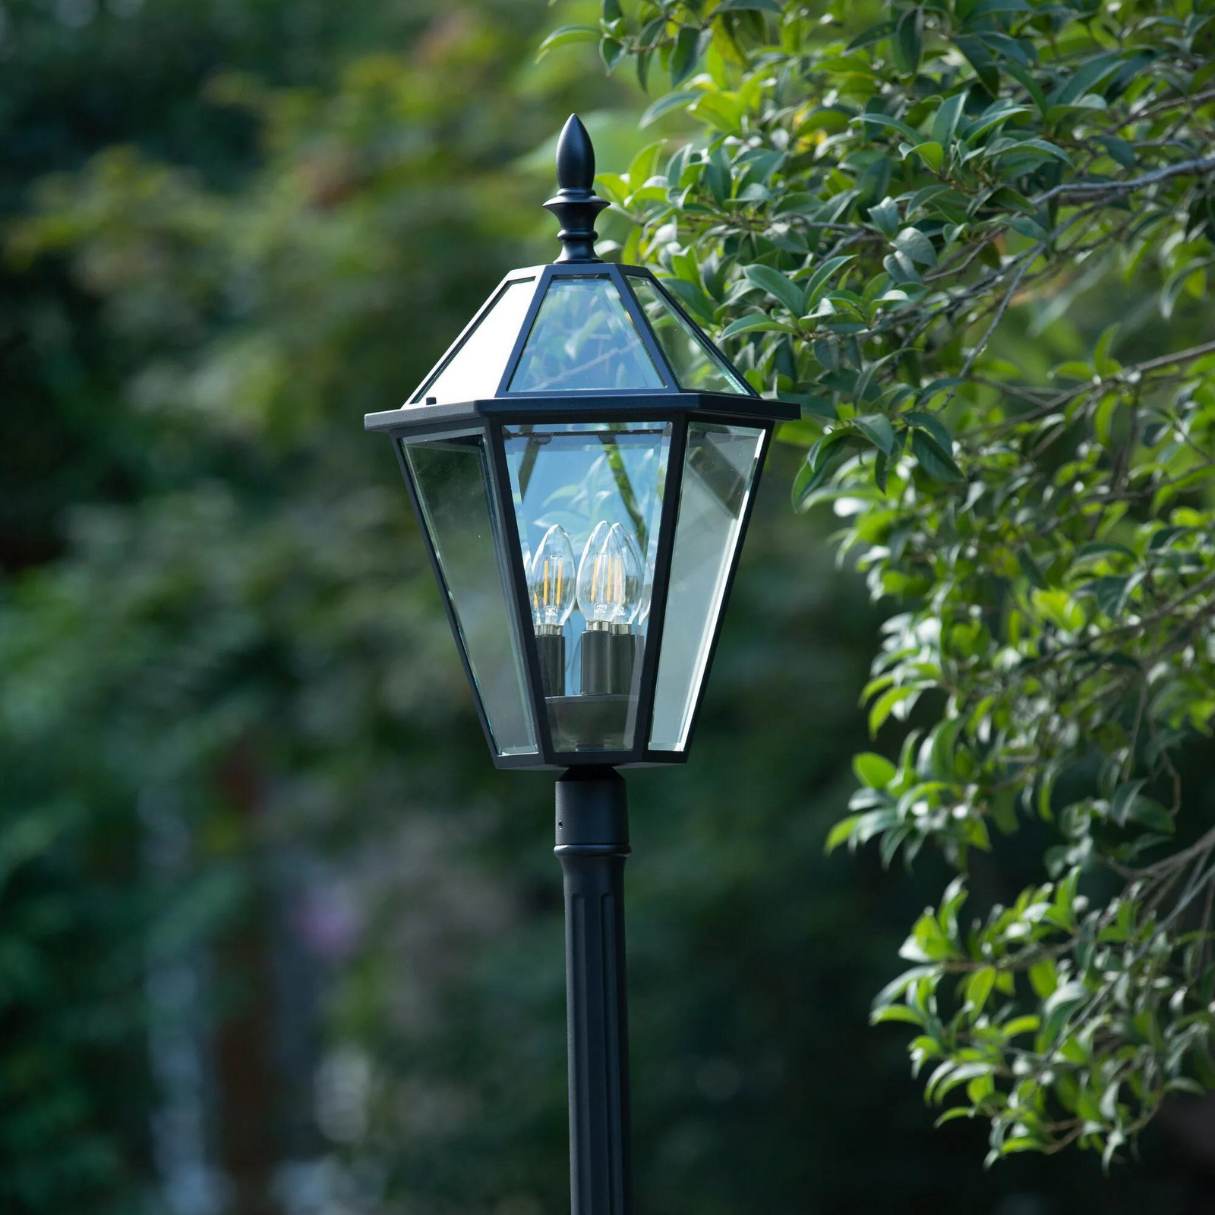
- Lamp post – Make sure you have a lamp post with a suitable location to install the light sensor. Ensure that the lamp post has a power source nearby for wiring.
- Screwdriver – You’ll need a screwdriver to remove and tighten screws during the installation process.
- Wire strippers – Wire strippers are essential for removing the insulation from the ends of the wires.
- Wire connectors – These small devices help secure the connections between the wires.
- Electrical tape – Electrical tape is used to insulate and protect the wire connections.
- Utility knife – A utility knife is handy for cutting and trimming wires and insulation.
- Wire nuts – Wire nuts are used to join and protect the exposed wire ends.
Make sure you have all these tools and materials ready before you proceed with the installation. It’s important to have everything on hand to ensure a smooth and efficient process.
Once you have gathered all the necessary tools and materials, you’re ready to move on to the next step: preparing the lamp post.
Step 2: Preparing the Lamp Post
Now that you have gathered your tools and materials, it’s time to prepare the lamp post for the light sensor installation. Follow these steps:
- Turn off the power: Before you start working on the lamp post, it is crucial to turn off the power source. Locate the circuit breaker that supplies power to the lamp post and switch it off to ensure your safety.
- Remove the lamp: Depending on the design of your lamp post, you may need to remove the existing lamp before proceeding. Use your screwdriver to loosen and remove any screws holding the lamp in place. Then, carefully disconnect the electrical wires connected to the lamp and set the lamp aside.
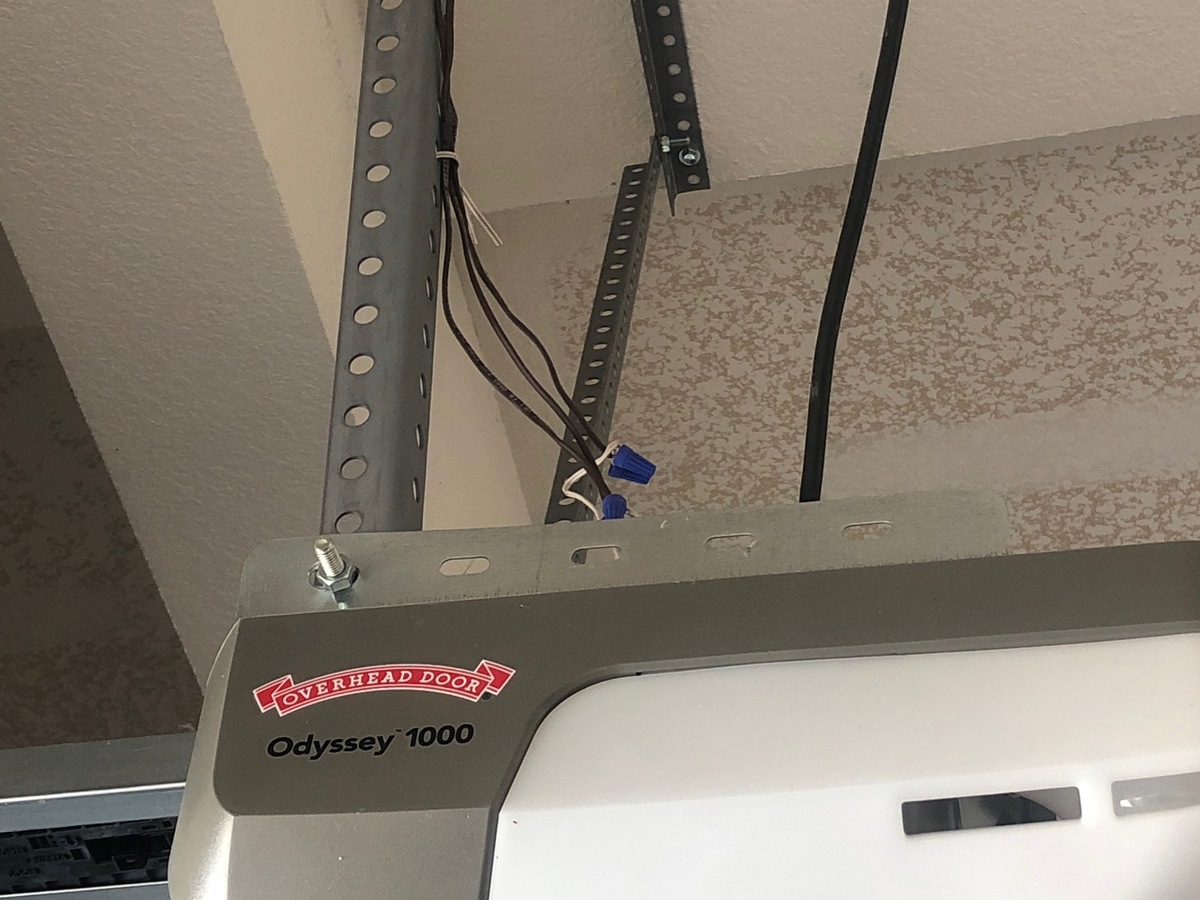
- Prepare the wiring area: Take a close look at the wiring area inside the lamp post. Clear out any debris or obstructions that may impede your work. Ensure there is enough space for the light sensor and proper placement of the wires.
- Inspect the wiring: Take a moment to inspect the condition of the wiring inside the lamp post. Look for any signs of damage or corrosion. If you notice any issues, it is recommended to replace the damaged wiring to ensure a reliable and safe installation.
By following these steps, you have successfully prepared the lamp post for the light sensor installation. Ensure that the area is clean and the wiring is in good condition before moving on to the next step.
Next, we will move on to step 3: installing the light sensor.
Step 3: Installing the Light Sensor
With the lamp post prepared, it’s time to install the light sensor. Follow these steps:
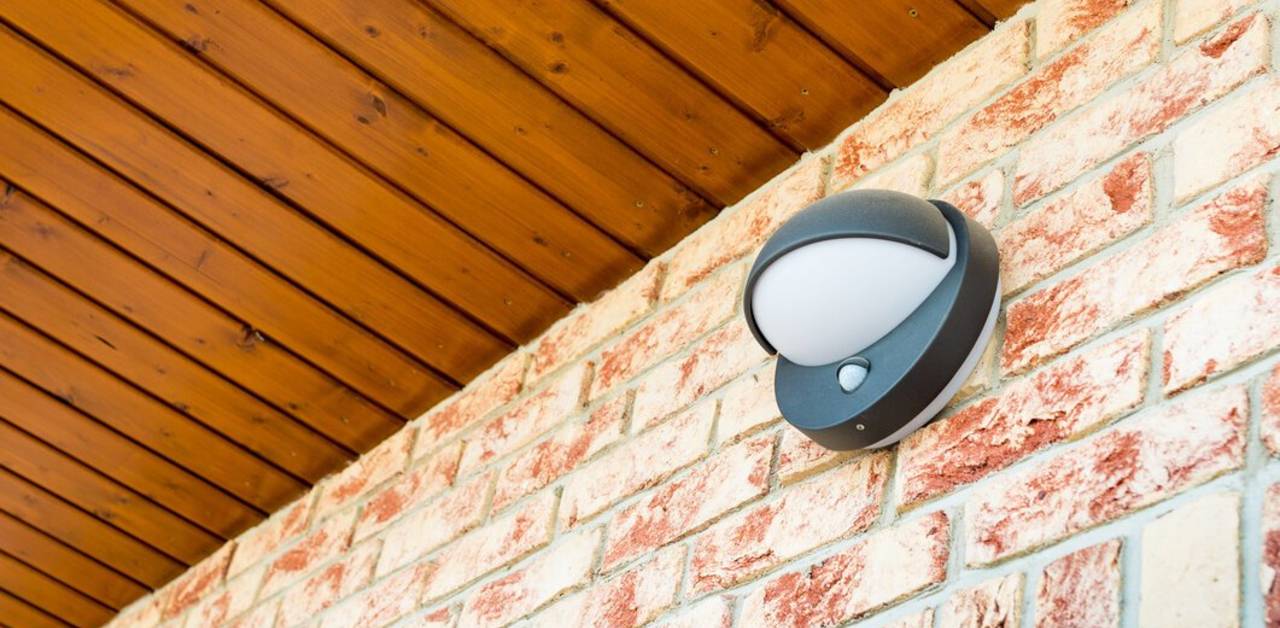
- Select the mounting location: Choose a suitable location on the lamp post to mount the light sensor. Consider factors such as easy access, visibility, and sufficient exposure to light. Typically, the sensor is installed near the top of the lamp post.
- Align the light sensor: Hold the light sensor against the lamp post in the chosen location. Make sure it is straight and level. Use a pencil or marker to mark the screw holes on the lamp post where the sensor will be mounted.
- Drill pilot holes: Using an appropriate-sized drill bit, carefully drill pilot holes at the marked locations on the lamp post. These holes will allow for easier installation of the screws that will hold the light sensor in place.
- Attach the light sensor: Align the screw holes on the light sensor with the pilot holes on the lamp post. Insert screws through the holes and tighten them snugly using a screwdriver.
- Check the placement: Once the light sensor is securely attached to the lamp post, double-check its positioning. Ensure that it is properly aligned and well-secured.
By following these steps, you have successfully installed the light sensor on your lamp post. The light sensor will now act as the control mechanism for turning the lamp on and off based on the surrounding light conditions.
Next, let’s move on to step 4: connecting the wires.
When wiring a lamp post light sensor, make sure to follow the manufacturer’s instructions carefully and ensure that the power is turned off before beginning the installation. It’s also important to use the correct gauge of wire for the installation to ensure proper function and safety.
Step 4: Connecting the Wires
Now that the light sensor is installed on the lamp post, it’s time to connect the wires. Follow these steps:
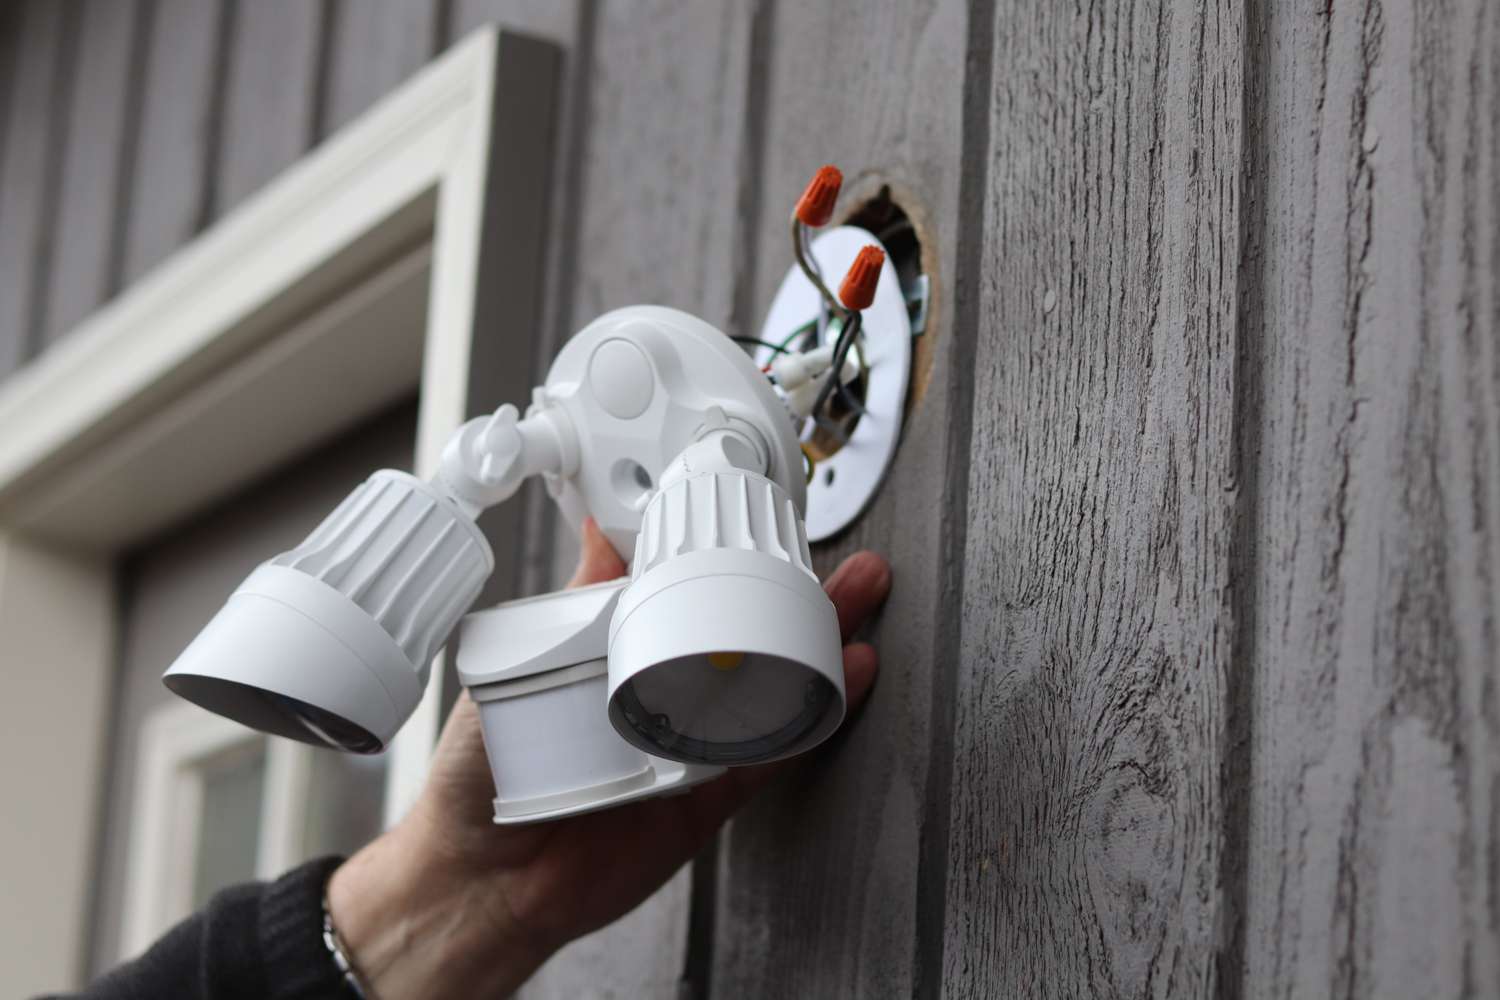
- Identify the wires: Take a close look at the wiring inside the lamp post. Identify the wires coming from the power source and the wires attached to the light sensor. Generally, there will be a black wire (hot wire), a white wire (neutral wire), and a green or bare copper wire (ground wire).
- Strip the wire ends: Use wire strippers to carefully strip off about ½ an inch of insulation from the ends of the wires. This will expose the bare wires for proper connection.
- Connect the wires: Connect the corresponding wires together using wire connectors. Typically, you will connect the black wires, the white wires, and the green or bare copper wires together. Make sure to follow the manufacturer’s instructions for proper wiring.
- Secure the connections: Once the wires are connected, use electrical tape to wrap around the wire connectors. This will provide added insulation and protection.
It’s crucial to ensure that the wire connections are secure and properly insulated to prevent any electrical hazards. Take your time and double-check each connection to ensure they are tight and well-protected.
By following these steps, you have successfully connected the wires for your lamp post light sensor. The electrical connections are a crucial aspect of the installation, so it’s important to take care and make sure everything is properly connected.
Next, let’s move on to step 5: testing the light sensor.
Read more: How To Change A Light Bulb In A Lamp Post
Step 5: Testing the Light Sensor
After connecting the wires, it’s time to test the light sensor to ensure it is functioning correctly. Follow these steps:
- Turn on the power: Once all the connections are secure, go to the circuit breaker and turn on the power supply for the lamp post. This will provide electrical power to the light sensor.
- Observe the light sensor: Watch the light sensor as the ambient light conditions change. The light sensor should detect the decrease in light at dusk and automatically turn on the lamp. Similarly, it should detect the increase in light at dawn and turn off the lamp. Observe the light sensor’s response to ensure it is functioning as expected.
- Adjust sensitivity (if necessary): Some light sensors offer adjustable sensitivity settings. If your light sensor allows it, you can adjust the sensitivity to fine-tune its response to light. Follow the manufacturer’s instructions to make any necessary adjustments.
During the testing process, pay attention to any irregularities or issues with the light sensor’s performance. If you encounter any problems, such as the lamp not turning on or off as expected, double-check the wiring connections and consult the manufacturer’s troubleshooting guide.
By testing the light sensor, you can ensure that it is working properly and providing the desired functionality for your lamp post. Once you are satisfied with the test results, you can move on to the final step: securing and finishing the installation.
Let’s proceed to step 6!
Step 6: Securing and Finishing the Installation
With the light sensor tested and functioning correctly, it’s time to secure and finish the installation on your lamp post. Follow these final steps:
- Tighten all screws and connections: Use a screwdriver to carefully tighten all screws on the light sensor, ensuring it is securely attached to the lamp post. Check all wire connections and make sure they are tight and properly insulated with electrical tape.
- Replace the lamp (if applicable): If you had to remove the existing lamp during the installation process, now is the time to reattach it. Carefully align the lamp with the mounting bracket and tighten the screws to secure it in place. Reconnect the electrical wires to the lamp.
- Clean up and inspect: Take a moment to clean up any debris and ensure the area around the lamp post is neat and tidy. Inspect the installation as a whole, checking for any loose components or visible damages.
- Enjoy your newly installed lamp post light sensor: With the installation complete, you can now enjoy the convenience, energy-efficiency, and improved functionality of your lamp post light sensor. Feel free to make any final adjustments to the sensor’s positioning or sensitivity as desired.
By securing and finishing the installation properly, you can ensure the longevity and optimal performance of your lamp post light sensor. Regularly inspect and maintain the sensor to keep it in good working condition.
We hope this step-by-step guide has helped you successfully wire a lamp post light sensor. Remember to follow safety precautions and consult a professional electrician if you are unsure or uncomfortable with any aspect of the installation process.
Thank you for reading and best of luck with your lamp post light sensor installation!
For more helpful guides and insights on furniture and home improvement, be sure to explore our website.
Conclusion
Adding a light sensor to your lamp post can greatly enhance the functionality, convenience, and energy-efficiency of your outdoor lighting. With the step-by-step guide provided in this article, you now have the knowledge and understanding to wire a lamp post light sensor successfully.
We started by gathering the necessary tools and materials, ensuring that we have everything needed for a smooth installation process. Then, we prepared the lamp post by turning off the power, removing the existing lamp if necessary, and inspecting the wiring and wiring area.
The next step involved installing the light sensor itself. We selected an appropriate mounting location, aligned and attached the sensor to the lamp post, and ensured it was securely in place.
After installing the light sensor, we moved on to connecting the wires. This step involved identifying the wires, stripping the wire ends, and securely connecting the corresponding wires using wire connectors and insulating them with electrical tape.
Once the wires were connected, we proceeded to test the light sensor. By observing its response to changes in light conditions and adjusting the sensitivity if necessary, we ensured that the light sensor was functioning properly and providing the desired functionality.
Finally, we secured and finished the installation by tightening all screws and connections, replacing the lamp (if applicable), cleaning up the area, and inspecting the completed installation.
By following these steps, you now have a fully wired lamp post light sensor that provides convenient and energy-efficient lighting for your outdoor spaces. Remember to regularly inspect and maintain the light sensor to ensure its optimal performance.
Thank you for reading this guide, and we wish you success in your lamp post light sensor installation. Enjoy the enhanced functionality and improved outdoor lighting experience!
For more insightful articles and guides on furniture and home improvement, be sure to visit our website.
Now that you've mastered wiring a lamp post light sensor, why not brighten up your outdoor areas even more? Check out our creative patio lighting ideas that transform any outdoor space into a cozy haven. If you're considering a more permanent fixture, our selection of stylish lamp posts for 2024 might just light up your life. And for those who love tech, introducing smart lighting solutions into your home has never been easier. Find out how to make your house both smarter and brighter today!
Frequently Asked Questions about How To Wire A Lamp Post Light Sensor
Was this page helpful?
At Storables.com, we guarantee accurate and reliable information. Our content, validated by Expert Board Contributors, is crafted following stringent Editorial Policies. We're committed to providing you with well-researched, expert-backed insights for all your informational needs.