Home>Home Security and Surveillance>How To Adjust Motion Detector Light Settings
Home Security and Surveillance
How To Adjust Motion Detector Light Settings
Modified: October 20, 2024
Learn how to adjust your motion detector light settings for better home security and surveillance. Find step-by-step instructions and tips to optimize your motion sensor lights.
(Many of the links in this article redirect to a specific reviewed product. Your purchase of these products through affiliate links helps to generate commission for Storables.com, at no extra cost. Learn more)
Introduction
Welcome to the world of motion detector lights, where security meets convenience. In today’s fast-paced world, home security is of paramount importance, and motion detector lights play a crucial role in safeguarding your property. These innovative lighting fixtures are equipped with sensors that detect movement and automatically activate the lights, providing enhanced security and added convenience.
Whether you want to deter potential intruders, illuminate your pathway, or simply make it easier to navigate your property at night, motion detector lights are an excellent addition to any home or business. However, to fully optimize their benefits, it’s essential to understand how to adjust their settings.
In this comprehensive guide, we’ll delve into the different settings of motion detector lights and provide step-by-step instructions on how to adjust them. By the end of this article, you’ll be empowered with the knowledge to customize your motion detector lights according to your specific needs.
So, let’s get started and explore the various settings and adjustments you can make to personalize your motion detector lights!
Key Takeaways:
- Customize your motion detector lights by adjusting time, sensitivity, range, and light duration settings for enhanced security and convenience at home or business.
- Test and troubleshoot your motion detector lights to ensure reliable operation, and reach out to manufacturer’s customer support for further assistance if needed.
Understanding Motion Detector Lights
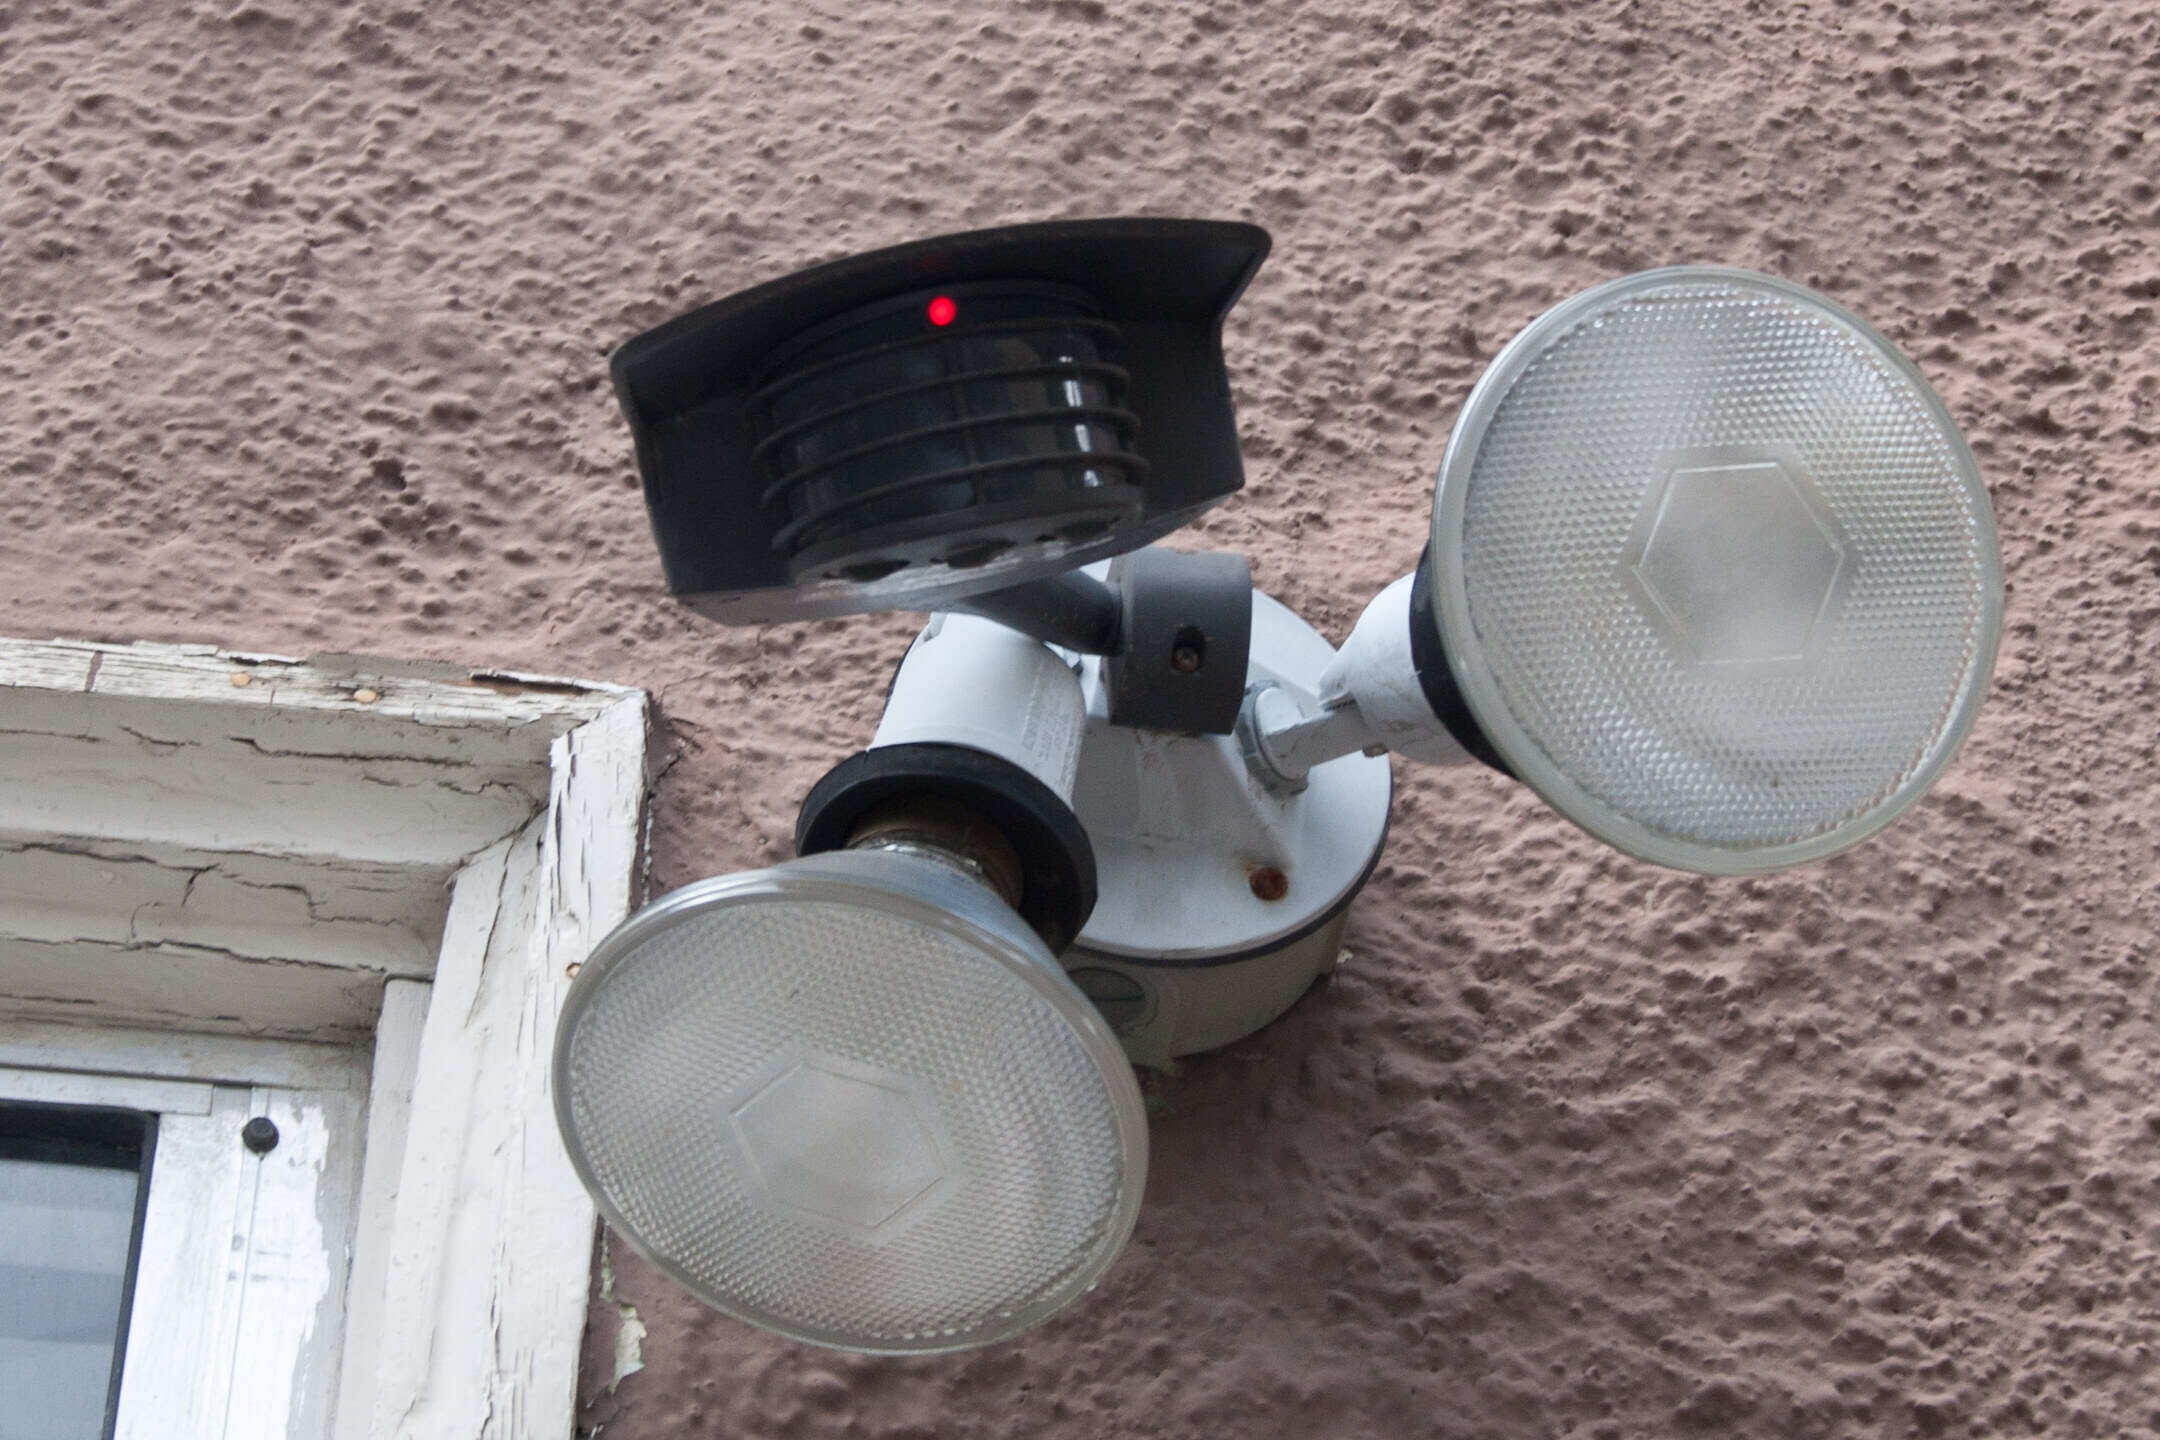
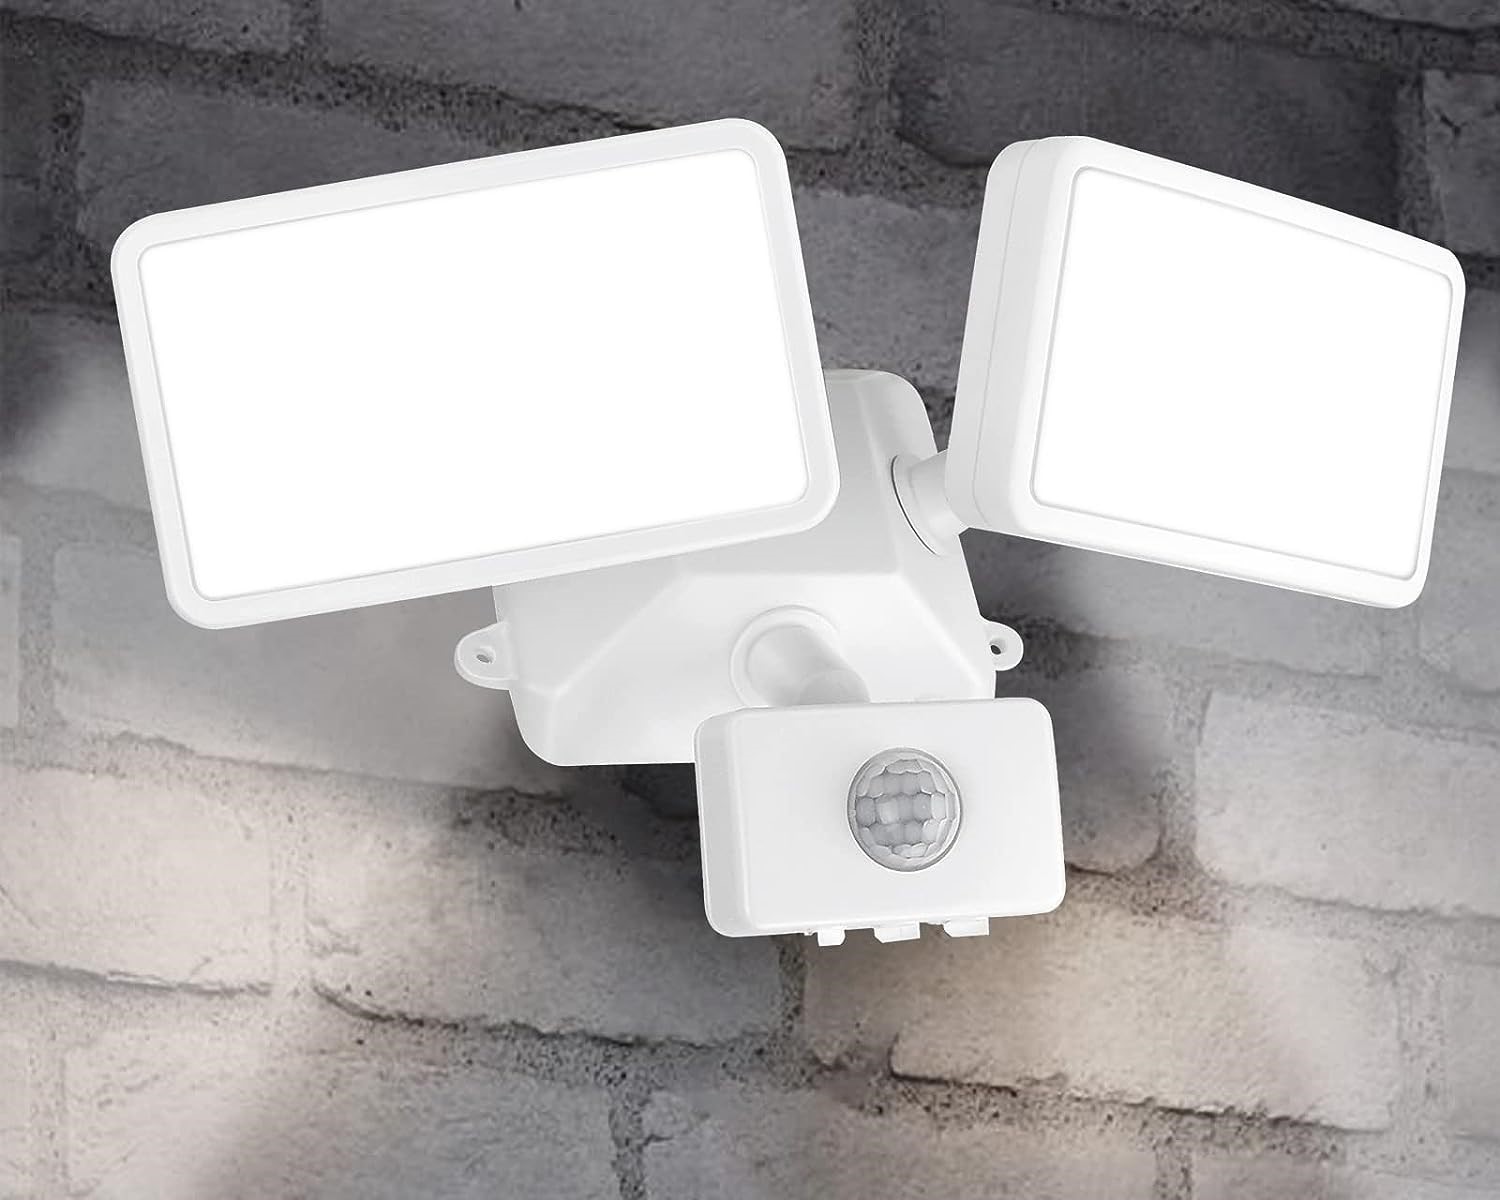
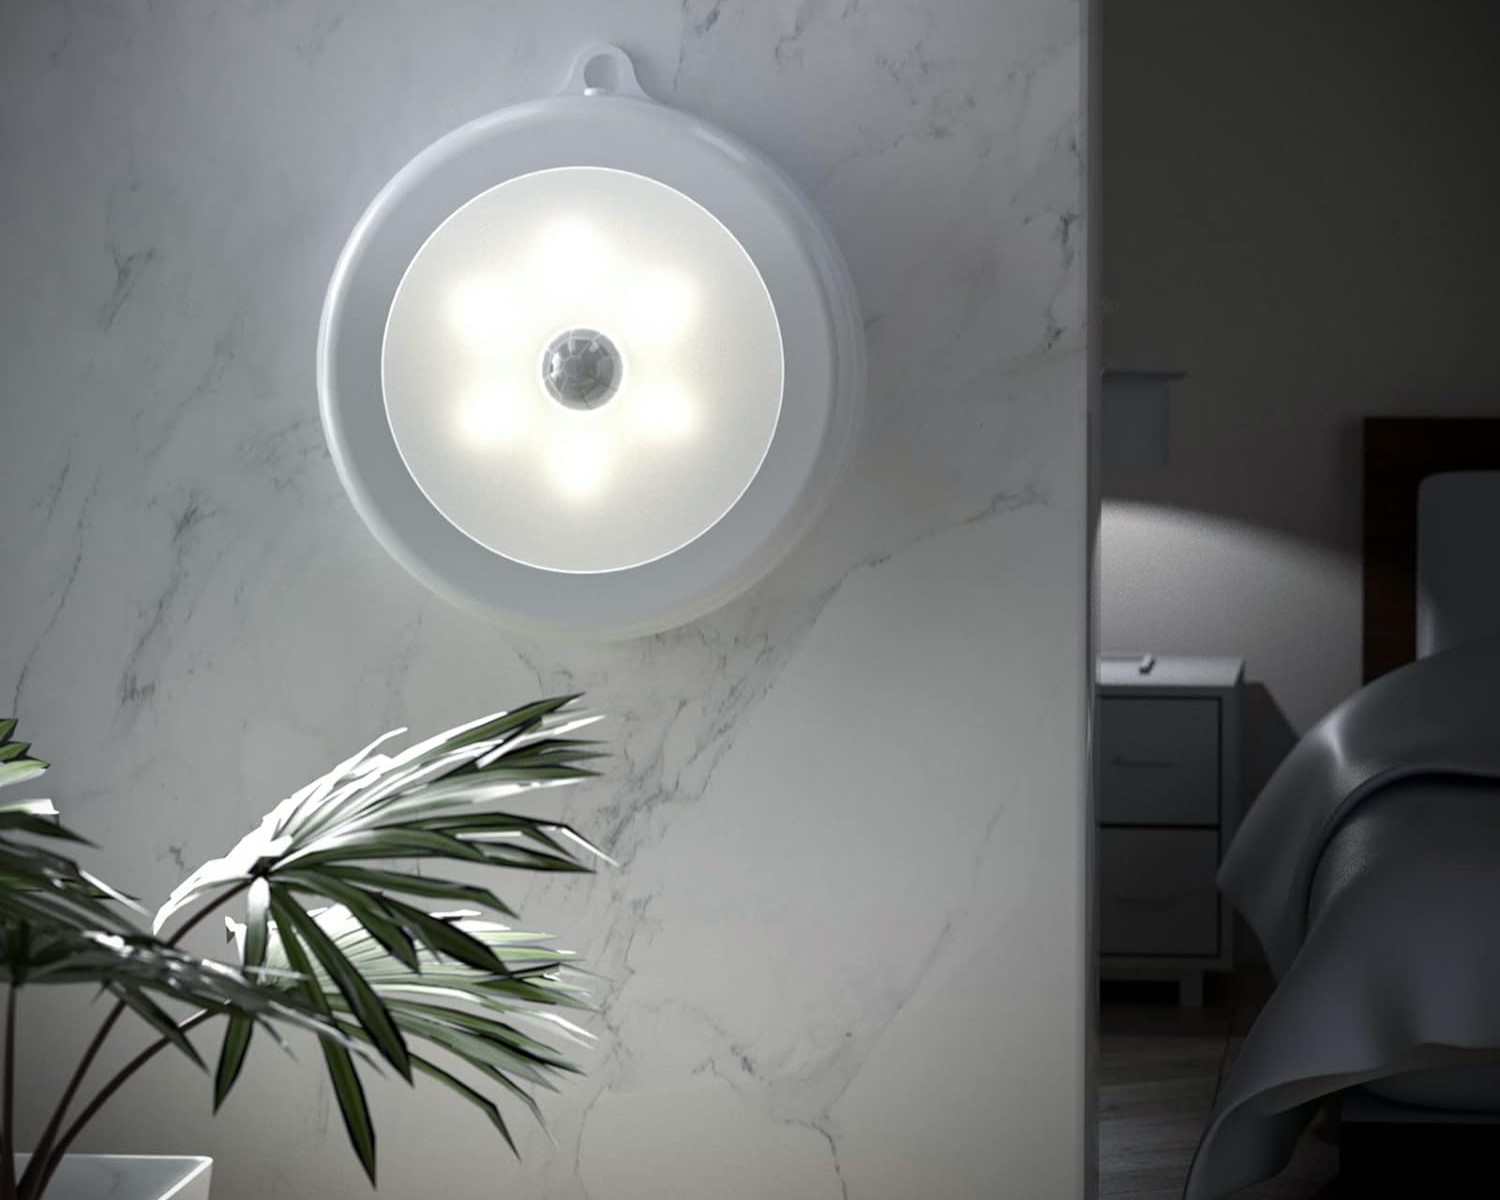
Motion detector lights, also known as motion-sensor lights or security lights, are designed to detect movement within a specific range and activate the lighting mechanism accordingly. They are typically installed on the exterior of buildings, such as homes, offices, and warehouses, but can also be used indoors in areas like basements and garages.
These lights consist of three main components: a sensor, a light source (usually LED bulbs), and a control panel. The sensor is responsible for detecting motion by sensing changes in infrared radiation or by using other advanced technologies like ultrasonic or microwave sensors. When the sensor detects movement, it sends a signal to the control panel, which in turn activates the light source.
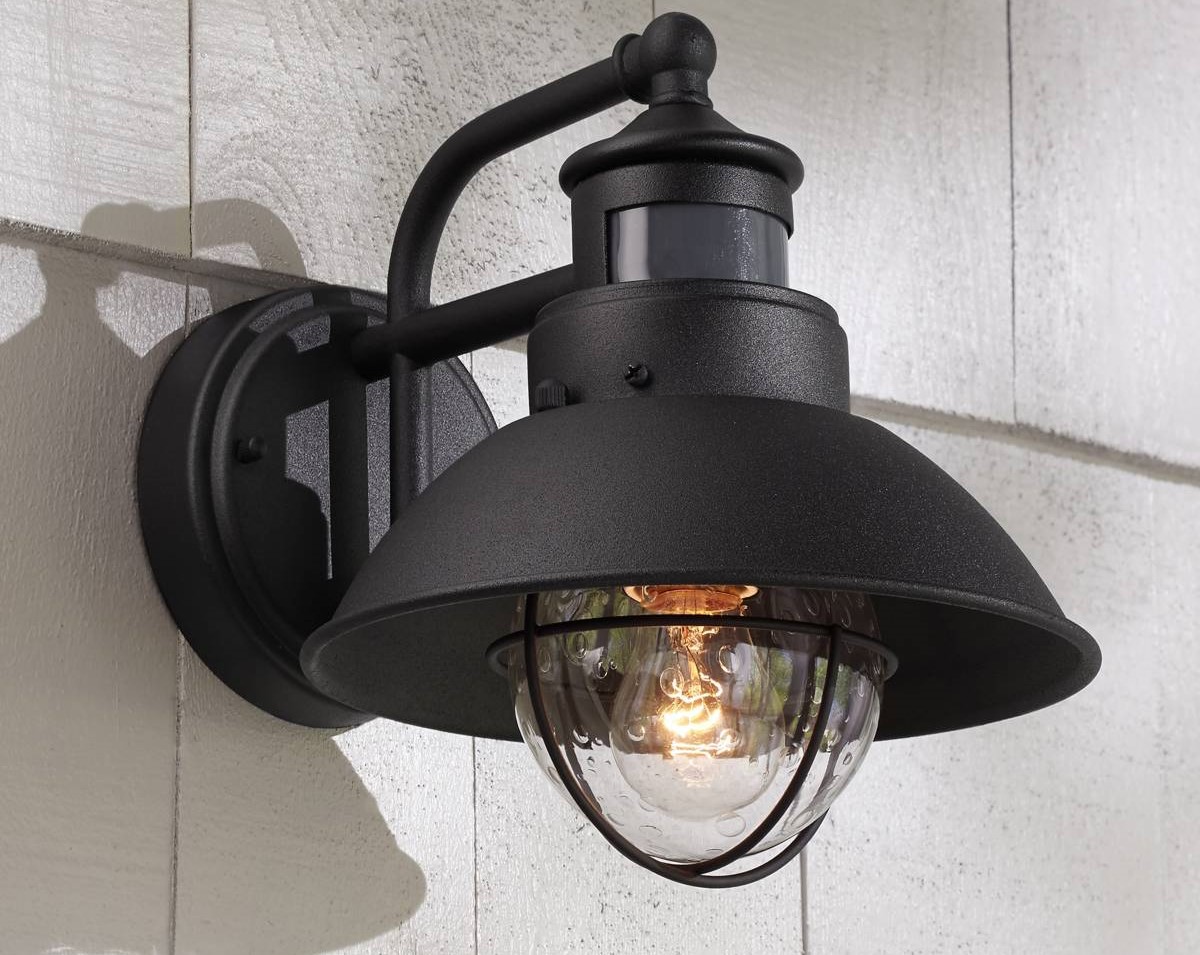
Motion detector lights provide a wide range of benefits, primarily centered around security and convenience. They act as a visible deterrent to potential intruders, as a sudden flood of light can startle and discourage them from approaching your property. Additionally, motion detector lights can enhance safety by illuminating pathways, staircases, and other areas to prevent accidents and falls.
When it comes to adjusting motion detector lights, understanding their range, sensitivity, duration, and other settings is crucial. This enables you to customize their behavior to suit your specific needs and environment. So, let’s dive deeper into each of these settings and learn how to make the most of your motion detector lights.
Are you ready to take control of your motion detector lights? Let’s begin!
Adjusting the Time Setting
The time setting on your motion detector lights determines how long the lights will stay on after detecting motion. By adjusting this setting, you can customize the duration based on your preferences and requirements.
To adjust the time setting, follow these simple steps:
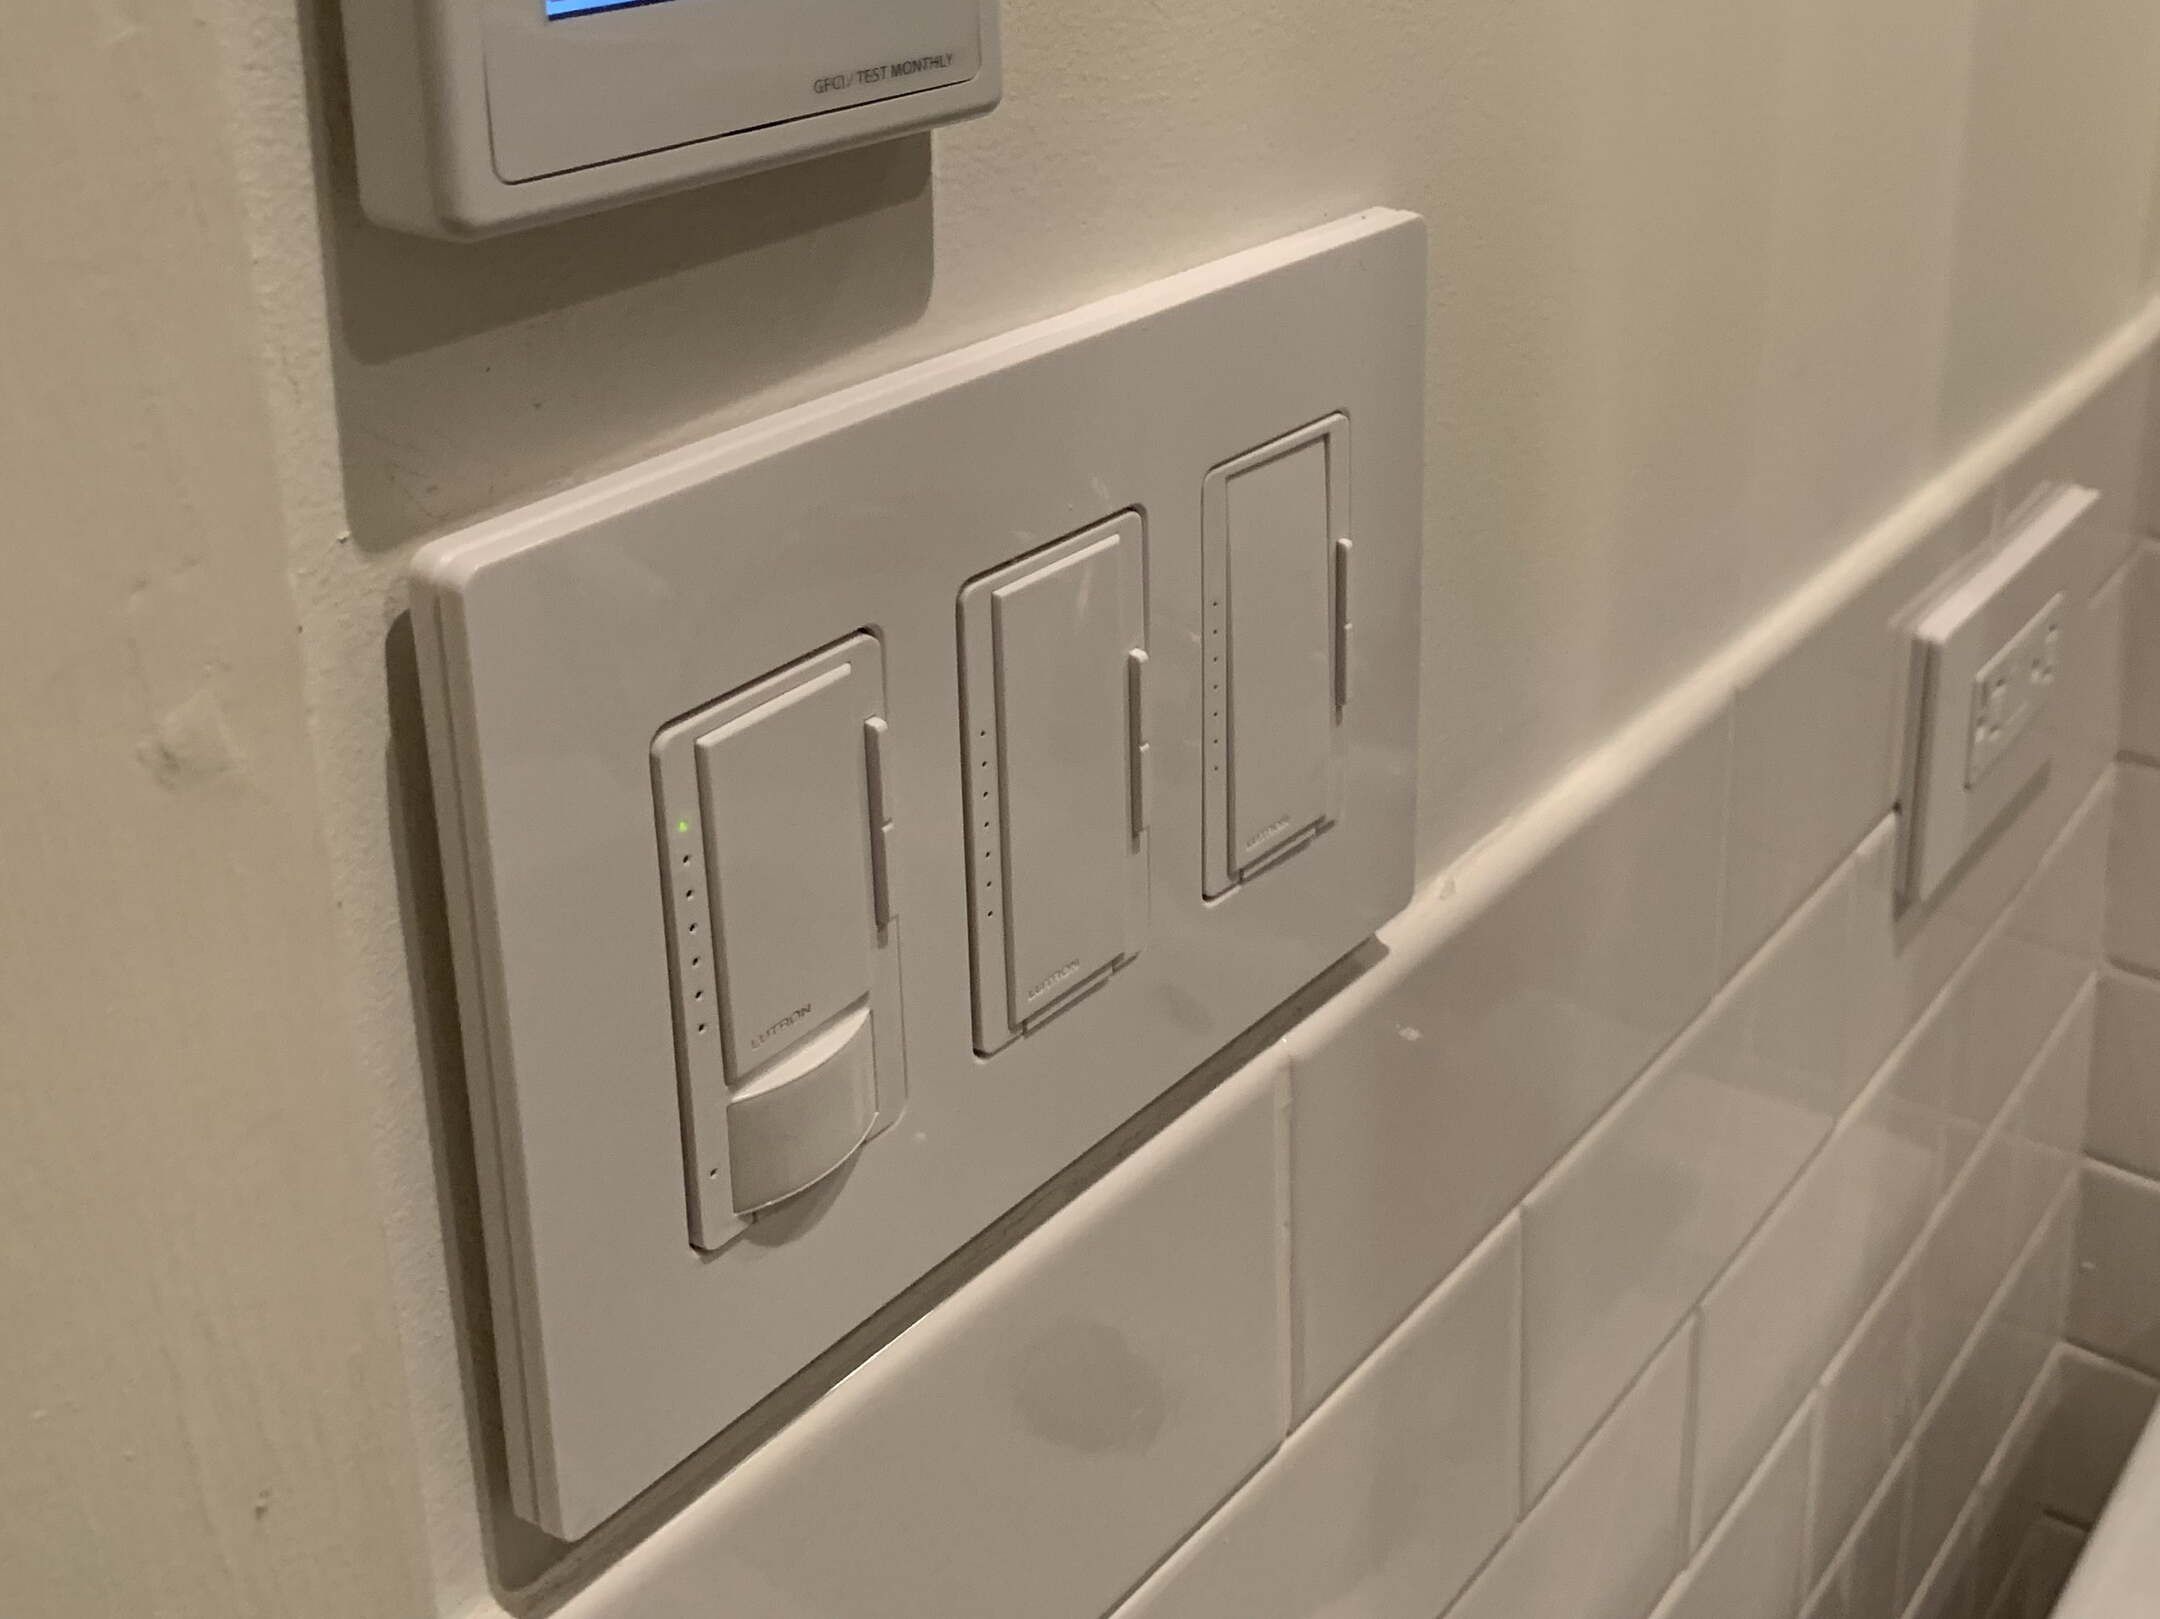
- Locate the time adjustment dial or switch on the control panel of your motion detector lights.
- Turn the dial or switch to increase or decrease the time duration. Some models may have a range of several seconds up to a few minutes.
- Test the lights by walking in front of the sensor to ensure the new time setting is activated.
- Make further adjustments if necessary until you achieve the desired duration.
Keep in mind that setting the duration too short may result in frequent and unnecessary activation of the lights, while setting it too long may waste energy. Finding the right balance is essential for optimal performance.
Additionally, some advanced motion detector lights may offer additional features, such as adjustable time delay options or programmable schedules. Consult the user manual or manufacturer’s instructions to access and modify these settings if available.
Remember, adjusting the time setting can enhance both security and energy efficiency. If you want the lights to stay on for a longer duration, consider extending the time setting. On the other hand, if energy conservation is a priority, shorter time intervals may be more suitable.
Now that you’ve mastered the art of adjusting the time setting, let’s move on to the next setting: sensitivity.
Adjusting the Sensitivity Setting
The sensitivity setting of your motion detector lights determines the level of motion that will trigger the lights. By adjusting this setting, you can fine-tune the sensitivity to avoid false activations and ensure optimal performance.
To adjust the sensitivity setting, follow these steps:
- Locate the sensitivity adjustment dial or switch on the control panel of your motion detector lights.
- Turn the dial or switch to increase or decrease the sensitivity level. Higher sensitivity means the lights will activate with even slight motion, while lower sensitivity requires more significant movement to trigger the lights.
- Walk in front of the sensor to test the new sensitivity setting and make further adjustments if necessary.
It’s important to find the right balance in sensitivity. Setting it too high may result in false activations caused by small animals, tree branches swaying, or even heavy rain. Conversely, setting it too low may cause the lights to fail to respond to actual movement, compromising the purpose of the motion detector lights.
Take note of the surrounding environment and potential sources of false triggers. If you live in an area with a lot of wildlife or foliage, lower sensitivity may be appropriate. However, if you want maximum security and need the lights to be activated by the slightest movement, higher sensitivity would be more suitable.
Some advanced motion detector lights offer the option to adjust sensitivity selectively in specific zones. This feature allows you to focus on specific areas and avoid activations from areas with frequent movement, such as tree branches or busy roads. Refer to the user manual or manufacturer’s instructions to access and modify these advanced sensitivity settings if available.
Now that you have mastered the art of adjusting the sensitivity setting, let’s move on to the next setting: range adjustment.
Adjusting the Range Setting
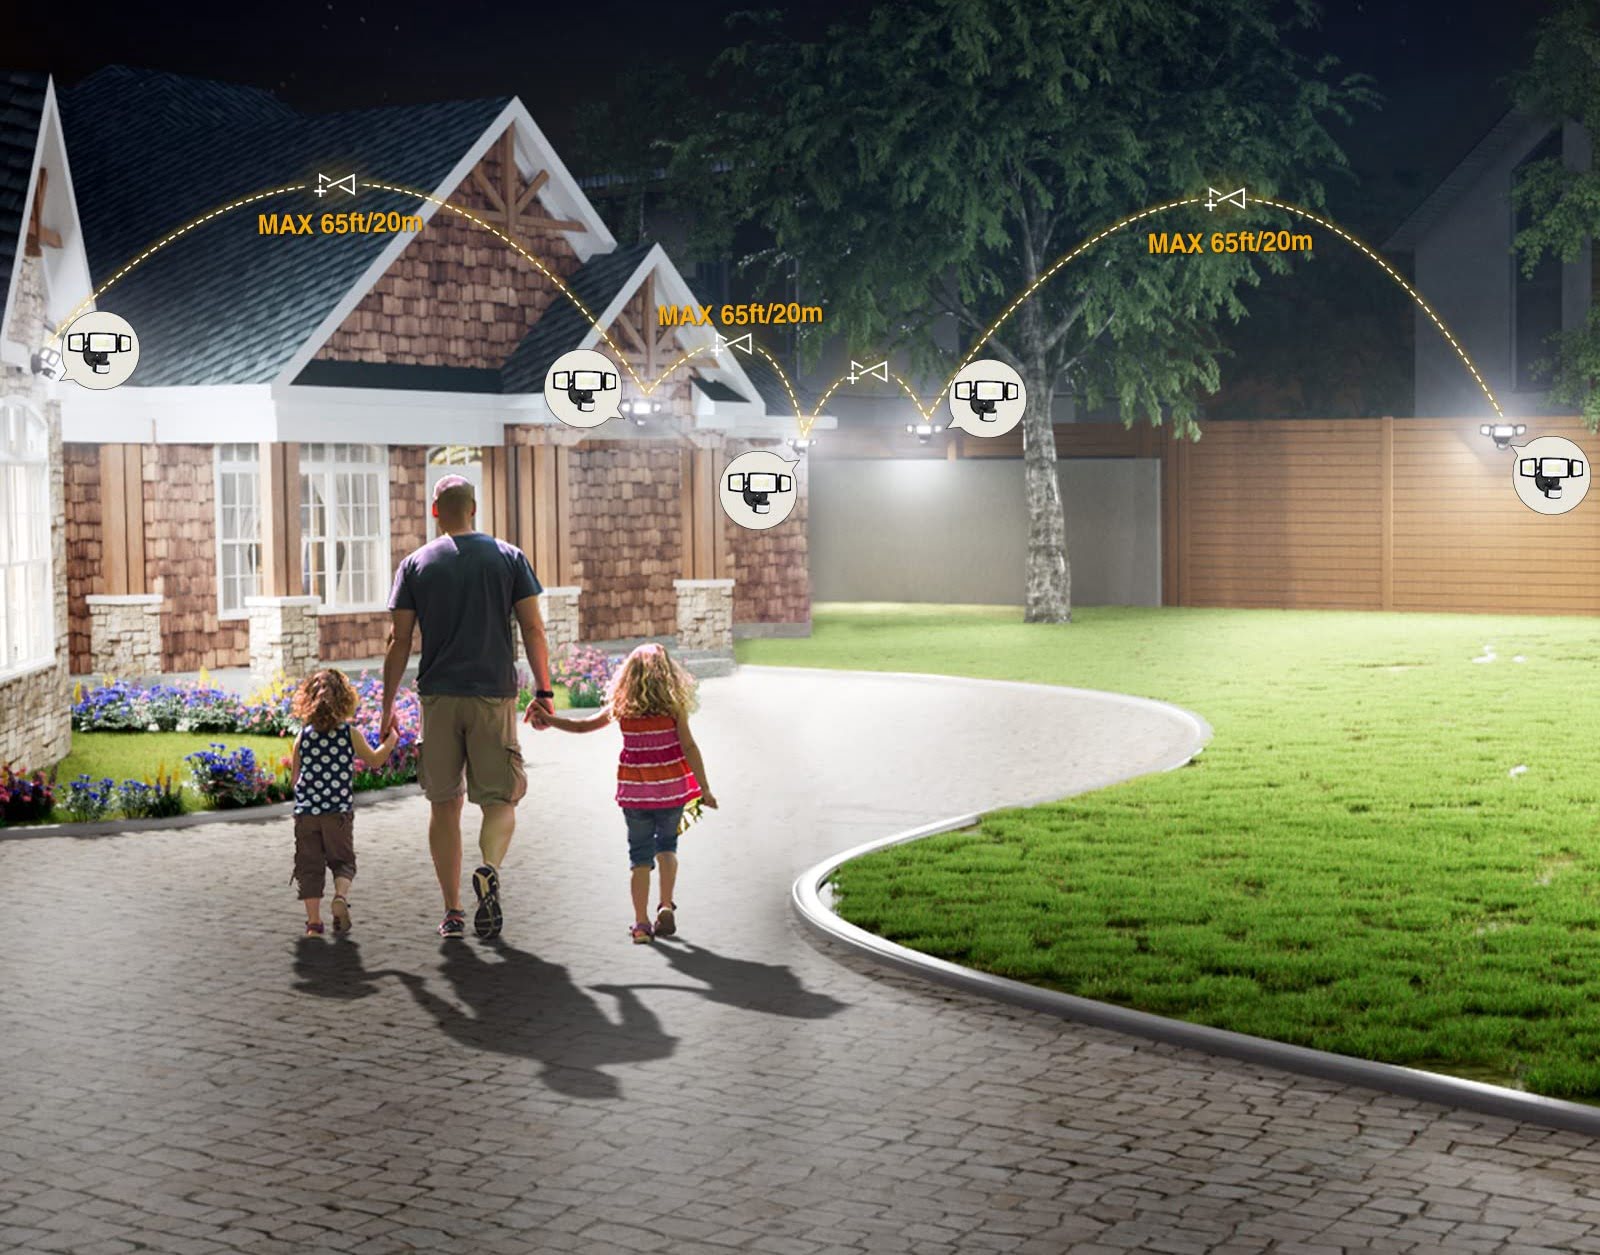
The range setting of your motion detector lights determines the distance at which the sensor can detect motion. By adjusting this setting, you can customize the range to match the specific area you want to monitor.
To adjust the range setting, follow these steps:
- Locate the range adjustment dial or switch on the control panel of your motion detector lights.
- Turn the dial or switch to increase or decrease the range. Higher range settings allow the sensor to detect motion at a greater distance, while lower range settings limit the detection area to a smaller zone.
- Test the lights by walking at various distances from the sensor to ensure the new range setting is activated.
- Make further adjustments if necessary to achieve the desired range.
It’s important to find the right balance in range setting. If the range is set too wide, the sensor may pick up external movements beyond your property, leading to unnecessary activations. However, if the range is too narrow, you may miss important movements within the desired area of coverage.
Consider the layout of your property, entry points, and areas of concern when adjusting the range. It’s recommended to position the sensor in a way that covers the desired area while minimizing the detection of activity outside of the intended monitoring zone.
Some advanced motion detector lights may also offer the option to adjust the angle or coverage pattern of the sensor. This allows you to focus on specific areas or narrow down the detection field. Consult the user manual or manufacturer’s instructions to access and modify these additional range adjustment features if available.
Now that you’ve successfully adjusted the range setting, let’s move on to fine-tuning the light duration.
When adjusting motion detector light settings, make sure to consider the range and sensitivity settings. The range determines how far the sensor can detect motion, while the sensitivity controls how easily it is triggered. Adjust these settings to fit your specific needs and environment.
Read more: How To Replace A Motion Detector Light
Fine-tuning the Light Duration
The light duration refers to the amount of time the motion detector lights remain on once they are triggered by movement. Fine-tuning this setting allows you to customize how long the lights stay illuminated after activation.
To fine-tune the light duration, follow these steps:
- Locate the light duration adjustment dial or switch on the control panel of your motion detector lights.
- Turn the dial or switch to increase or decrease the light duration. Some models may have a range of several seconds up to a few minutes.
- Walk in front of the sensor to test the new light duration setting and make further adjustments if necessary.
It’s important to find the right balance in light duration. Setting it too short may result in the lights turning off too quickly, leaving you in darkness while you’re still within the monitored area. Conversely, setting it too long may waste energy and potentially annoy neighbors if the lights stay on for an extended period.
Consider the typical activities in the area where the lights are installed and adjust the duration accordingly. For example, if the lights are positioned near the entrance of your home, you may want a longer duration to allow for safe entry and exit. On the other hand, for areas where transient movement is expected, such as a pathway or driveway, a shorter duration may be sufficient.
It’s worth noting that some motion detector lights offer a “dusk-to-dawn” feature, where the lights automatically turn on at dusk and stay on throughout the night. In such cases, the light duration may not be adjustable, as the lights are programmed to operate for the entire night until dawn.
Now that you’ve fine-tuned the light duration setting, it’s time to move on to the next step: testing the motion detector lights.
Testing the Motion Detector Lights
After adjusting the various settings on your motion detector lights, it’s crucial to thoroughly test their functionality. Testing ensures that the lights are properly calibrated and will activate as intended when motion is detected. Here’s how you can test your motion detector lights:
- Ensure that the power supply to the motion detector lights is turned on.
- Stand a few feet away from the sensor and walk slowly towards it, making sure to cross the intended detection zone.
- Observe whether the lights are activated and how long they stay on based on the time and duration settings you have adjusted.
- Repeat the test from different angles and distances to ensure consistent and reliable detection.
If the lights do not activate or behave erratically during testing, there are a few troubleshooting steps you can take:
- Check the power supply to ensure it’s connected and functioning properly.
- Verify that the sensor is clean and free from obstructions such as dirt, spiderwebs, or debris.
- Ensure that the sensor is correctly aimed towards the desired area of monitoring.
- Adjust the settings again to ensure they are properly configured.
- Consult the user manual or contact the manufacturer’s customer support for further assistance if issues persist.
Regular testing of your motion detector lights is essential to ensure their reliability and effectiveness. It’s also a good practice to periodically clean the sensor and inspect the overall condition of the lights to maintain peak performance.
Now that you’ve successfully tested your motion detector lights, you’re well on your way to enjoying the enhanced security and convenience they provide. In the next section, we’ll discuss common troubleshooting issues and how to resolve them.
Troubleshooting Common Issues
While motion detector lights are designed to operate smoothly, occasional issues may arise. However, most common problems can be easily resolved with a few troubleshooting steps. Here are some common issues you may encounter with your motion detector lights and how to troubleshoot them:
- Lights not turning on: If the lights do not turn on when motion is detected, check the power supply and ensure that it is properly connected. Verify that the settings are configured correctly and that the sensor is clean and free from obstructions. If the issue persists, there may be a problem with the sensor or the light bulbs themselves. Consider replacing the bulbs or contacting the manufacturer’s customer support for further assistance.
- Lights staying on continuously: If the lights remain illuminated continuously, there may be an issue with the sensor or the settings. Check for any nearby sources of heat or other factors that may be triggering the sensor constantly. Adjust the sensitivity and range to ensure they are properly configured, and test the lights again. If the problem persists, contact the manufacturer’s customer support for guidance.
- False activations: False activations occur when the sensor detects movement that is not intended to trigger the lights, such as animals, tree branches swaying in the wind, or passing vehicles. To reduce false activations, adjust the sensitivity and range settings, as well as the sensor’s position and angle. If necessary, consider using additional accessories like shields or covers to limit the sensor’s field of view to the desired area of monitoring.
- Inconsistent detection: If the motion detector lights inconsistently detect movement, ensure that the sensor is aimed correctly and not obstructed. Check the surrounding environment for potential sources of interference, such as bright lights or reflective surfaces, which may affect the sensor’s performance. Additionally, verify that the sensor is not excessively dirty or covered with debris, as this can impact detection accuracy.
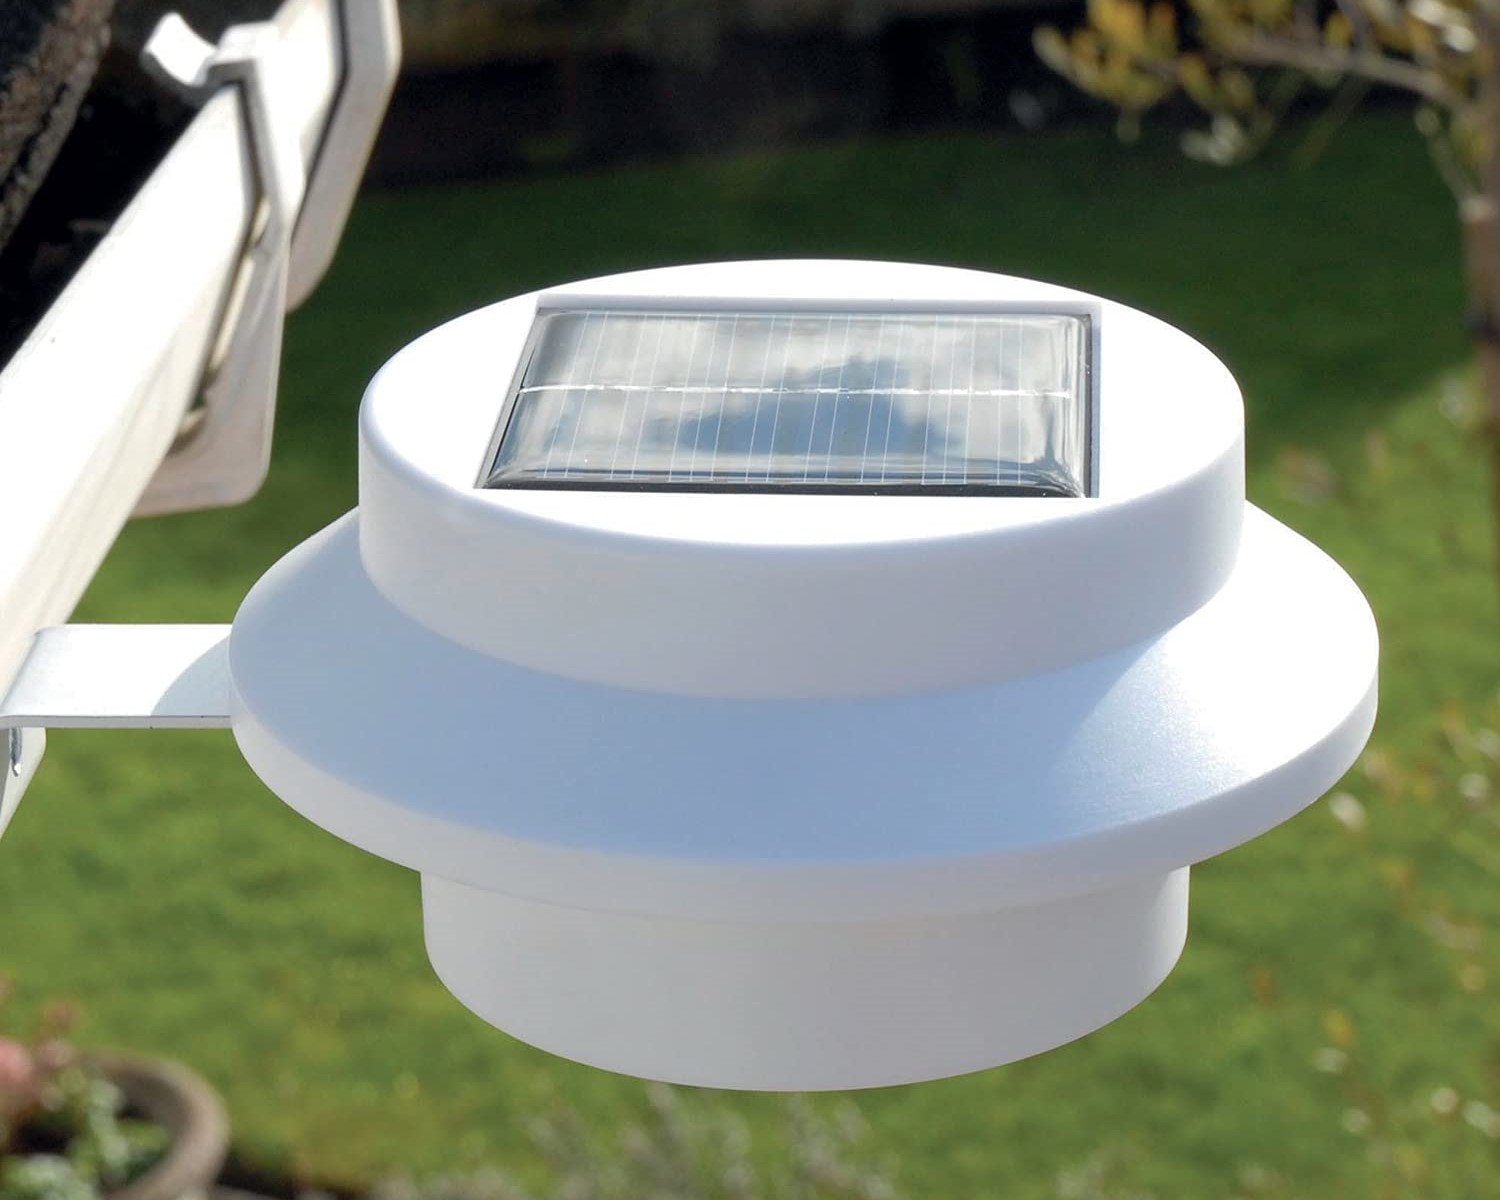
- Battery-powered lights not functioning: If you have battery-powered motion detector lights and they are not functioning, check the batteries and ensure they have sufficient charge. Replace the batteries if necessary. If the lights still do not work, consider checking for any loose connections or contacting the manufacturer’s customer support for further assistance.
Remember, troubleshooting steps may vary depending on the specific model and brand of your motion detector lights. Consult the user manual or contact the manufacturer’s customer support for detailed instructions and guidance specific to your device.
By troubleshooting common issues, you can ensure that your motion detector lights operate smoothly and provide the security and convenience you desire. With these troubleshooting tips in mind, you’re well-equipped to maintain the optimal performance of your motion detector lights.
Now, let’s wrap up this article with a brief summary.
Conclusion
Congratulations! You have become well-versed in adjusting the settings of your motion detector lights, allowing you to customize their behavior to suit your specific needs. By adjusting the time, sensitivity, range, and light duration settings, you can optimize the performance of your motion detector lights for enhanced security and convenience in your home or business.
Remember to find the right balance in each setting, taking into account factors such as energy efficiency, false triggers, and the layout of your property. Regular testing and maintenance are also crucial to ensure the reliable operation of your motion detector lights.
If you encounter any issues along the way, don’t fret! The troubleshooting tips provided will help you overcome common problems and get your motion detector lights back on track. And if all else fails, don’t hesitate to reach out to the manufacturer’s customer support for further assistance.
With your motion detector lights properly adjusted and maintained, you can enjoy the peace of mind that comes with enhanced security and the added convenience of automated lighting. Whether you’re deterring potential intruders, illuminating your pathways, or simply making it easier to navigate your property at night, motion detector lights are a valuable addition to any home or business.
Now, take the knowledge you have gained and put it into action. Adjust your motion detector lights with confidence and enjoy the benefits that come with a well-tailored security and lighting system.
Thank you for joining us on this journey of understanding and adjusting motion detector lights. Stay safe and secure!
Frequently Asked Questions about How To Adjust Motion Detector Light Settings
Was this page helpful?
At Storables.com, we guarantee accurate and reliable information. Our content, validated by Expert Board Contributors, is crafted following stringent Editorial Policies. We're committed to providing you with well-researched, expert-backed insights for all your informational needs.