Home>Furniture & Design>Outdoor Furniture>How To Build An Outdoor Swing

Outdoor Furniture
How To Build An Outdoor Swing
Modified: February 18, 2024
Learn how to build an outdoor swing with our expert tips and guides. Create the perfect addition to your outdoor furniture and design.
(Many of the links in this article redirect to a specific reviewed product. Your purchase of these products through affiliate links helps to generate commission for Storables.com, at no extra cost. Learn more)
Introduction
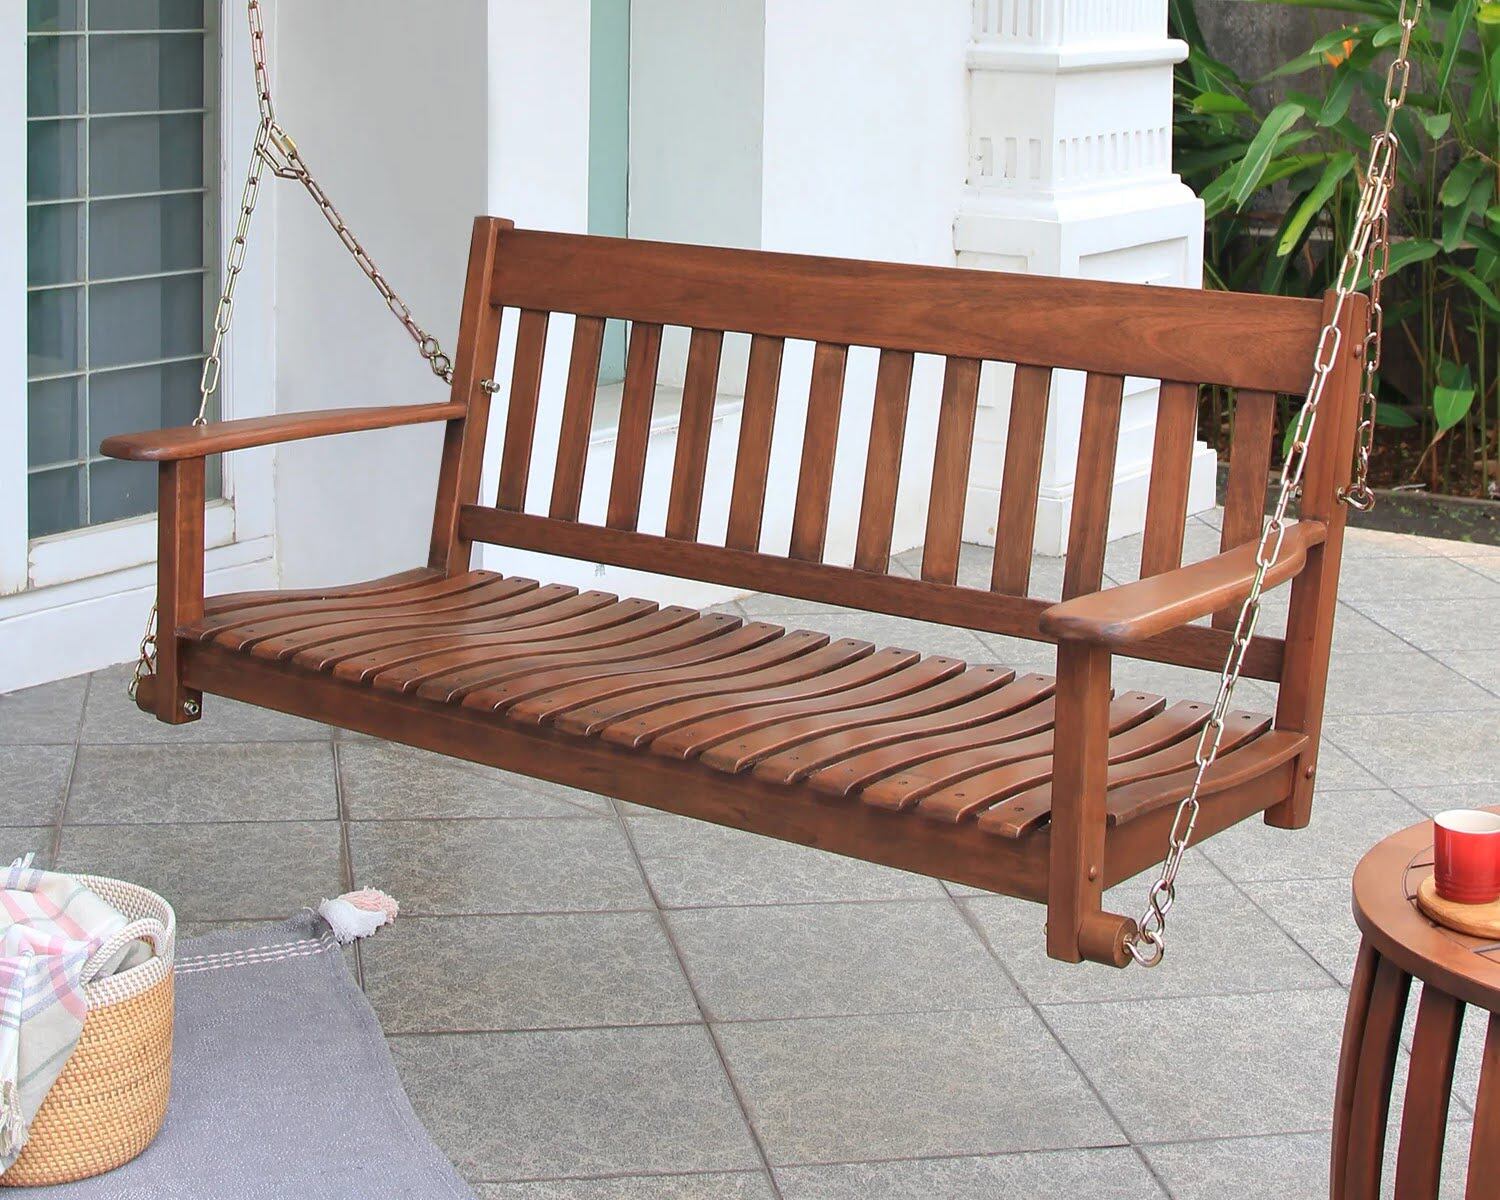
Building an outdoor swing can be a rewarding and enjoyable project that adds charm and comfort to your outdoor space. Whether you want a cozy spot to relax with a good book or a place for lively conversations, an outdoor swing can be a delightful addition to your backyard or patio. This guide will walk you through the steps to create your own outdoor swing, offering a blend of practical instructions and creative inspiration.
Crafting an outdoor swing allows you to customize the design to suit your personal style and space. You can choose the type of wood, the finish, and the size to create a swing that perfectly complements your outdoor decor. Moreover, the sense of accomplishment that comes with building something functional and beautiful with your own hands is truly gratifying.
As we delve into the process of building an outdoor swing, you'll discover the satisfaction of working with materials and tools, measuring and cutting wood with precision, and assembling the pieces to create a sturdy and inviting swing. With each step, you'll gain valuable insights into the craftsmanship and artistry involved in creating a piece of furniture that not only serves a purpose but also enhances the aesthetic appeal of your outdoor living space.
So, roll up your sleeves, gather your tools, and let's embark on this fulfilling journey of building an outdoor swing that will be a source of joy and relaxation for years to come.
Key Takeaways:
- Building your own outdoor swing allows you to create a personalized and charming addition to your outdoor space, reflecting your unique style and enhancing the ambiance of your backyard or patio.
- Crafting an outdoor swing is a fulfilling journey that combines craftsmanship, creativity, and the joy of relaxation. It’s a testament to your skills and ingenuity, offering a cozy retreat for tranquil moments.
Read more: How To Build A Pergola Swing
Step 1: Gather Materials and Tools
Before you begin building your outdoor swing, it’s essential to gather all the necessary materials and tools. Here’s a list of items you’ll need to get started:
Materials:
- Pressure-treated lumber or cedar for the frame and seat
- Wood screws
- Eye screws or hooks
- Chain or rope
- Wood sealant or outdoor paint
- Outdoor cushions or pillows (optional for added comfort)
Tools:
- Tape measure
- Circular saw or miter saw
- Drill with screwdriver bits
- Sandpaper or sander
- Paintbrushes (if using paint or sealant)
- Level
When selecting lumber, opt for materials that are resistant to outdoor elements, such as pressure-treated lumber or cedar, to ensure the longevity of your swing. Additionally, consider the weight capacity of the swing and choose materials that can support the intended load.
As you gather your tools, ensure that they are in good working condition and that you have the appropriate safety gear, such as safety glasses and gloves, to protect yourself during the construction process.
By having all the necessary materials and tools at hand, you’ll be well-prepared to move on to the next exciting step: measuring and cutting the wood to build the frame of your outdoor swing.
Step 2: Measure and Cut Wood
With the materials and tools gathered, it’s time to embark on the precise and crucial task of measuring and cutting the wood for your outdoor swing. Follow these steps to ensure accuracy and efficiency:
Read more: How To Build A Porch Swing
Measure Twice, Cut Once:
Before making any cuts, carefully measure the lumber according to the dimensions of your swing design. Use a tape measure to mark the cut lines, and double-check the measurements to avoid errors. Remember the age-old adage: “measure twice, cut once.”
Cutting the Frame:
Use a circular saw or miter saw to make straight and accurate cuts for the frame components, such as the seat supports, backrest, and side rails. If your design includes angled cuts, use a miter saw to achieve precise angles for a professional-looking finish.
Creating Smooth Edges:
After cutting the wood, use sandpaper or a sander to smooth out any rough edges or uneven surfaces. This step not only enhances the visual appeal of the swing but also prevents splinters and ensures a comfortable seating experience.
When cutting the wood, it’s important to maintain focus and attention to detail to achieve the desired dimensions and angles. Take your time with the cutting process, and be mindful of safety precautions when operating power tools.
Once the wood is accurately measured and cut to size, you’re ready to proceed to the next step: assembling the frame of the outdoor swing. The careful execution of this step sets the foundation for a well-constructed and visually appealing swing that will be a standout feature in your outdoor space.
Step 3: Assemble the Frame
Assembling the frame of your outdoor swing is a pivotal stage in the construction process. This step requires precision and attention to detail to ensure that the components fit together securely and form a sturdy structure. Follow these guidelines to effectively assemble the frame:
Read more: How To Stain An Outdoor Swing
Organize the Components:
Lay out the cut pieces of lumber in an organized manner, grouping them according to their respective positions in the swing frame. This approach streamlines the assembly process and helps prevent confusion when connecting the various parts.
Align and Secure the Joints:
Use wood screws to join the frame components, ensuring that the joints are aligned accurately before securing them. A cordless drill with screwdriver bits makes this process efficient and allows for the precise fastening of the screws.
Reinforce the Connections:
To enhance the strength and stability of the frame, consider adding additional support in the form of corner braces or reinforcing plates at key junctions. This reinforcement minimizes the risk of wobbling or structural instability, especially when the swing is in use.
Check for Level and Square:
Use a level to ensure that the frame is assembled on a level surface, which is essential for the swing to hang evenly. Additionally, check that the frame is square by measuring the diagonals to confirm that they are equal in length. This step guarantees that the swing will hang straight and true once it’s installed.
As you progress through the assembly process, take the time to appreciate the transformation of individual pieces of lumber into a cohesive and robust frame. The careful assembly of the frame sets the stage for the next phase: attaching the seat, which will transform the frame into a fully functional swing.
Read more: How Do You Build A Porch Swing
Step 4: Attach the Seat
Attaching the seat is a pivotal stage in the construction of your outdoor swing, as it transforms the frame into a comfortable and inviting seating area. Follow these steps to securely attach the seat to the frame:
Positioning the Seat:
Place the seat boards or a pre-assembled seat onto the frame, ensuring that it is centered and aligned with the frame’s dimensions. This step sets the foundation for a balanced and visually appealing seating area.
Securing the Seat:
Use wood screws to fasten the seat to the frame, driving the screws through the seat boards and into the underlying frame components. Ensure that the seat is securely attached to prevent any movement or instability during use.
Consider Comfort:
If desired, add cushions or pillows to the seat to enhance comfort and create an inviting space for relaxation. Outdoor cushions designed for durability and weather resistance are ideal for this purpose, providing a cozy and stylish touch to the swing.
Read more: How To Build A Play Area For A Swing Set
Finishing Touches:
Apply a wood sealant or outdoor paint to the entire swing, including the seat, to protect the wood from outdoor elements and enhance its aesthetic appeal. Choose a finish that complements your outdoor decor and provides long-lasting protection against moisture and UV exposure.
As the seat becomes an integral part of the swing, take a moment to envision the comfort and enjoyment it will bring to your outdoor space. The addition of the seat marks a significant milestone in the construction process, setting the stage for the installation of the swing and the final touches that will complete the project.
Step 5: Install the Swing
Installing the swing is the culmination of your efforts, transforming the assembled frame and attached seat into a functional and inviting outdoor furniture piece. Follow these steps to ensure a secure and visually appealing installation:
Selecting Hanging Hardware:
Choose high-quality eye screws or hooks designed for outdoor use to securely suspend the swing. Opt for hardware that can support the weight capacity of the swing and withstand outdoor elements without rusting or degrading over time.
Determining Hanging Location:
Identify a sturdy and well-supported location for hanging the swing, such as a sturdy tree branch or a porch ceiling with adequate structural support. Ensure that the chosen location allows for sufficient clearance around the swing to prevent collisions with nearby objects.
Read more: Creating A Cozy Outdoor Reading Swing
Attaching the Hanging Hardware:
Use a drill to create pilot holes for the eye screws or hooks, then carefully screw them into place, ensuring that they are firmly anchored and level. The hanging hardware forms the crucial link between the swing and its suspension point, so it’s essential to install them securely.
Securing the Chains or Rope:
Attach durable chains or weather-resistant rope to the eye screws or hooks, ensuring that the suspension system is balanced and even on both sides. The chains or rope should be of sufficient length to allow the swing to hang at a comfortable height from the ground.
Test for Stability:
Before using the swing, carefully test its stability by applying gentle pressure and ensuring that it hangs evenly and securely. This step allows you to make any necessary adjustments to the hanging hardware or suspension system before enjoying the swing.
As the swing is installed and ready for use, take a moment to appreciate the transformation of raw materials into a functional and visually striking outdoor furniture piece. The installation of the swing marks the completion of the construction process, offering a delightful and inviting addition to your outdoor living space.
Step 6: Add Finishing Touches
Adding the finishing touches to your outdoor swing elevates its visual appeal and comfort, creating a welcoming and stylish space for relaxation and leisure. Consider the following steps to enhance the aesthetics and functionality of the swing:
Read also: 13 Best Outdoor Patio Swing For 2025
Accessorize with Cushions and Pillows:
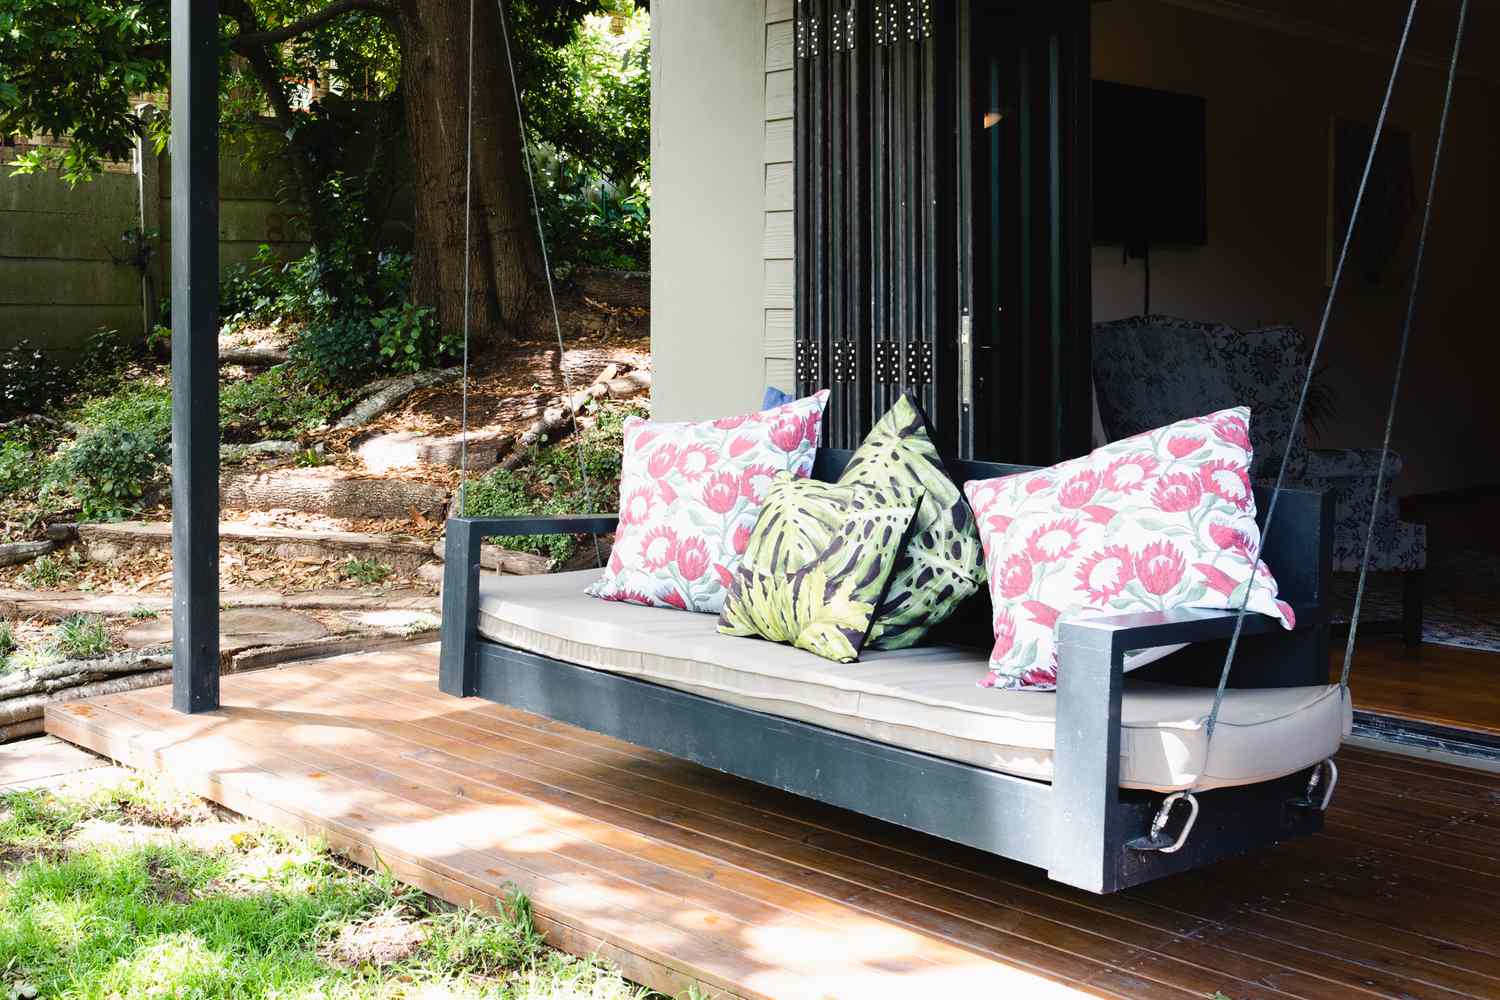
Incorporate outdoor cushions and pillows to the swing, providing a cozy and inviting seating experience. Choose cushions that are designed for outdoor use, offering durability and resistance to moisture and fading from sunlight.
Personalize with Throw Blankets:
Adorn the swing with throw blankets in complementary colors and patterns, adding a touch of warmth and personality to the seating area. Select blankets made from outdoor-friendly materials to withstand exposure to the elements.
Consider Canopy or Awning Options:
Explore the possibility of adding a canopy or awning to the swing to provide shade and protection from the sun during bright and warm days. A canopy not only enhances the comfort of the swing but also contributes to its visual charm.
Apply a Protective Finish:
If the swing is crafted from natural wood, consider applying a protective finish, such as a clear sealant or outdoor-grade paint, to shield the wood from moisture, UV rays, and general wear. This step prolongs the lifespan of the swing and maintains its pristine appearance.
Landscape Around the Swing:
Enhance the ambiance around the swing by incorporating landscaping elements, such as potted plants, decorative lighting, or a trellis, to create a tranquil and inviting setting. The surrounding landscape contributes to the overall appeal of the outdoor space.
As you add the finishing touches to the swing, envision the delightful moments that await in this inviting outdoor retreat. The thoughtful incorporation of cushions, blankets, shade, and protective finishes enhances the functionality and visual allure of the swing, creating an oasis for relaxation and enjoyment.
Conclusion
Congratulations on completing the construction of your outdoor swing! Through meticulous planning, precise craftsmanship, and creative flair, you’ve transformed raw materials into a captivating and inviting addition to your outdoor living space. As you reflect on the journey of building the swing, consider the following key takeaways:
Personalized Design:
By building the swing yourself, you’ve had the opportunity to tailor the design to your preferences, ensuring that it complements your outdoor decor and reflects your unique style. The personalized touch infuses the swing with character and charm.
Functional Elegance:
The swing serves as more than just a piece of furniture; it’s a functional and elegant focal point that beckons relaxation and leisure. Its presence enhances the ambiance of your outdoor space, creating a cozy retreat for tranquil moments.
Craftsmanship and Creativity:
The process of building the swing has allowed you to exercise your craftsmanship and creativity, from measuring and cutting wood with precision to adding finishing touches that elevate the swing’s visual appeal. Each step has been a testament to your skills and ingenuity.
Enjoyment and Relaxation:
As the swing takes its place in your outdoor oasis, envision the countless moments of enjoyment and relaxation it will facilitate. Whether it’s savoring a morning coffee, unwinding with a good book, or sharing conversations with loved ones, the swing is poised to become a cherished retreat.
Continued Inspiration:
Your experience in building the outdoor swing may inspire future projects and creative endeavors, fueling a passion for craftsmanship and design. The satisfaction derived from creating something tangible and beautiful is a source of continued inspiration.
As you bask in the satisfaction of completing the outdoor swing, may it serve as a reminder of your craftsmanship, creativity, and the joy of transforming raw materials into a functional and captivating piece. Embrace the comfort and tranquility it offers, and let it be a testament to the artistry and fulfillment found in hands-on construction projects.
Frequently Asked Questions about How To Build An Outdoor Swing
Was this page helpful?
At Storables.com, we guarantee accurate and reliable information. Our content, validated by Expert Board Contributors, is crafted following stringent Editorial Policies. We're committed to providing you with well-researched, expert-backed insights for all your informational needs.


0 thoughts on “How To Build An Outdoor Swing”