Home>Furniture & Design>Outdoor Furniture>How To Make An Outdoor Canopy

Outdoor Furniture
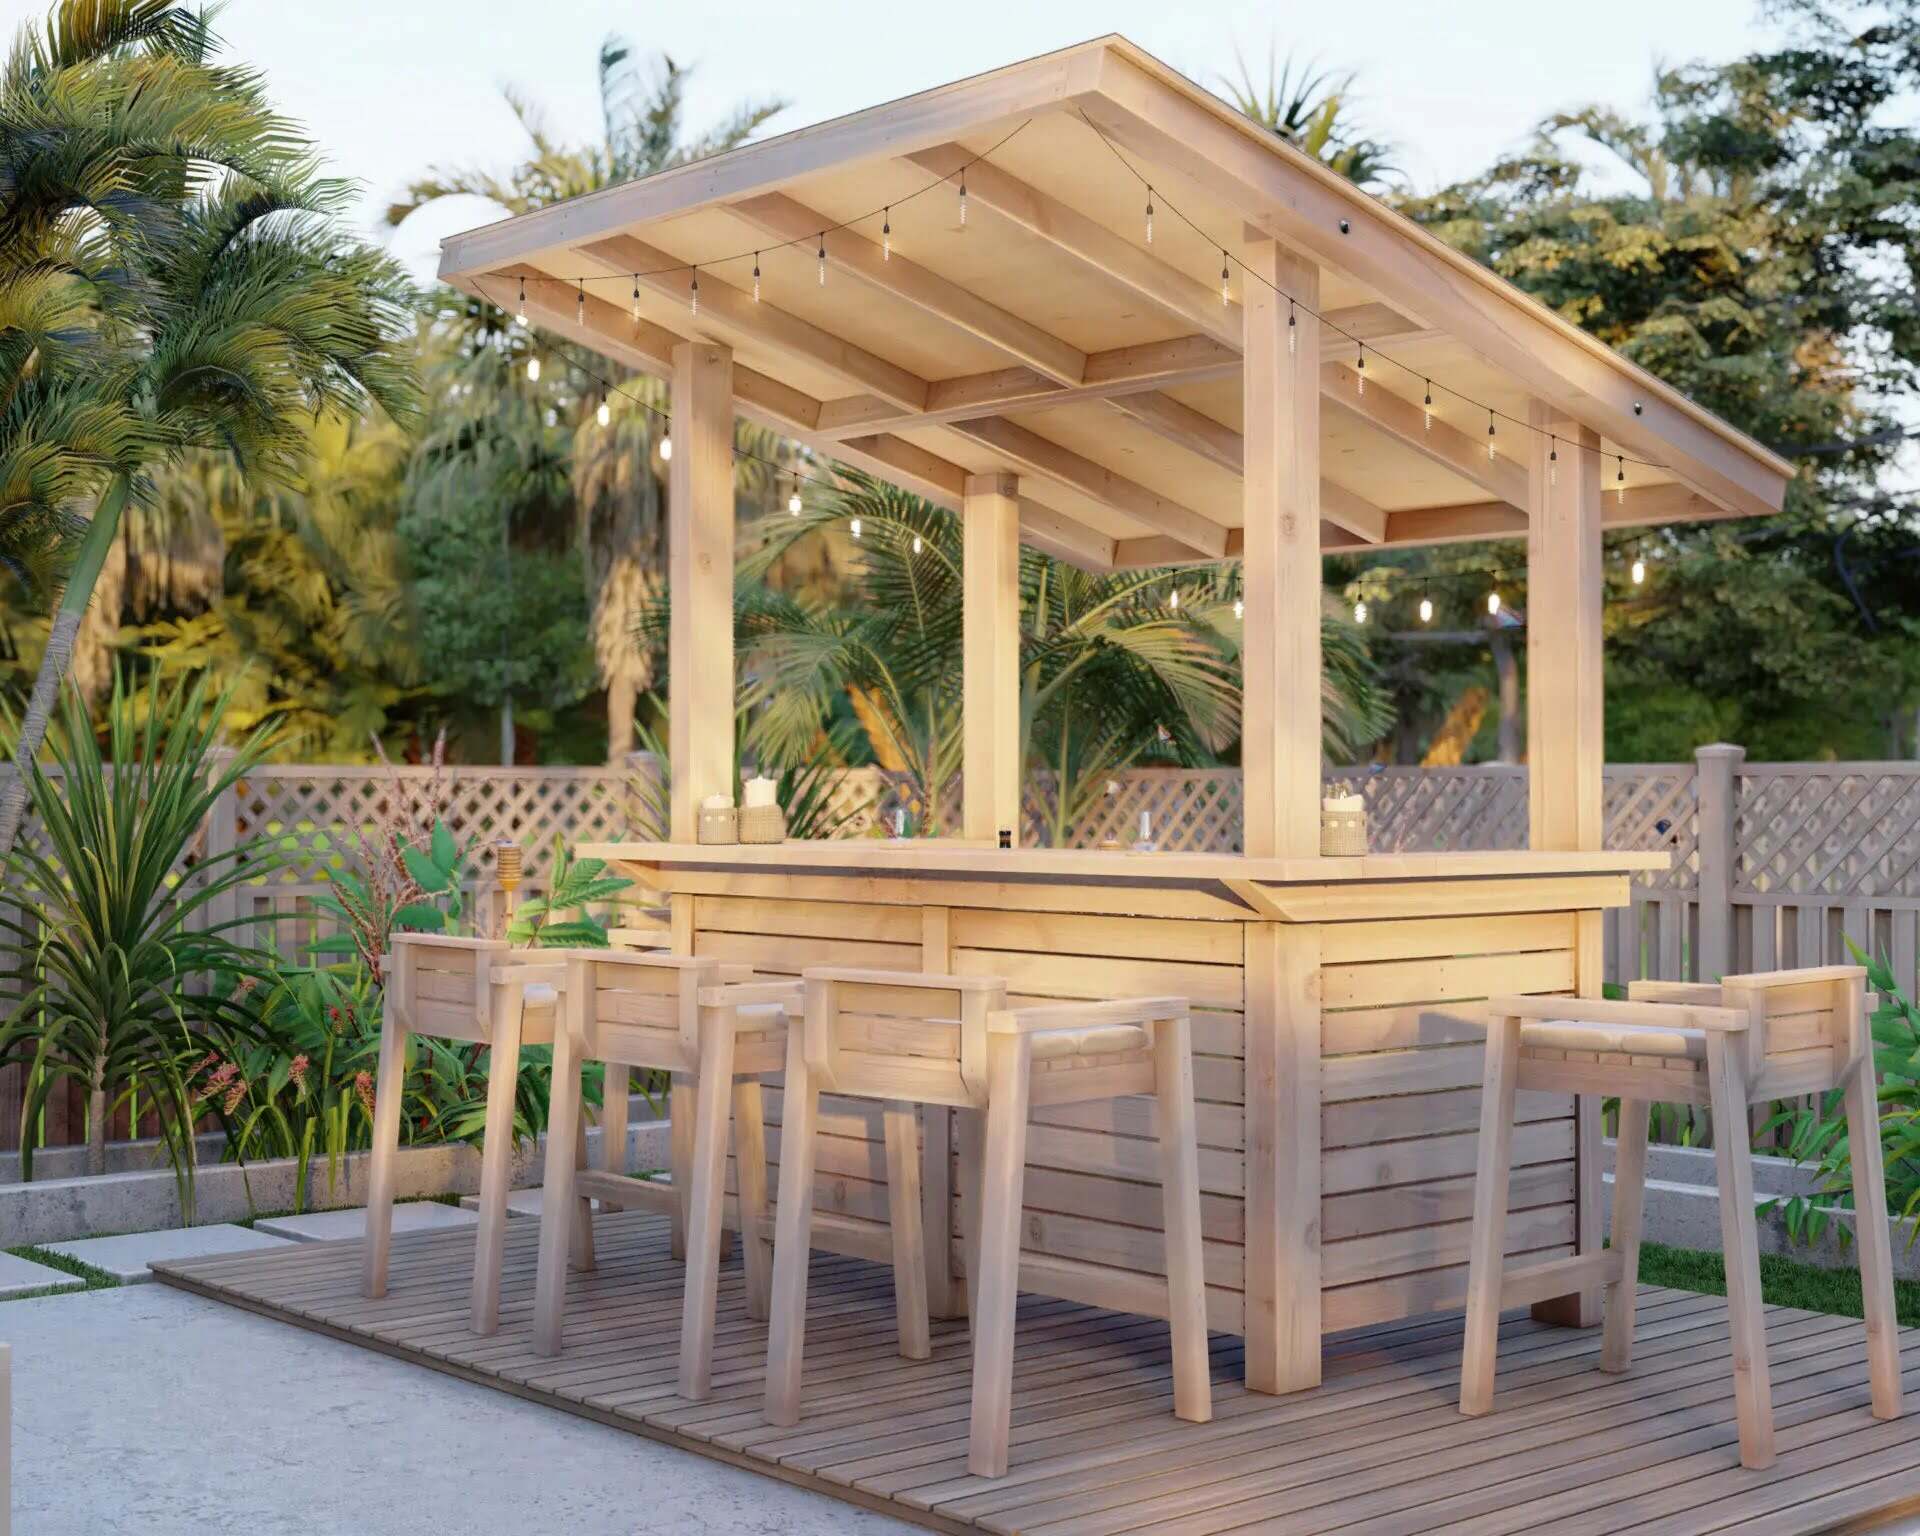
How To Make An Outdoor Canopy
Published: January 15, 2024
Learn how to create a stylish and functional outdoor canopy for your space with our expert tips and ideas. Discover the best outdoor furniture and design solutions for your outdoor living area.
(Many of the links in this article redirect to a specific reviewed product. Your purchase of these products through affiliate links helps to generate commission for Storables.com, at no extra cost. Learn more)
Introduction
Creating an outdoor canopy is a fantastic way to add both functionality and style to your outdoor space. Whether you want to shield your patio from the sun's rays, create a cozy spot for relaxation, or enhance the aesthetics of your garden, a well-crafted canopy can be the perfect solution. In this guide, we'll take you through the step-by-step process of making your own outdoor canopy, providing you with the knowledge and inspiration to embark on this exciting DIY project.
By crafting your own outdoor canopy, you have the freedom to customize it to suit your specific needs and preferences. You can choose the perfect location, select the ideal materials, and tailor the design to complement your outdoor furniture and overall décor. Not only is this a cost-effective alternative to purchasing a pre-made canopy, but it also allows you to unleash your creativity and handcraft a unique addition to your outdoor living space.
Whether you're a seasoned DIY enthusiast or a newcomer to the world of outdoor furniture and design, creating an outdoor canopy can be a highly rewarding endeavor. Throughout this guide, we'll provide clear and detailed instructions, accompanied by insightful tips and considerations to ensure that your canopy construction process is both enjoyable and successful. So, roll up your sleeves, gather your materials, and let's embark on this fulfilling journey of crafting your very own outdoor canopy.
Key Takeaways:
- Create a personalized outdoor canopy to enhance your space with style and functionality. Tailor it to your needs, unleash your creativity, and enjoy the satisfaction of a DIY project well done.
- Secure your outdoor canopy for stability and longevity. Anchor it firmly, maintain proper tension, and apply weather-resistant measures to ensure it withstands the elements and remains a delightful addition to your outdoor oasis.
Read more: How To Make A Porch Canopy
Materials Needed
Before diving into the construction of your outdoor canopy, it’s essential to gather all the necessary materials. Here’s a comprehensive list of items you’ll need to bring your canopy to life:
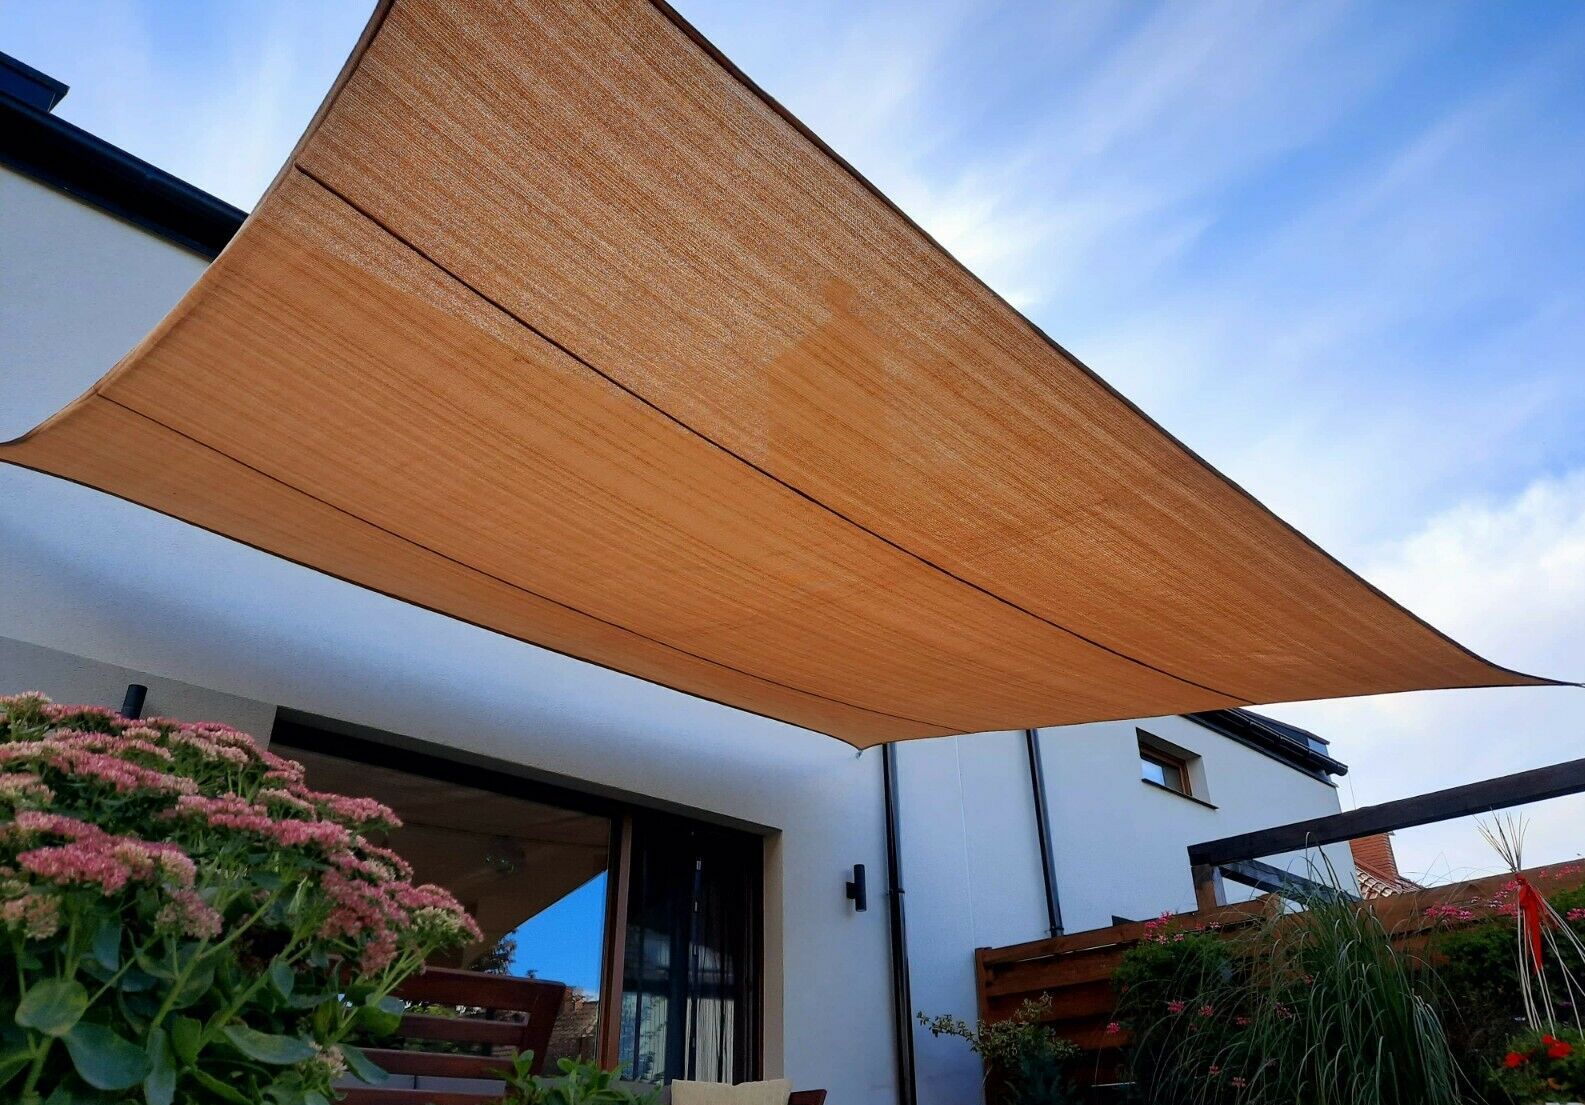
- Sturdy fabric: Select a durable, weather-resistant fabric that suits your aesthetic preferences and functional requirements. Popular choices include canvas, outdoor-grade polyester, or even a specialized UV-resistant material.
- Frame materials: Depending on your design, you’ll require materials for the frame, such as metal or PVC pipes, wooden beams, or aluminum rods. Ensure that these materials are robust enough to withstand outdoor conditions.
- Measuring tape: A reliable measuring tape is indispensable for accurately determining the dimensions of your canopy and fabric.
- Saw or cutting tools: To trim the frame materials to the required lengths, you’ll need a saw or appropriate cutting tools based on the material you choose.
- Fasteners: Gather screws, bolts, nuts, and other fastening materials to securely assemble the frame and attach the fabric.
- Drill or hammer: Depending on your frame materials and fasteners, a drill or hammer will be necessary for assembly.
- Rope or cord: This will be used to secure the canopy and ensure it remains taut and stable.
- Stakes or weights: If your canopy will be placed in an open area, consider acquiring stakes or weights to anchor it firmly to the ground.
- Optional decorative elements: Depending on your design preferences, you might want to incorporate decorative elements such as tassels, fringe, or trim to enhance the visual appeal of your canopy.
By ensuring you have all these materials at your disposal, you’ll be fully equipped to proceed with the construction of your outdoor canopy. With these essentials in hand, you’re ready to move on to the next steps and bring your vision to fruition.
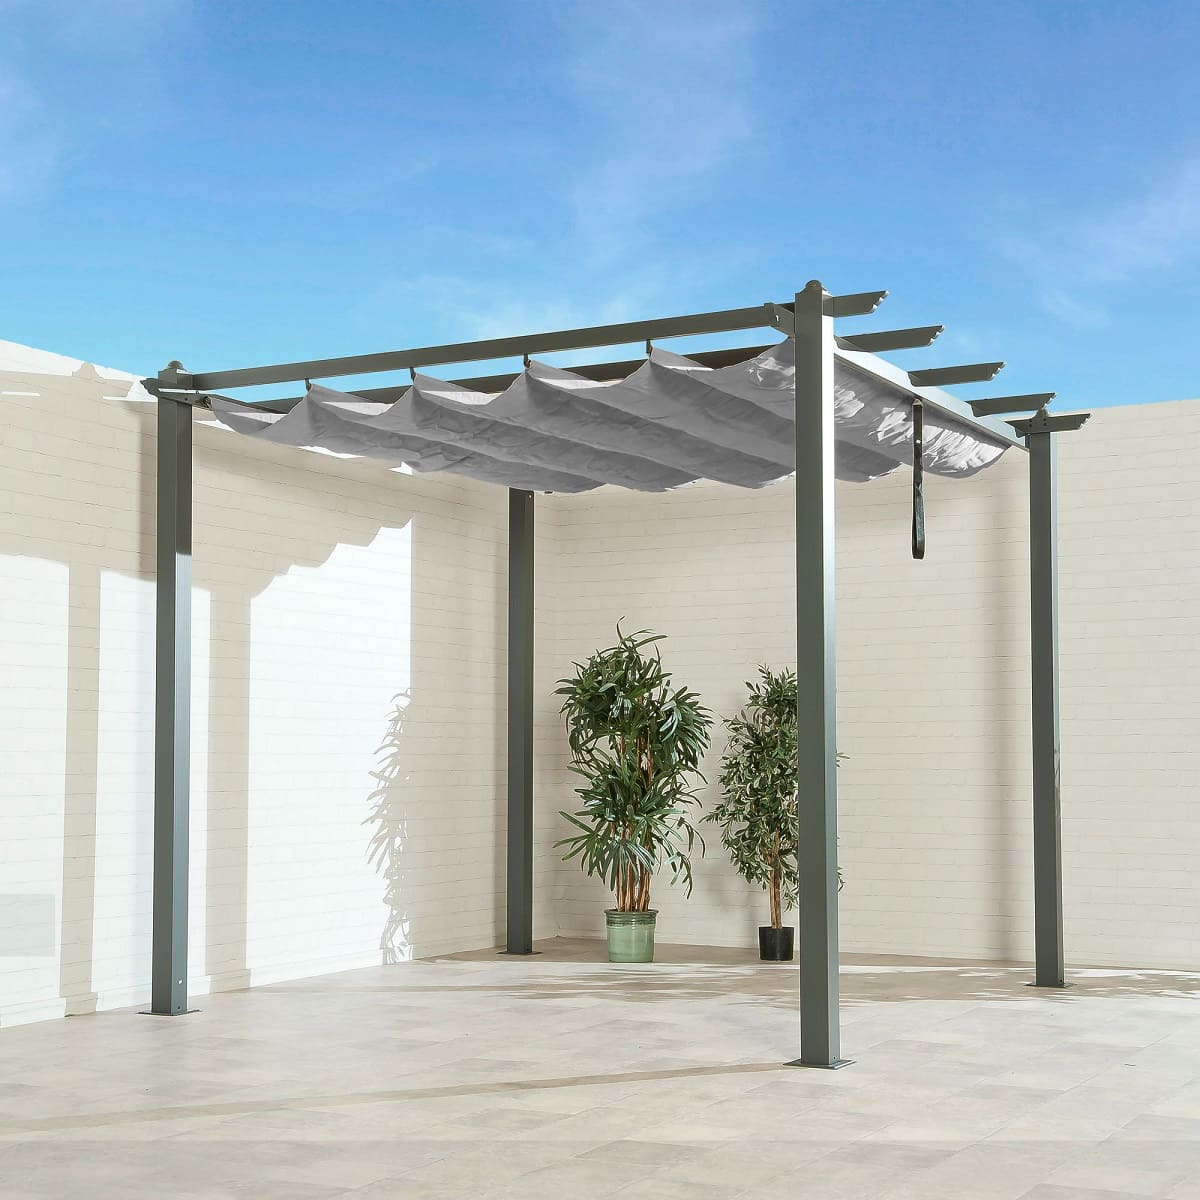
Step 1: Choose a Location
Before you commence the construction of your outdoor canopy, carefully consider the ideal location for its installation. The chosen spot should align with your intended purpose for the canopy and complement the layout of your outdoor space. Here are some key factors to ponder when selecting the location:
- Functionality: Determine the primary function of your canopy. Will it serve as a shaded lounging area by the pool, a cozy retreat in the garden, or a protective covering for your outdoor dining set? Understanding its primary purpose will guide you in choosing the most suitable location.
- Sun and shade: Assess the sun’s trajectory throughout the day to identify the areas of your outdoor space that receive the most sunlight. If your goal is to create a shaded retreat, positioning the canopy in an area that receives ample sunlight will provide the desired relief from the heat.
- Proximity to amenities: If you intend to use the canopy for dining or entertaining, consider its proximity to amenities such as the outdoor kitchen, grill, or bar area. This will enhance the convenience and functionality of the space.
- Landscape and views: Take into account the surrounding landscape and views. Position the canopy to maximize scenic vistas, capitalize on natural features, or create a sense of seclusion, depending on your preferences.
- Structural considerations: If you plan to attach the canopy to an existing structure, such as a pergola, deck, or the exterior of your home, ensure that the chosen location allows for secure attachment and proper support.
Once you’ve carefully evaluated these factors, you’ll be equipped to make an informed decision regarding the optimal location for your outdoor canopy. By selecting the perfect spot, you’ll set the stage for a delightful outdoor retreat that seamlessly integrates with your surroundings and fulfills your specific needs.
Step 2: Measure and Cut the Fabric
With the location chosen, it’s time to move on to the next crucial step: measuring and cutting the fabric for your outdoor canopy. This phase is pivotal in ensuring that the canopy fits the designated space and provides the desired coverage. Follow these steps to achieve precise measurements and a seamless fabric-cutting process:
- Accurate measurements: Begin by measuring the dimensions of the area where the canopy will be installed. Use a measuring tape to determine the length, width, and height requirements for the fabric, accounting for any additional overhang or draping you may desire.
- Consideration of seam allowances: If you plan to sew the fabric or create hems, remember to include seam allowances in your measurements. This ensures that the final fabric pieces align with your intended dimensions after sewing.
- Marking and cutting: Once you have the precise measurements, mark the fabric accordingly using chalk or fabric markers. Exercise caution and precision when cutting the fabric to ensure clean, straight edges. If you’re using a patterned fabric, take care to align the pattern symmetrically.
- Quality equipment: Utilize sharp fabric scissors or a rotary cutter to achieve clean cuts without fraying or uneven edges. This will contribute to a polished and professional finish for your canopy.
By meticulously measuring and cutting the fabric according to these guidelines, you’ll set the stage for a successful canopy construction process. This careful attention to detail will ensure that the fabric fits flawlessly within the designated space and fulfills its functional and aesthetic purposes, laying the foundation for the subsequent stages of canopy assembly.
When making an outdoor canopy, be sure to choose durable and weather-resistant materials to ensure it can withstand the elements. This will help to prolong the life of your canopy and provide long-lasting shade and protection.
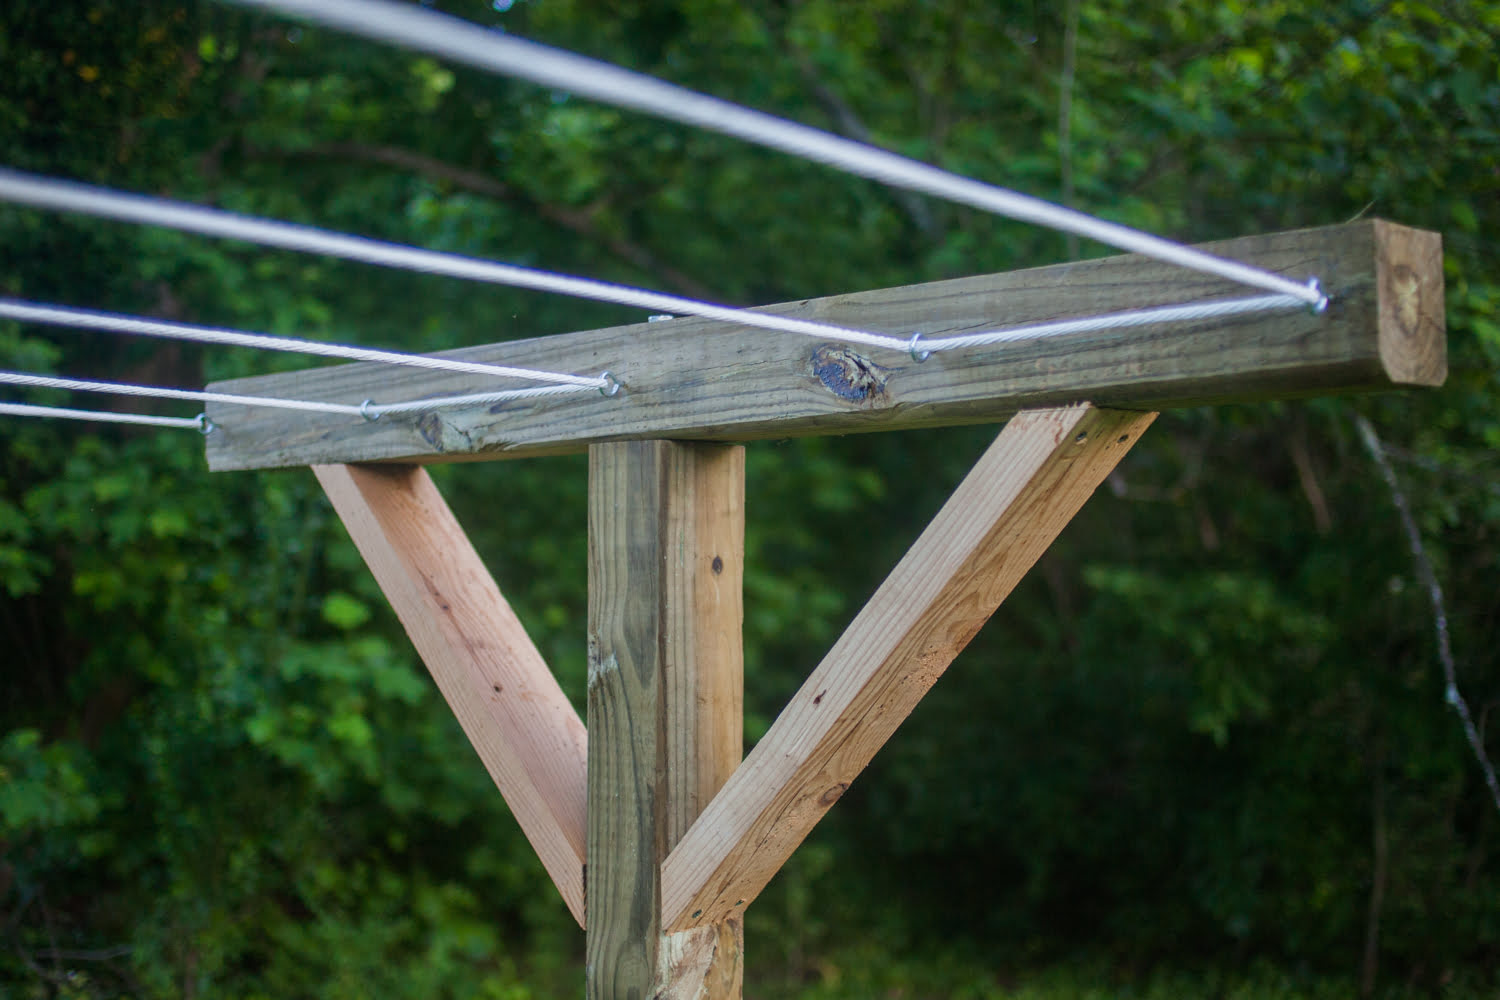
Step 3: Assemble the Frame
With the fabric prepared, the next pivotal phase in creating your outdoor canopy involves assembling the frame. The frame provides the structural support for the canopy, dictating its stability and overall appearance. Follow these essential steps to effectively assemble the frame for your outdoor canopy:
- Selecting sturdy materials: Depending on your design preferences and the intended durability of the canopy, choose robust materials for the frame. Options include metal pipes, wooden beams, or aluminum rods, ensuring that they are capable of withstanding outdoor conditions.
- Cutting and shaping: Use a saw or appropriate cutting tools to trim the frame materials to the required lengths and shapes, based on your specific design and measurements. Ensure precision in cutting to facilitate seamless assembly.
- Connection and fastening: Assemble the frame components according to your design plan, utilizing screws, bolts, nuts, or other fasteners as necessary. Ensure that the frame is securely connected and stable, capable of supporting the weight of the fabric and withstanding outdoor elements.
- Consideration of attachment points: If your canopy will be attached to an existing structure, such as a pergola or the exterior of your home, ensure that the frame is designed to facilitate secure attachment and proper weight distribution.
- Alignment and symmetry: Pay attention to the alignment and symmetry of the frame components to achieve a balanced and visually appealing structure. This meticulous approach will contribute to the overall aesthetic quality of the canopy.
By diligently following these steps, you’ll successfully assemble a sturdy and well-structured frame for your outdoor canopy. The careful selection of materials and precise execution of the assembly process will ensure that the frame serves as a reliable foundation for the canopy, setting the stage for the final stages of construction.
Read more: How To Make A Canopy Bed
Step 4: Attach the Fabric
As the frame of your outdoor canopy takes shape, the next pivotal step involves attaching the fabric to create the canopy’s sheltering surface. This phase requires precision and attention to detail to ensure that the fabric is securely and evenly affixed, creating a smooth and taut surface. Follow these essential guidelines to effectively attach the fabric to the frame:
- Positioning the fabric: Begin by draping the fabric over the assembled frame, ensuring that it is centered and evenly distributed to achieve balanced coverage. Take care to align any patterns or motifs according to your aesthetic preferences.
- Securing the edges: Use appropriate fastening materials, such as screws, clips, or fabric-friendly fasteners, to secure the edges of the fabric to the frame. Ensure that the fabric is taut and free from wrinkles or sagging, adjusting as necessary to achieve a smooth surface.
- Consideration of tension: Pay attention to the tension of the fabric as you secure it to the frame. Achieving uniform tension across the surface of the canopy is essential for both visual appeal and structural integrity.
- Seamless integration: If your canopy consists of multiple fabric panels, ensure that they seamlessly integrate and align with one another to create a cohesive and continuous sheltering surface.
- Weather-resistant considerations: If the canopy will be exposed to the elements, consider utilizing weather-resistant fabric and incorporating additional waterproofing measures to enhance its durability and longevity.
By meticulously adhering to these guidelines, you’ll effectively attach the fabric to the frame, bringing your outdoor canopy one step closer to completion. The secure and seamless integration of the fabric will not only enhance the visual appeal of the canopy but also contribute to its functionality and resilience in outdoor environments.
Step 5: Secure the Canopy
As the construction of your outdoor canopy nears completion, the final crucial step involves securing the canopy to ensure its stability and resilience in outdoor conditions. Properly securing the canopy is essential for safeguarding it against wind, inclement weather, and other external factors that may compromise its integrity. Follow these essential guidelines to effectively secure your outdoor canopy:
- Anchoring the canopy: If your canopy is freestanding, utilize stakes or weights to anchor it firmly to the ground, preventing displacement or instability, especially during windy conditions.
- Tension adjustment: Assess the tension of the fabric and make any necessary adjustments to ensure that it remains taut and secure. This is particularly important for fabric canopies, as proper tension contributes to their stability and resistance to sagging.
- Inspecting fastenings: Thoroughly inspect the fastenings that secure the fabric to the frame, ensuring that they are tight and secure. Replace any worn or damaged fasteners to maintain the canopy’s structural integrity.
- Weather-proofing measures: Consider applying weather-resistant coatings or treatments to the fabric, especially if the canopy will be exposed to prolonged sunlight, rain, or other environmental stressors. This will enhance its durability and longevity.
- Regular maintenance plan: Establish a maintenance plan for your outdoor canopy, including periodic inspections, cleaning routines, and proactive measures to address any signs of wear or damage. This proactive approach will prolong the lifespan of your canopy and preserve its functionality and visual appeal.
By conscientiously implementing these guidelines, you’ll effectively secure your outdoor canopy, ensuring that it remains steadfast and reliable in the face of varying outdoor conditions. This final step is instrumental in preserving the quality and functionality of your canopy, allowing you to fully enjoy its benefits for years to come.
Conclusion
Congratulations on successfully completing the construction of your very own outdoor canopy! Through careful planning, precise execution, and a touch of creativity, you’ve transformed your outdoor space into a captivating and functional retreat. The process of crafting an outdoor canopy not only enhances the aesthetics of your environment but also provides a personalized haven for relaxation, entertainment, and enjoyment of the great outdoors.
By embarking on this DIY journey, you’ve not only tailored the canopy to your specific needs and preferences but also gained valuable insights into outdoor furniture and design. This hands-on experience equips you with a deeper understanding of the interplay between functionality, aesthetics, and craftsmanship, empowering you to further enhance your outdoor living space in the future.
As you bask in the satisfaction of your completed outdoor canopy, take a moment to admire the seamless integration of form and function that it brings to your outdoor oasis. Whether it’s a shaded lounging area, a cozy reading nook, or an elegant alfresco dining space, your canopy stands as a testament to your creativity and dedication to elevating your outdoor living experience.
As you enjoy the fruits of your labor, remember that the journey doesn’t end here. Embrace the opportunity to personalize your canopy further, whether through decorative embellishments, additional features, or complementary outdoor furniture. Let your creativity continue to flourish as you infuse your outdoor space with your unique style and vision.
With your newfound expertise in crafting an outdoor canopy, you’re well-equipped to inspire others, share your knowledge, and continue exploring the boundless possibilities of outdoor furniture and design. Your canopy serves not only as a functional asset but also as a symbol of your passion for creating inviting and captivating outdoor environments.
As you relish the serenity and charm of your newly adorned outdoor space, take pride in the craftsmanship and ingenuity that have brought your vision to life. Your outdoor canopy stands as a testament to the transformative power of DIY endeavors and the enduring allure of outdoor living.
Frequently Asked Questions about How To Make An Outdoor Canopy
Was this page helpful?
At Storables.com, we guarantee accurate and reliable information. Our content, validated by Expert Board Contributors, is crafted following stringent Editorial Policies. We're committed to providing you with well-researched, expert-backed insights for all your informational needs.


0 thoughts on “How To Make An Outdoor Canopy”