Home>Articles>How To Build A Pantry Cabinet With Swing Out Rack
Articles
How To Build A Pantry Cabinet With Swing Out Rack
Modified: May 6, 2024
Discover step-by-step articles on how to build a pantry cabinet with a convenient swing-out rack for efficient organization and storage.
(Many of the links in this article redirect to a specific reviewed product. Your purchase of these products through affiliate links helps to generate commission for Storables.com, at no extra cost. Learn more)
Introduction
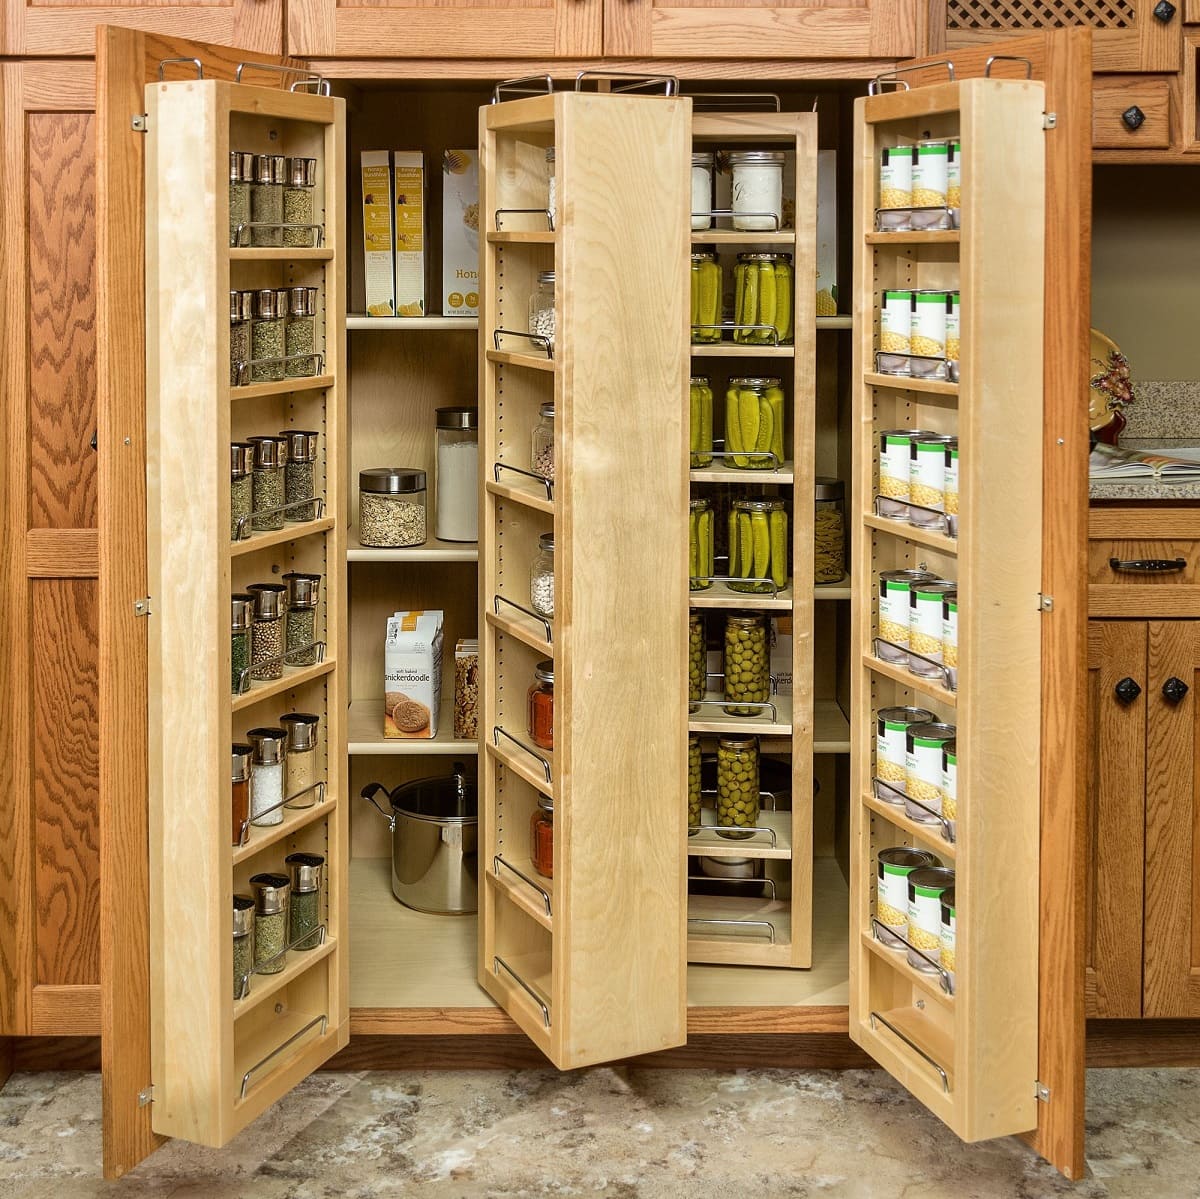
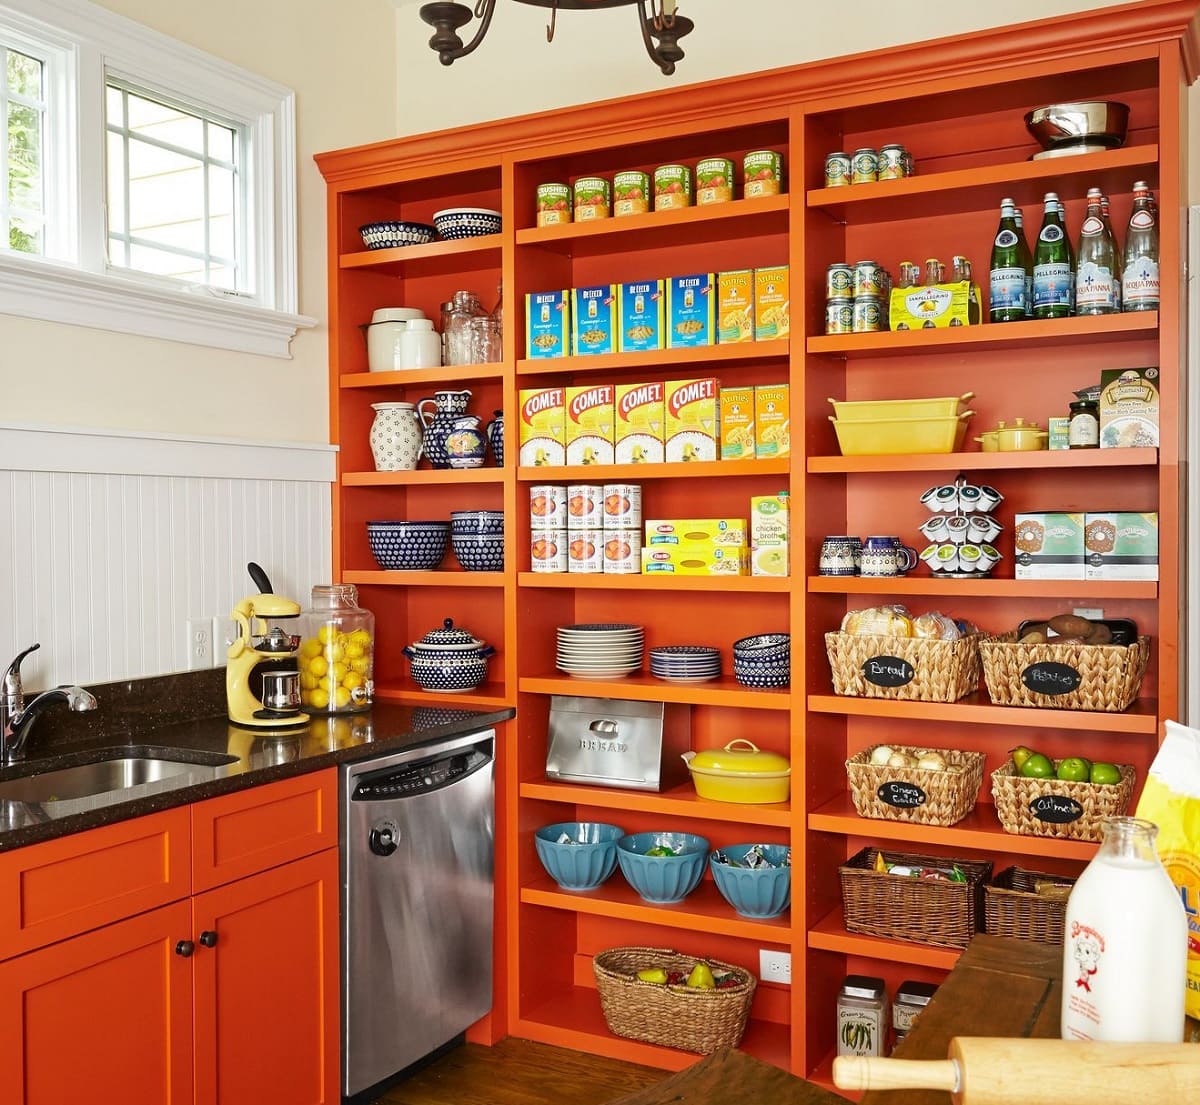
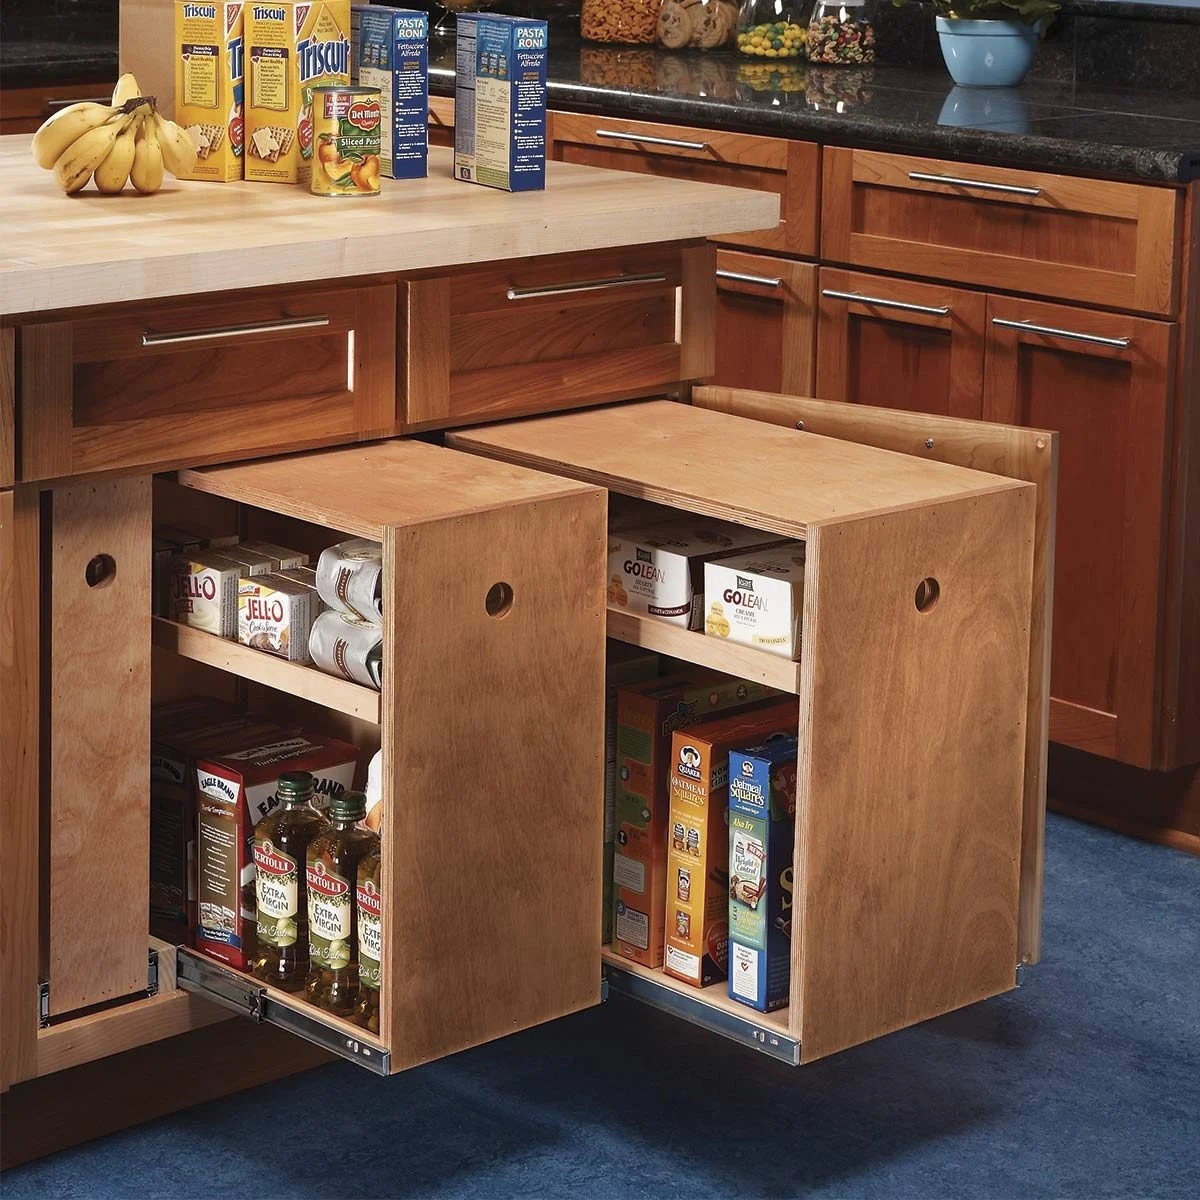
Welcome to our guide on how to build a pantry cabinet with a swing-out rack! A pantry cabinet is a versatile and useful addition to any kitchen or storage space. It provides ample room for storing food items, kitchen supplies, and other essentials. Plus, with the added feature of a swing-out rack, you can maximize storage space and easily access items stored at the back of the cabinet.
Building a pantry cabinet with a swing-out rack may seem like a complex project, but with the right materials, tools, and a step-by-step plan, you can create a functional and stylish cabinet that meets your storage needs. In this article, we will guide you through each stage of the process, from planning and measuring to installing the swing-out rack and adding finishing touches.
Before we jump into the project, let’s take a look at the materials you will need to gather:
- Plywood sheets
- Wood boards
- Hinges
- Drawer slides
- Screws
- Wood glue
- Drill
- Saw
- Screwdriver
- Measuring tape
- Safety goggles
Now that you have an idea of the materials required, let’s move on to the first step: planning and measuring.
Key Takeaways:
- Building a pantry cabinet with a swing-out rack requires careful planning, precise measurements, and the right materials. The process involves constructing a sturdy frame, installing the swing-out rack, and adding finishing touches for a functional and stylish storage solution.
- By following the step-by-step guide, DIY enthusiasts can create a customized pantry cabinet that maximizes storage space and enhances kitchen efficiency. The swing-out rack feature adds convenience, allowing easy access to items stored at the back of the cabinet.
Materials Needed
Before you begin building your pantry cabinet with a swing-out rack, make sure you have the following materials on hand:
- Plywood sheets: You will need plywood sheets to construct the main structure of the cabinet. Choose a thickness that is sturdy enough to hold your desired load.
- Wood boards: These will be used for the cabinet doors, shelves, and other supporting components. Opt for high-quality wood that is durable and can withstand the weight of the items you plan to store.
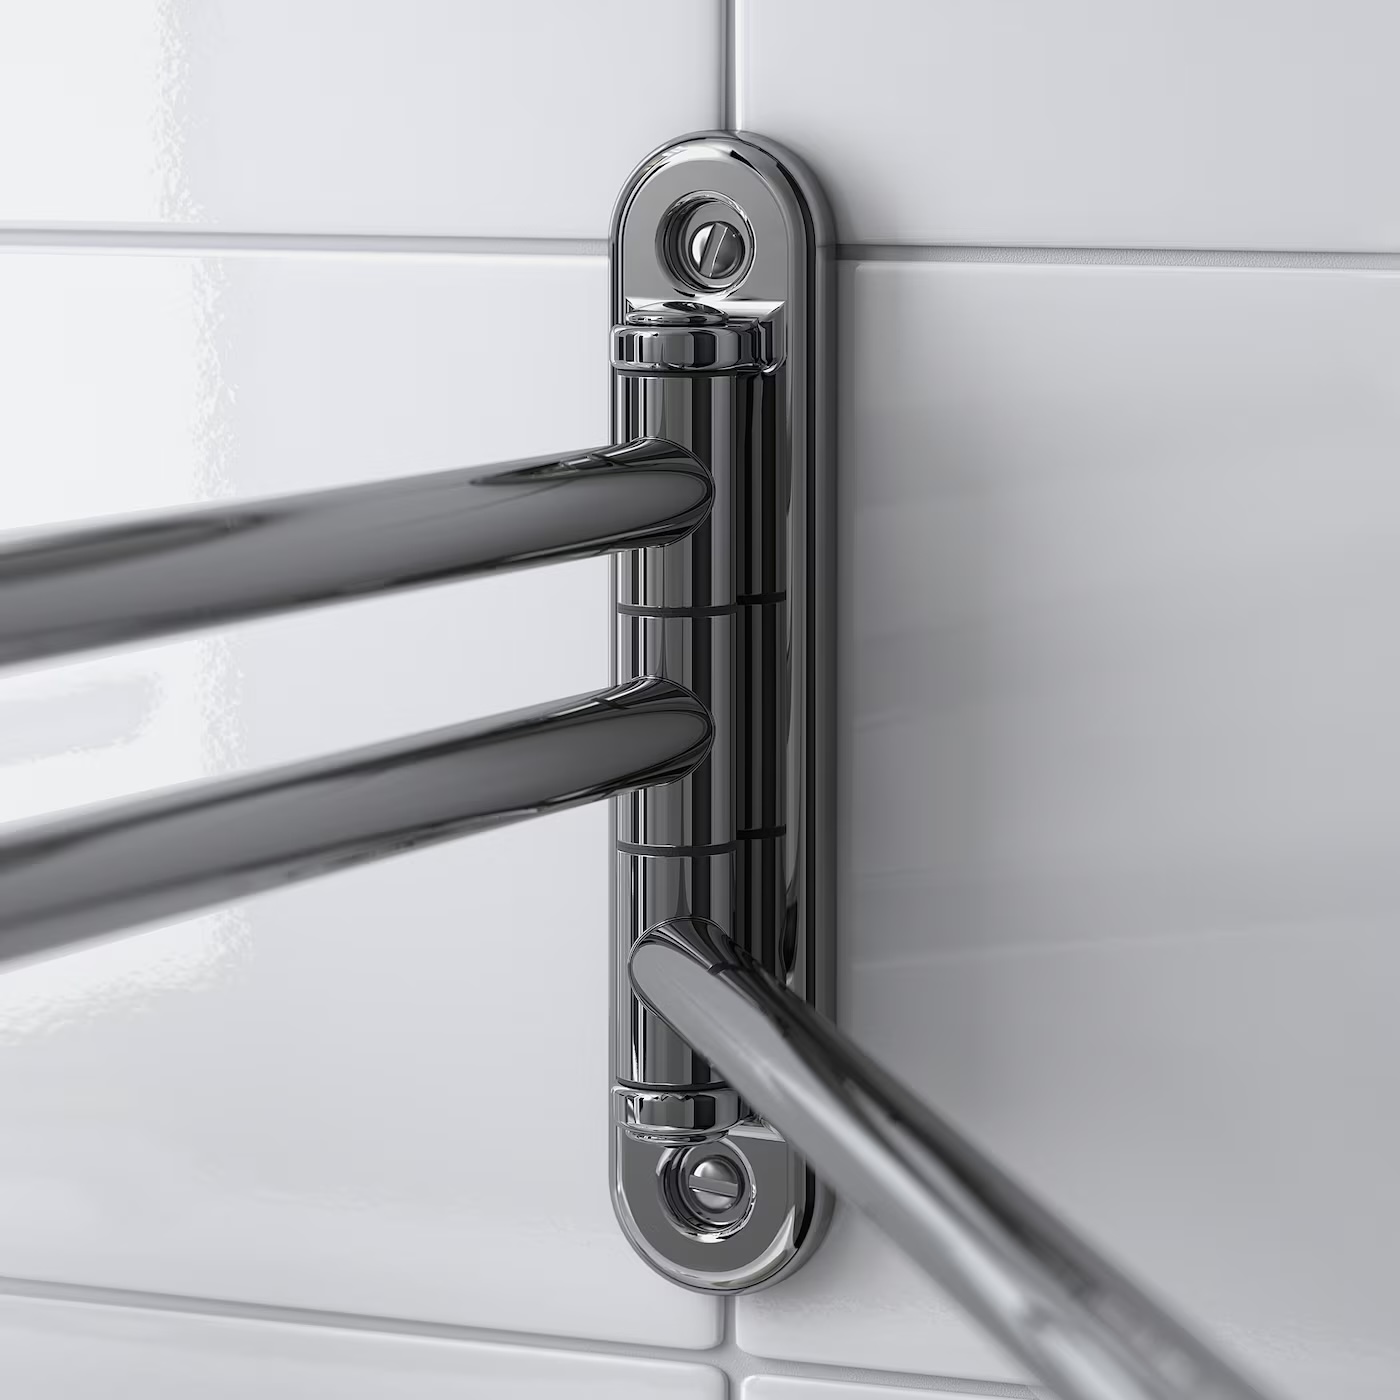
- Hinges: Select hinges that are suitable for your cabinet doors. Look for durable hinges that allow smooth movement and can support the weight of the doors.
- Drawer slides: If you want to incorporate sliding shelves into your pantry cabinet, you will need drawer slides. Make sure to choose slides that are sturdy and can handle the weight of the items you plan to store.
- Screws: You will need screws to secure the different components of the cabinet together. Make sure to select screws that are appropriate for the type of wood you are using.
- Wood glue: Wood glue helps provide extra strength and stability to the joints and connections. Look for a high-quality wood glue that dries quickly and forms a strong bond.
- Drill: A drill is an essential tool for creating pilot holes and securing screws. Make sure you have a drill with the appropriate bits for your screws.
- Saw: You will need a saw to cut the plywood sheets and wood boards to the desired dimensions. A circular saw or a table saw will work well for this purpose.
- Screwdriver: A screwdriver will come in handy for tightening screws and adjusting hinges. Have both a Phillips head and a flathead screwdriver on hand.
- Measuring tape: Accurate measurements are crucial for a successful cabinet build. Make sure you have a measuring tape to measure the dimensions of your space and the components of the cabinet.
- Safety goggles: Safety goggles are essential to protect your eyes from dust, debris, and any potential accidents during the construction process.
Having these materials ready before you start will ensure a smooth building process and help you create a sturdy and functional pantry cabinet with a swing-out rack. Now, let’s move on to the first step: planning and measuring.
Step 1: Planning and Measuring
The first step in building a pantry cabinet with a swing-out rack is to carefully plan and measure the space where you will be installing the cabinet. This step is crucial to ensure that your cabinet fits perfectly and meets your storage needs.
Start by assessing the available space in your kitchen or storage area. Take note of any existing furniture, appliances, or obstacles that might affect the placement of the cabinet. Consider the dimensions of the space, including the height, width, and depth.
Next, determine the size of the pantry cabinet you want to build. Consider the amount of storage space you require and the items you plan to store in the cabinet. Sketch out a rough design that includes the overall dimensions of the cabinet, the number of shelves, and the swing-out rack placement.
Once you have a design in mind, it’s time to take precise measurements. Using a measuring tape, measure the height, width, and depth of the space where the cabinet will be installed. Make sure to account for any baseboards, molding, or other obstacles.
With the measurements in hand, you can now calculate the dimensions for the plywood sheets and wood boards that you will need for the cabinet build. Remember to account for the thickness of the materials when calculating the final dimensions.
After finalizing your measurements and dimensions, it’s a good idea to create a detailed cut list. This list will help you keep track of the pieces you need to cut from the plywood sheets and wood boards. Label each piece on the cut list to make the assembly process smoother.
Lastly, consider any additional features you want to incorporate into your cabinet, such as adjustable shelves or a decorative finish. Take note of these details in your plan.
By taking the time to carefully plan and measure, you will ensure that your pantry cabinet fits perfectly into the designated space and meets your storage requirements. Once you have completed this step, you are ready to move on to the next stage: preparing the materials.
Step 2: Preparing the Materials
Now that you have completed the planning and measuring stage, it’s time to prepare the materials for building your pantry cabinet with a swing-out rack. This step involves cutting the plywood sheets and wood boards to the desired dimensions and gathering all the necessary hardware.
Start by referring to your cut list, which you created during the planning stage. Identify the pieces that need to be cut from the plywood sheets and wood boards. Measure and mark the dimensions on the materials, ensuring accuracy.
Using a circular saw or table saw, carefully cut the plywood sheets and wood boards according to your measurements. Remember to follow all safety precautions, such as wearing protective eyewear and securing the materials properly.
Once all the pieces are cut, it’s important to sand the edges to ensure a smooth finish. Use sandpaper or a sanding block to eliminate any rough edges and splinters.
As you prepare the materials, gather all the hardware needed for the cabinet assembly. This includes hinges, screws, drawer slides, and any other hardware specified in your design. Ensure that you have the correct sizes and quantities for each component.
Organize the cut pieces and hardware in an easily accessible and well-labeled manner. This will help streamline the assembly process and prevent any confusion or delays.
By thoroughly preparing the materials, you will be ready to move on to the next step: building the cabinet frame. Having everything ready in advance will ensure a smoother and more efficient construction process for your pantry cabinet with a swing-out rack.
When building a pantry cabinet with a swing-out rack, make sure to measure the space accurately to ensure the rack can swing out freely without hitting any obstacles. Also, use sturdy hinges and hardware to support the weight of the rack and its contents.
Step 3: Building the Cabinet Frame
With the materials prepared, it’s time to start building the frame of your pantry cabinet. The frame serves as the foundation and structural support for the cabinet, ensuring its stability and durability.
Begin by assembling the base of the cabinet. Attach the bottom piece of plywood to the side pieces using wood glue and screws. Make sure the corners are square by using a carpenter’s square or a measuring tape to measure the diagonals. Adjust if necessary before tightening the screws.
Next, attach the back panel to the base and side pieces. Apply wood glue along the edges of the plywood and secure it in place with screws. Make sure the back panel is flush with the edges of the base and sides for a seamless appearance.
Once the back panel is attached, it’s time to add the vertical dividers. Measure and mark the desired height and spacing for the dividers, ensuring they are evenly distributed. Use wood glue and screws to secure the dividers in place, reinforcing them with additional screws if needed.
After the dividers, install the top panel of the cabinet. Apply wood glue along the edges of the sides and dividers, then carefully position the top panel and secure it with screws. Check for a level surface and make any adjustments to ensure a flat and even top.
With the frame of the cabinet assembled, you can now focus on building the swing-out rack. Measure and cut the necessary pieces according to your design, ensuring they fit within the cabinet frame. Attach the swing-out rack components using hinges and screws, making sure it swings smoothly and securely.
Lastly, reinforce the cabinet frame by adding additional supports or braces where needed. This will provide extra stability and prevent any sagging over time. Use wood glue and screws to attach the supports to the sides, dividers, and back panel.
Once the cabinet frame is built and reinforced, take a moment to inspect it for any imperfections or areas that need further attention. Sand any rough edges or uneven surfaces, and make any necessary adjustments before moving on to the next step.
By carefully constructing the cabinet frame, you are creating a solid and reliable structure for your pantry cabinet with a swing-out rack. A well-built frame is essential for the longevity and functionality of the cabinet.
Read more: How To Build Kitchen Pantry Cabinet
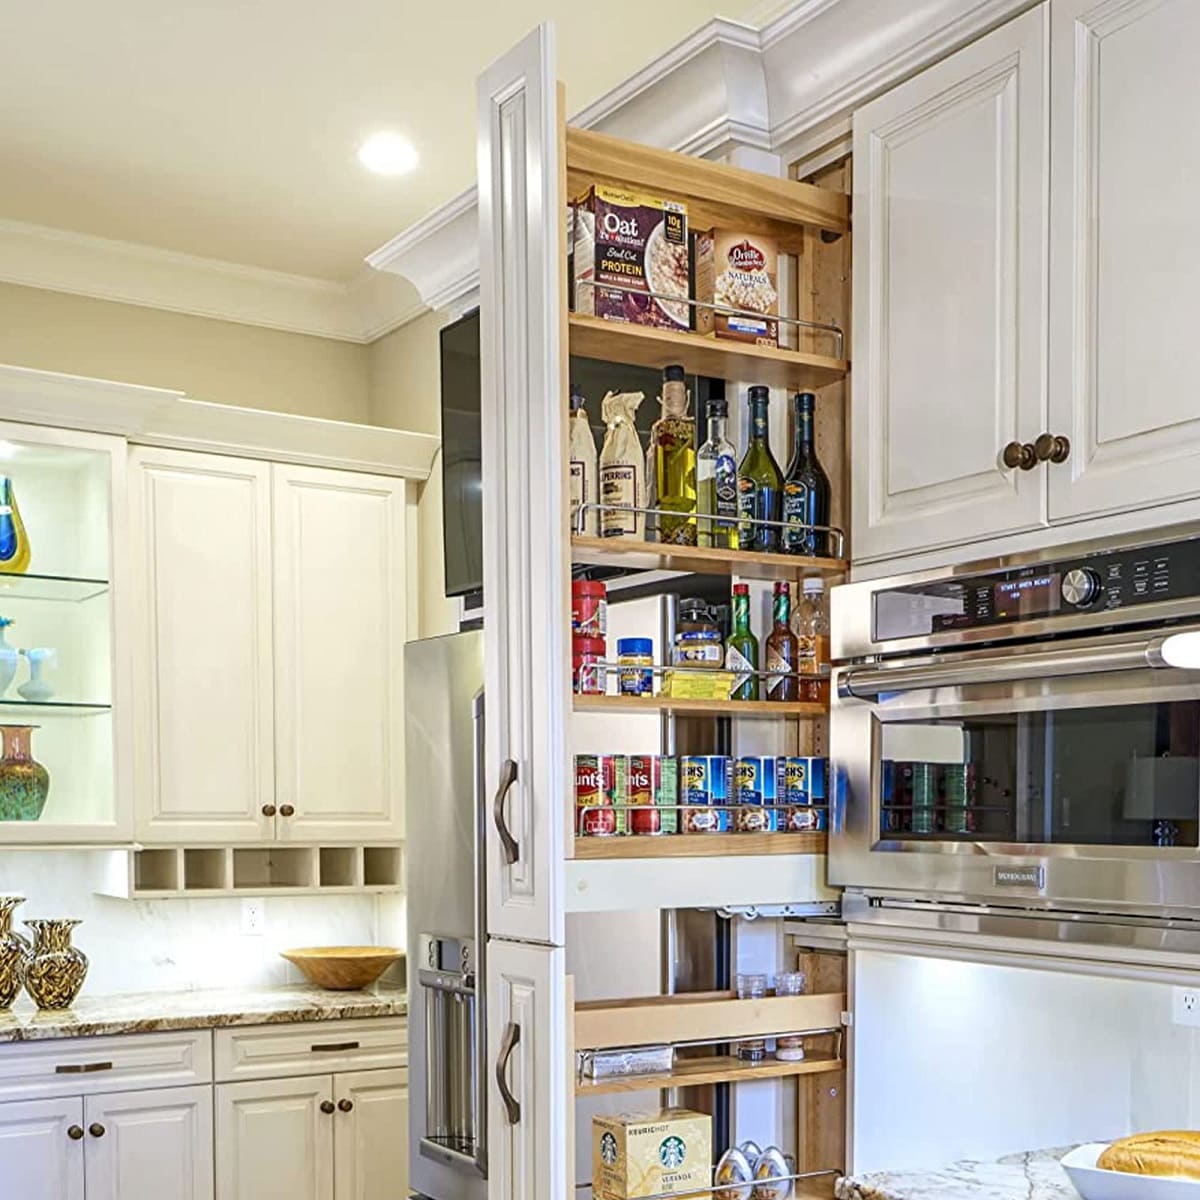
Step 4: Installing the Swing Out Rack
Now that the cabinet frame is built, it’s time to install the swing-out rack. This feature adds convenience and accessibility to your pantry cabinet, allowing you to maximize storage space and easily reach items at the back of the cabinet.
Start by determining the placement of the swing-out rack within the cabinet. Consider the height, width, and depth of the rack, ensuring it fits comfortably without obstructing other components or shelves.
Using your chosen hinges, attach the swing-out rack to the inside of the cabinet. Position the hinges at the desired height and secure them in place with screws. Make sure the rack swings freely and smoothly without any binding or obstruction.
Next, attach the swing-out mechanism to the cabinet frame. This can be achieved using drawer slides or a pivot system, depending on your design preference. Follow the manufacturer’s instructions for installing the chosen mechanism, ensuring it is secure and functions properly.
Test the swing-out rack to ensure that it moves smoothly and supports the weight of the items you plan to store. Make any necessary adjustments to the hinges or mechanism to ensure stability and optimal functionality.
For added convenience, consider adding dividers or adjustable shelves to the swing-out rack. This will enable you to customize the storage compartments and accommodate items of different sizes.
Once the swing-out rack is installed and functioning properly, take a moment to inspect the overall stability and security of the cabinet. Ensure that all screws are tightened, and there are no loose components or wobbling.
By successfully installing the swing-out rack, you have transformed your pantry cabinet into a versatile and user-friendly storage solution. Enjoy the convenience of easily accessing items and maximizing the use of your cabinet’s interior space.
Step 5: Finishing Touches
With the construction and installation of the swing-out rack complete, it’s time to add the finishing touches to your pantry cabinet. These final details will not only enhance the appearance of the cabinet but also protect it and ensure its longevity.
Start by sanding the surfaces of the cabinet, including the frame and swing-out rack. Use fine-grit sandpaper to smooth out any rough spots or imperfections. Pay extra attention to the edges and corners for a seamless finish.
Once the sanding is complete, wipe down the surfaces with a clean cloth to remove any dust or debris. This will ensure that the following finishing steps adhere properly to the wood.
Next, apply a coat of primer to the cabinet frame and swing-out rack. Primer helps to seal the wood and create a smooth surface for the final paint or stain. Follow the manufacturer’s instructions for the appropriate drying time.
After the primer has dried, you can choose to apply paint or stain to the cabinet. Select a color or finish that matches your kitchen or storage area’s existing decor. Apply thin coats, allowing each layer to dry thoroughly before applying the next. This will ensure an even and professional-looking finish.
Once the paint or stain has dried, consider adding a protective topcoat. This can be a clear varnish or polyurethane, which will provide an additional layer of protection against moisture, scratches, and daily wear and tear. Apply the topcoat following the manufacturer’s instructions and allow it to dry completely before handling the cabinet.
Finally, install any additional hardware or accessories, such as handles or knobs for the cabinet doors. Make sure they are aligned properly and securely attached.
Take a step back and admire your completed pantry cabinet with its stunning finish and functional swing-out rack. It’s now ready to be filled with all of your kitchen essentials, maximizing your storage space and making your daily routines more efficient.
By adding these finishing touches, you not only enhance the visual appeal of your pantry cabinet but also ensure its durability and protection. Enjoy the satisfaction of a well-crafted and beautiful piece of furniture in your home.
Conclusion
Congratulations on completing the construction of your pantry cabinet with a swing-out rack! You have successfully transformed a simple collection of materials into a functional and stylish storage solution for your kitchen or storage area.
Throughout this guide, we discussed the importance of careful planning and measuring to ensure that the cabinet fits perfectly within your space. We also explored the materials needed for the project, including plywood sheets, wood boards, hinges, and screws. Each step of the process, from building the cabinet frame to installing the swing-out rack, was carefully explained to help you create a sturdy and efficient cabinet.
By incorporating the finishing touches, such as sanding, painting or staining, and adding protective topcoats, your pantry cabinet not only provides ample storage but also enhances the overall aesthetic of your kitchen or storage area. The swing-out rack feature adds convenience and accessibility, allowing you to easily reach items stored at the back of the cabinet.
Remember to personalize your cabinet by choosing hardware that complements your decor, such as handles or knobs. These small details can make a big difference in the overall look and functionality of the cabinet.
Whether you’re an experienced DIY enthusiast or just starting out, building a pantry cabinet with a swing-out rack can be a rewarding and satisfying project. It not only provides you with a customized storage solution but also allows you to showcase your woodworking skills.
Now that you have completed your pantry cabinet, it’s time to enjoy the benefits of a well-organized and efficient kitchen or storage area. Stock your cabinet with your favorite ingredients, canned goods, and kitchen supplies, and revel in the ease of access and convenience the swing-out rack provides.
Thank you for following along with our guide! We hope it has equipped you with the knowledge and confidence to build your own pantry cabinet with a swing-out rack. Happy building!
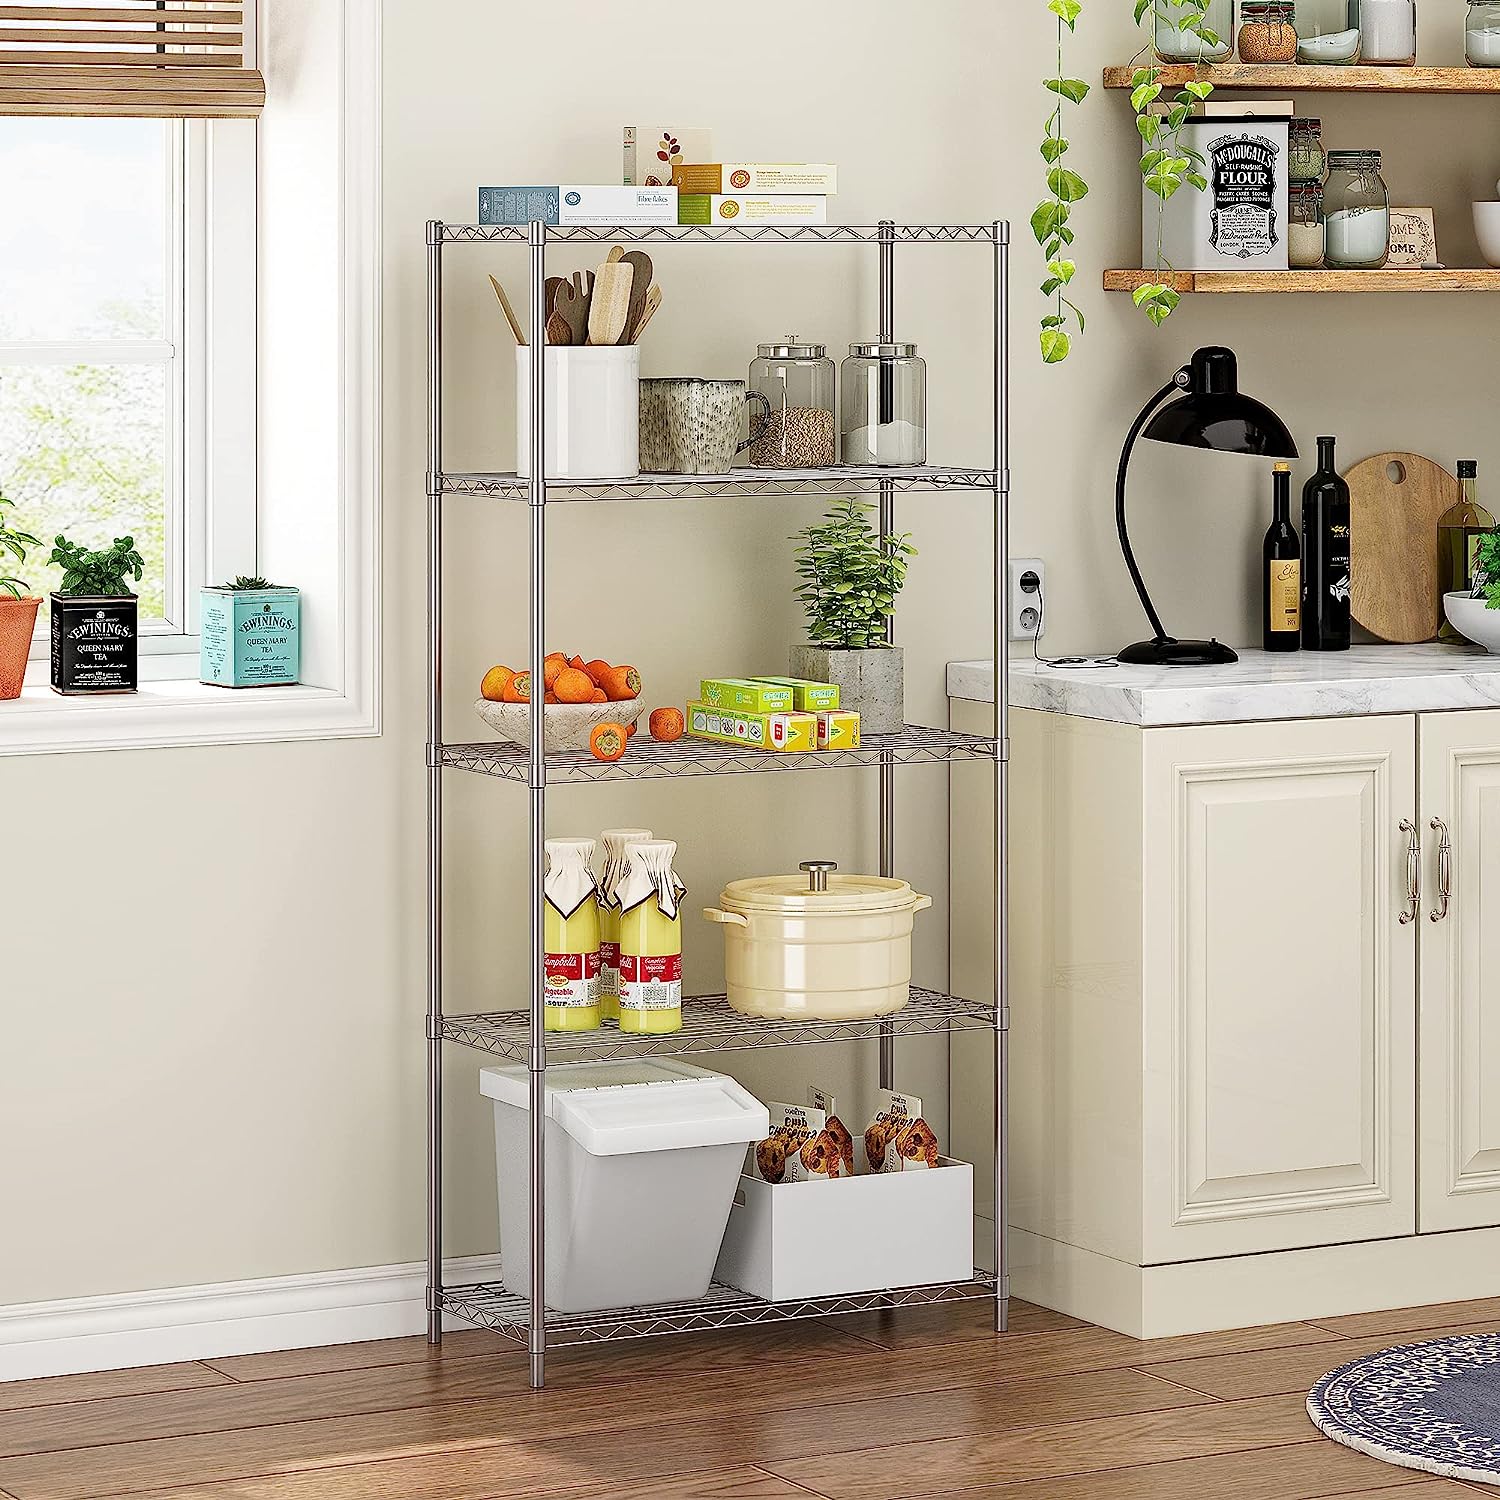
Now that you've mastered building a pantry cabinet with a swing-out rack, why not tackle another space-saving challenge in your home? For those who find themselves constantly battling clutter in smaller cooking spaces, our next guide provides practical tips for maximizing every inch. Learn about smart, easy strategies in our article on effective kitchen organization. You'll discover how to transform your cramped kitchen into a model of efficiency, making meal prep smoother and more enjoyable.
Frequently Asked Questions about How To Build A Pantry Cabinet With Swing Out Rack
Was this page helpful?
At Storables.com, we guarantee accurate and reliable information. Our content, validated by Expert Board Contributors, is crafted following stringent Editorial Policies. We're committed to providing you with well-researched, expert-backed insights for all your informational needs.


0 thoughts on “How To Build A Pantry Cabinet With Swing Out Rack”