Home>Furniture & Design>Outdoor Furniture>How To Fix Outdoor Lights
Outdoor Furniture
How To Fix Outdoor Lights
Published: January 15, 2024
Learn how to fix outdoor lights and illuminate your outdoor furniture with our expert tips and design ideas. Transform your outdoor space with our easy-to-follow outdoor lighting solutions.
(Many of the links in this article redirect to a specific reviewed product. Your purchase of these products through affiliate links helps to generate commission for Storables.com, at no extra cost. Learn more)
Introduction
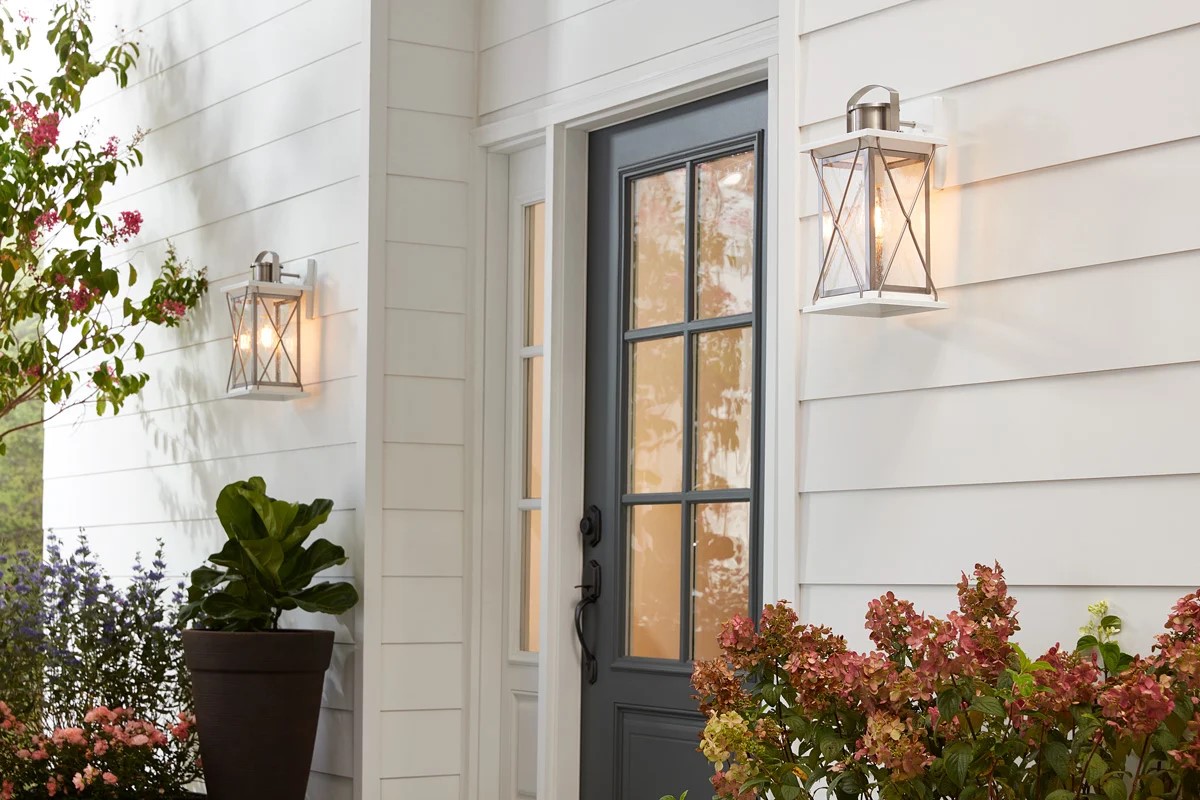
When the sun sets and darkness descends, outdoor lights illuminate our pathways, patios, and gardens, creating a warm and inviting ambiance. However, when these lights flicker, dim, or cease to shine, it can diminish the beauty and safety of our outdoor spaces. Fear not, for many common outdoor light issues can be resolved with a few simple steps. In this guide, we will explore the troubleshooting and repair of outdoor lights, empowering you to restore the radiance to your outdoor living areas.
Whether you are dealing with a malfunctioning bulb, a faulty sensor, or a wiring problem, understanding the basic components and potential issues of outdoor lights is the first step toward resolving the problem. By following the steps outlined in this comprehensive guide, you will be equipped to address a variety of outdoor light issues with confidence and ease.
So, let's roll up our sleeves and delve into the world of outdoor light repair. From checking the power source to fixing wiring issues, we will cover it all, ensuring that your outdoor lights shine brightly once more. Let's illuminate the path to well-lit and enchanting outdoor spaces!
Key Takeaways:
- Keep your outdoor lights shining bright by starting with the basics: check the power source, replace the bulb, clean the fixture, adjust the sensor, and fix any wiring issues.
- Regular maintenance and troubleshooting can help you restore the radiance of your outdoor lights, ensuring they continue to illuminate your outdoor spaces with beauty and brilliance.
Read more: How To Fix Outdoor Sensor Light
Checking the Power Source
Before delving into intricate repairs, it’s crucial to start with the most basic step: checking the power source. Begin by ensuring that the outdoor lights are receiving power. First, verify that the light switch is turned on. It may seem obvious, but sometimes a simple oversight can lead to unnecessary troubleshooting. If the switch is on and the lights are still not working, proceed to the next step.
Next, inspect the power supply to the outdoor lights. This may involve checking the circuit breaker or fuse box to confirm that the circuit supplying power to the lights has not tripped or blown a fuse. If you find a tripped circuit breaker or a blown fuse, reset the breaker or replace the fuse as necessary.
If the power source appears to be functioning properly, the issue may lie with the outdoor light fixture itself. In some cases, the problem may be related to the wiring, the bulb, or the sensor. We will explore these potential issues in the following sections, guiding you through the troubleshooting process to identify and address the specific problem affecting your outdoor lights.
By starting with a thorough examination of the power source, you can eliminate simple issues that may be impeding the functionality of your outdoor lights. Once the power source has been verified, we can move on to the next troubleshooting steps, ensuring that your outdoor lights will soon illuminate your outdoor spaces with radiance once more.
Replacing the Bulb
When outdoor lights fail to illuminate, a common culprit is a burnt-out bulb. To address this issue, start by turning off the power to the light fixture. This can typically be done by switching off the corresponding circuit breaker in the electrical panel. Once the power is off, you can proceed to inspect and replace the bulb.
Depending on the type of fixture, accessing the bulb may require unscrewing a cover or removing a panel to gain access to the bulb. Carefully remove the cover or panel, taking note of any screws or fasteners that may need to be loosened. With the bulb exposed, carefully remove it from the socket. Be cautious not to force the bulb, as excessive pressure could cause it to break, leading to potential injury.
Before installing a new bulb, take a moment to inspect the socket and ensure that it is clean and free from any debris or corrosion. If necessary, use a small brush or cloth to gently clean the socket. Once the socket is clean, insert the new bulb into the socket, taking care not to touch the bulb with your bare hands, as oil from your skin can cause hot spots on the bulb, shortening its lifespan.
After the new bulb is securely in place, reattach the cover or panel to the fixture. Once the bulb is replaced and the cover is secured, restore power to the fixture by turning the circuit breaker back on. With the new bulb in place and power restored, test the outdoor light to ensure that it illuminates properly. If the new bulb functions as expected, you have successfully resolved the issue. However, if the light still fails to illuminate, further troubleshooting may be required.
By replacing the bulb and ensuring that the socket is clean and free from debris, you can often resolve the most common cause of outdoor light failure. If the bulb replacement does not resolve the issue, the next step is to explore cleaning the fixture to address potential obstructions or issues affecting the light’s functionality.
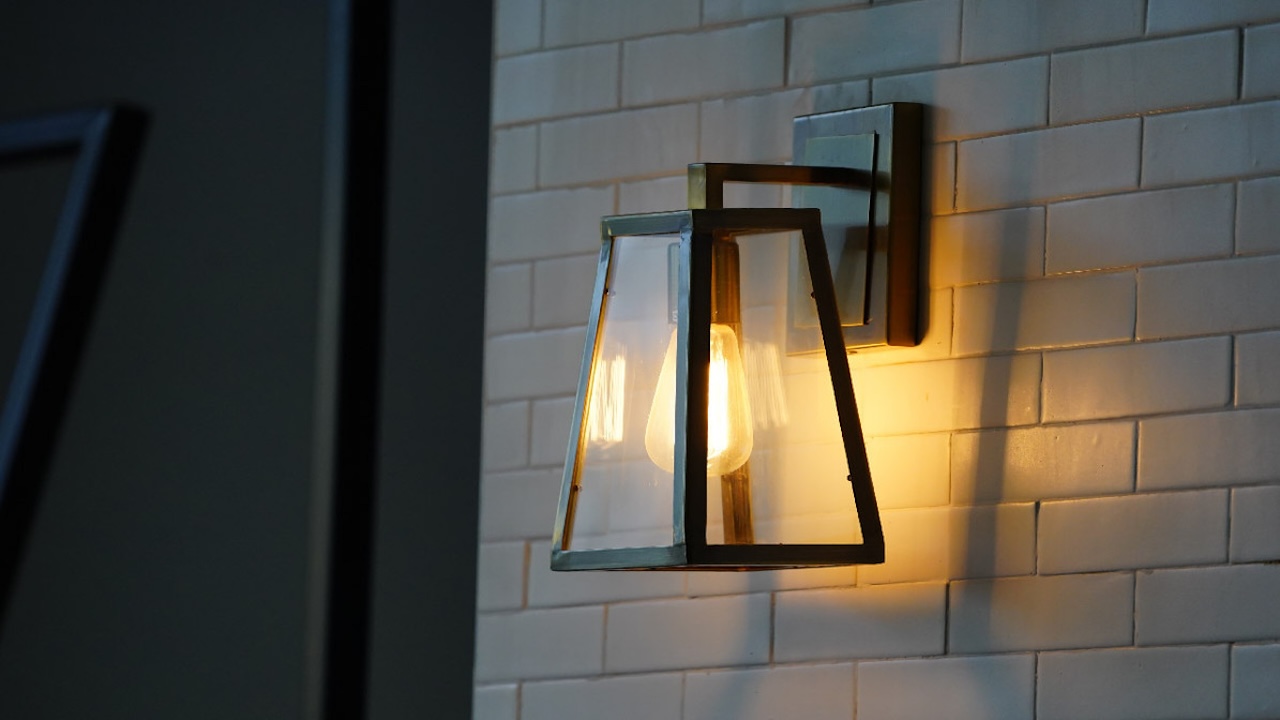
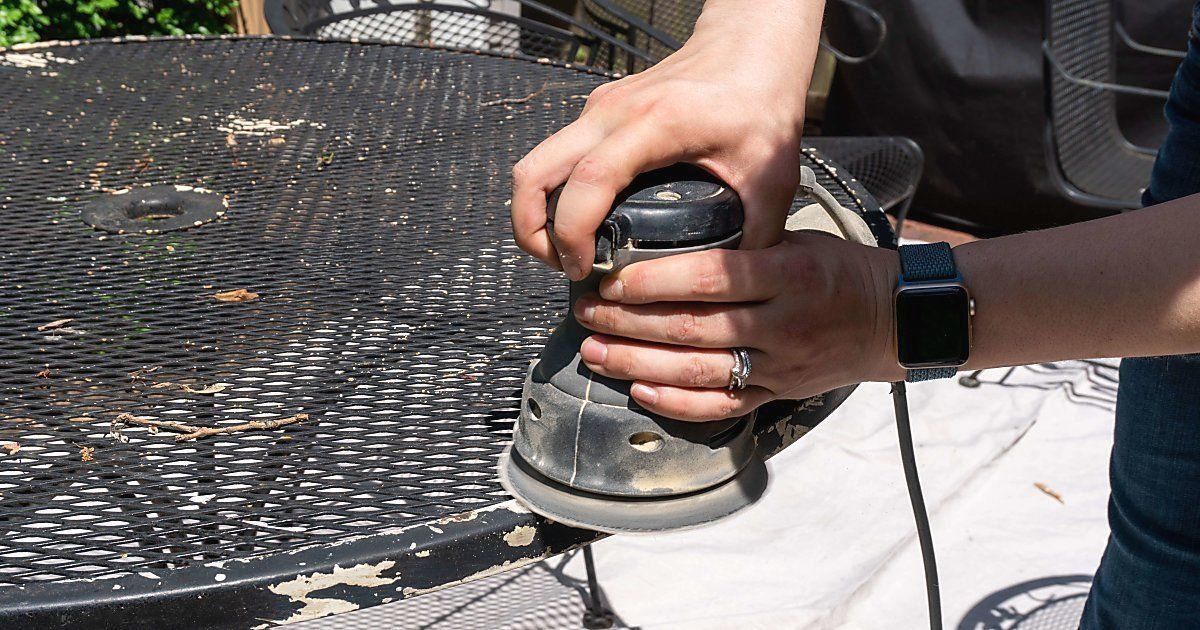
Cleaning the Fixture
Over time, outdoor light fixtures can accumulate dirt, dust, and other debris, which may obstruct the light output and diminish the fixture’s overall performance. Cleaning the fixture is a simple yet effective step in troubleshooting outdoor light issues. Before starting the cleaning process, ensure that the power to the fixture is turned off to prevent any potential hazards.
Begin by removing any covers or panels that encase the light source. Depending on the design of the fixture, this may involve unscrewing or unclipping the cover to access the interior components. Once the cover is removed, inspect the interior of the fixture for any visible dirt, dust, or debris. Use a soft brush or cloth to gently remove any accumulated particles from the interior surfaces of the fixture. Pay particular attention to any reflective surfaces or lenses that may have become coated with dirt, as this can significantly impact the light output.
In addition to cleaning the interior of the fixture, it is essential to inspect the exterior surfaces for any dirt or grime. Wipe down the exterior of the fixture using a damp cloth and a mild cleaning solution, if necessary. Be mindful of any intricate details or decorative elements on the fixture, ensuring that they are carefully cleaned without causing damage.
After cleaning both the interior and exterior of the fixture, reassemble any components that were removed and restore power to the fixture. Test the outdoor light to confirm that the cleaning process has resolved the issue. If the light now illuminates as expected, you have successfully addressed the problem. However, if the issue persists, further troubleshooting may be required to identify and resolve the underlying cause.
By cleaning the fixture and ensuring that both the interior and exterior surfaces are free from dirt and debris, you can improve the performance and longevity of your outdoor lights. In some cases, a thorough cleaning may be all that is needed to restore the fixture to its full luminous potential. If cleaning the fixture does not resolve the issue, the next step is to explore adjusting the sensor to ensure that it is functioning optimally.
Check the power source and connections first. Make sure the lights are getting power and the wiring is secure. If the issue persists, consider replacing the bulbs or the entire fixture.
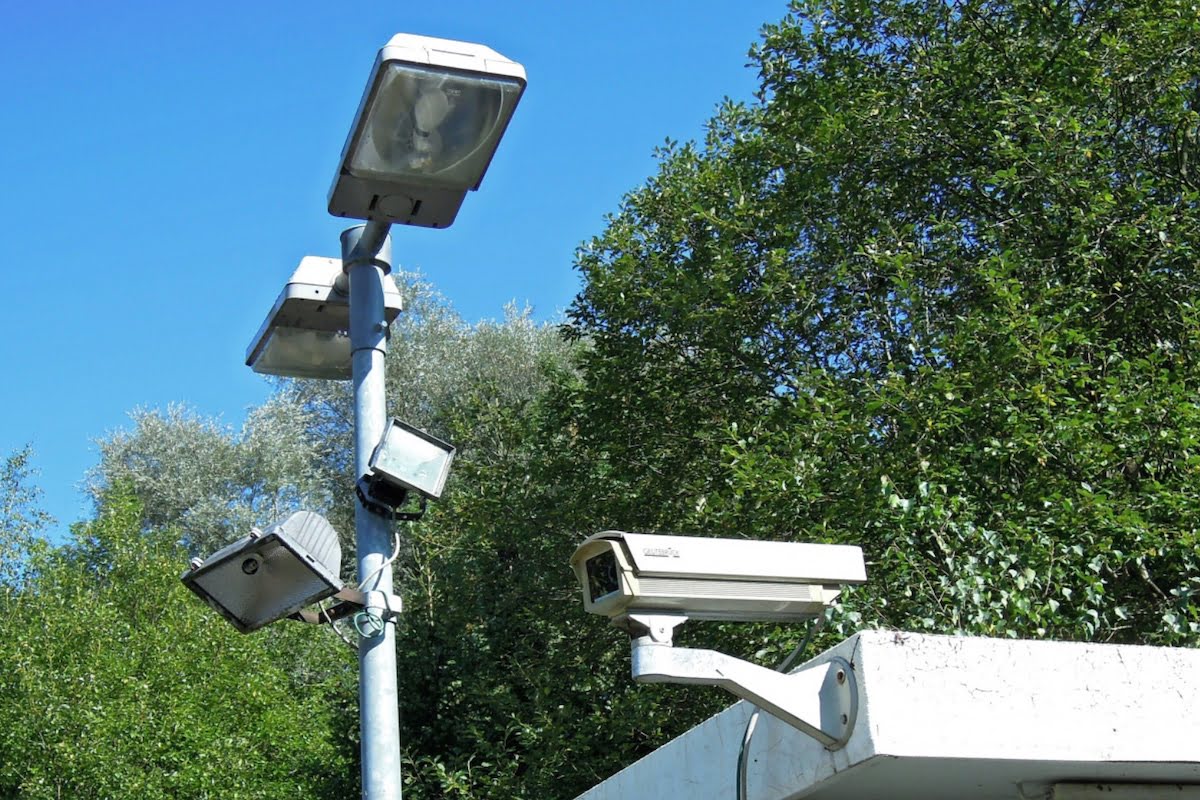
Adjusting the Sensor
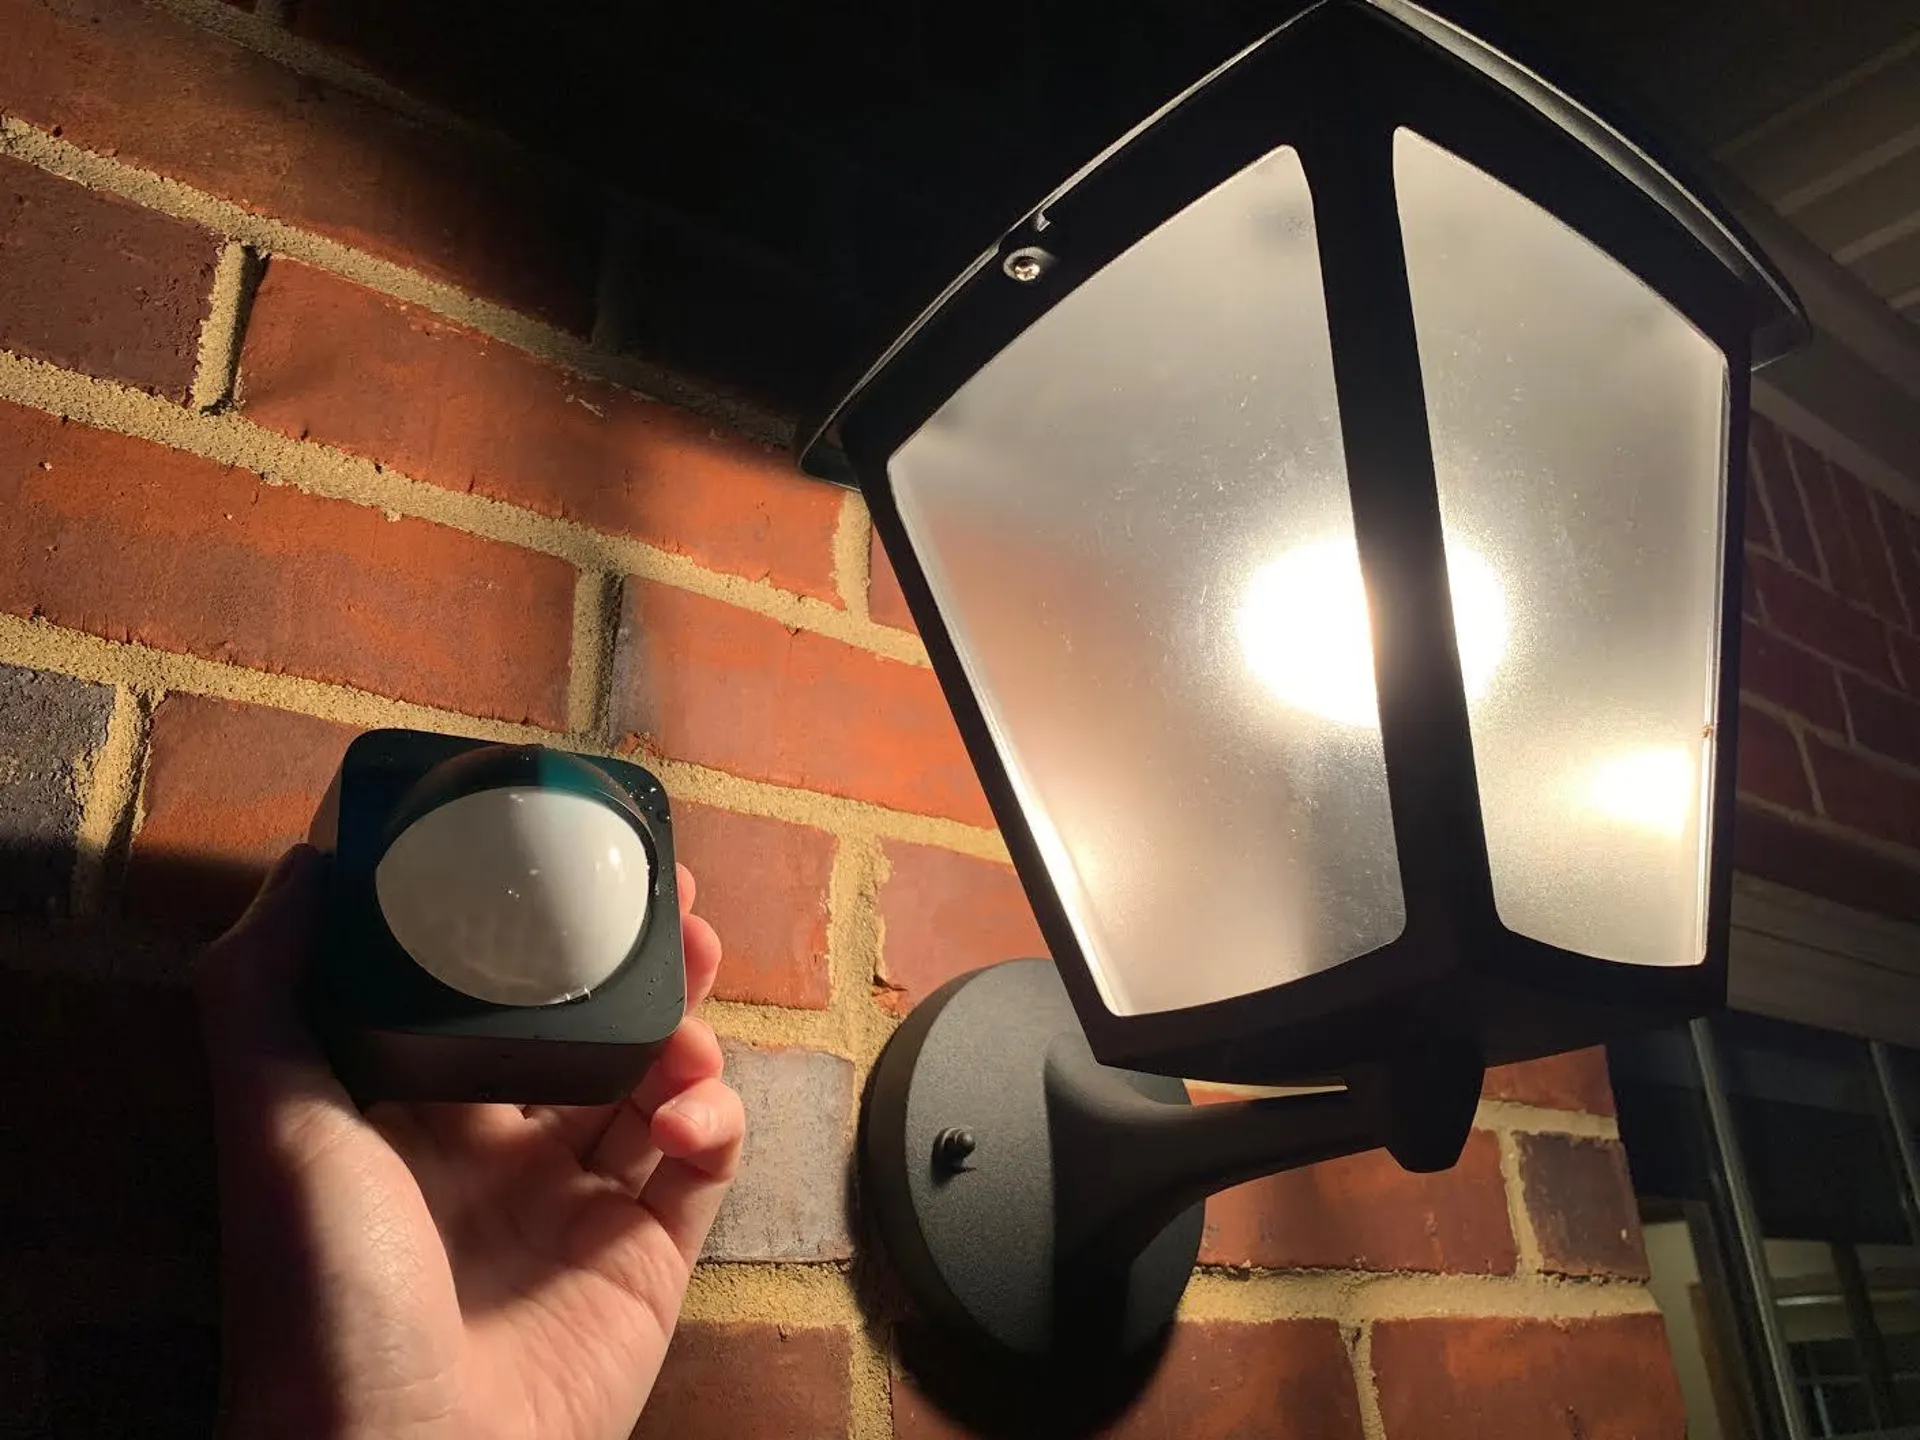
Outdoor lights equipped with motion sensors or photocells rely on these components to detect movement or changes in light levels, triggering the illumination of the fixture. If your outdoor light with a sensor is malfunctioning, it may be necessary to adjust the sensor to restore its functionality.
Start by identifying the location of the sensor on the light fixture. Depending on the design, the sensor may be located on the bottom, top, or side of the fixture. Once the sensor is located, evaluate its positioning and orientation to ensure that it has an unobstructed view of the surrounding area. Over time, the sensor may become misaligned or obstructed by foliage, causing it to function improperly.
If the sensor appears to be obstructed, carefully remove any debris or obstructions that may be impeding its functionality. This may involve trimming back overgrown vegetation or repositioning objects that are blocking the sensor’s view. Additionally, ensure that the sensor is free from dirt and grime that may interfere with its operation.
After clearing any obstructions and ensuring that the sensor is clean, it may be necessary to adjust the sensor’s settings to optimize its performance. Many sensors have adjustable sensitivity and duration settings, allowing you to customize how they respond to motion or changes in light levels. Refer to the manufacturer’s instructions for your specific sensor to determine the appropriate settings and make any necessary adjustments.
Once the sensor has been cleaned and adjusted, restore power to the fixture and test the outdoor light to confirm that the sensor is functioning as intended. Stand in the detection zone of the sensor to ensure that it accurately triggers the light’s illumination. If the sensor now operates correctly, you have successfully resolved the issue. However, if the problem persists, further troubleshooting may be required to identify and address the underlying cause of the sensor malfunction.
By adjusting the sensor and ensuring that it has an unobstructed view of the surrounding area, you can optimize the functionality of your outdoor light, allowing it to respond accurately to motion or changes in light levels. If adjusting the sensor does not resolve the issue, the next step is to explore potential wiring issues that may be affecting the performance of the outdoor light.
Read more: How To Fix Outdoor Solar Lights
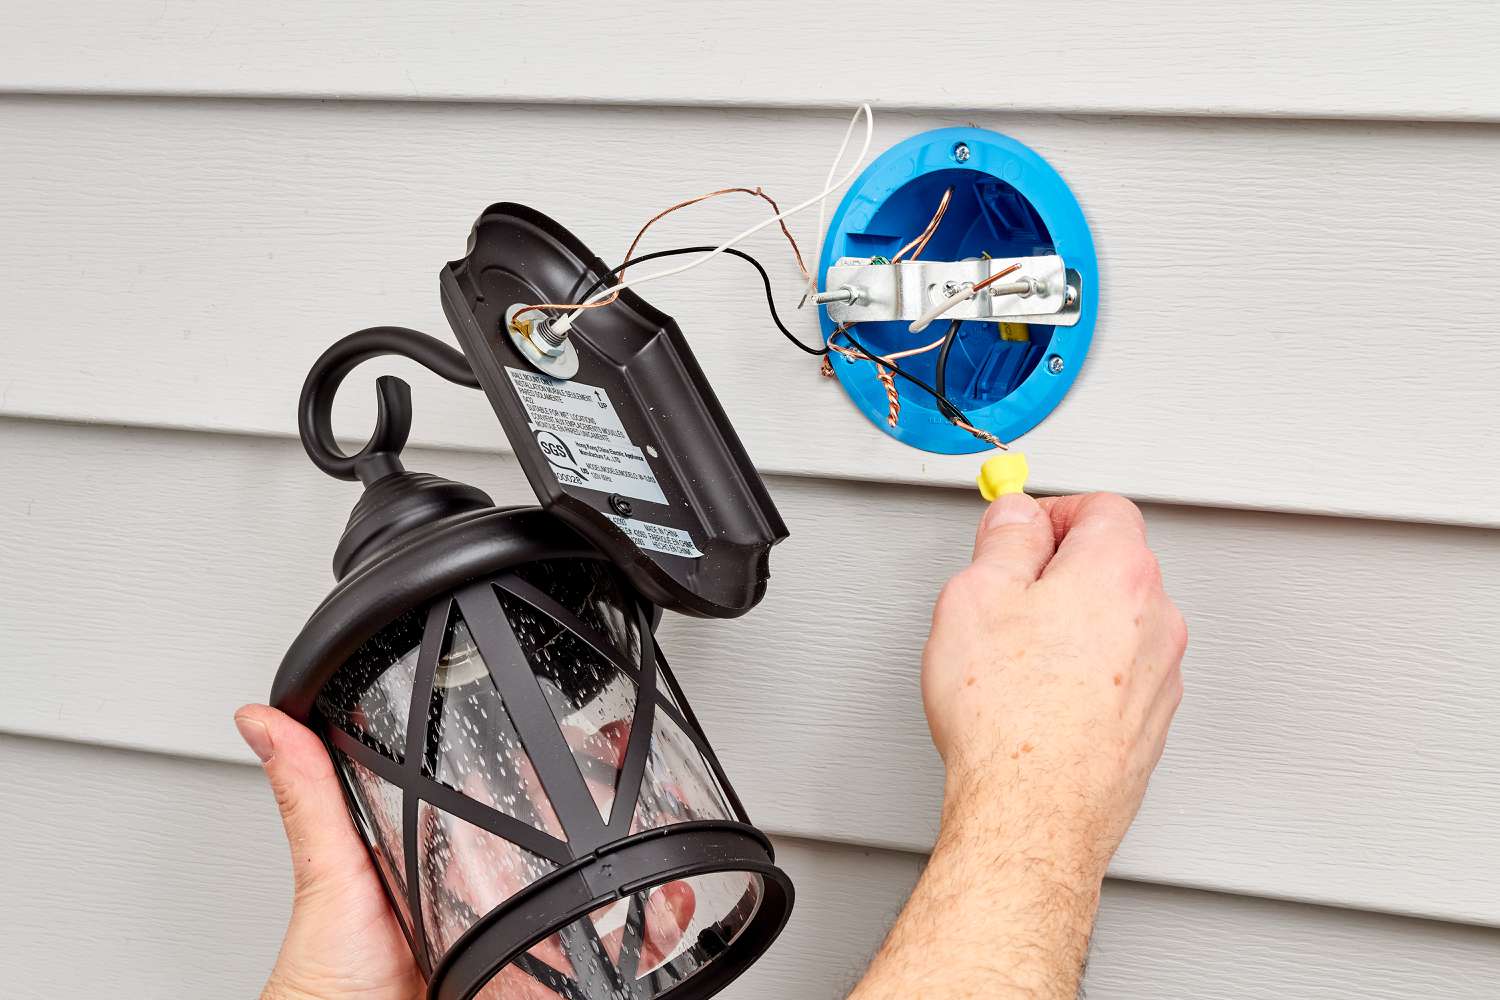
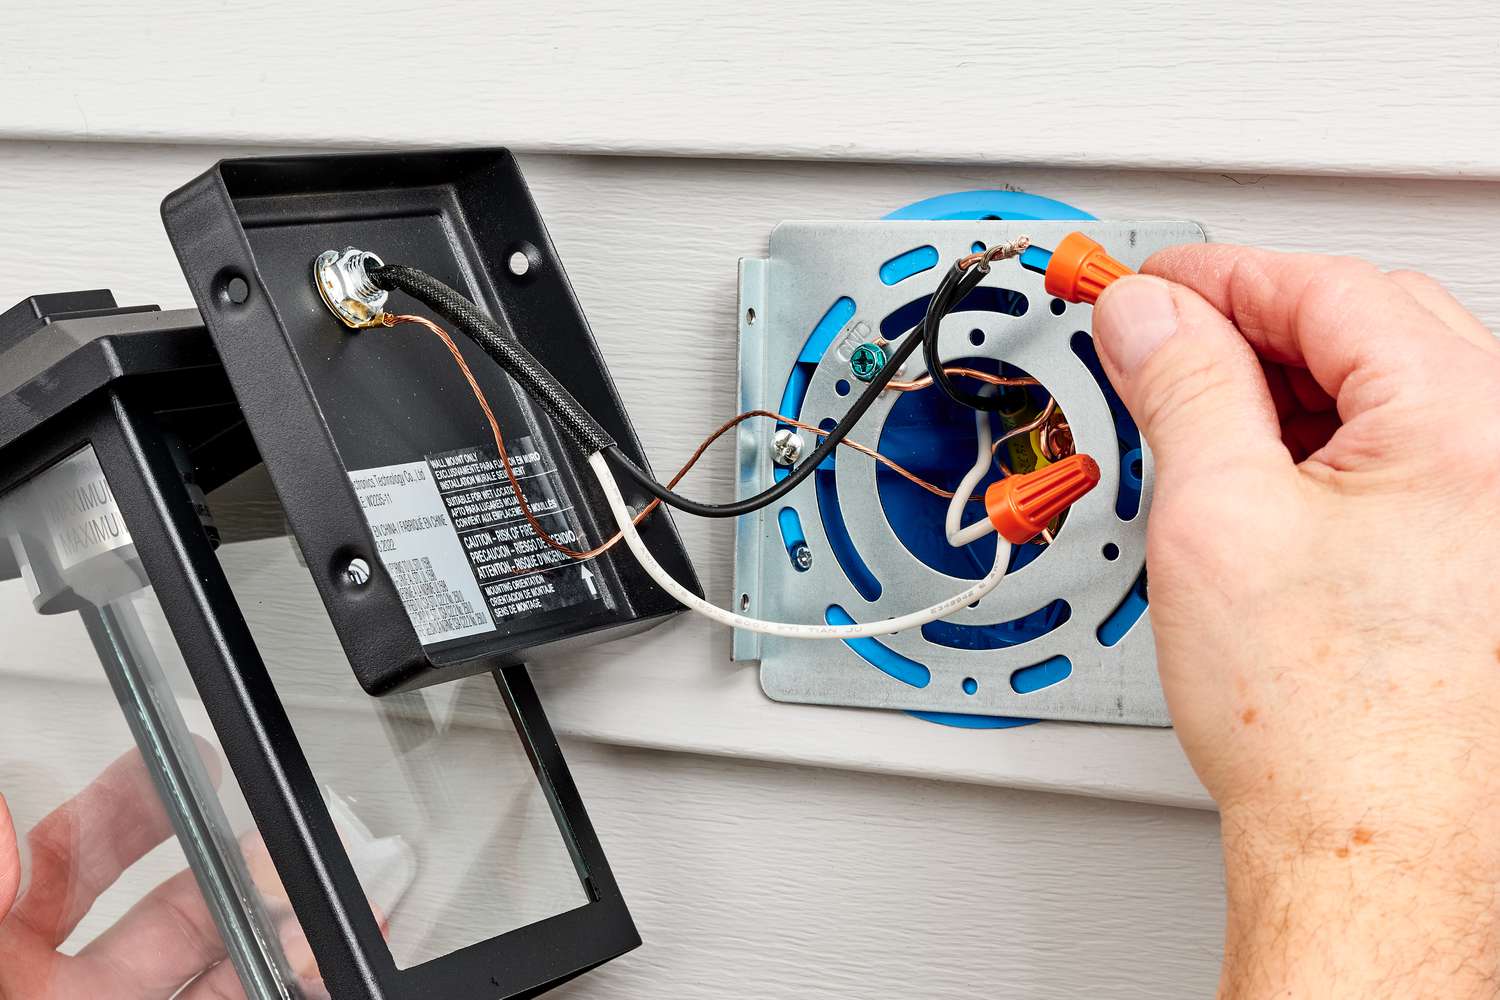
Fixing Wiring Issues
Wiring problems can often be the root cause of outdoor light malfunctions. Over time, exposure to the elements and general wear and tear can lead to loose connections, damaged wiring, or corroded terminals. Addressing wiring issues requires careful attention to detail and a methodical approach to ensure that the electrical components are functioning properly.
Before inspecting the wiring, it is essential to turn off the power to the outdoor light fixture at the circuit breaker or fuse box. This precautionary measure is crucial for safety and prevents the risk of electrical shock during the troubleshooting process.
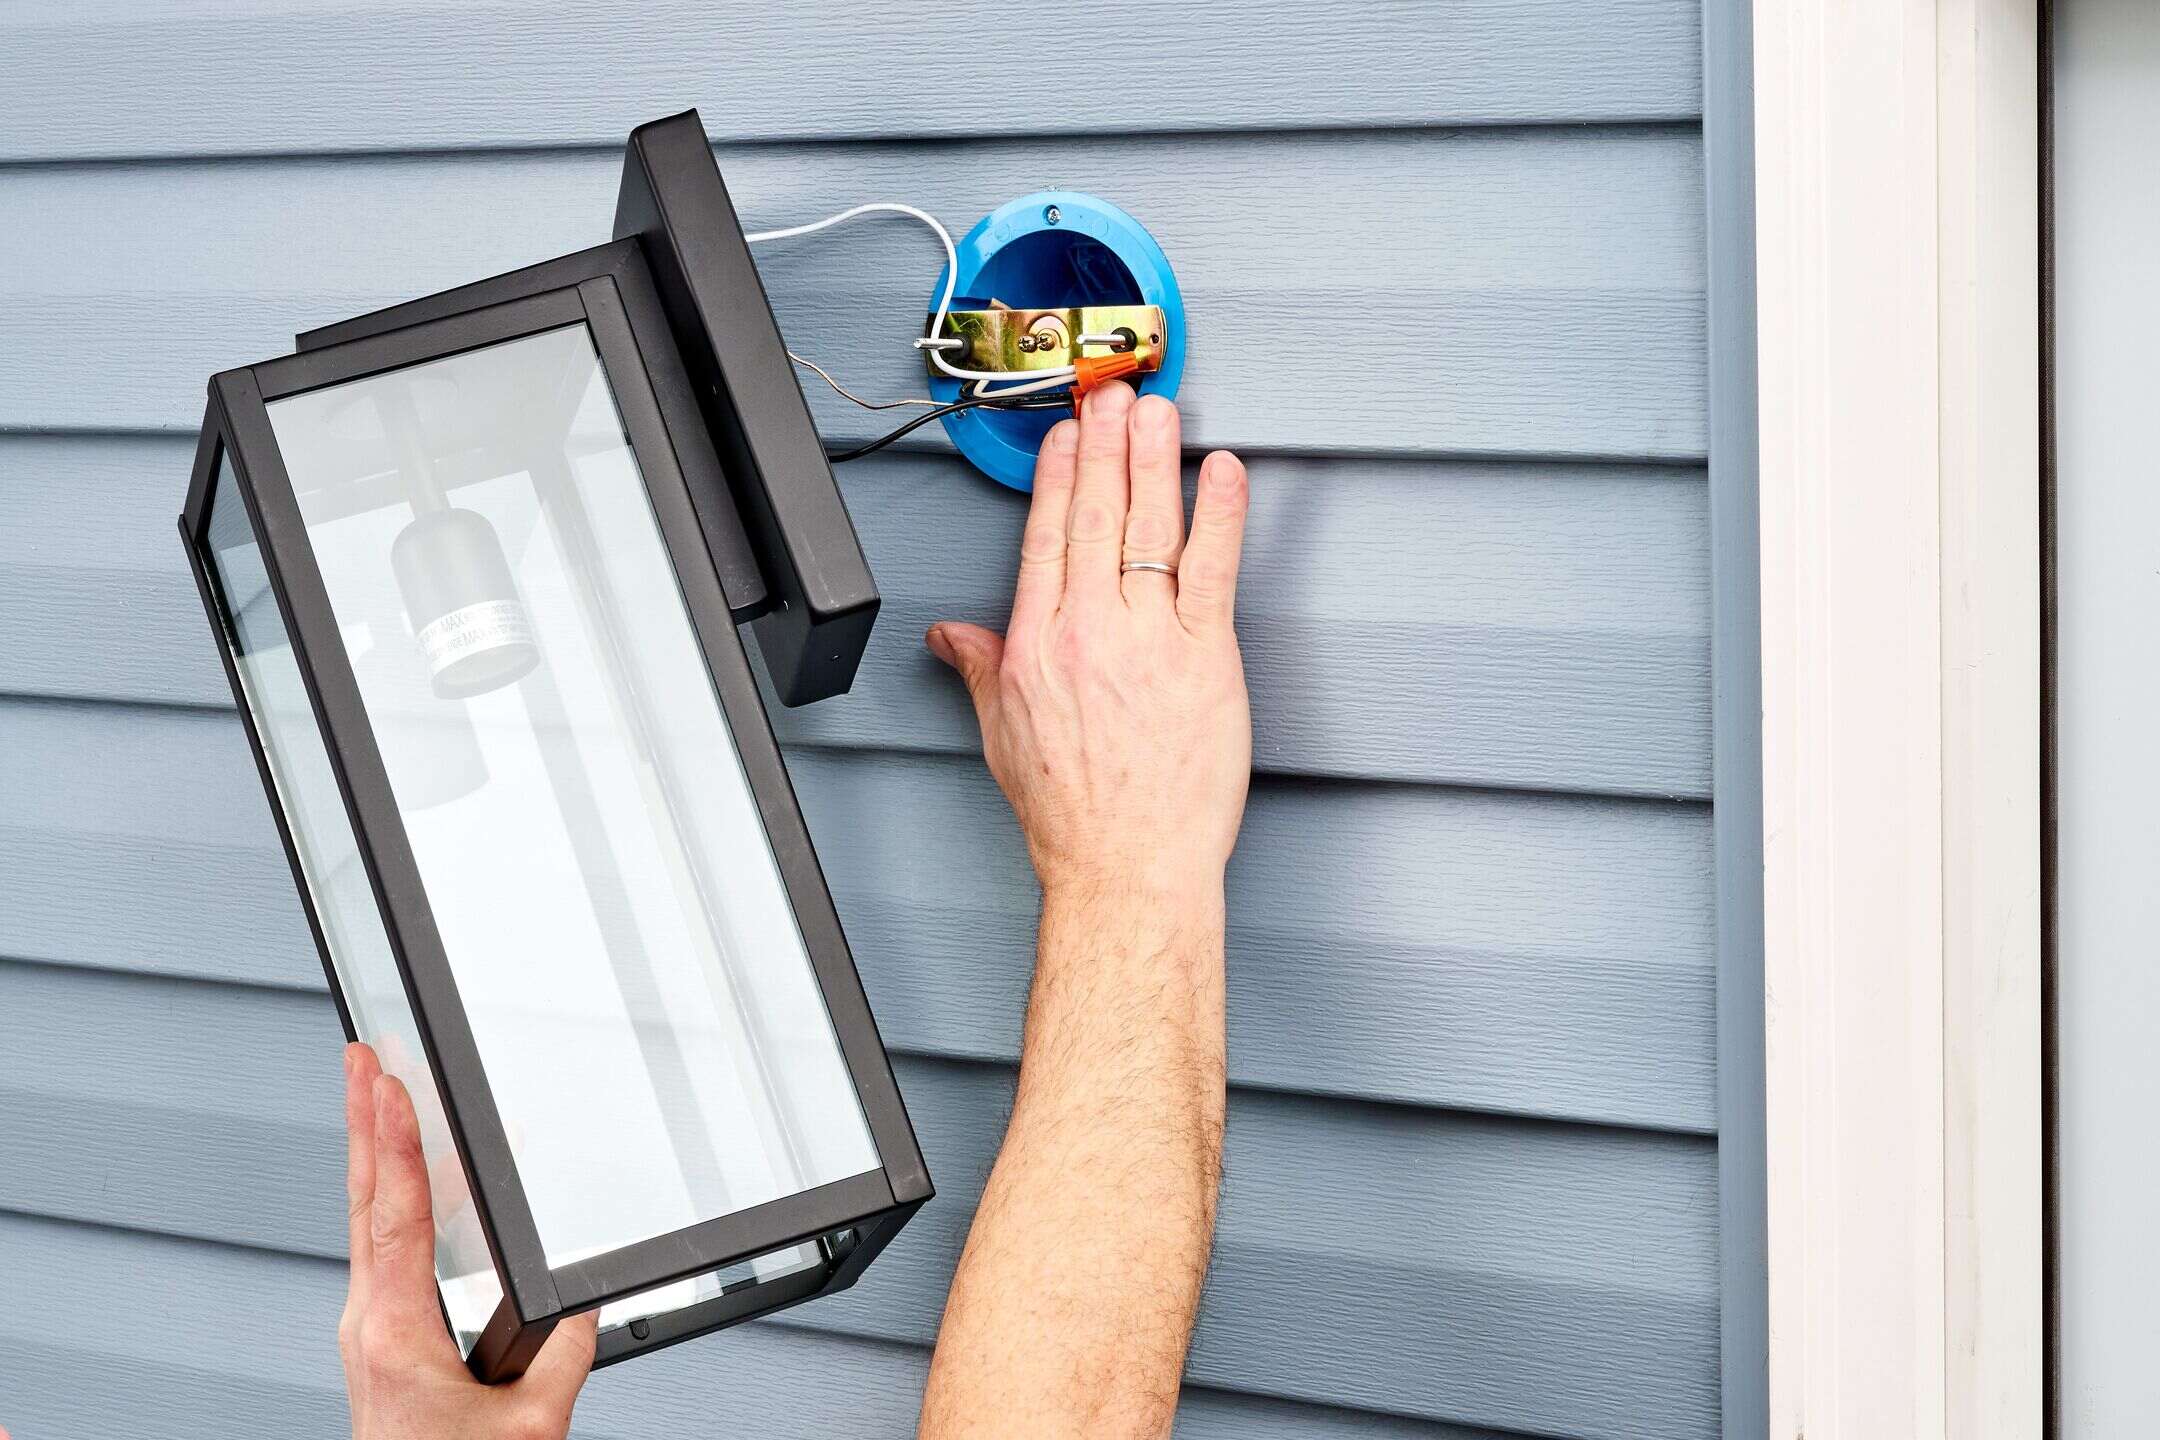
Begin by carefully examining the wiring connections within the fixture. Check for any loose or disconnected wires, as well as signs of damage or corrosion. If any issues are identified, carefully reconnect or repair the wiring as needed. Use caution and follow proper electrical safety procedures when handling wiring components.
In addition to inspecting the wiring within the fixture, it is important to evaluate the wiring leading to the fixture. This may involve tracing the wiring back to its source and inspecting junction boxes, connectors, and any exposed wiring for signs of damage or deterioration. Address any issues found during the inspection, ensuring that all connections are secure and free from damage.
If the outdoor light is part of a larger electrical circuit, it may be necessary to inspect the wiring at the point where it connects to the main electrical supply. This may involve checking junction boxes, switches, or other electrical components to ensure that the wiring is intact and properly connected.
After addressing any identified wiring issues, restore power to the fixture and test the outdoor light to confirm that the wiring repairs have resolved the problem. If the light now functions as expected, you have successfully addressed the wiring issues. However, if the problem persists, it may be necessary to seek professional assistance to diagnose and repair more complex electrical issues.
By carefully inspecting and addressing wiring issues, you can ensure that the electrical components of your outdoor light are in optimal condition, promoting safe and reliable operation. If fixing wiring issues does not resolve the problem, it may be time to consider consulting a qualified electrician or technician to diagnose and remedy the underlying cause of the malfunction.
Conclusion
As the sun sets and the evening unfolds, the gentle glow of outdoor lights transforms our outdoor spaces into enchanting realms of beauty and warmth. However, when these lights falter, it can dim the magic of these outdoor havens. By understanding the common issues that affect outdoor lights and following the troubleshooting steps outlined in this guide, you can restore the radiance to your outdoor living areas with confidence and ease.
From checking the power source to addressing wiring issues, each step in the troubleshooting process plays a crucial role in identifying and resolving the underlying causes of outdoor light malfunctions. By starting with the simplest and most fundamental steps, such as verifying the power source and replacing the bulb, you can often resolve common issues with minimal effort. However, if these steps do not remedy the problem, delving deeper into cleaning the fixture, adjusting the sensor, and fixing wiring issues can lead to the successful restoration of your outdoor lights.
Throughout the troubleshooting process, safety should always be a priority. Always turn off the power to the fixture before inspecting or performing any repairs, and exercise caution when handling electrical components. If you encounter complex issues or are uncertain about the troubleshooting process, seeking professional assistance from a qualified electrician or technician is advisable to ensure the safe and effective resolution of the problem.
By taking a proactive approach to outdoor light maintenance and repair, you can extend the lifespan of your fixtures and ensure that they continue to illuminate your outdoor spaces with beauty and brilliance. Regular cleaning, inspection, and maintenance can help prevent issues from arising and ensure that your outdoor lights remain a source of joy and illumination for years to come.
So, as you embark on the journey of troubleshooting and repairing your outdoor lights, may this guide serve as a beacon of knowledge, guiding you toward the restoration of luminous outdoor spaces. With each issue addressed and resolved, the radiance of your outdoor lights will once again illuminate the pathways, gardens, and gathering spaces, infusing your outdoor haven with the magic of light and warmth.
Frequently Asked Questions about How To Fix Outdoor Lights
Was this page helpful?
At Storables.com, we guarantee accurate and reliable information. Our content, validated by Expert Board Contributors, is crafted following stringent Editorial Policies. We're committed to providing you with well-researched, expert-backed insights for all your informational needs.


0 thoughts on “How To Fix Outdoor Lights”