Articles
How To Install Water Line For Refrigerator
Modified: March 21, 2024
Learn how to install a water line for your refrigerator with our informative articles. Find step-by-step guides and troubleshooting tips for a smooth installation process.
(Many of the links in this article redirect to a specific reviewed product. Your purchase of these products through affiliate links helps to generate commission for Storables.com, at no extra cost. Learn more)
Introduction
Installing a water line for your refrigerator is a convenient way to have easy access to fresh, filtered water and ice cubes. Whether you’re upgrading your old refrigerator or you’ve just purchased a new one, having a dedicated water line can provide you with a constant supply of chilled water and ice, without the hassle of constantly refilling water pitchers or dealing with ice trays. In this article, we will guide you through the step-by-step process of installing a water line for your refrigerator.
Before we dive into the installation process, it’s important to note that installing a water line requires basic plumbing knowledge and some tools. If you’re not confident in your abilities, it’s always best to consult a professional plumber. Safety should always be the top priority when working with plumbing connections and water lines.
Now let’s get started and gather the necessary tools and materials for installing the water line.
Key Takeaways:
- Enjoy the convenience of fresh, filtered water and ice cubes with a dedicated refrigerator water line, eliminating the hassle of constantly refilling pitchers or dealing with ice trays.
- Prioritize safety and caution when installing a refrigerator water line, and consult a professional plumber if uncertain about any step to ensure a successful and leak-free installation.
Read more: How To Disconnect A Refrigerator Water Line
Step 1: Gather the necessary tools and materials
Before you begin the installation process, it’s essential to gather all the required tools and materials. Having everything you need on hand will ensure a smooth and efficient installation. Here’s a list of the tools and materials you’ll need:
- Adjustable wrench
- Tape measure
- Drill with a hole saw attachment
- Phillips screwdriver
- Teflon tape
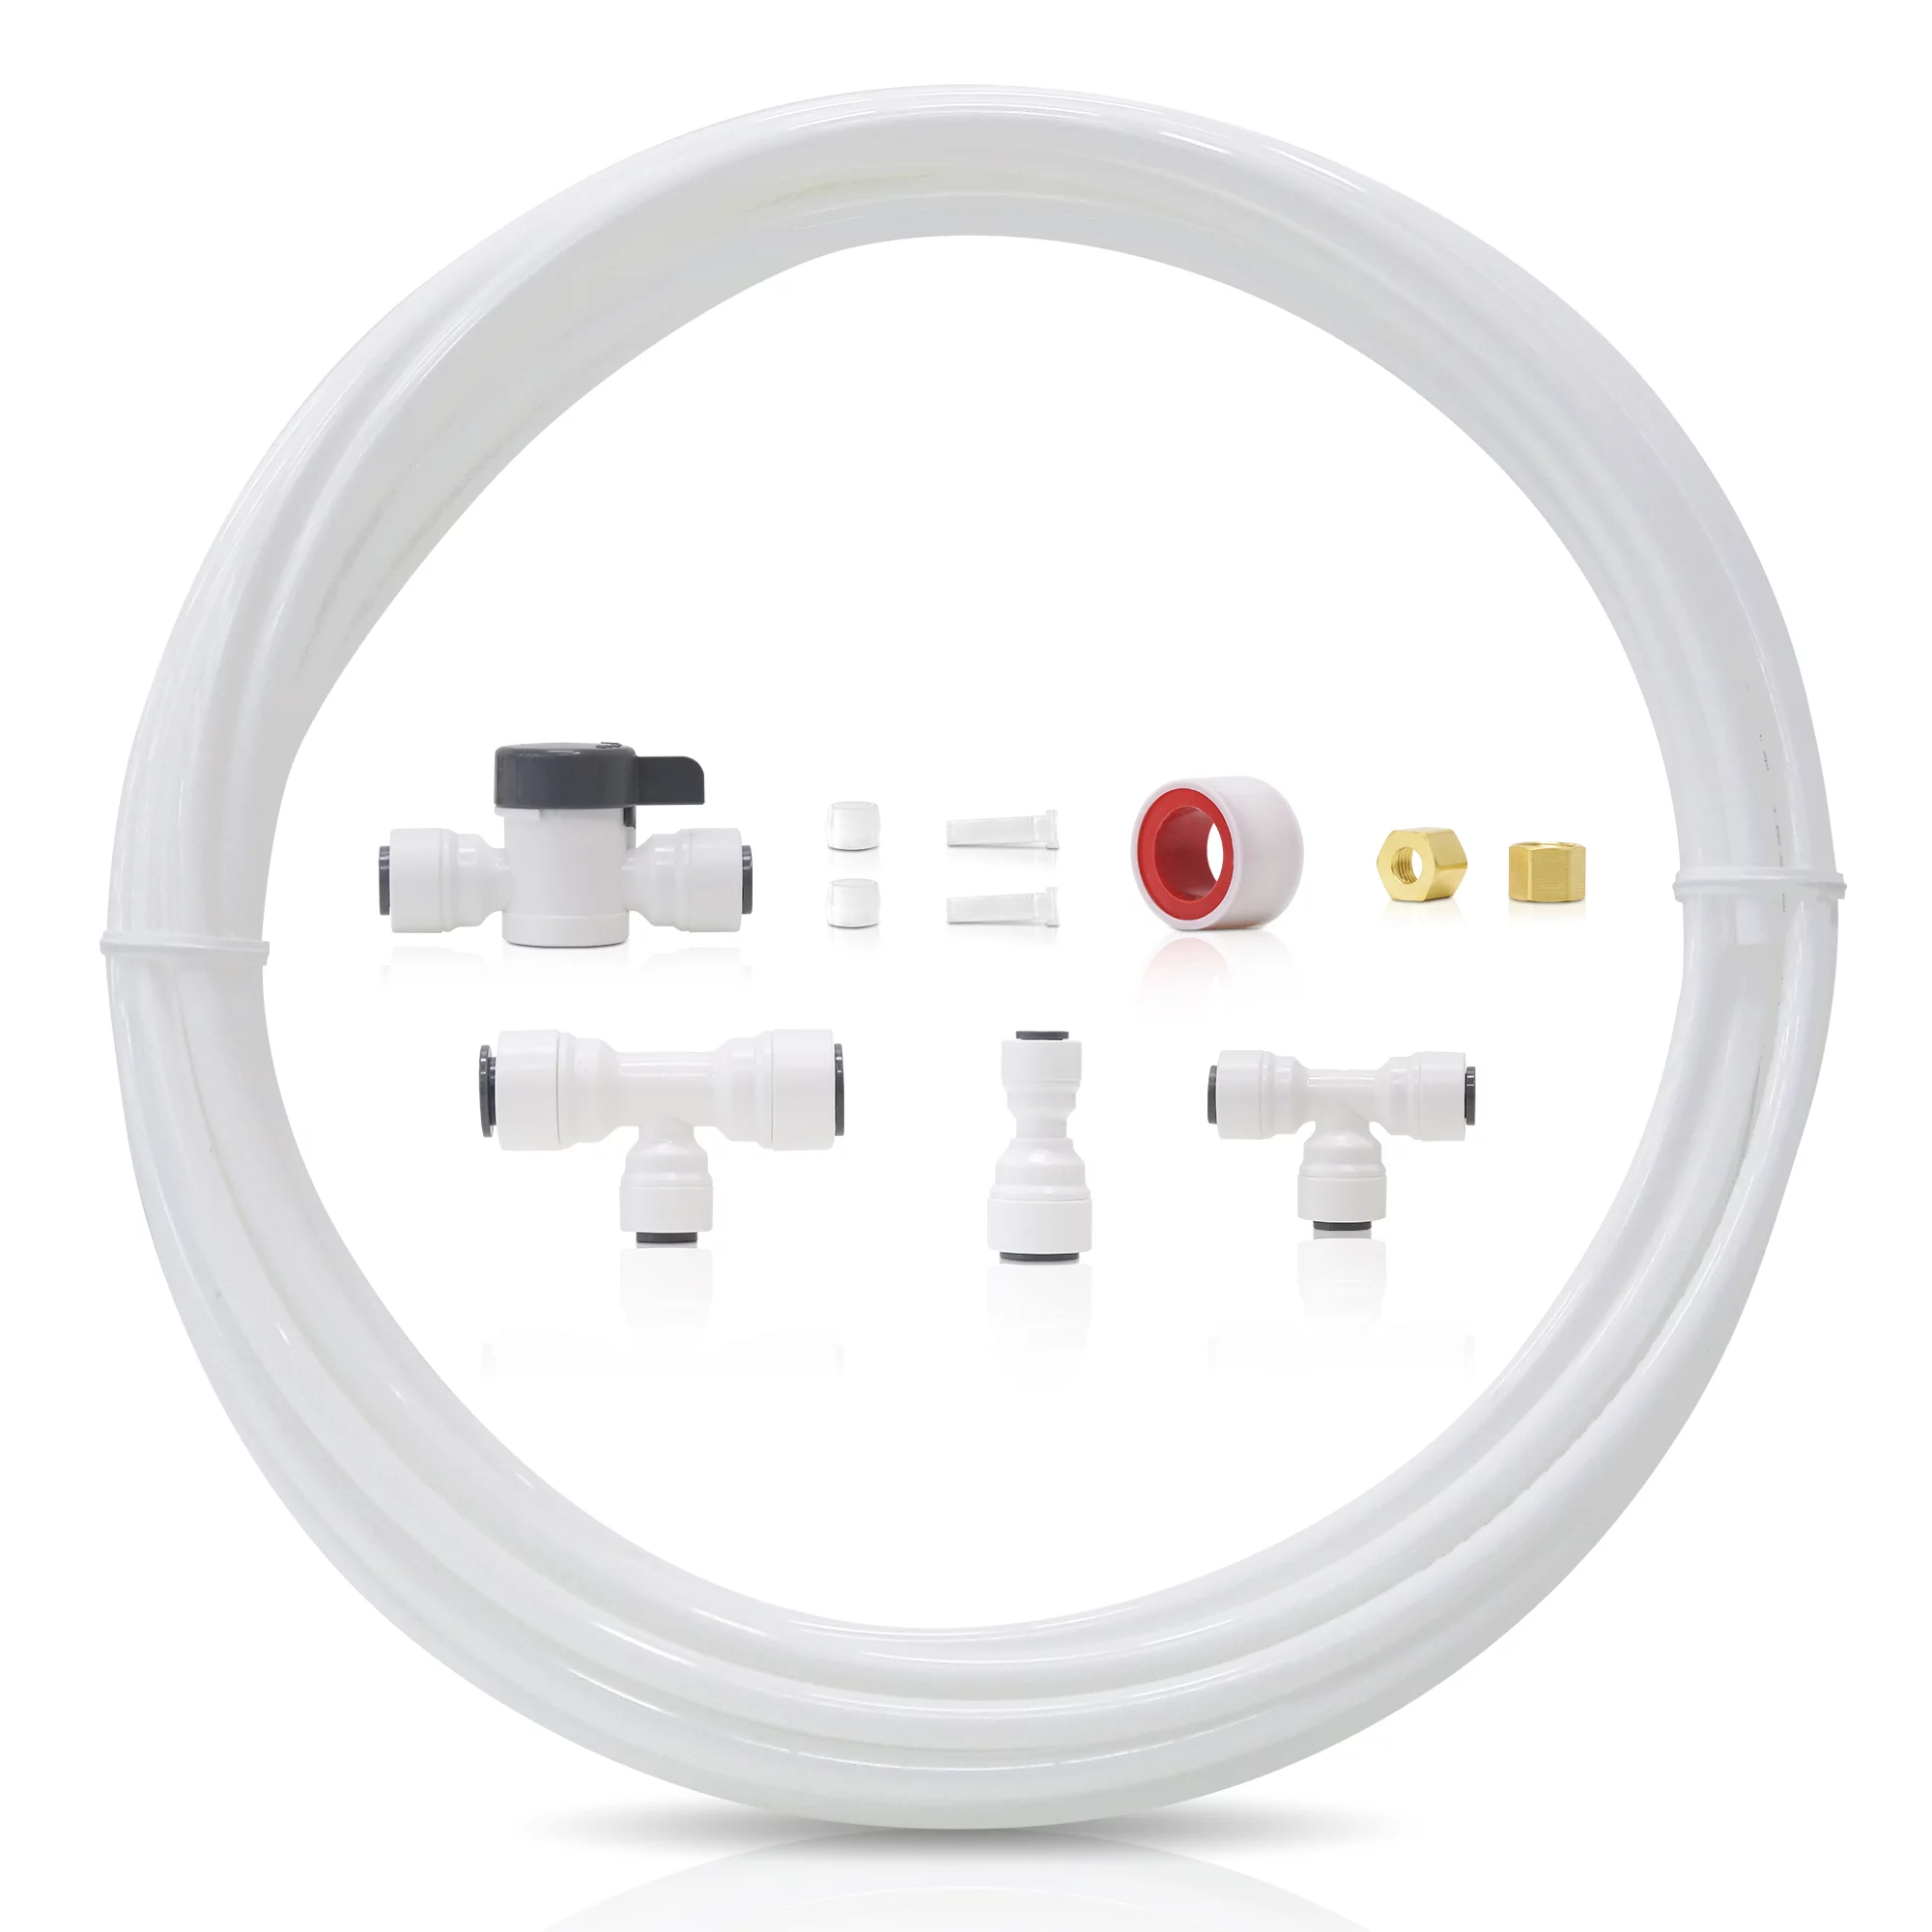
- Water supply line (copper or plastic)
- Saddle valve
- Compression fittings
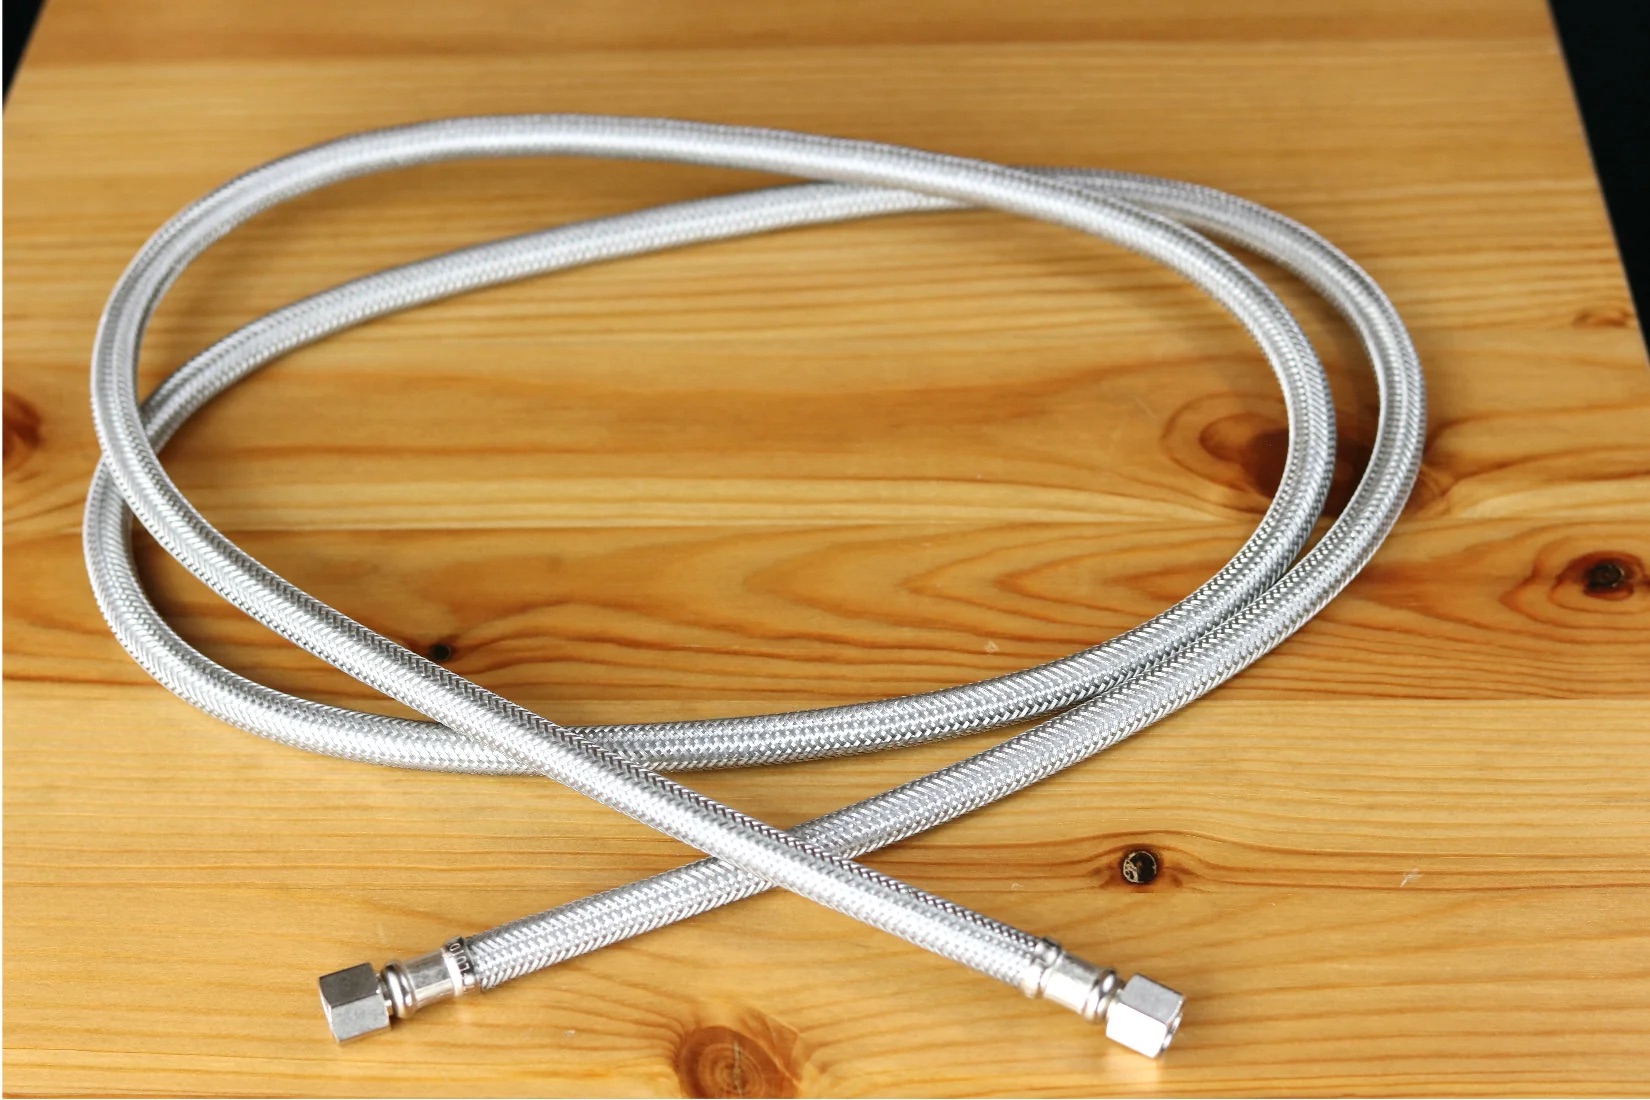
- Plastic tubing or braided stainless steel tubing
Make sure to have all the tools and materials prepared before moving on to the next step. This will save you time and prevent any unnecessary delays during the installation process.
Now that you have everything you need let’s move on to choosing the location for the water line.
Step 2: Choose the location for the water line
Choosing the right location for your water line is crucial for the successful installation and efficient operation of your refrigerator. Here are a few factors to consider when selecting the location:
- Proximity to the refrigerator: The water line should be installed in a convenient location near your refrigerator. This will minimize the length of tubing required and ensure that the water supply is easily accessible.
- Accessible water source: Locate a nearby water source, such as a kitchen sink or water line, that you can tap into for your refrigerator’s water supply. Ensure that you have easy access to the main water source to make the connection process simpler.
- Avoiding obstacles: Make sure that there are no obstacles, such as electrical wires or plumbing pipes, in the path of the water line. Plan the routing carefully to avoid any potential damage or interference.
- Consider aesthetics: If possible, select a location for the water line that is aesthetically pleasing and does not disrupt the overall look of your kitchen or the area surrounding the refrigerator.
Take your time to evaluate potential locations and consider these factors before making a final decision. Once you have determined the ideal location, you can move on to the next step, which is shutting off the water supply.
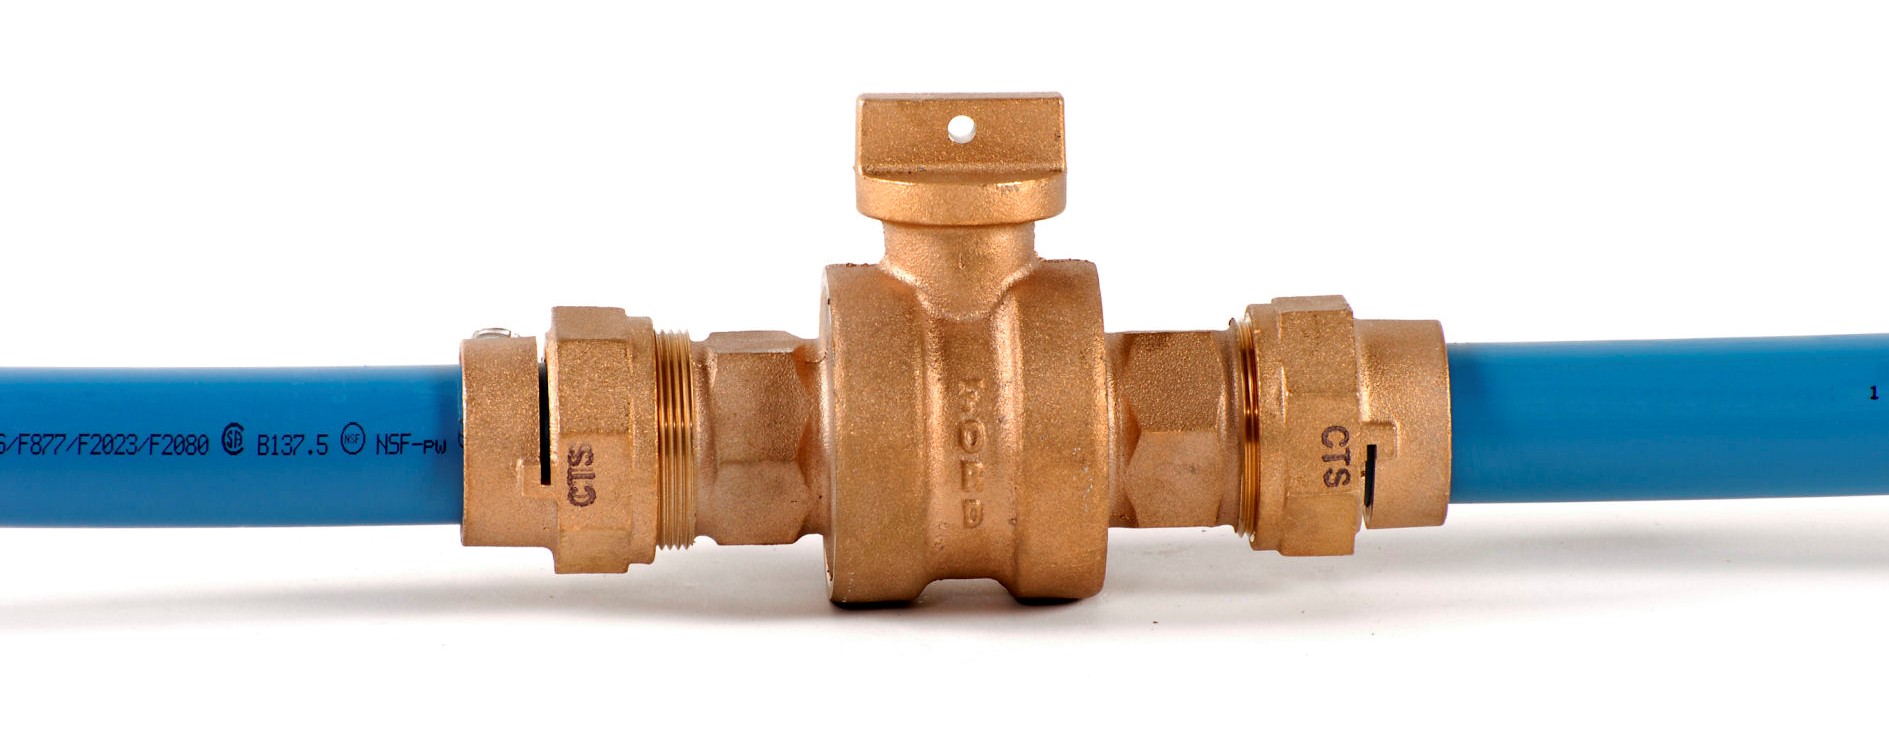
Step 3: Shut off the water supply
Before you begin the installation process, it is important to shut off the water supply to avoid any potential leaks or accidents. Here’s how you can shut off the water supply:
- Locate the main shutoff valve: The main shutoff valve is typically located near the water meter or in the basement. It is important to know the location of this valve in case of any emergencies or repairs.
- Turn off the water supply: Rotate the main shutoff valve in a clockwise direction to shut off the water supply. This will stop the water flow to the entire house.
- Release the pressure: Turn on a faucet connected to the water line to release any remaining pressure in the pipes. This will help prevent any water from spilling out when you start cutting into the water line.
Make sure to have a bucket or towel handy to catch any residual water that may drain out when you release the pressure.
Once you have shut off the water supply, you can proceed with the installation process without the risk of water leakage. The next step is to install the saddle valve, which will allow you to tap into the existing water line and provide water to your refrigerator.
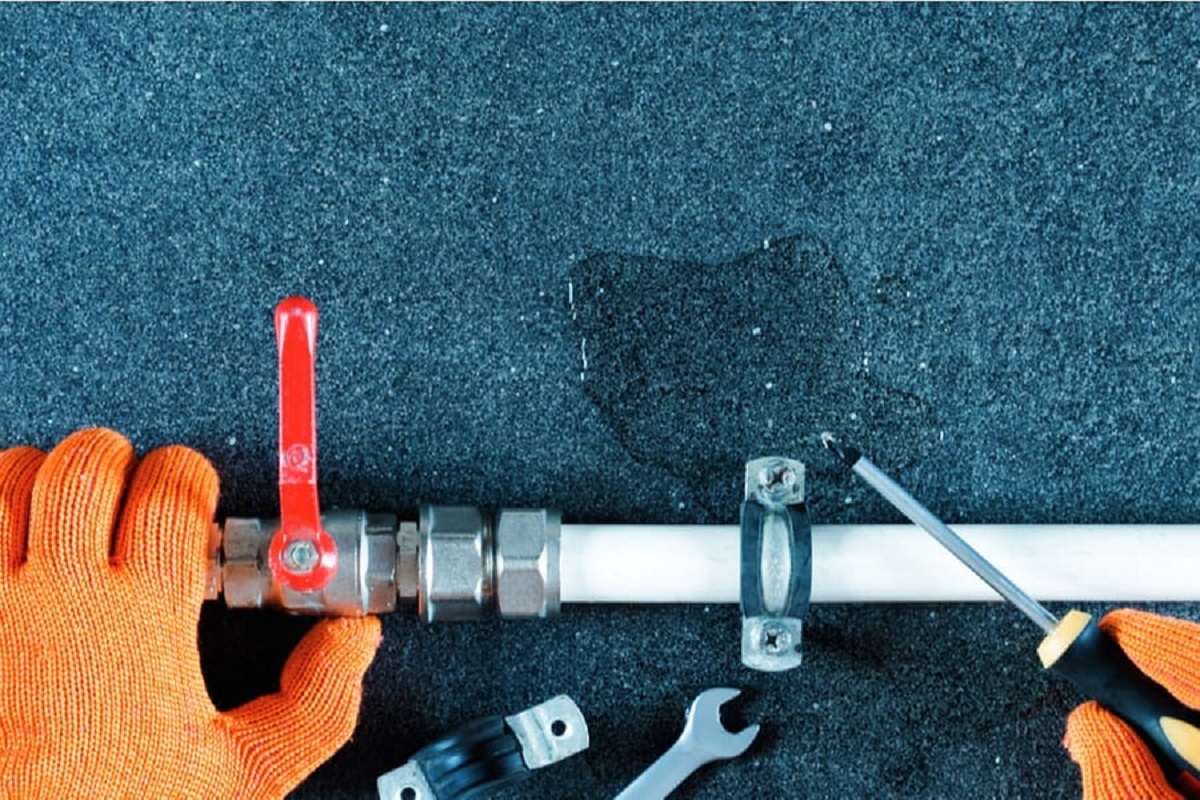
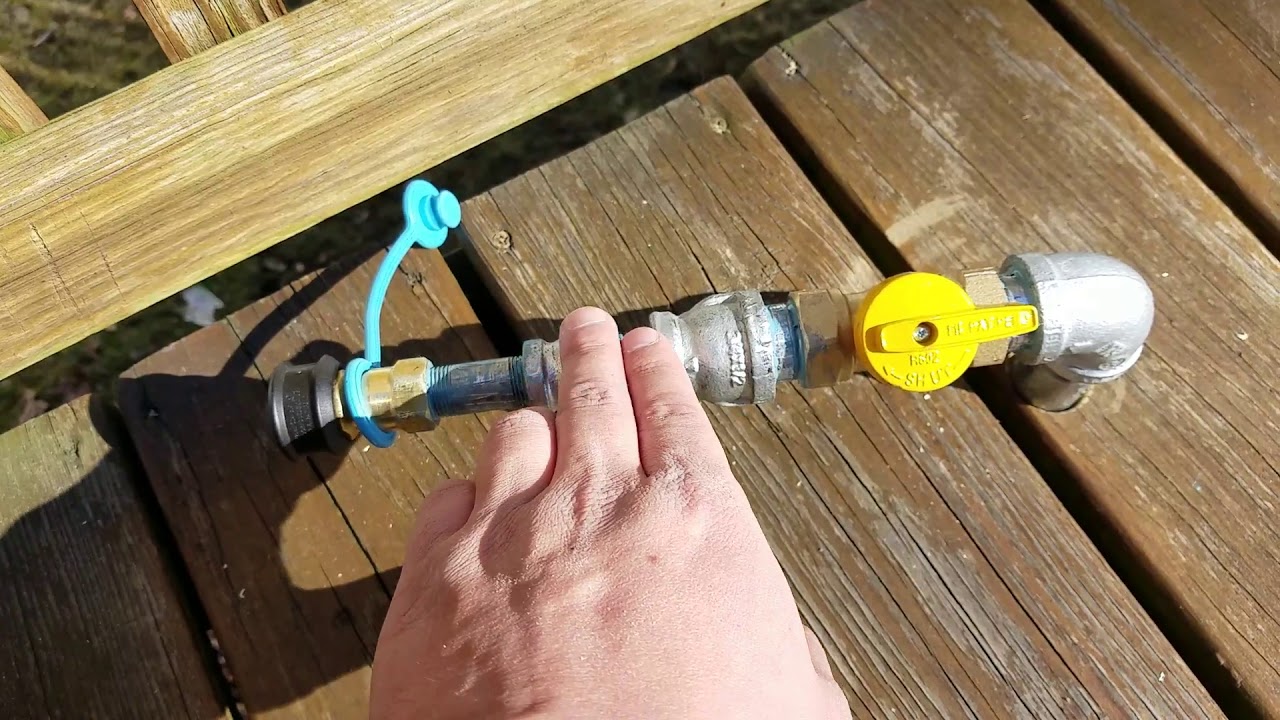
Step 4: Install the saddle valve
The saddle valve is a small component that allows you to tap into the existing water line and create a connection for your refrigerator’s water line. Installing the saddle valve requires precise measurements and careful execution. Here’s how you can install the saddle valve:
- Choose the location: Select a suitable location on the existing water pipe where you want to install the saddle valve. A good spot is usually behind the refrigerator or in a nearby accessible area.
- Measure and mark: Use a tape measure to measure the diameter of the water pipe. Mark the spot where you will be installing the saddle valve accordingly.
- Prepare the area: Clean the marked spot on the water pipe with a rag or towel. Ensure that the surface is free from any dirt, debris, or moisture.
- Position the saddle valve: Place the saddle valve over the marked spot on the water pipe. Make sure that the valve is centered and aligned properly.
- Tighten the valve: Use an adjustable wrench to tighten the screws on the saddle valve. Apply firm, but not excessive pressure to secure the valve in place. Make sure that the valve is tight enough to provide a proper seal.
- Double-check the installation: After tightening the valve, inspect the connection to ensure that there are no gaps or looseness. A secure and tight connection is essential to prevent leaks.
Once you have successfully installed the saddle valve, you’re one step closer to having a functional water line for your refrigerator. The next step is to connect the water line to the saddle valve.
When installing a water line for a refrigerator, make sure to use a flexible copper or plastic tubing to connect to the water supply. This will allow for easy installation and prevent kinks or leaks.
Read more: How To Clean A Refrigerator Water Line
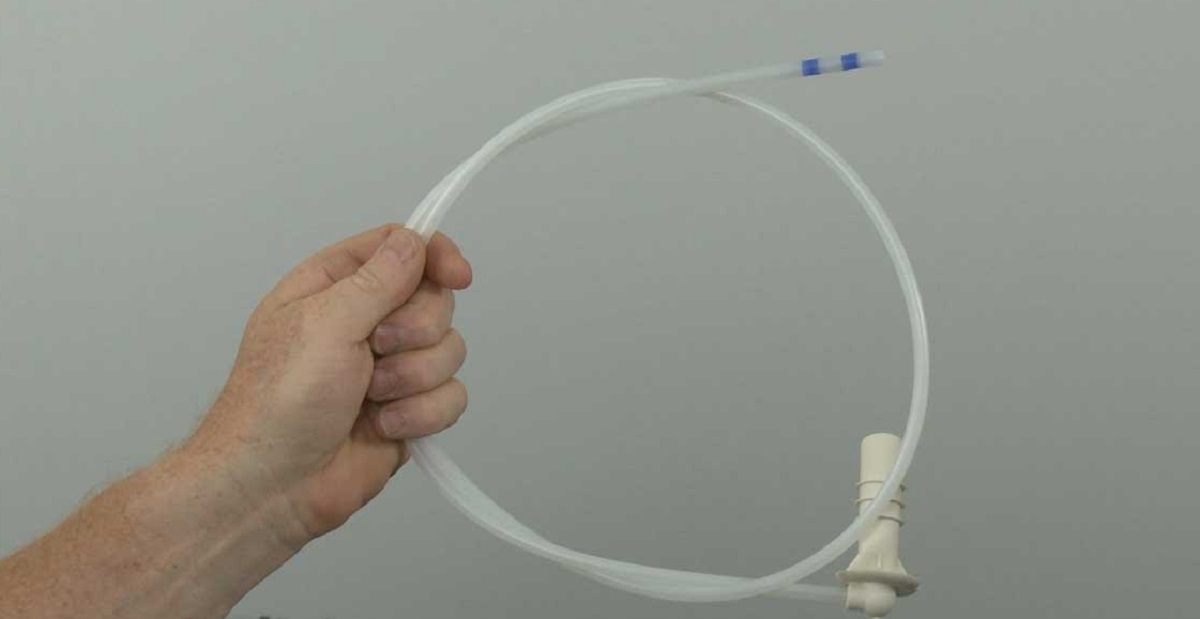
Step 5: Connect the water line to the saddle valve
Now that you have installed the saddle valve, it’s time to connect the water line to the valve. This step will establish the connection between the main water supply and your refrigerator’s water line. Follow these steps:
- Measure and cut the water line: Using a tape measure, determine the length of tubing needed to connect the saddle valve to the refrigerator. Cut the water line using a sharp utility knife or tubing cutter.
- Prepare the water line: If using plastic tubing, make sure to remove any rough edges or burrs by using sandpaper or a utility knife. If using braided stainless steel tubing, you can skip this step.
- Apply Teflon tape: Wrap a few layers of Teflon tape around the threaded end of the saddle valve. This will create a tight seal when connecting the water line.
- Attach the compression fitting: Slide the compression nut and then the compression sleeve onto the water line. Insert the threaded end of the water line into the saddle valve and tighten the compression nut with an adjustable wrench. Make sure it’s snug, but be careful not to overtighten and damage the fitting.
- Double-check the connection: Inspect the connection to ensure that it is securely fastened and leak-free. Give it a gentle tug to ensure it’s properly seated.
Once the water line is securely connected to the saddle valve, you’re ready to route it to your refrigerator. This will be covered in the next step.
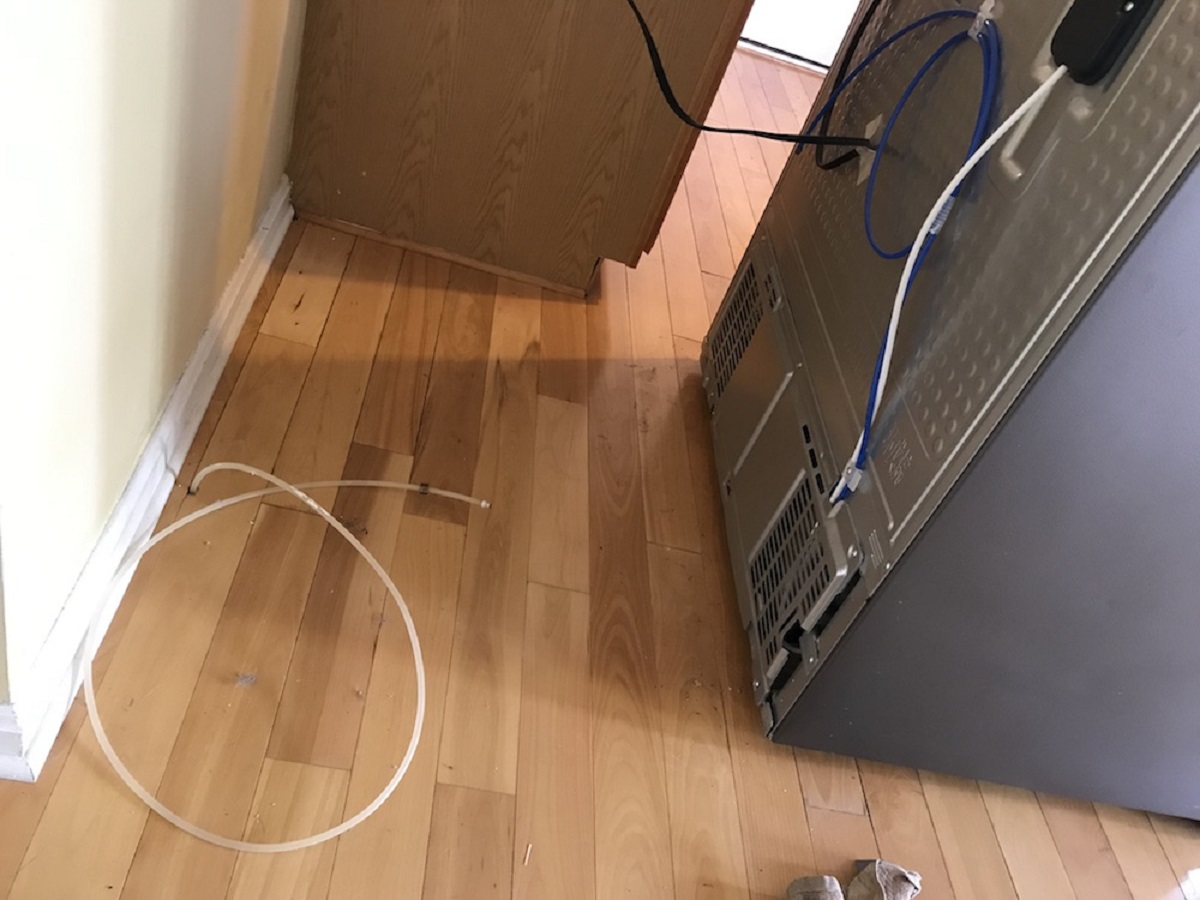
Step 6: Route the water line to the refrigerator
Now that you have successfully connected the water line to the saddle valve, it’s time to route the line to your refrigerator. Proper routing is essential to ensure a clean and organized installation. Follow these steps to route the water line:
- Determine the path: Assess the most efficient and direct route from the saddle valve to your refrigerator. Consider the distance, any obstacles, and the aesthetics of the installation.
- Drill holes if necessary: If you need to route the water line through cabinets or walls, use a drill with a suitable hole saw attachment to create a hole big enough for the tubing to pass through.
- Secure the water line: Use plastic clips or adhesive-backed clamps to secure the water line along the chosen path. This will prevent it from sagging or moving around, ensuring a neat and secure installation.
- Avoid sharp bends and kinks: Make sure to avoid sharp bends or kinks in the water line. These can restrict water flow or cause leaks. Use gentle curves and keep the line as straight as possible.
- Keep the line away from heat sources: Ensure that the water line is kept away from any heat sources, such as stovetops or ovens. This will prevent any damage to the tubing and potential leaks.
Take your time to carefully route the water line, ensuring that it is positioned in a way that is both practical and visually pleasing. Once you have routed the line, it’s time to connect it to your refrigerator.
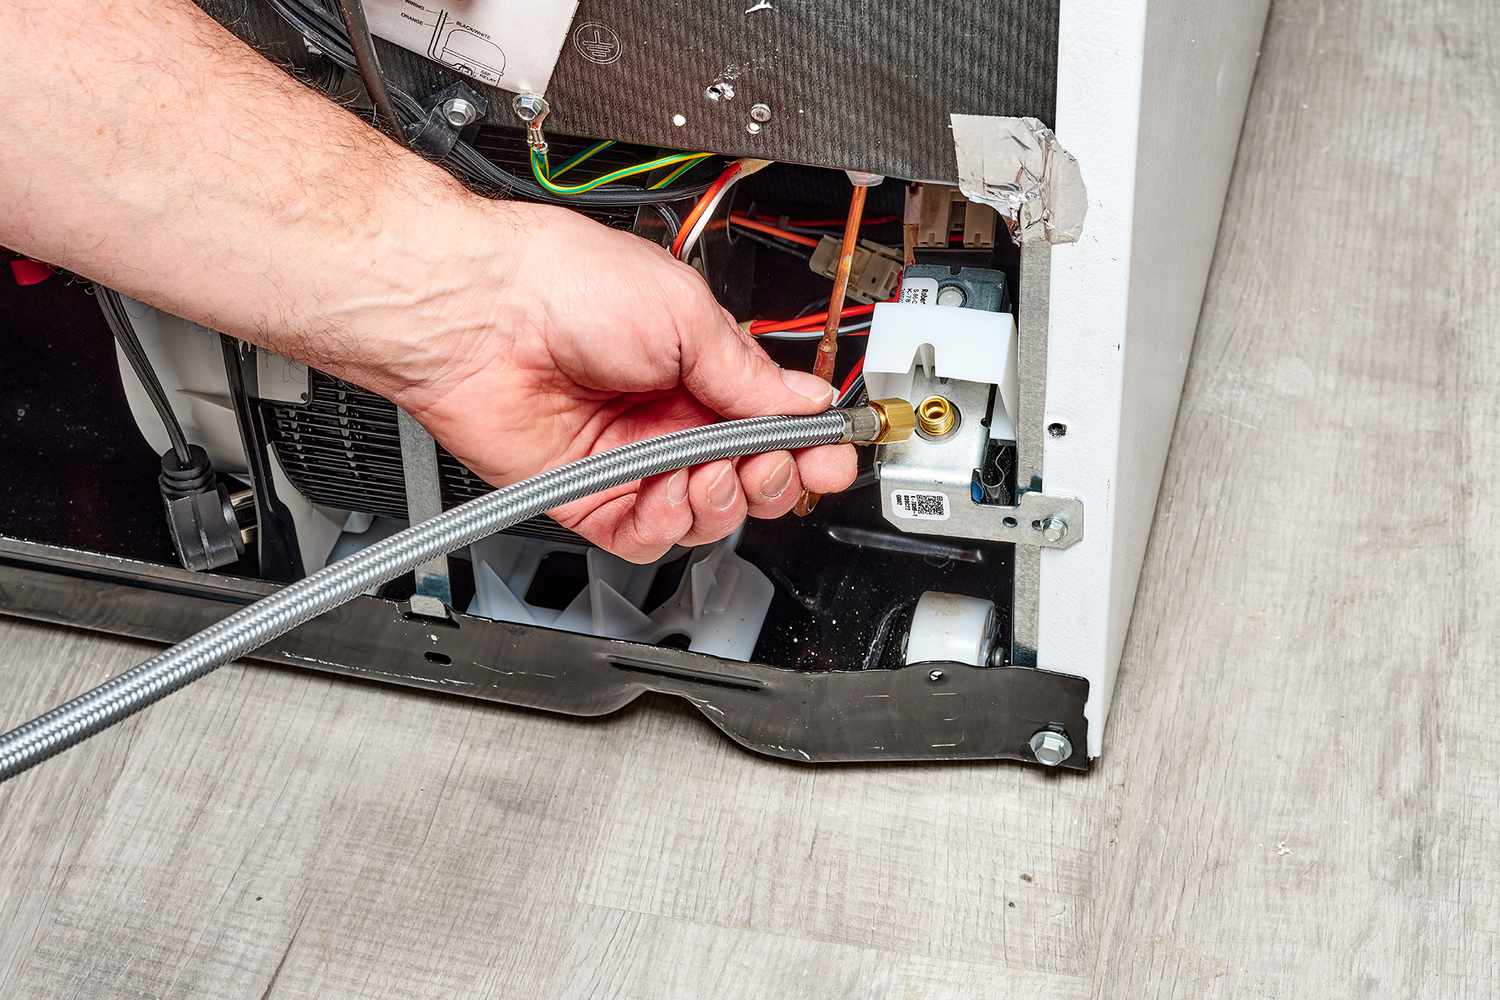
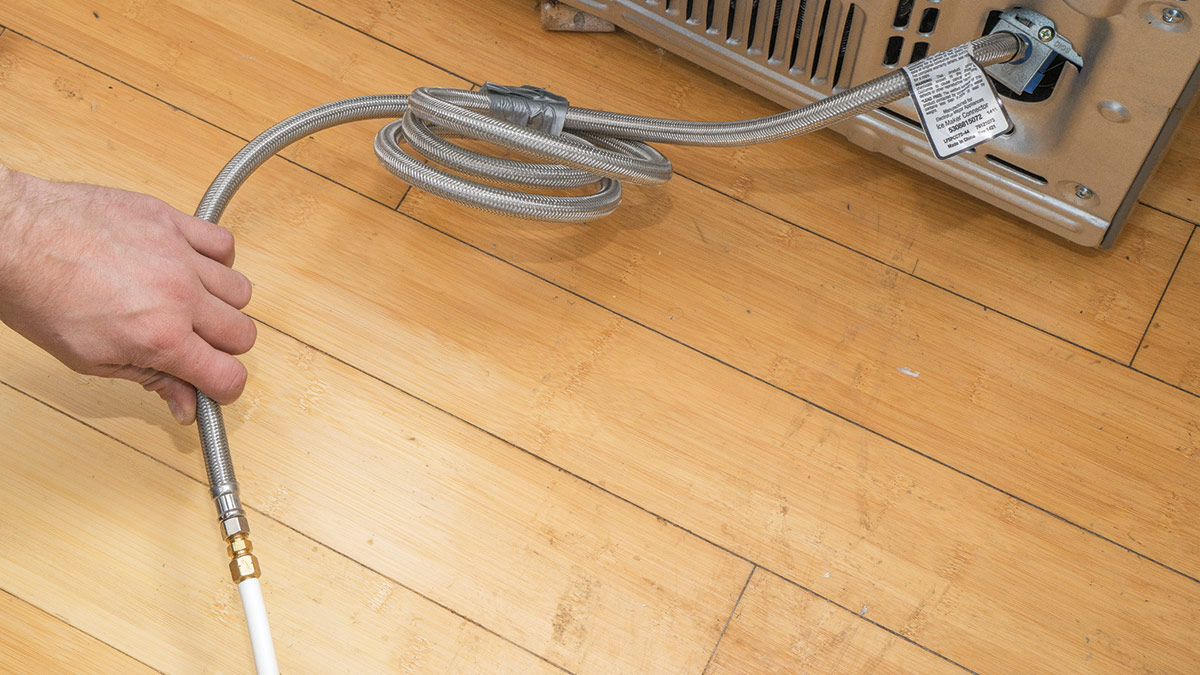
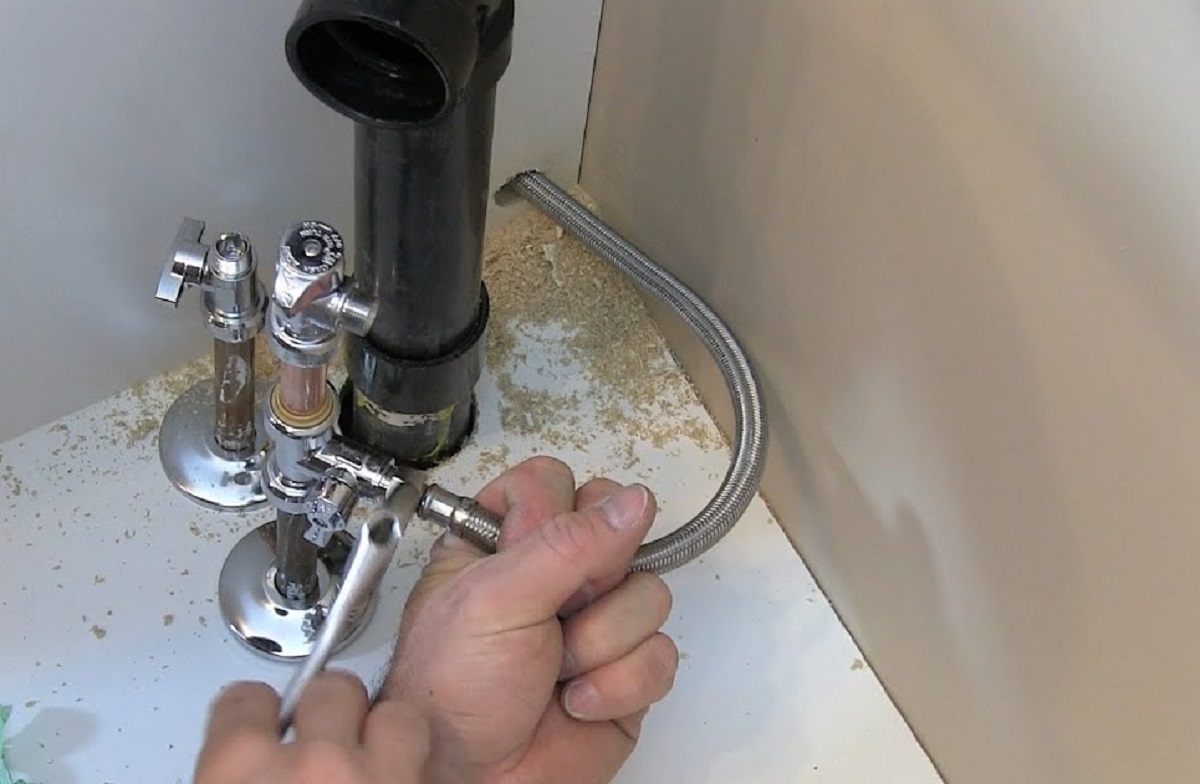
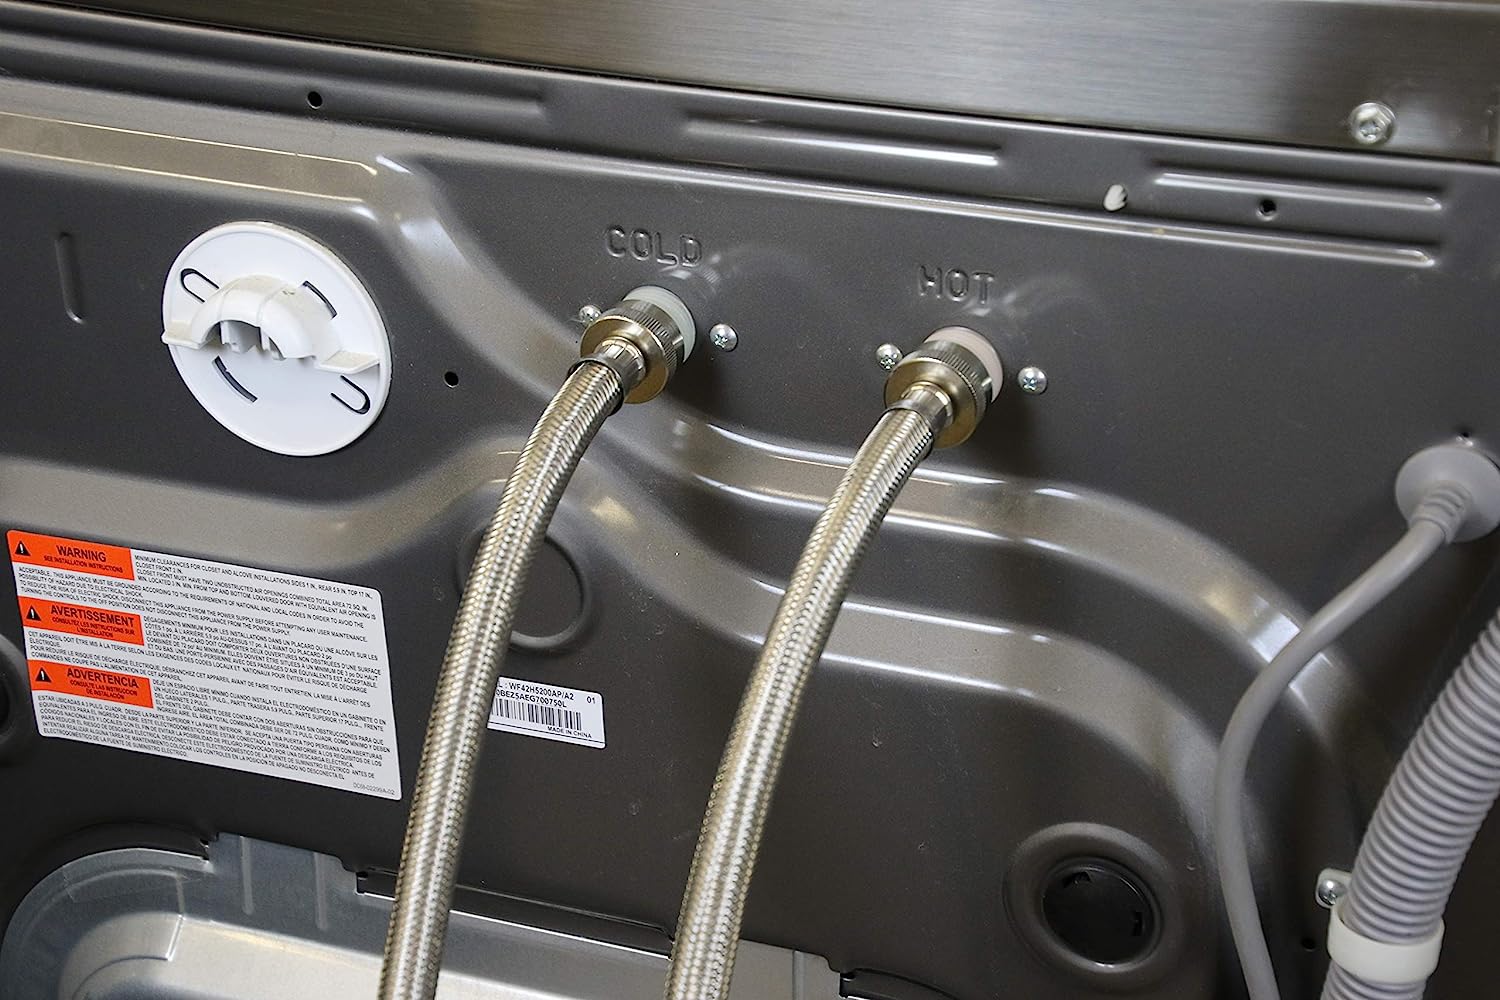
Step 7: Connect the water line to the refrigerator
With the water line successfully routed to your refrigerator, it’s time to make the final connection. Follow these steps to connect the water line to your refrigerator:
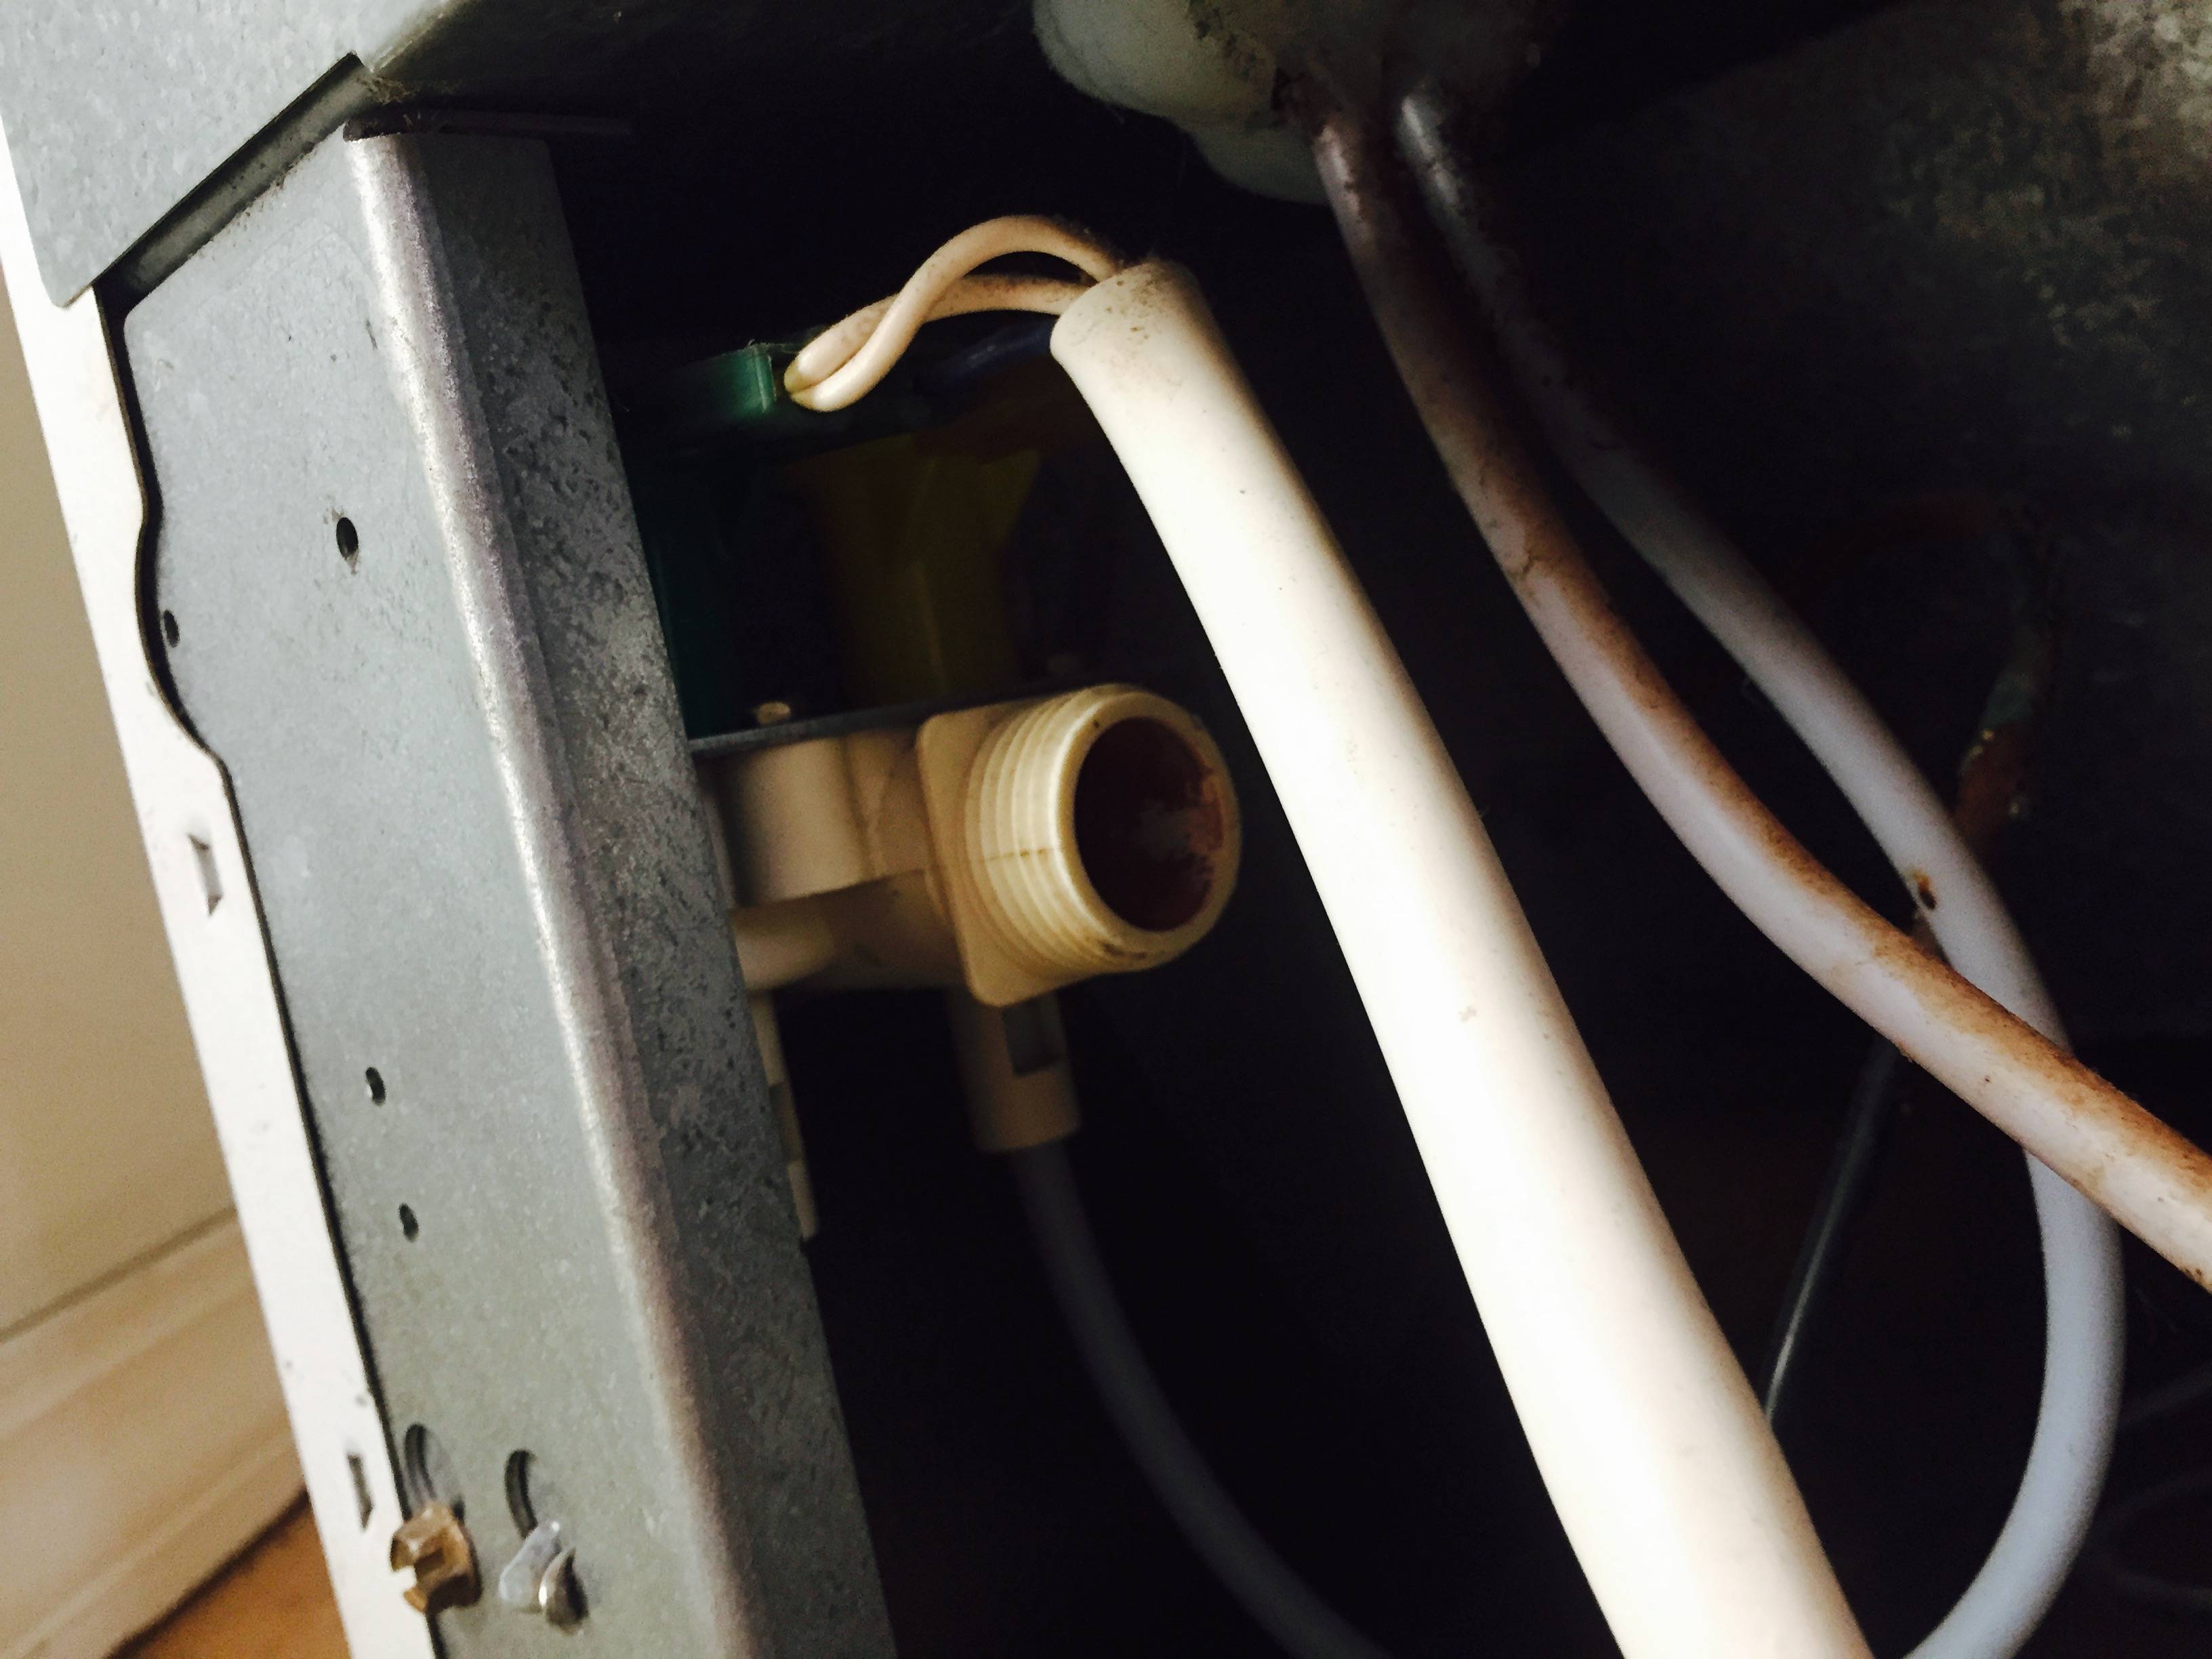
- Locate the water inlet valve: The water inlet valve is typically located at the back of the refrigerator. It may be covered by a plastic panel that you can remove.
- Prepare the water line: If using plastic tubing, cut the end of the line to ensure a clean, straight edge. If using braided stainless steel tubing, no additional preparation is required.
- Connect the water line: Attach the water line to the water inlet valve, ensuring that it is securely inserted. If necessary, use a wrench to tighten the connection slightly.
- Secure the water line: Use plastic clips or adhesive-backed clamps to secure the water line near the back of the refrigerator. This will prevent it from dangling or getting caught on anything.
- Check for leaks: Once the water line is connected, turn on the main water supply and check for any leaks. Inspect the connection at the saddle valve and the water inlet valve. If you notice any leaks, tighten the connections as needed or consult a professional plumber.
It’s important to note that some refrigerators may require an additional step to activate the water line or purge any air from the system. Refer to your refrigerator’s manufacturer instructions for specific guidelines.
With the water line successfully connected to your refrigerator, you’re almost done. The final step is to check for leaks and ensure everything is functioning properly.
Step 8: Check for leaks
The final step in installing a water line for your refrigerator is to check for any potential leaks. It’s important to ensure that all connections are secure and that there are no water leaks that could cause damage to your home or the refrigerator itself. Follow these steps to check for leaks:
- Turn on the water supply: Slowly reopen the main water supply valve to allow water to flow into the water line.
- Observe the connections: Carefully inspect all the connections, including the saddle valve, compression fittings, and the water inlet valve on the refrigerator. Look for any signs of water seepage or dripping.
- Check for wet spots or drips: Take a close look at the area around the water line, both at the saddle valve and the refrigerator. Look for wet spots, puddles, or signs of water damage.
- Listent for any sounds: Listen for any strange noises, such as hissing, gurgling, or dripping sounds. These could indicate a potential leak.
- Wipe away excess moisture: Use a towel or rag to wipe away any excess moisture around the connections or the water line. This will help you monitor for any new leaks.
If you notice any leaks or suspect that there might be a problem, it’s essential to address it promptly. Tighten any loose connections or consider reaching out to a professional plumber for assistance. Don’t ignore even the smallest signs of leakage, as they can lead to bigger issues over time.
Once you have checked for leaks and confirmed that everything is dry and secure, congratulations! You have successfully installed a water line for your refrigerator. Enjoy the convenience of freshly chilled water and ice cubes whenever you desire!
Finally, remember to follow the manufacturer’s instructions for maintaining and servicing your refrigerator’s water line for optimal performance and safety.
Read also: 11 Amazing Refrigerator Water Line for 2024
Conclusion
Installing a water line for your refrigerator can greatly enhance your kitchen experience by providing a convenient source of fresh, filtered water and ice. With the right tools and proper installation steps, you can enjoy the benefits of having a dedicated water supply without the hassle of constantly refilling pitchers or dealing with ice trays.
Throughout this article, we’ve covered the step-by-step process of installing a water line for your refrigerator. From gathering the necessary tools and materials to checking for leaks, each step is essential in ensuring a successful installation.
Remember to approach the installation process with caution and prioritize safety. If you’re uncertain about any step or lack plumbing knowledge, it’s always best to consult a professional plumber who can guide you through the process.
By following the instructions outlined in this article, you can confidently install a water line for your refrigerator and enjoy the convenience of having a constant supply of chilled water and ice cubes at your fingertips.
Now, it’s time to put your newfound knowledge into action. Gather the tools and materials, choose the perfect spot for your water line, shut off the water supply, install the saddle valve, connect the water line, route it to the refrigerator, make the final connection, and check for any leaks. Soon enough, you’ll be enjoying the refreshing taste of ice-cold water straight from your refrigerator.
Enjoy your newly installed water line, and may it bring convenience and satisfaction to your daily life in the kitchen!
Frequently Asked Questions about How To Install Water Line For Refrigerator
Was this page helpful?
At Storables.com, we guarantee accurate and reliable information. Our content, validated by Expert Board Contributors, is crafted following stringent Editorial Policies. We're committed to providing you with well-researched, expert-backed insights for all your informational needs.


0 thoughts on “How To Install Water Line For Refrigerator”