Home>Furniture & Design>Outdoor Furniture>How To Light An Outdoor Propane Burner

Outdoor Furniture
How To Light An Outdoor Propane Burner
Modified: January 18, 2024
Learn how to safely and effectively light your outdoor propane burner with our expert tips and advice. Ensure your outdoor furniture and design stays in top condition with proper maintenance.
(Many of the links in this article redirect to a specific reviewed product. Your purchase of these products through affiliate links helps to generate commission for Storables.com, at no extra cost. Learn more)
Introduction
Outdoor propane burners are a fantastic addition to any backyard, providing a convenient and versatile way to cook delicious meals while enjoying the great outdoors. Whether you're grilling up a storm for a summer barbecue or simmering a savory stew for a cozy outdoor gathering, mastering the art of lighting and operating a propane burner is essential for a seamless and enjoyable cooking experience.
In this comprehensive guide, we'll walk you through the step-by-step process of safely lighting and using an outdoor propane burner. From essential safety precautions to the finer points of adjusting the flame, you'll gain the knowledge and confidence to harness the full potential of your outdoor cooking setup. So, grab your apron and get ready to elevate your outdoor culinary adventures to new heights!
Key Takeaways:
- Mastering outdoor propane burner safety and operation ensures a secure and enjoyable cooking experience, allowing for culinary exploration and gastronomic delights in the great outdoors.
- Safely lighting, adjusting, and shutting off an outdoor propane burner unlocks a world of outdoor culinary possibilities, infusing each dish with a touch of adventure and delight.
Read more: How To Light A Propane Patio Heater
Safety Precautions
Before diving into the exciting world of outdoor cooking with a propane burner, it’s crucial to prioritize safety. By adhering to a few fundamental safety precautions, you can ensure a secure and enjoyable cooking experience for yourself and your guests.
- Location, Location, Location: Select a well-ventilated outdoor area for your propane burner, away from any flammable materials, structures, or overhanging branches. This will minimize the risk of accidental fires and ensure proper ventilation of any propane fumes.
- Stability Matters: Place the propane burner on a stable, level surface to prevent accidental tipping or instability during use. This will help avoid dangerous spills and potential injuries.
- Keep It Clear: Clear the area around the propane burner to create a safe zone, free from any obstructions or tripping hazards. This will allow for easy access and swift evacuation in case of an emergency.
- Inspect and Maintain: Regularly inspect the propane tank, hoses, and connections for any signs of damage, wear, or leaks. Proper maintenance and timely replacement of worn components are essential for safe and efficient operation.
- Fire Safety Essentials: Have a fire extinguisher, baking soda, or a fire blanket readily available to handle any potential flare-ups or emergencies. Being prepared is key to swiftly addressing unexpected situations.
- Clear Communication: If you’re cooking with a group, ensure that everyone present is aware of the location of the propane burner, its operating procedures, and the necessary safety measures. Clear communication can prevent accidents and foster a safer cooking environment.
By embracing these safety precautions as non-negotiable elements of your outdoor cooking routine, you can create a secure and enjoyable atmosphere for culinary exploration and gastronomic delights.
Checking the Propane Tank
Before igniting your outdoor propane burner, it’s essential to perform a thorough check of the propane tank and its associated components. This proactive approach ensures that everything is in proper working order, minimizing the risk of potential hazards and ensuring a seamless cooking experience.
Here’s a step-by-step guide to checking the propane tank:
- Visual Inspection: Begin by visually inspecting the propane tank for any signs of damage, such as dents, rust, or corrosion. If you notice any such issues, it’s crucial to replace the tank before proceeding.
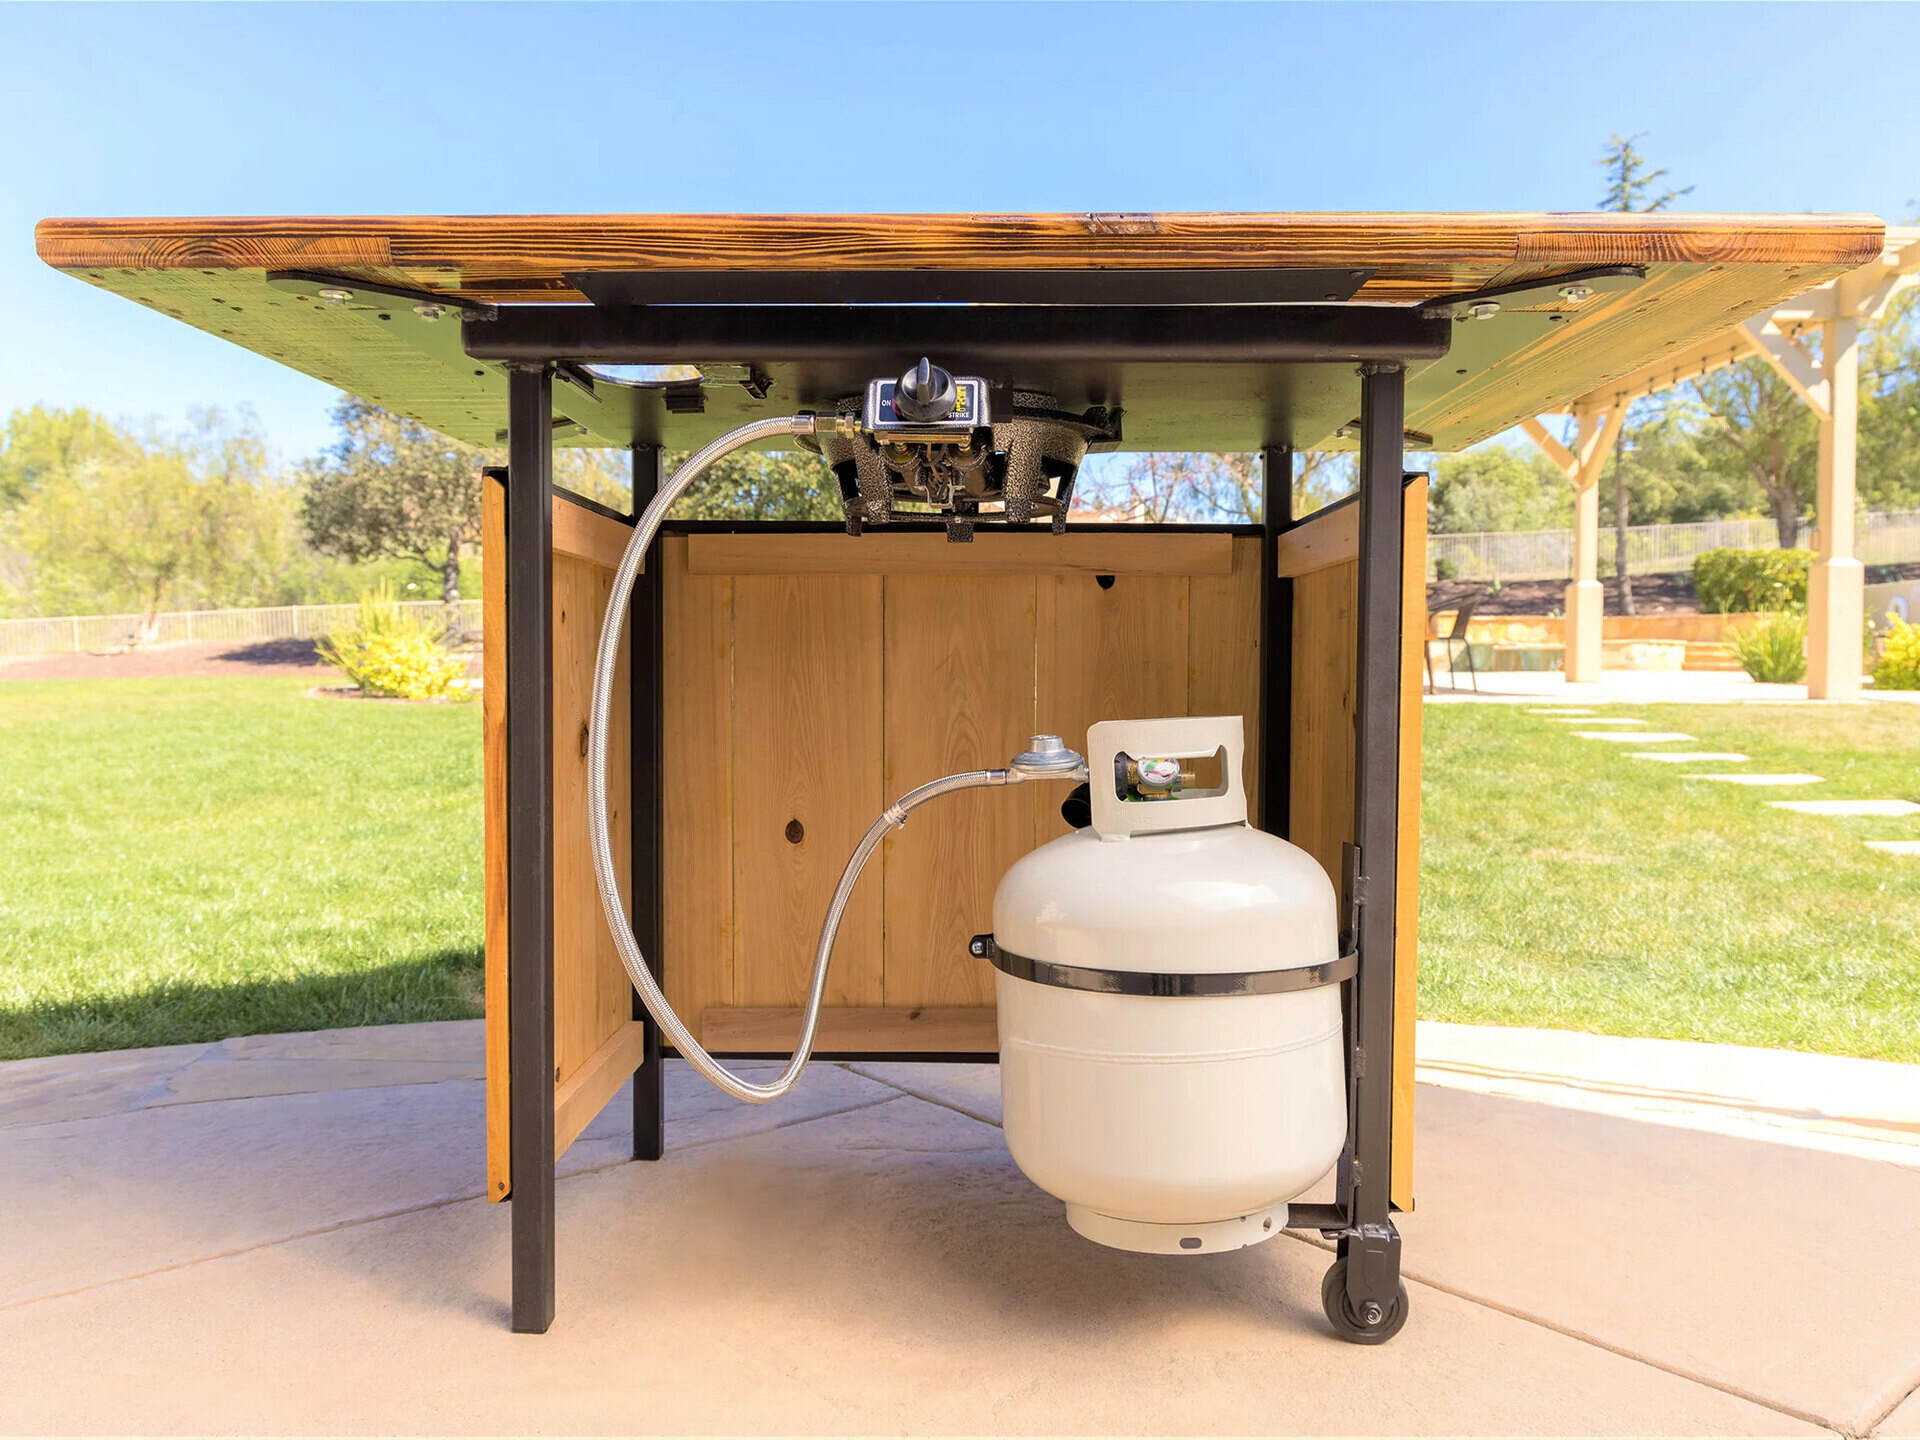
- Secure Connections: Ensure that all connections between the propane tank, regulator, and hoses are secure and free from leaks. A simple way to check for leaks is by applying a soapy water solution to the connections and observing for any bubbles, indicating a leak. If a leak is detected, promptly address it before proceeding.
- Proper Valve Functionality: Verify that the propane tank’s valve operates smoothly and effectively. The valve should open and close without any resistance, allowing for precise control of the gas flow.
- Ample Propane Supply: Assess the propane level in the tank to ensure an adequate supply for your cooking session. Running out of propane midway through cooking can be inconvenient, so it’s best to have a full or appropriately filled tank before starting.
By diligently performing these checks, you can establish a solid foundation for safe and efficient propane burner operation. This proactive approach not only mitigates potential risks but also instills confidence in your outdoor cooking endeavors.
Lighting the Burner
With the necessary safety precautions in place and the propane tank thoroughly checked, it’s time to embark on the thrilling process of lighting your outdoor propane burner. Whether you’re preparing to sear succulent steaks or delicately sauté fresh vegetables, mastering the art of igniting the burner is the gateway to culinary excellence in the great outdoors.
Follow these steps to safely and effectively light the burner:
- Open the Valve: Begin by slowly opening the valve on the propane tank. Turn the valve counterclockwise to allow the flow of propane to the burner.
- Ignition Source Ready: Ensure that you have your chosen ignition source, such as a long-reach lighter or a dedicated grill lighter, at the ready. This will allow you to ignite the burner without delay once the gas flow is established.
- Position the Ignition Source: Carefully position the ignition source near the burner and within the gas flow. Avoid placing your hand or any body part directly over the burner during this process to prevent accidental burns.
- Ignite the Burner: With the gas flowing and the ignition source in position, carefully ignite the burner. If using a long-reach lighter, extend it toward the burner and press the ignition button to create a spark and ignite the propane. If using a dedicated grill lighter, position it near the burner and activate the ignition mechanism to produce a flame.
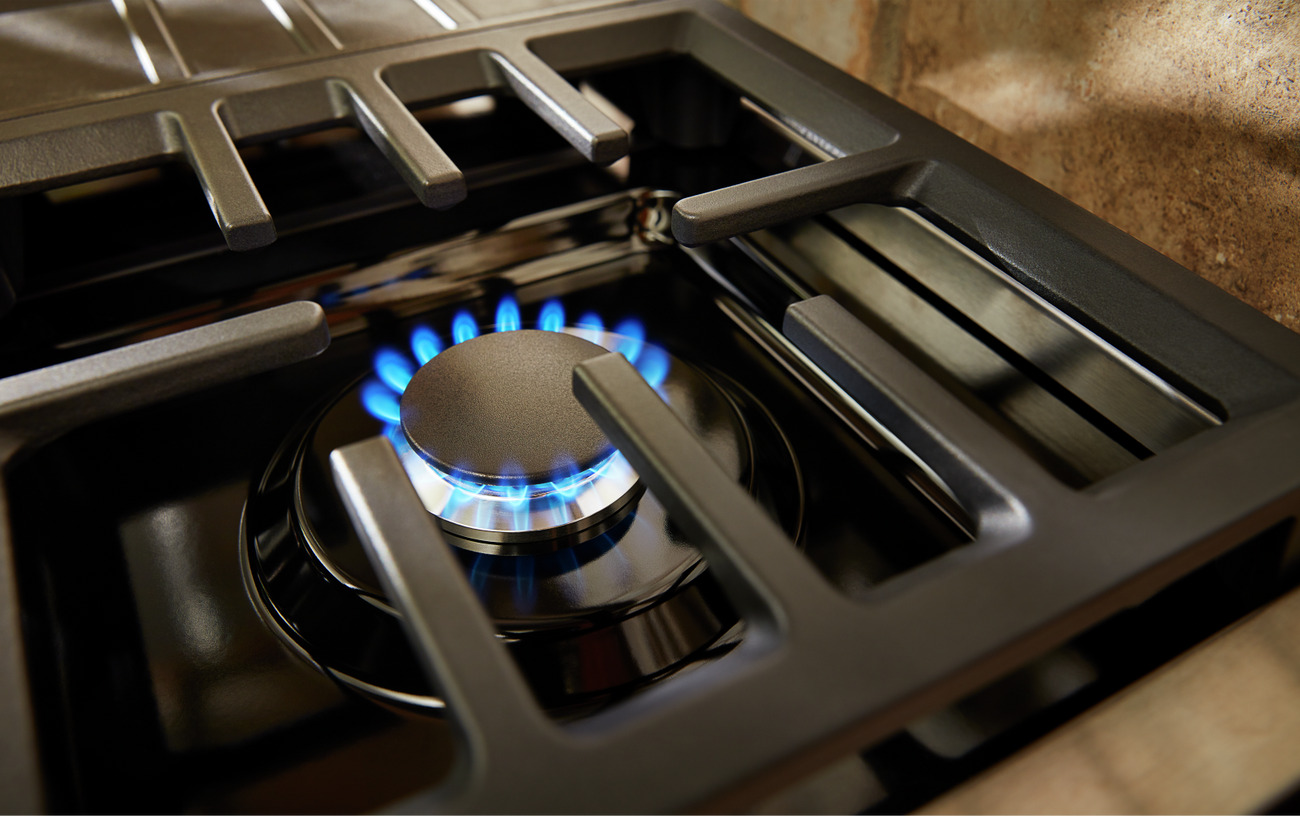
- Confirm Ignition: Once the burner is ignited, visually confirm that the flame is steady and evenly distributed across the burner surface. This indicates successful ignition and proper gas flow.
By methodically following these steps, you can safely and confidently ignite your outdoor propane burner, paving the way for an array of culinary creations in the open air. With the burner ablaze, you’re poised to embark on a delectable outdoor cooking adventure!
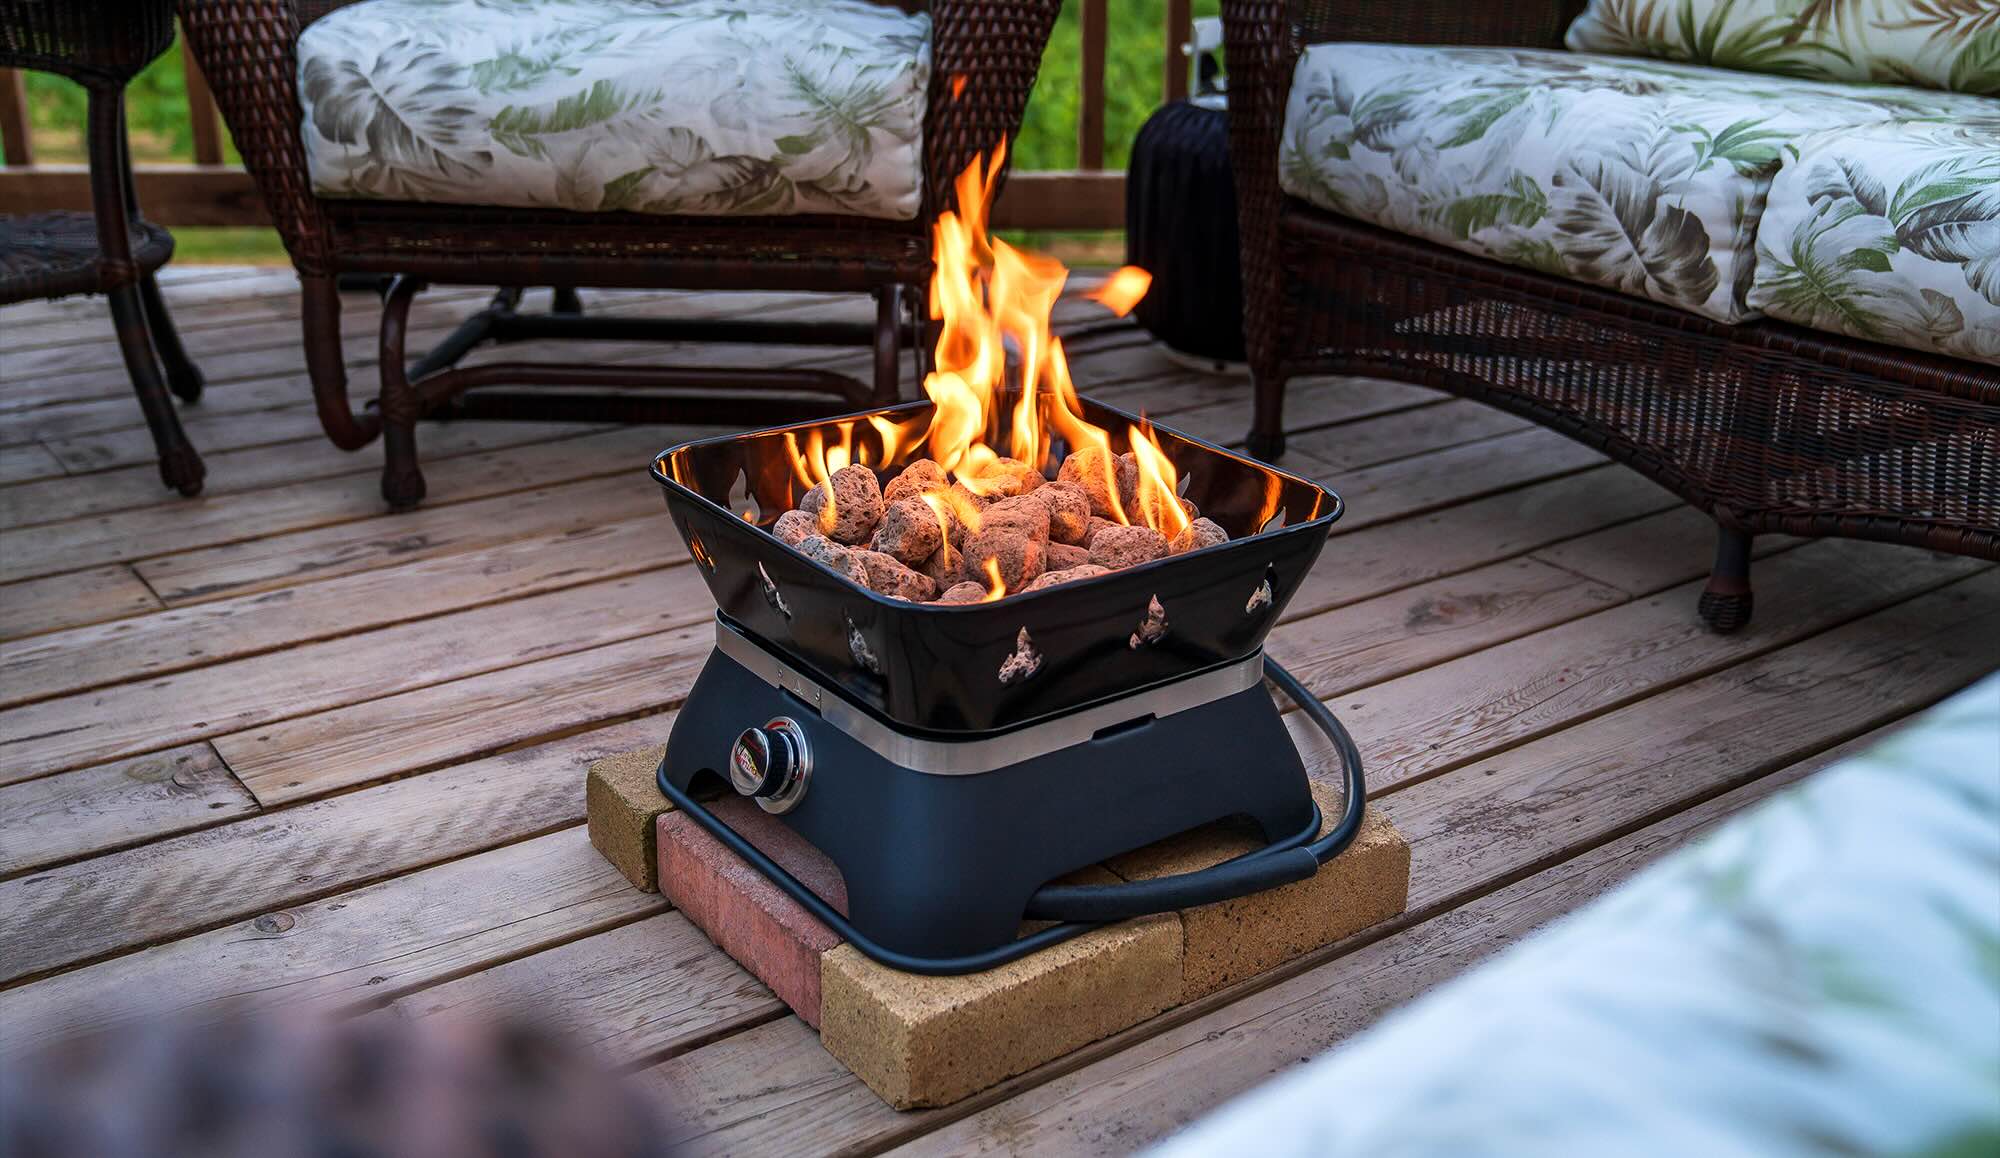
Make sure the propane tank is securely connected and the burner is in the off position before turning on the gas. Then, ignite the burner using a long lighter or match. Keep your face and hands away from the flame.
Adjusting the Flame
Once the burner is successfully ignited, the ability to adjust the flame to suit your specific cooking requirements is a pivotal skill that enhances the versatility and precision of your outdoor propane burner. Whether you’re aiming for a high-intensity sear or a gentle simmer, mastering the art of flame adjustment empowers you to orchestrate culinary masterpieces with finesse.
Follow these steps to adeptly adjust the flame of your outdoor propane burner:
- Observation is Key: Begin by observing the initial flame to gauge its intensity and distribution across the burner. This visual assessment serves as a starting point for fine-tuning the flame to your desired level.
- Turning the Control Knob: Locate the control knob on the propane burner, typically positioned near the burner assembly. Gradually turn the knob to adjust the gas flow, thereby modulating the flame intensity. A clockwise turn usually decreases the gas flow, resulting in a lower flame, while a counterclockwise turn increases the flow, elevating the flame height and heat output.
- Test and Refine: As you adjust the control knob, observe the corresponding changes in the flame height and intensity. Fine-tune the adjustment until the flame aligns with your desired cooking requirements, whether it’s a vigorous sear for grilling or a gentle, steady flame for simmering delicate dishes.
- Even Heat Distribution: Ensure that the flame is evenly distributed across the burner to promote uniform heat distribution during cooking. An evenly adjusted flame contributes to consistent and predictable cooking results, enhancing the quality of your culinary creations.
- Real-Time Adjustments: Throughout the cooking process, be prepared to make real-time flame adjustments as needed to accommodate changes in cooking techniques, ingredients, and environmental factors. This adaptability allows you to maintain precise control over the cooking process, resulting in delectable dishes tailored to your exacting standards.
By honing your flame adjustment skills, you can harness the full potential of your outdoor propane burner, transforming it into a versatile culinary ally that caters to a diverse range of cooking styles and recipes. With the flame finely tuned to your specifications, you’re primed to orchestrate culinary symphonies under the open skies.
Read more: How To Turn On An Outdoor Propane Heater
Shutting Off the Burner
As your outdoor culinary adventure draws to a close, mastering the proper technique for safely shutting off the propane burner is essential for concluding your cooking session on a secure and efficient note. By following a few straightforward steps, you can confidently and responsibly deactivate the burner, ensuring its readiness for future gastronomic exploits.
Here’s a guide to effectively shutting off the burner:
- Turn Off the Gas Supply: Begin by closing the valve on the propane tank in a clockwise direction. This action halts the flow of propane to the burner, preparing it for safe deactivation.
- Allow the Burner to Cool: After turning off the gas supply, allow the burner to cool down for a few minutes before proceeding with any additional maintenance or cleaning tasks. This cooling period minimizes the risk of accidental burns and ensures safe handling of the equipment.
- Verify Flame Extinction: Visually confirm that the flame on the burner has been completely extinguished. This visual verification provides assurance that the burner is no longer active and that the gas supply has been effectively shut off.
- Secure the Area: Once the burner is safely shut off, take the opportunity to secure the surrounding area, ensuring that any flammable materials or potential hazards are addressed. This proactive measure sets the stage for a safe and organized cooking environment for future use.
- Proper Storage: If the burner will not be used for an extended period, consider storing it in a secure location away from the elements and potential sources of damage. Proper storage safeguards the equipment and prolongs its functional lifespan for future outdoor culinary endeavors.
By conscientiously following these steps, you can confidently and responsibly shut off your outdoor propane burner, fostering a secure and well-maintained cooking environment for future use. With the burner safely deactivated, you can reflect on your culinary triumphs and eagerly anticipate the next chapter of outdoor gastronomic exploration.
Conclusion
Mastering the art of lighting, adjusting, and safely shutting off an outdoor propane burner is a gateway to unlocking a world of outdoor culinary possibilities. By embracing essential safety precautions, diligently checking the propane tank, and confidently navigating the ignition and flame adjustment processes, you can elevate your outdoor cooking experiences to new heights of precision and enjoyment.
With a keen eye for safety and a flair for culinary finesse, you can transform your outdoor space into a culinary oasis, where sizzling steaks, aromatic stews, and charred vegetables take center stage under the open skies. The seamless orchestration of flame and flavor becomes a testament to your mastery of the outdoor propane burner, infusing each dish with a touch of outdoor adventure and gastronomic delight.
As the flames flicker and dance in harmonious rhythm with your culinary creations, the outdoor propane burner becomes more than a cooking tool—it becomes a conduit for unforgettable moments shared with family and friends, a catalyst for creating cherished memories, and a symbol of the boundless joy found in outdoor cooking.
So, as you embark on your next outdoor culinary escapade, armed with the knowledge and confidence gained from this guide, may the flames of your outdoor propane burner ignite a passion for exploration, creativity, and delectable discoveries. Embrace the artistry of outdoor cooking, savor the camaraderie it fosters, and relish the flavors that emerge from the heart of nature.
With each flicker of the flame, a new chapter of outdoor culinary excellence unfolds, inviting you to craft unforgettable dining experiences and celebrate the boundless allure of al fresco gastronomy. Embrace the sizzle, the scent, and the satisfaction, for the outdoor propane burner is your steadfast companion in a world of endless culinary possibilities.
Frequently Asked Questions about How To Light An Outdoor Propane Burner
Was this page helpful?
At Storables.com, we guarantee accurate and reliable information. Our content, validated by Expert Board Contributors, is crafted following stringent Editorial Policies. We're committed to providing you with well-researched, expert-backed insights for all your informational needs.

0 thoughts on “How To Light An Outdoor Propane Burner”