Home>Furniture & Design>Outdoor Furniture>How To Loosen Hose From Outdoor Faucet
Outdoor Furniture
How To Loosen Hose From Outdoor Faucet
Modified: August 27, 2024
Learn how to easily loosen a hose from your outdoor faucet with our step-by-step guide. Keep your outdoor furniture safe and secure with these helpful tips.
(Many of the links in this article redirect to a specific reviewed product. Your purchase of these products through affiliate links helps to generate commission for Storables.com, at no extra cost. Learn more)
Introduction
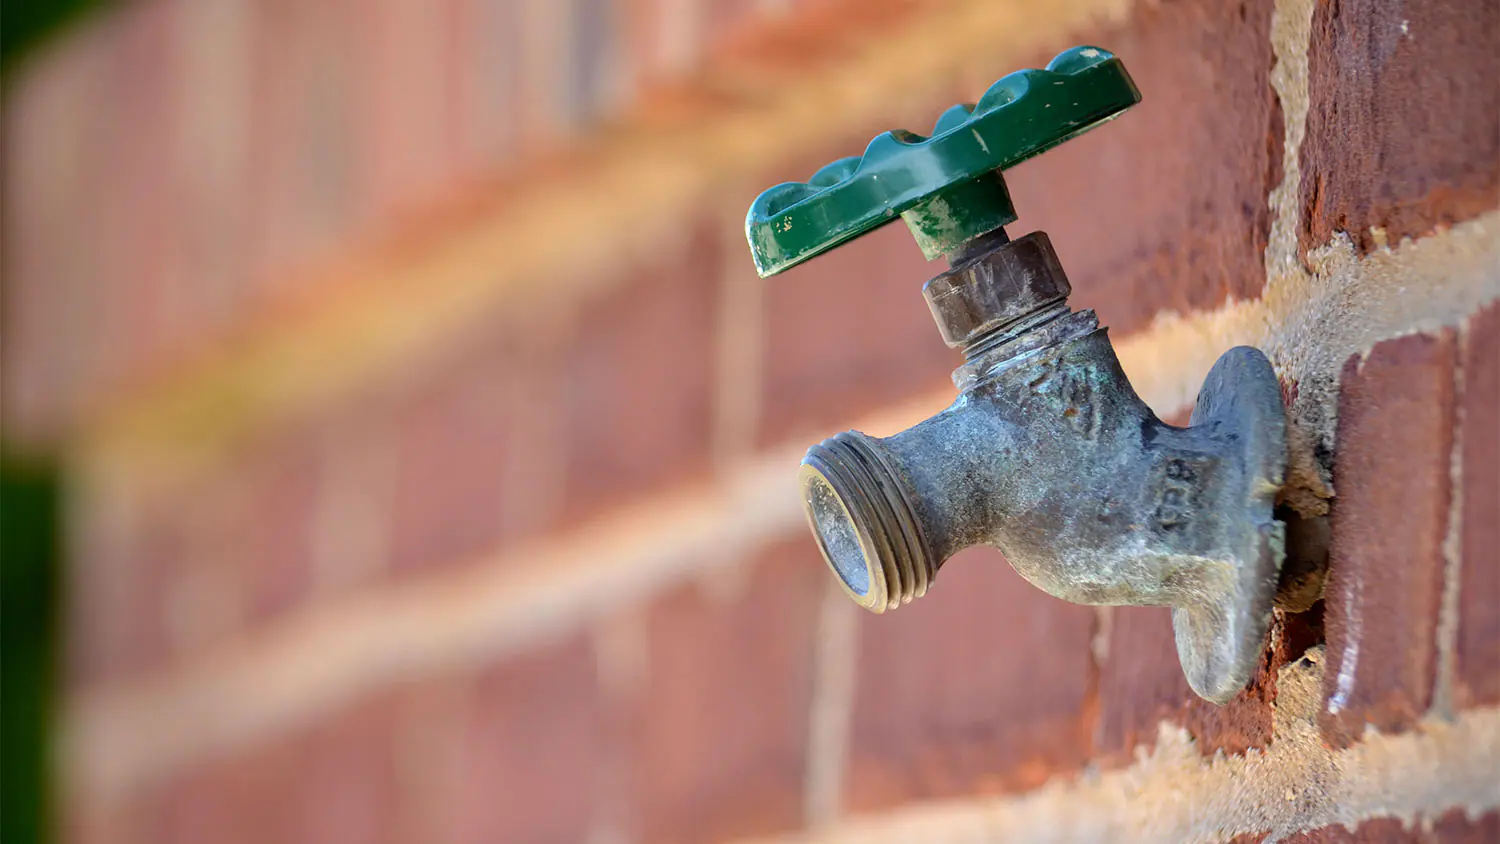
When the time comes to stow away your outdoor hose for the season or make repairs, you may encounter a stubborn hose that seems unwilling to part ways with the outdoor faucet. This common scenario can be frustrating, but fear not! With the right tools and techniques, you can easily loosen a hose from an outdoor faucet without causing damage. In this guide, we'll walk you through the step-by-step process, ensuring that you can tackle this task with confidence and ease.
Whether you're a seasoned DIY enthusiast or a novice homeowner, understanding how to loosen a stubborn hose from an outdoor faucet is a valuable skill. By following the methods outlined in this article, you'll be able to disconnect the hose efficiently, allowing for proper storage or necessary maintenance. So, gather your tools and let's get started on mastering this essential outdoor task.
Key Takeaways:
- Don’t force it! Use lubricant and a hose removal tool if needed to gently loosen a stubborn hose from an outdoor faucet without causing damage.
- Always turn off the water supply and test the faucet after disconnecting the hose to ensure everything functions properly and prevent potential water wastage.
Tools and Materials
Before embarking on the task of loosening a hose from an outdoor faucet, it’s crucial to ensure that you have the necessary tools and materials at your disposal. Here’s what you’ll need:
- Adjustable Wrench: This versatile tool will come in handy for turning the faucet’s connection nut.
- Lubricant: A high-quality lubricant such as silicone spray or WD-40 can help ease the removal process, particularly if the hose is stuck due to corrosion or mineral buildup.
- Hose Removal Tool: In some cases, a hose removal tool may be necessary to dislodge a tightly secured hose. This specialized tool provides extra leverage and grip, facilitating the disconnection process.
- Gloves: Protect your hands with a pair of sturdy gloves, especially if you’ll be working with a potentially stubborn or corroded hose.
- Bucket: Have a bucket or container ready to catch any water that may drip from the faucet during the removal process.
- Towel: Keep a towel or rag on hand to dry the faucet and surrounding area, ensuring a secure grip during the disconnection.
By gathering these essential tools and materials, you’ll be well-prepared to tackle the task of loosening a hose from your outdoor faucet with efficiency and confidence.
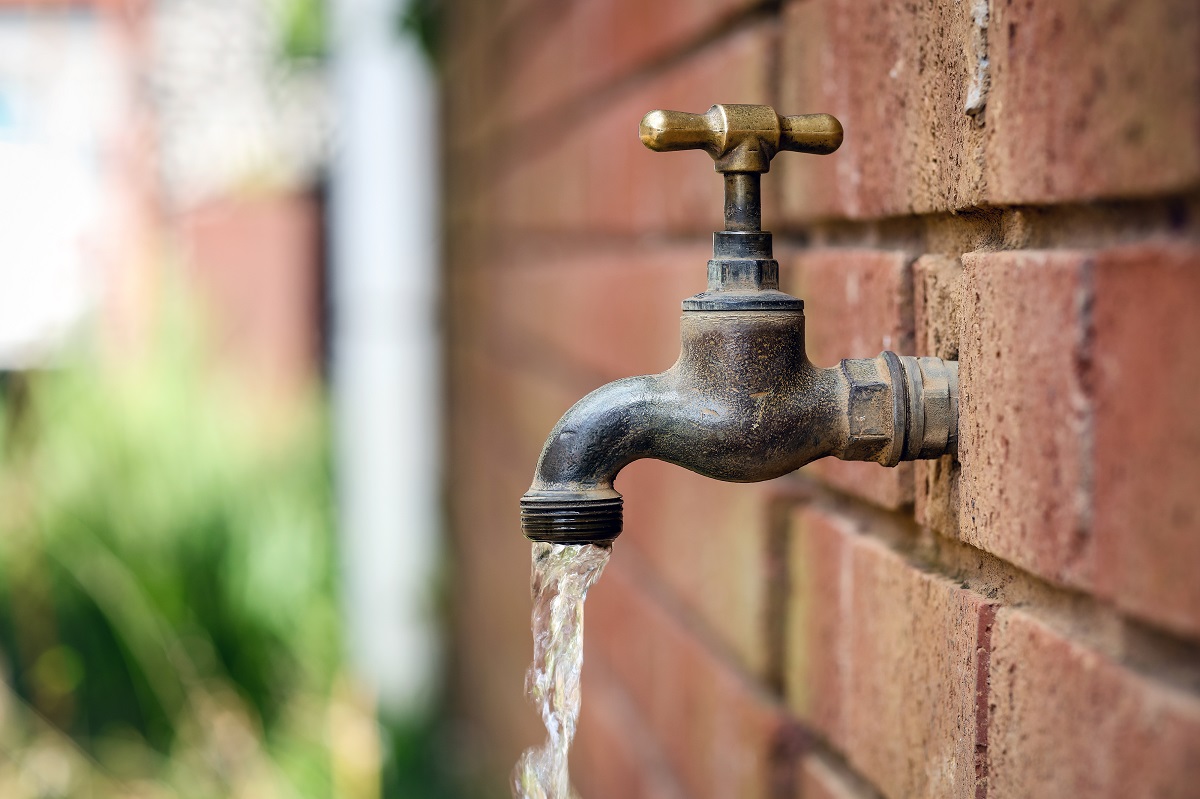
Step 1: Turn Off the Water Supply
Before attempting to loosen the hose from the outdoor faucet, it’s crucial to shut off the water supply to prevent any accidental leaks or sprays. Locate the shutoff valve connected to the outdoor faucet and turn it in a clockwise direction to stop the flow of water. In some cases, you may find the shutoff valve inside your home, typically near the point where the outdoor faucet connects to the plumbing system.
If your outdoor faucet lacks a dedicated shutoff valve, you may need to shut off the main water supply to your home. This can usually be found near the water meter or where the main water line enters your property. It’s important to familiarize yourself with the location of these valves beforehand to ensure a smooth and efficient shutoff process.
After turning off the water supply, it’s advisable to open the outdoor faucet to release any residual water pressure. This step helps prevent unexpected drips or leaks while you work on loosening the hose. Once the faucet is open, allow any remaining water to drain out completely.
By taking the time to properly shut off the water supply and release any built-up pressure, you’ll create a safer and more manageable environment for disconnecting the hose from the outdoor faucet. With this essential first step completed, you’re ready to proceed to the next stage of the process.
Step 2: Loosen the Hose
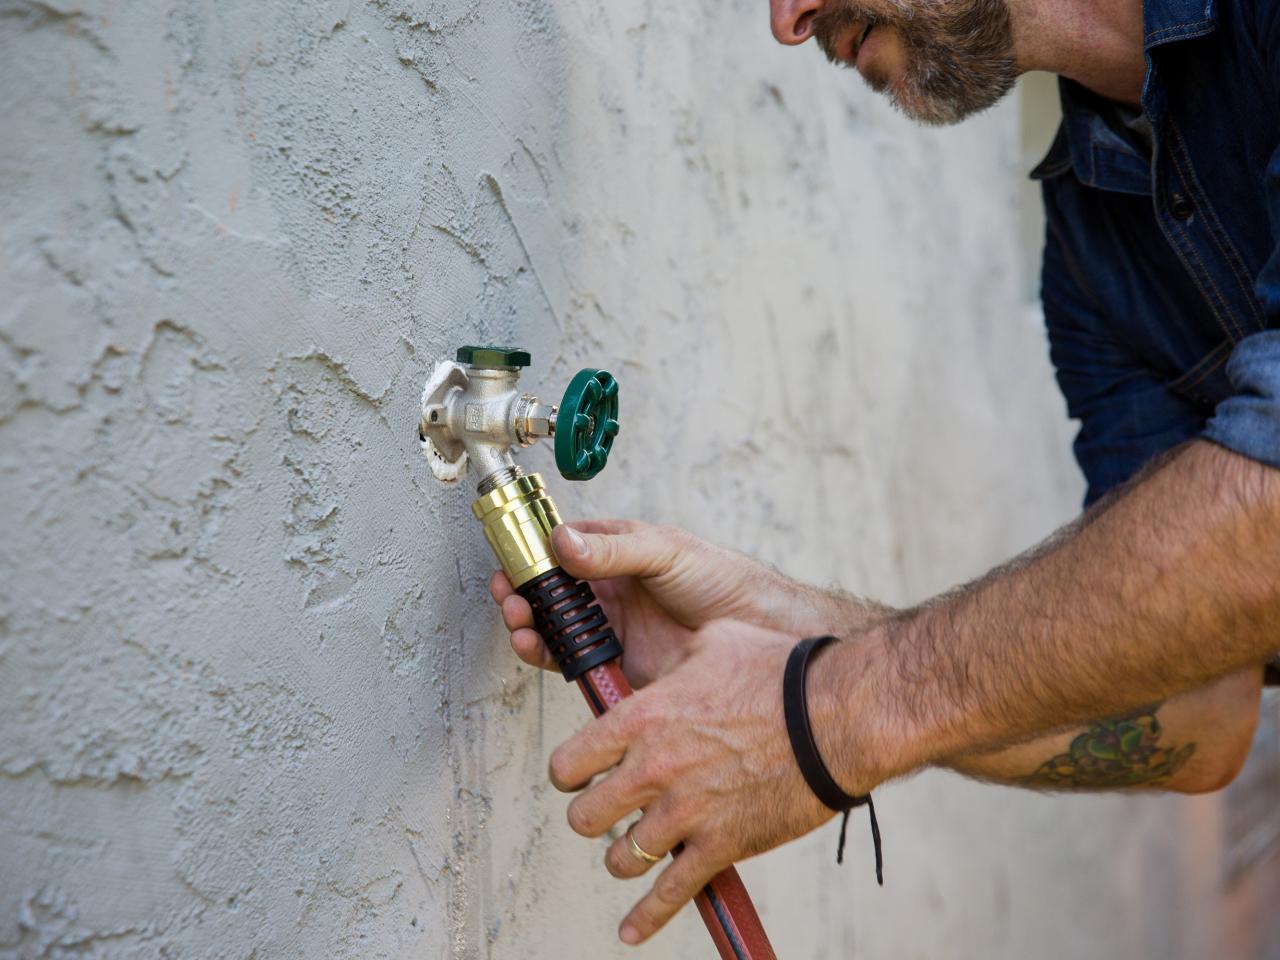
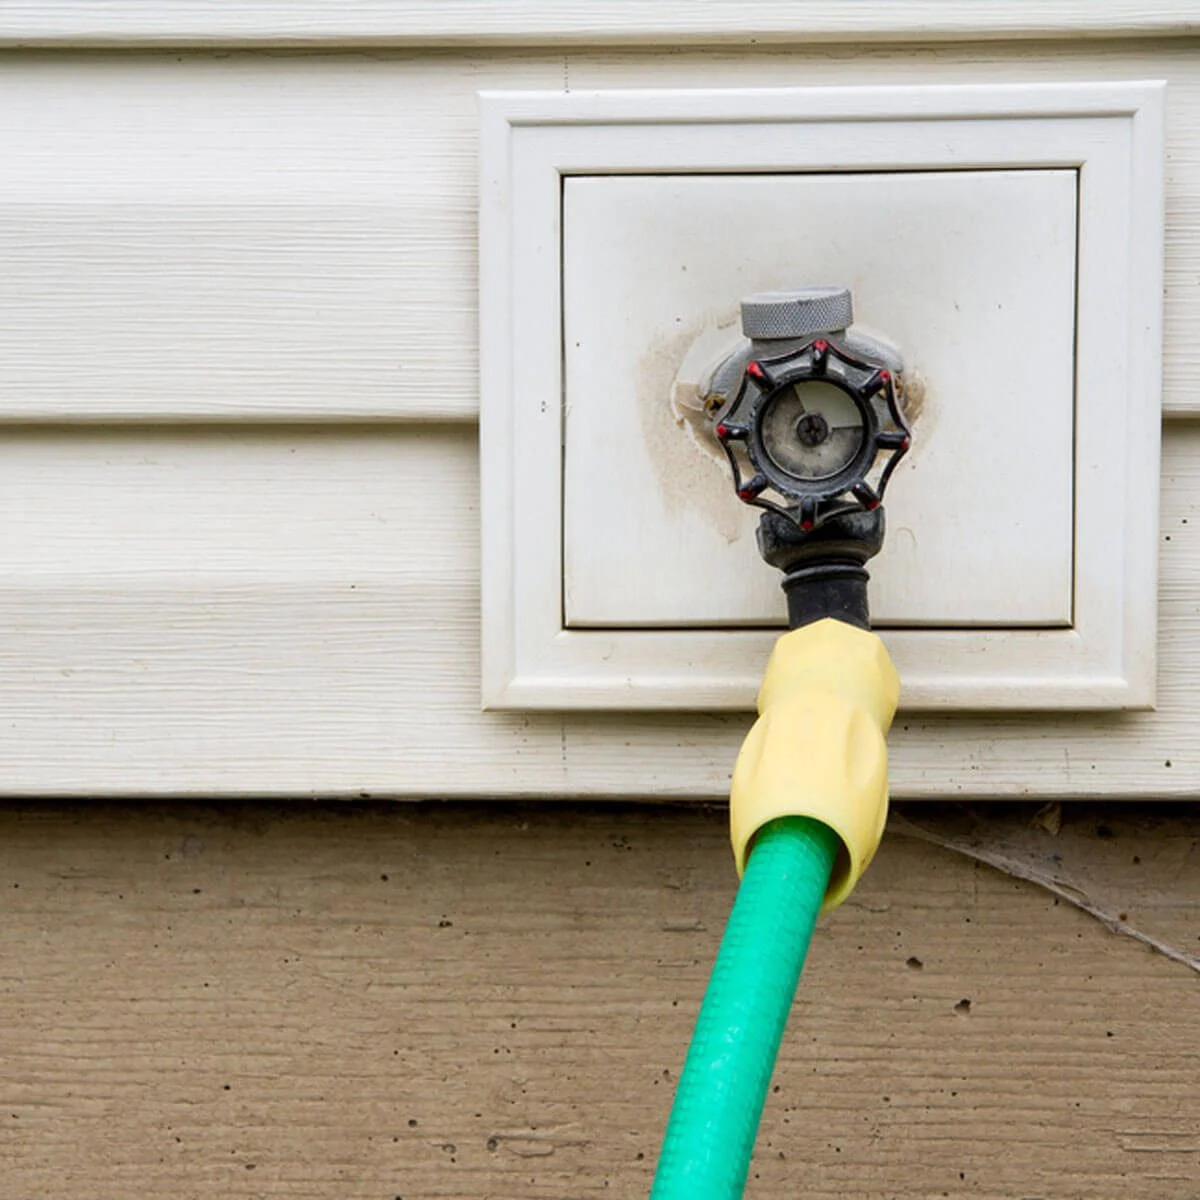
With the water supply turned off and any residual pressure released, it’s time to begin the process of loosening the hose from the outdoor faucet. Start by gripping the hose near the point where it connects to the faucet. If the hose features a threaded connection, hold the faucet steady with one hand while using the other to twist the hose counterclockwise. This motion should gradually loosen the hose from the faucet’s threaded spout.
If the hose is secured with a clamp or other fastening mechanism, carefully loosen or remove it according to the specific design. Once any securing elements are disengaged, gently twist and maneuver the hose to break free from the faucet. It’s important to exercise patience and avoid applying excessive force, as this can potentially damage the faucet or the hose itself.
For particularly stubborn hoses, you may find it helpful to enlist the assistance of a second person. One individual can stabilize the faucet while the other focuses on loosening the hose, ensuring a controlled and coordinated effort. Communication is key during this collaborative approach to prevent accidental mishaps and ensure a smooth disconnection process.
As you work on loosening the hose, be mindful of any resistance or unusual tension. If the hose seems excessively stuck or difficult to maneuver, it’s advisable to pause and reassess the situation before proceeding. Applying excessive force in such instances can lead to damage or breakage, complicating the task and potentially necessitating repairs.
By employing a gentle and methodical approach, you can effectively loosen the hose from the outdoor faucet without causing harm to the faucet or the hose itself. With the hose successfully disconnected, you’re ready to proceed to the next steps of the process.
Use a hairdryer to warm the hose coupling, then gently twist and pull the hose to loosen it from the outdoor faucet. This will help to expand the metal and make it easier to remove.
Step 3: Apply Lubricant (If Necessary)
When facing a particularly stubborn or tightly secured hose, the application of a high-quality lubricant can be a game-changer in easing the removal process. If you encounter significant resistance while attempting to loosen the hose from the outdoor faucet, consider applying a suitable lubricant to facilitate the disconnection.
Before applying the lubricant, ensure that the area around the faucet and hose connection is dry to promote optimal adhesion. Once the surface is prepared, generously apply the lubricant to the threaded or connected area between the hose and the faucet. Allow the lubricant to penetrate and work its magic for a few minutes, effectively reducing friction and corrosion that may be impeding the disconnection.
Popular lubricant options for this purpose include silicone spray and WD-40, both of which are renowned for their ability to loosen and free stuck components. These products can help combat rust, mineral deposits, and general wear and tear, making the disconnection process significantly smoother and more manageable.
After allowing the lubricant to work its way into the connection, gently attempt to twist and loosen the hose once again. You may find that the lubricant has effectively reduced the resistance, enabling the hose to break free from the faucet with greater ease. If necessary, reapply the lubricant and allow it to work its magic for a bit longer before making another attempt.
It’s important to exercise caution and avoid over-applying the lubricant, as excess product can lead to slippery surfaces and potential hazards. By applying the right amount of lubricant and allowing it to work effectively, you can significantly improve your chances of successfully loosening a stubborn hose from the outdoor faucet.
With the application of lubricant, you’ve introduced a valuable ally in the battle against a tightly secured hose, increasing the likelihood of a successful disconnection. If the hose remains resistant despite the lubricant application, don’t fret – we’ll explore additional techniques to tackle this challenge in the following steps.
Read more: How To Get A Hose Off A Faucet
Step 4: Use a Hose Removal Tool (If Necessary)
In instances where a hose proves exceptionally challenging to loosen from an outdoor faucet, a specialized hose removal tool can serve as a valuable asset in overcoming the resistance. This tool is designed to provide enhanced leverage and grip, making it easier to dislodge tightly secured hoses without causing damage to the faucet or the hose itself.
To utilize a hose removal tool, select a model that is compatible with the size and type of your outdoor faucet and hose. These tools typically feature a grip or handle for comfortable use, along with a mechanism that securely clamps onto the hose, allowing for controlled manipulation and disconnection.
Begin by positioning the hose removal tool securely around the hose, ensuring a firm and stable grip. Once in place, utilize the tool’s leverage and grip-enhancing features to apply controlled force in the direction necessary to loosen the hose from the faucet. It’s important to exercise patience and avoid sudden or jerky movements, as a gradual and steady approach is more effective in dislodging a stubborn hose.
As you work with the hose removal tool, pay close attention to any signs of progress or movement. With the tool’s added leverage and grip, you may find that the resistance gradually diminishes, allowing the hose to loosen from the faucet with greater ease. If the tool provides a ratcheting or turning mechanism, use it to your advantage, applying consistent pressure while maintaining a firm grip on the tool.
Throughout the process, it’s essential to monitor the connection and ensure that the tool’s application is focused on the intended disconnection point. Avoid placing excessive force on other components of the faucet to prevent unintended damage. By concentrating the tool’s efforts on the targeted area, you can effectively dislodge the hose without compromising the faucet’s integrity.
With the assistance of a hose removal tool, you can navigate the challenge of a stubbornly secured hose with enhanced leverage and control. By employing this specialized tool when necessary, you’ll increase your chances of successfully disconnecting the hose from the outdoor faucet, paving the way for seamless storage or maintenance.
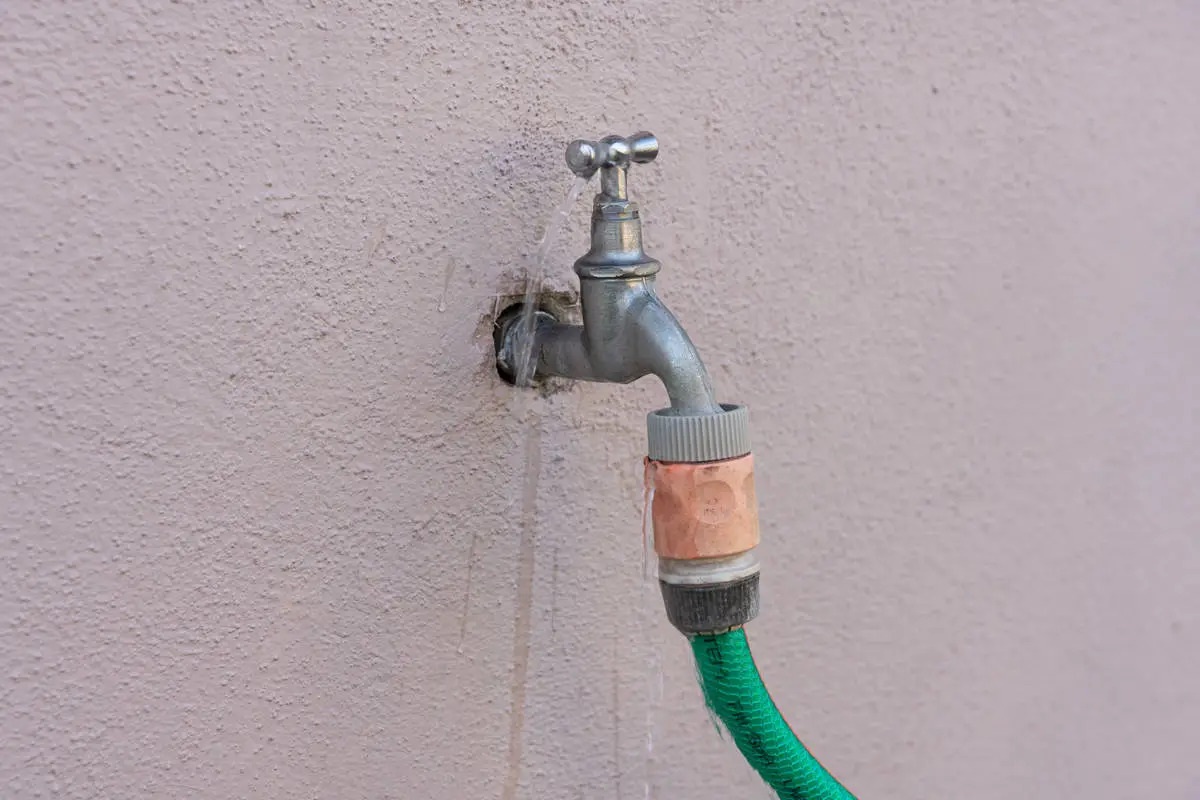
Step 5: Test the Faucet
After successfully loosening and disconnecting the hose from the outdoor faucet, it’s essential to perform a thorough assessment to ensure that the faucet functions as intended. This step allows you to verify that the disconnection process has not caused any damage or impairment to the faucet, providing peace of mind and confirming that the fixture remains in optimal working condition.
Begin by visually inspecting the faucet for any signs of damage, such as cracks, leaks, or loosened components. Check the surrounding area for water drips or leaks that may have occurred during the disconnection process. If any irregularities are observed, it’s crucial to address them promptly to prevent potential water wastage or further damage to the faucet.
With a careful visual inspection completed, proceed to test the faucet by turning it on and allowing water to flow freely. Observe the water flow and pressure to ensure that the faucet operates without any unexpected issues or abnormalities. Listen for any unusual sounds that may indicate a problem, and check for leaks or drips around the faucet’s connection point.
If the faucet exhibits normal functionality and water flows without impediments or irregularities, it indicates a successful disconnection process that has not compromised the fixture’s integrity. However, if you notice any concerning issues during the testing phase, such as leaks, reduced water flow, or unusual sounds, it’s important to address these issues promptly to prevent potential water wastage and maintain the faucet’s functionality.
As a final step in testing the faucet, ensure that it can be turned off completely without any residual dripping or leaks. This verification confirms that the faucet’s shutoff mechanism remains effective and prevents water from escaping when the fixture is not in use.
By thoroughly testing the faucet following the disconnection of the hose, you can verify the fixture’s continued functionality and identify any potential issues that require attention. This proactive approach ensures that the outdoor faucet remains in optimal working condition, ready to serve your watering and outdoor maintenance needs effectively.
Conclusion
Successfully loosening a hose from an outdoor faucet is a task that may present various challenges, but with the right tools and techniques, it can be accomplished with ease. By following the step-by-step process outlined in this guide, you’ve gained valuable insights into the methods and considerations involved in disconnecting a stubborn hose from the outdoor faucet.
From turning off the water supply to employing lubricants and specialized tools when necessary, each step of the process is designed to facilitate a smooth and efficient disconnection, ensuring that the faucet and hose remain undamaged throughout the procedure. By adhering to these guidelines, you’ve equipped yourself with the knowledge and confidence to tackle this essential outdoor task with precision and care.
As you navigate the process of loosening a hose from an outdoor faucet, remember the importance of patience and careful observation. By remaining attentive to signs of progress and potential challenges, you can navigate the disconnection process effectively, safeguarding both the faucet and the hose from unnecessary strain or damage.
Upon successfully disconnecting the hose, the thorough testing of the faucet ensures that the fixture remains in optimal working condition, ready to fulfill its intended purpose without any impediments or irregularities. This final step provides assurance that the disconnection process has not compromised the faucet’s functionality, allowing you to proceed with confidence in your outdoor maintenance activities.
Armed with the knowledge and techniques outlined in this guide, you’re well-prepared to handle the task of loosening a hose from an outdoor faucet, whether for seasonal storage, maintenance, or other purposes. By approaching this task with a methodical and attentive mindset, you can ensure a seamless disconnection process that preserves the integrity of both the faucet and the hose, setting the stage for efficient and effective outdoor maintenance endeavors.
With these insights at your disposal, you’re ready to tackle the challenge of loosening a hose from an outdoor faucet with confidence and skill, ensuring that this essential outdoor task becomes a straightforward and manageable endeavor.
Frequently Asked Questions about How To Loosen Hose From Outdoor Faucet
Was this page helpful?
At Storables.com, we guarantee accurate and reliable information. Our content, validated by Expert Board Contributors, is crafted following stringent Editorial Policies. We're committed to providing you with well-researched, expert-backed insights for all your informational needs.


0 thoughts on “How To Loosen Hose From Outdoor Faucet”