Home>Furniture & Design>Outdoor Furniture>How To Change An Outdoor Faucet Handle
Outdoor Furniture
How To Change An Outdoor Faucet Handle
Modified: February 18, 2024
Learn how to easily change an outdoor faucet handle with our step-by-step guide. Upgrade your outdoor-furniture-furniture-and-design effortlessly.
(Many of the links in this article redirect to a specific reviewed product. Your purchase of these products through affiliate links helps to generate commission for Storables.com, at no extra cost. Learn more)
**
Introduction
**
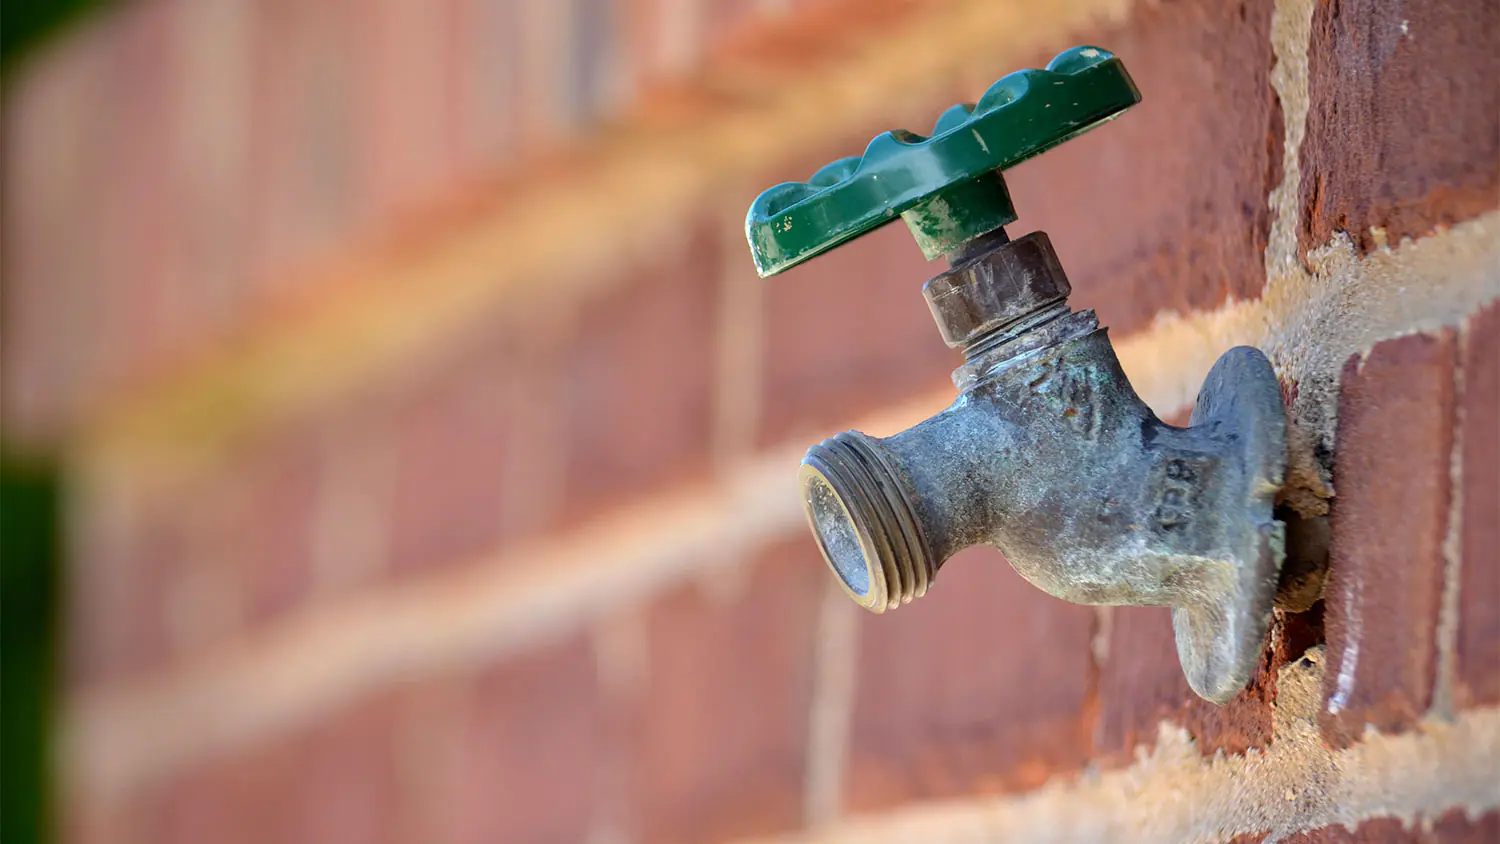
Welcome to our guide on how to change an outdoor faucet handle. Outdoor faucets, also known as hose bibs or spigots, are essential for watering the garden, washing your car, or connecting a hose for various outdoor tasks. Over time, the handle of an outdoor faucet may become worn, damaged, or difficult to turn, necessitating a replacement. Fortunately, replacing an outdoor faucet handle is a manageable task that can be accomplished with a few basic tools and minimal expertise.
In this comprehensive guide, we will walk you through the process of changing an outdoor faucet handle step by step. Whether you are a seasoned DIY enthusiast or a novice homeowner looking to tackle a simple repair, this guide will equip you with the knowledge and confidence to complete the task successfully. By following these instructions, you can restore the functionality of your outdoor faucet and ensure smooth operation for all your outdoor water needs.
So, gather your tools and let's get started on this practical and rewarding home maintenance project. Whether you're looking to upgrade the appearance of your outdoor faucet or simply address a malfunctioning handle, this guide will empower you to make the necessary repairs with ease. Let's dive in and learn how to change an outdoor faucet handle like a pro.
**
Key Takeaways:
- Replacing an outdoor faucet handle is a manageable DIY task that requires basic tools and materials. By following the step-by-step guide, you can restore the functionality of your outdoor faucet with confidence and ease.
- By turning off the water supply, removing the old handle, installing the new handle, and turning the water supply back on, you can successfully change an outdoor faucet handle and maintain a reliable outdoor water source.
Read more: How To Change Bathtub Faucet Handle
Tools and Materials Needed
**
Before embarking on the task of replacing an outdoor faucet handle, it’s essential to gather the necessary tools and materials to ensure a smooth and efficient process. Here’s a list of items you will need:
Tools:
- Adjustable wrench
- Phillips screwdriver
- Flathead screwdriver
- Pipe wrench (if necessary)
Materials:
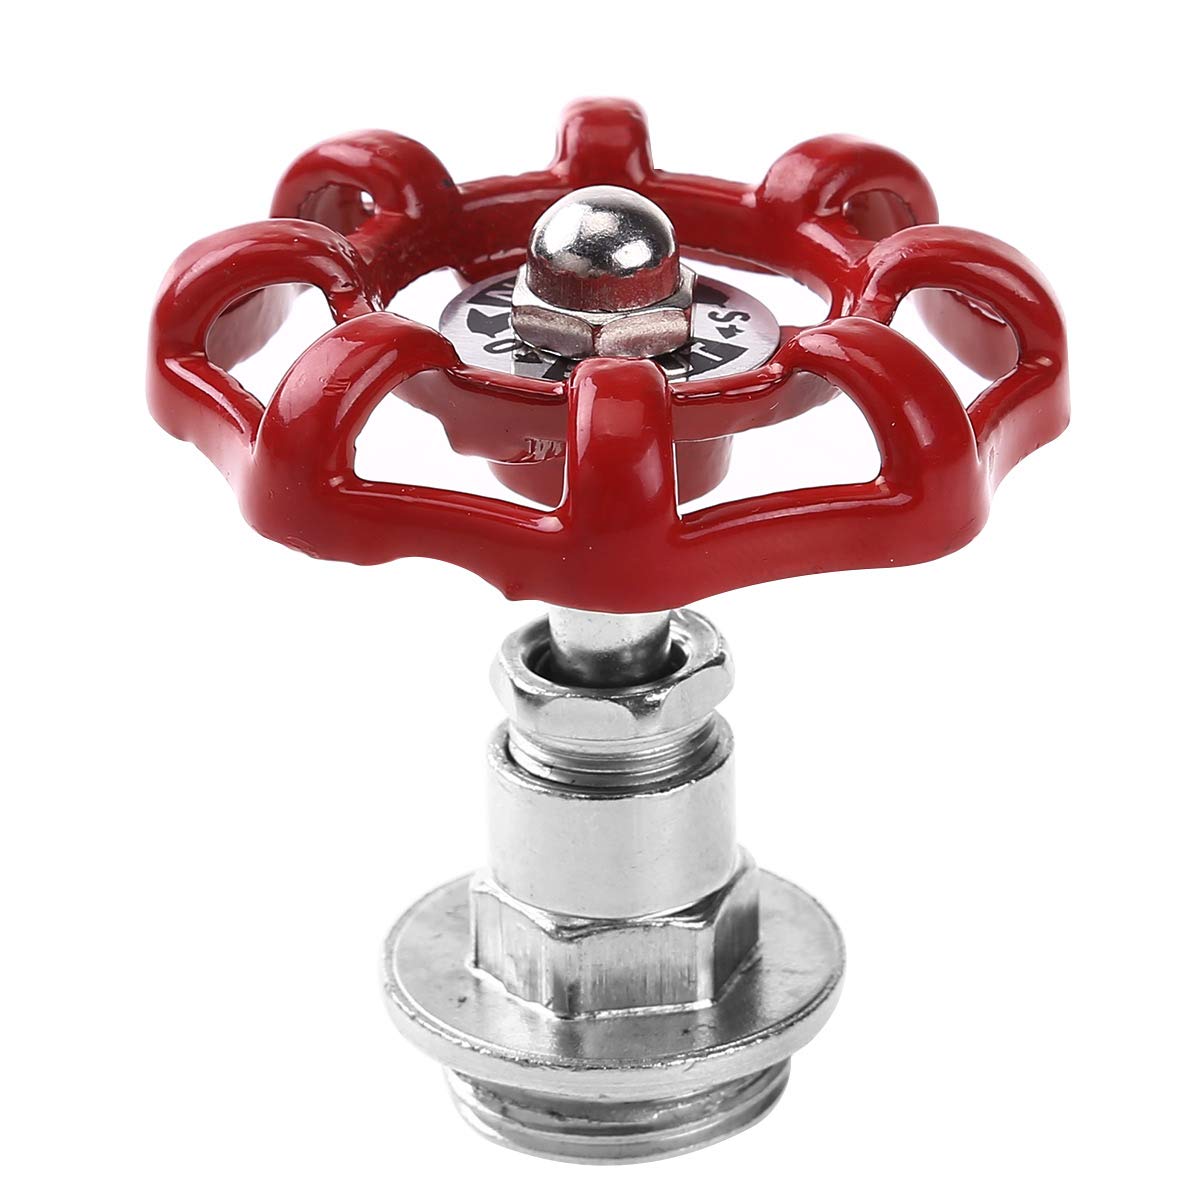
- Replacement outdoor faucet handle
- Plumber's tape (Teflon tape)
- Lubricating oil or silicone grease
These tools and materials are readily available at most hardware stores and online retailers, making it convenient to acquire everything you need before beginning the repair. The adjustable wrench is crucial for loosening and tightening the faucet components, while the screwdrivers will aid in removing screws and disassembling the handle. If the faucet is particularly old or stubborn, a pipe wrench may be necessary to grip and turn the faucet’s threaded connection.
When selecting a replacement outdoor faucet handle, ensure that it is compatible with your existing faucet model. Consider the design, size, and functionality to guarantee a proper fit and seamless operation. Additionally, plumber’s tape, also known as Teflon tape, will be used to create a watertight seal when reassembling the faucet components. Lastly, lubricating oil or silicone grease can help facilitate smooth movement and prevent corrosion, enhancing the longevity of the new handle.
By having these tools and materials at your disposal, you will be well-prepared to undertake the task of changing an outdoor faucet handle with confidence and efficiency. With everything in hand, it’s time to move on to the step-by-step process of replacing the handle and restoring the functionality of your outdoor faucet.
**
Step 1: Turn Off the Water Supply
**
Before beginning any work on the outdoor faucet, it is crucial to shut off the water supply to prevent any accidental leaks or water damage. Locate the shutoff valve connected to the outdoor faucet and turn it in a clockwise direction to close off the water flow. In some cases, the shutoff valve may be located indoors, such as in the basement or utility room, and will need to be closed to stop the water supply to the outdoor faucet.
If your outdoor faucet does not have a dedicated shutoff valve, you may need to shut off the main water supply to your home. This can typically be found near your water meter or where the main water line enters your property. Turning off the main water supply will ensure that no water is flowing to any part of your plumbing system, including the outdoor faucet.
After the water supply has been turned off, open the outdoor faucet to drain any remaining water from the line. This will help prevent any water from spilling out when you remove the old handle and prepare to install the new one. Once the water has been drained, the outdoor faucet is ready for the next steps in the handle replacement process.
By turning off the water supply and draining the outdoor faucet, you are taking the necessary precautions to work safely and avoid any potential water-related mishaps. With the water supply secured, you can proceed confidently to the next steps of removing the old handle and installing the new one, knowing that you have minimized the risk of leaks or water damage during the repair process.
**
Step 2: Remove the Old Handle
**
With the water supply to the outdoor faucet turned off, you can now focus on removing the old handle to make way for the replacement. The specific method for removing the old handle may vary depending on the type of outdoor faucet you have, but the following general steps will guide you through the process:
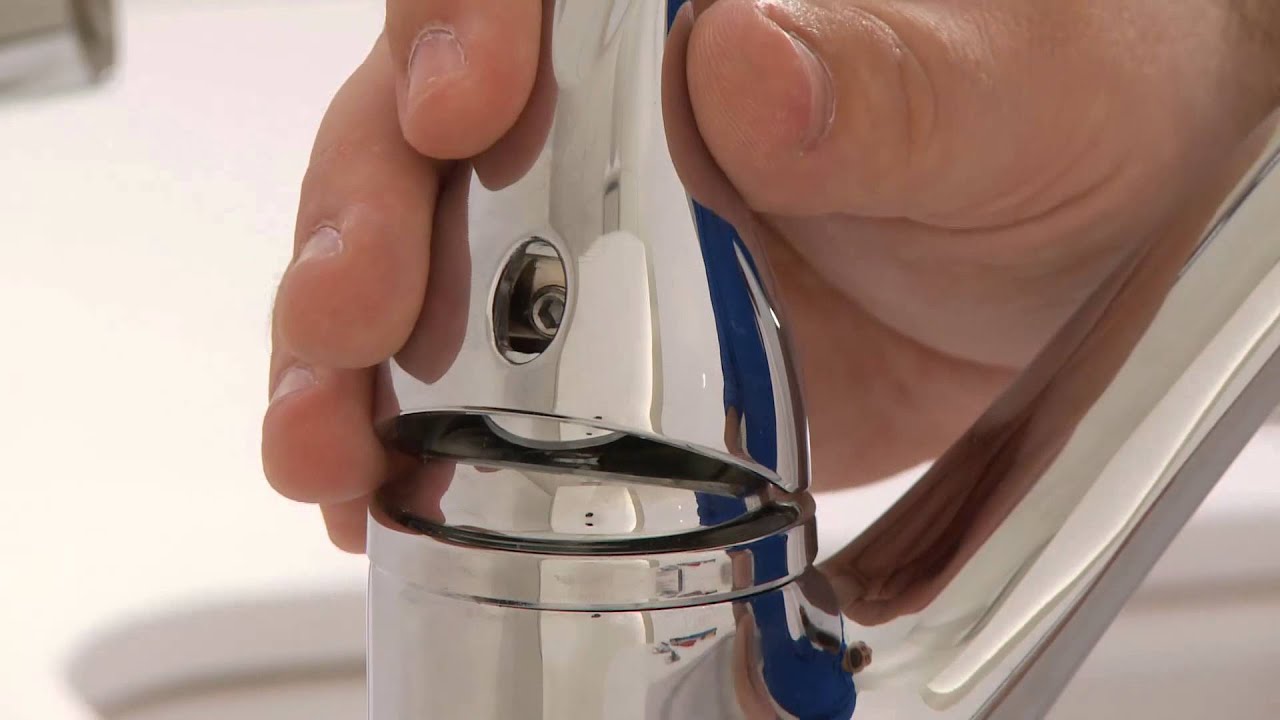
- Inspect the Handle: Begin by examining the old handle to identify any screws, caps, or decorative elements that may be concealing the fasteners holding it in place. Some handles have a decorative cap covering the screw, which can be pried off using a flathead screwdriver.
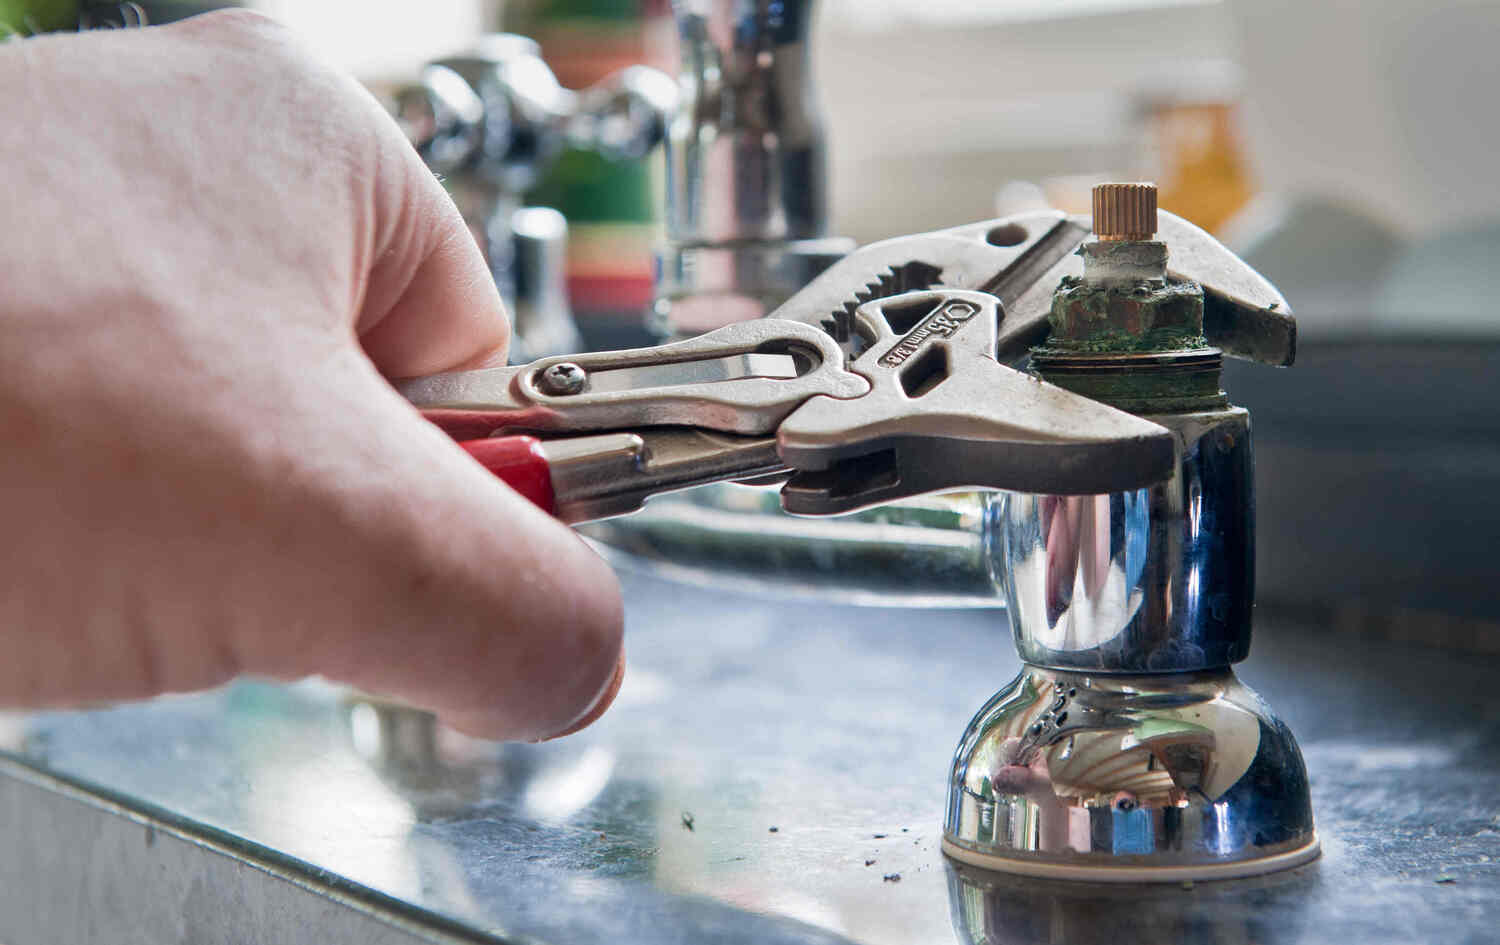
- Loosen the Fasteners: Once you have located the fasteners, use an appropriate tool, such as a Phillips screwdriver, to loosen and remove any screws or bolts securing the handle to the faucet. In some cases, the handle may be threaded onto the faucet stem and can be unscrewed by hand or with the help of a wrench.
- Detach the Handle: After the fasteners have been removed, gently pull or twist the old handle to detach it from the faucet. If the handle is stuck or difficult to remove, applying a penetrating lubricant or tapping it lightly with a mallet can help loosen it from the faucet stem.
Once the old handle has been successfully removed, inspect the faucet stem for any signs of damage, corrosion, or wear. Wipe the stem clean and ensure that it is in good condition to support the installation of the new handle. If necessary, use a wire brush or abrasive pad to remove any stubborn debris or corrosion from the stem, allowing for a smooth and secure fit for the replacement handle.
By carefully removing the old handle and preparing the faucet stem for the new handle, you are setting the stage for a seamless installation process. With the old handle out of the way, you can now proceed to the next step of installing the new handle and restoring the functionality of your outdoor faucet.
**
Before starting, turn off the water supply to the outdoor faucet. Use a screwdriver to remove the screw holding the handle in place. Pull off the old handle and replace it with a new one, securing it with the screw.
Step 3: Install the New Handle
**
With the old handle removed and the faucet stem prepared, it’s time to install the new handle and bring your outdoor faucet back to full functionality. Follow these steps to ensure a successful installation of the replacement handle:
- Prepare the Faucet Stem: Before installing the new handle, apply a thin layer of plumber’s tape, also known as Teflon tape, to the threads of the faucet stem. This will help create a watertight seal and prevent any potential leaks once the new handle is in place.
- Align the New Handle: Position the replacement handle onto the faucet stem, ensuring that it aligns correctly with the threads and sits flush against the faucet. If the new handle features a set screw or fastening mechanism, follow the manufacturer’s instructions to secure it in place.
- Tighten the Fasteners: If the new handle is secured with screws or bolts, use the appropriate tool to tighten the fasteners and secure the handle onto the faucet stem. Be careful not to overtighten the screws, as this can potentially damage the handle or the faucet components.
- Test the Operation: Once the new handle is securely in place, turn on the water supply to the outdoor faucet and test the functionality of the newly installed handle. Ensure that the handle turns smoothly and operates the faucet without any issues. If the handle feels stiff or encounters resistance, it may need to be adjusted or reinstalled to ensure proper functionality.
After installing the new handle and confirming its smooth operation, take a moment to inspect the surrounding area for any signs of leaks or drips. Check the connection between the new handle and the faucet stem to ensure that it is secure and free of any water seepage. If necessary, make minor adjustments to the handle or fasteners to achieve a snug and leak-free fit.
By successfully installing the new handle, you have revitalized your outdoor faucet and restored its usability for various outdoor tasks. The new handle not only enhances the appearance of the faucet but also ensures reliable and effortless operation for all your outdoor water needs.
**
Read more: How To Change A Single Handle Shower Faucet
Step 4: Turn On the Water Supply
**
With the new handle securely installed and any adjustments made, it’s time to restore the water supply to the outdoor faucet. Follow these steps to safely turn on the water supply and ensure that the faucet is functioning as intended:
- Close the Outdoor Faucet: Before turning on the water supply, ensure that the outdoor faucet is in the closed position to prevent any sudden surges of water when the supply is restored. Turning the faucet handle clockwise will shut off the water flow, allowing you to proceed with confidence.
- Turn On the Water Supply: Locate the shutoff valve for the outdoor faucet and turn it in a counterclockwise direction to open the water supply. If you had to shut off the main water supply to your home, reverse the process by turning the main shutoff valve to restore water flow to all plumbing fixtures, including the outdoor faucet.
- Check for Leaks: Once the water supply is restored, carefully inspect the outdoor faucet and the connection points for any signs of leaks or drips. Run the faucet for a few moments to ensure that the water flows smoothly and that the new handle operates without any issues. Address any leaks or drips promptly to prevent water waste and potential damage to the faucet and surrounding area.
After turning on the water supply and confirming that the outdoor faucet is functioning properly, take a moment to enjoy the convenience of a smoothly operating handle and a leak-free outdoor water source. Whether you’re watering your garden, washing your car, or connecting a hose for various outdoor tasks, the new handle will provide reliable and effortless control over the water flow.
By completing the process of turning on the water supply, you have successfully concluded the task of changing the outdoor faucet handle. Your proactive approach to maintenance and repair has ensured the continued functionality and efficiency of your outdoor water fixture, contributing to a well-maintained and enjoyable outdoor living space.
**
Conclusion
**
Congratulations on successfully completing the process of changing the outdoor faucet handle! By following the step-by-step instructions in this guide, you have not only revitalized the functionality of your outdoor faucet but also gained valuable knowledge and confidence in tackling simple home maintenance tasks.
Changing an outdoor faucet handle is a practical and rewarding endeavor that empowers you to maintain and enhance your outdoor living space. With the new handle in place, you can enjoy seamless control over your outdoor water source, whether you’re tending to your garden, cleaning outdoor surfaces, or engaging in various outdoor activities that require access to water.
By turning off the water supply, removing the old handle, installing the new handle, and turning the water supply back on, you have demonstrated your ability to address a common household repair with precision and efficiency. Your proactive approach to maintaining your outdoor faucet ensures that it remains a reliable and functional asset for your outdoor endeavors.
Remember, regular maintenance and prompt repairs contribute to the longevity and performance of your outdoor fixtures and living spaces. By staying proactive and addressing issues as they arise, you can ensure that your outdoor areas remain inviting, functional, and well-maintained for your enjoyment.
As you admire your newly installed outdoor faucet handle, take pride in your ability to take on practical home improvement tasks and enhance the functionality of your outdoor living environment. Your proactive approach to maintenance and repair sets the stage for a well-maintained and enjoyable outdoor space for years to come.
Thank you for joining us on this home maintenance journey, and we hope this guide has equipped you with the knowledge and confidence to tackle future projects with ease. Here’s to a well-maintained and thriving outdoor living space!
Frequently Asked Questions about How To Change An Outdoor Faucet Handle
Was this page helpful?
At Storables.com, we guarantee accurate and reliable information. Our content, validated by Expert Board Contributors, is crafted following stringent Editorial Policies. We're committed to providing you with well-researched, expert-backed insights for all your informational needs.


0 thoughts on “How To Change An Outdoor Faucet Handle”