Home>Furniture & Design>Outdoor Furniture>How To Make A Cheap Outdoor Dance Floor

Outdoor Furniture
How To Make A Cheap Outdoor Dance Floor
Published: January 14, 2024
Learn how to create a budget-friendly outdoor dance floor for your next event. Discover tips for making a durable and stylish dance floor with outdoor furniture and design.
(Many of the links in this article redirect to a specific reviewed product. Your purchase of these products through affiliate links helps to generate commission for Storables.com, at no extra cost. Learn more)
Introduction
Creating an outdoor dance floor is a fantastic way to elevate any event or celebration. Whether you're hosting a wedding, birthday party, or a casual gathering, a dance floor can transform your outdoor space into a lively and inviting venue. While the prospect of constructing a dance floor may initially seem daunting, it can be a surprisingly manageable and budget-friendly project. By utilizing simple materials and a bit of creativity, you can craft a charming and functional dance floor that will leave your guests impressed and eager to dance the night away.
In this guide, we will walk you through the process of constructing a cost-effective outdoor dance floor. From gathering the necessary materials to preparing the ground and assembling the dance floor, we will provide step-by-step instructions to help you bring your vision to life. Whether you have a spacious backyard, a picturesque garden, or a cozy patio, this guide is designed to offer practical tips and inspiration for creating a dance floor that suits your specific outdoor setting.
By following our comprehensive instructions and infusing your own personal flair, you can design a dance floor that aligns with your event's theme and ambiance. So, roll up your sleeves, gather your materials, and get ready to embark on a rewarding DIY project that will set the stage for unforgettable moments and joyous celebrations. Let's dive into the exciting world of outdoor dance floor construction and turn your outdoor space into a captivating dance destination!
Key Takeaways:
- You can create a budget-friendly outdoor dance floor using plywood, screws, and protective sealant. With some creativity and planning, you can build a charming space for lively events and celebrations in your outdoor area.
- Preparing the ground and adding finishing touches, like lighting and seating, can enhance the appeal and functionality of your dance floor. It’s a fun DIY project that can turn your outdoor space into a captivating venue for unforgettable moments.
Read more: How To Make A Dance Floor On Grass
Materials Needed
Before delving into the construction process, it’s essential to gather the materials required to build a sturdy and visually appealing outdoor dance floor. Here’s a list of the essential items you’ll need:
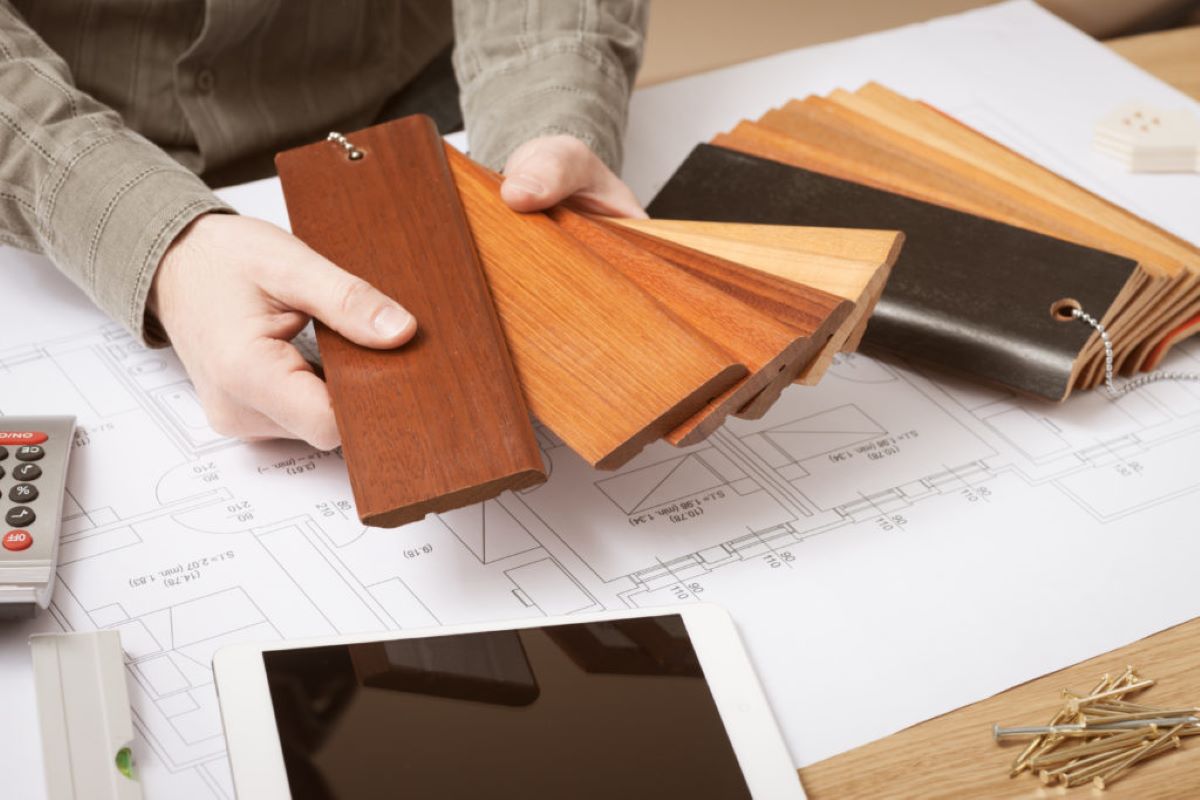
- Plywood Sheets: Purchase enough plywood sheets to cover the desired dance floor area. Opt for smooth, sanded plywood to ensure a uniform and splinter-free surface for dancing.
- Wooden Battens: These will be used to create a supportive framework for the plywood sheets. Ensure that the battens are durable and of the appropriate length to accommodate the size of your dance floor.
- Screws and Nails: Invest in high-quality screws and nails to securely fasten the plywood sheets and battens together. Stainless steel screws and galvanized nails are recommended to withstand outdoor conditions.
- Measuring Tape and Chalk: Accurate measurements are crucial for a well-proportioned dance floor. A measuring tape and chalk will aid in marking and outlining the dance floor dimensions on the ground.
- Leveling Tools: To ensure a flat and even surface, leveling tools such as a carpenter’s level or a string level will be indispensable during the construction process.
- Outdoor Paint or Stain: Choose a weather-resistant paint or stain to protect the plywood from moisture and enhance its aesthetic appeal. Consider selecting a color that complements the outdoor setting and event theme.
- Protective Sealant: Applying a protective sealant will safeguard the dance floor against water damage and prolong its lifespan. Look for a sealant specifically designed for outdoor wood surfaces.
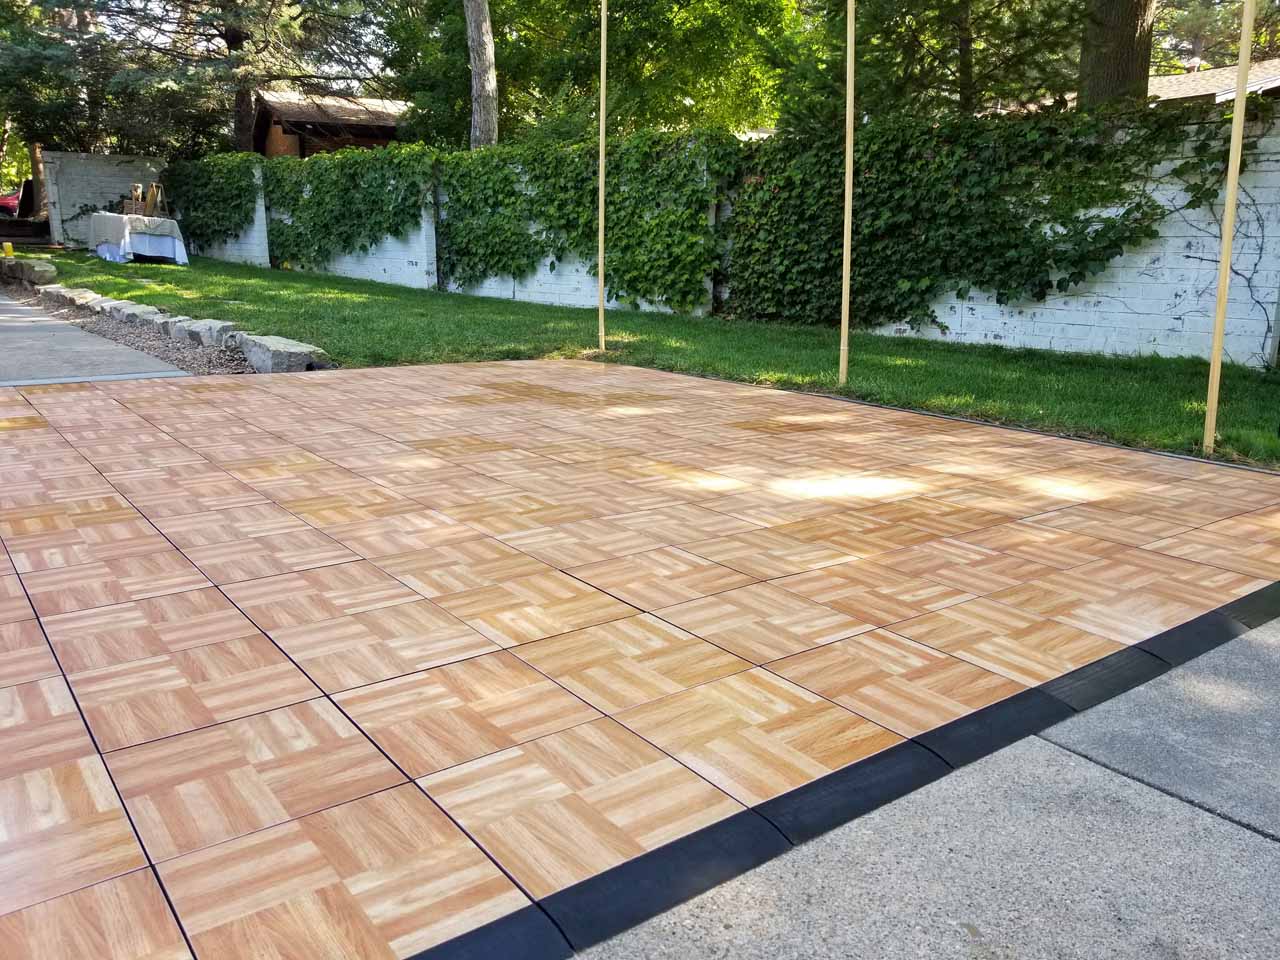
- Optional: Outdoor Rugs or Vinyl Flooring: For added comfort and style, outdoor rugs or interlocking vinyl flooring tiles can be placed on the dance floor surface. These options provide traction and a decorative touch.
- Decorative Elements: Depending on your event’s theme, consider incorporating decorative elements such as string lights, floral arrangements, or themed props to enhance the ambiance of the dance floor area.
By procuring these materials, you’ll be well-equipped to embark on the construction of your outdoor dance floor. With careful planning and attention to detail, you can create a dance floor that not only serves its practical purpose but also contributes to the overall charm and allure of your outdoor event space.
Preparing the Ground
Before commencing the assembly of your outdoor dance floor, it’s crucial to prepare the ground to ensure a stable and level foundation. Here are the essential steps to prepare the ground for your dance floor:
- Clear the Area: Begin by clearing the designated dance floor area of any debris, rocks, or uneven surfaces. This will create a clean and safe space for constructing the dance floor.
- Measure and Mark: Use a measuring tape and chalk to accurately measure and mark the dimensions of the dance floor on the ground. Ensure that the markings are straight and symmetrical to facilitate the placement of the plywood sheets.
- Level the Ground: If the ground is uneven, utilize leveling tools such as a carpenter’s level or a string level to identify high and low spots. Gradually fill in low areas with compacted soil or remove excess soil from high spots to achieve a level surface.
- Add a Base Layer: To prevent moisture from seeping into the plywood, consider laying a base layer of gravel or a moisture-resistant barrier such as landscaping fabric. This additional layer will help maintain the integrity of the dance floor over time.
- Create a Supportive Foundation: Position the wooden battens horizontally across the marked dance floor area to create a supportive framework for the plywood sheets. Ensure that the battens are evenly spaced and securely anchored to the ground using screws or stakes.
By diligently following these preparatory steps, you’ll establish a solid and level foundation for your outdoor dance floor. Taking the time to properly prepare the ground will contribute to the stability and longevity of the dance floor, allowing you and your guests to dance with confidence and enjoyment.
Consider using plywood sheets as a cost-effective option for creating an outdoor dance floor. Paint or stain the plywood for a finished look and add a layer of outdoor sealant to protect it from the elements.
Assembling the Dance Floor
With the groundwork in place, it’s time to embark on the exciting process of assembling the outdoor dance floor. Follow these step-by-step instructions to construct a sturdy and visually appealing dance floor:
- Position the Plywood Sheets: Carefully place the smooth, sanded plywood sheets onto the prepared ground, ensuring that they align with the marked dimensions of the dance floor. Leave a small gap between each sheet to accommodate natural expansion and contraction due to temperature and humidity changes.
- Secure the Plywood Sheets: Utilize screws to securely fasten the plywood sheets to the wooden battens, ensuring that each sheet is firmly anchored to the supportive framework. Be mindful of the spacing and distribution of screws to maintain the structural integrity of the dance floor.
- Apply Protective Sealant: Once the plywood sheets are securely in place, apply a protective sealant to the entire surface of the dance floor. The sealant will safeguard the plywood from moisture, UV rays, and general wear and tear, extending the lifespan of the dance floor.
- Add Decorative Touches: To infuse personality and charm into the dance floor area, consider incorporating decorative elements such as outdoor rugs, interlocking vinyl flooring tiles, or custom stenciled designs. These additions can enhance the visual appeal and comfort of the dance floor.
- Optional: Paint or Stain the Dance Floor: If desired, apply outdoor paint or stain to the plywood surface to introduce color and style. Choose a paint or stain that complements the overall aesthetic of the event space and aligns with your decorative vision.
By following these assembly guidelines, you’ll transform the plywood sheets into a resilient and visually captivating dance floor. The careful execution of each step will result in a polished and inviting surface that sets the stage for joyous celebrations and lively dancing.
Adding Finishing Touches
As the construction of your outdoor dance floor nears completion, it’s time to add the finishing touches that will elevate the ambiance and functionality of the space. Consider the following enhancements to perfect your dance floor:
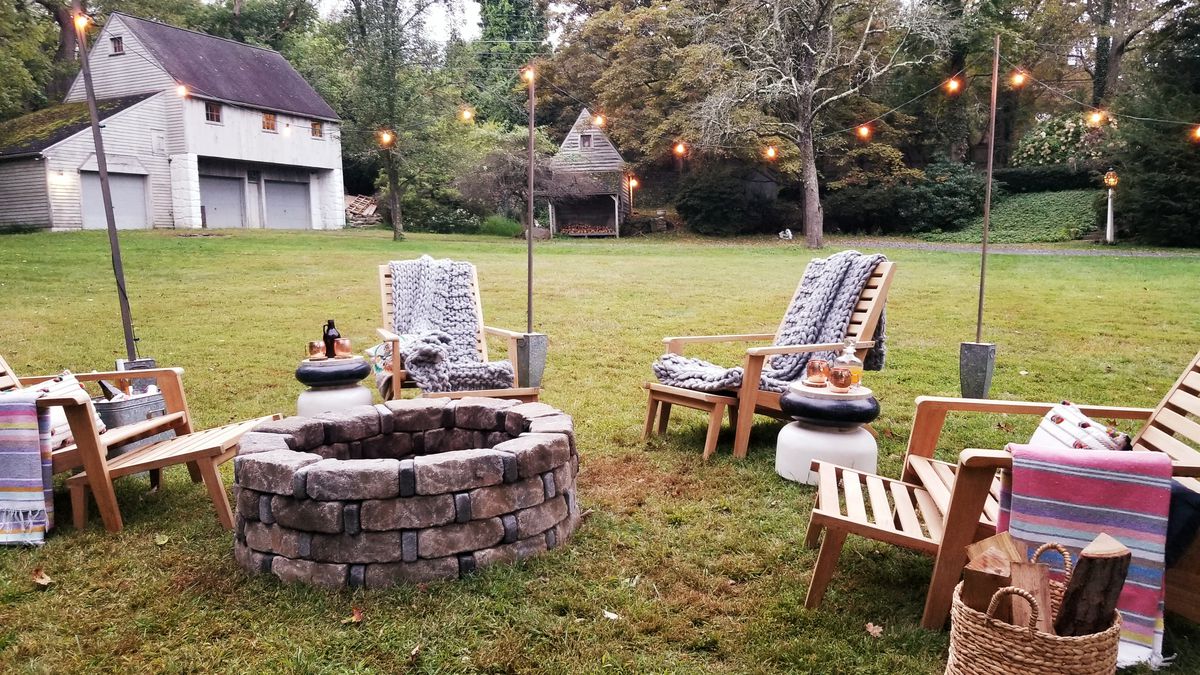
- Illuminate with Lighting: Incorporate string lights, lanterns, or pathway lighting around the perimeter of the dance floor to create a warm and inviting atmosphere. These lighting elements not only enhance visibility during evening events but also contribute to the overall enchanting ambiance.
- Define the Dance Area: Use decorative barriers, such as potted plants, low fencing, or draping fabric, to delineate the dance floor area. This subtle boundary will guide guests and accentuate the designated dancing space.
- Provide Comfortable Seating: Arrange seating areas near the dance floor, ensuring that guests have a comfortable vantage point to enjoy the festivities. Consider incorporating outdoor furniture, cushions, or blankets to create cozy and inviting seating arrangements.
- Enhance with Greenery: Integrate potted plants, floral arrangements, or natural foliage around the dance floor to infuse a touch of natural beauty. The presence of greenery will contribute to a refreshing and vibrant outdoor setting.
- Personalize with Signage: Add personalized signage or decorative chalkboard displays to convey event details, dance floor rules, or thematic messages. This personalized touch can engage guests and enhance the overall aesthetic of the dance floor area.
- Provide Footwear Options: Consider offering a basket of flip-flops or comfortable dance shoes for guests to use while dancing. This thoughtful gesture ensures that guests can comfortably partake in the festivities without worrying about footwear constraints.
By incorporating these finishing touches, you’ll create a captivating and functional outdoor dance floor that is primed for unforgettable celebrations. The thoughtful details and enhancements will contribute to an inviting and immersive experience for you and your guests, setting the stage for joyous moments and spirited dancing.
Read more: How To Build A Dance Floor
Conclusion
Congratulations on successfully navigating the construction of your very own outdoor dance floor! By embracing creativity, diligence, and a touch of DIY spirit, you’ve transformed your outdoor space into a captivating venue primed for festive gatherings and lively celebrations. As you reflect on the journey of bringing your dance floor vision to life, consider the following key takeaways:
First and foremost, the process of constructing an outdoor dance floor is a testament to the power of innovation and resourcefulness. By utilizing simple materials and strategic planning, you’ve created a functional and visually appealing space that enhances the allure of your outdoor events.
Furthermore, the attention to detail in preparing the ground, assembling the dance floor, and adding finishing touches has resulted in a polished and inviting dance floor area. The careful consideration of each step has contributed to the overall charm and practicality of the space, ensuring that it is well-equipped to host memorable festivities.
As you admire the completed dance floor, take pride in the fact that you’ve cultivated a versatile outdoor venue that can accommodate a myriad of celebrations. From joyous weddings and jubilant birthday parties to casual gatherings and spirited dance soirées, your outdoor dance floor stands as a testament to your dedication to creating unforgettable experiences for your guests.
Lastly, as you witness the joy and merriment that unfold on your dance floor, revel in the knowledge that your efforts have provided a platform for cherished moments and exuberant dancing. The laughter, music, and rhythmic movements that grace the dance floor are a testament to the warmth and conviviality of your outdoor space.
With your newly constructed outdoor dance floor, you’ve not only elevated the aesthetic appeal of your outdoor setting but also fostered an environment where celebrations come to life and cherished memories are made. So, embrace the enchanting allure of your dance floor, and let the rhythm of life and laughter resonate within its inviting confines.
As you continue to infuse your outdoor space with creativity and personal touches, may your dance floor stand as a symbol of camaraderie, joy, and the boundless spirit of celebration.
Frequently Asked Questions about How To Make A Cheap Outdoor Dance Floor
Was this page helpful?
At Storables.com, we guarantee accurate and reliable information. Our content, validated by Expert Board Contributors, is crafted following stringent Editorial Policies. We're committed to providing you with well-researched, expert-backed insights for all your informational needs.


0 thoughts on “How To Make A Cheap Outdoor Dance Floor”