Articles
How To Build A Dance Floor
Modified: December 7, 2023
"Learn step-by-step articles on how to build a dance floor for your next event. Get expert tips and guidance to create the perfect space for dancing and entertainment. Start building today!"
(Many of the links in this article redirect to a specific reviewed product. Your purchase of these products through affiliate links helps to generate commission for Storables.com, at no extra cost. Learn more)
Introduction
Are you looking to build a dance floor for your next event or party? Whether it’s a wedding, birthday celebration, or a dance class, having a dedicated space for dancing can add a touch of elegance and fun to any gathering. Building your own dance floor may seem like a daunting task, but with the right materials and a little bit of planning, you can create a professional-quality dance floor that will impress your guests and provide a solid surface for hours of dancing enjoyment.
In this article, we will guide you through the step-by-step process of building a dance floor from start to finish. We will cover everything from gathering the necessary materials to securing the dance floor in place. So, let’s lace up our dancing shoes and dive into the exciting world of DIY dance floor construction!
Key Takeaways:
- Building a dance floor requires careful planning, quality materials, and attention to detail. From measuring and planning to securing the floor, creating a safe and enjoyable space for dancing is a rewarding DIY project.
- Adding finishing touches such as cleaning, lighting, and soundproofing can elevate the dance floor experience. Personalize the space to create an inviting and visually appealing environment for unforgettable events.
Read more: How To Make A Dance Floor On Grass
Step 1: Gather Materials
Before you start building your dance floor, you’ll need to gather the necessary materials. Here’s a list of what you’ll need:
- Wooden boards: You’ll need enough boards to cover the desired area of your dance floor. Choose high-quality plywood boards that are at least ¾ inch thick for a sturdy and durable surface.
- Support beams: These are essential for providing stability and strength to the dance floor. Opt for pressure-treated 2×4 wooden beams that are long enough to span across the width of your dance floor.
- Screws and nails: Invest in high-quality screws and nails to secure the boards and support beams together. Make sure they are long enough to penetrate the wood and hold everything securely in place.
- Measuring tape: Accurate measurements are crucial for planning and building your dance floor. A measuring tape will help you determine the dimensions of the floor and ensure that everything fits perfectly.
- Saw: You’ll need a saw to cut the wooden boards and support beams to the correct size. A circular saw or a table saw will work well for this purpose.
- Drill: A drill will be necessary for drilling holes and driving screws into the wood. Make sure you have the appropriate drill bits for your screws.
- Level: A level will help you ensure that the dance floor is even and free from any slopes or unevenness. This is important for the safety and comfort of dancers.
- Protective equipment: Don’t forget to wear protective gear such as safety goggles and gloves when working with tools and handling wood.
Once you have gathered all the necessary materials, you’ll be ready to move on to the next step: measuring and planning your dance floor.
Step 2: Measure and Plan
Measuring and planning your dance floor is a crucial step to ensure that everything fits perfectly and meets your specific requirements. Here’s how to proceed:
- Choose the location: Determine where you want to set up your dance floor. Make sure the area is spacious enough to accommodate the number of dancers you expect and has a smooth and level surface.
- Measure the dimensions: Use a measuring tape to determine the length and width of your desired dance floor area. Take accurate measurements and write them down for reference.
- Consider the height: Consider how high you want your dance floor to be. Keep in mind that a higher dance floor may require additional support beams.
- Plan the layout: Sketch out a rough layout of your dance floor on paper. This will help you visualize how everything will fit together and guide you during the construction process.
- Calculate the materials needed: Based on your measurements and layout, calculate the number of wooden boards and support beams required. Consider adding a few extra boards and beams as a backup.
- Consult local regulations: If you are building a dance floor for a commercial space or a public event, check with your local building codes and regulations to ensure compliance.
By taking the time to properly measure and plan your dance floor, you’ll ensure that the construction process goes smoothly and that the end result meets your expectations. Once you have completed this step, you’ll be ready to prepare the area for building the base of your dance floor.
Step 3: Prepare the Area
Preparing the area where you will be constructing your dance floor is an essential step to ensure a solid and stable foundation. Follow these steps to prepare the area:
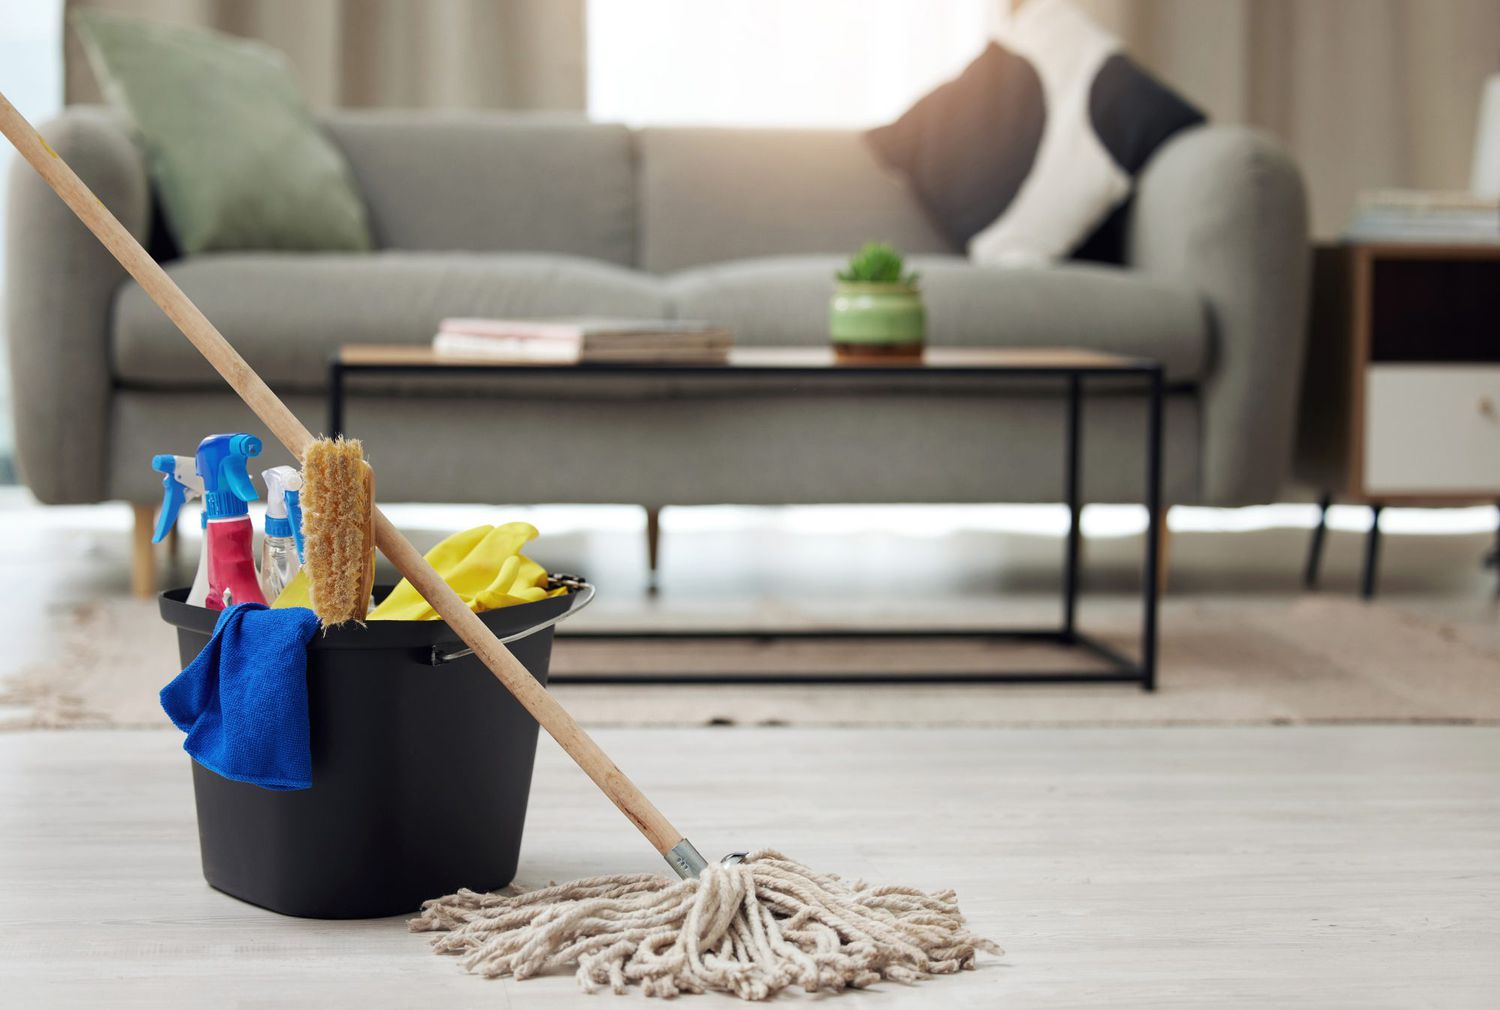
- Clean the space: Clear the area of any debris, rocks, or other objects that may interfere with the construction process or cause an uneven surface.
- Level the ground: Use a shovel or a rake to smooth out any uneven areas on the ground. Remove excess soil or bumps to create a flat and even surface.
- Place a barrier: If you are building your dance floor on grass or dirt, consider laying a barrier such as a tarp or plastic sheeting to prevent weeds from growing through the floor and to create a moisture barrier.
- Ensure proper drainage: If the area tends to accumulate water or is prone to flooding, consider adding drainage channels or ensuring that the ground has proper slope to allow water to flow away from the dance floor.
By properly preparing the area, you will create a stable and even surface for building the base of your dance floor. This will contribute to the overall safety and longevity of the dance floor. Once the area is prepared, you can move on to the next step: building the base.
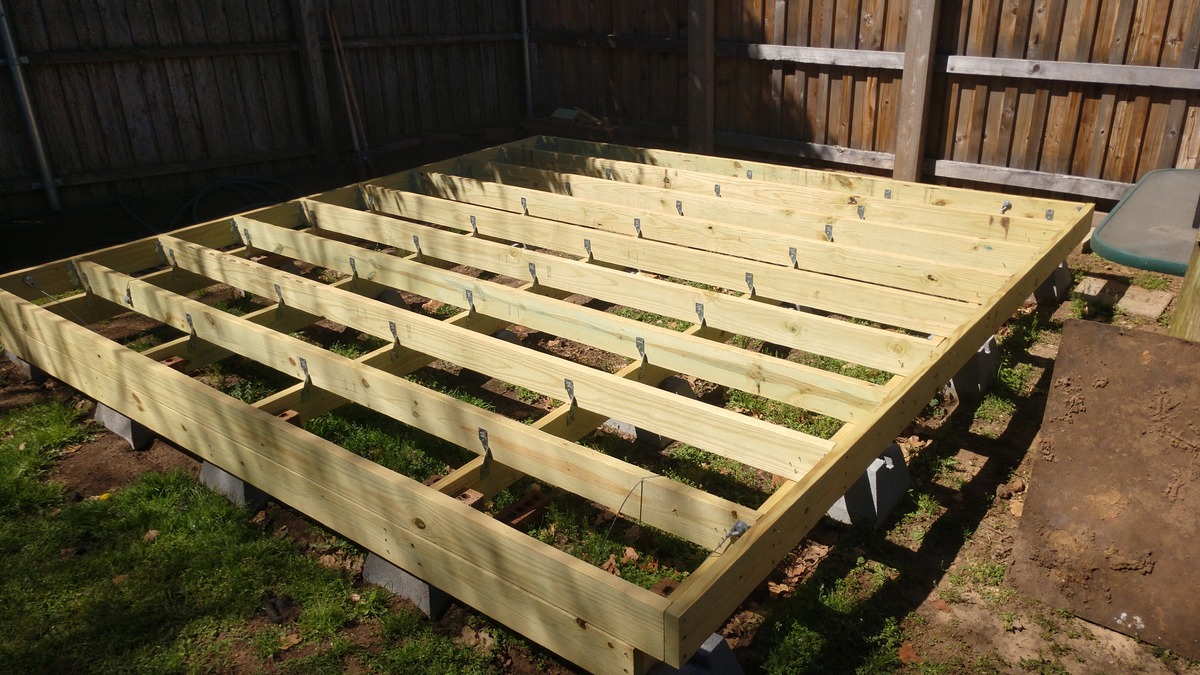
Step 4: Build the Base
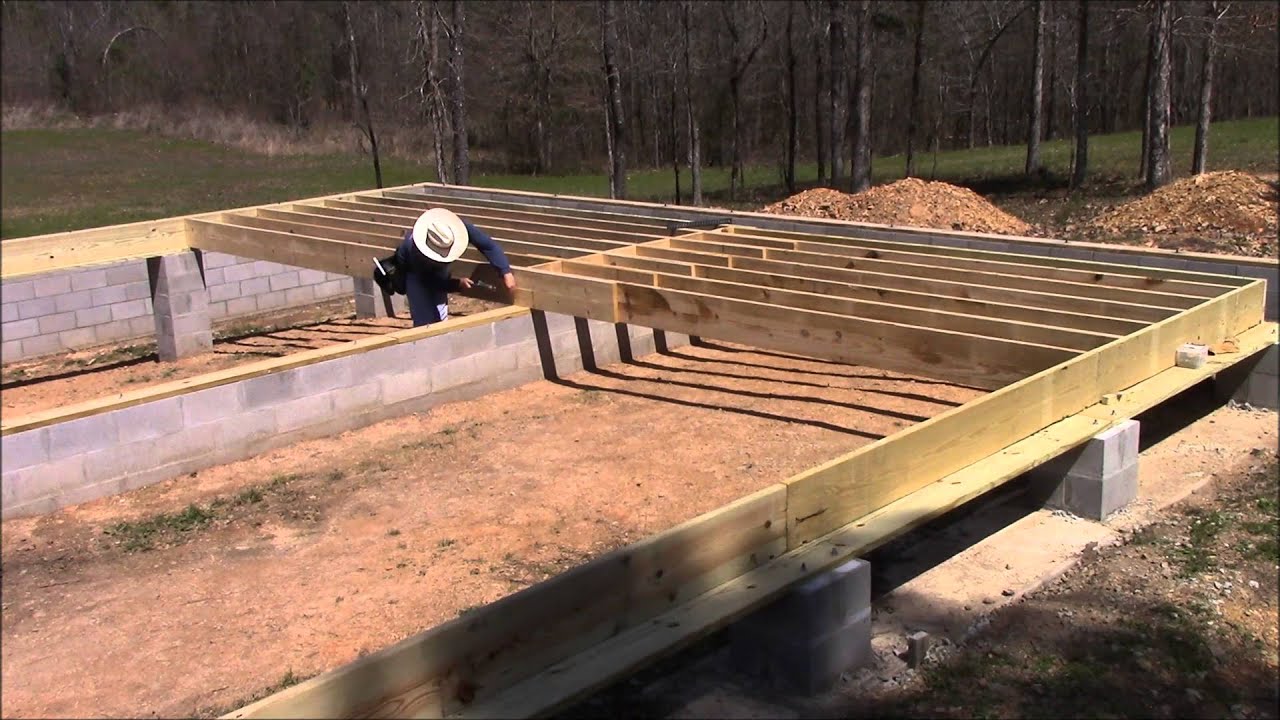
Building a solid and sturdy base is crucial for the structural integrity of your dance floor. Follow these steps to build the base:
- Start with the support beams: Place the pressure-treated 2×4 wooden beams along the perimeter of the dance floor area. Make sure the beams are parallel and evenly spaced.
- Secure the support beams: Use screws or nails to attach the support beams to the ground or the surrounding area. This will provide stability and prevent shifting during use.
- Add additional support beams: Depending on the size of your dance floor, you may need to add additional support beams across the center. Space these beams evenly and attach them securely to the perimeter beams.
- Check for levelness: Use a level to ensure that the support beams are level and even. Adjust as needed by adding shims or making slight modifications.
- Add cross beams: To provide further support and stability, add cross beams between the main support beams. Secure these beams with screws or nails.
- Double-check the level: Use the level again to ensure that the base is completely leveled. Adjust as necessary.
Building a solid base will lay the foundation for a durable dance floor. Make sure to take your time in this step to ensure that everything is level and securely fastened. Once the base is complete, you can move on to the next step: installing the dance floor surface.
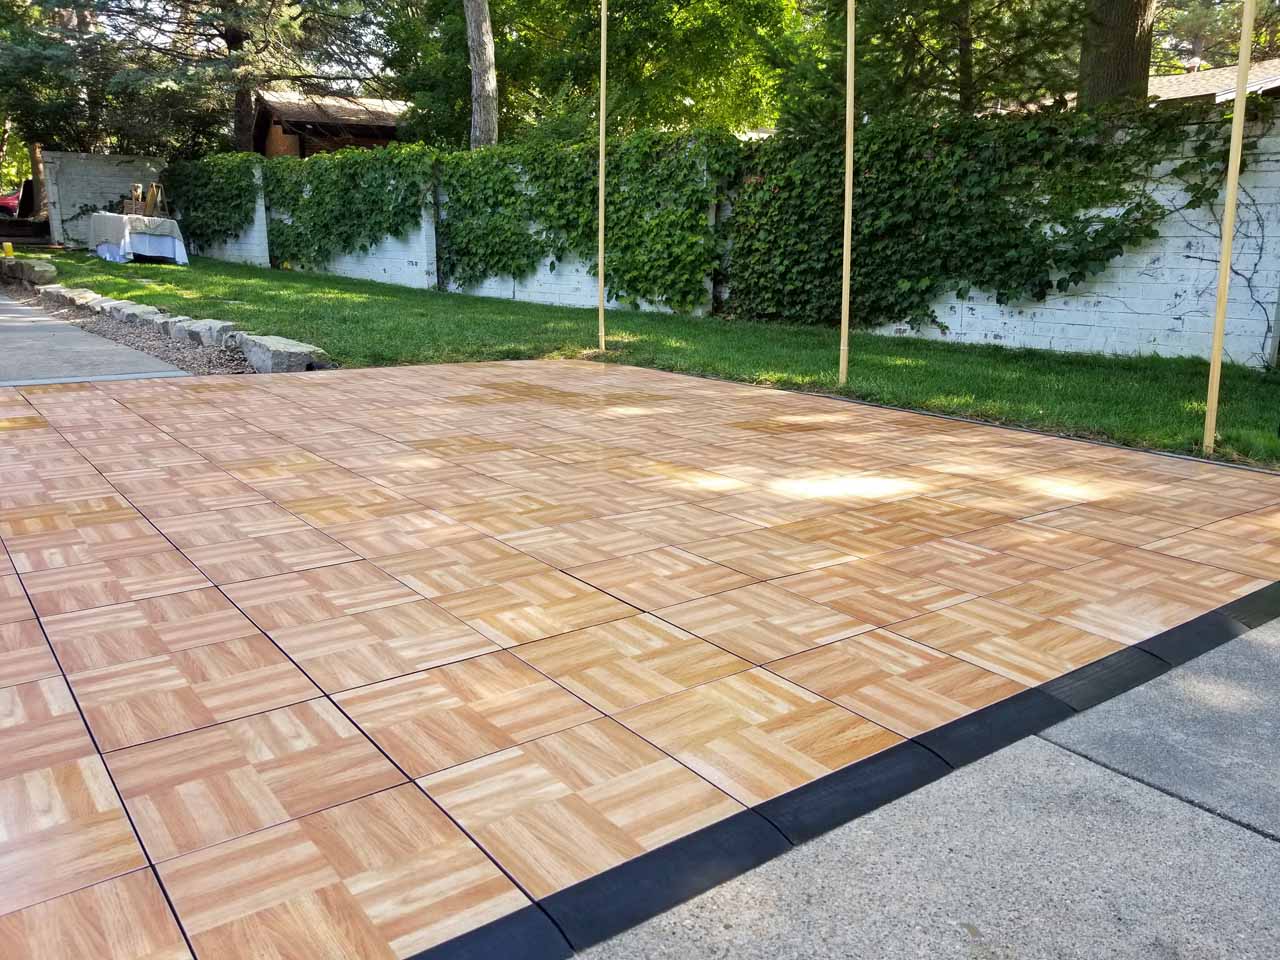
Consider using interlocking portable dance floor tiles for easy assembly and disassembly. These tiles are durable, versatile, and can be used for both indoor and outdoor events.
Read more: How To Make A Cheap Outdoor Dance Floor
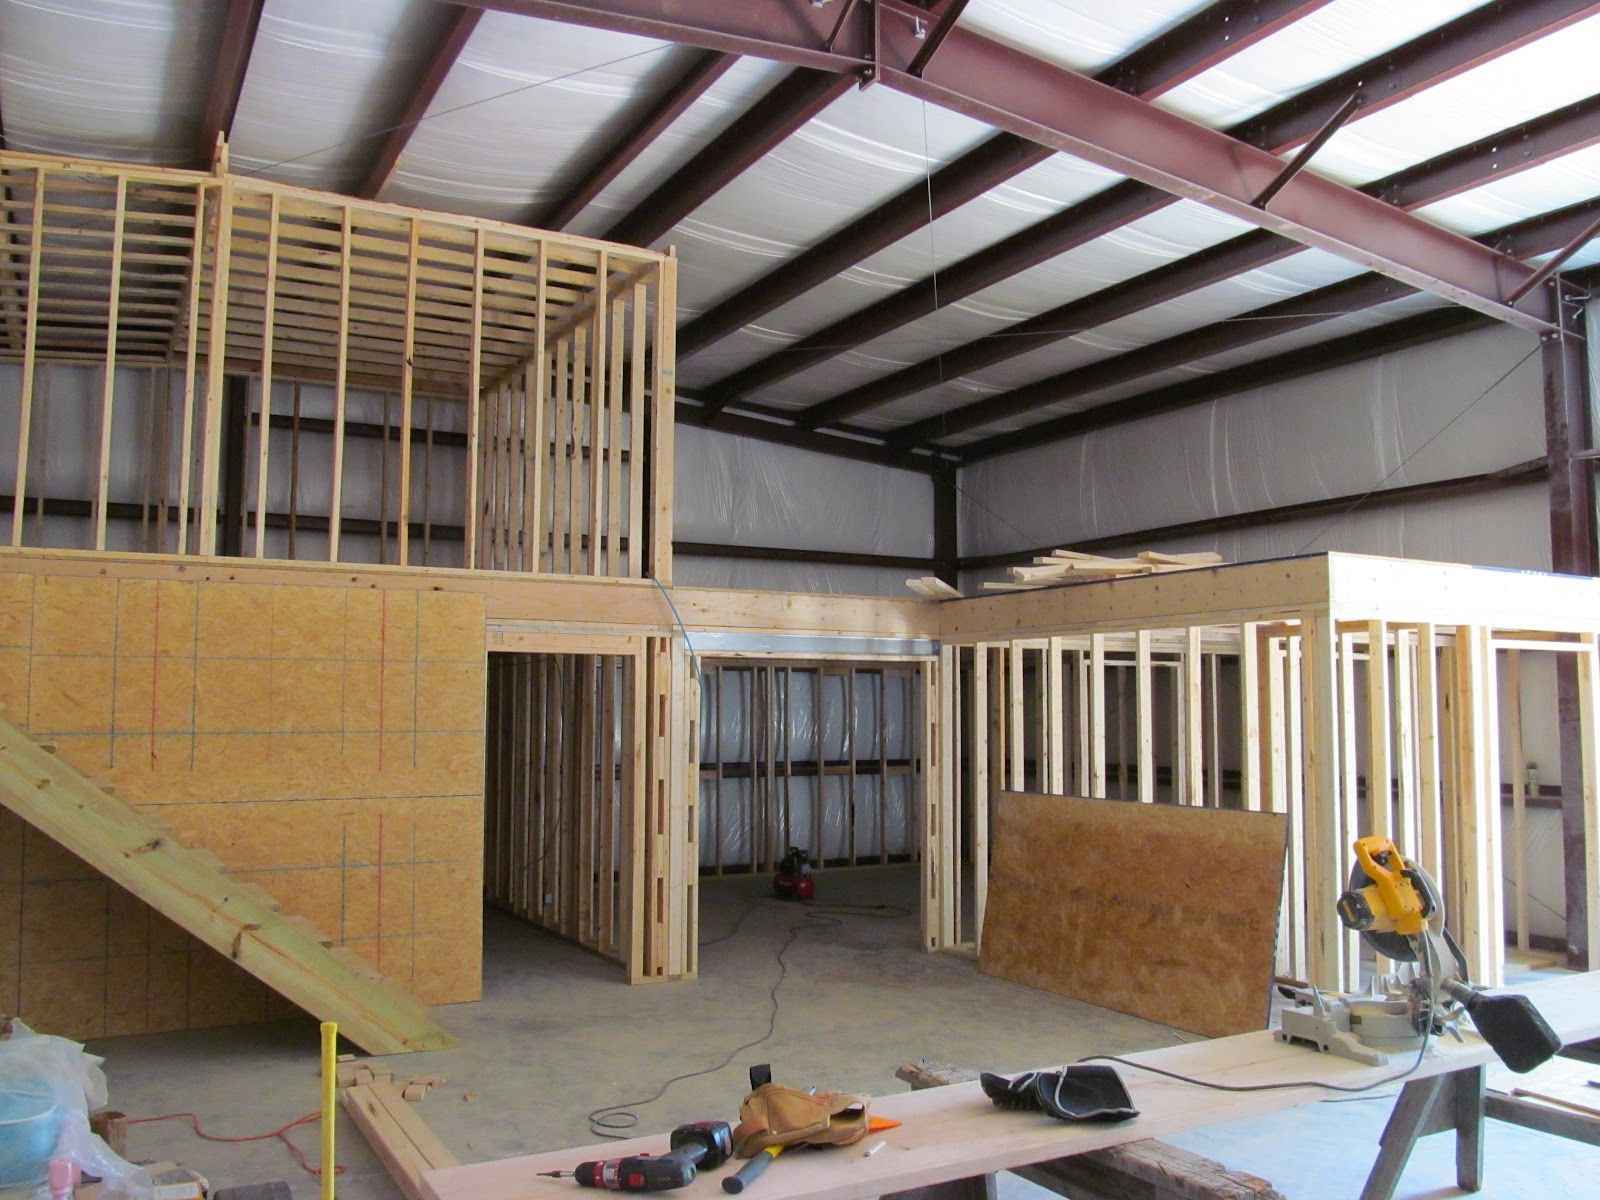
Step 5: Install the Dance Floor Surface
With the base of your dance floor in place, it’s time to install the dance floor surface. Follow these steps to ensure a smooth and polished finish:
- Prepare the wooden boards: Measure and cut the wooden boards to fit the dimensions of your dance floor area. Use a saw to make accurate and clean cuts.
- Begin installation: Start by laying the first row of boards along one side of the dance floor. Make sure the boards are tightly fitted together with no gaps between them.
- Continue laying boards: Work your way across the dance floor, placing the boards side by side until the entire surface is covered. Be sure to stagger the boards in each row for added stability and an aesthetically pleasing look.
- Secure the boards: Use screws or nails to secure the boards to the support beams. Drive the fasteners through the boards into the beams, making sure they are flush with the surface.
- Check for evenness: Use a level to ensure that the boards are even and flat. Make any necessary adjustments by adding shims or sanding down high spots.
- Sand the surface: Once the boards are secured, use a sander to smooth out any rough edges or imperfections. This will provide a safer and more comfortable surface for dancers.
By following these steps, you will achieve a professional-looking dance floor surface that is sturdy, level, and ready for dancing. With the surface installed, you can move on to the next step: securing the dance floor.
Step 6: Secure the Dance Floor
Securing the dance floor is essential to ensure that it stays in place during vigorous dancing and prevents any accidents or injuries. Follow these steps to securely fasten your dance floor:
- Anchor the support beams: Use metal brackets or anchor plates to secure the support beams to the ground or surrounding surface. This will provide extra stability and prevent any movement.
- Secure the boards: Use additional screws or nails to reinforce the connection between the wooden boards and the support beams. Drive the fasteners at regular intervals along the length of each board.
- Double-check for stability: Test the dance floor by walking and bouncing on it to ensure it feels secure and stable. Make any necessary adjustments or reinforcements if you notice any areas of weakness.
- Inspect for sharp edges or splinters: Carefully inspect the dance floor surface and sand down any sharp edges or splinters that may cause injury. Smooth out the surface to ensure a safe and enjoyable dancing experience.
- Consider adding trim or edging: To give your dance floor a polished and finished look, you may choose to add trim or edging around the perimeter. This can be done using wood, metal, or plastic materials.
By taking the time to secure your dance floor, you will create a safe and reliable space for dancing. Remember to always prioritize the safety of your dancers and make any necessary adjustments to ensure a stable and sturdy dance floor. With the dance floor secured, you can move on to the final step: adding the finishing touches.
Step 7: Finishing Touches
Adding the finishing touches to your dance floor will not only enhance its appearance but also contribute to the overall experience. Here are some final touches you can consider:
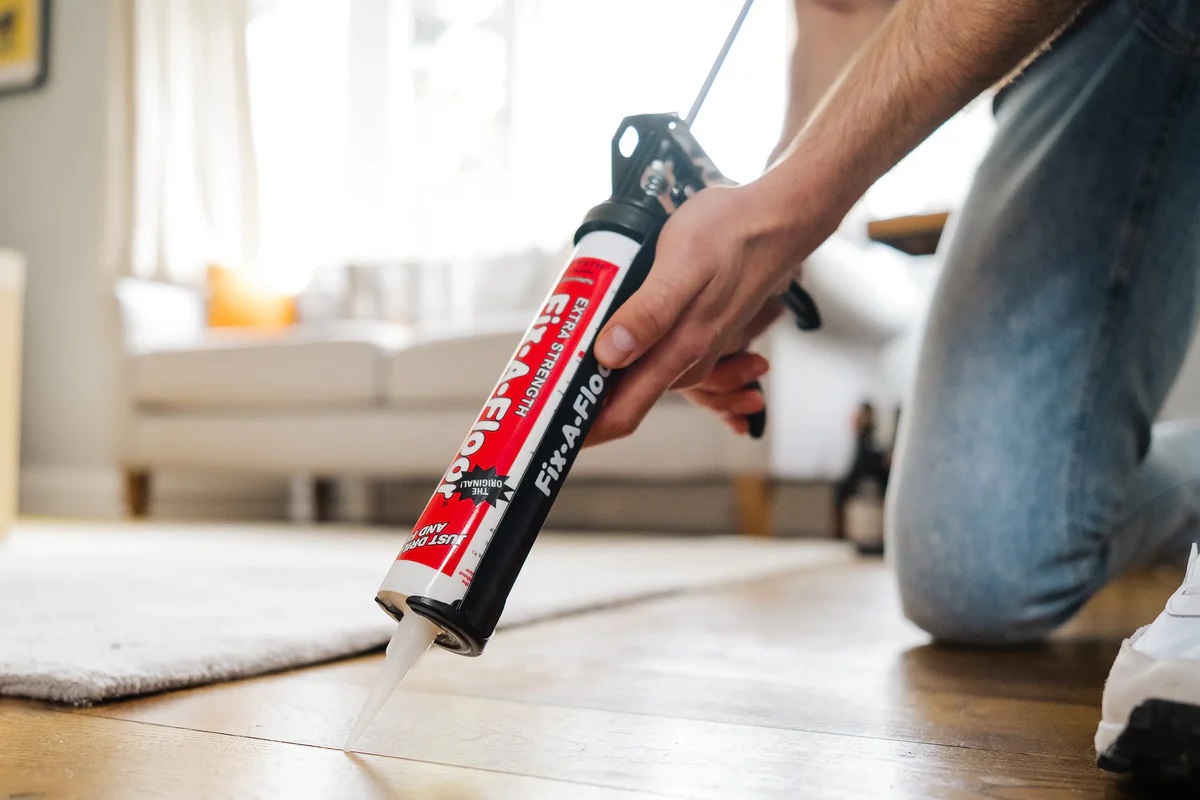
- Clean and polish the surface: Give your dance floor a thorough cleaning to remove any dust or debris. Consider using a floor cleaner suitable for the type of surface you have installed. Polish the surface to make it shine and create a sleek look.
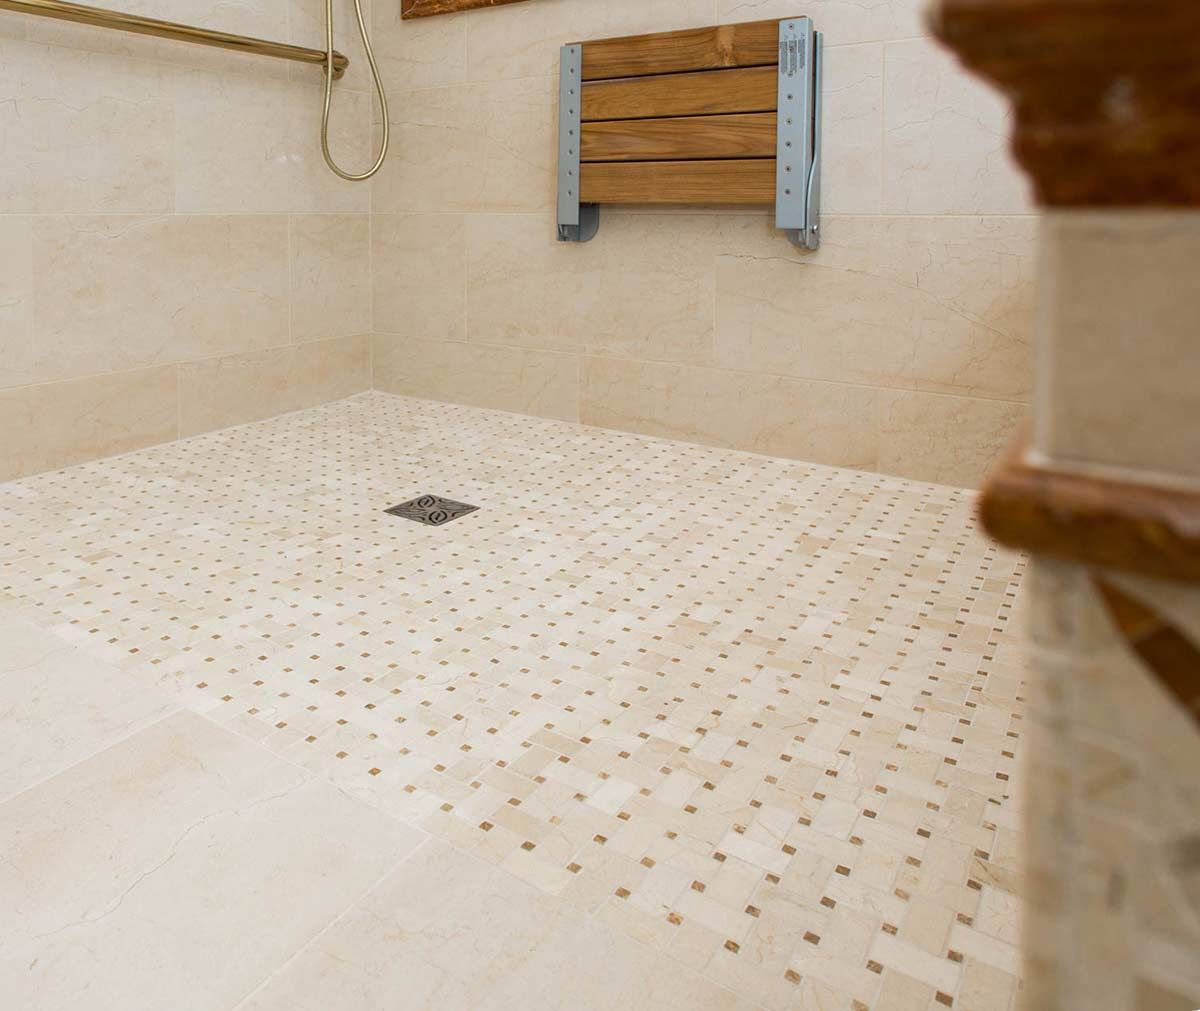
- Add a dance floor covering: Consider adding a dance floor covering to protect the surface and provide extra grip for dancers. Options include marley dance floor rolls, vinyl tiles, or even dance floor portable mats. Choose a covering that suits your needs and aesthetic preferences.
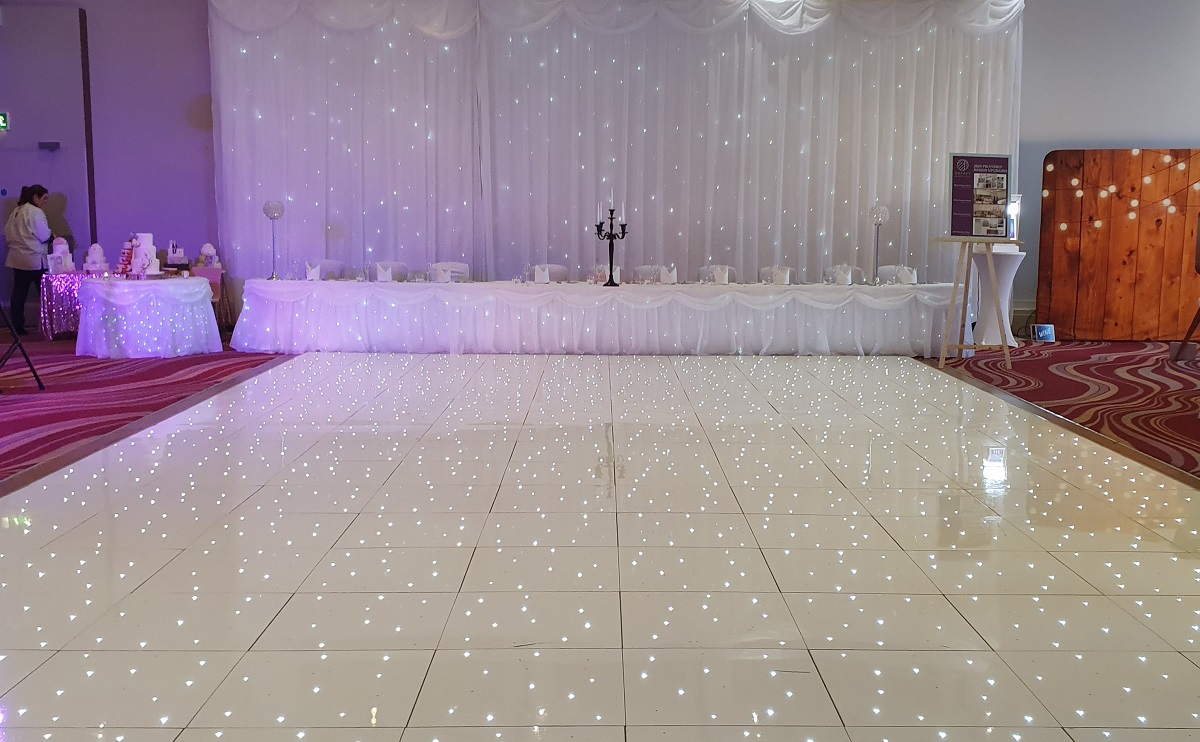
- Illuminate the dance floor: To create a mesmerizing ambiance, consider adding lighting around the dance floor. This can be in the form of string lights, spotlights, or even LED dance floor panels that change colors. Lighting can add a magical touch to the dancing experience.
- Accessorize the area: Decorate the surrounding area with items that complement the dance floor, such as potted plants, drapes, or decorative elements. This will create an inviting and festive atmosphere for your event.
- Consider soundproofing options: If you are building a dance floor in a shared space or have concerns about sound transmission, explore soundproofing options such as acoustic tiles or rubber mats to dampen noise and vibrations.
By adding these finishing touches, you will create an inviting and visually appealing dance floor that is ready to be enjoyed. Remember to consider the specific needs and theme of your event, and let your creativity shine to personalize the space.
Congratulations! You have successfully built your own dance floor. It’s time to put on some music, gather your friends or event attendees, and get ready to dance the night away!
Conclusion
Building your own dance floor can be a rewarding and fulfilling project that adds an exciting element to any event or gathering. By following the step-by-step guide outlined in this article, you have learned how to gather the necessary materials, measure and plan the dance floor, prepare the area, build a solid base, install the dance floor surface, secure the floor, and add the finishing touches.
Throughout the process, it is important to balance functionality, safety, and aesthetics. By using high-quality materials, ensuring a level and stable base, and securing the dance floor properly, you can create a reliable and enjoyable space for dancers of all skill levels.
Remember to check local building codes and regulations if you are building a dance floor for commercial or public use. Safety should always be a top priority, so take the necessary precautions and make any adjustments as needed to ensure a secure and stable dance floor.
With your dance floor now complete, it’s time to let the music play and dance the night away! Whether it’s a wedding, birthday party, or dance class, your newly built dance floor will provide a fantastic space for guests to let loose and have a great time.
So put on your dancing shoes, invite your friends, and enjoy the fruits of your labor on your beautifully constructed dance floor. Get ready to create unforgettable memories and experiences that will have everyone dancing to the rhythm of the night!
Frequently Asked Questions about How To Build A Dance Floor
Was this page helpful?
At Storables.com, we guarantee accurate and reliable information. Our content, validated by Expert Board Contributors, is crafted following stringent Editorial Policies. We're committed to providing you with well-researched, expert-backed insights for all your informational needs.


0 thoughts on “How To Build A Dance Floor”