Articles
How To Make A Floor Cushion
Modified: December 7, 2023
Discover helpful articles on how to make a floor cushion for your home. Learn simple techniques and get creative ideas to make your own cozy and stylish floor cushions.
(Many of the links in this article redirect to a specific reviewed product. Your purchase of these products through affiliate links helps to generate commission for Storables.com, at no extra cost. Learn more)
Introduction
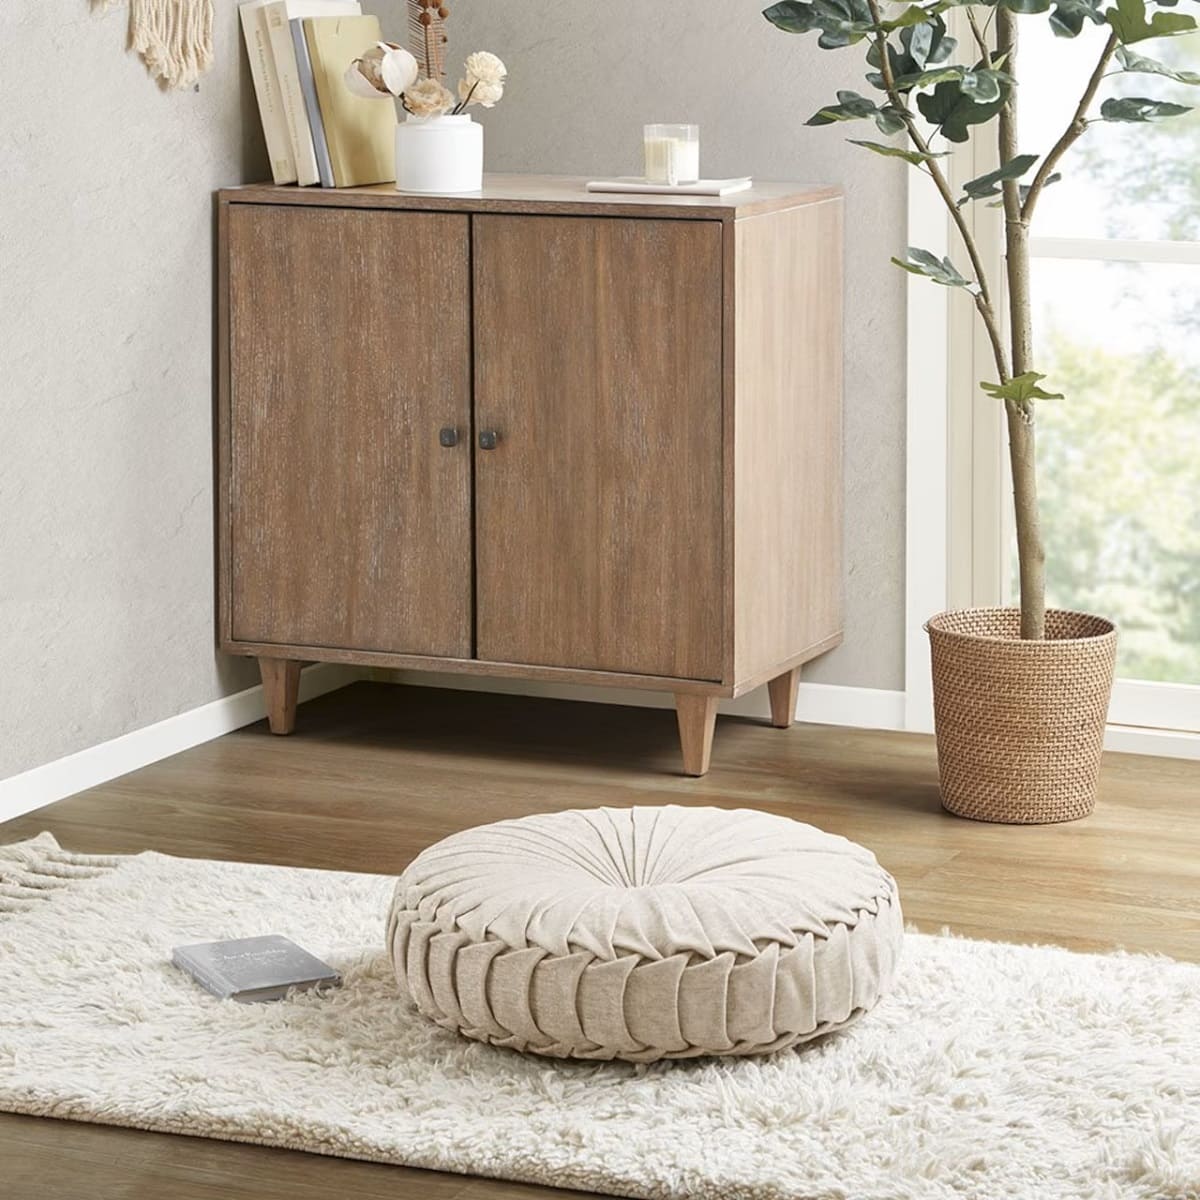
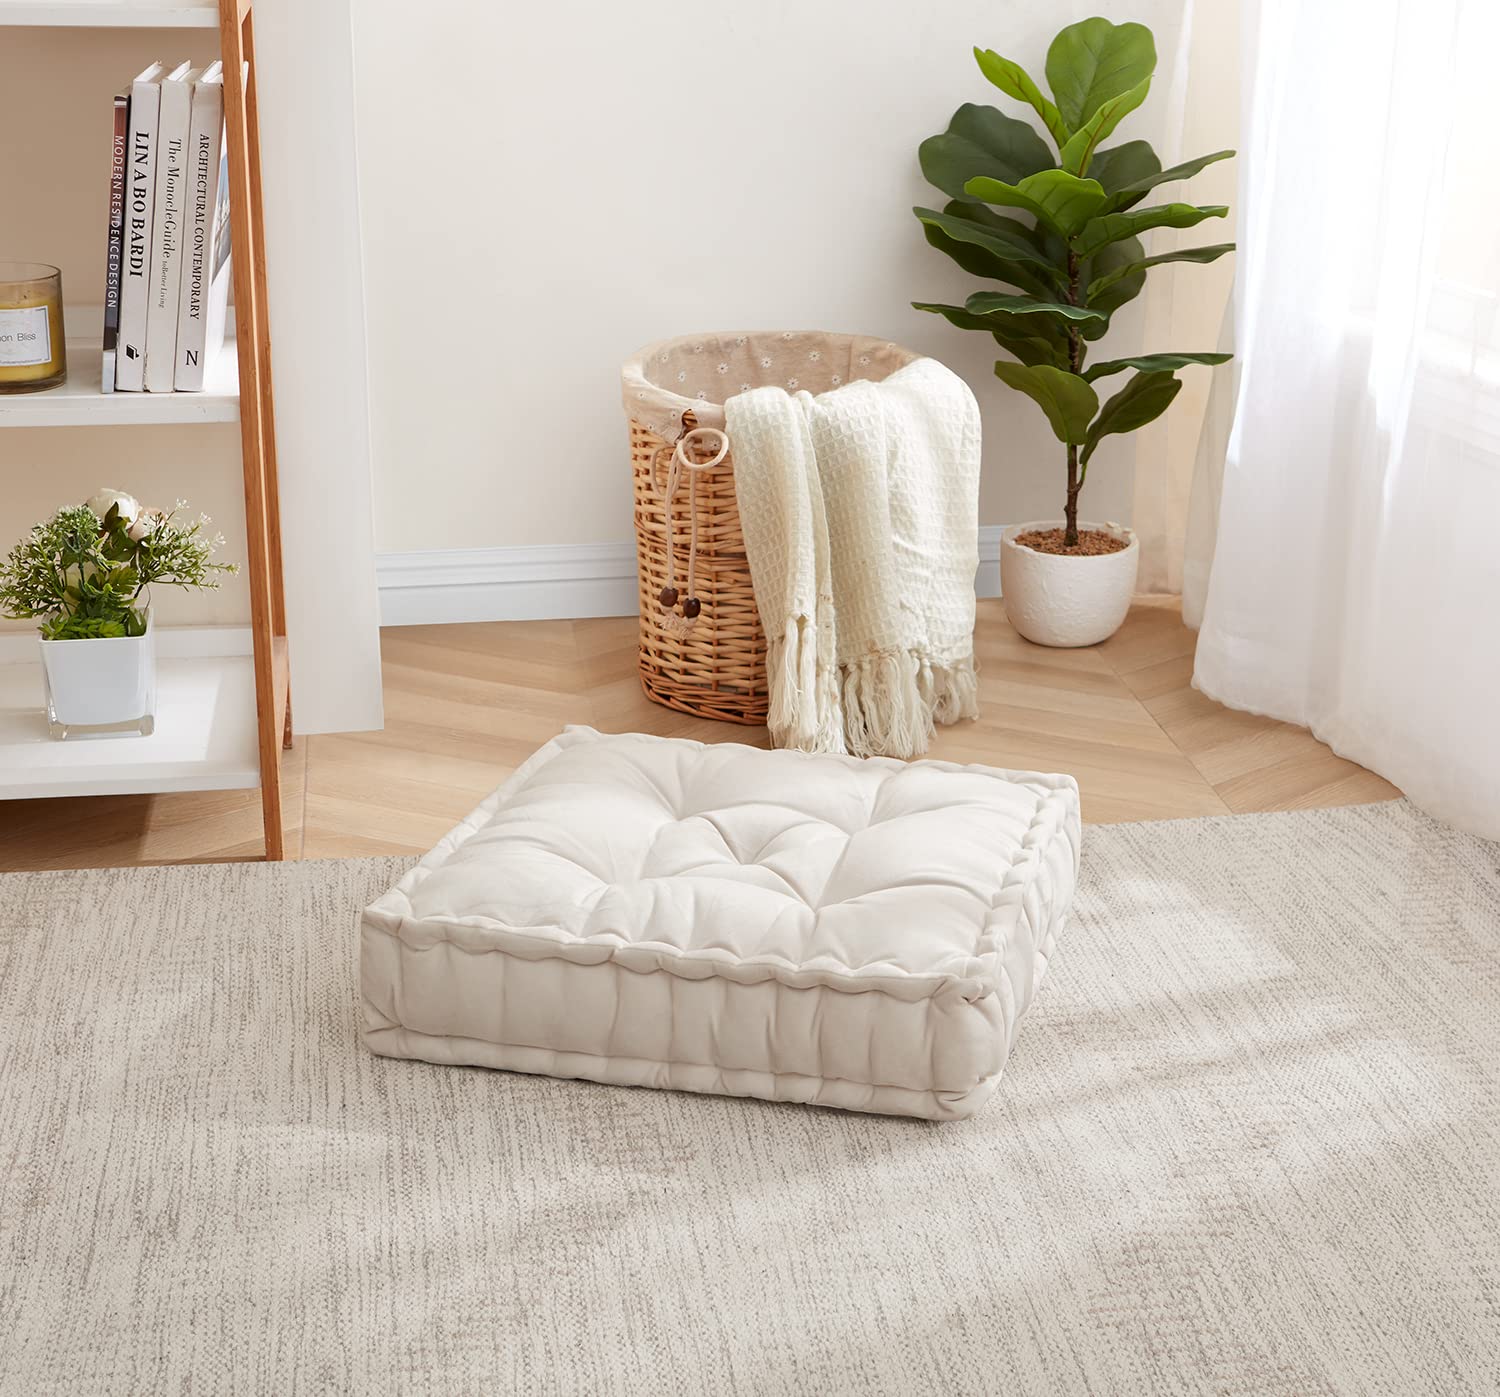
Welcome to our guide on how to make a floor cushion! If you’re looking to add extra comfort and style to your living space, a floor cushion is a perfect addition. Not only does it provide a cozy seating option, but it also serves as a versatile and stylish accessory that can be used for lounging, reading, or even as a temporary extra bed.
In this article, we will walk you through the step-by-step process of creating your own floor cushion. Whether you’re an experienced seamstress or just starting out with sewing projects, this guide is designed to be beginner-friendly and easy to follow.
Before we get started, let’s take a look at the materials you’ll need for this project.
Key Takeaways:
- Create a personalized and cozy floor cushion by choosing the right fabric, measuring accurately, and filling it with comfort. Add style and comfort to your space with this beginner-friendly DIY project.
- Elevate your living space with a handmade floor cushion that reflects your style and personality. From fabric selection to filling, follow the step-by-step guide for a comfortable and stylish addition to your home.
Read more: How To Make Floor Cushions
Materials Needed
Before diving into the actual process of making a floor cushion, let’s gather all the necessary materials. Here’s what you’ll need:
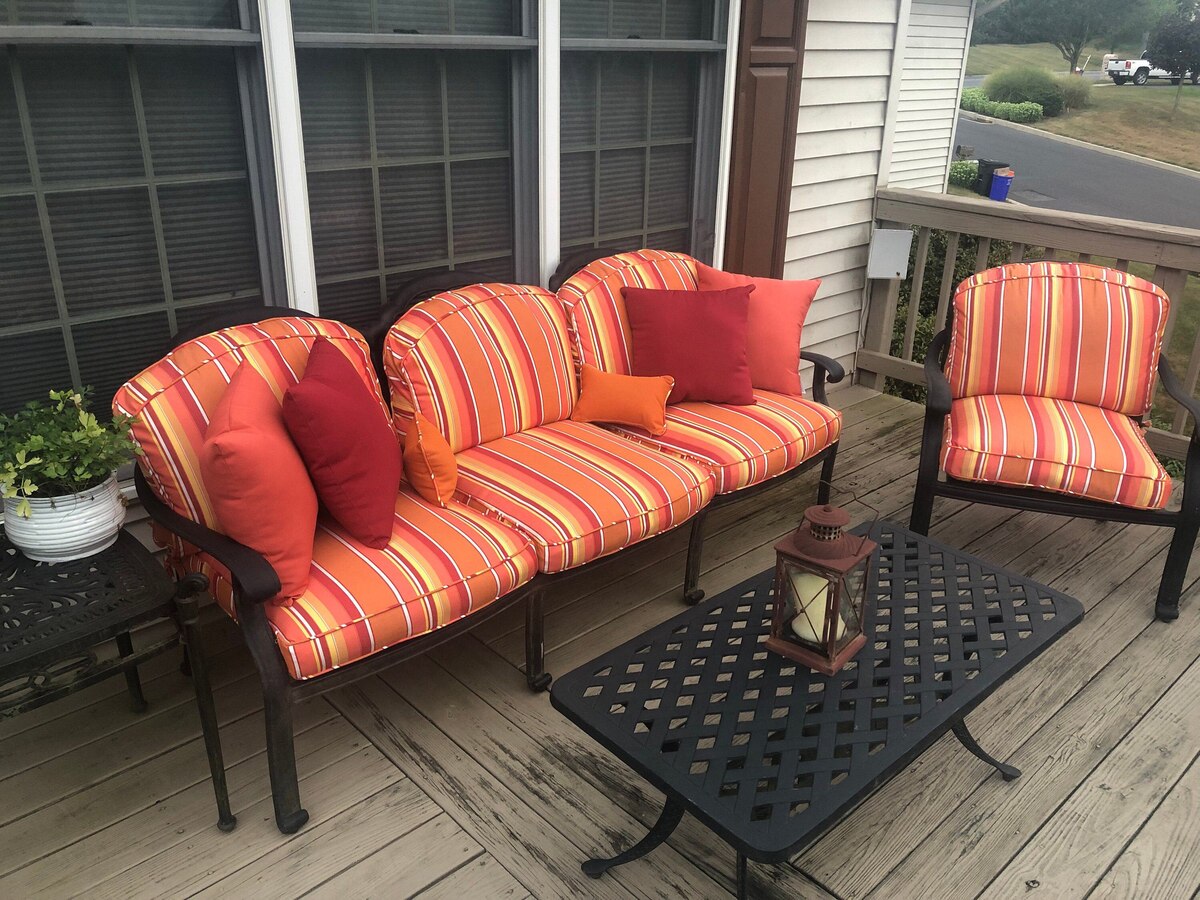
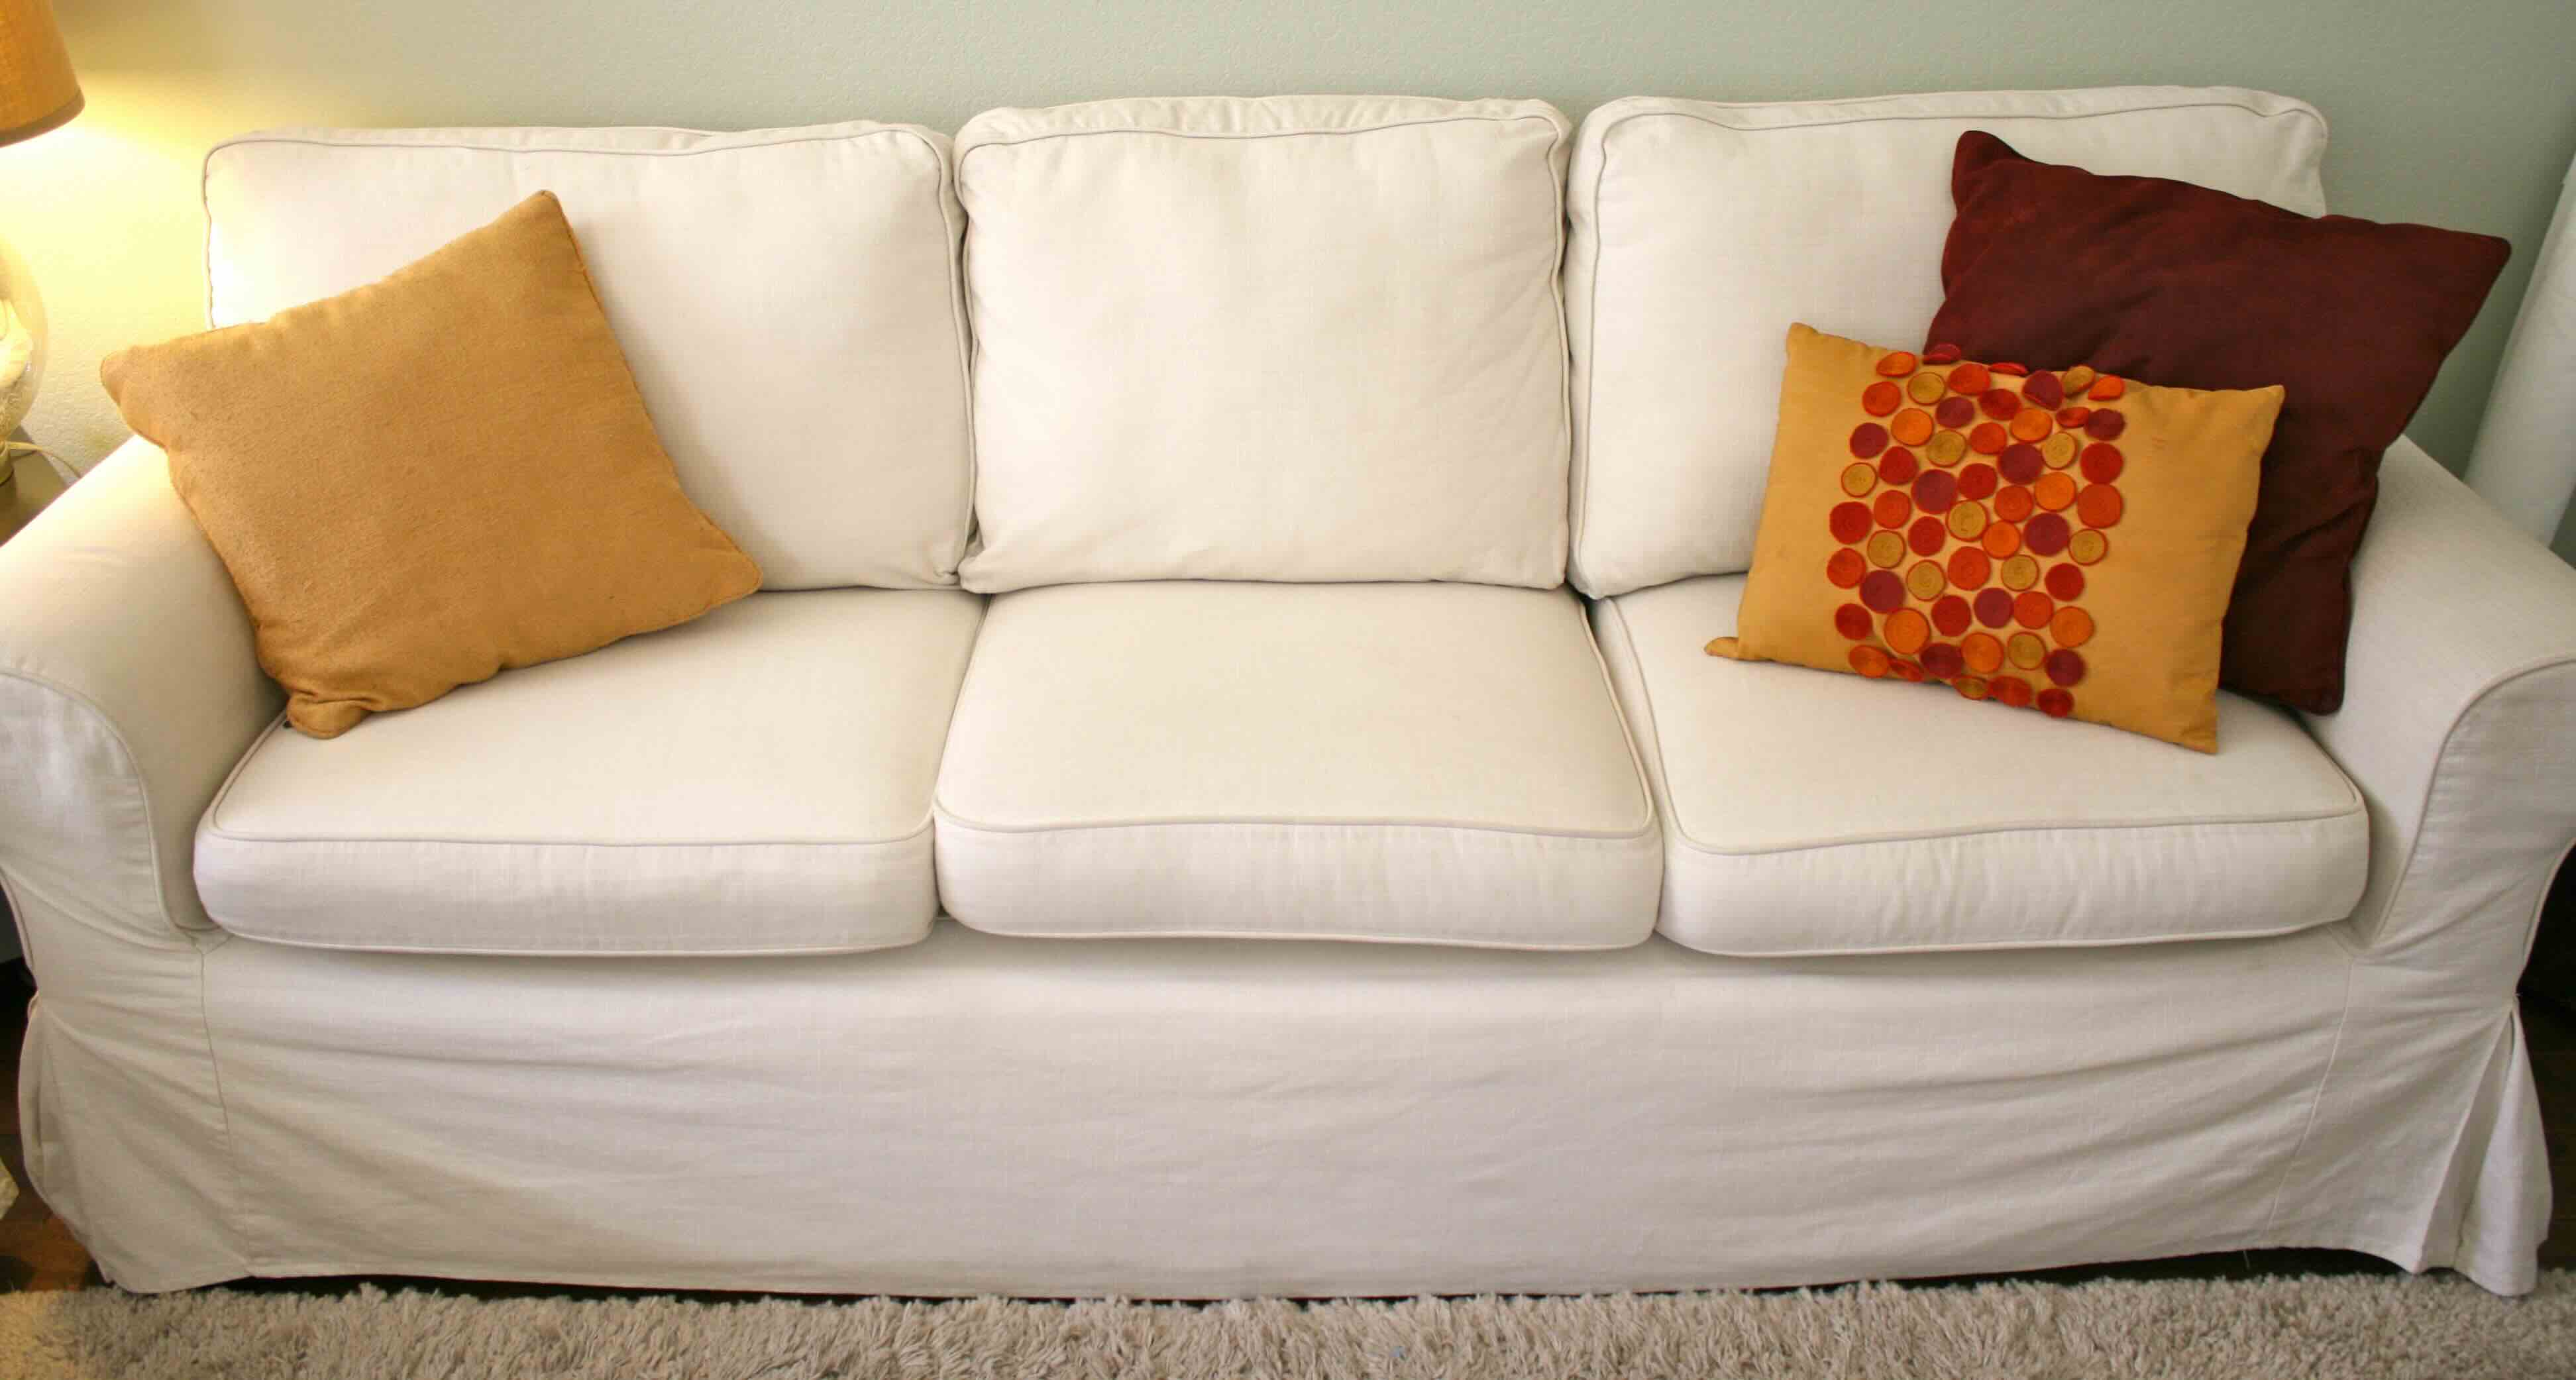
- Fabric: Choose a durable and comfortable fabric that suits your style and preferences. You’ll need enough fabric to create the top and bottom panels of the cushion, as well as the sides. The exact amount of fabric will depend on the size of the cushion you want to make.
- Thread: Select a thread color that matches or complements your fabric choice. The thread should be strong enough to endure the weight and use of the cushion.
- Scissors: A sturdy pair of fabric scissors is essential for cutting the fabric accurately.
- Measuring Tape: You’ll need a measuring tape to determine the dimensions of your cushion and ensure precise cutting.
- Pins or Clips: These will help you secure the fabric during the sewing process.
- Needle or Sewing Machine: Depending on your sewing skills and preferences, choose either a needle and thread or a sewing machine to stitch the fabric together.
- Cushion Filling: Select a filling material that provides the desired level of comfort and support. Popular options include foam inserts, polyester fiberfill, or a combination of both.
- Zipper or Velcro (Optional): If you want to have the option to remove or replace the cushion filling, you may choose to include a zipper or velcro closure.
Now that you have all the necessary materials ready, let’s move on to the next step: choosing the fabric.
Step 1: Choosing the Fabric
When it comes to choosing the fabric for your floor cushion, there are a few factors to consider. First and foremost, think about the purpose of the cushion. Is it for lounging on the floor, adding color and texture to your living room, or serving as a functional piece in a playroom? Understanding the intended use will help you determine the type of fabric that will best suit your needs.
If durability is a priority, consider selecting a fabric that is heavy-duty and abrasion-resistant. Fabrics such as canvas, denim, or upholstery-grade materials are great choices for high-traffic areas. They can withstand frequent use and are less likely to show signs of wear and tear.
If you’re aiming for a soft and comfortable cushion, opt for fabrics like velvet, corduroy, or chenille. These materials not only provide a cozy feel but also add a touch of luxury to your space.
The pattern and color of the fabric are also important considerations. Think about the existing décor and color scheme of the room where the cushion will be placed. Choose a fabric that complements or contrasts with the surrounding elements to create a cohesive and visually appealing look.
Lastly, don’t forget about practicality. Consider whether the fabric can be easily cleaned and maintained. If you have kids or pets, for example, it may be wise to choose a fabric that is stain-resistant or machine-washable.
Once you have decided on the type of fabric, head to your local fabric store or browse online to find the perfect material for your floor cushion.
Now that you have chosen the fabric, let’s move on to step 2: measuring and cutting the fabric.
Step 2: Measuring and Cutting
Now that you have your chosen fabric in hand, it’s time to measure and cut it to the appropriate dimensions for your floor cushion. Follow these steps to ensure accurate measurements:
- Measure the desired length and width of the cushion. Take into account the amount of space you have available and any specific size requirements you may have. Write down these dimensions as reference.
- Add seam allowances to your measurements. A seam allowance of 1/2 inch to 1 inch is commonly used. This added fabric will allow room for sewing the pieces together.
- Using a fabric marker, ruler, and measuring tape, mark the measurements and seam allowances on the fabric. Remember to mark on the wrong side of the fabric to avoid visible lines on the finished cushion.
- With the help of fabric scissors, carefully cut along the marked lines. Take your time to ensure clean and straight cuts. It’s always better to cut slightly larger and then make adjustments later if needed.
- For the side panels of the cushion, measure the desired height and add seam allowances. Cut strips of fabric that are the measured height and the length needed to go around the top and bottom panels of the cushion.
Once you have finished measuring and cutting the fabric, you are ready to move onto step 3: sewing the sides of the cushion.
When making a floor cushion, be sure to use durable and easy-to-clean fabric to withstand regular use. Consider adding a zipper for easy removal and washing of the cover.
Step 3: Sewing the Sides
With the fabric panels and side strips cut to the appropriate measurements, it’s time to sew the sides of the floor cushion. Follow these steps to ensure a sturdy and well-constructed cushion:
- Start by folding one of the side strips in half lengthwise, with the right sides facing each other. Pin or clip the fabric along the long edge to secure it in place.
- Using a sewing machine or a needle and thread, stitch the pinned edge of the side strip, leaving a seam allowance of about 1/2 inch. Backstitch at the beginning and end to secure the stitches.
- Repeat this process for the remaining side strips.
- Once all the side strips are stitched, take one of the fabric panels (top or bottom) and place it flat on your work surface. Pin or clip the raw edge of one of the side strips to the corresponding edge of the fabric panel, right sides together.
- Continue pinning or clipping the remaining side strips to the edges of the fabric panel until you have formed a closed loop.
- Using a sewing machine or a needle and thread, stitch along the pinned or clipped edge, joining the side strips to the fabric panel. Leave a small opening unsewn for later when you will insert the cushion filling.
- Turn the cushion cover right side out through the opening. At this point, you should have a fabric loop with one open end and one opening for filling.
With the sides of the cushion sewn and the cover turned right side out, you’re ready to move on to step 4: filling the cushion.
Read more: How To Make Cushions With Piping
Step 4: Filling the Cushion
Now that you have the cushion cover completed, it’s time to fill it with the desired cushion stuffing. Follow these steps to ensure a well-filled and comfortable floor cushion:
- Determine the amount of cushion filling you’ll need based on the size of your cushion cover. If you’re using foam inserts, measure and cut the foam to fit snugly inside the cover. If you’re using polyester fiberfill, stuff it into the cover by handfuls, distributing it evenly.
- Gradually add the filling material into the cushion cover, making sure to push it into the corners and edges for a well-rounded shape. Fill the cushion according to your preferred level of firmness or softness.
- Continue adding filling until the cushion is plump and adequately filled. Test the cushion by pressing it and sitting on it to ensure it provides the desired level of comfort and support.
- Take your time during this process to avoid overstuffing or underfilling the cushion. Adjust the filling as needed until you achieve the desired result.
Once your cushion is properly filled, you’re ready to move on to the final step: closing the cushion to secure the filling in place.
Step 5: Closing the Cushion
With the cushion filled to your liking, it’s time to securely close the opening to prevent the filling from shifting or spilling. Follow these steps to complete your floor cushion:
- If you opted to include a zipper or velcro closure, now is the time to attach it to the opening of the cushion cover. Follow the manufacturer’s instructions for proper installation.
- If you’re not using a closure option, you can still neatly close the cushion cover by hand stitching the opening. Use a needle and thread that match the fabric color for a seamless finish.
- Tuck in the raw edges of the opening and carefully stitch them together using a whip stitch or a slip stitch. Make sure your stitches are secure and evenly spaced for a professional look.
- Once you’ve closed the opening, give the cushion cover a final inspection to ensure all the seams are secure and there are no loose threads.
Congratulations! You have successfully made your own floor cushion. Place it in your desired location, whether it’s in a reading nook, a cozy corner, or a child’s play area, and enjoy the comfort and style it adds to your space.
Remember, you can customize your floor cushion further by adding decorative elements like piping, trims, or appliques. Get creative and let your personal style shine!
We hope you found this guide informative and easy to follow. Now, go ahead and enjoy your newly created floor cushion!
Conclusion
Congratulations on completing your floor cushion! By following the step-by-step instructions in this guide, you have successfully created a comfortable and stylish accessory for your living space. Not only does it provide extra seating and a cozy place to relax, but it also adds a touch of personality and charm to your room.
Remember, the materials you choose, such as the fabric and cushion filling, play a significant role in the overall comfort and durability of the cushion. Take your time in selecting the right materials that suit your preferences and needs.
Throughout the process, pay attention to the measurements, cutting, and sewing to ensure a well-fitted and securely constructed cushion. Take pride in the details and craftsmanship that you put into making your own floor cushion.
Feel free to experiment with different fabrics, colors, and decorative elements to make the cushion uniquely yours. Whether you prefer a bold and vibrant design or a subtle and elegant look, let your creativity shine through.
Now that you have completed your floor cushion, find the perfect spot for it in your home. It’s time to sit back, relax, and enjoy the cozy comfort and style it brings to your space.
We hope this guide has been helpful and inspiring on your DIY journey. Happy cushion-making!
Frequently Asked Questions about How To Make A Floor Cushion
Was this page helpful?
At Storables.com, we guarantee accurate and reliable information. Our content, validated by Expert Board Contributors, is crafted following stringent Editorial Policies. We're committed to providing you with well-researched, expert-backed insights for all your informational needs.


0 thoughts on “How To Make A Floor Cushion”