Articles
How To Make Cheap Raised Garden Beds
Modified: October 18, 2024
Learn how to create affordable raised garden beds for your gardening needs. Follow our step-by-step guide and start growing your own plants today!
(Many of the links in this article redirect to a specific reviewed product. Your purchase of these products through affiliate links helps to generate commission for Storables.com, at no extra cost. Learn more)
Introduction
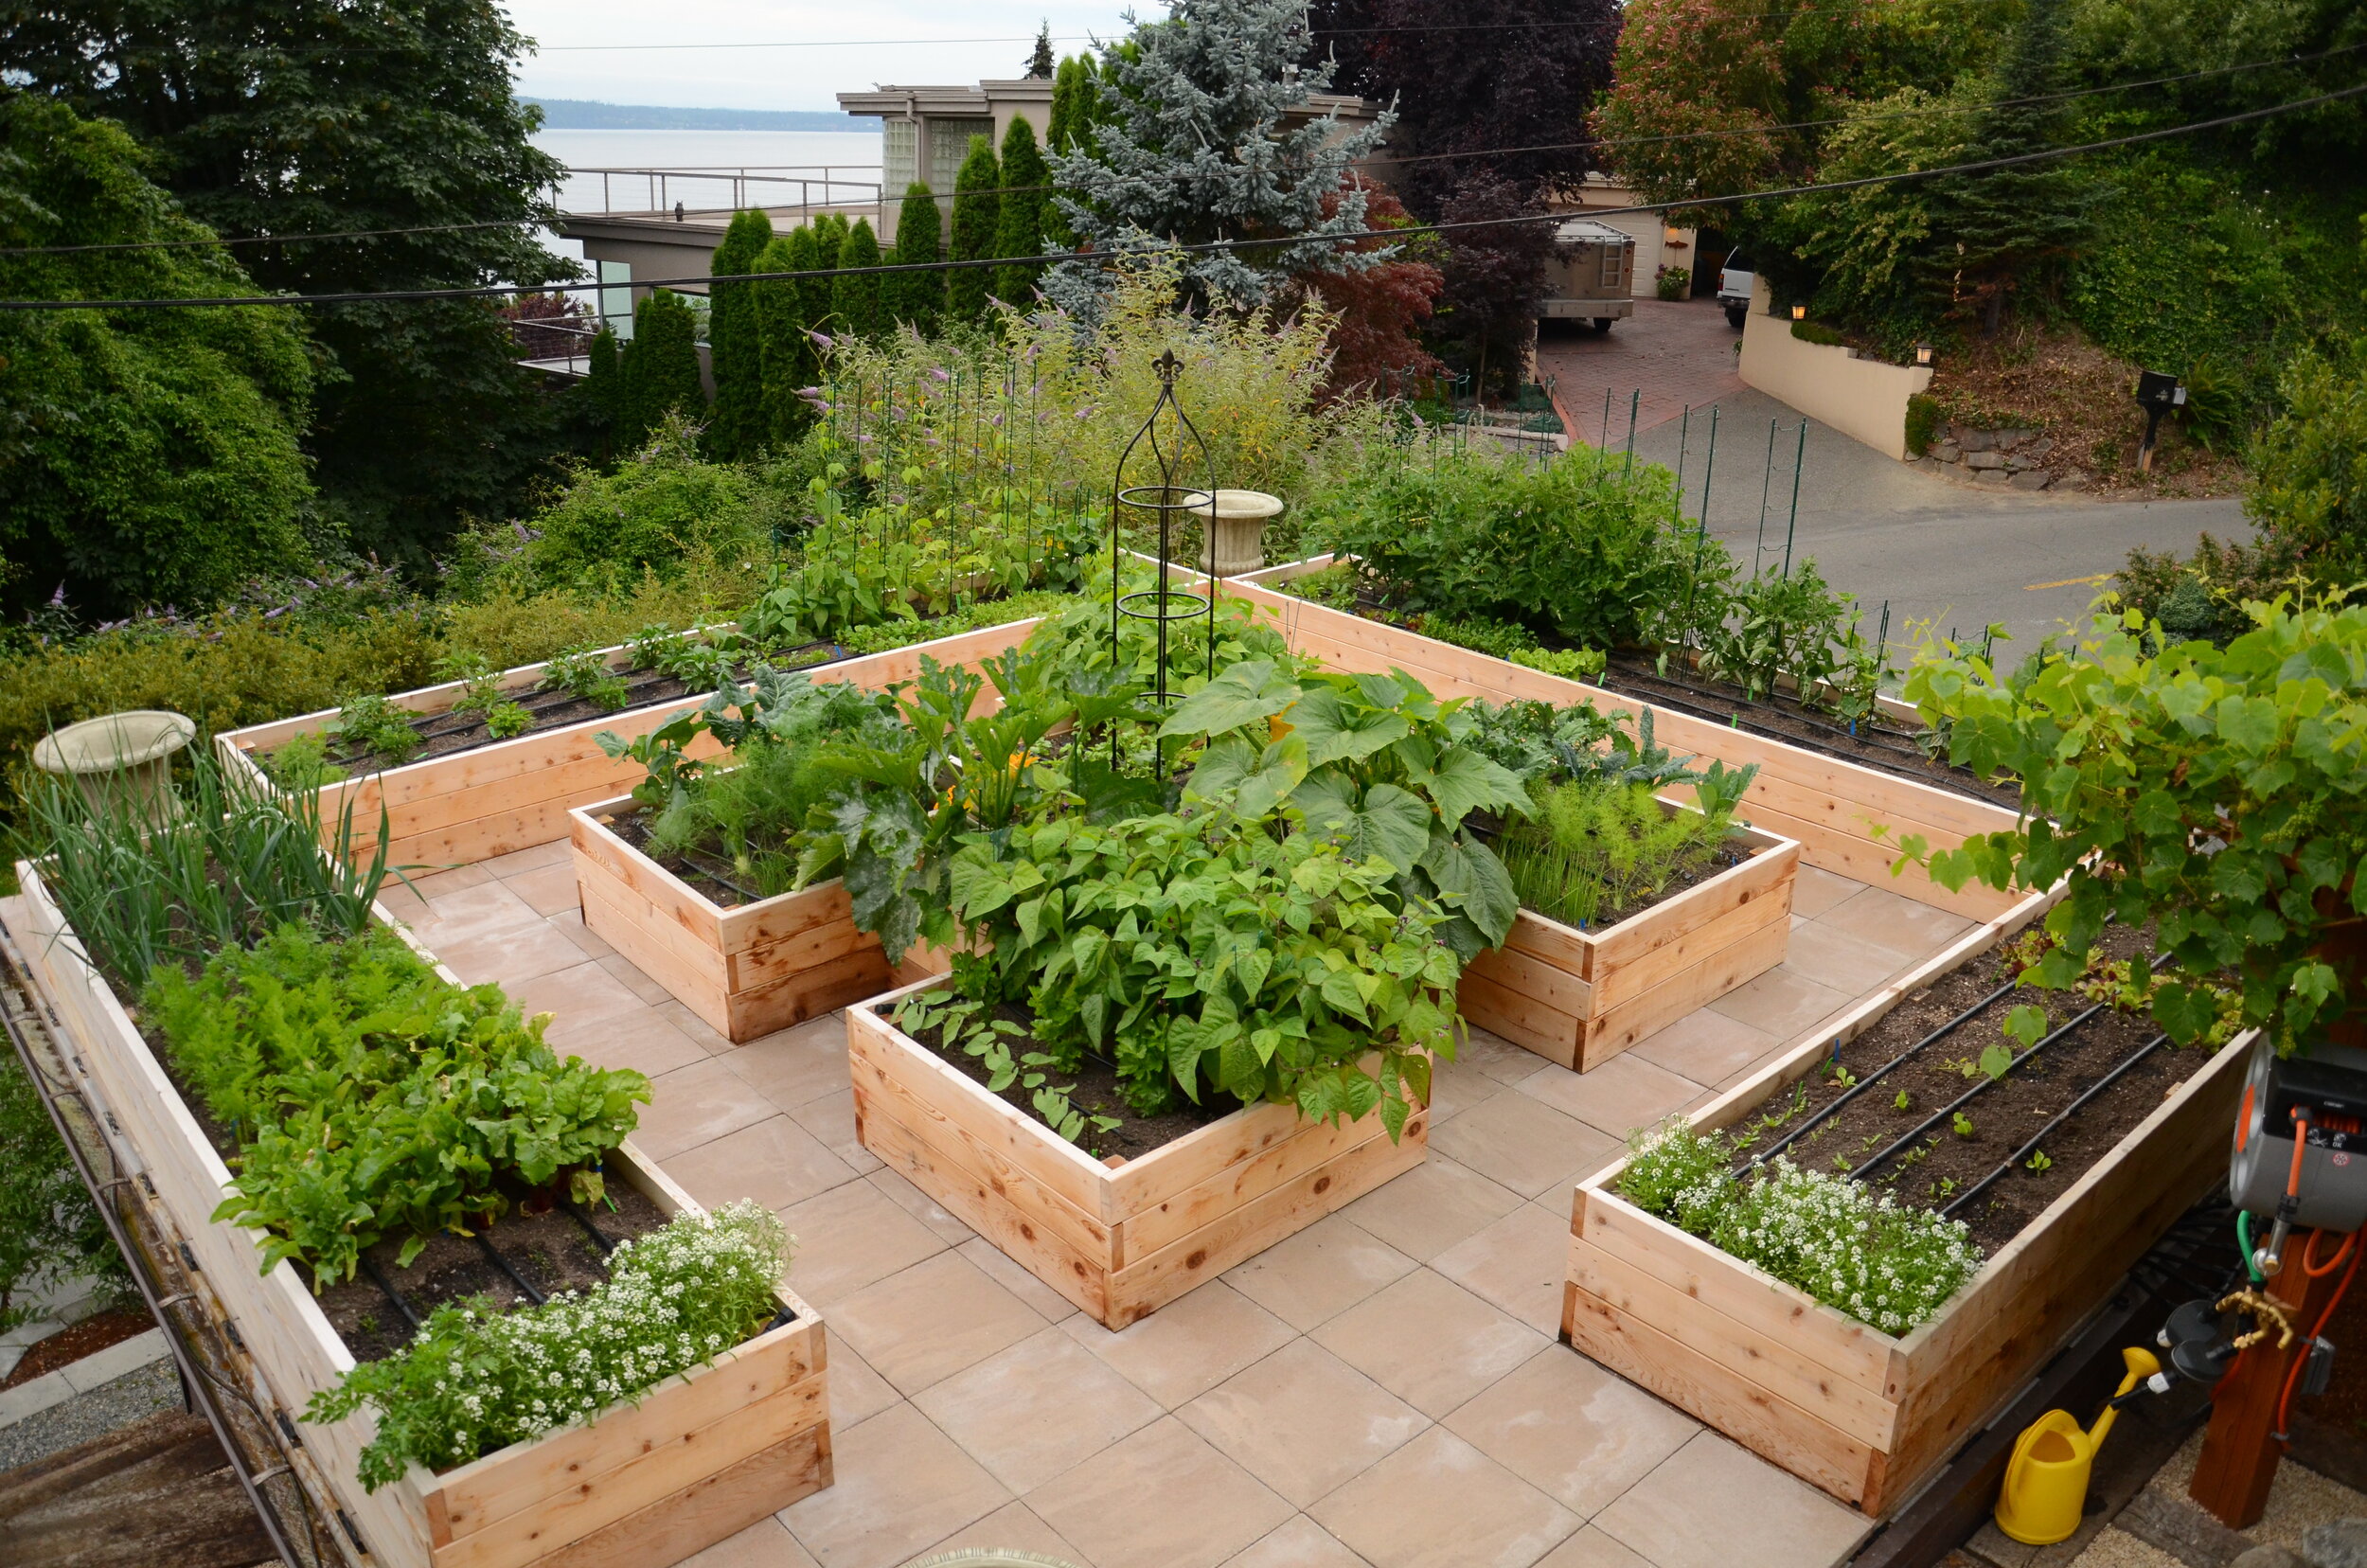
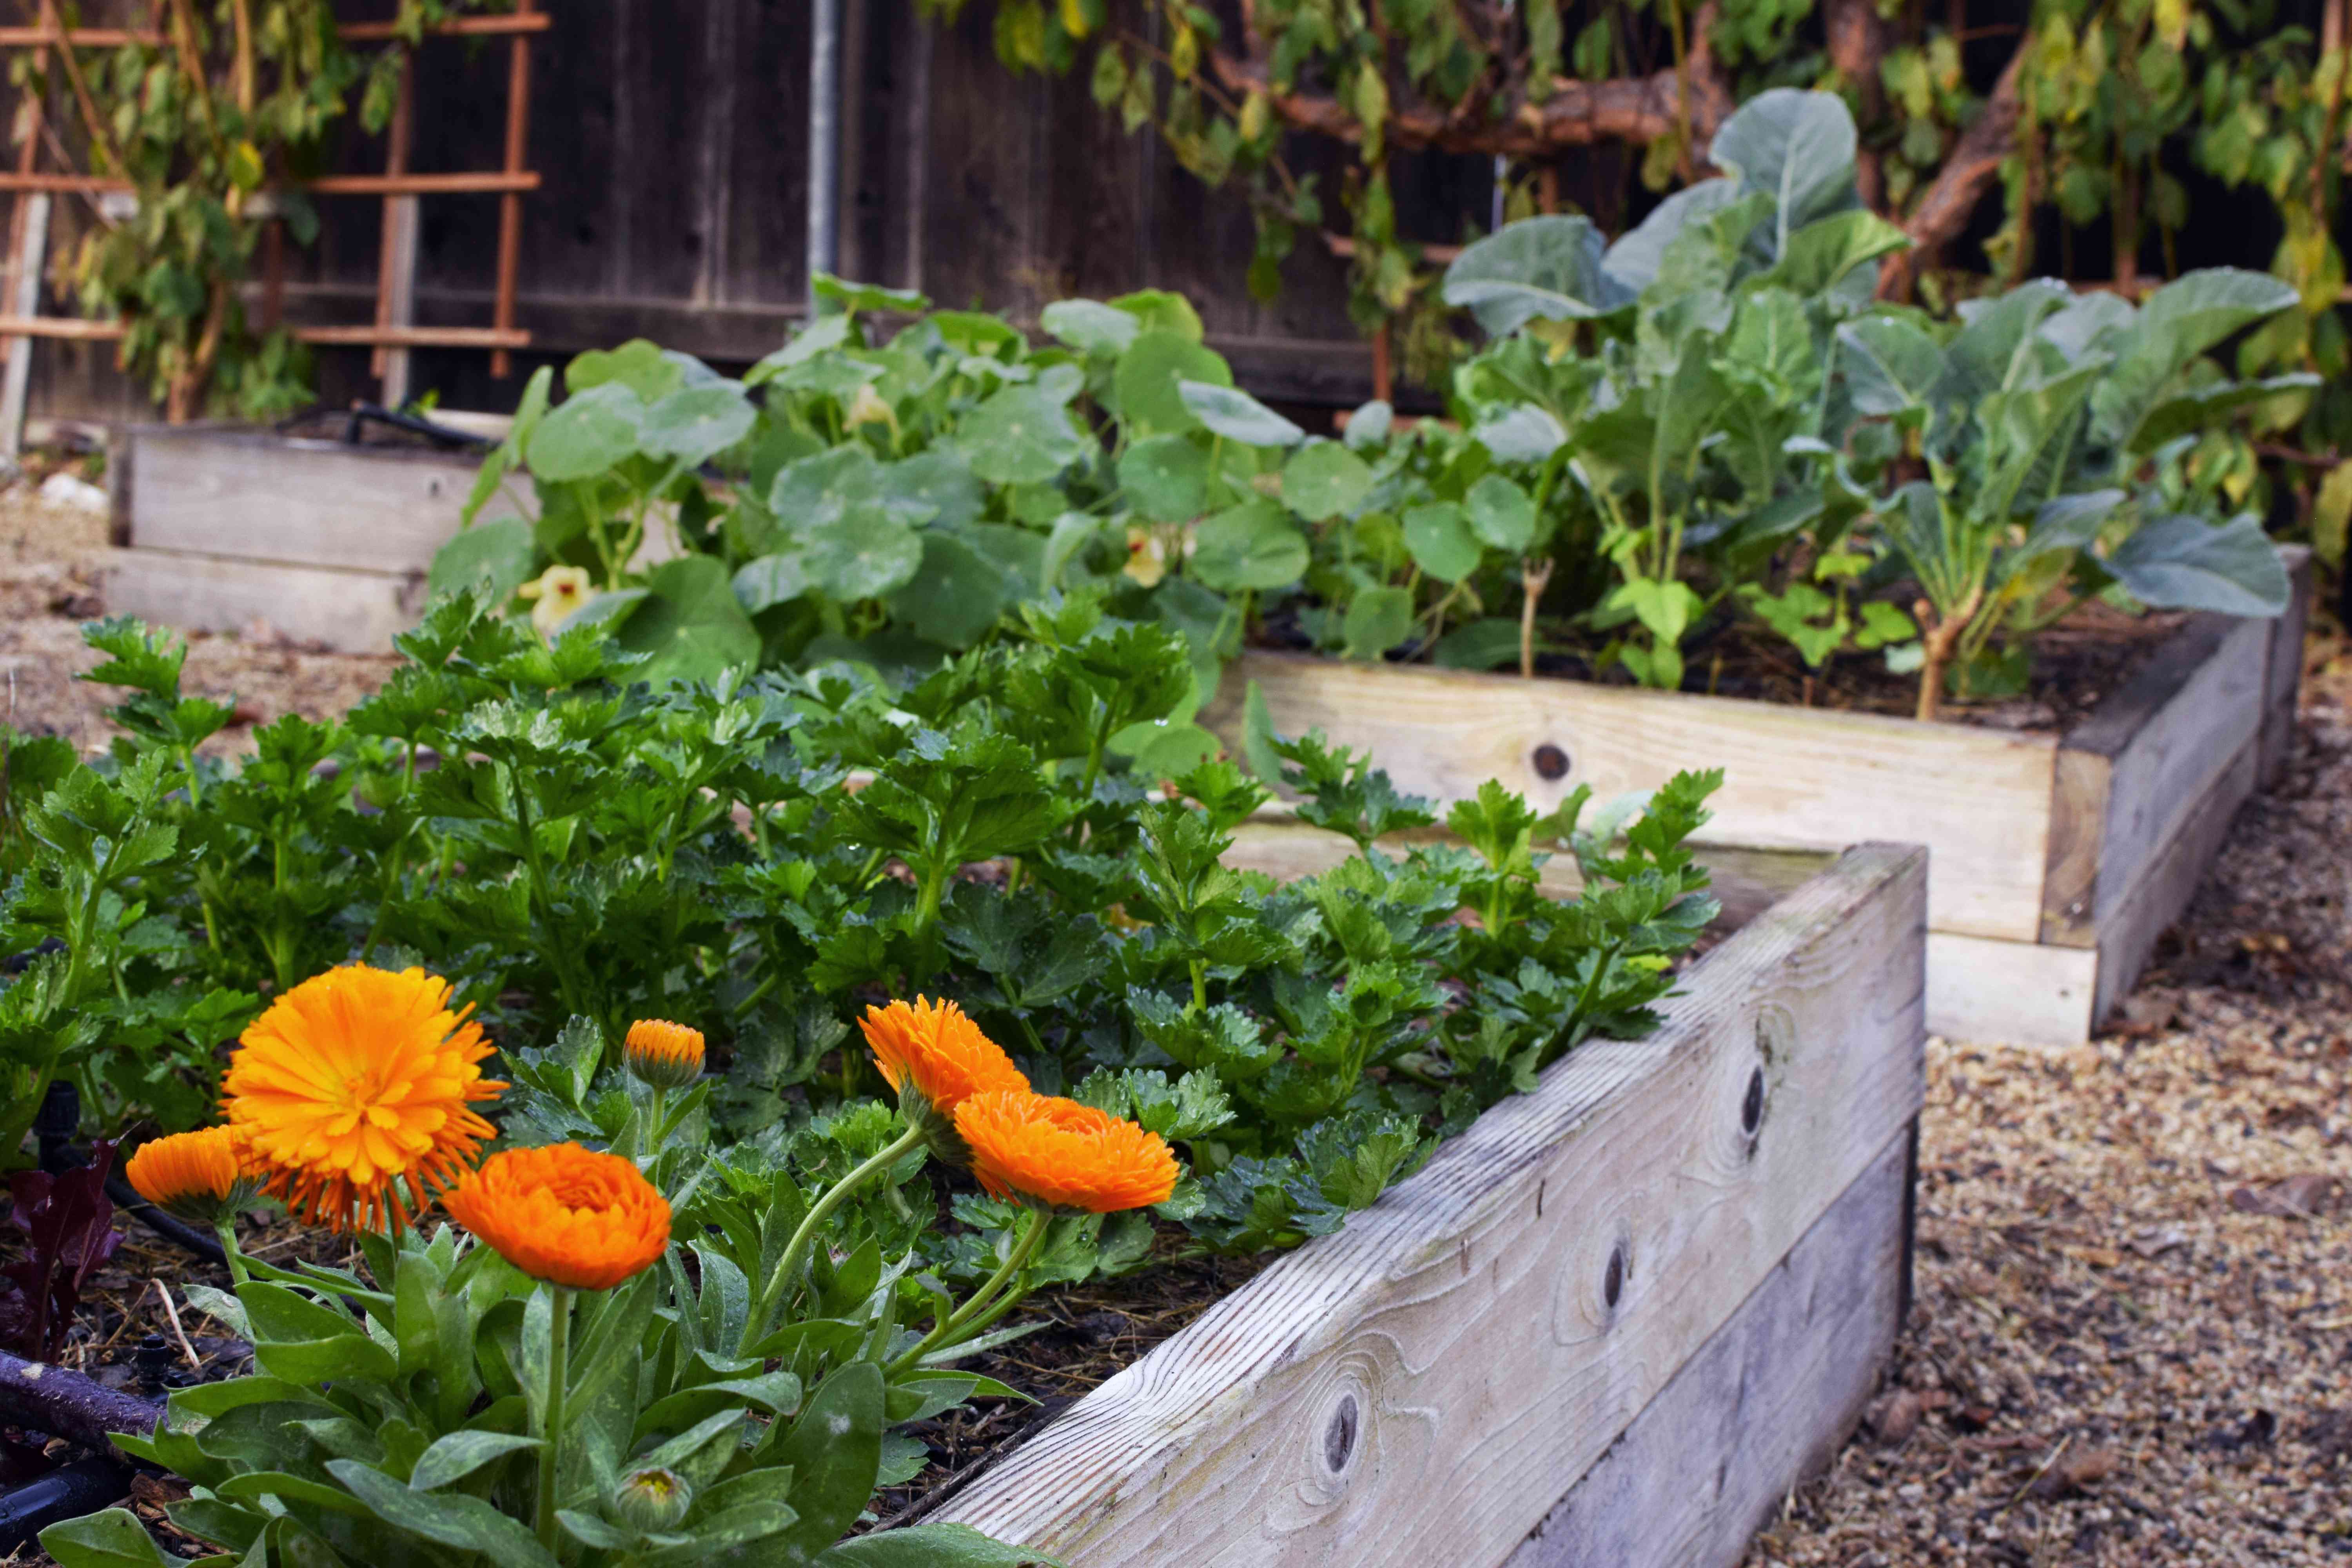
Gardening is a beloved pastime and a rewarding hobby for many people. It allows you to connect with nature, grow your own fruits and vegetables, and create a beautiful and peaceful outdoor space. One popular method of gardening is using raised garden beds, which offer numerous benefits over traditional in-ground gardening. However, the cost of purchasing pre-made raised garden beds can be quite expensive. The good news is that you can easily make cheap raised garden beds using materials that are readily available. In this article, we will guide you through the step-by-step process of creating your own inexpensive raised garden beds.
Before we dive into the instructions, let’s take a look at why raised garden beds are a great option for gardening enthusiasts. Raised garden beds provide better drainage, allow for easier weed control, and offer improved soil quality, resulting in healthier plants and higher yields. They also provide a convenient height, reducing the strain on your back and knees during planting, weeding, and harvesting.
Now, let’s gather the materials needed for this project!
Key Takeaways:
- Create cost-effective raised garden beds using simple materials like wood, screws, and soil. Enjoy the benefits of healthier plants, easier maintenance, and reduced strain on your back and knees during gardening.
- Transform your outdoor space with cheap raised garden beds. Enjoy the satisfaction of growing your own produce while saving money and connecting with nature.
Read more: How To Make A Raised Garden Bed Cheap
Materials Needed
Before you begin building your cheap raised garden beds, make sure you have the following materials:
- Wooden boards or pallets: Choose untreated, rot-resistant wood such as cedar or redwood. You will need enough boards to form the sides of your garden bed.
- Corner brackets or metal stakes: These will help secure the corners of the garden bed and provide stability.
- Screws or nails: Use these to fasten the boards together and attach the corner brackets or stakes.
- Landscape fabric or cardboard: This will prevent weeds from growing up through the soil.
- Soil or compost: You will need enough to fill the raised garden bed. Consider creating your own compost to save money.
- Seeds or starter plants: Choose the plants you want to grow in your garden.
- Garden tools: Basic gardening tools like a shovel, rake, and trowel will be needed for preparing the area and planting.
- Optional: Mulch, fertilizer, and watering can or hose for maintaining and nourishing your garden.
It’s important to note that the specific quantities of these materials will depend on the size and number of raised garden beds you plan to create. Now that you have your materials ready, let’s move on to the next step: choosing the location for your garden beds!
Step 1: Choosing the Location
When it comes to choosing the location for your cheap raised garden beds, there are a few factors to consider. First and foremost, you want to select an area that receives adequate sunlight. Most vegetables and herbs require at least six hours of direct sunlight each day to thrive. Take note of any nearby trees or structures that may cast shade on the area, as this can hinder the growth of your plants.
Additionally, it’s important to choose a level spot for your garden beds. This will help prevent water from pooling and ensure proper drainage. If the ground is uneven, you can use a shovel or a garden rake to level the area. It’s also a good idea to check if the chosen location has easy access to a water source for convenient watering.
Consider the proximity to your house as well. This can make it easier to tend to your garden and harvest fresh produce for cooking. Keep in mind any potential obstacles such as underground utility lines or nearby tree roots that could interfere with the construction of your raised garden beds.
Once you have found the ideal location, mark out the dimensions of your garden beds using stakes or string. This will help you visualize the space and determine how many raised beds you can fit in the area. Now that you have chosen the location, it’s time to gather the materials for building your inexpensive raised garden beds.
Step 2: Gathering the Materials
With the location for your cheap raised garden beds chosen, it’s time to gather the necessary materials. Here’s a quick checklist of what you’ll need:
- Wooden boards or pallets: Choose untreated, rot-resistant wood like cedar or redwood. Measure and cut the boards to the desired length for the sides of your garden beds. If you’re using pallets, disassemble them and use the individual slats as your boards.
- Corner brackets or metal stakes: These will provide stability to the corners of your garden beds. If you opt for metal stakes, make sure they are sturdy and long enough to secure the boards in place.
- Screws or nails: Use these to fasten the boards together and attach the corner brackets or stakes. Be sure to choose the appropriate length depending on the thickness of the boards.
- Landscape fabric or cardboard: This will help prevent weeds from growing up through the soil. Cut it to fit the bottom of the raised garden bed, allowing for drainage.
- Soil or compost: You’ll need enough soil or compost to fill the raised garden bed. Consider using a mixture of both for optimal nutrients and drainage.
- Seeds or starter plants: Choose the plants you want to grow in your garden. Opt for varieties that thrive in your local climate and that suit your gardening goals.
- Garden tools: Basic gardening tools, such as a shovel, rake, and trowel, will be necessary for preparing the area and planting.
- Optional: Mulch, fertilizer, and a watering can or hose for maintaining and nourishing your garden.
Before purchasing any materials, take accurate measurements and determine the quantity needed based on the size and number of raised garden beds you plan to build. This will ensure you buy the correct amount and avoid unnecessary expenses.
Now that you have gathered all the materials, you are ready to move on to the next step: preparing the area for your raised garden beds.
Step 3: Preparing the Area
Once you have gathered all the materials for your cheap raised garden beds, it’s time to prepare the area where they will be placed. Follow these steps to ensure a proper foundation for your garden beds:
- Clear the area: Remove any existing grass, weeds, or debris from the designated spot. You can use a shovel or a garden rake to loosen and remove the vegetation.
- Level the ground: Ensure that the ground is level by using a shovel or garden rake. Remove any bumps or high spots and fill in any low areas.
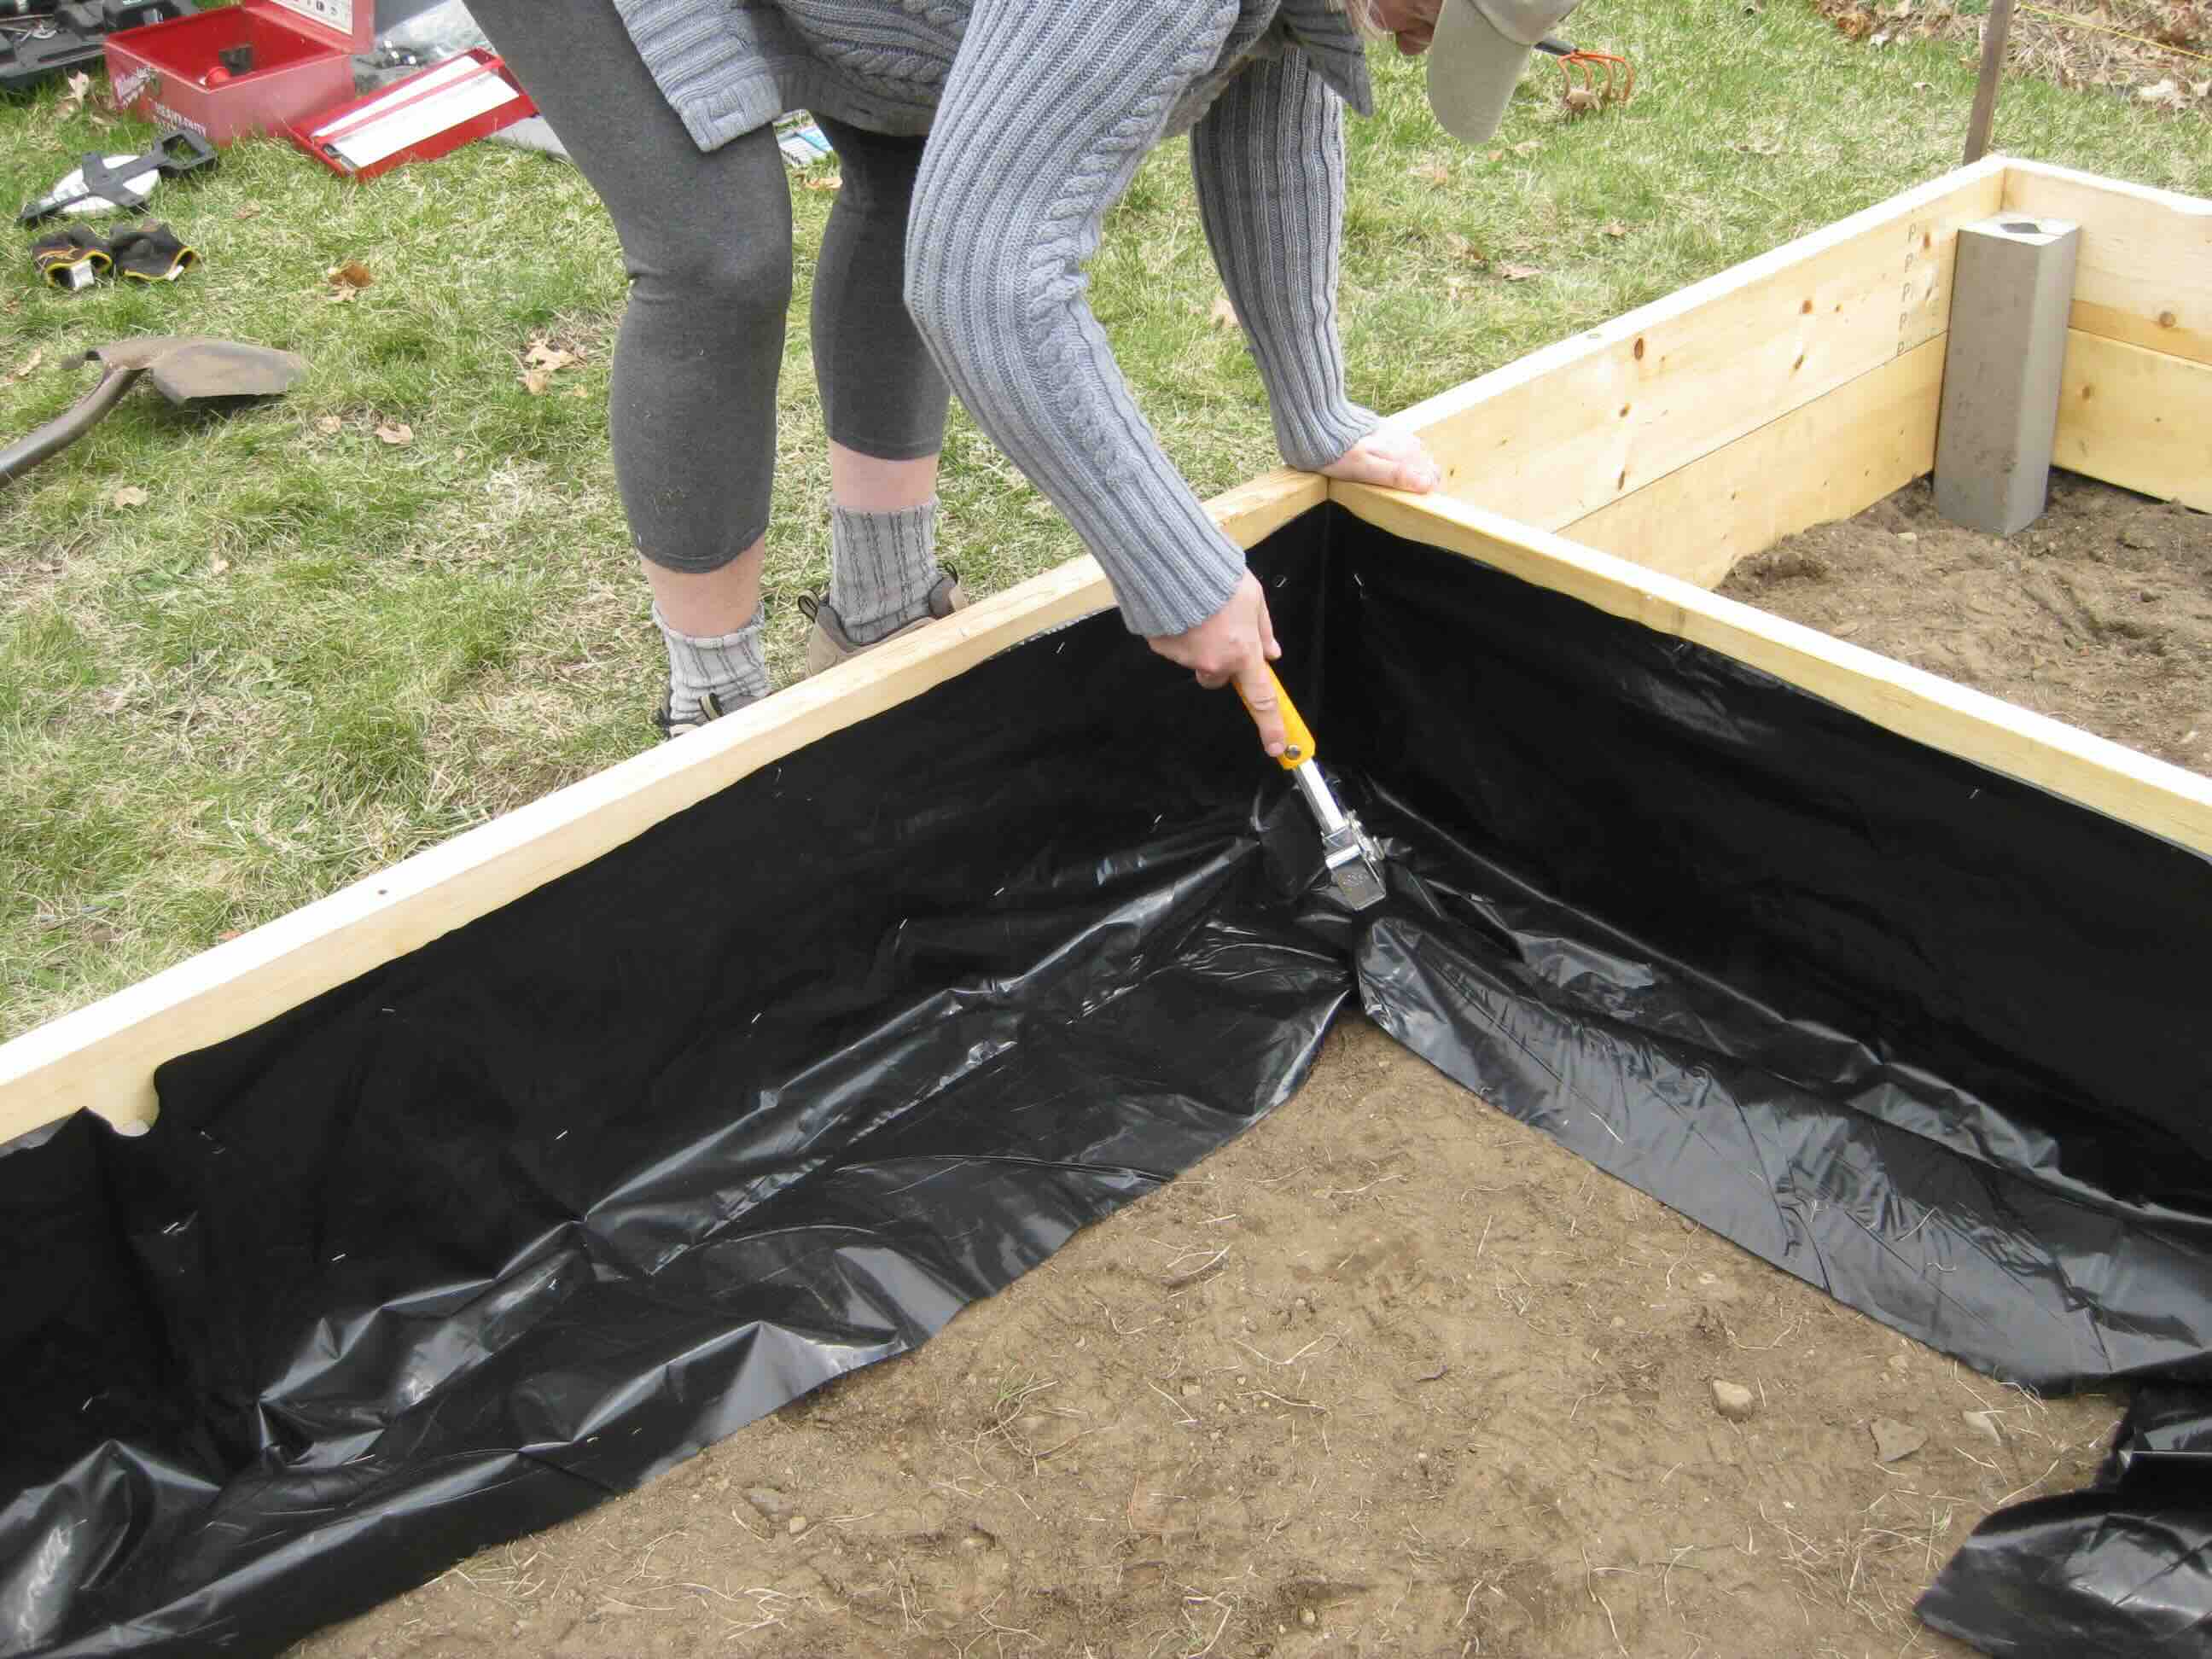
- Add landscape fabric or cardboard: Place a layer of landscape fabric or cardboard directly on top of the cleared and leveled ground. This will help suppress weed growth.
- Secure the fabric or cardboard: Use garden stakes or rocks to secure the landscape fabric or cardboard in place. This will prevent them from shifting during the construction process.
Preparing the area properly is crucial for the stability and longevity of your raised garden beds. It also helps prevent weeds from infiltrating your garden space.
With the area prepared, you can now move on to the exciting part: constructing the frame for your raised garden beds!
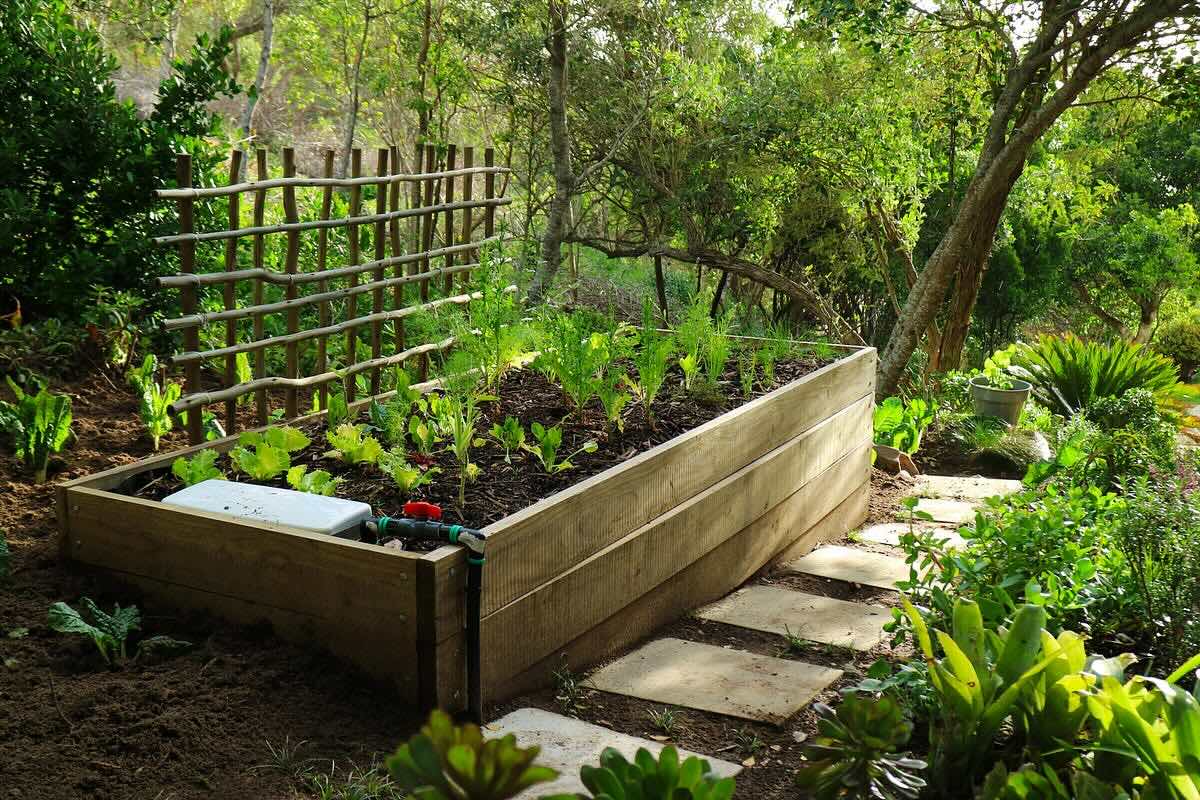
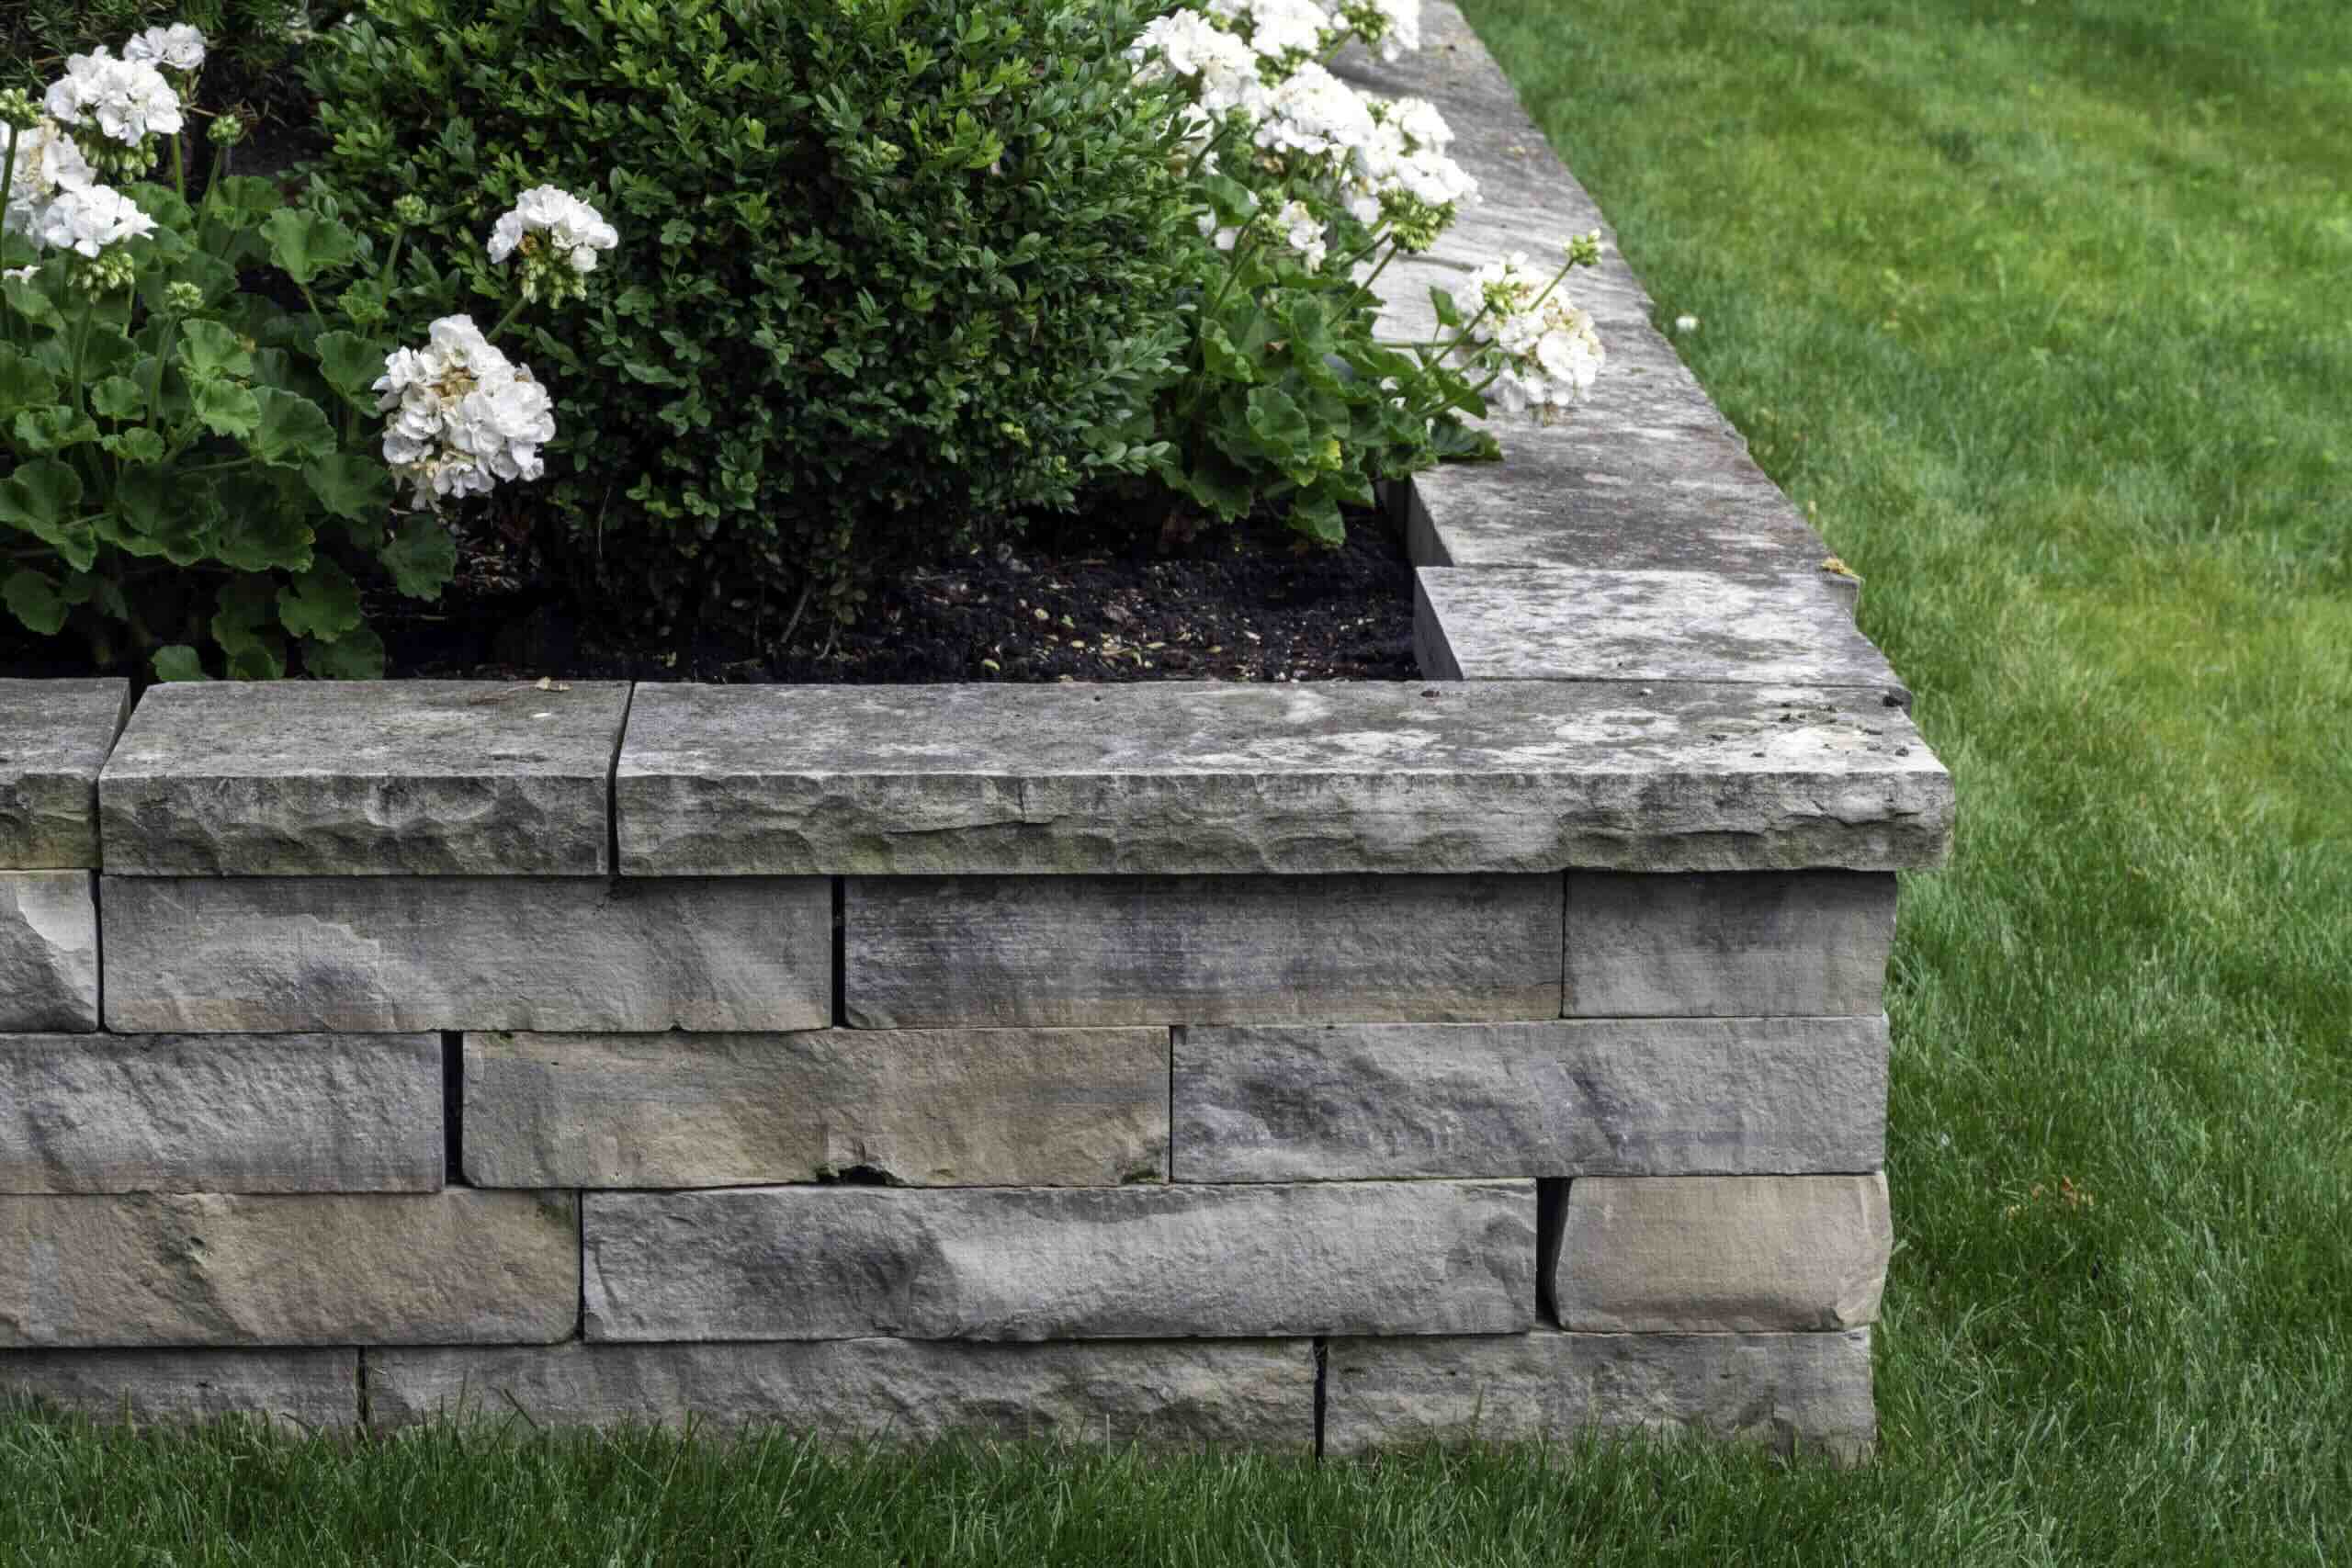
Consider using reclaimed materials such as old pallets or untreated lumber to build your raised garden beds. This can help keep costs down while still creating a functional and attractive garden space.
Read more: How To Make A Raised Garden Bed With Pallets
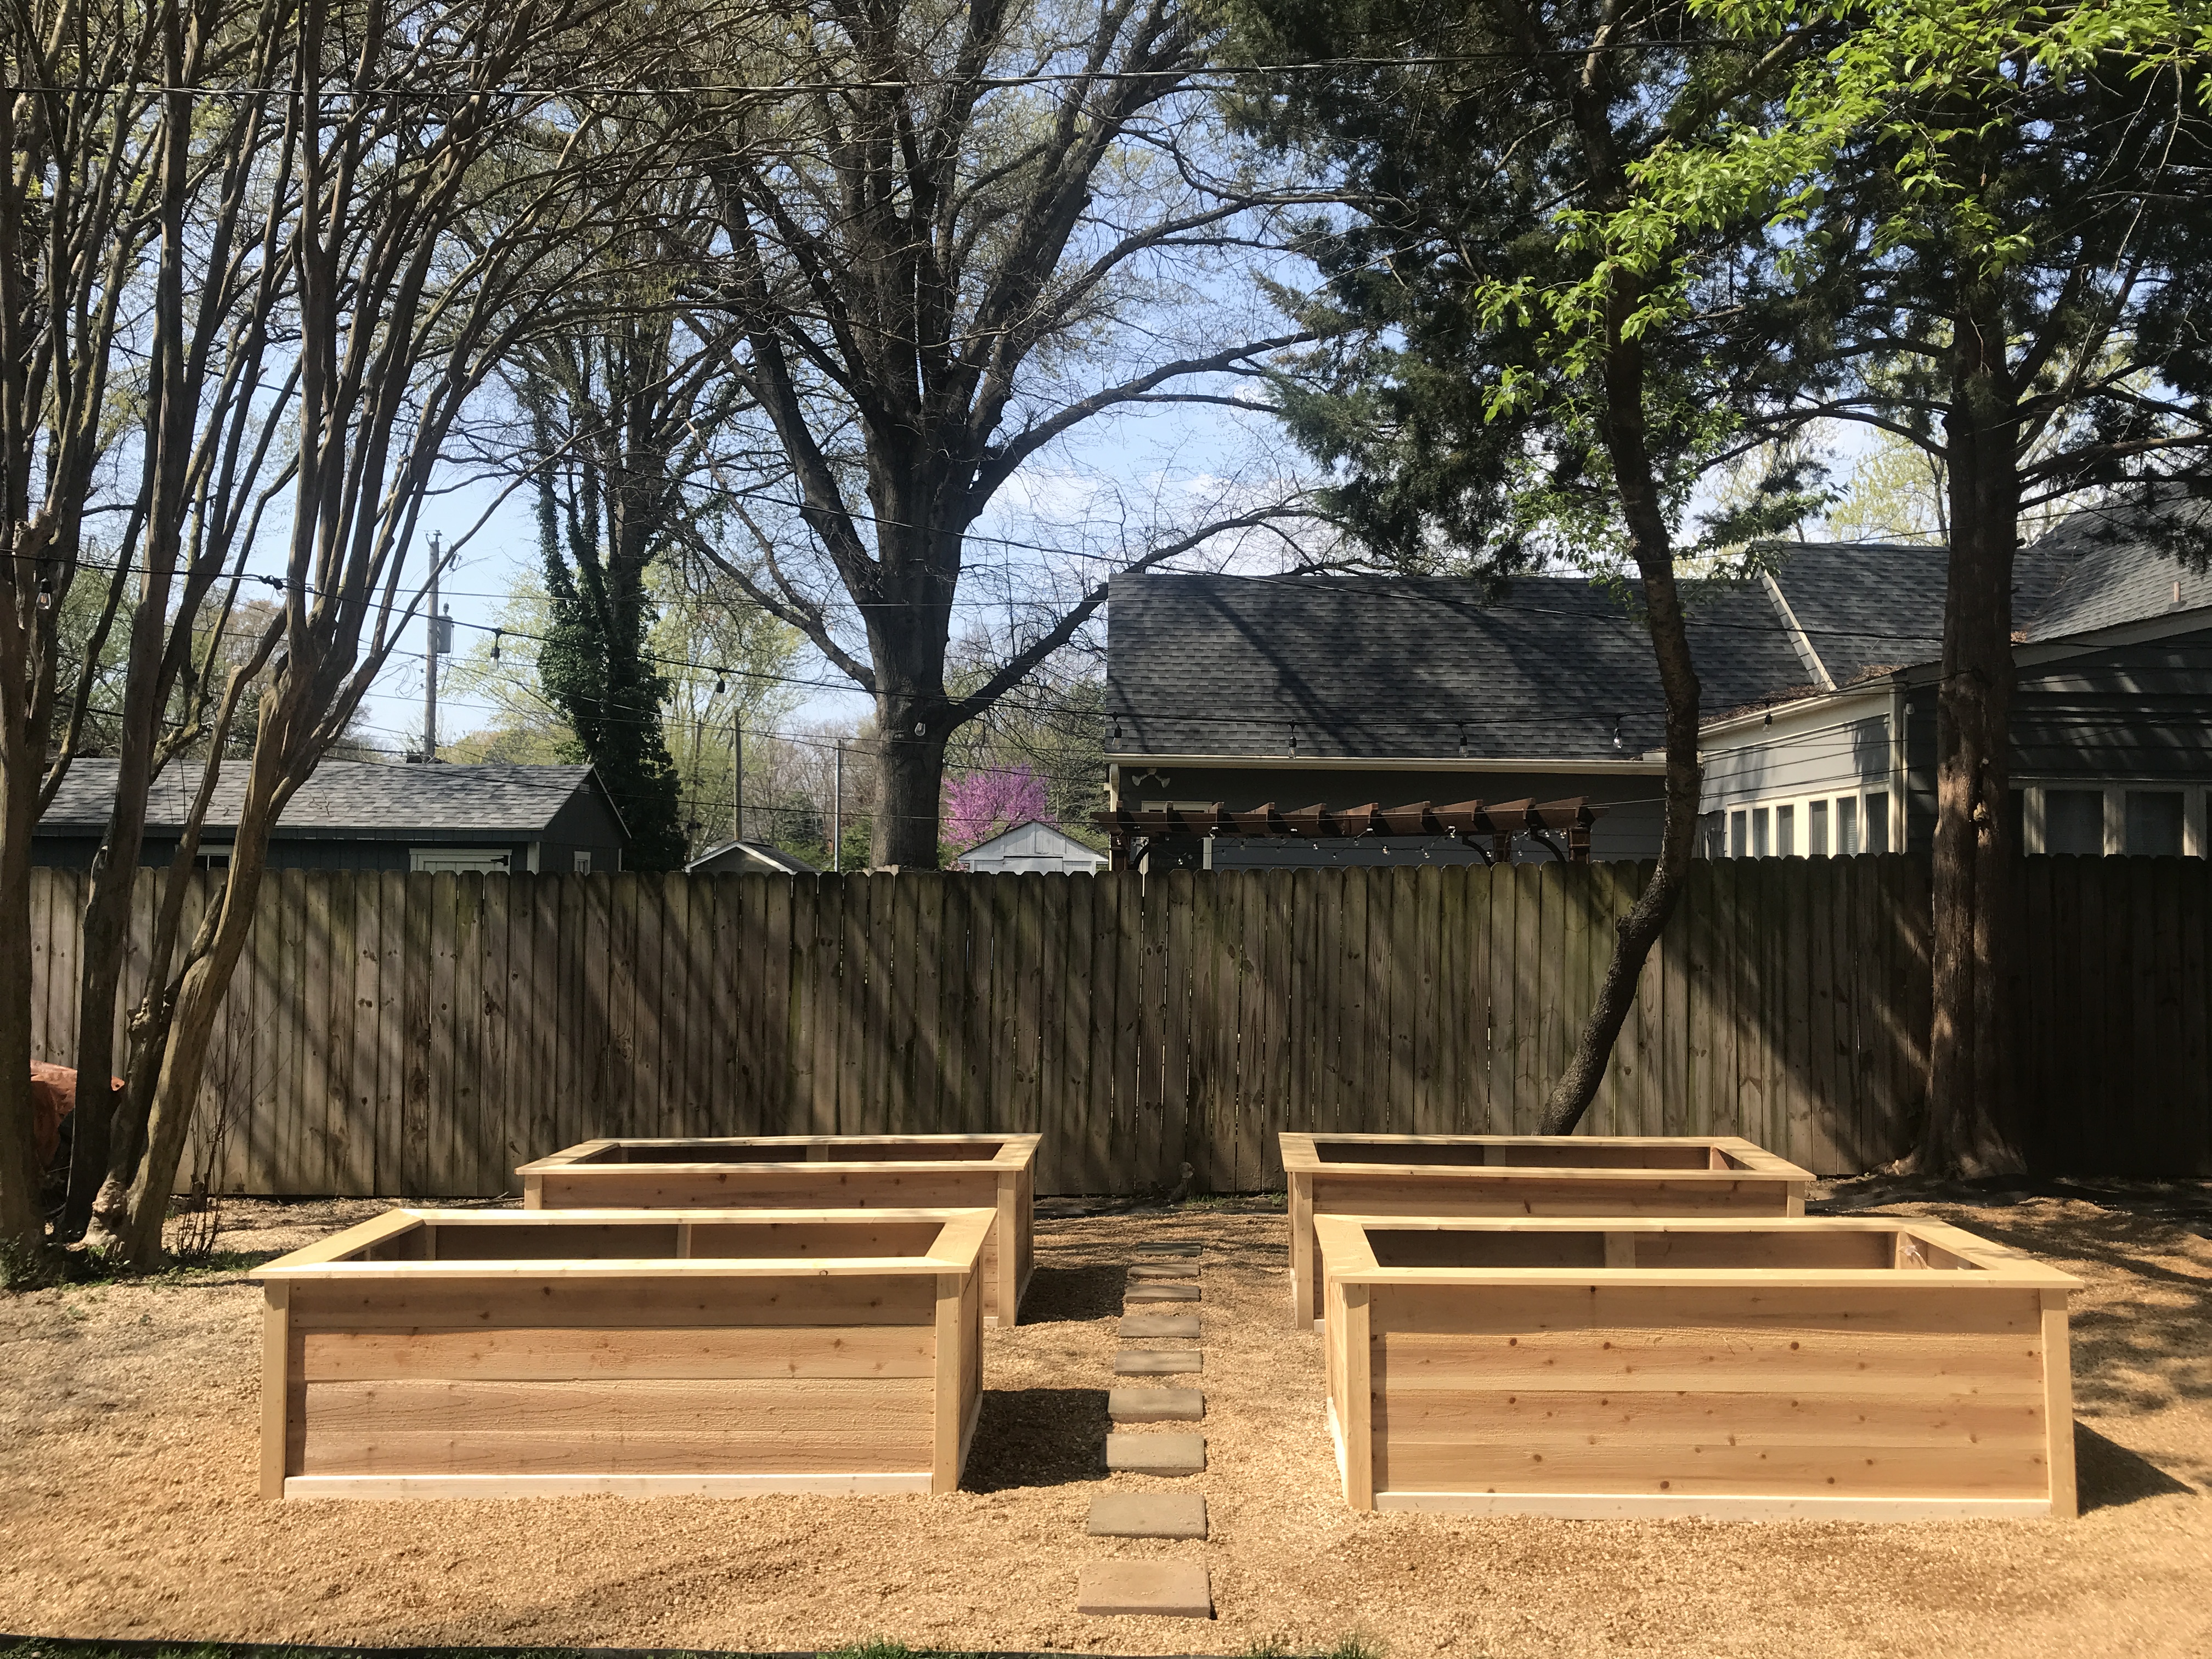
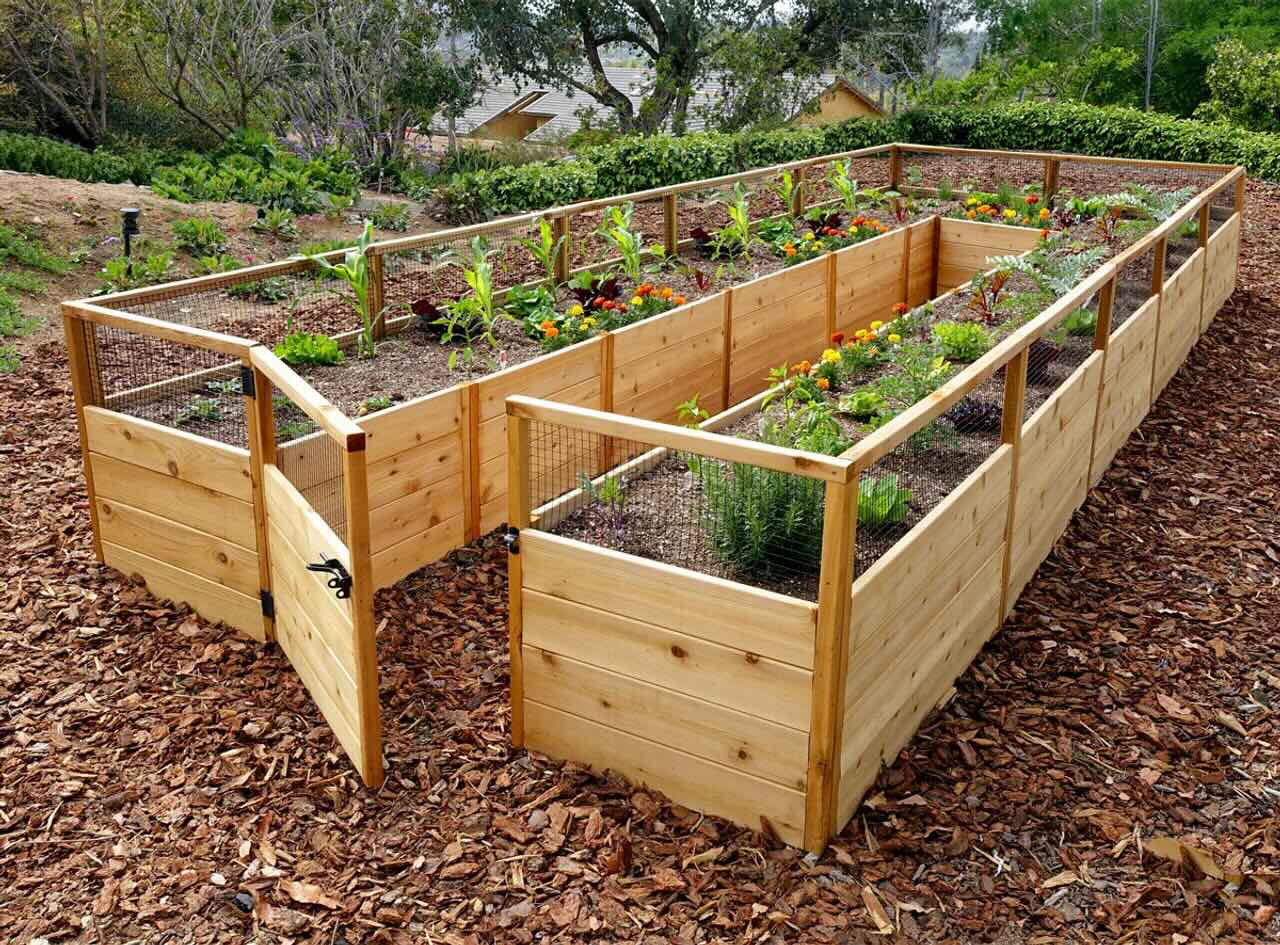
Step 4: Building the Raised Garden Bed Frame
Now that you have prepared the area for your cheap raised garden beds, it’s time to build the frame that will hold the soil and plants. Follow these steps to construct the frame:
- Place the boards: Position the cut wooden boards or pallet slats along the perimeter of the prepared area. Arrange them so that the shorter boards fit between the longer boards, creating a rectangular or square shape.
- Secure the corners: Attach corner brackets or metal stakes to secure the corners of the frame. Place them on the inside of the frame and use screws or nails to fasten them to the boards. Alternatively, you can use long stakes and drive them into the ground at each corner of the frame.
- Fasten the boards: Use screws or nails to securely fasten the boards together at each corner. Additionally, attach the boards along the longer sides of the frame, ensuring they are evenly spaced and aligned.
- Check for stability: Give the frame a gentle shake to ensure it is stable. Make any adjustments as needed to ensure it is level and sturdy.
Building the frame for your raised garden beds is an important step, as it provides the structure and support for the soil and plants. Take your time to ensure the frame is properly constructed and secured.
Now that the frame is complete, it’s time to move on to the next step: filling the garden bed with soil!
Step 5: Filling the Garden Bed
With the frame of your cheap raised garden bed in place, it’s time to fill it with soil. Follow these steps to ensure proper soil preparation:
- Add a layer of organic matter: Start by adding a layer of organic matter, such as compost or well-rotted manure, to the bottom of the garden bed. This will help improve the soil’s fertility and provide essential nutrients to your plants.
- Add soil mixture: Fill the raised garden bed with a mixture of soil and compost. Aim for a ratio of 60% soil and 40% compost, but adjust according to the needs of the plants you will be growing.
- Level the soil: Use a rake or gardening tool to level the soil mixture evenly throughout the garden bed. Ensure that the soil reaches the top of the frame, leaving enough space for watering and mulching.
It’s important to use quality soil and organic matter to provide the necessary nutrients for your plants. The well-prepared soil will promote healthy growth and improve overall plant performance.
Now that your garden bed is filled with soil, you’re ready to move on to the next step: planting and maintaining your garden!
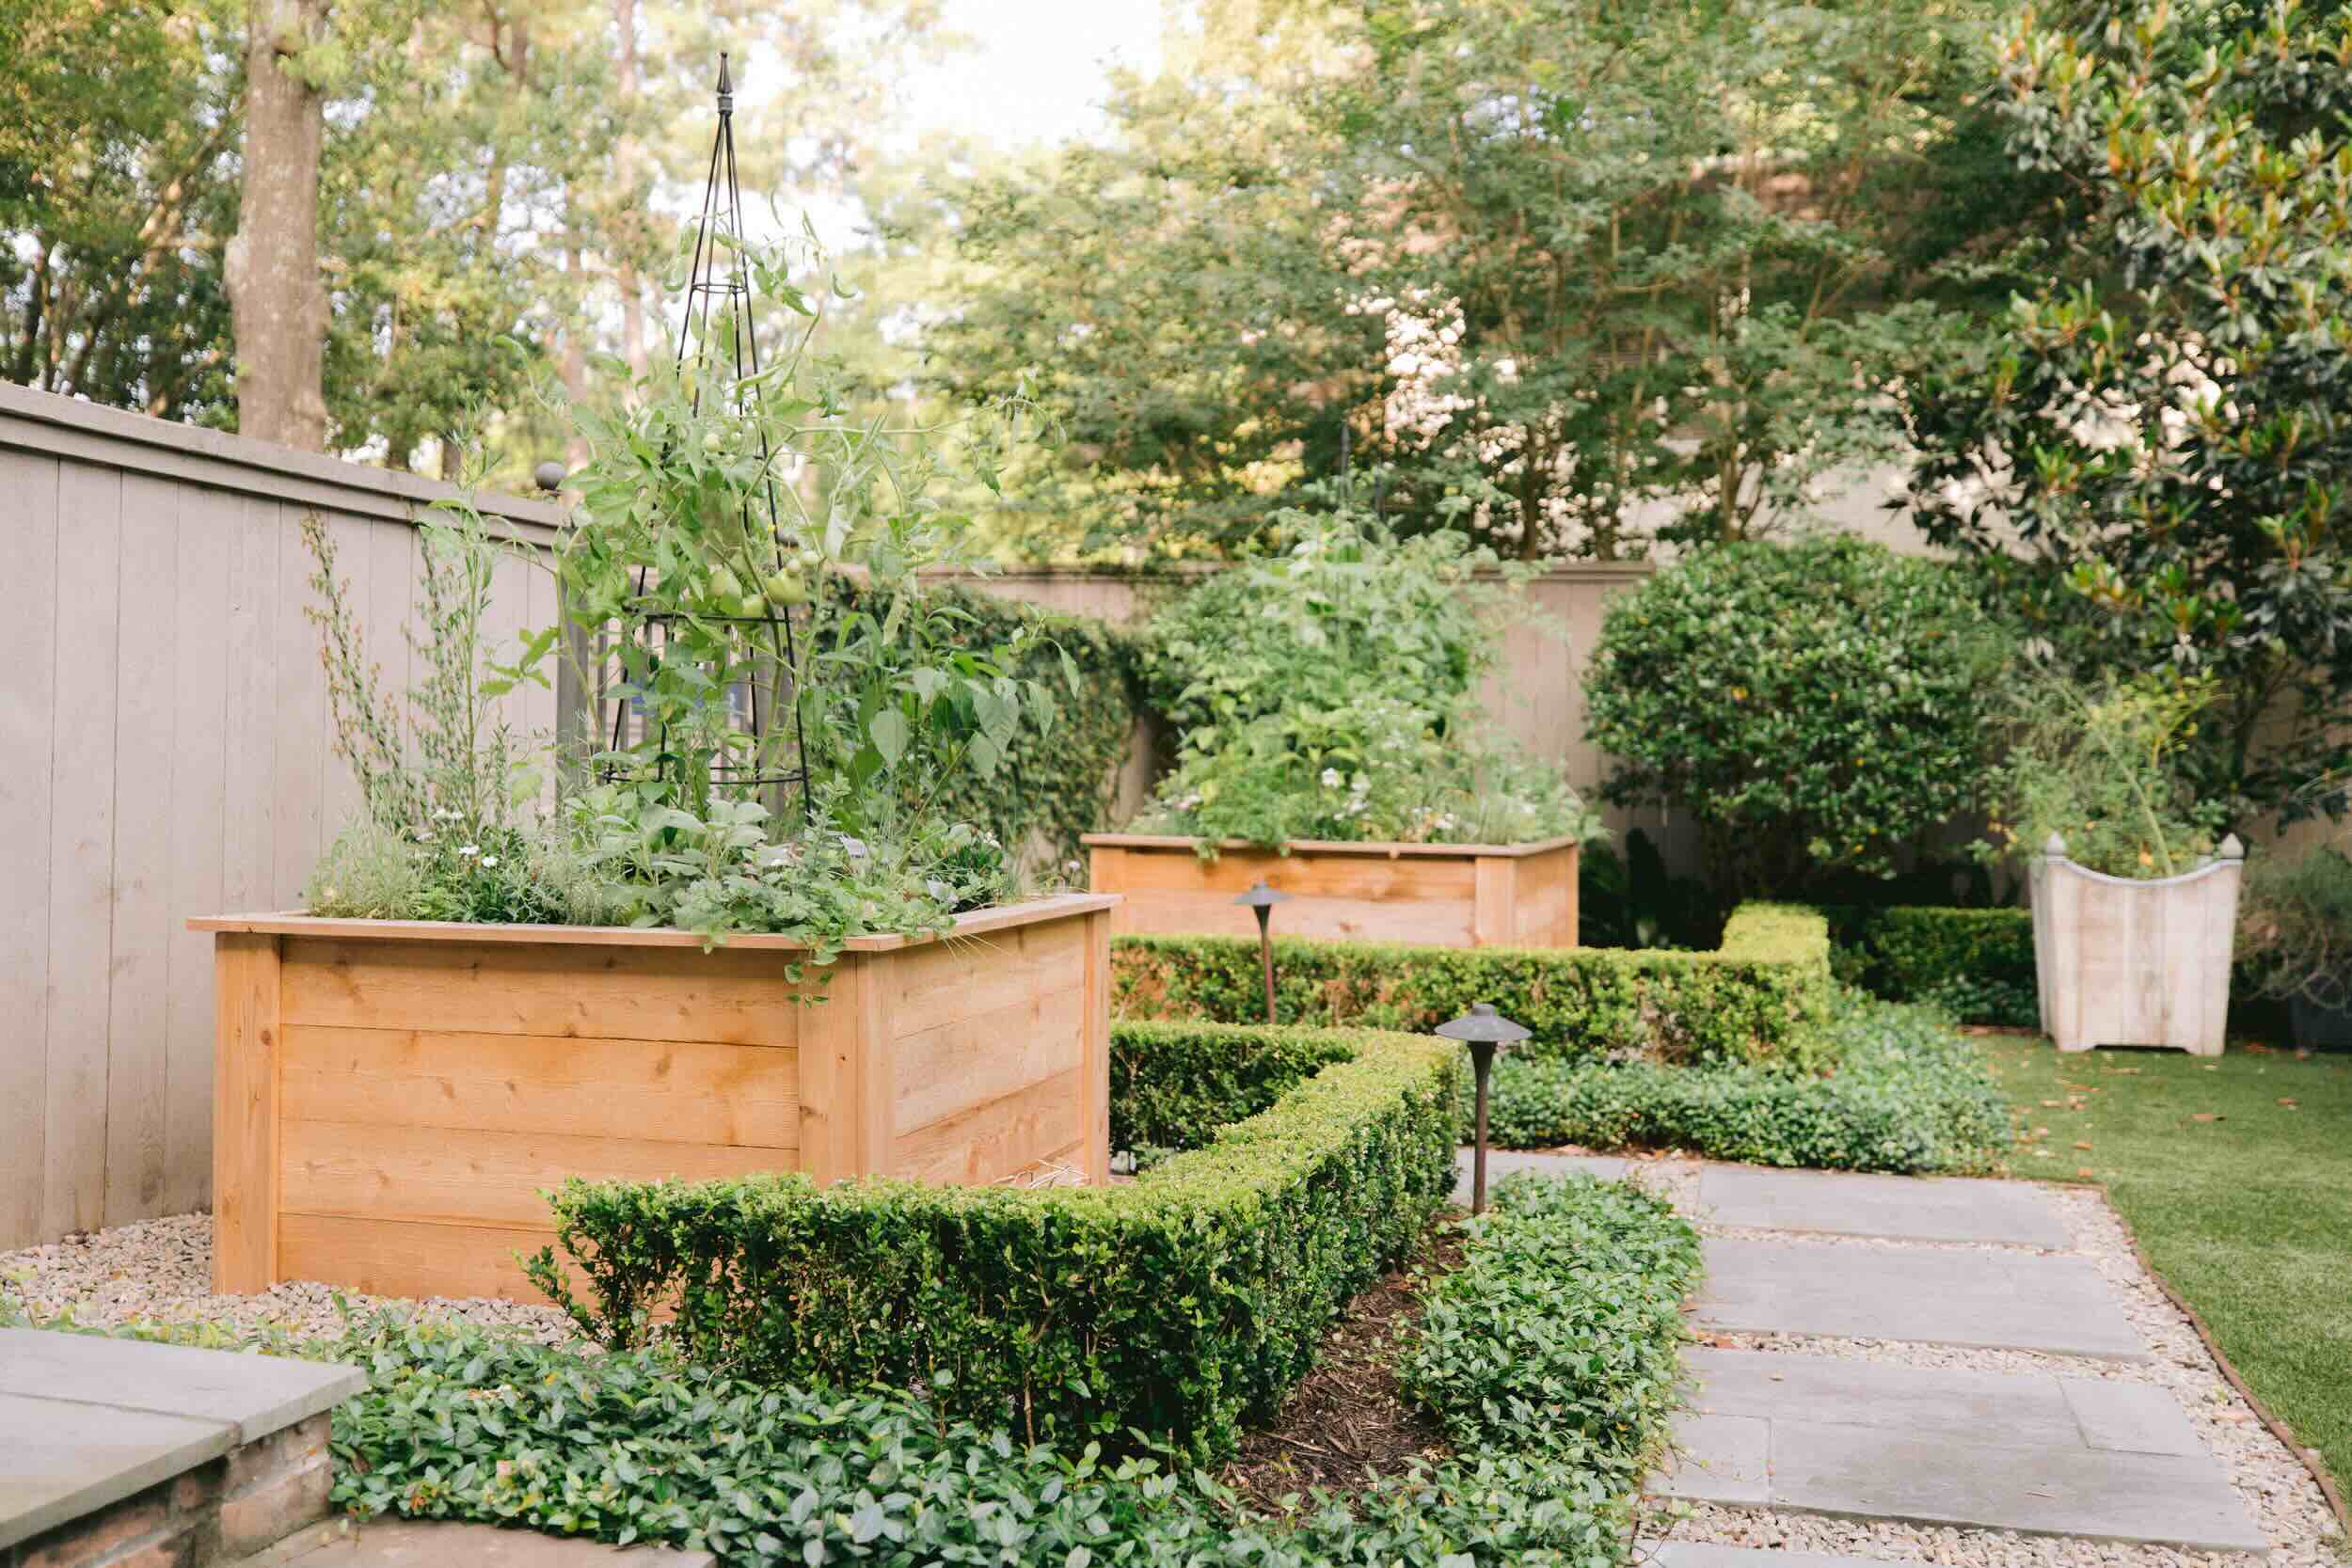
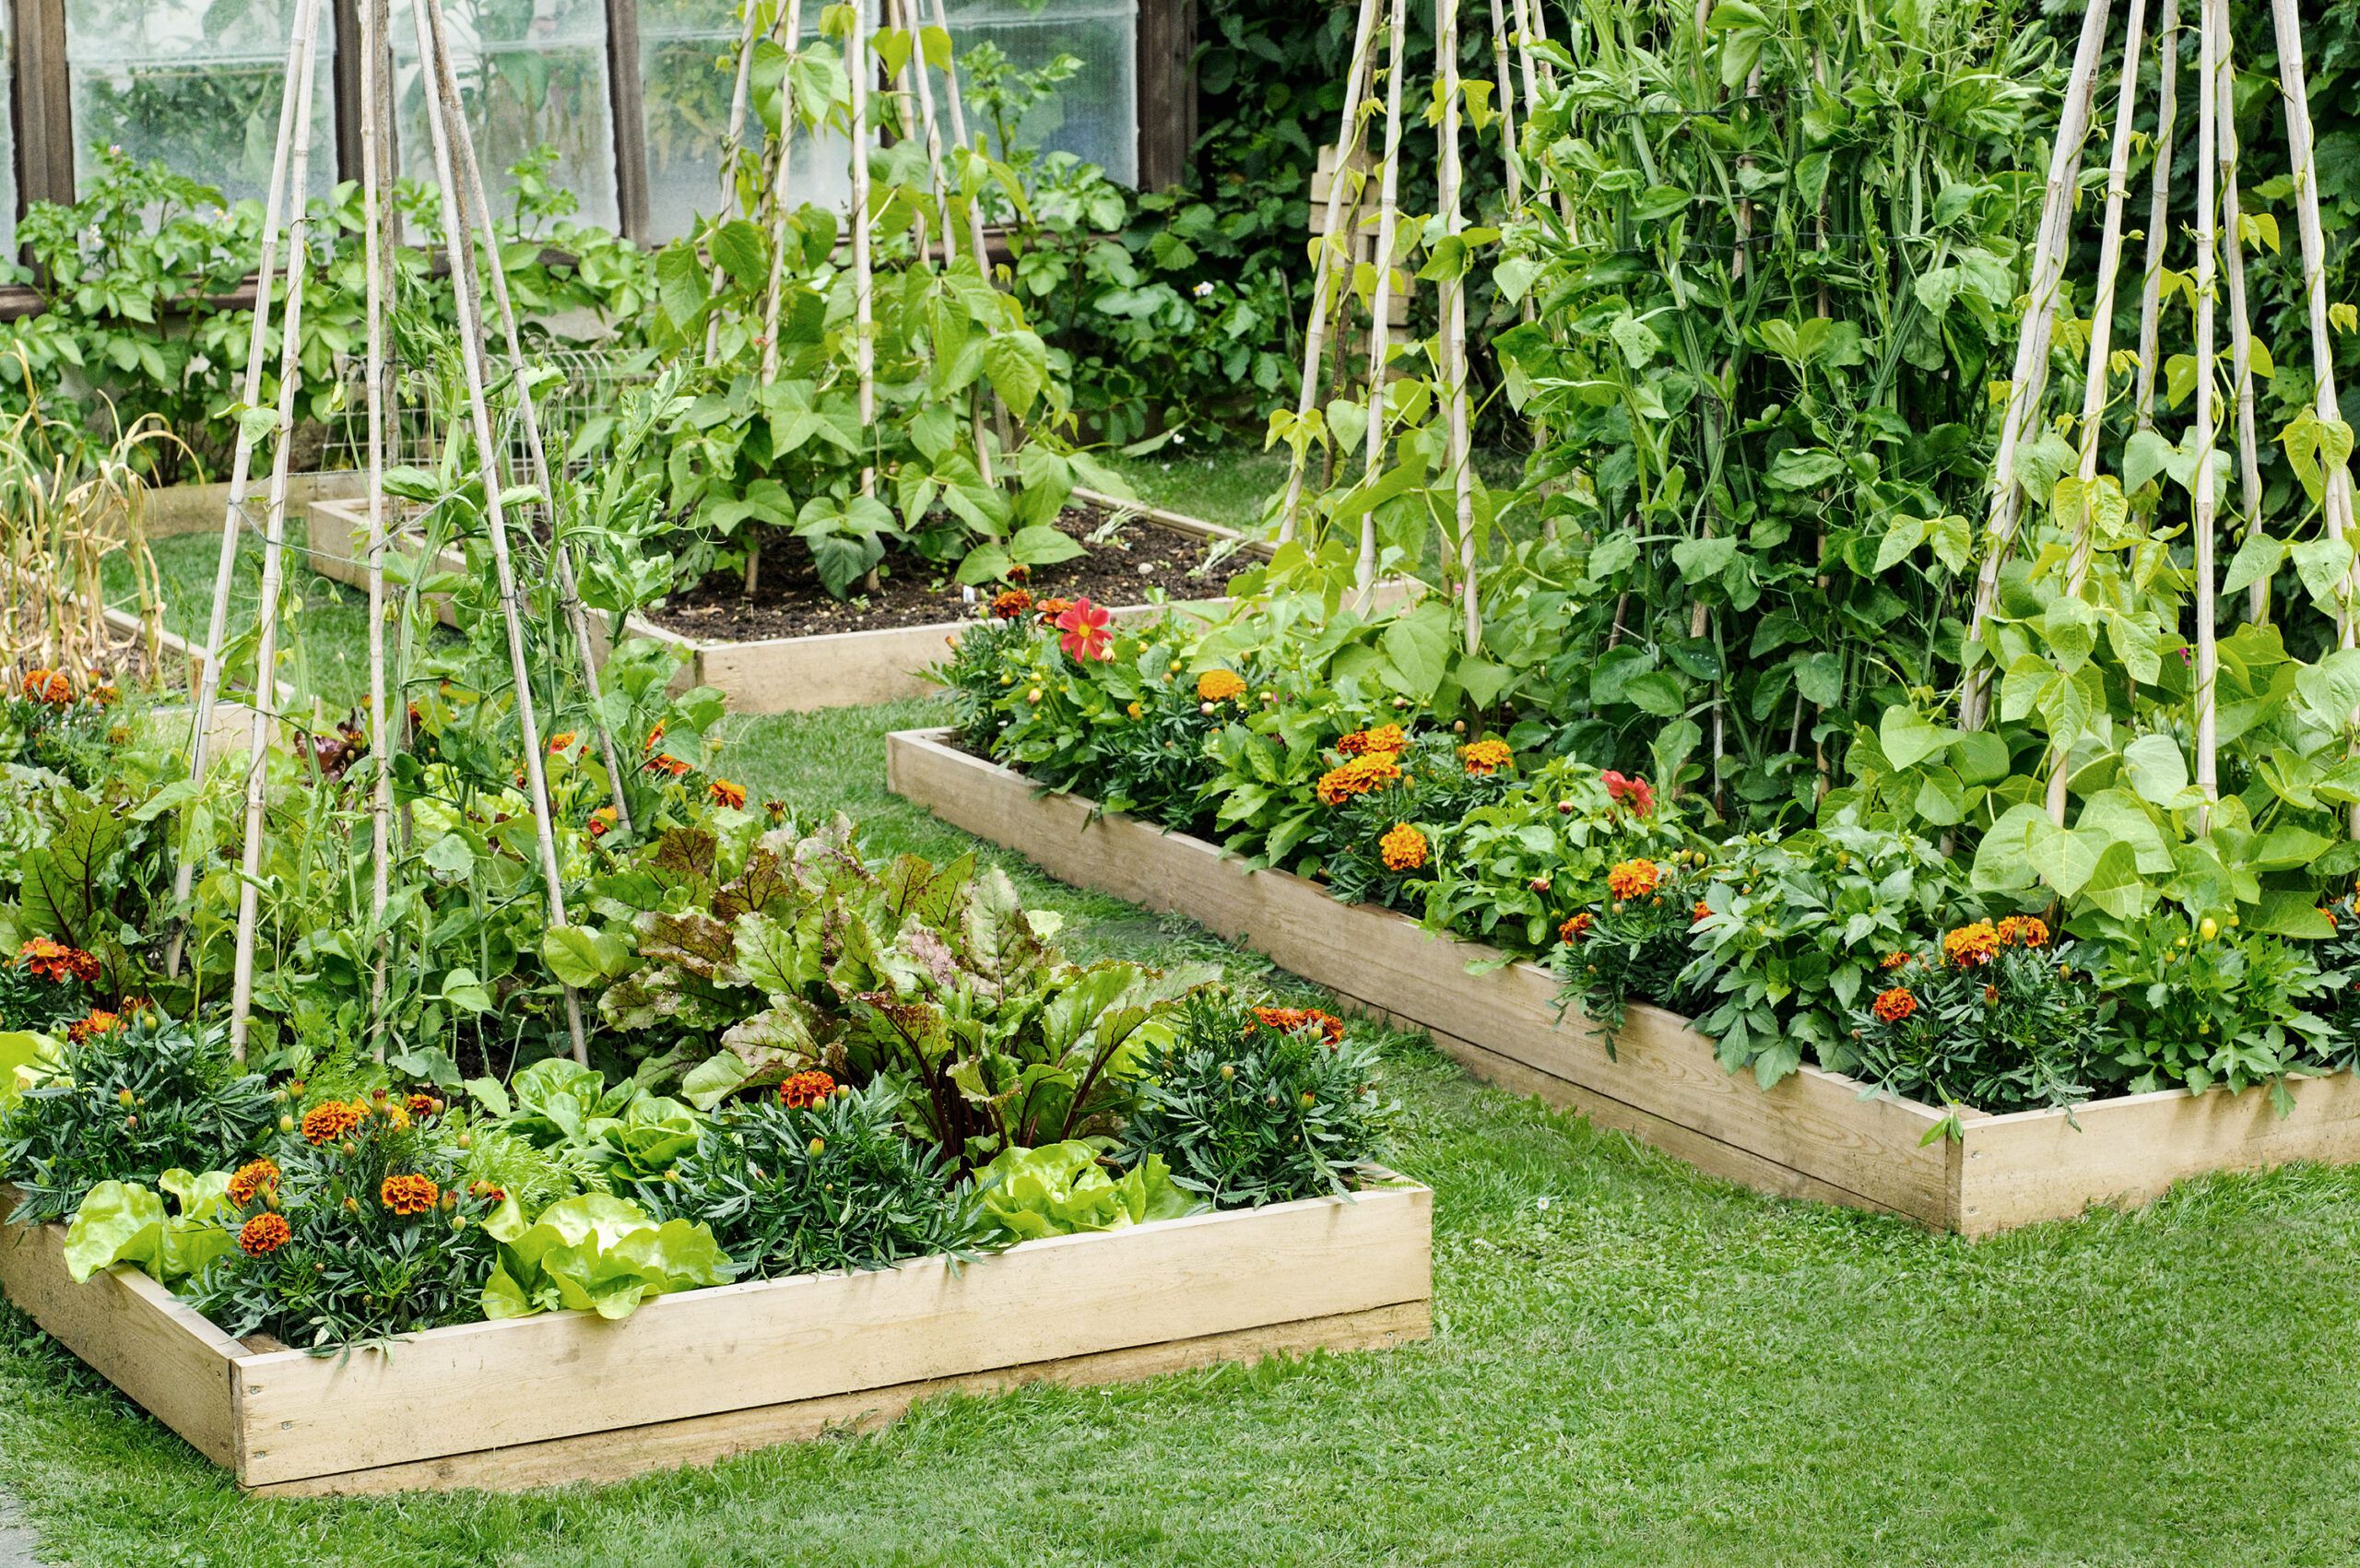
Step 6: Planting and Maintaining the Garden
Now that your cheap raised garden bed is ready, it’s time to start planting and maintaining your garden. Follow these steps for successful gardening:
- Plan your garden layout: Determine the placement of plants based on their spacing requirements, sunlight needs, and growth habits. Consider companion planting to maximize space and deter pests.
- Plant your seeds or starter plants: Dig holes in the soil and place your seeds or starter plants. Follow the instructions on the seed packets or plant labels for proper planting depth and spacing.
- Water regularly: Water the garden bed thoroughly after planting to ensure that the soil is evenly moist. Monitor the moisture levels and water whenever the top inch of soil feels dry. Be careful not to overwater, as this can lead to root rot.
- Mulch the garden: Apply a layer of organic mulch, such as straw or wood chips, around your plants. Mulch helps retain moisture, suppresses weeds, and regulates the soil temperature.
- Provide support for vining plants: Install trellises or stakes for plants that require support, such as tomatoes or cucumbers. This will prevent them from sprawling and improve airflow and sunlight exposure.
- Fertilize as needed: Depending on the nutrient requirements of your plants, you may need to fertilize them periodically. Use organic fertilizers or compost to provide additional nutrition.
- Monitor pests and diseases: Regularly inspect your plants for any signs of pests or diseases. Implement organic pest control methods such as handpicking insects or using natural repellents.
- Harvest and maintain: As your plants grow, harvest your crops regularly to encourage new growth and prevent overcrowding. Maintain the garden by weeding, pruning, and providing proper care based on the specific needs of each plant.
By following these steps, you can ensure a productive and thriving garden in your cheap raised garden beds. Enjoy the process of watching your plants grow and reap the rewards of your hard work.
With Step 6 completed, you have successfully created and maintained your garden. Now, let’s summarize the key points.
Conclusion
Creating cheap raised garden beds is a fulfilling and cost-effective way to indulge in the joys of gardening. By following the step-by-step process outlined in this article, you have learned how to transform simple materials into functional and productive garden beds. Let’s recap the key points:
1. Choose the right location: Select an area that receives ample sunlight and is level, with easy access to water.
2. Gather the materials: Collect wooden boards, corner brackets or stakes, screws or nails, landscape fabric or cardboard, soil or compost, seeds or starter plants, and necessary gardening tools.
3. Prepare the area: Clear the ground, level it, and lay down landscape fabric or cardboard to suppress weeds.
4. Build the frame: Assemble the wooden boards, secure the corners with brackets or stakes, and fasten the boards together to create a sturdy and durable frame.
5. Fill the garden bed: Add organic matter, followed by a mixture of soil and compost, ensuring the soil reaches the top of the frame.
6. Plant and maintain the garden: Plan your garden layout, plant your seeds or starter plants in the prepared soil, water appropriately, mulch to retain moisture, provide support for vining plants, fertilize as needed, monitor pests and diseases, and maintain the garden with regular care.
By following these steps, you can successfully create and maintain a thriving garden in your cheap raised garden beds. Not only will you enjoy the benefits of fresh produce and a beautiful outdoor space, but you will also save money by making your own raised garden beds instead of purchasing expensive alternatives.
So, roll up your sleeves, unleash your creativity, and enjoy the satisfying journey of growing your own garden with cheap raised beds. Happy gardening!
Frequently Asked Questions about How To Make Cheap Raised Garden Beds
Was this page helpful?
At Storables.com, we guarantee accurate and reliable information. Our content, validated by Expert Board Contributors, is crafted following stringent Editorial Policies. We're committed to providing you with well-researched, expert-backed insights for all your informational needs.


0 thoughts on “How To Make Cheap Raised Garden Beds”