Furniture
How To Make A Floor Lamp
Modified: December 7, 2023
Looking for a creative way to light up your space? Learn how to make a stunning floor lamp using furniture pieces with our step-by-step guide.
(Many of the links in this article redirect to a specific reviewed product. Your purchase of these products through affiliate links helps to generate commission for Storables.com, at no extra cost. Learn more)
Introduction
Welcome to our comprehensive guide on how to make a floor lamp! If you’re looking to add a touch of elegance and functionality to your home decor, a floor lamp is a perfect choice. Not only does it provide ample lighting, but it also serves as a statement piece that can enhance the ambiance of any room.
In this step-by-step tutorial, we will walk you through the process of making your own floor lamp. Whether you’re a seasoned DIY enthusiast or a novice looking for a fun and rewarding project, this guide is designed to help you create a beautiful and customized floor lamp that reflects your personal style.
Before we dive into the details, let’s go over the materials you will need for this project.
Key Takeaways:
- Create a personalized floor lamp that adds elegance and functionality to your home decor. Follow the step-by-step guide to assemble, wire, and customize your own unique lighting fixture.
- Safety is crucial when working with electrical components. If unsure, consult a professional electrician. Enjoy the satisfaction of crafting a stylish and inviting floor lamp for your living space.
Read more: How To Rewire A Floor Lamp
Materials Needed
Before you begin, gather the following materials:
- A lamp base
- A lampshade
- An electrical cord with plug
- A lamp socket
- A light bulb
- A wire cutter
- A screwdriver
- A drill (Optional)
- Decorative materials (Optional)
- Electrical tape
Be sure to choose a lamp base and shade that complement each other and fit your desired aesthetic. You can find these materials at your local home improvement store or online.
Note: If you opt for a lampshade that requires an additional harp or finial, make sure to include those items in your materials list as well.
Now that you have all the necessary materials, let’s move on to assembling the lamp base.
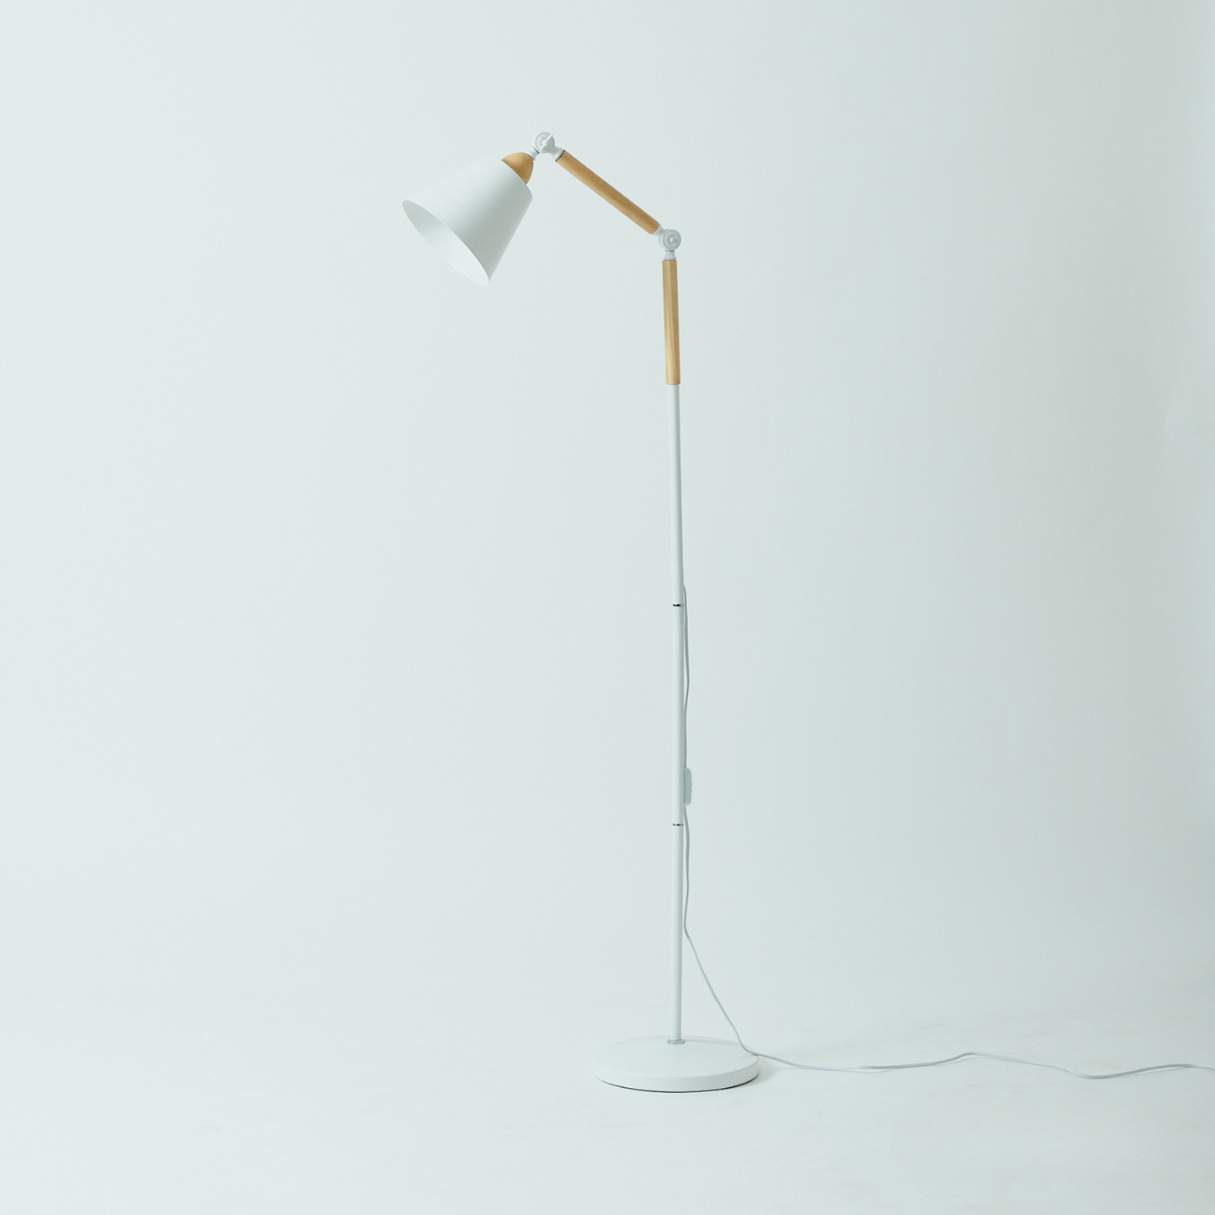
Step 1: Assembling the Base
The first step in creating your own floor lamp is to assemble the lamp base. Follow these simple instructions:
- Unpack all the components of the lamp base and lay them out on a clean workspace.
- If your lamp base consists of multiple pieces, carefully follow the manufacturer’s instructions to connect them together. This may involve using screws, bolts, or other fastening methods.
- Ensure that the lamp base is stable and secure. If necessary, make any adjustments or tighten any loose parts.
- If desired, you can add a personal touch to the lamp base by painting or staining it. This step is optional but can enhance the overall look of your floor lamp.
- Allow sufficient time for the paint or stain to dry before proceeding to the next step.
Once you have successfully assembled the lamp base, you are ready to move on to the next step: wiring the lamp.
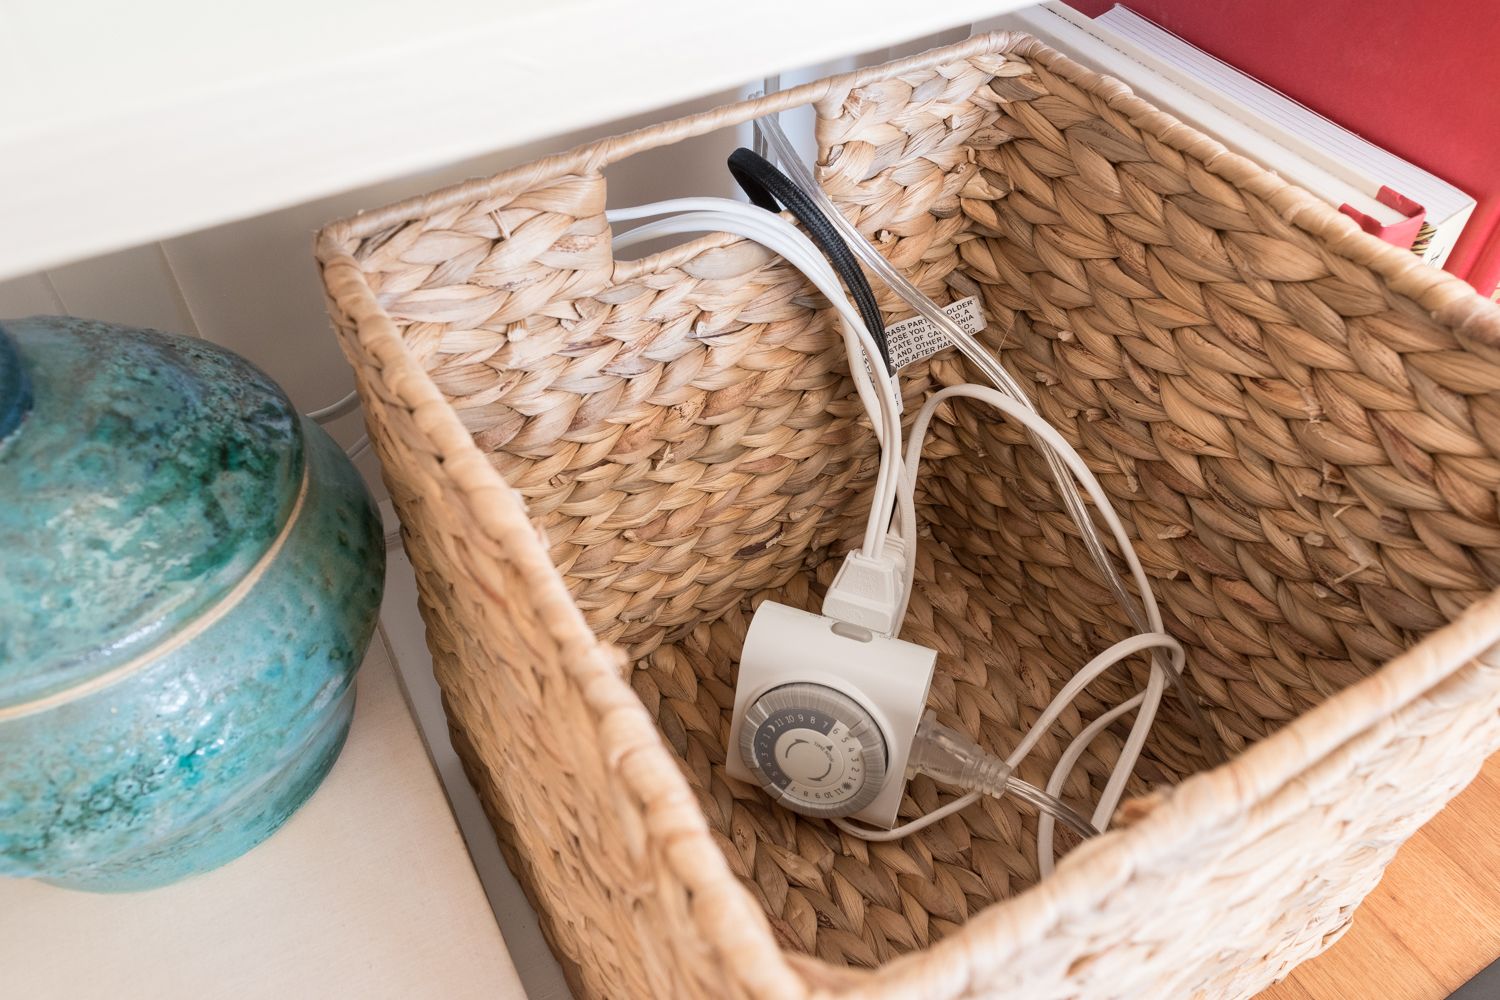
Step 2: Wiring the Lamp
Wiring the lamp is a crucial step in creating your floor lamp. Follow these instructions carefully to ensure a safe and functional electrical setup:
- Start by measuring the length of the electrical cord needed to connect the lamp base to the power outlet. Leave a little extra length for flexibility.
- Using a wire cutter, carefully trim the electrical cord to the desired length.
- Strip the insulation from the ends of the electrical cord, exposing about half an inch of the inner wires.
- Next, locate the lamp socket. Depending on the type of socket, it may come in separate pieces or already pre-assembled.
- If the socket is not pre-assembled, carefully thread the stripped ends of the electrical cord through the socket cap or shell, making sure the smooth or ribbed side of the cord connects to the appropriate terminal.
- Inside the socket, you will find two terminals: a brass-colored terminal (Hot or Live) and a silver-colored terminal (Neutral or Return). Connect the appropriate wire to each terminal. The terminals may be labeled for easy identification.
- After connecting the wires, secure them in place using the screw provided on each terminal. Make sure the connections are tight and secure.
- Use electrical tape to wrap the exposed wires near the socket, ensuring they are covered and protected.
- Tuck the wired socket into the lamp base, following the manufacturer’s instructions. Make sure the socket is securely attached.
- Finally, thread the opposite end of the electrical cord through any holes or openings in the lamp base and secure it in place.
Once you have successfully wired the lamp, it’s time to move on to the next step: attaching the lampshade.
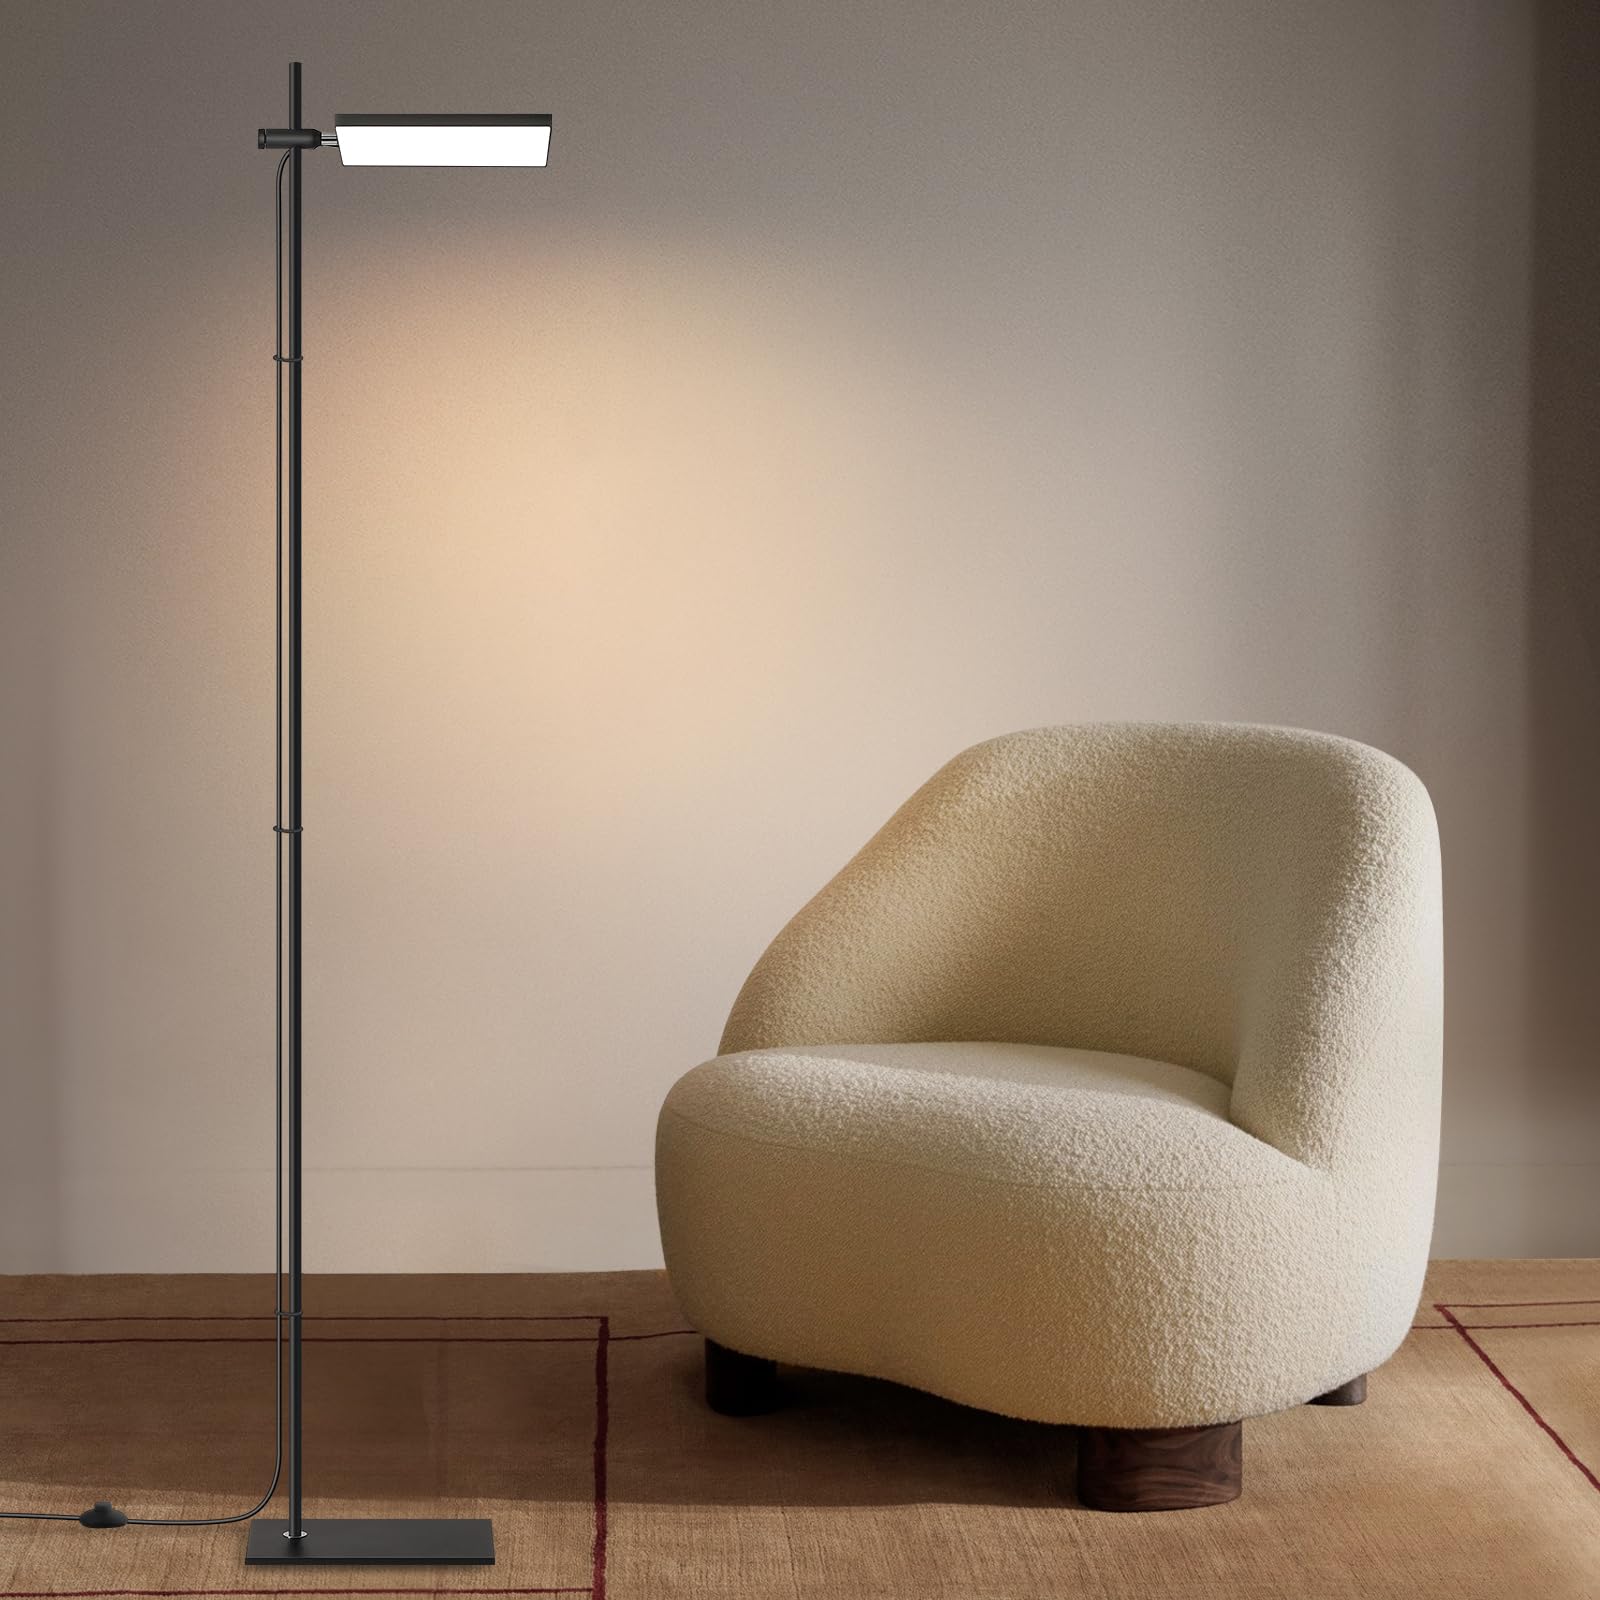
When making a floor lamp, ensure the base is stable and heavy enough to prevent tipping. Consider using a weighted base or adding weight to the base for stability.
Step 3: Attaching the Lampshade
Attaching the lampshade is the next step in completing your floor lamp. Follow these instructions to securely fasten the lampshade:
- Choose the appropriate lampshade for your lamp base. Make sure it is the correct size and style that you desire.
- If your lampshade requires an additional harp, attach it to the lamp base following the manufacturer’s instructions. A harp is a wire frame that supports the lampshade.
- Once the harp is in place, position the lampshade over it and adjust it to sit evenly.
- Depending on the type of lampshade, it may have a finial that screws into the top. If your lampshade has a finial, carefully screw it into place, ensuring it is secure.
- Give the lampshade a gentle shake or tap to ensure it is stable and properly attached to the harp or base.
- If desired, you can further customize your lampshade by adding trim or decorative elements. This step is optional but can add a unique touch to your floor lamp.
With the lampshade securely attached, your floor lamp is almost complete! Now, it’s time for the final step: testing and making any necessary adjustments.
Read more: How To Choose A Floor Lamp
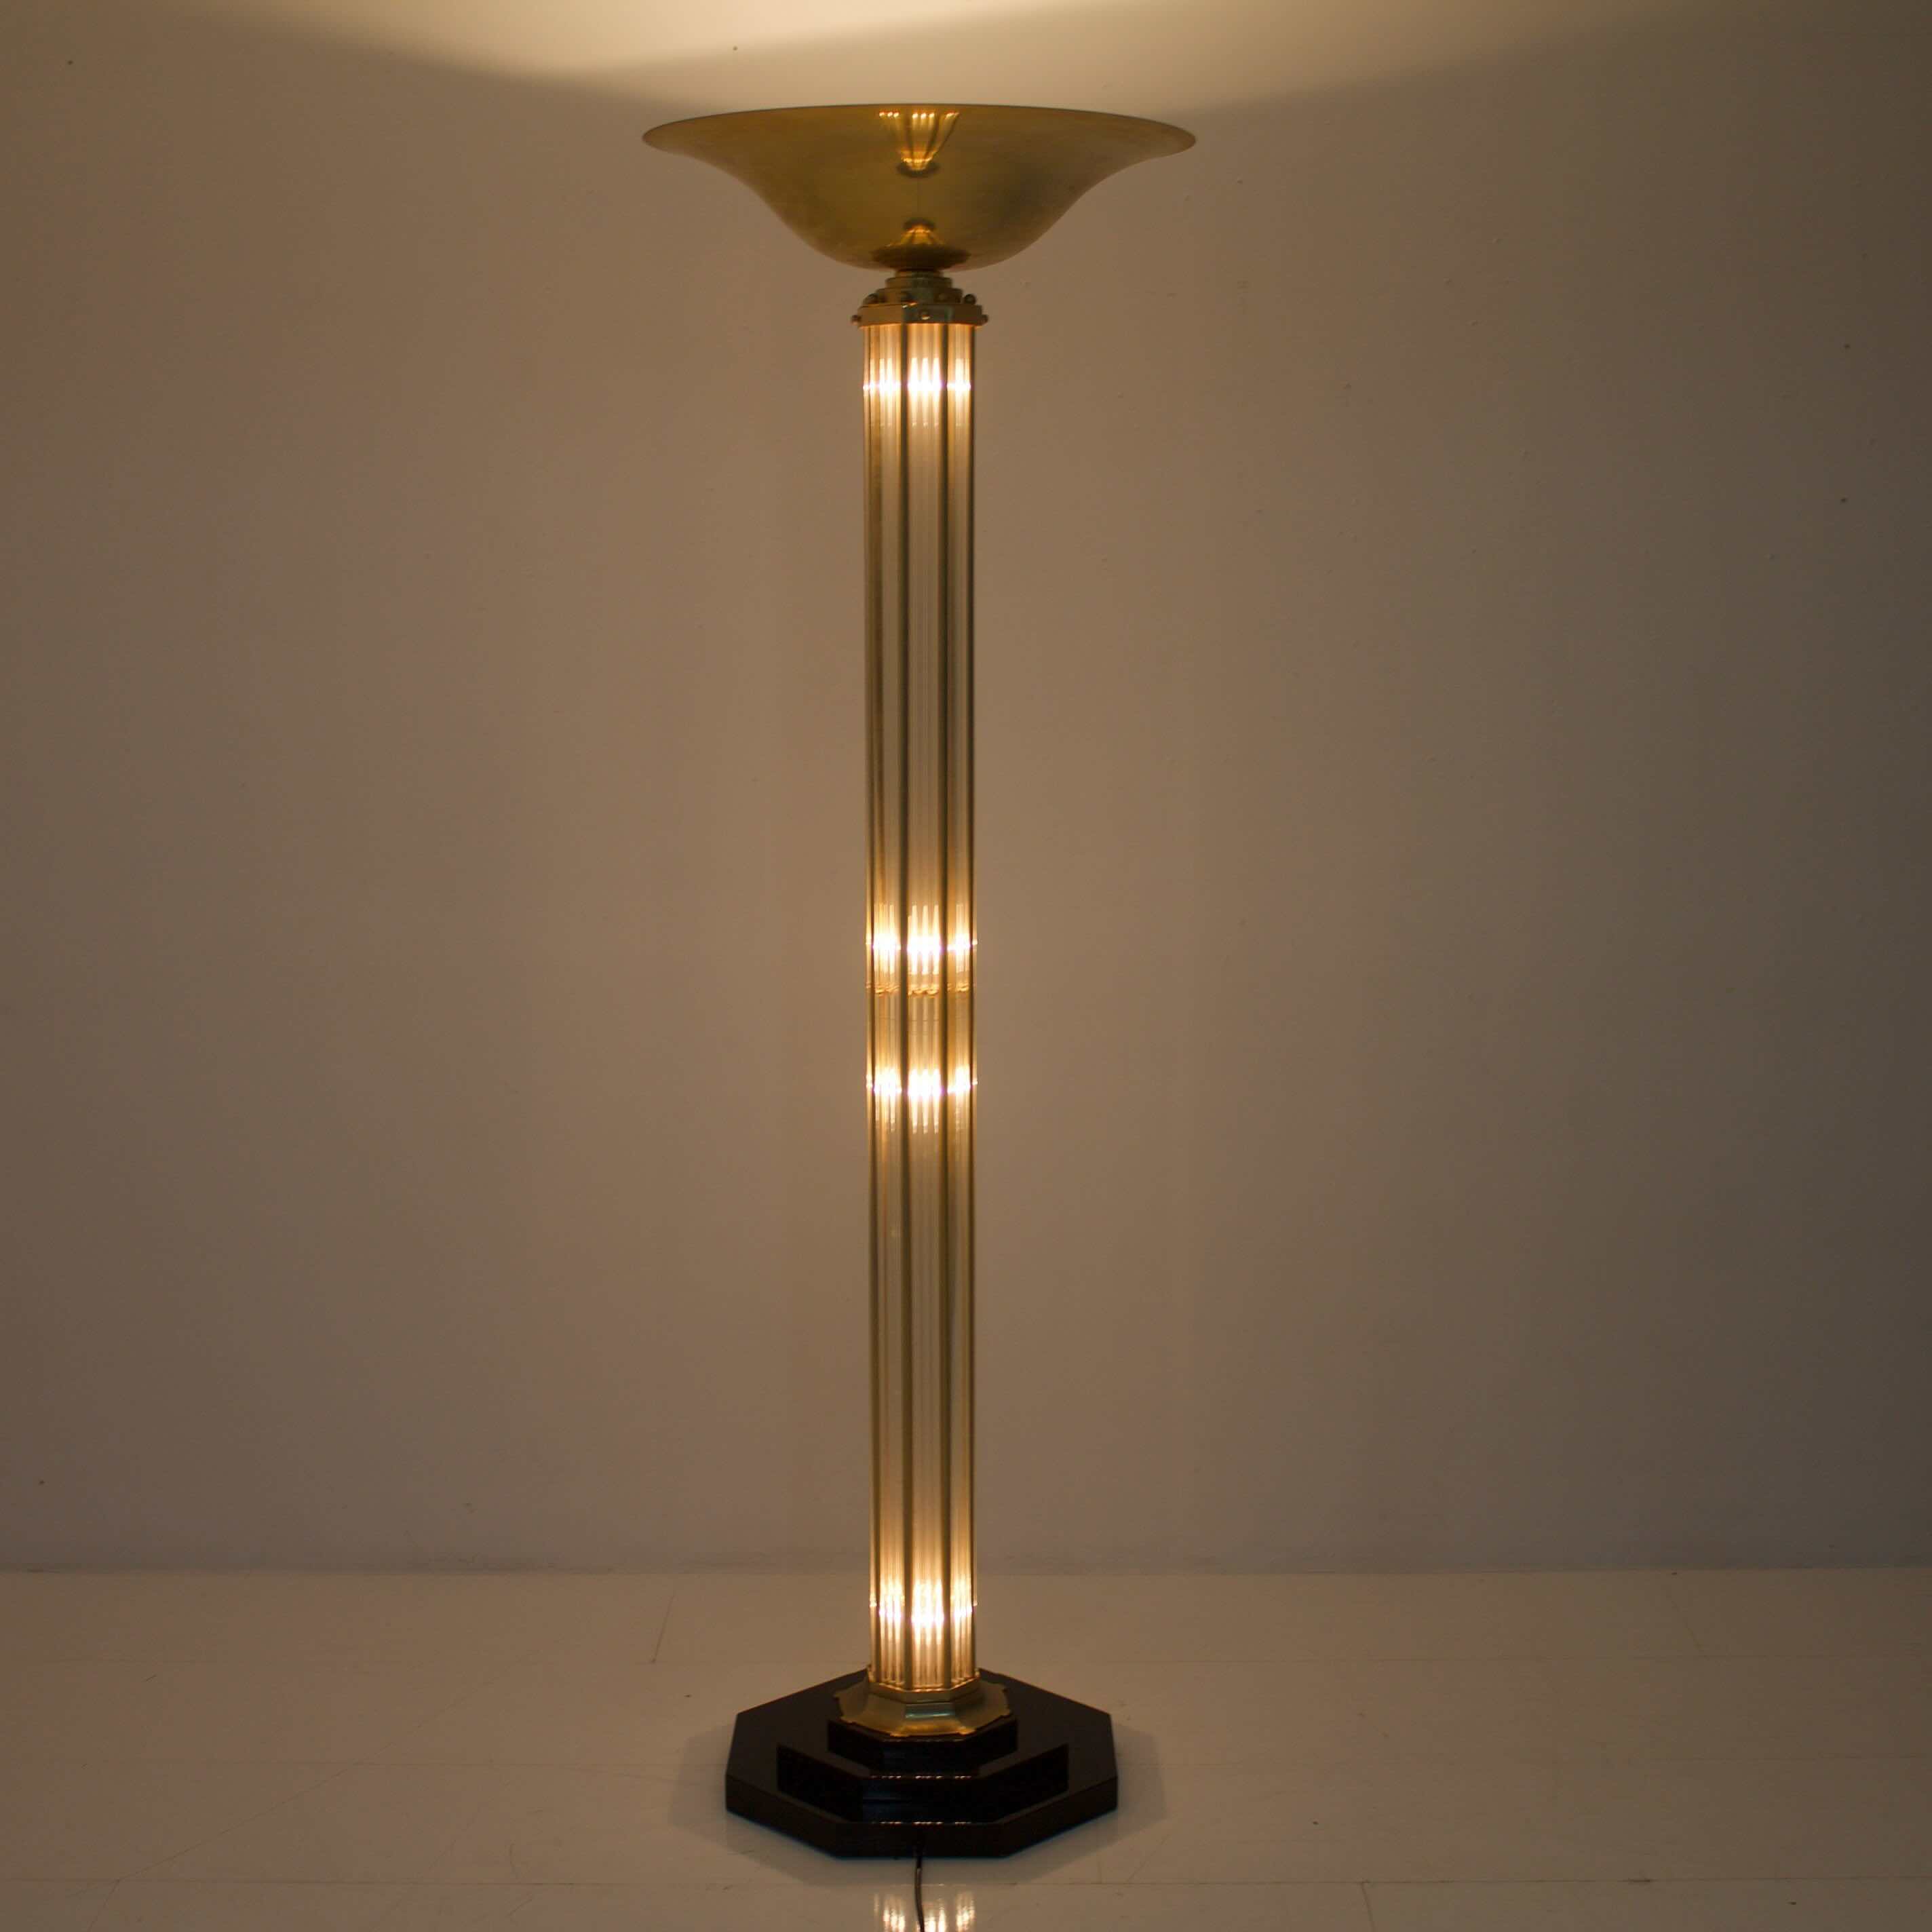
Step 4: Testing and Final Adjustments
Before you can enjoy your newly created floor lamp, it’s important to test its functionality and make any final adjustments. Follow these steps to ensure everything is in working order:
- Plug in the lamp and switch it on to test the lighting. Make sure the light bulb illuminates properly.
- If the lamp doesn’t turn on, double-check the wiring connections inside the socket. Ensure that the wires are securely attached and that there are no loose connections.
- If necessary, tighten any screws or fittings that may have become loose during the assembly process. This will ensure the stability and durability of your floor lamp.
- Inspect the lamp for any potential hazards or safety concerns. Ensure that all wires are properly insulated and that there are no exposed or frayed parts.
- Once you are satisfied with the functionality and safety of your floor lamp, find the ideal spot in your home to place it. Consider the lighting needs of the room and the overall aesthetic appeal.
Congratulations! You have successfully created your own floor lamp. Now, sit back and enjoy the warm and inviting glow it adds to your living space.
Remember, safety is paramount when it comes to electrical projects. If you are uncomfortable or unsure about any aspect of the wiring process, it is always best to consult a professional electrician for assistance.
We hope this guide has been helpful in guiding you through the process of making a floor lamp. Get creative and have fun customizing your lamp to suit your unique style and preferences. Happy DIYing!
Conclusion
Congratulations on completing your DIY floor lamp! By following the steps outlined in this guide, you have not only created a functional lighting fixture but also added a personalized touch to your home decor. Your new floor lamp will not only provide ample lighting but also serve as a stylish and eye-catching statement piece.
Throughout this project, you have learned how to assemble the lamp base, wire the lamp, attach the lampshade, and make final adjustments. These skills can be applied to future DIY projects and empower you to explore your creativity even further.
Remember, safety is paramount when working with any electrical components. If you ever feel unsure or uncomfortable with any aspect of the project, seek the assistance of a professional electrician.
Now that your floor lamp is complete, find the perfect spot in your home to showcase its beauty. Whether it’s in the living room, bedroom, or home office, your new floor lamp will create a warm and inviting ambiance.
We hope this guide has been informative and inspiring, encouraging you to embark on more DIY projects. Enjoy the satisfaction of creating something unique and adding a personal touch to your living space.
Thank you for joining us on this journey of making a floor lamp. Happy crafting!
Frequently Asked Questions about How To Make A Floor Lamp
Was this page helpful?
At Storables.com, we guarantee accurate and reliable information. Our content, validated by Expert Board Contributors, is crafted following stringent Editorial Policies. We're committed to providing you with well-researched, expert-backed insights for all your informational needs.