
Articles
How To Make Concrete Floor
Modified: August 31, 2024
Learn the step-by-step process of creating a concrete floor with our helpful articles. Discover expert tips and techniques for achieving a polished and durable result.
(Many of the links in this article redirect to a specific reviewed product. Your purchase of these products through affiliate links helps to generate commission for Storables.com, at no extra cost. Learn more)
Introduction
When it comes to flooring options, concrete floors offer durability, versatility, and a sleek modern look. Whether you’re looking to revamp your living space or give your commercial property a makeover, a concrete floor can be a great choice. Not only is it long-lasting and low-maintenance, but it can also be customized to suit your style and preferences.
In this article, we will guide you through the process of making a concrete floor, from clearing and preparing the area to sealing the finished product. So, if you’re ready to roll up your sleeves and create a stunning concrete floor, let’s get started!
Key Takeaways:
- Create a durable and stylish concrete floor by following the step-by-step guide, using the right materials, and paying attention to details. Proper planning, execution, and maintenance will result in a beautiful and functional addition to your space.
- Sealing the concrete floor not only adds a layer of protection but also enhances the aesthetics of the surface, making it easier to clean and maintain in the long run. Choose the right sealer, apply it properly, and maintain the sealed floor for long-lasting results.
Read more: How To Waterproof A Concrete Floor
Materials Needed
Before you begin the process of making a concrete floor, it’s important to gather all the necessary materials. Here’s a list of what you’ll need:
- Concrete mix: Choose a high-quality concrete mix that is suitable for flooring applications. You can purchase it from a local home improvement store or a concrete supplier.
- Water: You’ll need water to mix the concrete. Make sure you have a sufficient amount available.
- Concrete sealer: A concrete sealer will protect your floor from stains, moisture, and damage. Select a sealer that is compatible with your concrete mix.
- Protective gear: It’s important to prioritize safety during the process. Wear protective gear such as gloves, safety glasses, and a dust mask to protect yourself from any potential hazards.
- Mixing container and tools: Use a large mixing container like a wheelbarrow or a cement mixer. You’ll also need tools such as a trowel, a float, and a level.
- Measuring tools: To ensure accurate measurements, have tools like a measuring tape or a ruler.
- Brush or roller: You’ll need a brush or a roller to apply the concrete sealer.
- Cleaning supplies: Keep cleaning supplies like a broom, mop, and bucket on hand to clean the area and remove any debris.
Make sure you have all of these materials readily available before you begin the concrete floor-making process. It’s best to gather everything in advance to ensure a smooth and efficient workflow.
Step 1: Clearing and Preparing the Area
The first step in making a concrete floor is to clear and prepare the area where the floor will be installed. Follow these steps to ensure a proper foundation:
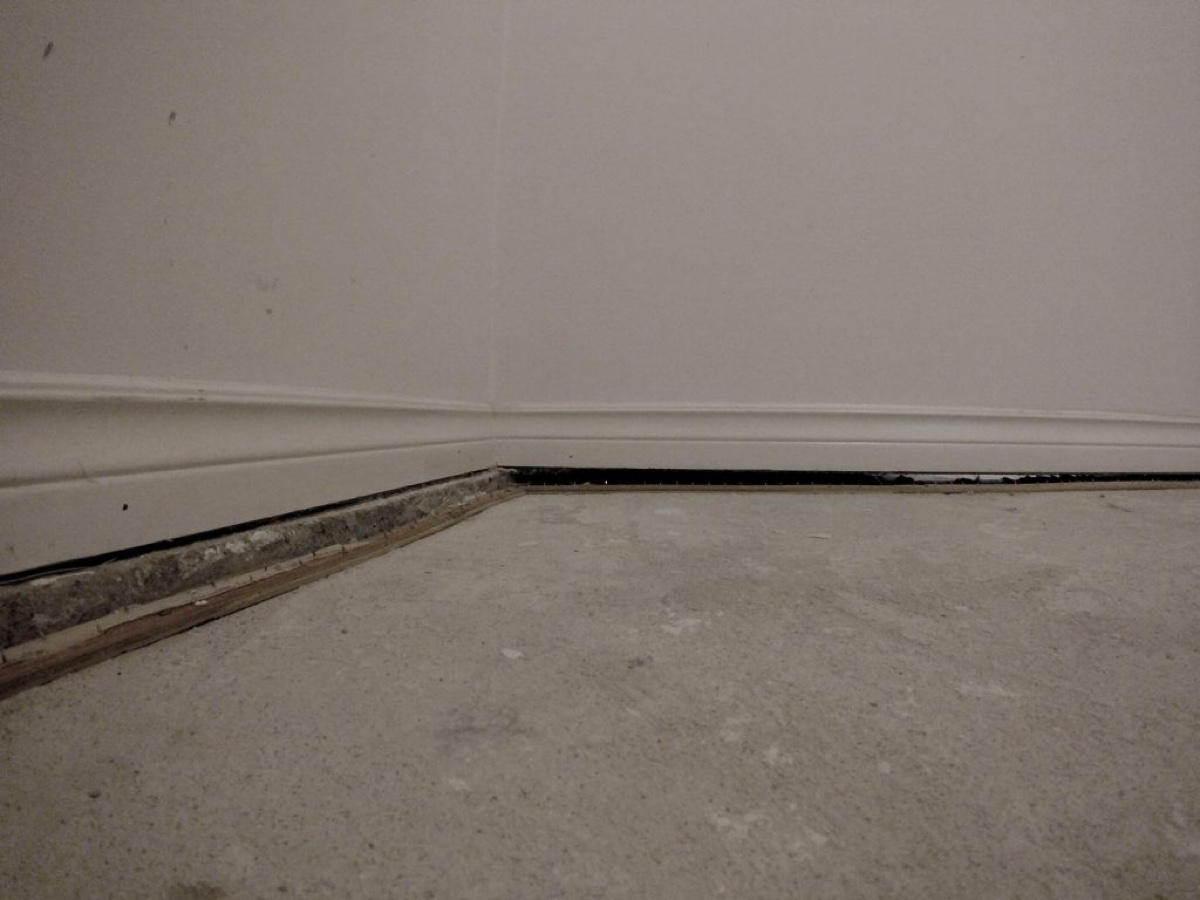
- Remove all existing flooring: If there is any existing flooring, such as carpet, tiles, or hardwood, remove it completely. Use a pry bar or a scraper to carefully lift and detach the flooring material.
- Clean the subfloor: Thoroughly clean the subfloor to remove any dirt, debris, or adhesive residues. Sweep the floor and use a damp mop to ensure a clean surface.
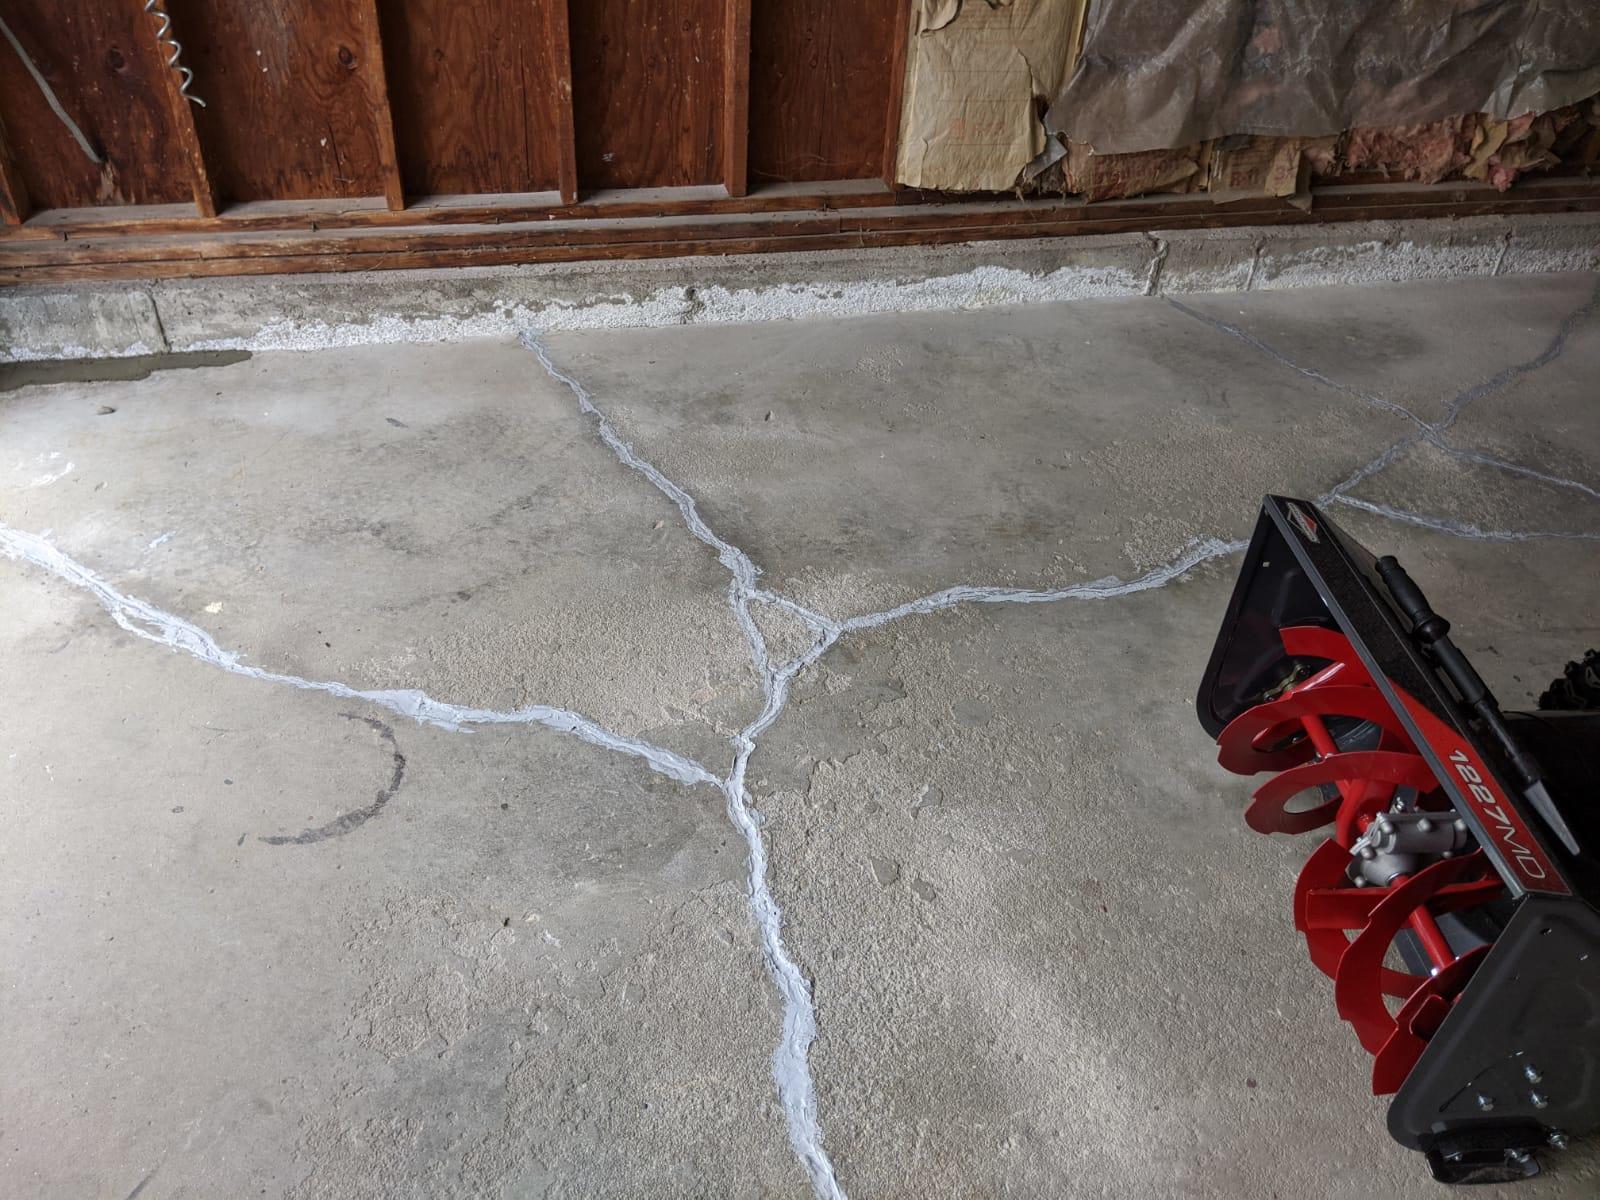
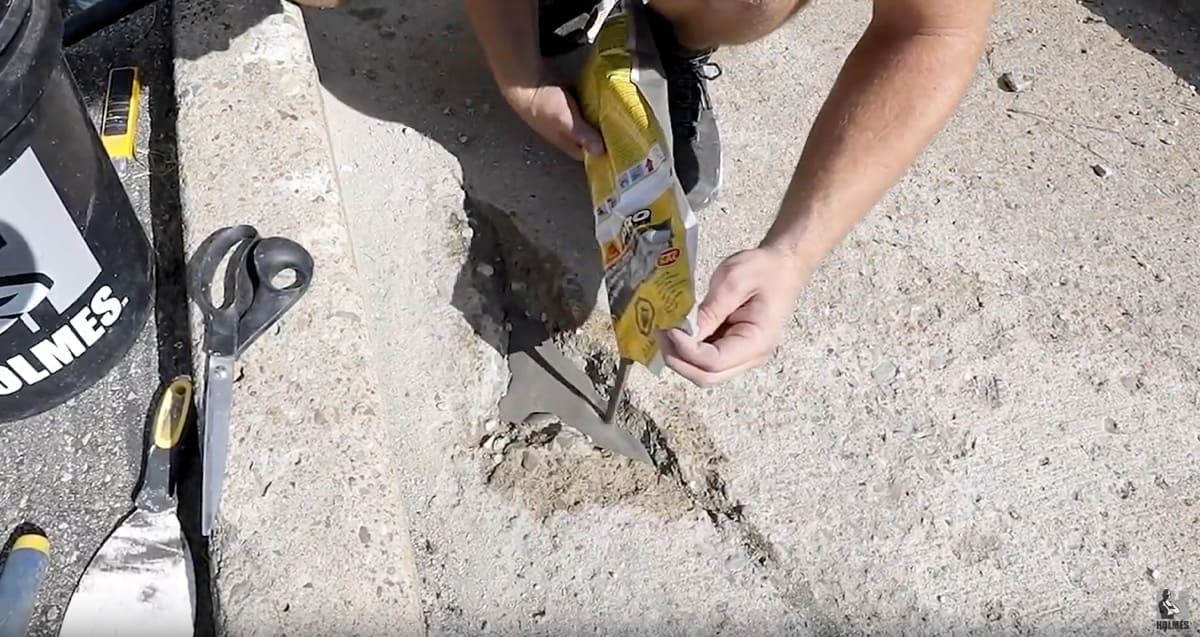
- Repair any damage: If you notice any cracks, holes, or uneven areas on the subfloor, repair them before proceeding. Fill in cracks with a suitable concrete filler and level any uneven sections with a floor leveling compound.
- Check for moisture: It’s essential to test the moisture levels in the subfloor. Excessive moisture can lead to future problems with the concrete floor. Use a moisture meter to check the levels and ensure they are within the manufacturer’s recommended range.
- Apply a vapor barrier: If necessary, install a vapor barrier to prevent moisture from seeping into the concrete. Roll out the barrier and cut it to fit the dimensions of the room. Overlap the seams and secure it to the subfloor using adhesive or tape.
By clearing and preparing the area properly, you’ll create a solid foundation for your concrete floor. This step is crucial to ensure the longevity and performance of the finished product.
Step 2: Mixing the Concrete
Once you have prepared the area, it’s time to mix the concrete. Follow these steps to achieve the right consistency:
- Calculate the amount of concrete: Measure the dimensions of the area to determine the amount of concrete mix you’ll need. Refer to the packaging for recommended ratios of water to concrete mix.
- Wear protective gear: Put on your gloves, safety glasses, and dust mask to protect yourself from the concrete dust and any potential hazards during the mixing process.
- Prepare the mixing container: Use a wheelbarrow or a cement mixer as your mixing container. Make sure it is clean and free from any debris.
- Add the concrete mix: Pour the recommended amount of concrete mix into the mixing container. Create a small well in the center of the dry mix to hold the water.
- Add water gradually: Slowly pour water into the well in the center of the dry mix. Use a shovel or a trowel to mix the water and concrete mixture together. Add water in small increments until you achieve a workable consistency. Avoid adding too much water, as it can weaken the final concrete.
- Continue mixing: Use a mixing tool, such as a shovel or a paddle mixer, to thoroughly mix the concrete until it is evenly blended and free of lumps. Make sure the mixture is smooth and has a uniform texture.
Ensure the concrete mixture is well-mixed and has a consistency that allows it to be easily spread and leveled. This will make it easier to work with during the pouring and finishing steps.
Step 3: Pouring the Concrete
With the concrete mixture prepared, it’s time to pour it onto the prepared area. Follow these steps to ensure a smooth and successful pouring process:
- Start at a corner: Begin pouring the concrete at one corner of the area. This will allow you to work systematically and avoid stepping on the freshly poured concrete.
- Distribute the concrete: Use a shovel or a wheelbarrow to distribute the concrete evenly across the area. Make sure to fill in all the corners and edges.
- Spread the concrete: Use a screed board, a long straight board, to level and spread the concrete. Move the board back and forth in a sawing motion to distribute the concrete evenly and level the surface.
- Fill low spots: If you notice any low spots or areas where the thickness of the concrete is uneven, add more concrete to those areas and level them out using the screed board.
- Screed and smooth: Once the concrete is distributed, use a float to smooth out the surface. A float is a large rectangular tool that helps to even out the concrete and remove any excess material.
- Repeat the process: Continue pouring, spreading, and leveling the concrete in small sections until the entire area is covered.
Take your time during the pouring process to ensure that the concrete is evenly distributed and leveled. This will result in a uniform and professional-looking finish for your concrete floor.
When making a concrete floor, ensure the subfloor is clean and level before pouring the concrete. Use a proper mix of cement, sand, and aggregate for strength and durability. Properly cure the concrete to prevent cracking.
Read more: How To Stain A Concrete Floor
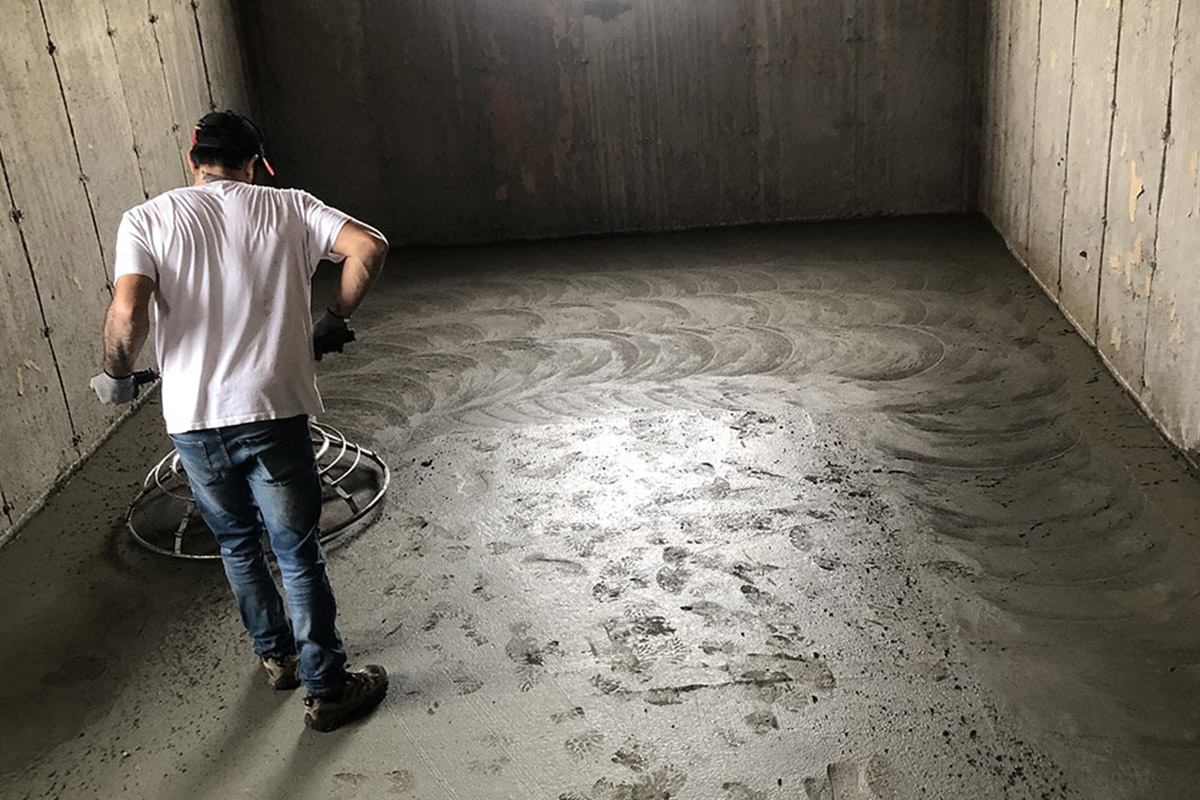
Step 4: Leveling and Smoothing the Surface
After pouring the concrete, it’s important to ensure that the surface is leveled and smoothed. Follow these steps to achieve a seamless and professional finish:
- Use a bull float: Once the concrete has been poured and spread, use a bull float to level and smooth the surface. A bull float is a large rectangular or round tool with a long handle. Move it back and forth in long strokes to level any uneven areas and remove excess concrete.
- Check for low spots: Inspect the surface for any low spots or depressions. If you find any, add more concrete and use the bull float to level them out.
- Smooth with a magnesium float: After bull floating, use a magnesium float to further smooth the surface. The magnesium float will help to close any surface imperfections and create a polished finish.
- Resurface and fill any voids: If you notice any voids or air pockets on the surface, use a trowel to resurface those areas. Add a thin layer of concrete mix and smooth it out to fill the voids.
- Use an edger: To create clean and defined edges, run an edger along the perimeter of the concrete floor. This will give the floor a finished look and prevent any chipping or cracking.
- Finish with a trowel: Finally, use a trowel to further smooth and refine the surface. Hold the trowel at a slight angle and gently glide it over the concrete in circular motions. This will help to eliminate any trowel marks and create a uniformly smooth surface.
Take your time during the leveling and smoothing process to ensure a flawless finish. Properly addressing any imperfections will result in an aesthetically pleasing and professional-looking concrete floor.
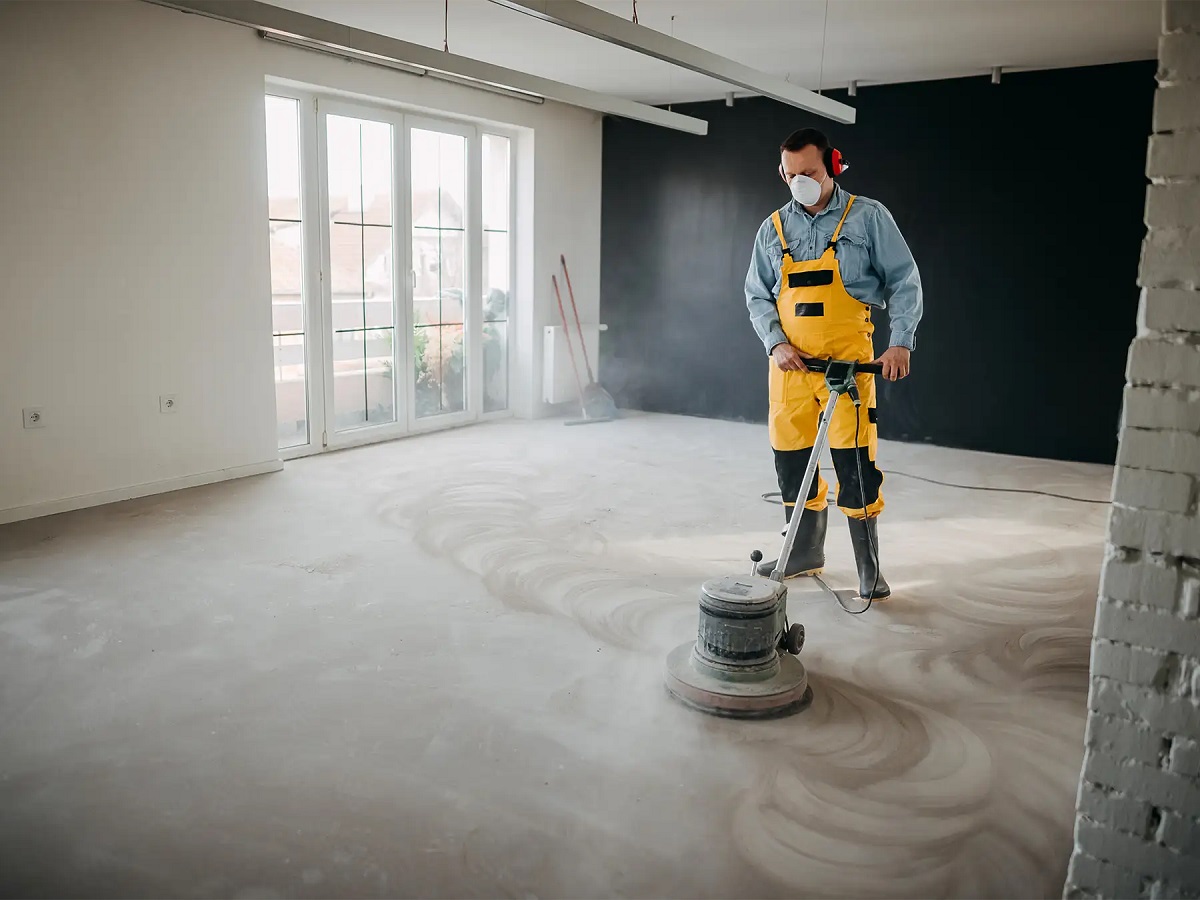
Step 5: Curing and Drying the Concrete
After leveling and smoothing the concrete surface, it’s crucial to allow it to cure and dry properly. Curing and drying will ensure the strength and durability of your concrete floor. Follow these steps for effective curing:
- Cover the concrete: Immediately after finishing, cover the concrete with a plastic sheet or a curing compound. This will help to retain moisture and minimize moisture loss during the curing process.
- Maintain moisture: Keep the concrete moist for at least 3-7 days, depending on the temperature and humidity conditions. This can be done by regularly spraying the surface with water or placing wet burlap sheets over it.
- Avoid foot traffic: During the curing period, avoid walking or placing heavy objects on the concrete floor. This will prevent any damage or marks on the surface.
- Allow for proper drying time: After the curing period, allow the concrete floor to dry completely. This can take approximately 7-10 days, but it may vary depending on the temperature and humidity levels in your area.
- Test for moisture content: Before proceeding with further steps, it’s important to test the moisture content of the concrete. Perform a moisture test using a moisture meter to ensure that the floor is dry enough for the next steps.
Proper curing and drying are essential for the long-term strength and performance of your concrete floor. Allowing sufficient time for the concrete to cure and dry will minimize the risk of cracks, shrinkage, and other potential issues.
Step 6: Sealing the Concrete
Sealing the concrete floor is the final step in the process, and it plays a crucial role in protecting the surface and enhancing its appearance. Follow these steps to effectively seal your concrete floor:
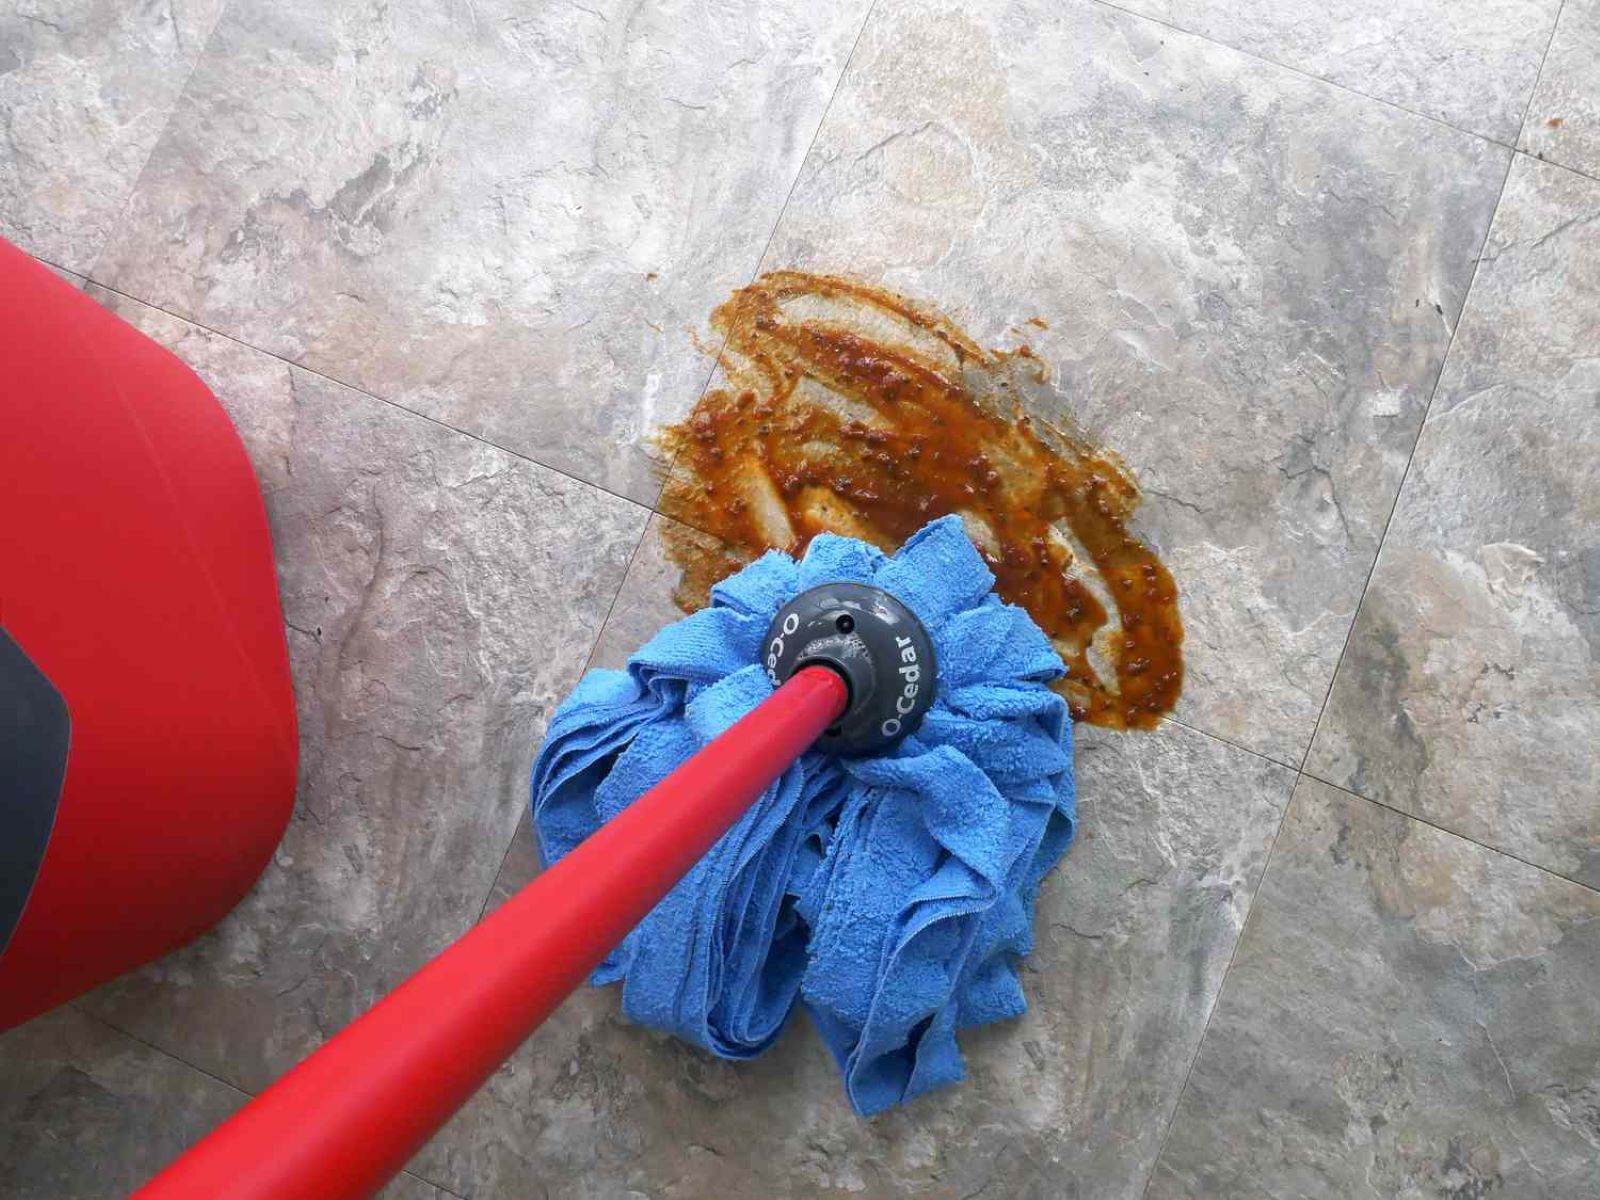
- Clean the surface: Before applying the sealer, ensure that the concrete floor is clean and free of any dust, debris, or stains. Sweep or vacuum the surface to remove loose particles.
- Choose the right sealer: Select a concrete sealer that is suitable for your specific needs. There are various types of sealers available, such as acrylic sealers, epoxy sealers, or penetrating sealers. Consider factors like the level of shine, durability, and compatibility with your concrete mix.
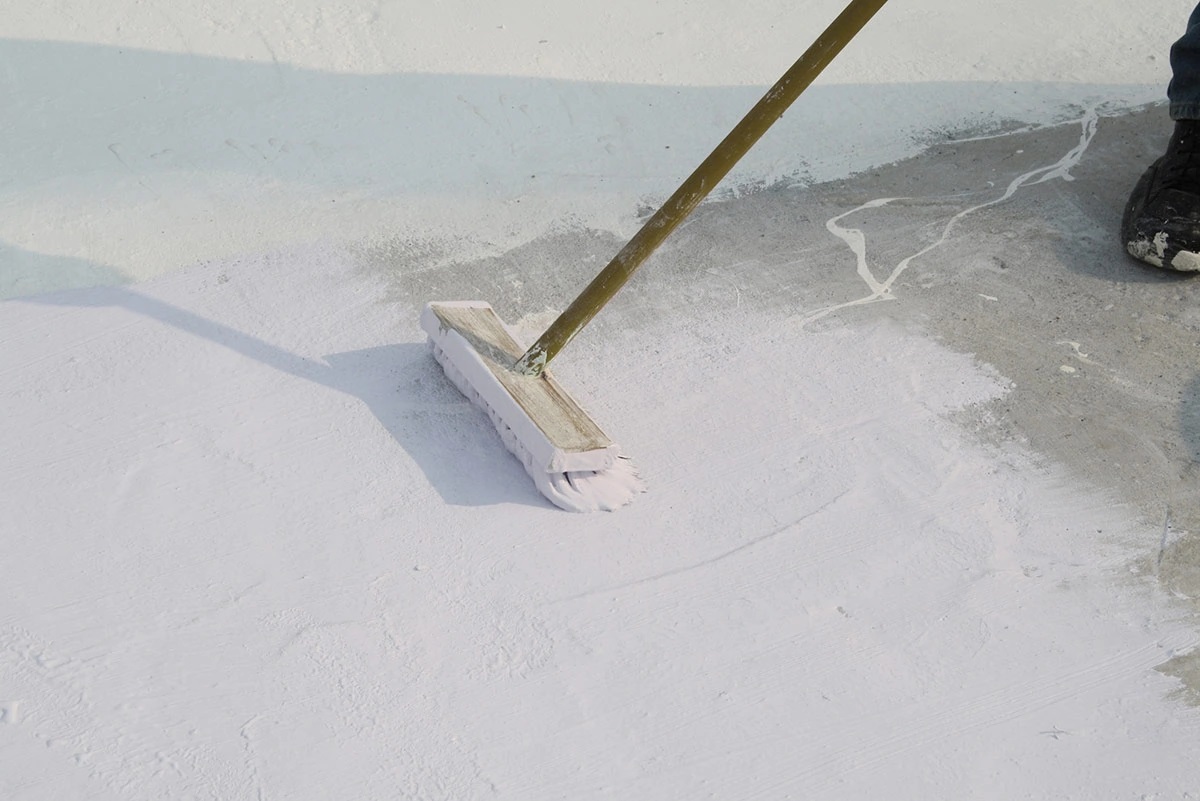
- Apply the sealer: Follow the manufacturer’s instructions on how to apply the sealer. Use a brush or a roller to evenly apply the sealer on the concrete surface. Start at one end and work your way towards the other end, ensuring complete coverage.
- Allow drying and curing: After applying the sealer, give it sufficient time to dry and cure. This can take anywhere from a few hours to a couple of days, depending on the type of sealer used. Make sure to follow the manufacturer’s recommended drying and curing times.
- Apply additional coats (if necessary): Depending on the desired level of protection and appearance, you may choose to apply additional coats of sealer. Allow each coat to dry and cure before applying the next one.
- Maintain the sealed floor: After the sealer has fully cured, it’s important to maintain the sealed concrete floor properly. Regularly clean the floor using a mild detergent and a soft-bristle brush or mop. Avoid using harsh chemicals or abrasive cleaning tools that can damage the sealer.
Sealing the concrete floor not only adds a layer of protection but also enhances the aesthetics of the surface. It helps to safeguard the floor against stains, moisture penetration, and wear and tear, making it easier to clean and maintain in the long run.
Conclusion
Congratulations! You have successfully learned how to make a concrete floor. By following the step-by-step guide and using the right materials and techniques, you can create a durable and stylish concrete floor that will stand the test of time.
From clearing and preparing the area to pouring, leveling, curing, and sealing the concrete, each step is crucial in ensuring a high-quality and long-lasting floor. Taking the time to properly plan, execute, and maintain your concrete floor will result in a beautiful and functional addition to your space.
Remember to gather all the necessary materials, wear protective gear, and follow proper safety precautions throughout the process. Pay attention to details and take extra care when leveling and smoothing the surface to achieve a flawless finish.
Once your concrete floor is complete, it’s important to allow it to cure and dry thoroughly before applying a sealer. The sealer will not only protect your floor but also enhance its appearance and make it easier to clean and maintain in the future.
Lastly, be sure to maintain your sealed concrete floor by regularly cleaning it and avoiding harsh chemicals or abrasive tools that can damage the sealer. With proper care, your concrete floor will continue to impress and serve you well for years to come.
Now that you have the knowledge and understanding of how to make a concrete floor, it’s time to put it into practice. So gather your materials, roll up your sleeves, and enjoy the process of creating your very own stunning concrete floor!
Frequently Asked Questions about How To Make Concrete Floor
Was this page helpful?
At Storables.com, we guarantee accurate and reliable information. Our content, validated by Expert Board Contributors, is crafted following stringent Editorial Policies. We're committed to providing you with well-researched, expert-backed insights for all your informational needs.


0 thoughts on “How To Make Concrete Floor”