Home>Furniture & Design>Outdoor Furniture>How To Put Up Outdoor String Lights
Outdoor Furniture
How To Put Up Outdoor String Lights
Modified: October 20, 2024
Learn how to easily put up outdoor string lights to enhance your outdoor-furniture-furniture-and-design. Create a warm and inviting ambiance for your outdoor space today!
(Many of the links in this article redirect to a specific reviewed product. Your purchase of these products through affiliate links helps to generate commission for Storables.com, at no extra cost. Learn more)
Introduction
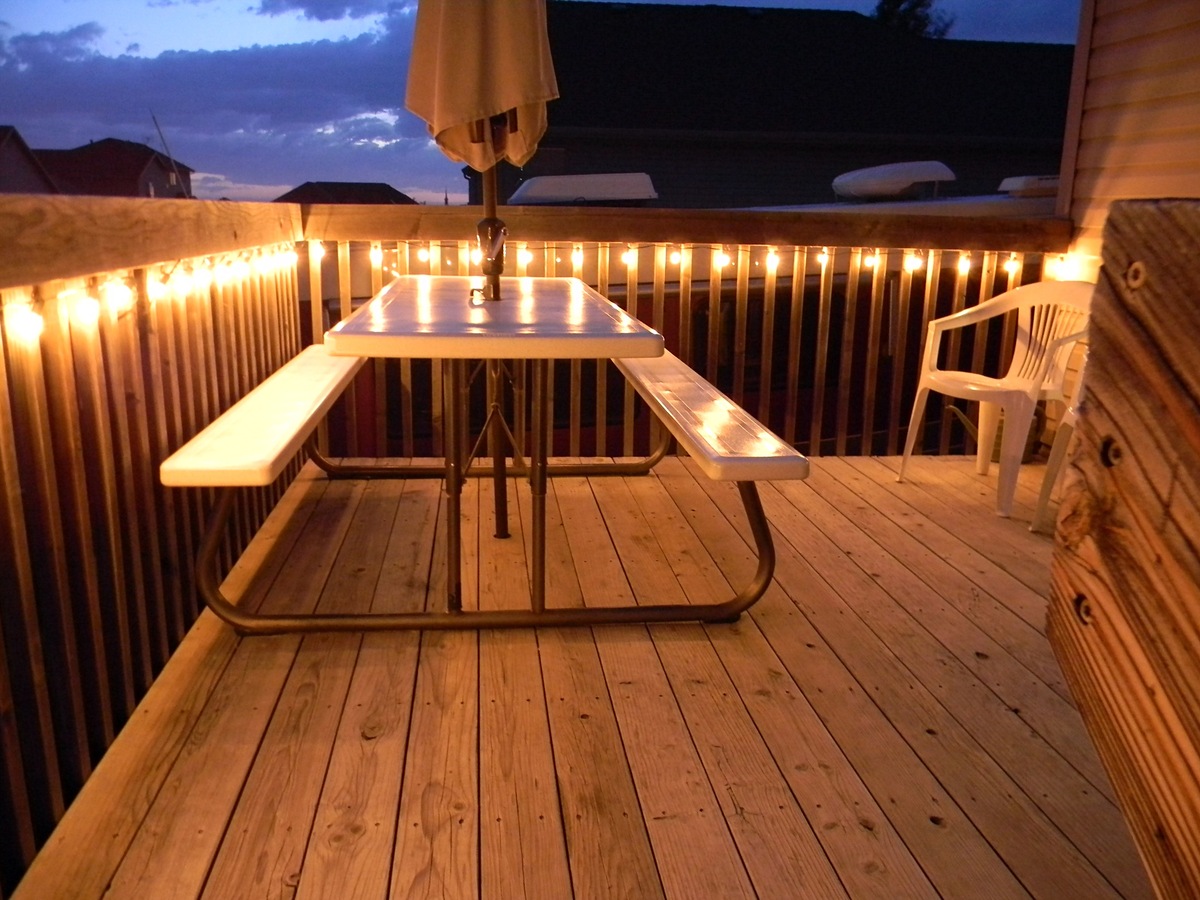
Welcome to the world of outdoor string lights! Adding these charming and versatile fixtures to your outdoor space can instantly transform it into a cozy, inviting, and visually stunning area. Whether you're hosting a lively backyard gathering or simply seeking to create a serene ambiance for relaxation, outdoor string lights are a fantastic way to elevate your outdoor decor.
In this guide, we will walk you through the process of installing outdoor string lights, from the initial planning stages to the final glowing result. By following these steps, you can illuminate your outdoor space with a warm and enchanting glow, creating an inviting atmosphere for entertaining, unwinding, or simply enjoying the beauty of your outdoor surroundings.
So, let's dive into the world of outdoor string lights and discover how to bring a touch of magic to your outdoor living area!
Key Takeaways:
- Create a captivating outdoor oasis by carefully planning, selecting, and installing string lights. Illuminate your space with a warm and inviting glow, perfect for gatherings and relaxation.
- Infuse your outdoor area with enchanting string lights to transform it into a cozy and visually stunning retreat. Embrace the magic of illuminated evenings, creating cherished moments in your outdoor sanctuary.
Read more: How To Put Up String Lights On Balcony
Step 1: Planning and Preparation
Before diving into the installation process, it’s crucial to start with a well-thought-out plan. This initial phase sets the stage for a successful outdoor string light display and ensures that the end result aligns with your vision. Here’s how to get started:
- Assess Your Outdoor Space: Begin by evaluating your outdoor area to determine where you want to install the string lights. Consider the layout of your space, the presence of any trees, pergolas, or other structures, and the availability of power sources.
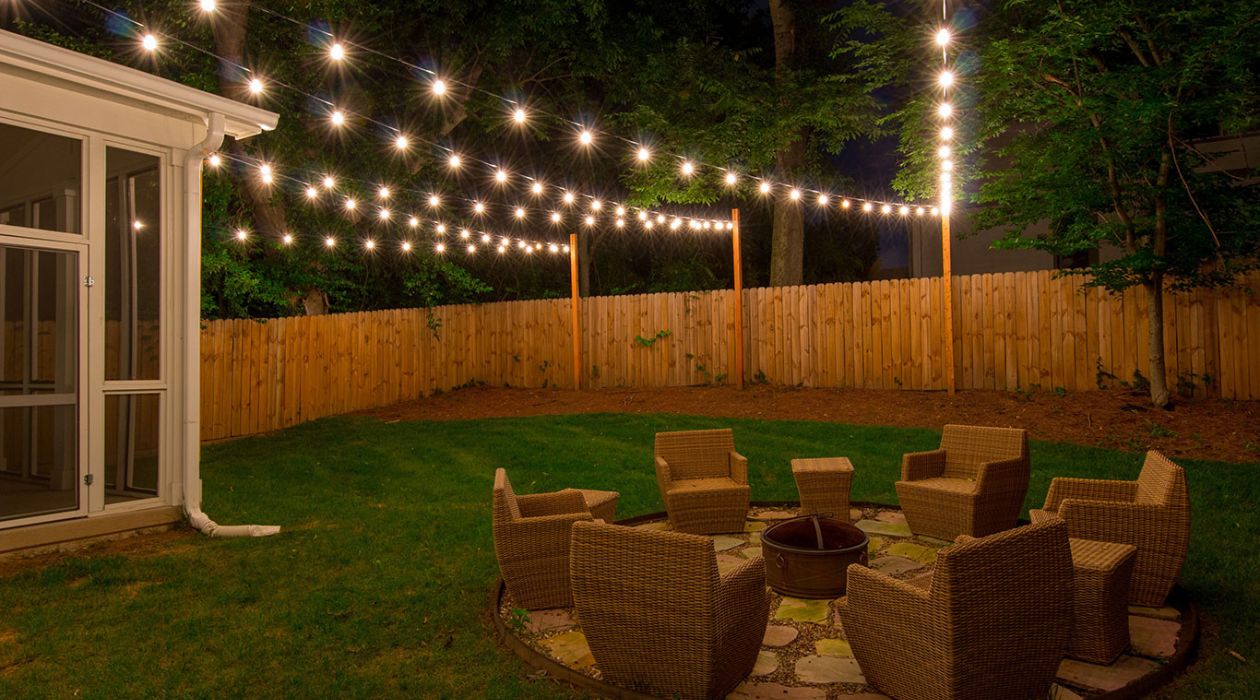
- Create a Lighting Design: Visualize how you want the string lights to enhance your outdoor ambiance. Whether you aim for a softly illuminated patio, a captivating overhead canopy of lights, or a combination of both, sketching out a lighting design will guide your installation process.
- Measure and Plan for Length: Take accurate measurements of the areas where you intend to hang the lights. This step will help you determine the quantity and length of string lights needed to cover the desired spaces, preventing any last-minute shortages.
- Consider Power Sources: Determine the availability of power outlets and consider whether you’ll need to use outdoor-rated extension cords or install additional electrical outlets to power the lights.
- Weatherproofing: Since the lights will be exposed to the elements, ensure that they are designed for outdoor use and are weatherproof. This will help maintain their durability and performance over time.
By carefully planning and preparing for the installation, you can lay the groundwork for a seamless and visually stunning outdoor lighting display. With these considerations in mind, you’re ready to move on to the next step: choosing the right lights for your outdoor space.
Step 2: Choosing the Right Lights
When it comes to outdoor string lights, the options are abundant, offering a wide array of styles, bulb types, and lighting effects. Selecting the right lights for your outdoor space is essential to achieving the desired ambiance and visual appeal. Here’s how to make the best choice:
- Consider the Aesthetic: Determine the ambiance you wish to create. Whether you prefer a warm, vintage-inspired glow, a vibrant and colorful display, or a contemporary and minimalist look, there are string lights to suit every aesthetic.
- Choose the Bulb Type: From classic incandescent bulbs to energy-efficient LED options, each bulb type offers distinct advantages. LED bulbs are known for their durability, energy efficiency, and long lifespan, while incandescent bulbs exude a warm, traditional glow.
- Explore Different Shapes and Sizes: String lights are available in various bulb shapes and sizes, including traditional round bulbs, Edison-style bulbs, globe lights, and novelty shapes. Consider which style complements your outdoor decor and aligns with your lighting design.
- Assess Lighting Effects: Some string lights offer unique lighting effects, such as dimmable options, color-changing capabilities, or twinkling bulbs. Explore these features to add an extra layer of charm to your outdoor space.
- Ensure Outdoor Durability: Opt for lights specifically designed for outdoor use, ensuring they are weatherproof and durable enough to withstand exposure to the elements, including rain, wind, and sunlight.
- Review Installation Requirements: Consider the installation method required for the chosen lights. Some string lights are designed for easy suspension on a pergola or between trees, while others may require additional hardware or support for installation.
By carefully considering these factors, you can select the perfect string lights that align with your design preferences and outdoor lighting needs. Once you’ve chosen the ideal lights, you’re ready to move on to the exciting phase of installing them in your outdoor space.
Step 3: Installing the Lights
With the planning and light selection stages complete, it’s time to bring your outdoor string light design to life. The installation process is where your vision begins to materialize, creating a captivating and inviting atmosphere in your outdoor space. Follow these steps to install your chosen string lights:
- Gather Installation Supplies: Before starting, ensure you have all the necessary tools and hardware, including light strings, hanging hooks or hardware, a ladder, and any additional support materials required for your specific installation method.
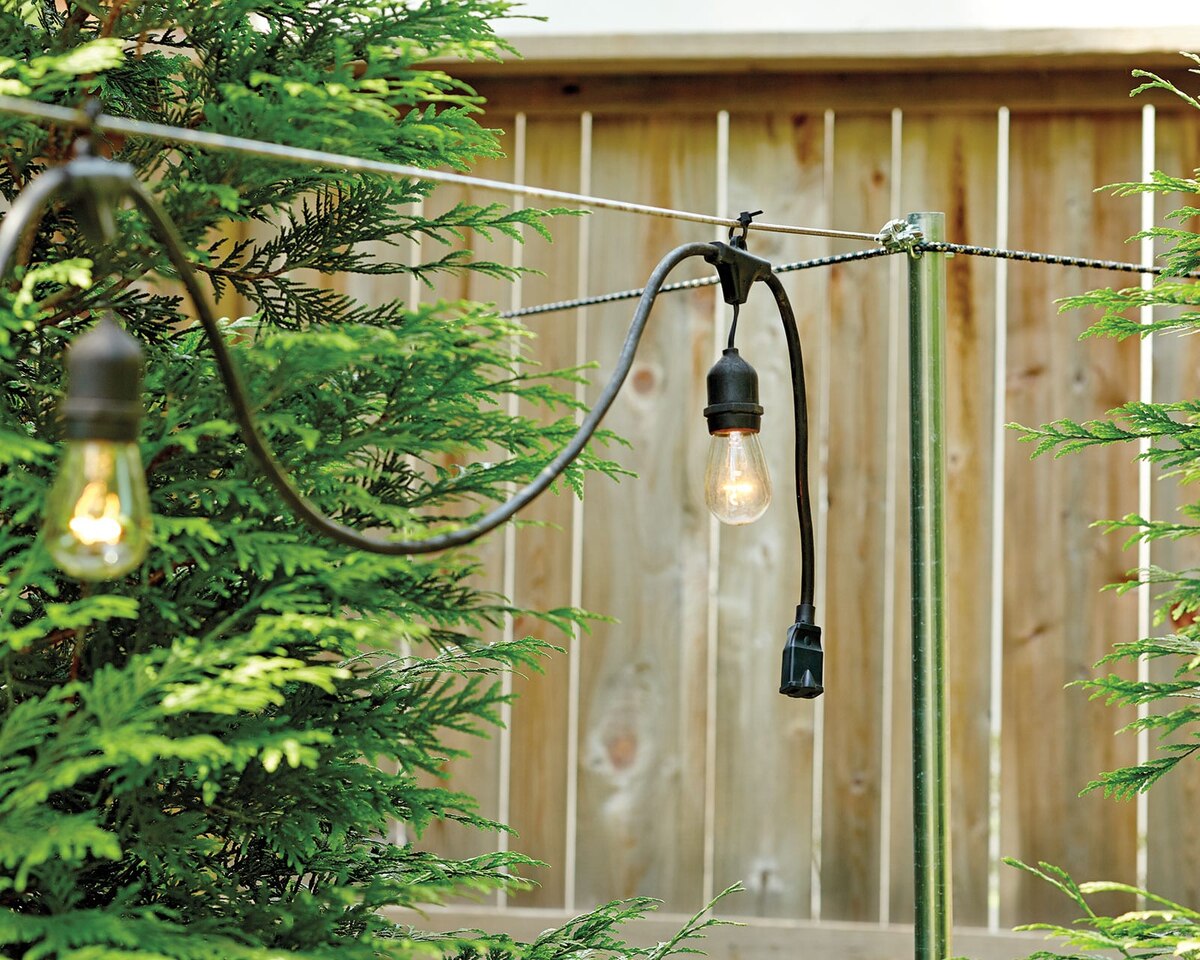
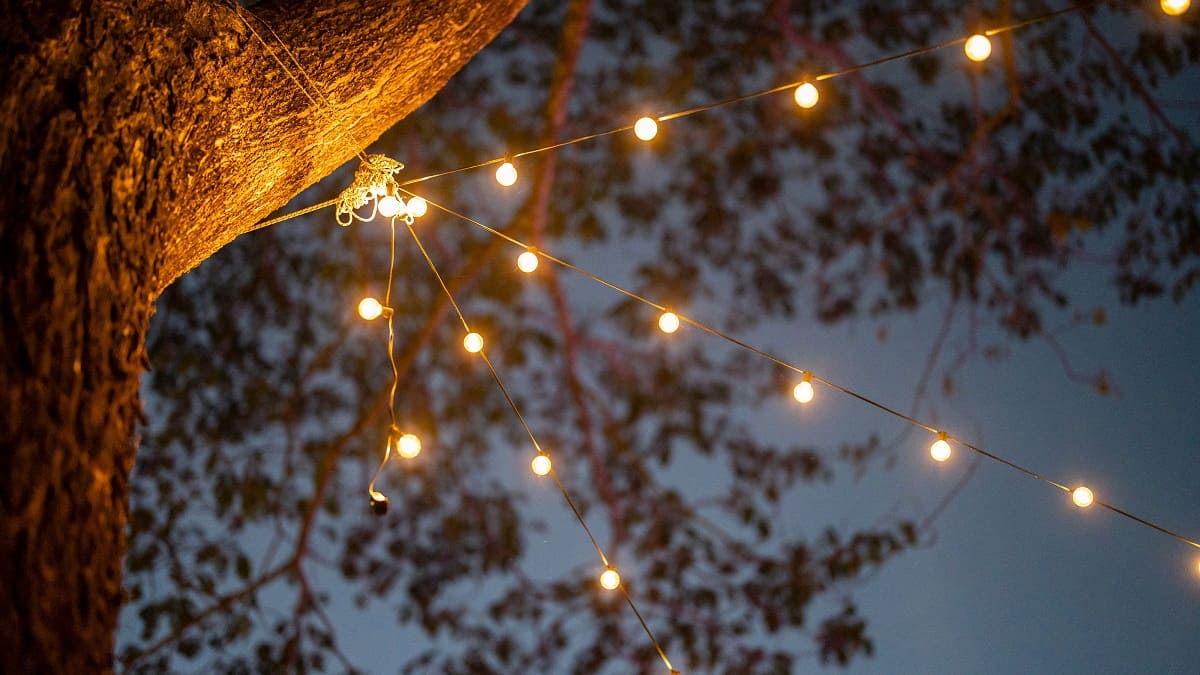
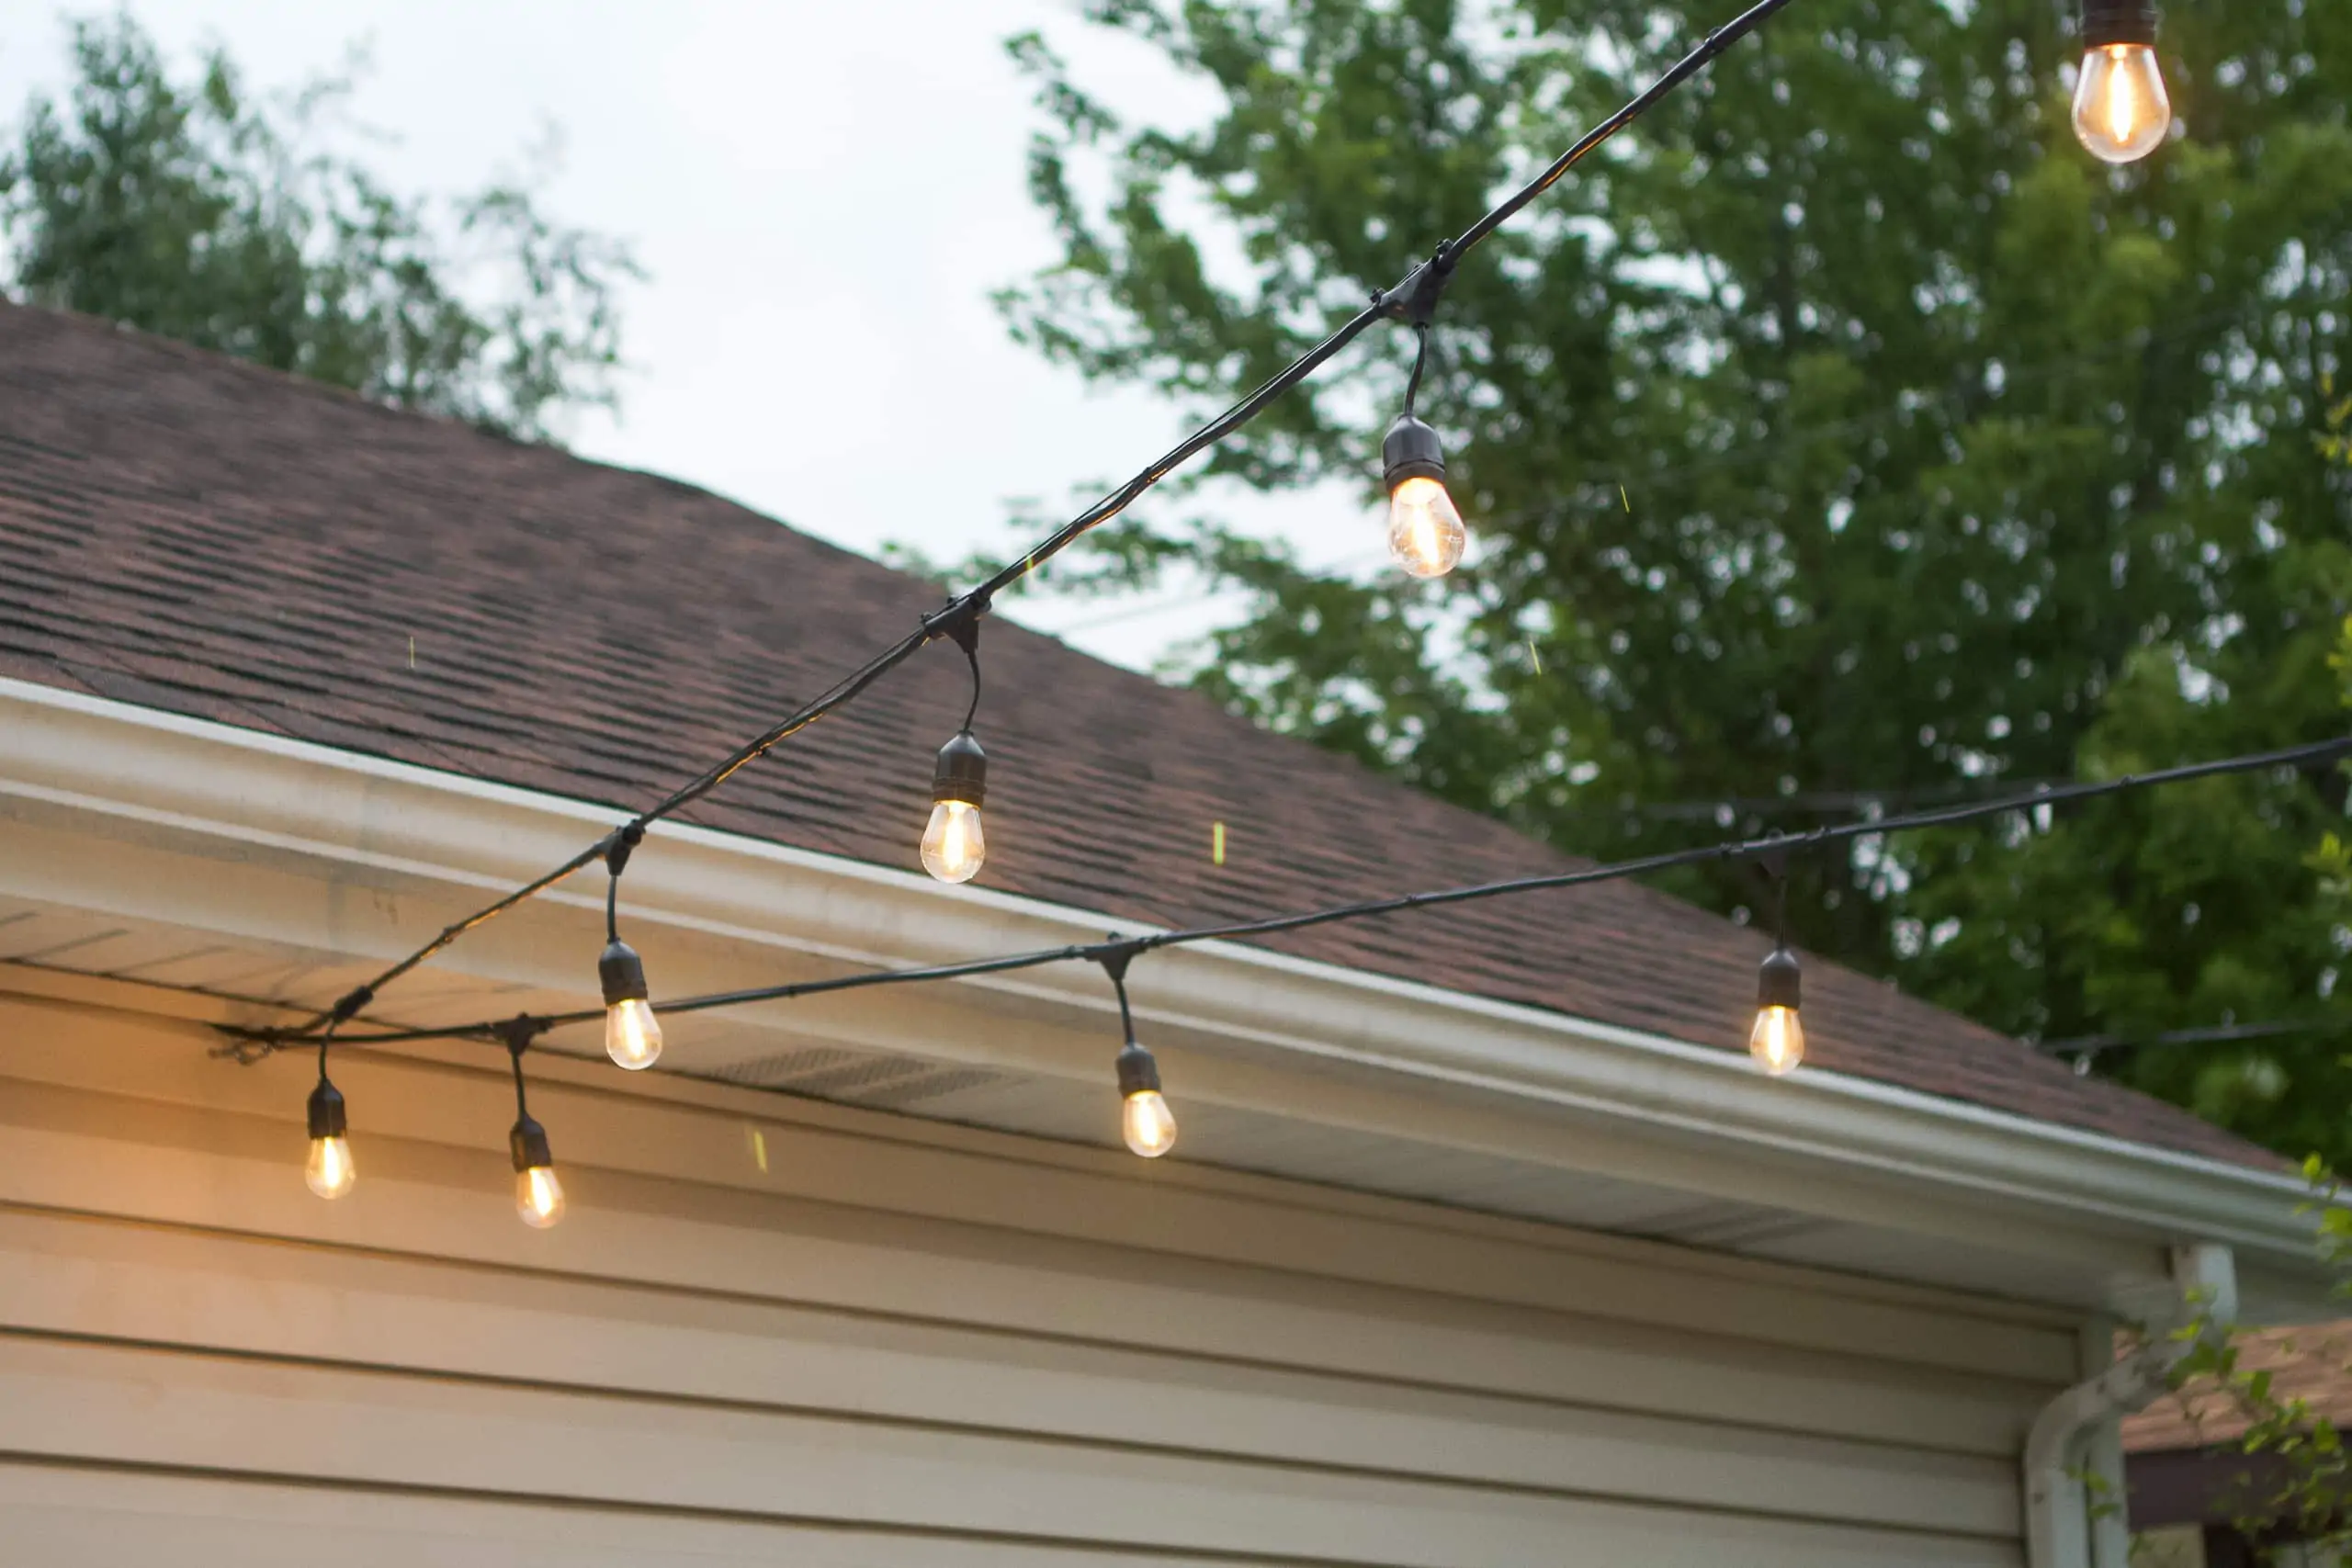
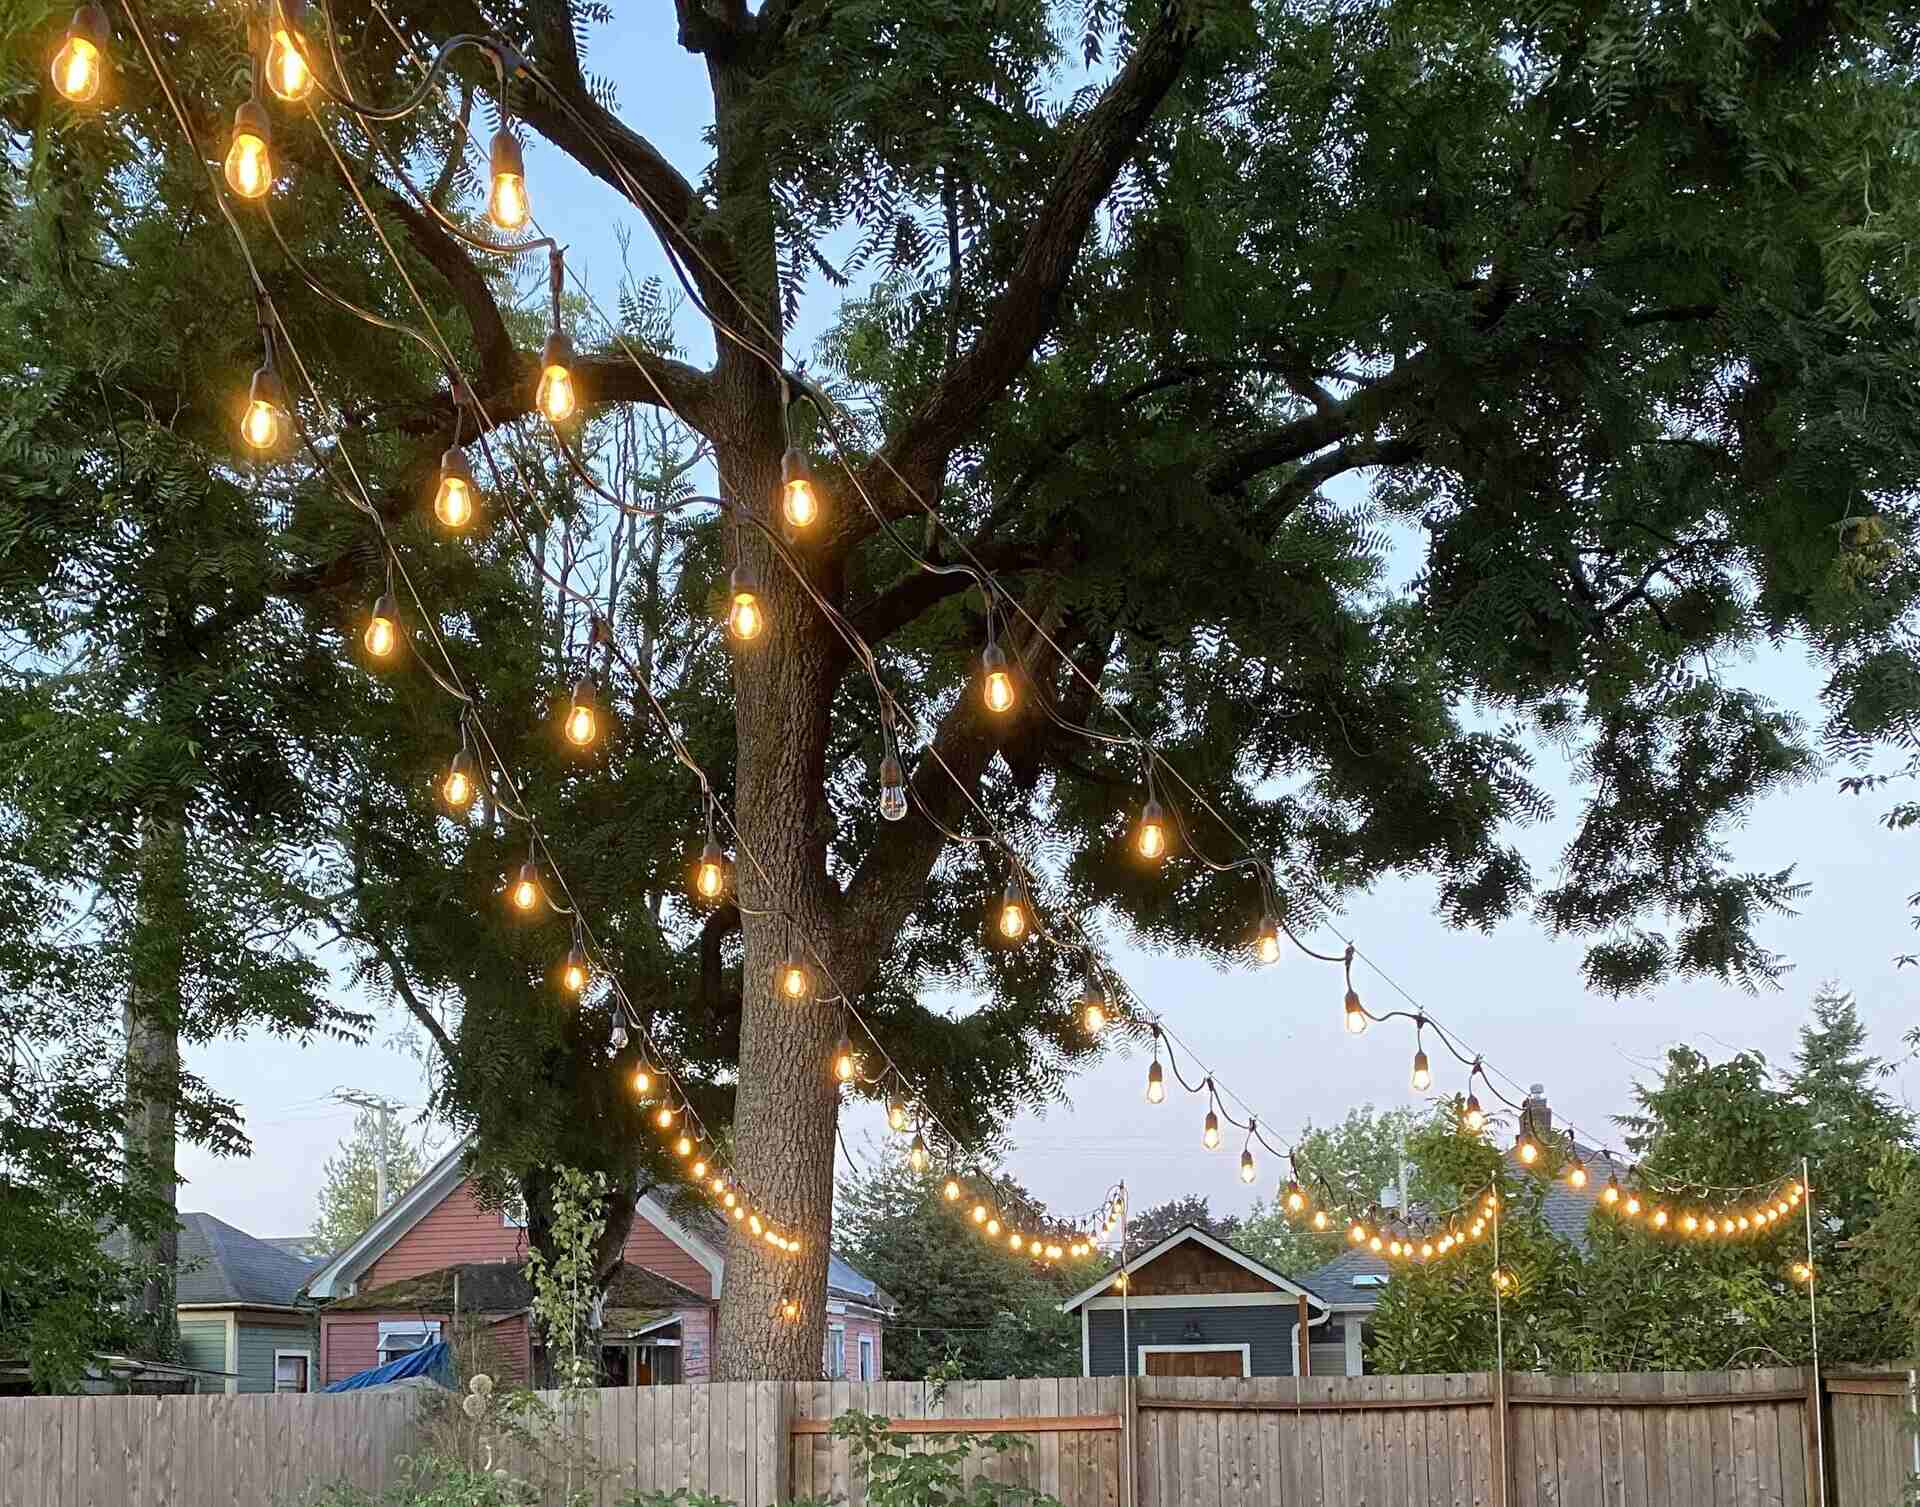
- Hang the Lights: Begin by installing the light strings according to your pre-determined design. Whether you’re suspending them across a patio, wrapping them around trees, or creating a canopy effect, carefully follow your lighting plan to achieve the desired layout.
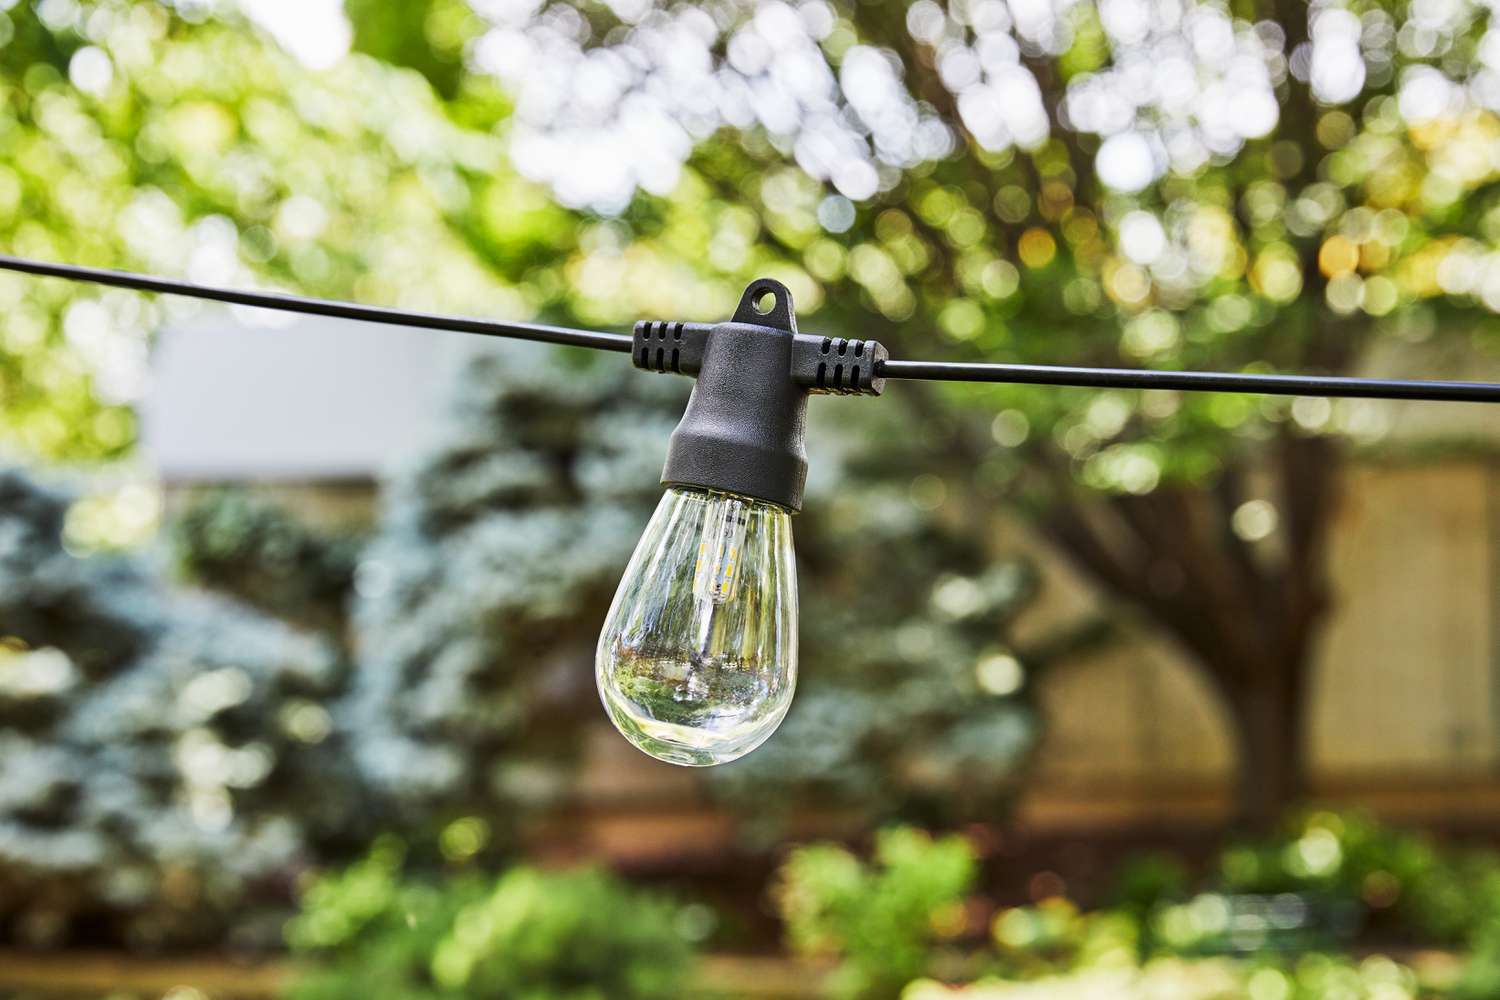
- Secure the Lights: Use outdoor-rated hooks, clips, or other suitable hardware to secure the light strings in place. Ensure that the lights are taut and evenly spaced to create a polished and professional-looking display.
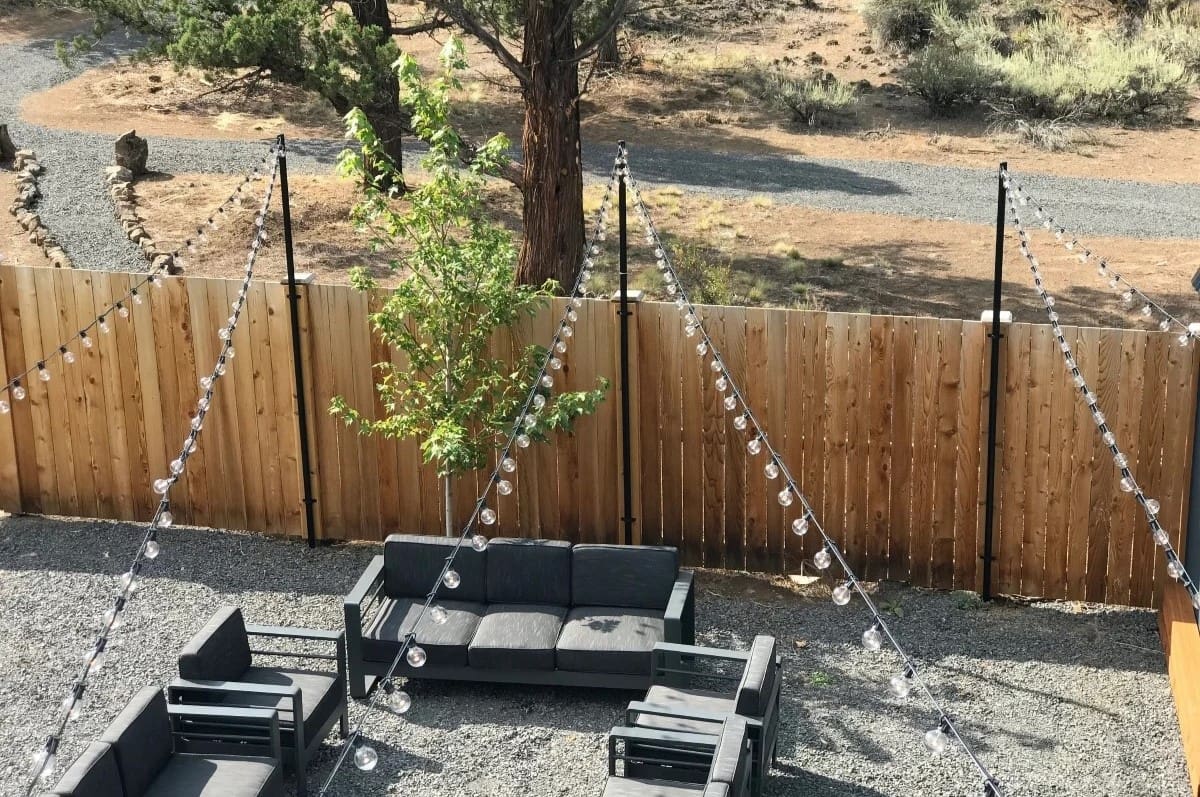
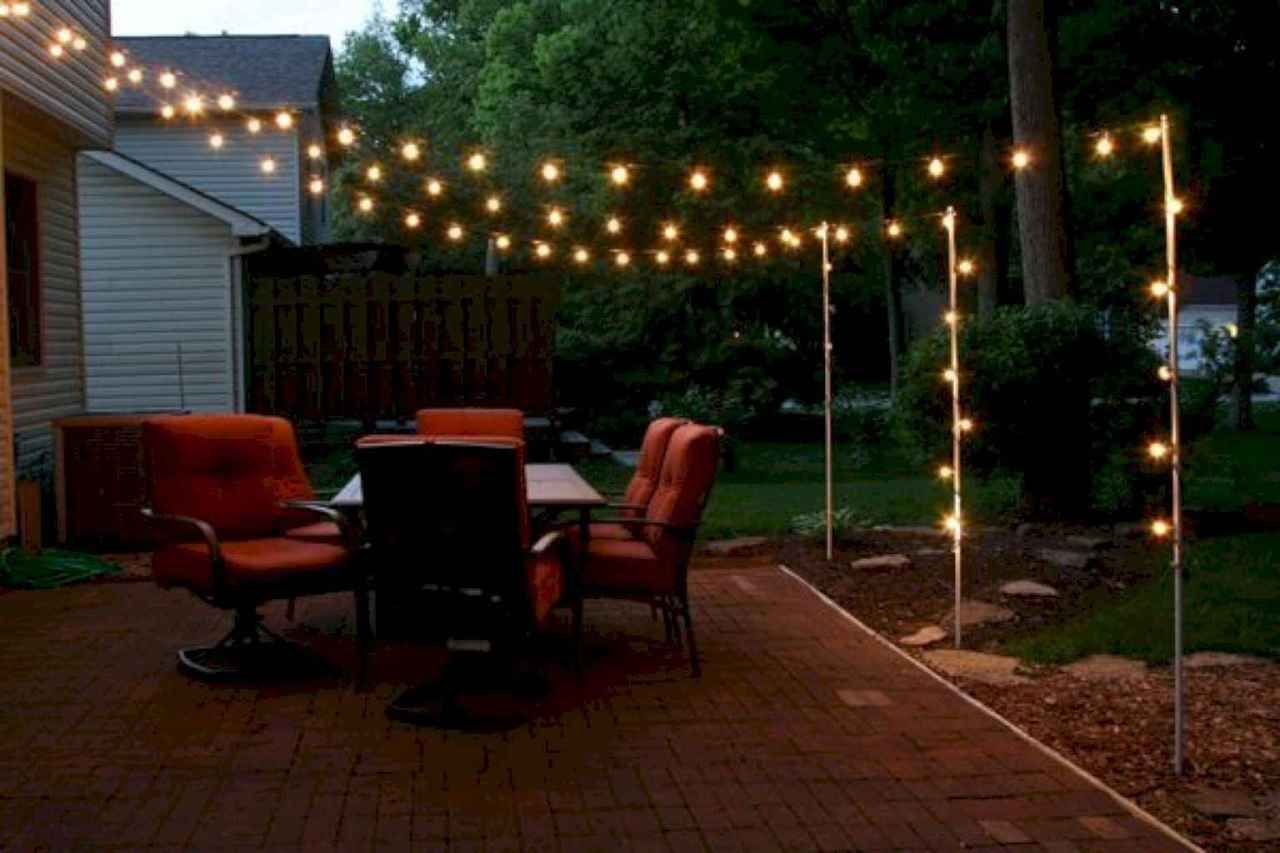
- Consider Support Structures: If you’re installing lights across a larger expanse or between trees, consider using support cables or poles to provide additional stability and prevent sagging over time.
- Adhere to Safety Precautions: When working with ladders or climbing to install the lights, prioritize safety. Ensure that the ladder is stable and that you have a spotter if needed. Additionally, follow all safety guidelines provided by the light manufacturer.
- Adjust for Symmetry and Balance: Step back periodically to assess the overall look and adjust the light strings as needed to achieve symmetry and balance in your design.
As you progress through the installation process, you’ll witness your outdoor space transform into a captivating and enchanting area, illuminated by the warm glow of the string lights. With the lights securely in place, it’s time to address the next crucial aspect: powering the lights to bring them to life.
When putting up outdoor string lights, make sure to use outdoor-rated lights and extension cords to prevent any safety hazards. Be sure to secure the lights properly to avoid any damage from wind or weather.
Step 4: Powering the Lights
Once the string lights are elegantly installed, the next step is to ensure they are powered effectively to illuminate your outdoor space with a warm and inviting glow. Properly addressing the power supply is essential for a seamless and enchanting lighting display. Follow these steps to power your outdoor string lights:
- Locate Power Sources: Identify the nearest power outlets or electrical sources in proximity to your installed lights. Ensure that the chosen power sources are compatible with outdoor use and can accommodate the wattage requirements of the lights.
- Use Outdoor-Rated Extension Cords: If your lights require additional reach to connect to a power source, utilize outdoor-rated extension cords designed for safe and reliable outdoor use. Opt for cords that blend with your outdoor decor to maintain a polished appearance.
- Consider Permanent Installations: For a more permanent lighting solution, consult with a qualified electrician to discuss the installation of dedicated outdoor electrical outlets or hardwired lighting systems to power the string lights without the need for extension cords.
- Ensure Weatherproof Connections: When connecting the lights to power sources or extension cords, use weatherproof outlets and connectors to safeguard against moisture and outdoor conditions, ensuring a safe and reliable power supply.
- Test the Power Supply: Before securing the connections, test the power supply to ensure that the lights illuminate as intended. This step allows you to address any potential issues before finalizing the installation.
- Conceal and Secure Cords: Once the lights are powered, carefully conceal and secure the cords along the installation path to minimize tripping hazards and maintain a tidy appearance.
By addressing the power supply with careful consideration for safety and functionality, you can ensure that your outdoor string lights radiate a captivating glow, creating a welcoming and enchanting atmosphere in your outdoor space. With the lights powered and aglow, it’s time for the final step: testing and adjusting to perfect the lighting display.
Read more: How To String Up Patio Lights
Step 5: Testing and Adjusting
As the installation and power supply are completed, the final step in achieving a mesmerizing outdoor lighting display involves testing the lights and making any necessary adjustments to ensure a flawless and enchanting ambiance. Follow these steps to test and fine-tune your outdoor string lights:
- Turn on the Lights: Activate the string lights to assess their illumination and the overall effect on your outdoor space. Take note of any areas that may require additional lighting or adjustments.
- Check for Balanced Brightness: Ensure that the lights provide balanced brightness throughout the installation. Adjust any dimly lit or overly bright areas by repositioning the lights or making necessary bulb replacements.
- Assess the Ambiance: Step back and evaluate the ambiance created by the lights. Consider the overall mood and visual impact, ensuring that the lighting design aligns with your initial vision for the space.
- Make Necessary Adjustments: Address any areas that require adjustments, such as repositioning individual light strings, fine-tuning the spacing, or adding supplementary lights to achieve the desired effect.
- Consider Dimming Options: If your lights offer dimming capabilities, experiment with adjusting the brightness to create varying atmospheres, from subtle and intimate to vibrant and lively, depending on the occasion.
- Test Different Lighting Effects: If your lights feature special effects, such as twinkling or color-changing options, explore these features to add an extra layer of charm to your outdoor space.
By meticulously testing and adjusting the lights, you can ensure that your outdoor space is adorned with a captivating and flawlessly illuminated display. This step allows you to fine-tune the lighting to perfection, creating an inviting and enchanting atmosphere for gatherings, relaxation, and everyday enjoyment of your outdoor surroundings.
With the lights tested and adjusted to perfection, you have successfully completed the installation of outdoor string lights, infusing your outdoor space with a warm and inviting glow. Embrace the enchanting ambiance created by your carefully curated lighting design and revel in the captivating allure of your illuminated outdoor oasis.
Conclusion
Congratulations on successfully illuminating your outdoor space with the enchanting allure of string lights! By following the comprehensive steps outlined in this guide, you’ve transformed your outdoor area into a captivating and inviting oasis, perfect for entertaining, unwinding, and savoring the beauty of your surroundings.
Throughout the journey of planning, selecting, installing, powering, and perfecting your outdoor string lights, you’ve infused your outdoor space with a warm and mesmerizing glow, elevating its ambiance and visual appeal. The carefully orchestrated lighting design now serves as a focal point, drawing attention to the charm and character of your outdoor setting.
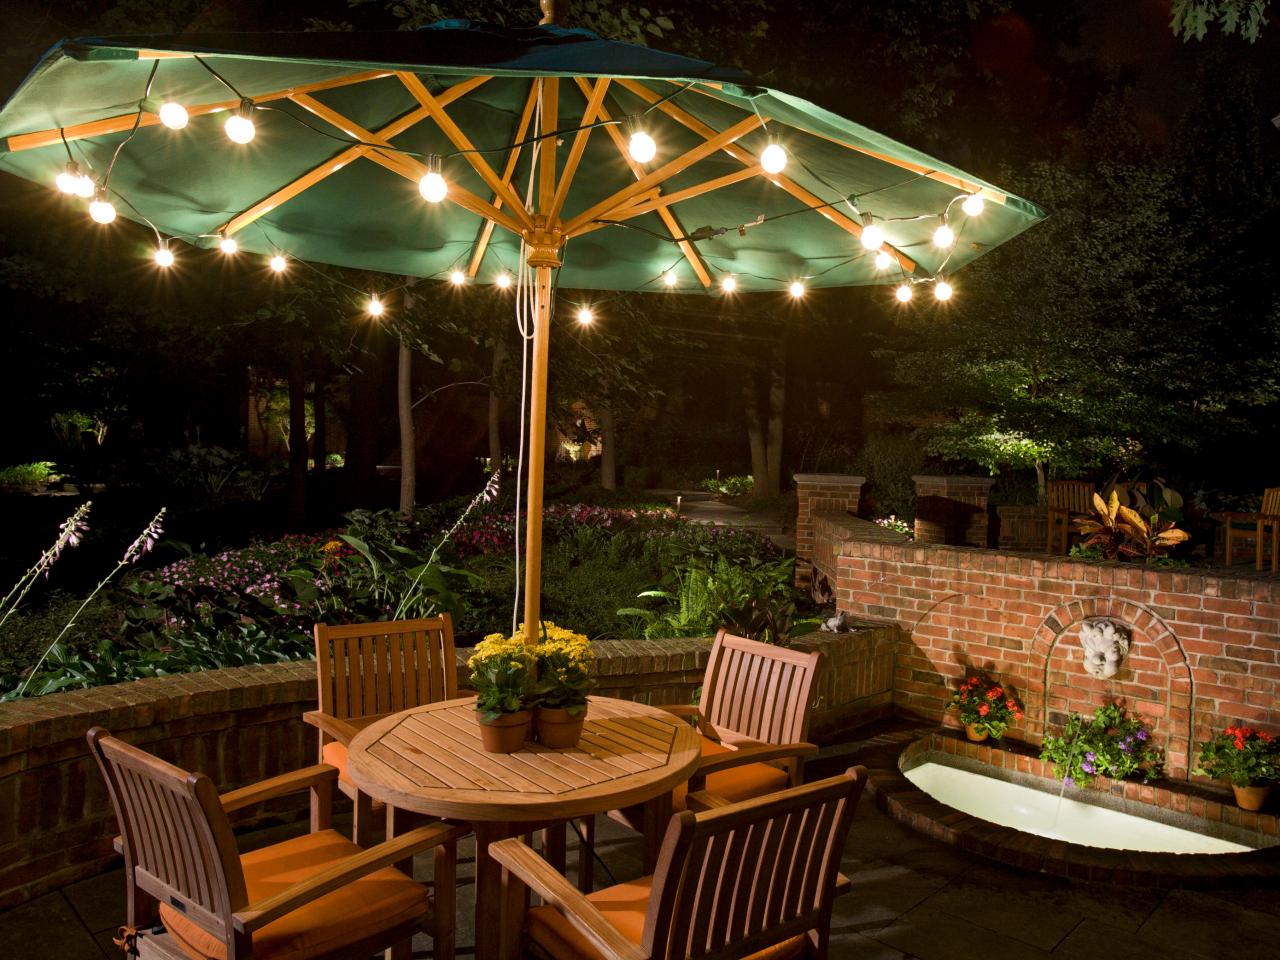
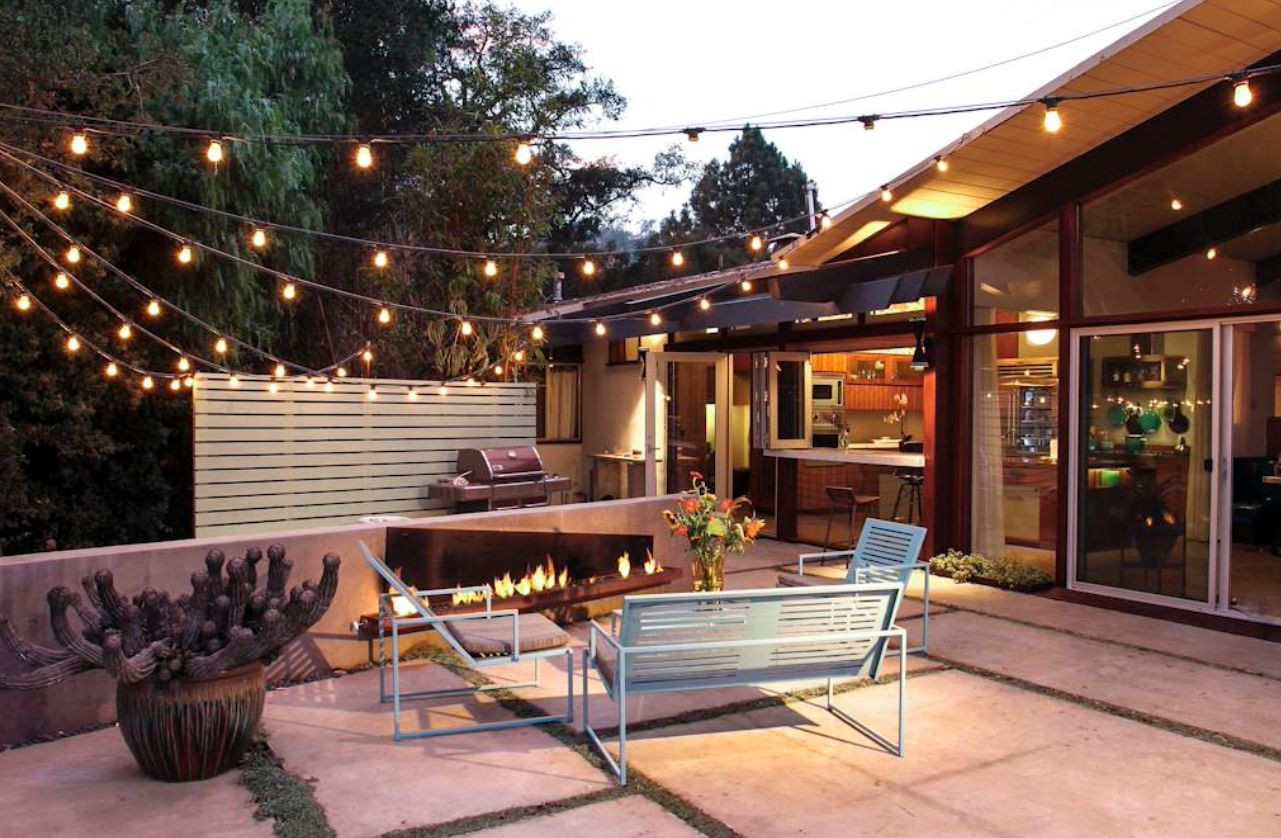
As you bask in the radiant glow of your newly illuminated outdoor space, take a moment to appreciate the transformative power of string lights. Whether adorning a cozy patio, defining an outdoor dining area, or creating a captivating canopy of light, these versatile fixtures have the remarkable ability to enhance the allure of any outdoor environment.
As day transitions to night, the gentle radiance of the string lights invites you and your guests to linger longer, savoring the enchanting atmosphere you’ve created. The inviting glow sets the stage for memorable gatherings, intimate conversations, and tranquil moments of relaxation, making your outdoor space a cherished retreat throughout the evening hours.
Embrace the magic of your illuminated outdoor oasis, and revel in the captivating ambiance that string lights have bestowed upon your outdoor living area. Whether enjoying a quiet evening under the stars or hosting a festive gathering, the warm and inviting glow of your outdoor string lights will continue to enchant and inspire, creating cherished moments and unforgettable experiences in your outdoor sanctuary.
With your outdoor space aglow with the captivating allure of string lights, may every evening be filled with the enchanting magic of your beautifully illuminated outdoor oasis.
Frequently Asked Questions about How To Put Up Outdoor String Lights
Was this page helpful?
At Storables.com, we guarantee accurate and reliable information. Our content, validated by Expert Board Contributors, is crafted following stringent Editorial Policies. We're committed to providing you with well-researched, expert-backed insights for all your informational needs.


0 thoughts on “How To Put Up Outdoor String Lights”