Home>Furniture & Design>Outdoor Furniture>How To Make Outdoor Wooden Christmas Decorations
Outdoor Furniture
How To Make Outdoor Wooden Christmas Decorations
Published: January 14, 2024
Discover the best techniques for creating stunning outdoor wooden Christmas decorations. Get inspired to design your own unique pieces for the festive season. Explore outdoor furniture, furniture, and design ideas.
(Many of the links in this article redirect to a specific reviewed product. Your purchase of these products through affiliate links helps to generate commission for Storables.com, at no extra cost. Learn more)
Introduction
Welcome to the festive world of outdoor wooden Christmas decorations! There's something undeniably charming about the rustic allure of handcrafted wooden ornaments adorning your outdoor space during the holiday season. Whether you're a seasoned woodworking enthusiast or a novice DIYer, creating your own outdoor wooden Christmas decorations can be a delightful and rewarding endeavor.
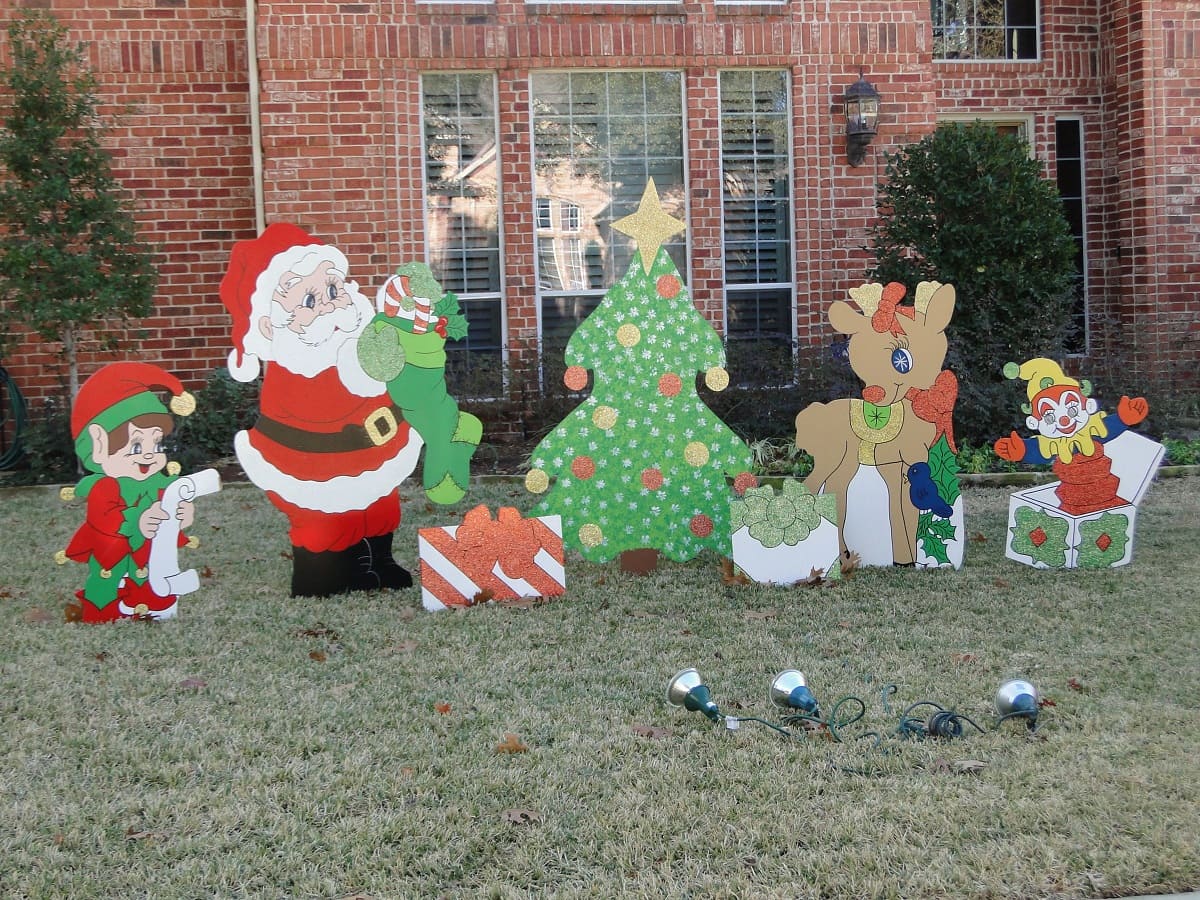
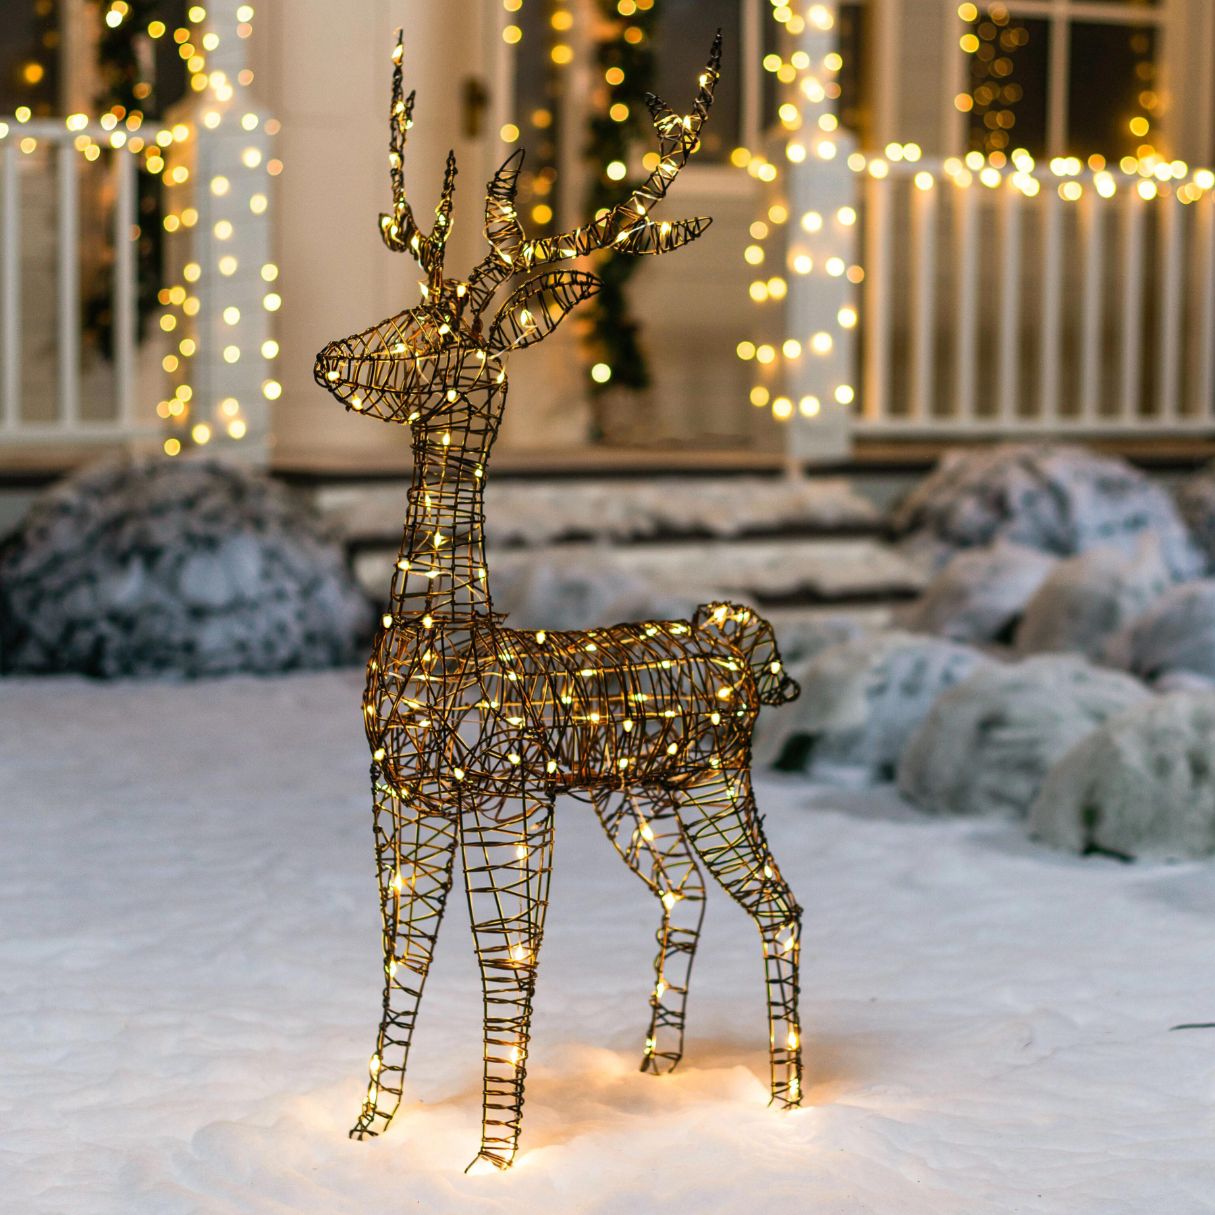
Crafting wooden Christmas decorations offers a unique opportunity to infuse your outdoor space with personalized charm and creativity. From classic reindeer and snowflakes to whimsical elves and sleighs, the possibilities for wooden Christmas decorations are as vast as your imagination.
In this comprehensive guide, we'll explore the art of designing, crafting, and embellishing outdoor wooden Christmas decorations. You'll discover the essential steps, tips, and techniques to bring your festive visions to life, adding a touch of warmth and nostalgia to your outdoor holiday décor.
So, roll up your sleeves, gather your tools, and let's embark on a merry woodworking adventure as we delve into the enchanting world of outdoor wooden Christmas decorations. Whether you're aiming to adorn your front yard, garden, or porch, this guide will equip you with the knowledge and inspiration to create stunning wooden ornaments that capture the spirit of the season.
Key Takeaways:
- Crafting outdoor wooden Christmas decorations is a delightful way to infuse your outdoor space with personalized charm and creativity. From choosing the right wood to painting and protecting your creations, each step is a testament to your craftsmanship and passion for the season’s festivities.
- Designing, crafting, and adorning outdoor wooden Christmas decorations empowers you to create enduring symbols of holiday cheer. Your festive creations will serve as beacons of joy, spreading the spirit of the season and inspiring admiration from all who encounter them.
Read more: How To Make Outdoor Christmas Balls
Choosing the Right Wood
When it comes to crafting outdoor wooden Christmas decorations, selecting the right type of wood is crucial for ensuring durability, weather resistance, and ease of manipulation. Here are some popular wood options ideal for creating festive outdoor ornaments:
- Cedar: Known for its natural resistance to decay and insects, cedar is a popular choice for outdoor woodworking projects. Its aromatic scent and attractive grain make it a standout option for crafting Christmas decorations that can withstand the elements.
- Pine: As a readily available and affordable softwood, pine is often used for crafting decorative holiday items. While it may require sealing to enhance its weather resistance, pine is relatively easy to work with and can be transformed into delightful Christmas-themed creations.
- Fir: With its straight grain and moderate density, fir wood is another suitable choice for outdoor decorations. It offers good dimensional stability, making it less prone to warping or twisting when exposed to outdoor conditions.
- Redwood: Renowned for its natural beauty and resistance to decay, redwood is a premium option for crafting long-lasting outdoor ornaments. While it may be pricier than other types of wood, its durability and rich color make it a desirable choice for creating heirloom-quality decorations.
When selecting wood for your Christmas projects, consider the specific qualities required for outdoor use. Look for wood that is naturally resistant to moisture, rot, and pests, as these factors are essential for ensuring the longevity of your decorations. Additionally, opt for sustainably sourced wood to support environmentally friendly practices and to contribute to the preservation of forests.
By choosing the right wood for your outdoor Christmas decorations, you can set the foundation for creating enduring and visually captivating ornaments that will enchant visitors and passersby throughout the holiday season.
Tools and Materials Needed
Before diving into the delightful process of crafting outdoor wooden Christmas decorations, it’s essential to gather the necessary tools and materials to facilitate a smooth and enjoyable woodworking experience. Here’s a comprehensive list of the items you’ll need to bring your festive creations to life:
Tools:
- Saw: A reliable handsaw or a power saw, such as a jigsaw or circular saw, for cutting the wood into desired shapes.
- Drill: A power drill with assorted drill bits for creating holes and assembling components.
- Sanding Tools: Sandpaper, sanding blocks, or a power sander to smooth the surfaces of the wood and round off any sharp edges.
- Clamps: These are essential for securing pieces of wood together during assembly and glue application.
- Paintbrushes: High-quality brushes for applying paint, primer, and protective finishes to your decorations.
- Safety Gear: Safety goggles, dust masks, and ear protection to ensure a safe and comfortable working environment.
Materials:
- Wood: Select the appropriate type of wood based on your design and outdoor durability requirements.
- Wood Glue: A strong, weather-resistant wood glue for securely bonding wooden components together.
- Screws and Nails: Depending on your design, have an assortment of screws and nails to reinforce connections and add structural integrity.
- Primer and Paint: Outdoor-grade primer and weather-resistant paint in festive colors to adorn your decorations.
- Protective Finish: A clear, outdoor-rated sealant or varnish to protect the wood from moisture and UV damage.
- Decorative Accents: Optional embellishments such as ribbons, faux snow, or LED lights to add a magical touch to your creations.
By equipping yourself with the right tools and materials, you’ll be well-prepared to embark on your woodworking journey and transform raw wood into enchanting outdoor Christmas decorations that will radiate festive cheer for years to come.
Read more: How To Make A Wooden Outdoor Bench
Designing Your Outdoor Wooden Christmas Decorations
Before you pick up your tools and start crafting, take some time to envision the festive ambiance you want to create with your outdoor wooden Christmas decorations. Designing your ornaments is an opportunity to infuse your personal style and creativity into the holiday landscape of your outdoor space. Here are some steps to guide you through the design process:
1. Inspiration Gathering: Seek inspiration from various sources such as holiday magazines, online platforms, or nature itself. Draw inspiration from traditional Christmas motifs, such as snowflakes, reindeer, or Santa’s sleigh, and consider incorporating elements that resonate with your unique design sensibilities.
2. Sketching Your Ideas: Grab a sketchpad and pencil to outline your design concepts. Roughly sketch the shapes and dimensions of your envisioned decorations, allowing your creativity to flow freely. Consider the scale of your outdoor space and the visibility of the decorations from different vantage points.
3. Tailoring to Your Space: Assess the specific areas in your outdoor space where you intend to display the wooden decorations. Whether it’s adorning the front yard, garden pathway, or porch, tailor your designs to complement the existing features and layout of your outdoor environment.
4. Incorporating Seasonal Themes: Infuse your designs with the spirit of the season by incorporating elements that evoke the magic of wintertime and the holidays. Think of iconic symbols such as holly leaves, snowmen, or festive greetings that can be translated into charming wooden accents.
5. Embracing Creativity: Don’t be afraid to let your imagination soar. Consider adding whimsical touches or personalizing the decorations with your family’s initials or a meaningful holiday message. Embracing creativity will make your creations truly one-of-a-kind.
By investing time in the design phase, you’ll lay the groundwork for crafting outdoor wooden Christmas decorations that reflect your individuality and bring joy to all who behold them. The design process is an integral part of the creative journey, allowing you to infuse your outdoor space with the warmth and wonder of the holiday season.
Cutting and Shaping the Wood
Once your design concepts are solidified, it’s time to bring your visions to life by transforming raw wood into the delightful shapes and forms of your outdoor Christmas decorations. The cutting and shaping phase is where your designs take tangible form, and precision and attention to detail are paramount. Here’s how to execute this crucial stage with finesse:
1. Preparing the Wood: Begin by selecting high-quality wood that aligns with your design specifications. Ensure that the wood is free from defects and is of the appropriate thickness for the intended decorations. Lay out your design templates or sketches on the wood, marking the areas to be cut and shaped.
2. Choosing the Right Cutting Tools: Depending on the intricacy of your designs, opt for the appropriate cutting tools. A jigsaw or band saw is ideal for intricate cuts, while a circular saw or table saw can swiftly tackle straight lines and larger pieces of wood.
3. Precision Cutting: Carefully follow the marked outlines on the wood, employing steady and deliberate movements to achieve clean and accurate cuts. Take your time to ensure that the shapes and components are precisely cut according to your design, as this will impact the overall appearance of the decorations.
4. Shaping and Detailing: After the initial cuts are made, refine the edges and contours of the wooden pieces using sandpaper or a power sander. Smooth out any rough edges and add intricate details as per your design, such as beveled edges, curved contours, or embossed patterns.
5. Ensuring Consistency: If your designs involve multiple identical components, such as a set of snowflakes or stars, strive for consistency in size and shape across all pieces. This attention to uniformity will contribute to the professional and polished look of your decorations.
By meticulously cutting and shaping the wood according to your design, you’ll lay the groundwork for assembling and embellishing your outdoor Christmas decorations with precision and artistry. This phase is where your creative concepts transition from imagination to tangible expressions of holiday delight.
Sanding and Finishing
As the wooden components of your outdoor Christmas decorations take shape, the sanding and finishing stage becomes pivotal in refining the surfaces and enhancing the visual appeal of your creations. This phase not only ensures a smooth and tactile finish but also prepares the wood for the application of protective coatings and decorative embellishments. Here’s how to elevate your wooden ornaments to a state of festive splendor through expert sanding and finishing techniques:
1. Smoothing the Surfaces: Begin by sanding the wooden pieces using medium-grit sandpaper to remove any rough spots, tool marks, or imperfections resulting from the cutting and shaping process. Work methodically, following the grain of the wood, to achieve uniformly smooth surfaces.
2. Progressing to Fine Grit: Transition to finer-grit sandpaper to further refine the surfaces and eliminate any remaining blemishes. This step is crucial for achieving a velvety-smooth texture that is inviting to the touch and conducive to flawless paint adhesion.
3. Rounding Off Edges: Use sandpaper or a sanding block to gently round off the edges and corners of the wooden pieces. This not only imparts a pleasing tactile quality to the decorations but also adds a touch of refinement to their appearance.
4. Preparing for Finishing: Once the sanding process is complete, wipe the wooden components with a tack cloth to remove any dust or debris. This ensures a clean surface for the application of finishes and paints.
5. Choosing the Right Finish: Consider the outdoor environment in which your decorations will be displayed and select a suitable finish. Weather-resistant varnishes, polyurethane sealants, or outdoor-rated paints can provide protection against moisture, UV rays, and temperature fluctuations.
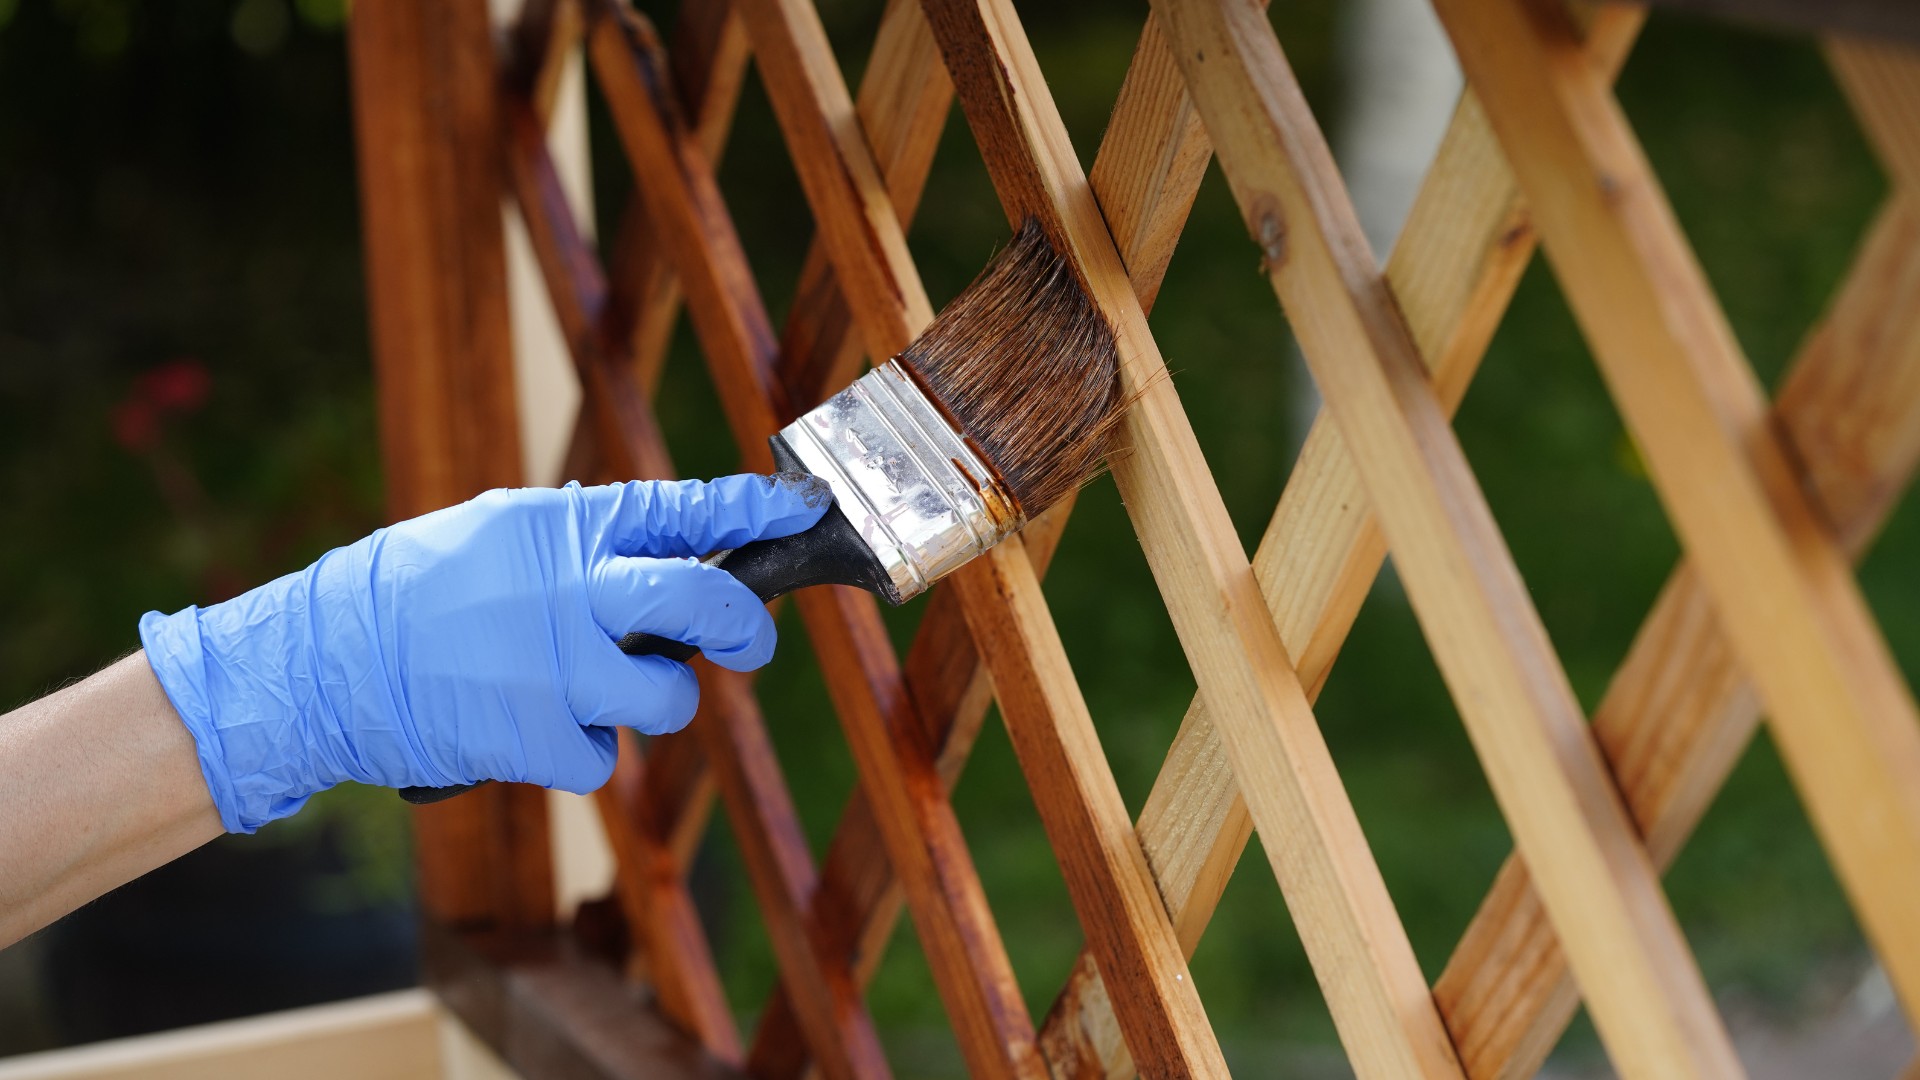
6. Applying Protective Coatings: Use high-quality brushes to apply the chosen finish to the wooden decorations, ensuring even coverage and paying attention to intricate details. Multiple thin coats are preferable to achieve a durable and lustrous finish.
By meticulously sanding and finishing your outdoor wooden Christmas decorations, you’ll elevate the natural beauty of the wood while fortifying it against the rigors of outdoor exposure. This transformative phase paves the way for the embellishment and assembly of your ornaments, bringing them one step closer to becoming cherished symbols of holiday merriment in your outdoor space.
Consider using weather-resistant wood such as cedar or redwood for outdoor Christmas decorations to ensure they withstand the elements. Apply a protective sealant to further protect the wood from moisture and decay.
Assembling Your Decorations
With the individual components of your outdoor wooden Christmas decorations meticulously crafted, sanded, and finished, it’s time to orchestrate the assembly of these elements into enchanting displays that will adorn your outdoor space with festive allure. The assembly phase requires precision and a keen eye for detail to ensure that your creations are structurally sound and visually captivating. Here’s how to expertly bring together the pieces of your holiday masterpieces:
1. Organizing the Components: Lay out all the wooden elements of your decorations in a well-lit and spacious work area. Take stock of the components and refer to your design sketches or templates to guide the assembly process.
2. Securing with Wood Glue: Utilize a weather-resistant wood glue to affix the various parts of your decorations together. Apply the adhesive sparingly and evenly, ensuring a strong bond between the components. Use clamps to hold the pieces in place as the glue sets, maintaining alignment and stability.
3. Reinforcing with Fasteners: Depending on the design and structural requirements, reinforce the connections with screws or nails. Predrill holes to prevent splitting and ensure a snug fit for the fasteners, adding strength and durability to the assembled decorations.
4. Checking Alignment and Symmetry: Regularly assess the alignment and symmetry of the assembled components, making any necessary adjustments to uphold the integrity of the designs. Attention to detail during assembly contributes to the professional and cohesive appearance of the decorations.
5. Allowing for Proper Curing: After the assembly is complete, allow the glued and fastened components to cure fully as per the manufacturer’s recommendations. This ensures that the connections achieve optimal strength and stability before further embellishment and display.
6. Incorporating Dimensional Elements: If your designs involve multi-dimensional elements, such as layered cutouts or interlocking pieces, take care to assemble them with precision, creating visually engaging and dynamic decorations.
By skillfully assembling the wooden components of your outdoor Christmas decorations, you’ll witness your designs coalesce into captivating and enduring symbols of holiday cheer. This phase marks the culmination of your meticulous craftsmanship and sets the stage for the final embellishments that will infuse your outdoor space with the magic of the season.
Read more: How To Make Outdoor Christmas Presents
Painting and Decorating
As your assembled wooden Christmas decorations stand poised to make a festive statement in your outdoor space, the painting and decorating phase beckons, offering an opportunity to infuse your creations with color, character, and whimsical charm. Whether you envision a traditional palette of holiday hues or a whimsically eclectic motif, this stage allows you to impart your personal touch and bring your wooden ornaments to life with vibrant flair. Here’s how to adorn your decorations with expertly applied paints and imaginative embellishments:
1. Selecting Festive Colors: Choose a palette of outdoor-grade paints in hues that evoke the spirit of the season. Classic reds, greens, and whites exude timeless holiday charm, while metallic golds and silvers add a touch of elegance. Consider incorporating unexpected pops of color to impart a playful and modern twist to your decorations.
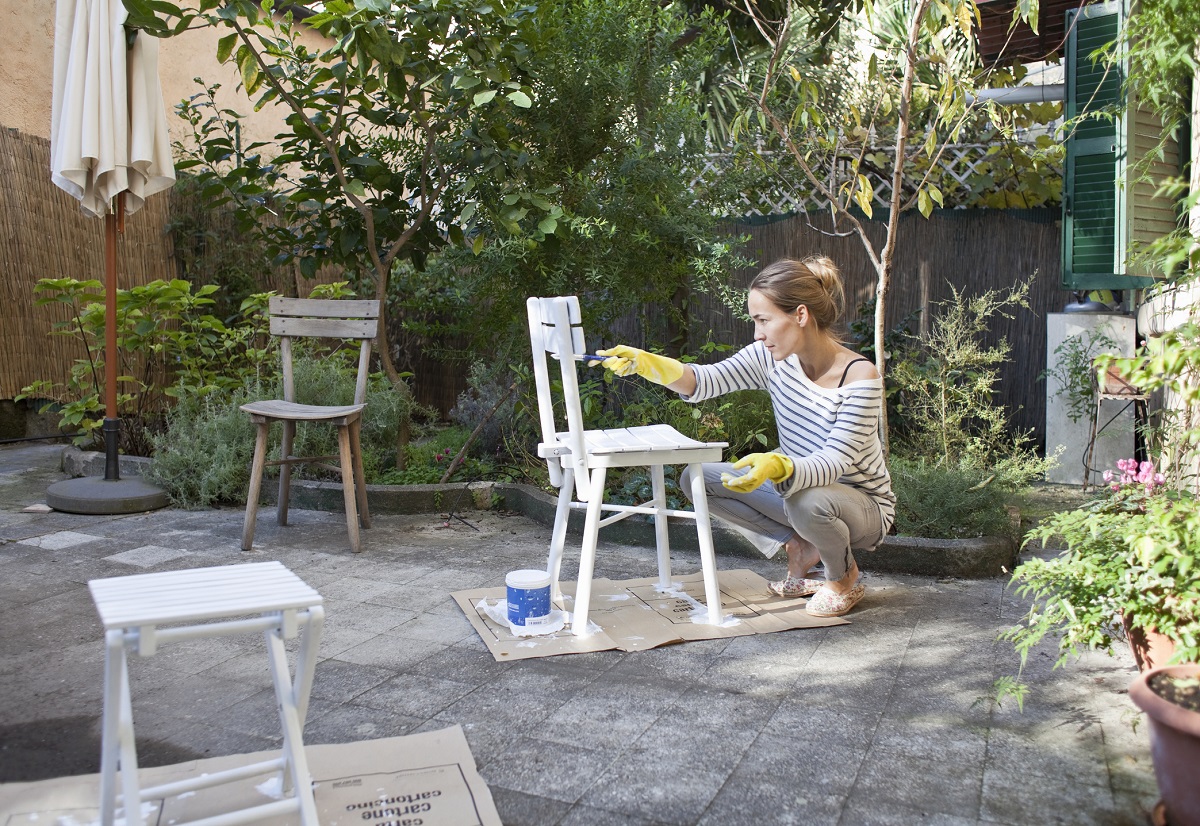
2. Precision Painting: Use high-quality brushes to apply the paint evenly and precisely to the wooden surfaces. Exercise care to stay within the lines of your designs, ensuring that the colors accentuate the intricate contours and details of the decorations.
3. Embracing Artistic Details: Infuse your decorations with artistic flourishes such as delicate snowflake patterns, festive motifs, or charming characters. Add depth and dimension to your designs by incorporating shading, highlights, and textural effects that enliven the visual appeal of the decorations.
4. Introducing Textural Accents: Consider incorporating textural elements such as glitter, faux snow, or metallic accents to impart a tactile and visually captivating dimension to your decorations. These embellishments add a touch of magic and allure to your creations.
5. Personalizing with Details: Add personalized details such as family names, holiday greetings, or significant dates to your decorations, infusing them with sentimental value and endearing charm. These personalized touches make your creations uniquely yours and impart a heartwarming touch to your outdoor holiday display.
6. Allowing for Proper Drying: After painting and decorating, allow the embellished decorations to dry thoroughly in a well-ventilated area. This ensures that the paints and decorative accents adhere securely and achieve optimal vibrancy and longevity.
By skillfully painting and decorating your outdoor wooden Christmas decorations, you’ll impart them with a captivating allure that captures the essence of the holiday season. This phase offers a canvas for your creativity to flourish, infusing your outdoor space with the warmth, merriment, and visual splendor of the holidays.
Sealing and Protecting Your Decorations
As your meticulously crafted and adorned outdoor wooden Christmas decorations stand ready to enchant visitors and evoke the spirit of the season, the crucial final step of sealing and protecting your creations ensures their enduring beauty and resilience in the face of outdoor elements. This phase fortifies your decorations against moisture, UV exposure, and environmental wear, safeguarding their charm for seasons to come. Here’s how to expertly seal and protect your wooden ornaments, preserving their festive allure with care and foresight:
1. Choosing a Protective Sealant: Select a high-quality outdoor-rated sealant or varnish that offers robust protection against moisture, UV rays, and temperature fluctuations. Opt for a clear finish to preserve the natural beauty of the wood and the vibrancy of the painted surfaces.
2. Applying the Sealant: Use a clean, high-quality brush to apply the sealant evenly and generously to all exposed surfaces of the decorations. Ensure complete coverage, paying special attention to intricate details and recessed areas that require thorough protection.
3. Allowing for Proper Curing: After applying the sealant, allow the decorations to cure in a well-ventilated area as per the manufacturer’s recommendations. Adequate curing time ensures that the sealant forms a durable and impervious barrier that shields the wood from the elements.
4. Inspecting for Uniformity: After the initial application and curing, inspect the decorations to ensure that the sealant has been applied uniformly and comprehensively. Touch up any missed areas or thin spots to guarantee consistent protection across the entire surface of the decorations.
5. Reinforcing High-Wear Areas: Pay special attention to high-wear areas such as the bases of standing decorations or the edges of hanging ornaments. Apply an extra coat of sealant to these vulnerable areas to fortify them against prolonged exposure to moisture and physical abrasion.
6. Periodic Maintenance: As part of your seasonal preparations, inspect your outdoor wooden decorations annually for signs of wear or weathering. Touch up any areas where the sealant may have worn thin, ensuring that your cherished ornaments remain resilient and visually captivating.
By diligently sealing and protecting your outdoor wooden Christmas decorations, you’ll safeguard their enduring charm and ensure that they continue to radiate festive delight in your outdoor space. This final step cements your creations as cherished symbols of holiday cheer, ready to captivate and enchant with their enduring allure.
Conclusion
Congratulations on embarking on a merry woodworking adventure and crafting your own enchanting outdoor wooden Christmas decorations! As you’ve journeyed through the art of designing, crafting, and adorning these festive ornaments, you’ve infused your outdoor space with the warmth, charm, and magic of the holiday season. Your dedication and creativity have resulted in enduring symbols of holiday cheer that will captivate and delight all who behold them.
From the careful selection of the right wood to the meticulous shaping, painting, and protecting of your creations, each step of the process has been a testament to your craftsmanship and passion for the season’s festivities. The personalized touches, artistic details, and protective finishes have transformed raw wood into enduring emblems of holiday merriment, ready to adorn your outdoor space with timeless charm.
As you display your handcrafted wooden decorations, whether adorning your front yard, garden, or porch, take pride in knowing that your creativity has enriched the holiday ambiance of your surroundings. Your festive creations will serve as beacons of joy, spreading the spirit of the season and inspiring admiration from all who encounter them.
Moreover, the skills and knowledge you’ve acquired in this woodworking endeavor will continue to empower you in future creative projects, fostering a deeper appreciation for the art of woodworking and the boundless opportunities it offers for personal expression and festive enchantment.
As the holiday season unfolds, may your outdoor wooden Christmas decorations serve as enduring symbols of warmth, joy, and togetherness, illuminating your outdoor space with the timeless magic of the season. Your dedication to infusing your surroundings with festive charm is a testament to the enduring spirit of the holidays and the joy of creative expression.
So, as you behold your handcrafted creations, may they stand as testaments to your creativity, craftsmanship, and the boundless enchantment of the holiday season. Here’s to a season filled with warmth, wonder, and the enduring allure of your festive wooden creations.
Frequently Asked Questions about How To Make Outdoor Wooden Christmas Decorations
Was this page helpful?
At Storables.com, we guarantee accurate and reliable information. Our content, validated by Expert Board Contributors, is crafted following stringent Editorial Policies. We're committed to providing you with well-researched, expert-backed insights for all your informational needs.


0 thoughts on “How To Make Outdoor Wooden Christmas Decorations”