Home>Garden Essentials>Garden Storage>10 Large Outdoor Flower Pots For Your Dense Garden
Garden Storage
10 Large Outdoor Flower Pots For Your Dense Garden
Modified: December 6, 2023
A high-quality garden is built on a solid foundation. This includes large flower pots to help house and organize various plants. Read more here.
(Many of the links in this article redirect to a specific reviewed product. Your purchase of these products through affiliate links helps to generate commission for Storables.com, at no extra cost. Learn more)
A garden with big plants and flowers can be a beautiful sight but can be challenging to create without the right tools. This is where large outdoor flower pots come in. Aside from adding height and width to your garden, making it look fuller and lusher, these large flower pots also hold a lot of soil and plants. They are perfect for adding extra life and color to a dense garden!
Why Buy Large Flower Pots?
When it comes to gardening, having a large flower pot is always better. A large pot can provide plenty of space for your plants to grow, leading to a healthier and more beautiful outdoor space. Additionally, a large pot can help anchor heavier plants, preventing them from toppling over in strong winds.
Whether you’re looking to landscape your entire yard or simply add a splash of color to a corner of your garden, a large flower pot is a great way to do it. Unfortunately, many people shy away from buying large pots, thinking they’re too expensive or won’t be able to suit their style. However, many affordable and stylish large flower pots are already available nowadays. These include classic terracotta pots, modern stainless steel pots, and even whimsical ones shaped like animals or flowers. So, if you’re unhappy with the look of one pot, you can always switch it up later.
Read more: How To Fill Large Outdoor Pots
Benefits of Large Flower Pots
One of the main benefits of using a large flower pot is that it can help to make your garden look more organized. If you have a lot of smaller pots, they can often get lost in the shuffle and look cluttered. Using a few large pots, you can create a clean, organized look that will make your garden stand out.
Another benefit of large flower pots is that they’re great for dense gardens. If you have a lot of plants and flowers in your garden, it can be challenging to keep them all healthy. But by using large pots, you can give each plant the room it needs to grow and stay healthy. This will result in a denser, healthier garden overall.
Large flower pots are also great for people who want to save money. For instance, if you buy a lot of small pots, you’ll often pay more in the long run. But you can get more bang for your buck by investing in a few large flower pots. Not only will you save money on the pots themselves, but you’ll also save money on garden kits like potting soil and fertilizer.
Finally, large flower pots can make your garden easier to manage. If you have a lot of small pots, they can be difficult to keep track of. But if you have a few larger pots, they’ll be much easier to water and care for. This will save you time and effort in the long run, making your gardening experience more enjoyable overall.
Pros
- Portable
- Water-saving
- Space-saving
- Manageable
- Reduces garden clutter
Cons
- May be difficult to move once they are filled with soil
- Soil may need to be replaced more often
- Plants and plant roots may outgrow it
- Pests may be more difficult to spot and remove
Types of Large Flower Pots

Photo from AdobeStock
Large flower pots come in all shapes and sizes, but there are a few common types you’ll see and want to use more often.
Read more: How Often To Water Outdoor Potted Flowers
Terracotta Flower Pots
Terracotta flower pots are traditional, made of natural clay fired in a kiln. They’re heavy and durable, so they’re often used for large plants that need extra support. They’re also porous, so they help with drainage and aeration. However, its porosity can also be its downside as this can absorb moisture and dry out quickly.
Concrete Flower Pots
Concrete flower pots are made, as the name suggests, of concrete. Large flower pots made from concrete are also quite popular and offer a more modern look. They’re also heavy and durable, but they don’t have the same porous quality as terracotta pots. This means they can hold more water, making them ideal for plants that need to stay moist. You can find them in all sorts of colors and shapes, which makes them versatile for any garden style.
Wooden Flower Pots
Wooden flower pots are another option, and they can offer a more rustic look. They’re lightweight and usually made of cedar, a rot-resistant wood. They have good drainage and aeration but can also dry out quickly. You’ll want to make sure you choose a pot that’s been treated with a waterproof sealer to help prolong its life.
Resin Flower Pots
Resin flower pots are made of a synthetic plastic material that looks like stone or ceramic. They’re lightweight and easy to move around, so they’re great for small gardens or balconies. Plus, they come in various colors and styles to match any decor. However, they’re not as durable as some of the other large flower pots on this list and can crack in cold weather.
Read more: How To Make Outdoor Flower Pot Arrangements
Metal Flower Pots
Metal flower pots are another option; they come in various materials like copper, aluminum, or galvanized steel. They offer a more modern look and are often used for plants that need extra drainage. They’re also lightweight and easy to move, so they’re great for small gardens or balconies. However, they can rust over time and may not be as durable as some of the other large flower pots on this list.
Choosing the Right Large Flower Pot
On top of knowing which type of flower containers you want to incorporate in your outdoor garden, here are a few more factors to consider when making your decision:
The Size of Your Garden
You’ll want to ensure the large flower pot you choose is proportional to the size of your garden. If you have a large garden, you can go for a bigger pot. Naturally, if you have a smaller garden, you should opt for a smaller pot.
The Climate in Your Area
Another essential factor to consider is the climate in your area. For example, if you live in an area with harsh winters, you’ll want to choose a large flower pot made from materials like concrete, metal, or resin to withstand cold temperatures. On the other hand, if you live in a warmer climate, you can choose a large flower pot made from a lighter material such as wood or terracotta.
Read also: 13 Amazing Large Steamer Pot for 2025
Your Budget
Of course, your budget is also an important consideration when choosing a large flower pot. Pots are available at all different price points, so it’s crucial to find one that fits within your budget.
Once you’ve considered all these factors, you should have no trouble finding the perfect large flower pot for your garden!
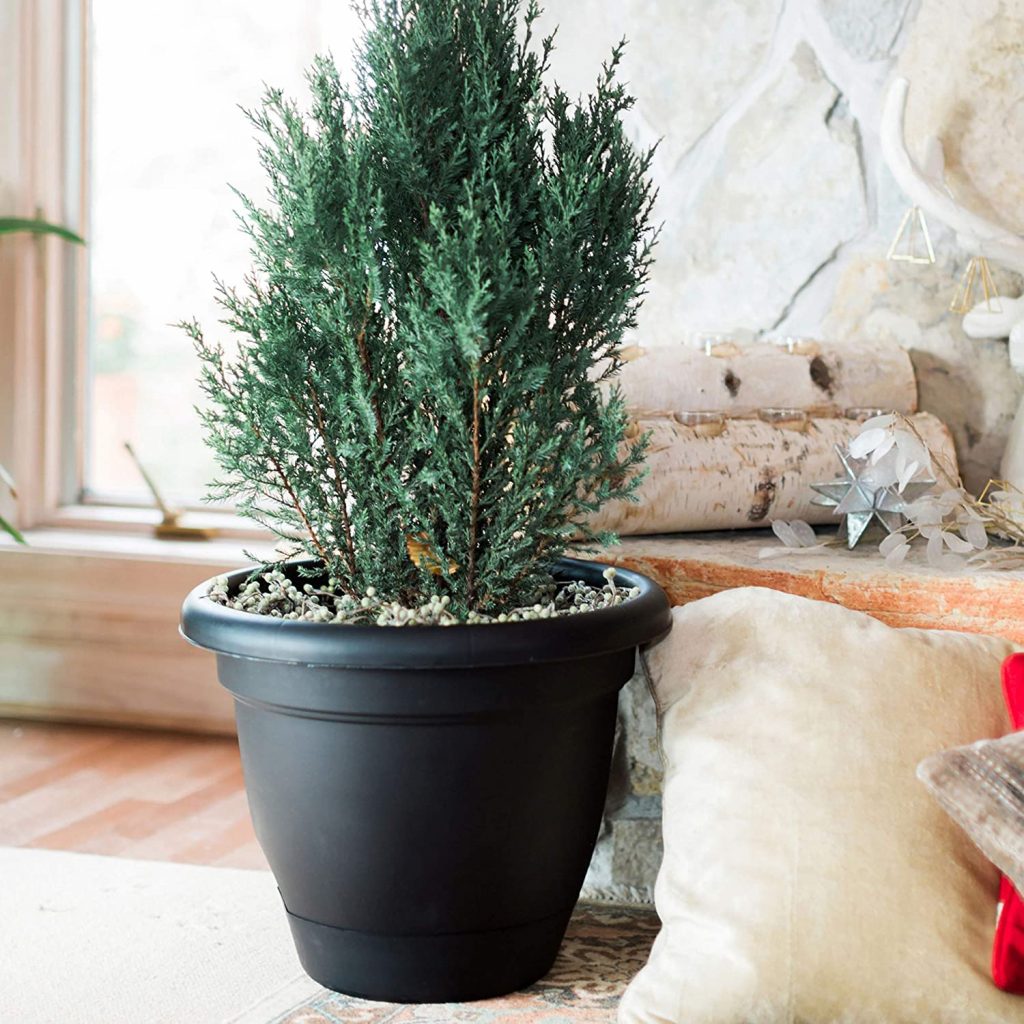
Best Large Flower Pots For Your Dense Garden
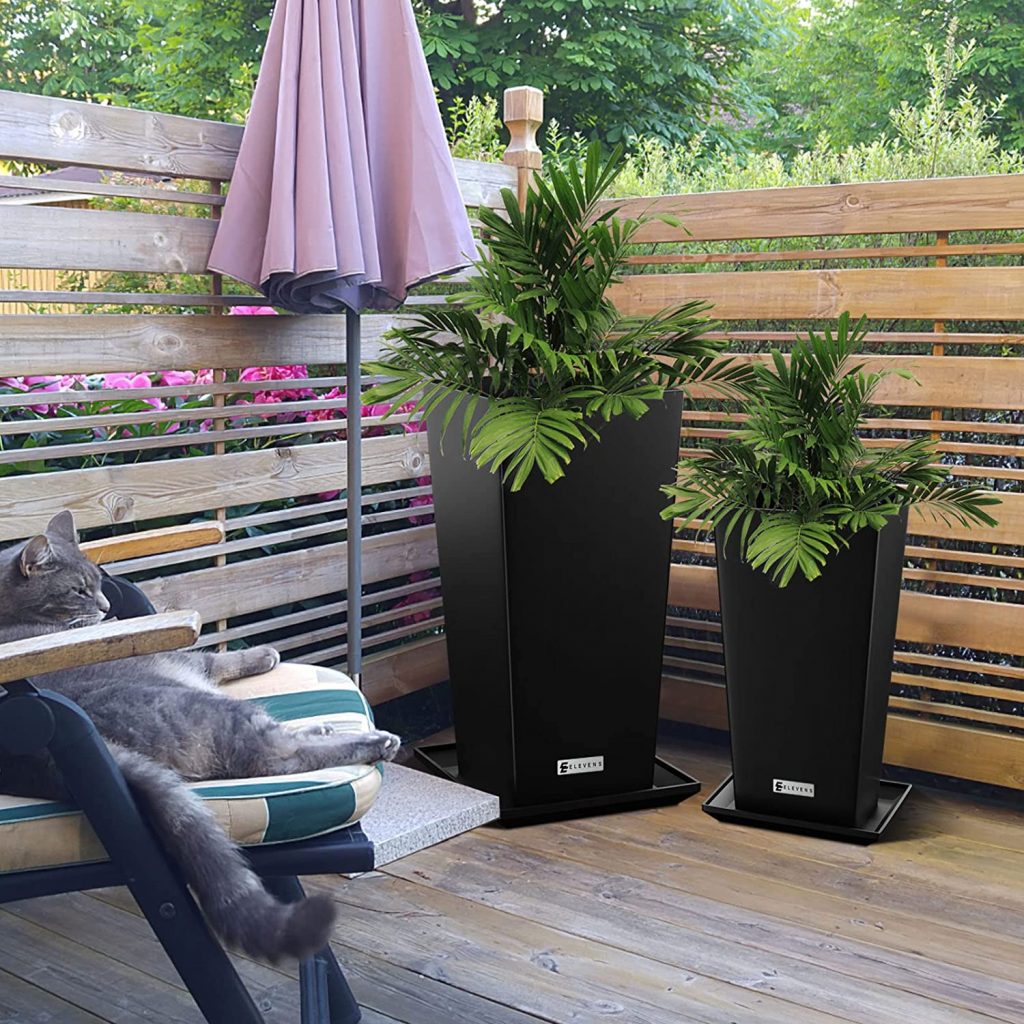
Looking for a modern, stylish way to display your plants outdoors? This sleek, tapered outdoor planter from Elevens Store is the perfect housing for your greens. It’s light and easy to move, so you can rearrange your outdoor space as often as you like. In addition, the planter features a hole to allow air and water to pass through, so you don’t have to worry about over-watering your plants. It also comes with trays to keep the ground clean.
Key Features
- Crack-proof
- Corrosion-resistant
- Drainage holes
- Weather resistant
- Anti-ultraviolet inhibitors
Specifications
- Product dimensions: 11 inches x 16 inches x 30 inches
- Item weight: 40 pounds
Pros
- Versatile
- Flame retardant
- Minimalist design
- Moisture-proof
Cons
- Pricey
- Trays don’t stay in place
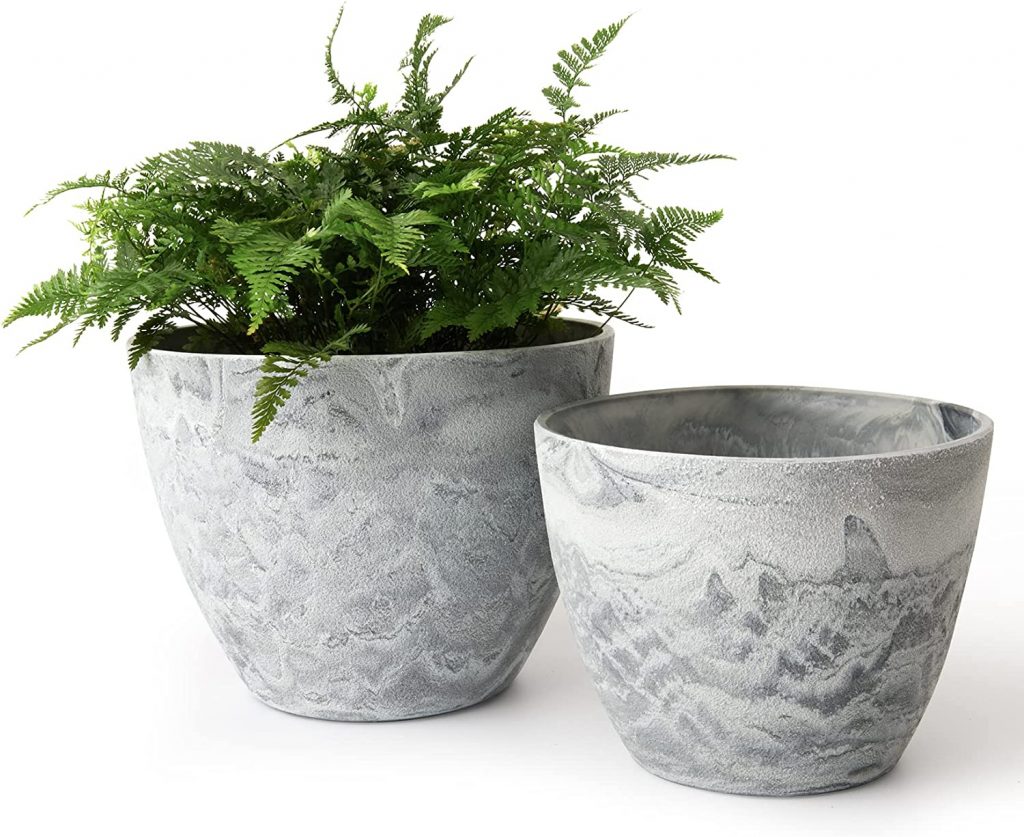
Give your outdoor space a new look with the LA JOLIE MUSE Large Flower Pots Outdoor Garden Planters. These versatile and practical garden pots are perfect for indoor and outdoor use and come in two sizes to suit your needs. Made from durable recycled plastic, they’re weather resistant and built to last. Plus, with four built-in drainage holes, your plants will always have the necessary ventilation to thrive.
Key Features
- Marble pattern
- Minimalist
- Weather-resistant
- Multipurpose
Specifications
- Product dimensions: 8.82 inches x 7.48 inches x 8.7 inches
- Item weight: 1.98 pounds
- Material: Recycled plastic, natural stone powders
Pros
- Neutral design
- Lightweight
- Water drains well
- Affordable
Cons
- Drainage holes poorly places
- Attracts fungus and gnats
The Bloem LP1200 Lucca Self Watering Planter is an excellent choice for those who want a large flower pot that’s easy to take care of. The self-watering feature ensures that your plants stay hydrated, and the water reservoir gradually disperses moisture as needed. In addition, the included saucer tray captures excess water and eliminates mess. Constructed of high-quality, durable plastic resin, this planter is also maintenance-free and easy to clean.
Key Features
- Self-watering
- Fade-resistant
- Attached tray
- Water reservoir
Specifications
- Product dimensions: 13 inches x 13 inches x 10.5 inches
- Item weight: 0.8 pounds
- Material: Plastic
Pros
- Durable
- Promotes healthy root growth
- Sturdy platform
- Affordable
Cons
- Saucer doesn’t stay attached to the flower pot
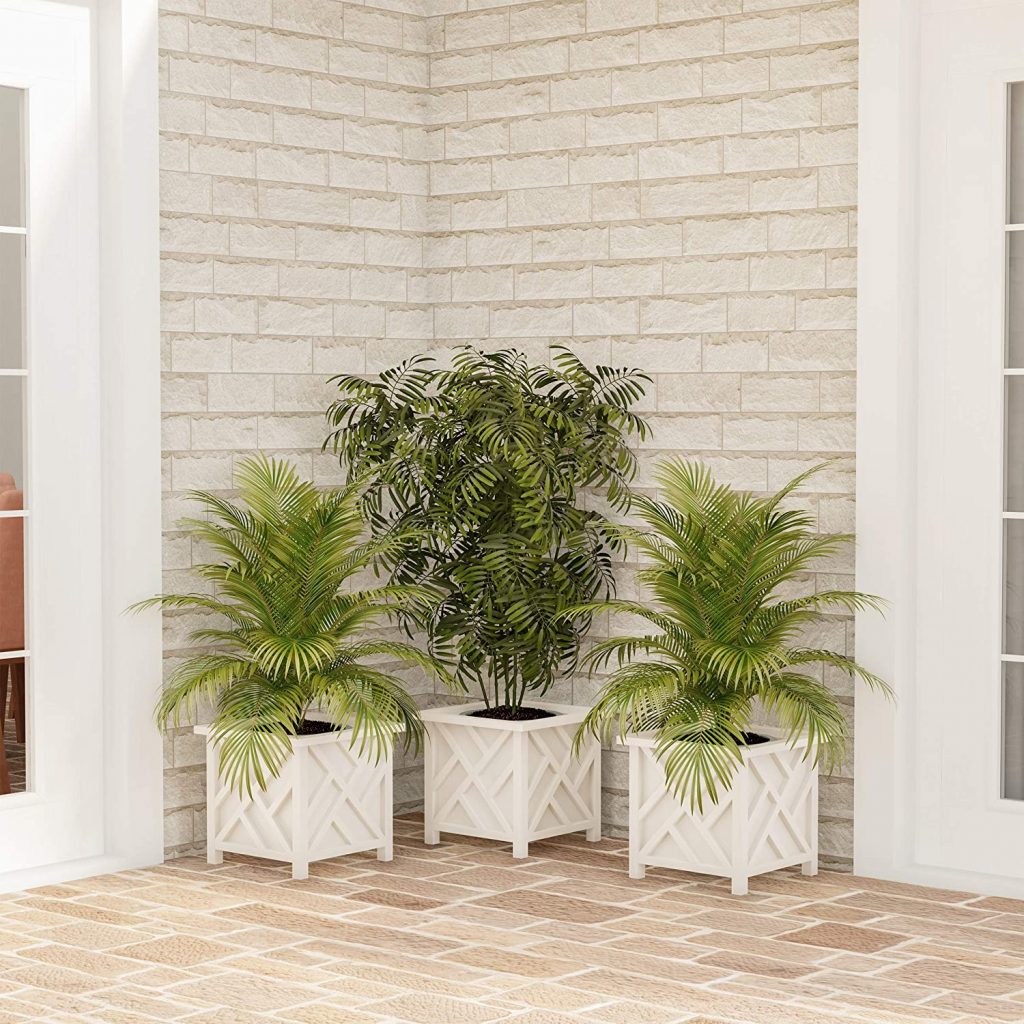
If you need a stylish container to house your large flower pots, the Pure Garden Store Decorative Outdoor Planter Box is the ideal way to show them off. This square-shaped garden box features a charming lattice design that will add a touch of farmhouse-inspired charm to your space. This planter box is made from durable polypropylene, so you are sure it is built to last. The open T-shaped bottom allows for proper water drainage, making it the perfect option for housing your favorite plants and flowers.
Key Features
- Open bottom
- Maintenance free
- Decorative
- Weather-resistant
Specifications
- Product dimensions: 14.75 inches x 14.75 inches x 13 inches
- Item weight: 4.5 pounds
- Material: Polypropylene
Pros
- Easy assemble
- Affordable
- Sturdy
- Durable
Cons
- Doesn’t hold the plant and soil itself
- The bottom cannot be raised up
This Honeysuckle Flower Planter is a must-have for any garden enthusiast. The high-density resin material is durable and weather-resistant, making it perfect for indoor and outdoor use. Plus, the UV-coated finish protects the container’s color from fading.
Key Features
- Weather-resistant
- UV coating
- Stylish
Specifications
- Product dimensions: 13 inches x 13 inches x 10.5 inches
- Item weight: 0.96 pound
- Material: Resin
Pros
- Holes can be drilled at the bottom
- Vibrant colors
- Sturdy
- Lightweight
Cons
- No drainage holes
- Flimsy bottom
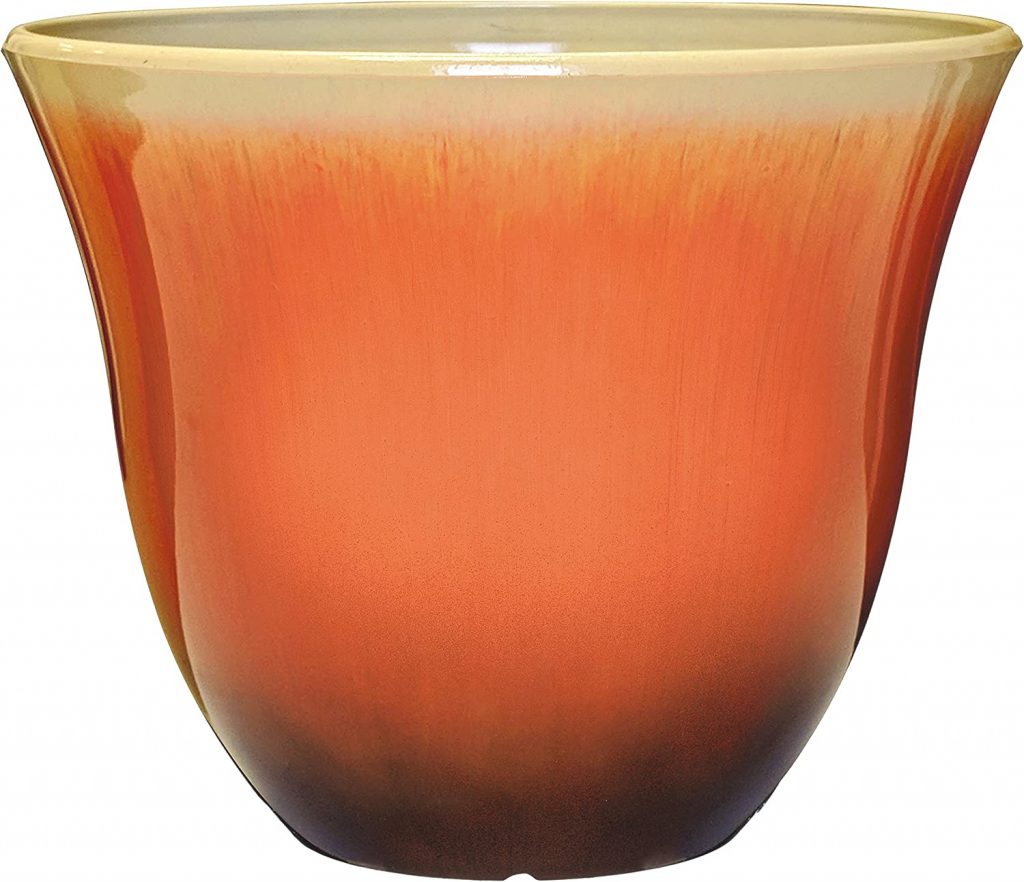
The Classic Home and Garden Patio Pot Garden Planter is a great choice for those who want an elegant large flower pot for their garden. The beautiful design features a distressed copper pattern that is sure to add a touch of sophistication to your space. This planter is constructed from durable high-density resin, making it lightweight and weather resistant. While it doesn’t have a drainage hole, it can easily be drilled on its bottom to help prevent waterlogging.
Key Features
- Weather-resistant
- UV coating
- Color-protect
- Stylish
Specifications
- Product dimensions: 15 inches x 15 inches x 12.25 inches
- Item weight: 1.5 pounds
- Material: Resin, ceramic, copper, stone
Pros
- Holes can be drilled at the bottom
- Vibrant colors
- Drillable
- Durable
Cons
- No drainage holes
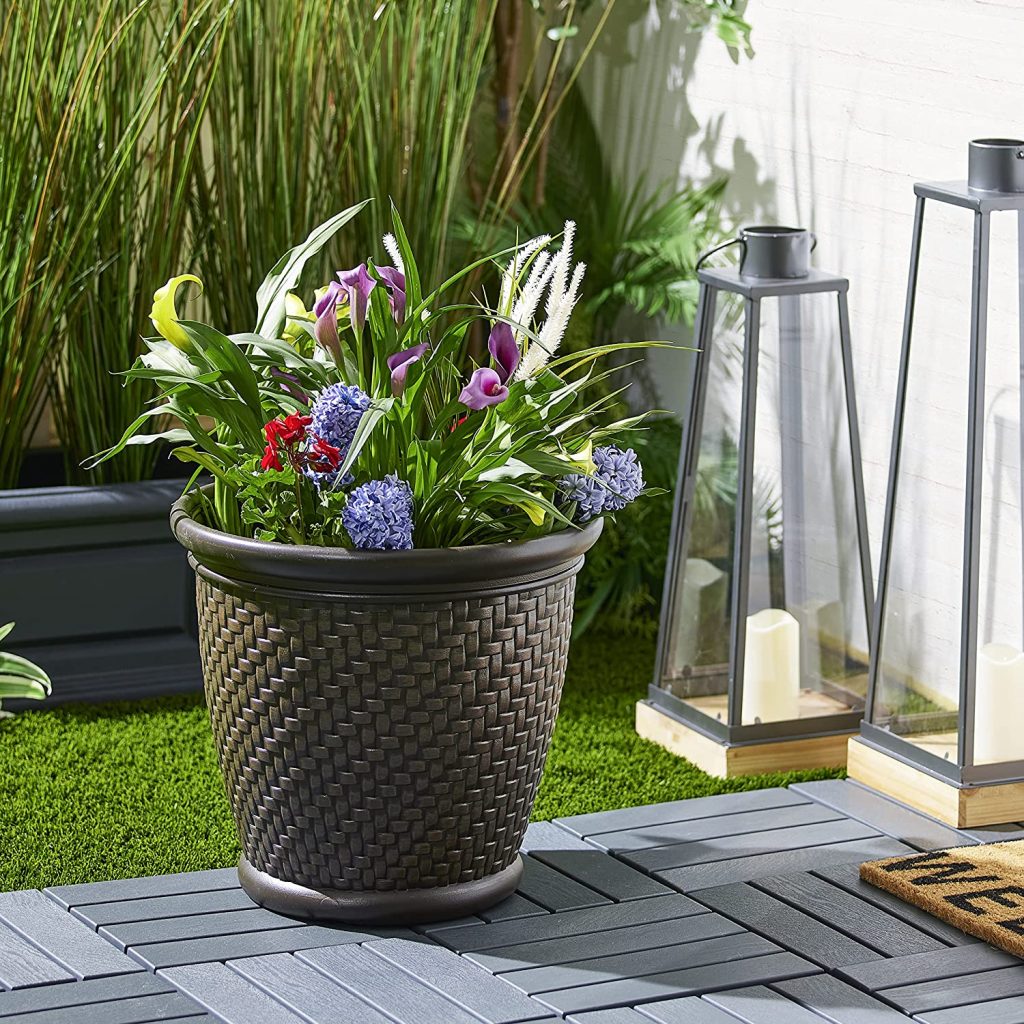
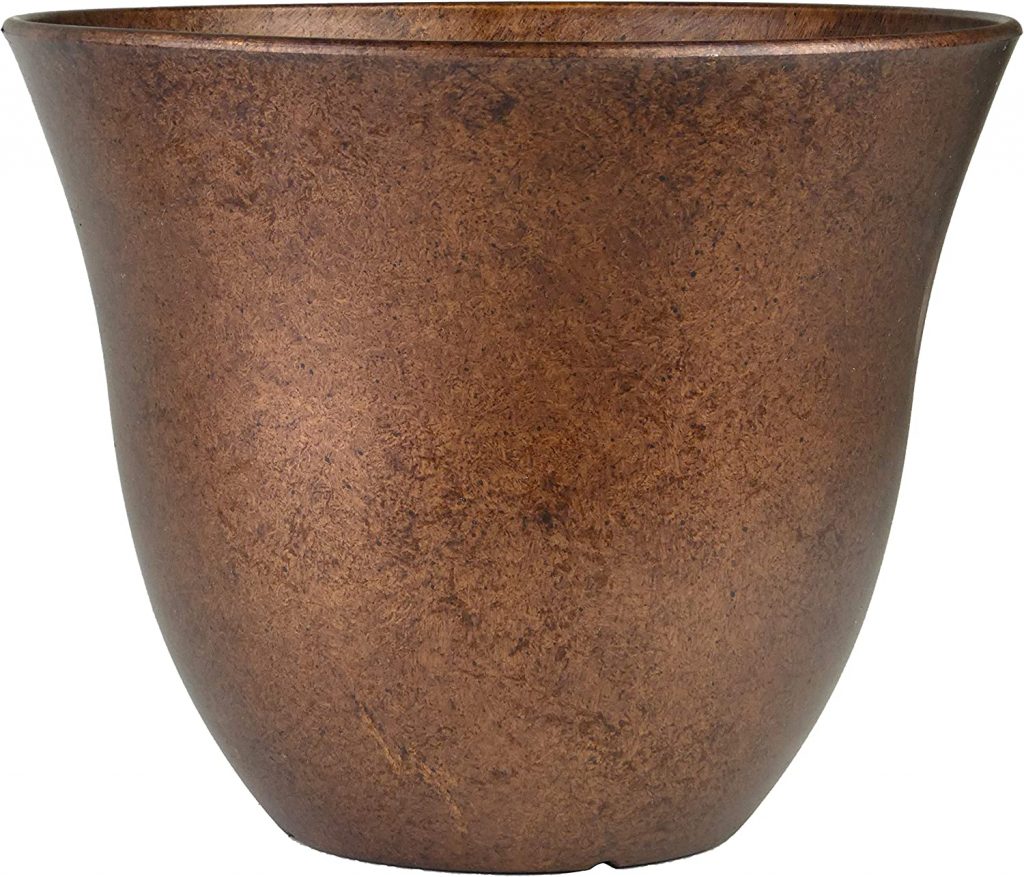
The Suncast Resin Planter is perfect for those looking for a contemporary flower pot to spruce up their outdoor space. This stylish planter is made from lightweight blow mold material, making it easy to move around as needed. The herringbone wicker design in dark brown is neutral enough to go with any décor but still adds a touch of flair to your space. The moisture retention material helps keep your plants healthy and looking their best. Whether you use it for flowers, herbs, or vegetables, the Suncast Resin Planter will surely be a favorite in your garden.
Key Features
- Modern wicker design
- Blow-molded resin construction
Specifications
- Product dimensions: 18 inches x 18 inches x 16.5 inches
- Item weight: 3.04 pounds
- Material: Resin
Pros
- Great moisture retention
- Durable
- Ideal size for large plants
- Versatile
Cons
- No drainage hole
- No self-draining platform
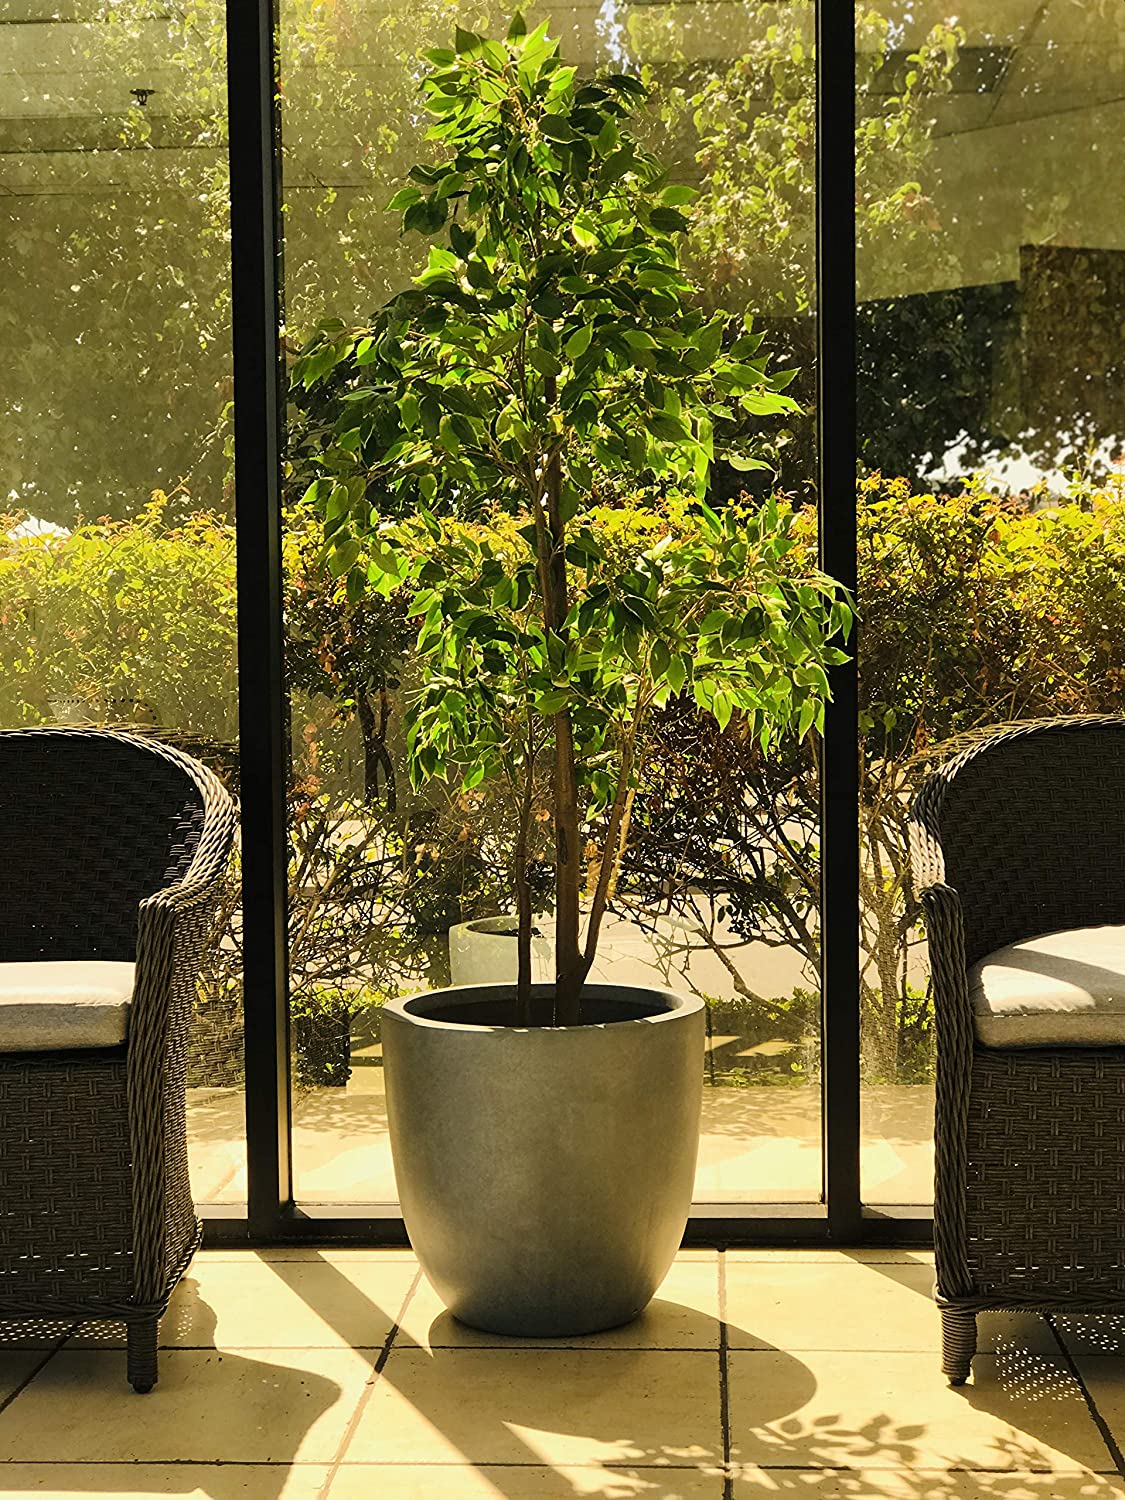
Add a modern, stylish planter to your outdoor décor with the Kante RC0050C-C60611 Lightweight Concrete Modern Seamless Outdoor Round Planter. This sleek and chic planter is handmade from concrete, giving it an authentic look and feel. The smooth, round design is perfect for any patio or deck, and the weather-resistant fiberglass ensures that your plants will stay healthy and happy for years to come. Plus, the UV-resistant finish will keep the color looking fresh and new, season after season.
Key Features
- With drainage hole
- Authentic slate gray concrete finish
- Handmade
- Weather-resistant
Specifications
- Product dimensions: 18 inches x 18 inches x 17 inches
- Item weight: 20.4 pounds
- Material: Concrete
Pros
- Durable
- Smooth design
- Easy to move around
- Lightweight
Cons
- Visible pores
- Not stain and dirt proof
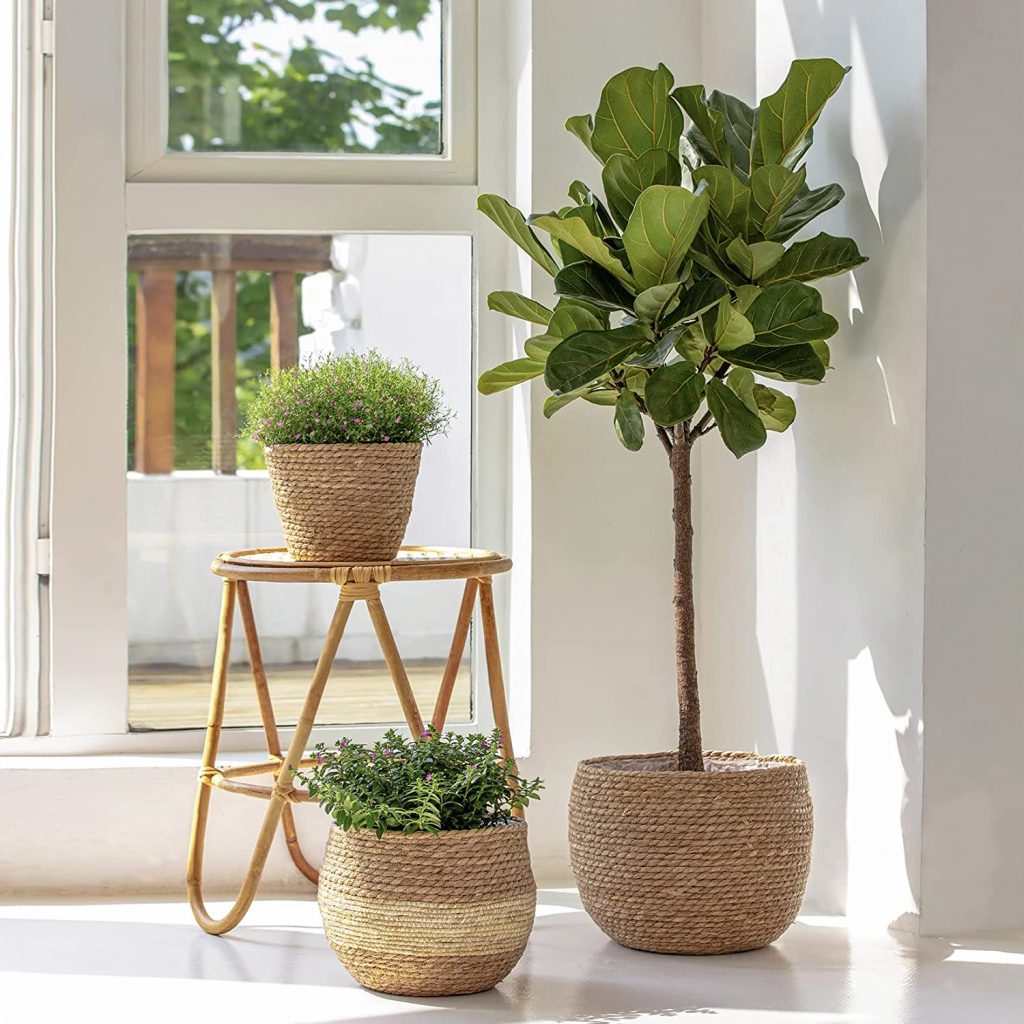
The LA JOLIE MUSE Natural Seagrass Large Planter is an eco-friendly way to add some life to your outdoor decor. This large planter is sturdy, chemical-free, and made from 100% natural seagrass and corn skin. The beige vanilla ice color is perfect for any space, and the interior plastic coating ensures that you can water your plants without worrying about leakage. This also ensures your plants get the hydration they need for the day.
Not only is the LA JOLIE MUSE Natural Seagrass Large Planter a beautiful addition to any room, but it’s also multifunctional. Use it as a storage basket for your knick-knacks or a planter for your favorite plants. Either way, you will love how this natural seagrass planter looks in your indoor or outdoor space.
Key Features
- Handmade
- Natural
- Eco-friendly
- Plastic inner lining
- Chemical-free
Specifications
- Product dimensions: 13.5 inches x 13.5 inches x 10 inches
- Item weight: 2.64 pounds
- Material: Plastic
Pros
- Sold in 3 sets; varying sizes
- Recyclable
- Multifunctional
- Leak-proof
Cons
- Size may vary due to handmade manufacturing
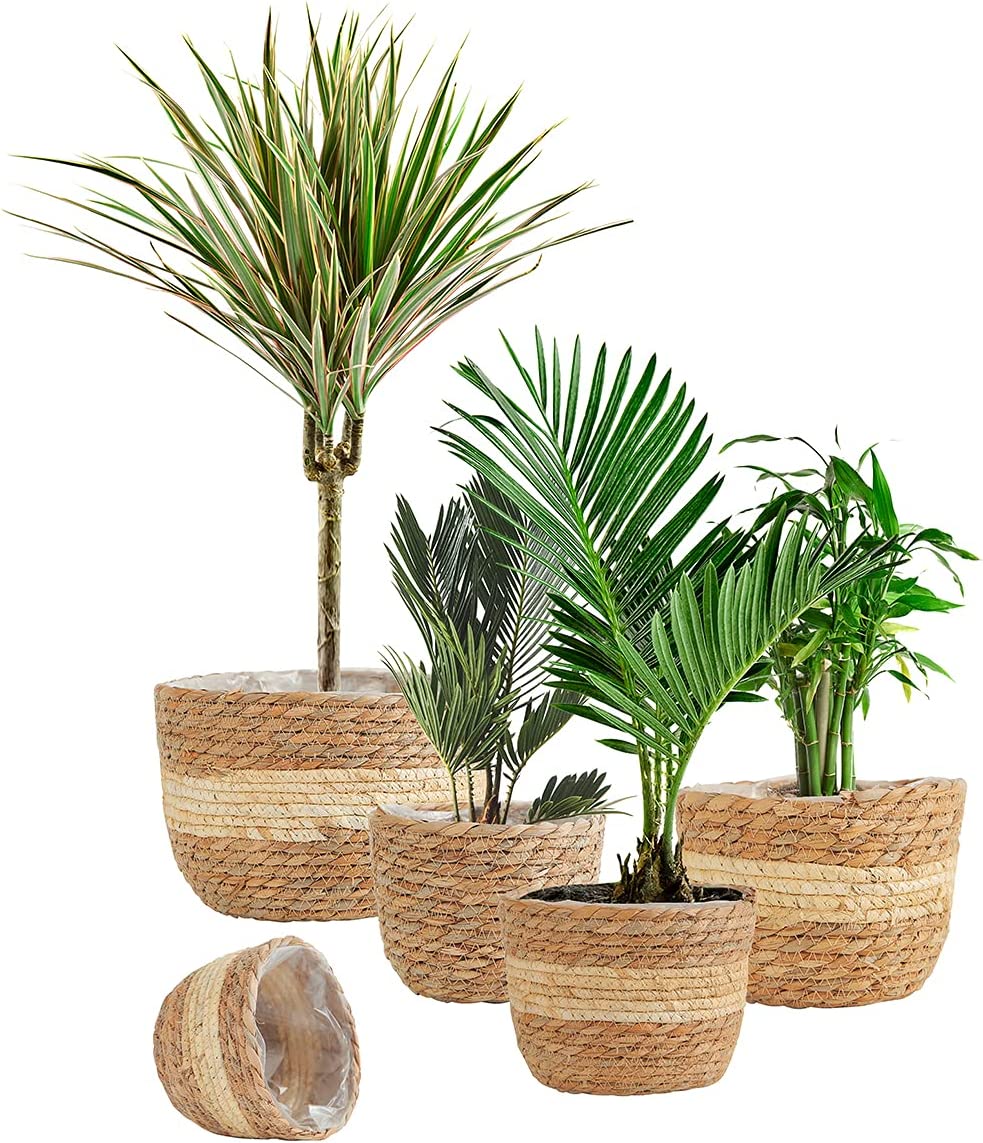
The HANKRSSTOP Natural Plant Basket with Plastic Liner is a beautiful and natural way to display your plants. This large flower basket is handmade from seagrass, giving it a rustic look that will complement any décor. The plastic liner ensures that your plants stay healthy while it protects the container from mold and mildew. Its lightweight design will also make your home unique and closer to nature.
Key Features
- Eco-friendly
- Pure natural seagrass
- Waterproof inner lining
- Handwoven
Specifications
- Product dimensions: 13.3 inches x 9.44 inches x 2.6 inches
- Item weight: 1.9 pounds
- Material: Plastic
Pros
- Sturdy
- Affordable
- Lightweight
- Unique design
Cons
- Plastic linings are visible
Frequently Asked Questions about Large Flower Pots
-
What plants look best in large flower pots?
Many plants can look great in large flower pots. Some of the most popular ones are annuals, such as petunias, marigolds, and begonias. You can also use perennials, such as ivy, hostas, tulips, and lilies. Tree-like greens such as bamboos, ficus, and palms can also significantly impact large flower pots. Whatever plants you choose, make sure the pots are large enough to accommodate the roots.
-
Are deeper or wider large flower pots better?
Both deeper and wider large flower pots have their advantages. Deeper pots allow for more soil, meaning the plant has more space to grow. Wider pots are better for plants that need water, as they allow for more drainage. Ultimately, it depends on what the plant needs to thrive.
-
Do large flower pots need holes?
If you are using a large flower pot for your outdoor garden, you will want to ensure that the pot has a sound drainage system. This will help prevent the soil from becoming too wet and help keep your plants healthy.
Wrap Up
Large flower pots are perfect for gardens with dense foliage. If you have a large garden and want to add some color, sizeable outdoor flower pots are the way to go. They come in various colors and sizes, so you can find the perfect one for your space. Plus, they’re easy to move around if you need to relocate them or want to change your garden design.
Was this page helpful?
At Storables.com, we guarantee accurate and reliable information. Our content, validated by Expert Board Contributors, is crafted following stringent Editorial Policies. We're committed to providing you with well-researched, expert-backed insights for all your informational needs.

0 thoughts on “10 Large Outdoor Flower Pots For Your Dense Garden”