Home>Furniture & Design>Outdoor Furniture>How To Paint Outdoor Trim
Outdoor Furniture
How To Paint Outdoor Trim
Published: January 14, 2024
Learn the best techniques for painting outdoor trim to enhance the look of your outdoor furniture. Get expert tips and advice on outdoor furniture design.
(Many of the links in this article redirect to a specific reviewed product. Your purchase of these products through affiliate links helps to generate commission for Storables.com, at no extra cost. Learn more)
Introduction
Welcome to the world of outdoor furniture design! Painting outdoor trim is a fantastic way to rejuvenate the appearance of your outdoor furniture and give it a fresh, new look. Whether you're a seasoned DIY enthusiast or just starting to explore the world of outdoor furniture design, knowing how to paint outdoor trim can significantly enhance the aesthetic appeal of your outdoor space.
In this comprehensive guide, we will delve into the intricacies of choosing the right paint, preparing the surface, applying the paint, and adding those finishing touches that will make your outdoor furniture stand out. Whether you're aiming for a classic, timeless look or a bold, modern statement, the process of painting outdoor trim can be both rewarding and transformative.
Join us as we embark on this journey, exploring the essential steps and techniques that will enable you to breathe new life into your outdoor furniture. Get ready to unleash your creativity and elevate the ambiance of your outdoor space through the art of painting outdoor trim. Let's dive in and discover the secrets to achieving a stunning, professional finish that will leave your outdoor furniture looking flawless.
Key Takeaways:
- Transform your outdoor furniture with a fresh coat of paint! Choose weather-resistant paint, prep the surface, and apply with care for a stunning, long-lasting finish.
- Elevate your outdoor space by adding a pop of color to your outdoor trim. With the right paint, surface prep, and finishing touches, your furniture will shine!
Read more: How To Prepare Trim For Painting
Choosing the Right Paint
When it comes to painting outdoor trim, selecting the right paint is crucial for achieving a durable and visually appealing finish. Outdoor furniture is exposed to various weather conditions, including sunlight, rain, and humidity, so choosing a high-quality, weather-resistant paint is essential.
Here are a few key factors to consider when choosing the right paint for your outdoor trim:
- Weather Resistance: Opt for paint specifically designed for outdoor use, as it is formulated to withstand the elements and maintain its color and finish over time.
- Durability: Look for paint that offers excellent adhesion and resistance to chipping, peeling, and fading, ensuring that your outdoor trim remains vibrant and beautiful for years to come.
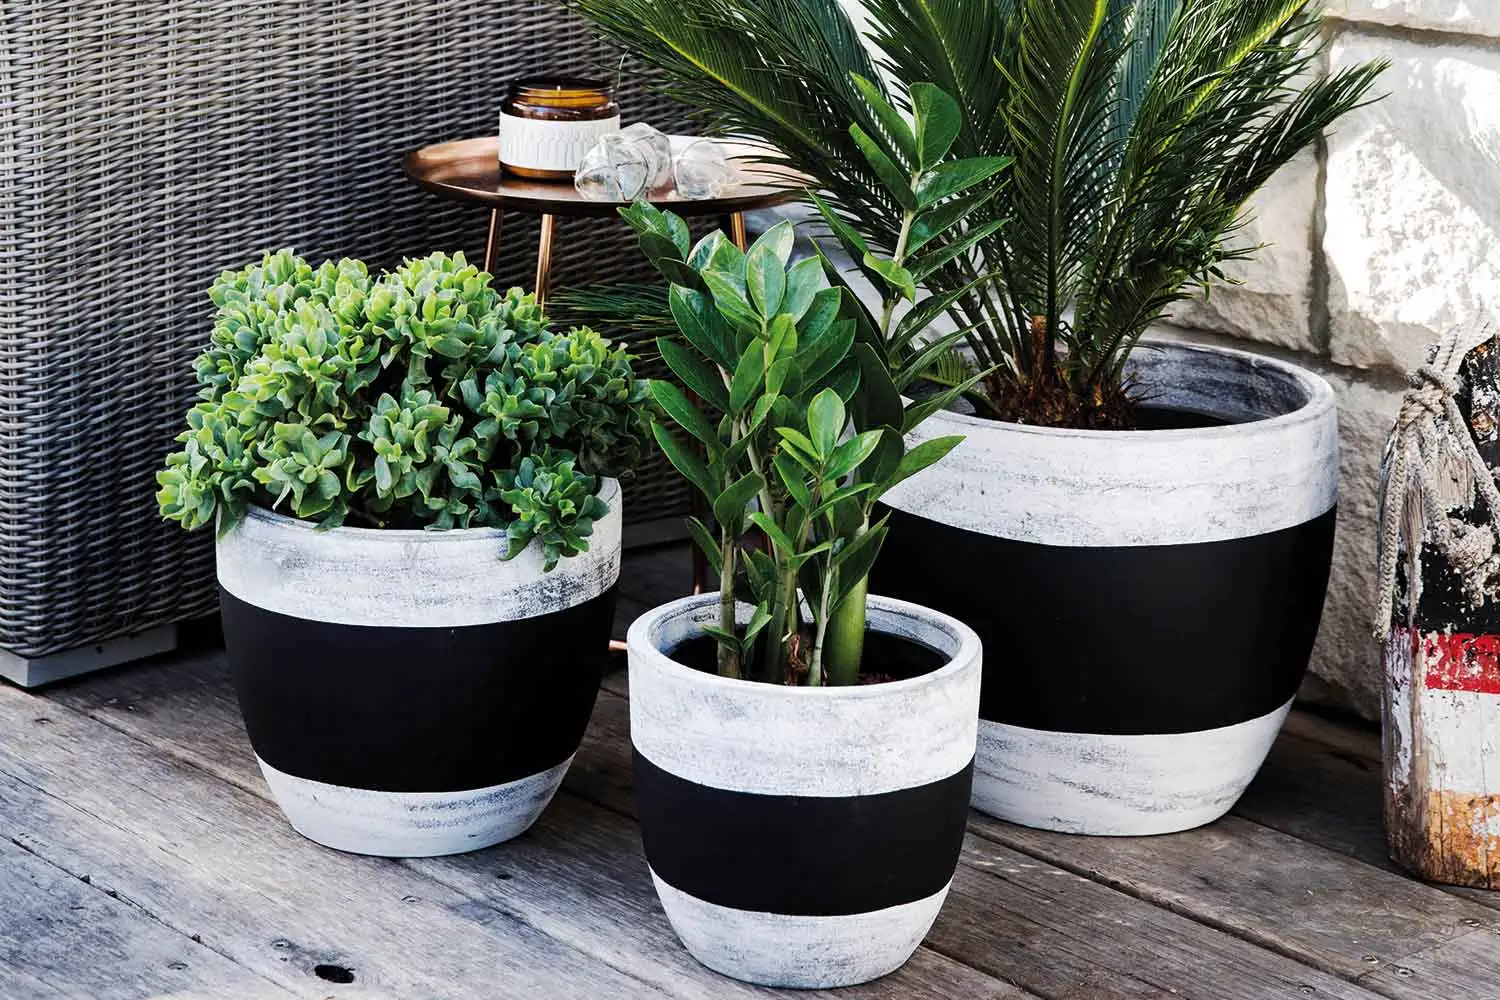
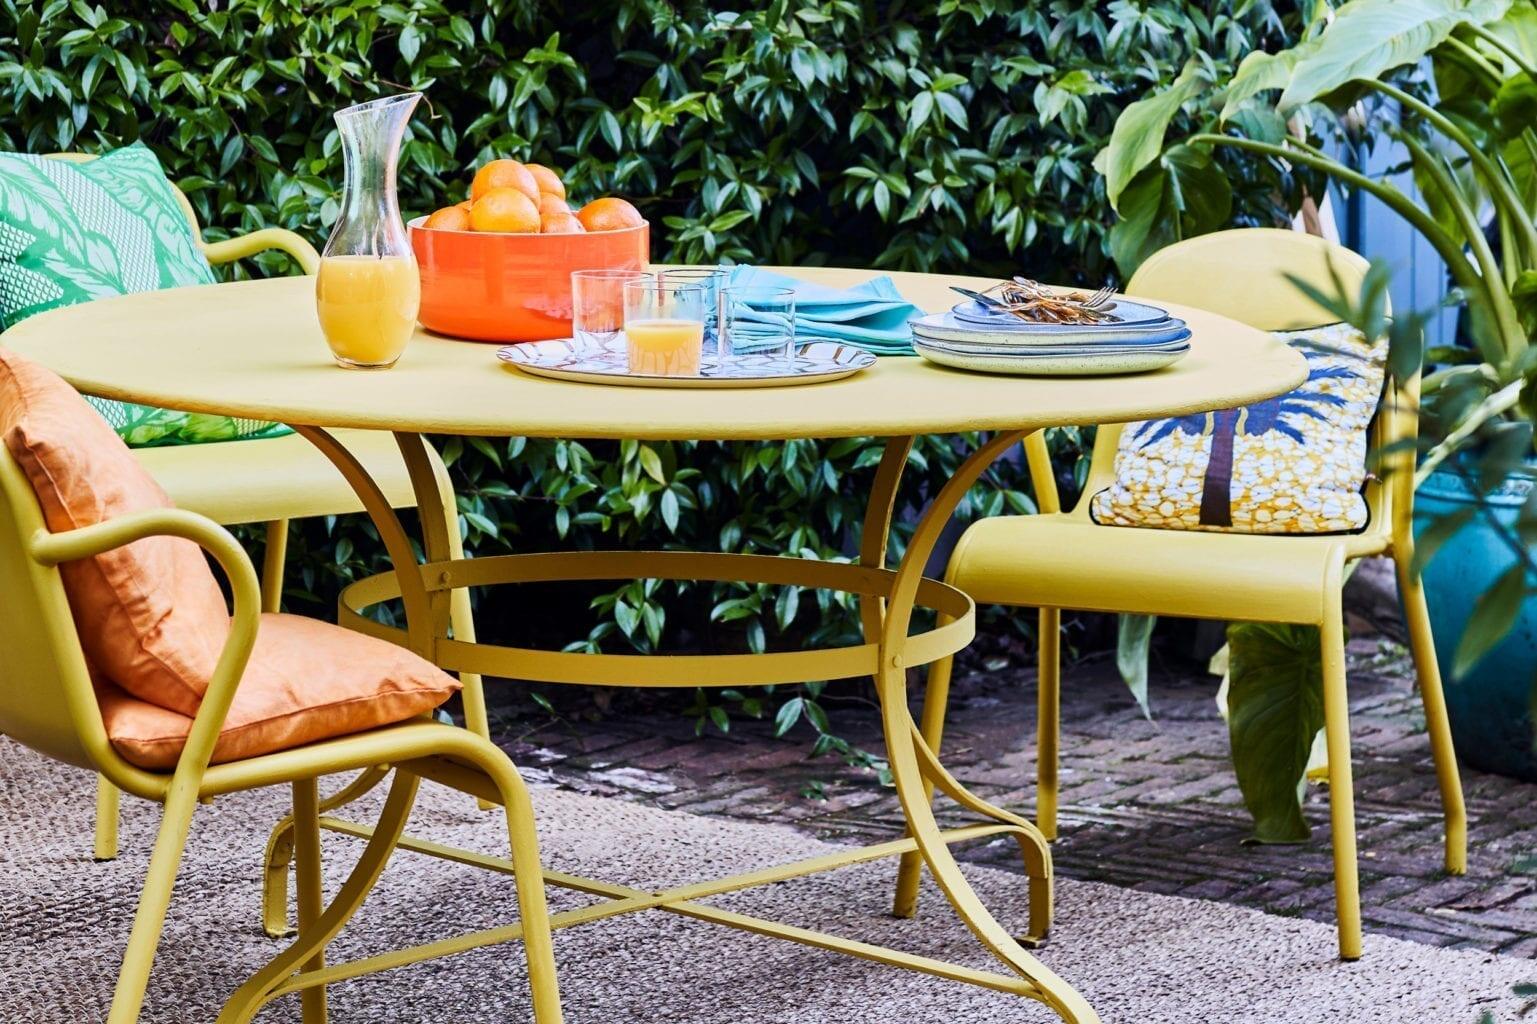
- Color Selection: Consider the overall aesthetic of your outdoor space and choose a paint color that complements the existing decor or adds a striking contrast for a bold statement.
- Finish Options: Explore different finish options, such as glossy, satin, or matte, to achieve the desired look for your outdoor trim. Each finish offers unique visual and textural qualities.
- Eco-Friendly Formulas: For environmentally conscious individuals, there are eco-friendly paint options available that are low in volatile organic compounds (VOCs) and safe for outdoor use.
Additionally, consulting with a paint specialist at your local home improvement store can provide valuable insights into the best paint options for outdoor trim, taking into account the specific material of your furniture and any previous finishes that may need to be addressed.
By carefully selecting the right paint for your outdoor trim, you can ensure a stunning and long-lasting transformation that enhances the beauty of your outdoor furniture while withstanding the rigors of outdoor exposure.
Preparing the Surface
Before diving into the painting process, proper surface preparation is essential to ensure a flawless and enduring finish for your outdoor trim. Here are the crucial steps to prepare the surface for painting:
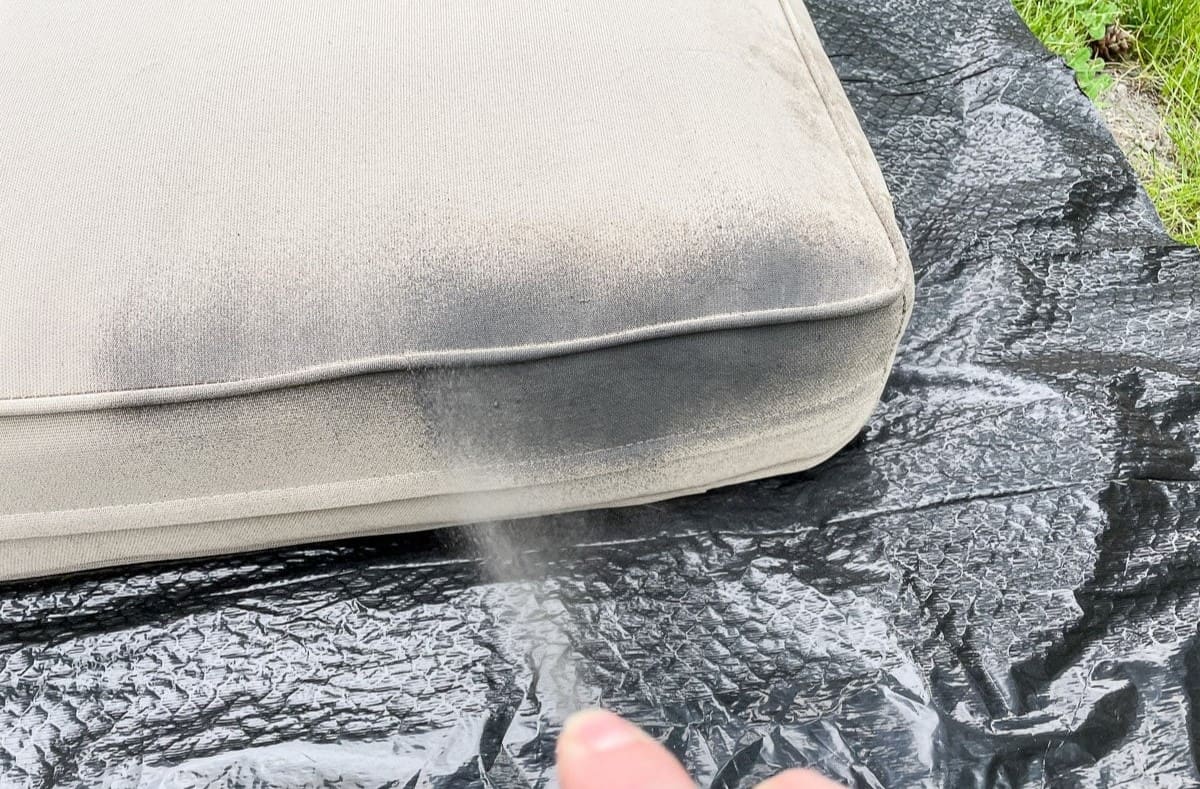
- Clean the Surface: Begin by thoroughly cleaning the outdoor trim to remove any dirt, grime, or debris that may have accumulated. Use a mild detergent and water solution, along with a scrub brush or sponge, to ensure the surface is clean and free of any contaminants that could affect paint adhesion.
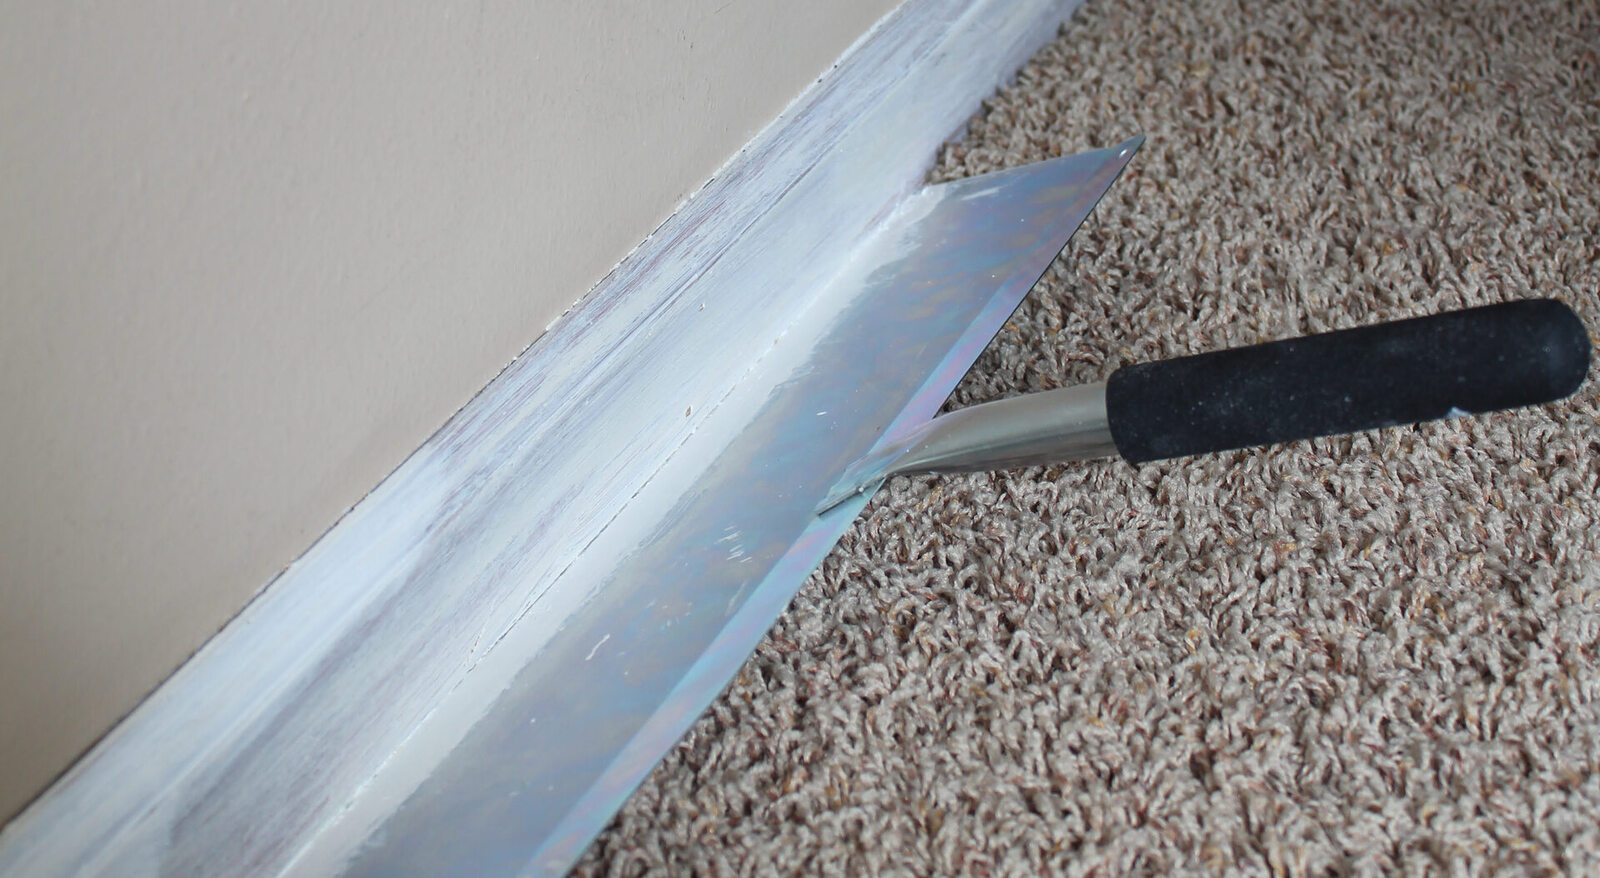
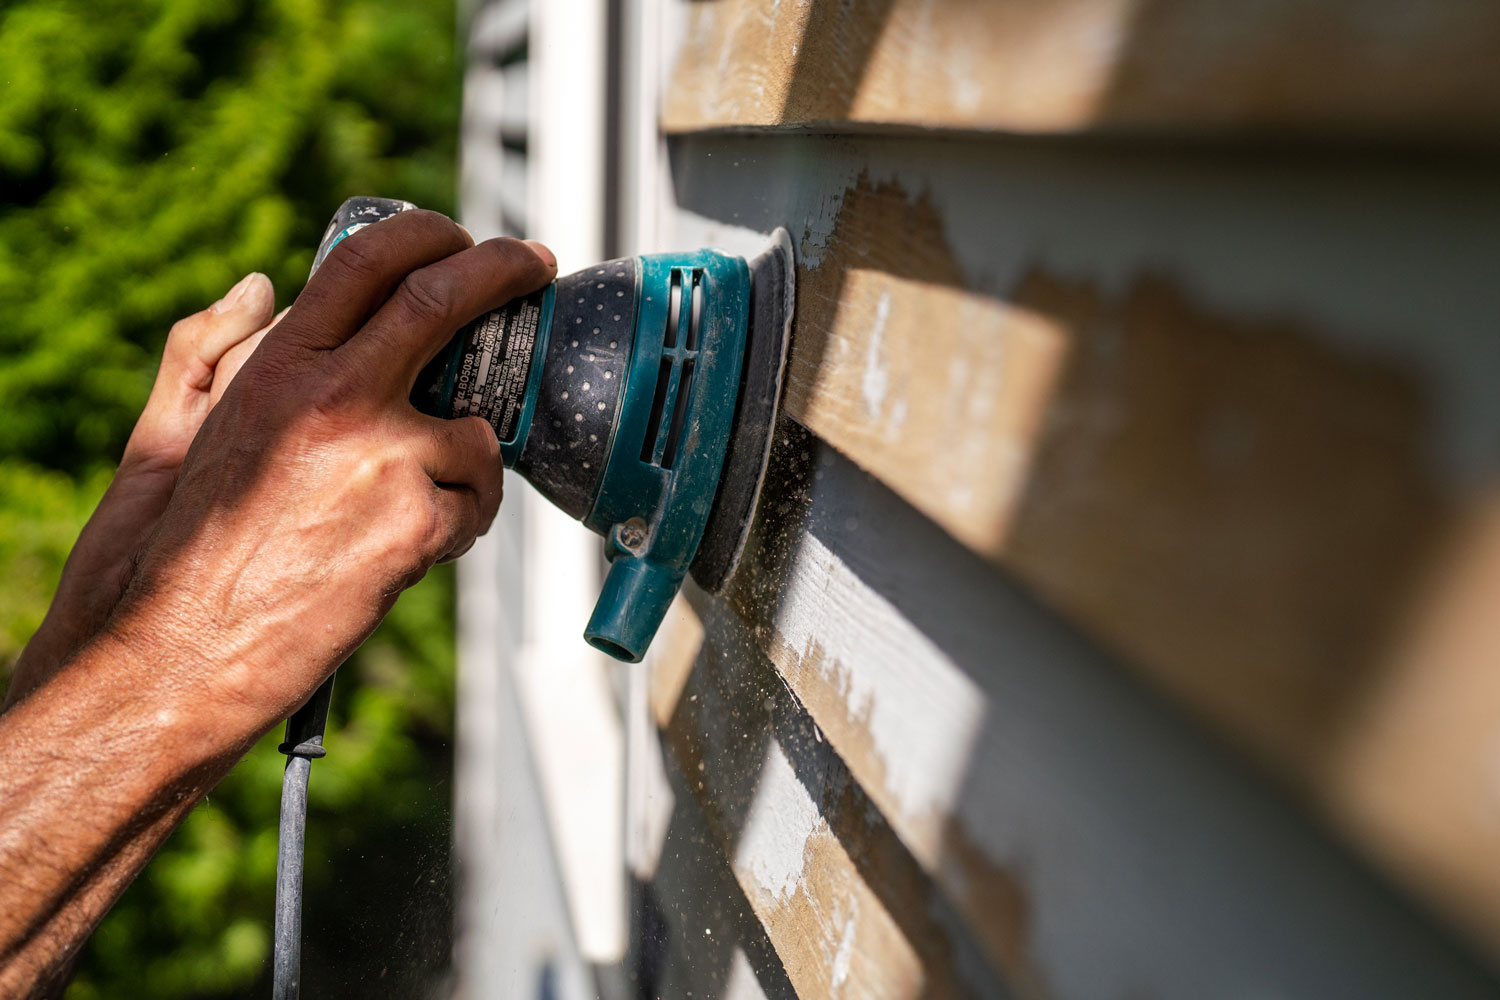
- Remove Old Paint: If the outdoor trim has existing paint that is chipping or peeling, it’s important to remove it completely before applying a new coat. Use a paint scraper, sandpaper, or a chemical paint stripper to effectively strip away old layers of paint and create a smooth surface for the new paint to adhere to.
- Repair Any Damage: Inspect the outdoor trim for any signs of damage, such as cracks, dents, or imperfections. Fill in any cracks or holes with a suitable wood filler or epoxy, and sand the repaired areas to achieve a level surface that is ready for painting.
- Sand the Surface: After cleaning and repairing the outdoor trim, lightly sand the entire surface to promote paint adhesion and create a smooth, uniform texture. Use fine-grit sandpaper to gently roughen the surface, removing any gloss or sheen from previous finishes.
- Protect Surrounding Areas: To prevent unintended paint transfer, cover nearby surfaces, such as flooring or adjacent furniture, with drop cloths or plastic sheeting. This precaution will safeguard surrounding areas from accidental paint splatter or drips during the painting process.
By meticulously preparing the surface of your outdoor trim, you set the stage for a successful and professional-looking paint application. Taking the time to clean, repair, and prime the surface ensures that the new paint will adhere properly and create a stunning visual impact that enhances the overall appeal of your outdoor furniture.
When painting outdoor trim, make sure to clean and sand the surface before applying primer. Use a high-quality exterior paint and apply it in thin, even coats for a smooth finish that will last.
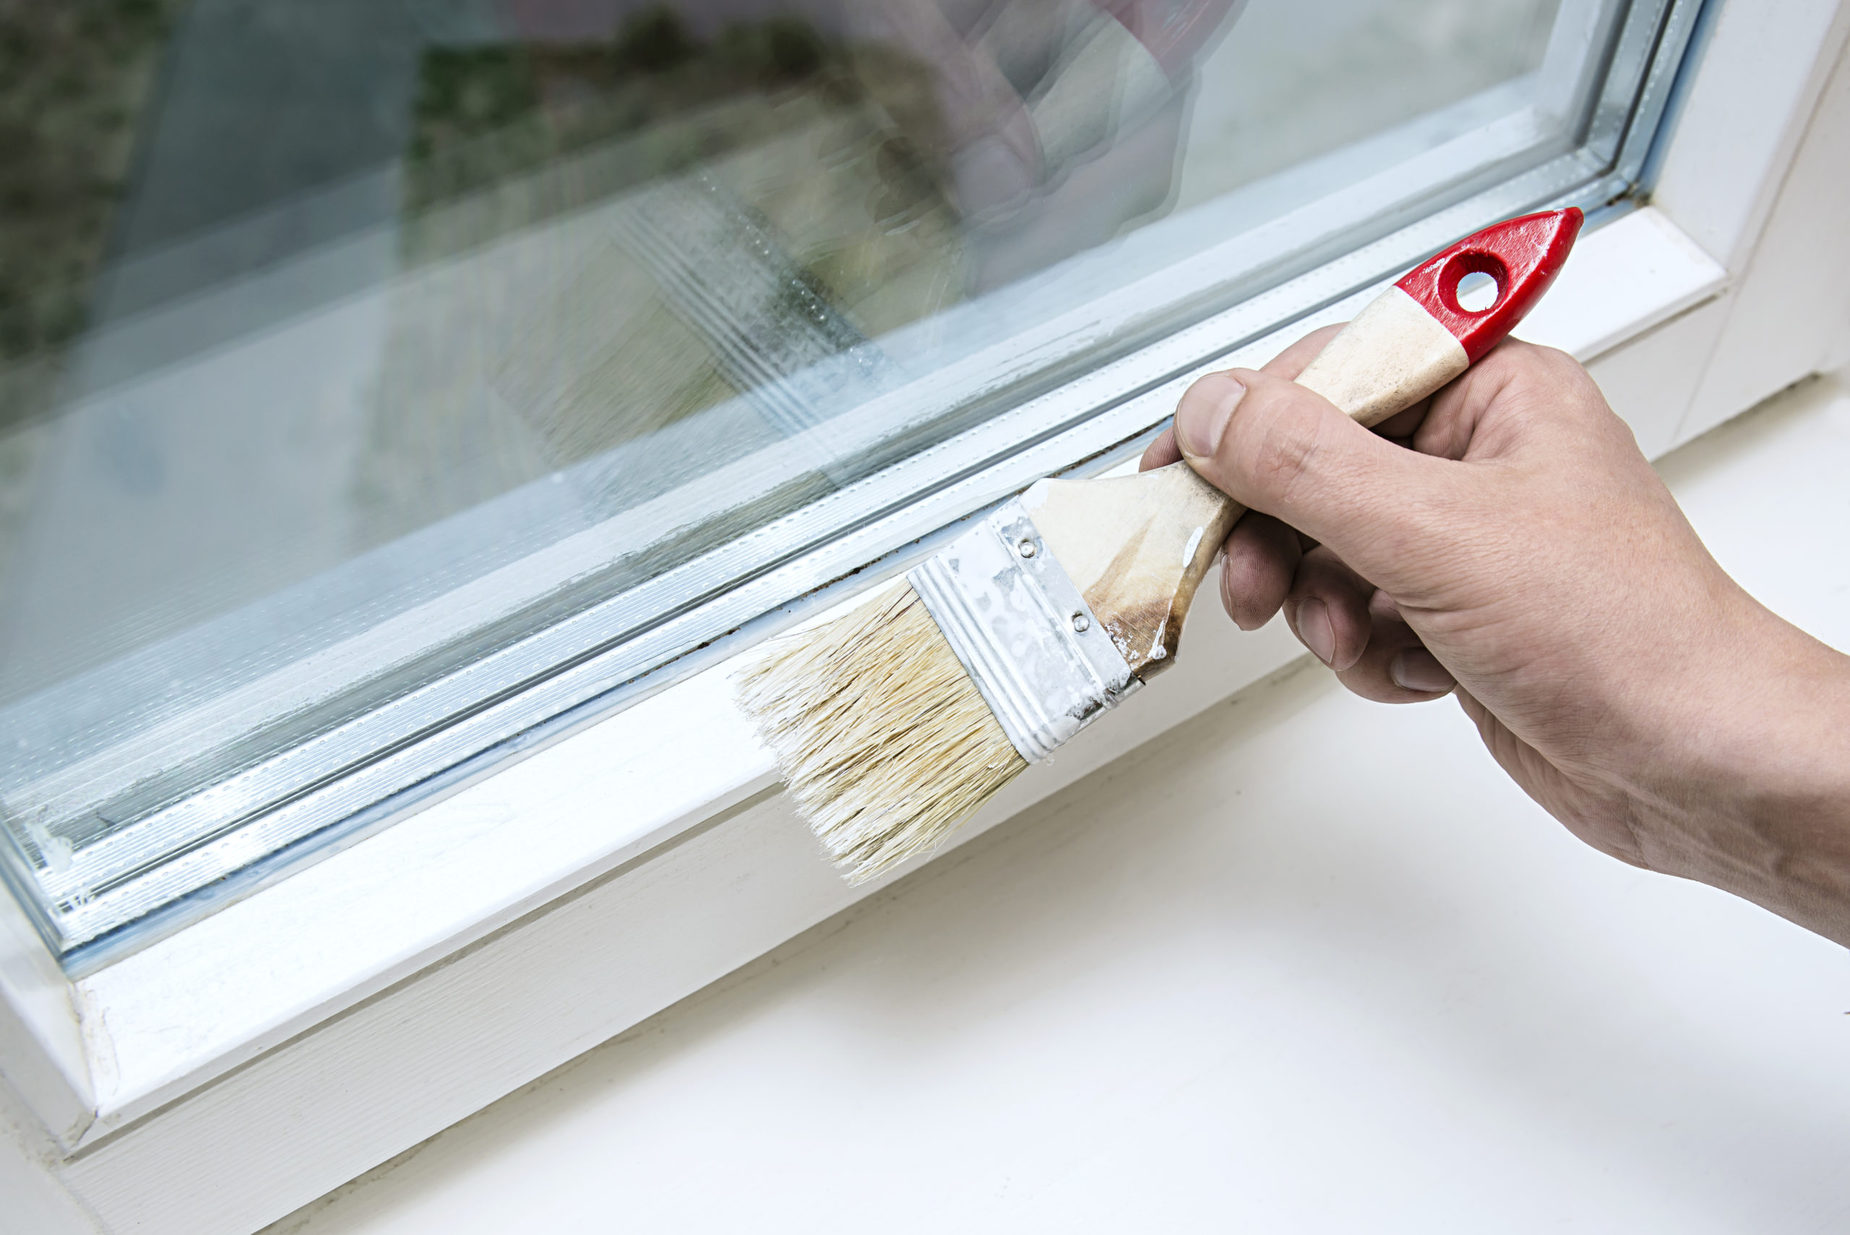
Applying the Paint
Now that the surface is impeccably prepared, it’s time to embark on the exciting process of applying the paint to your outdoor trim. Whether you’re aiming for a classic, understated finish or a bold, vibrant statement, the application of paint is where your creativity and vision come to life.
Here are the essential steps for applying paint to your outdoor trim:
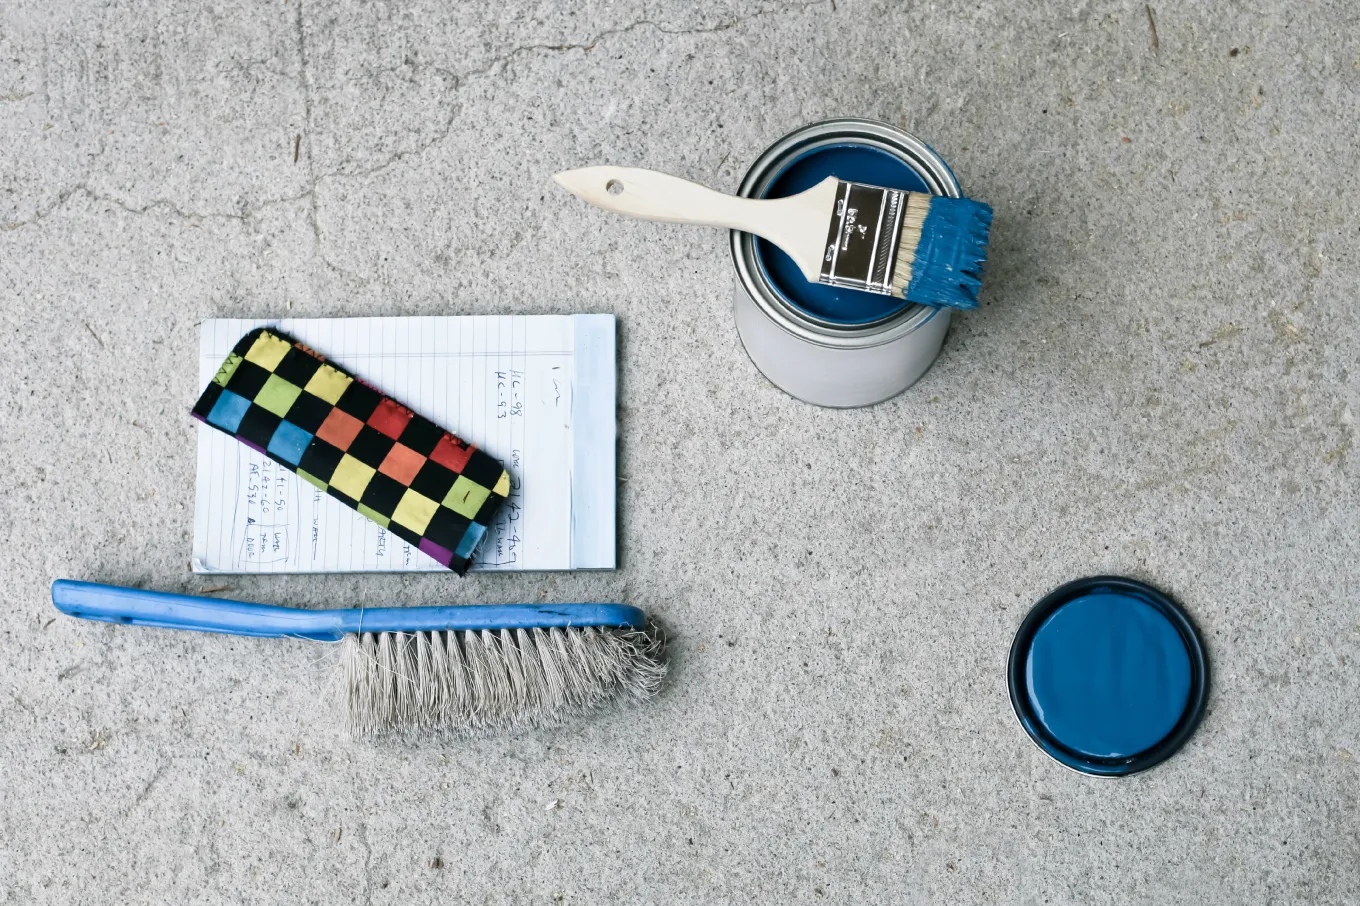
- Priming: Before applying the paint, consider using a high-quality primer specifically designed for outdoor use. The primer enhances paint adhesion, promotes an even finish, and provides an additional layer of protection for the outdoor trim.
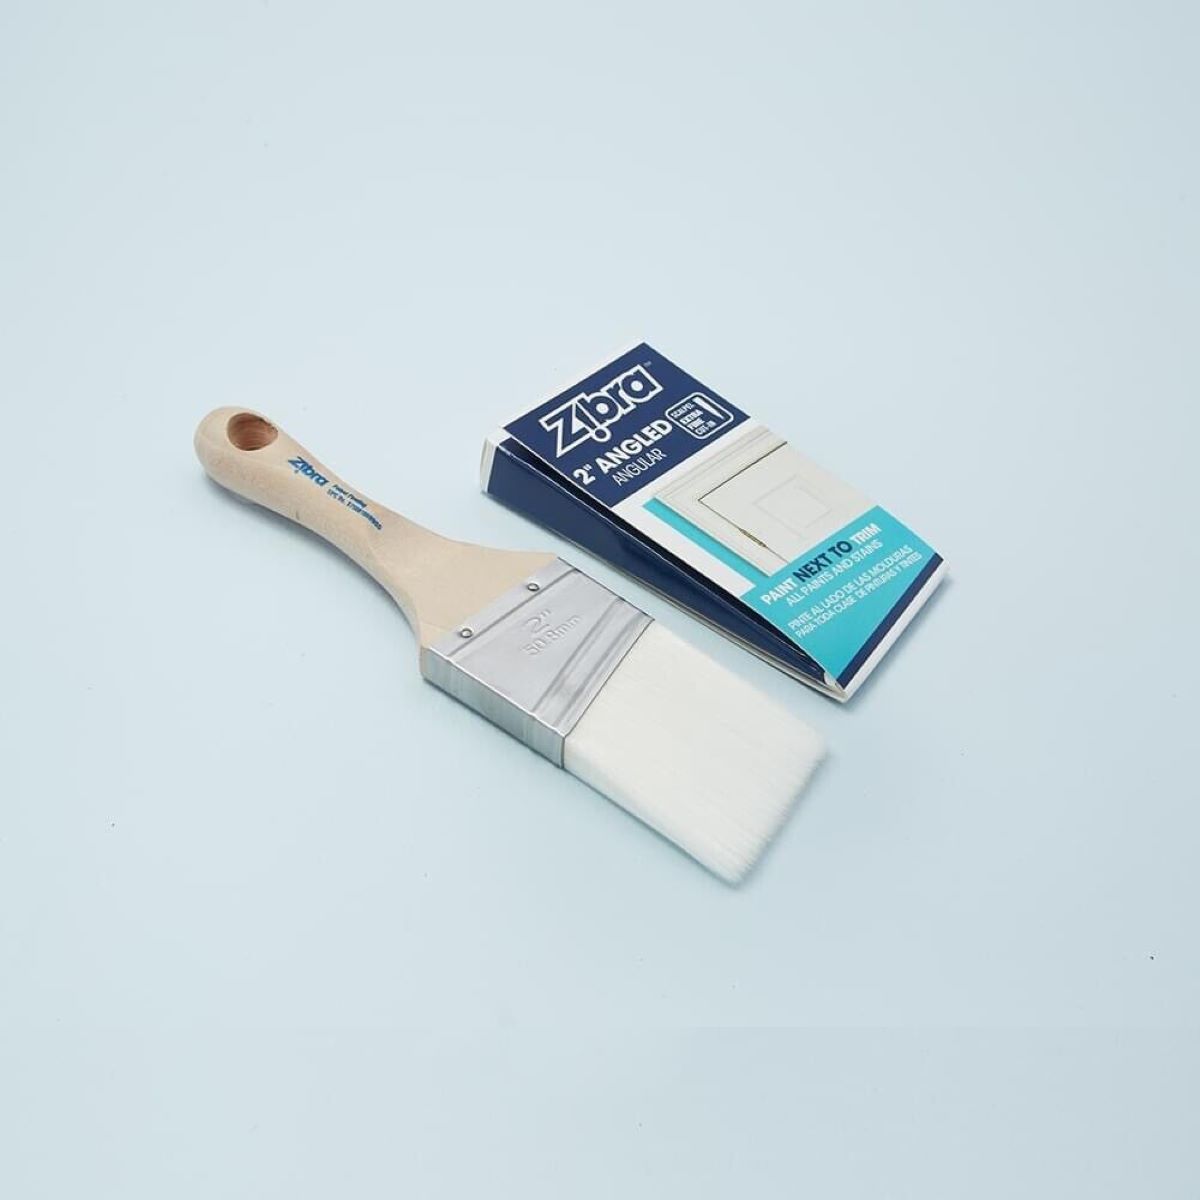
- Choosing the Right Tools: Select the appropriate tools for the job, such as high-quality brushes, rollers, or paint sprayers, based on the size and intricacy of the outdoor trim. Quality tools contribute to a smoother application and a professional-looking result.
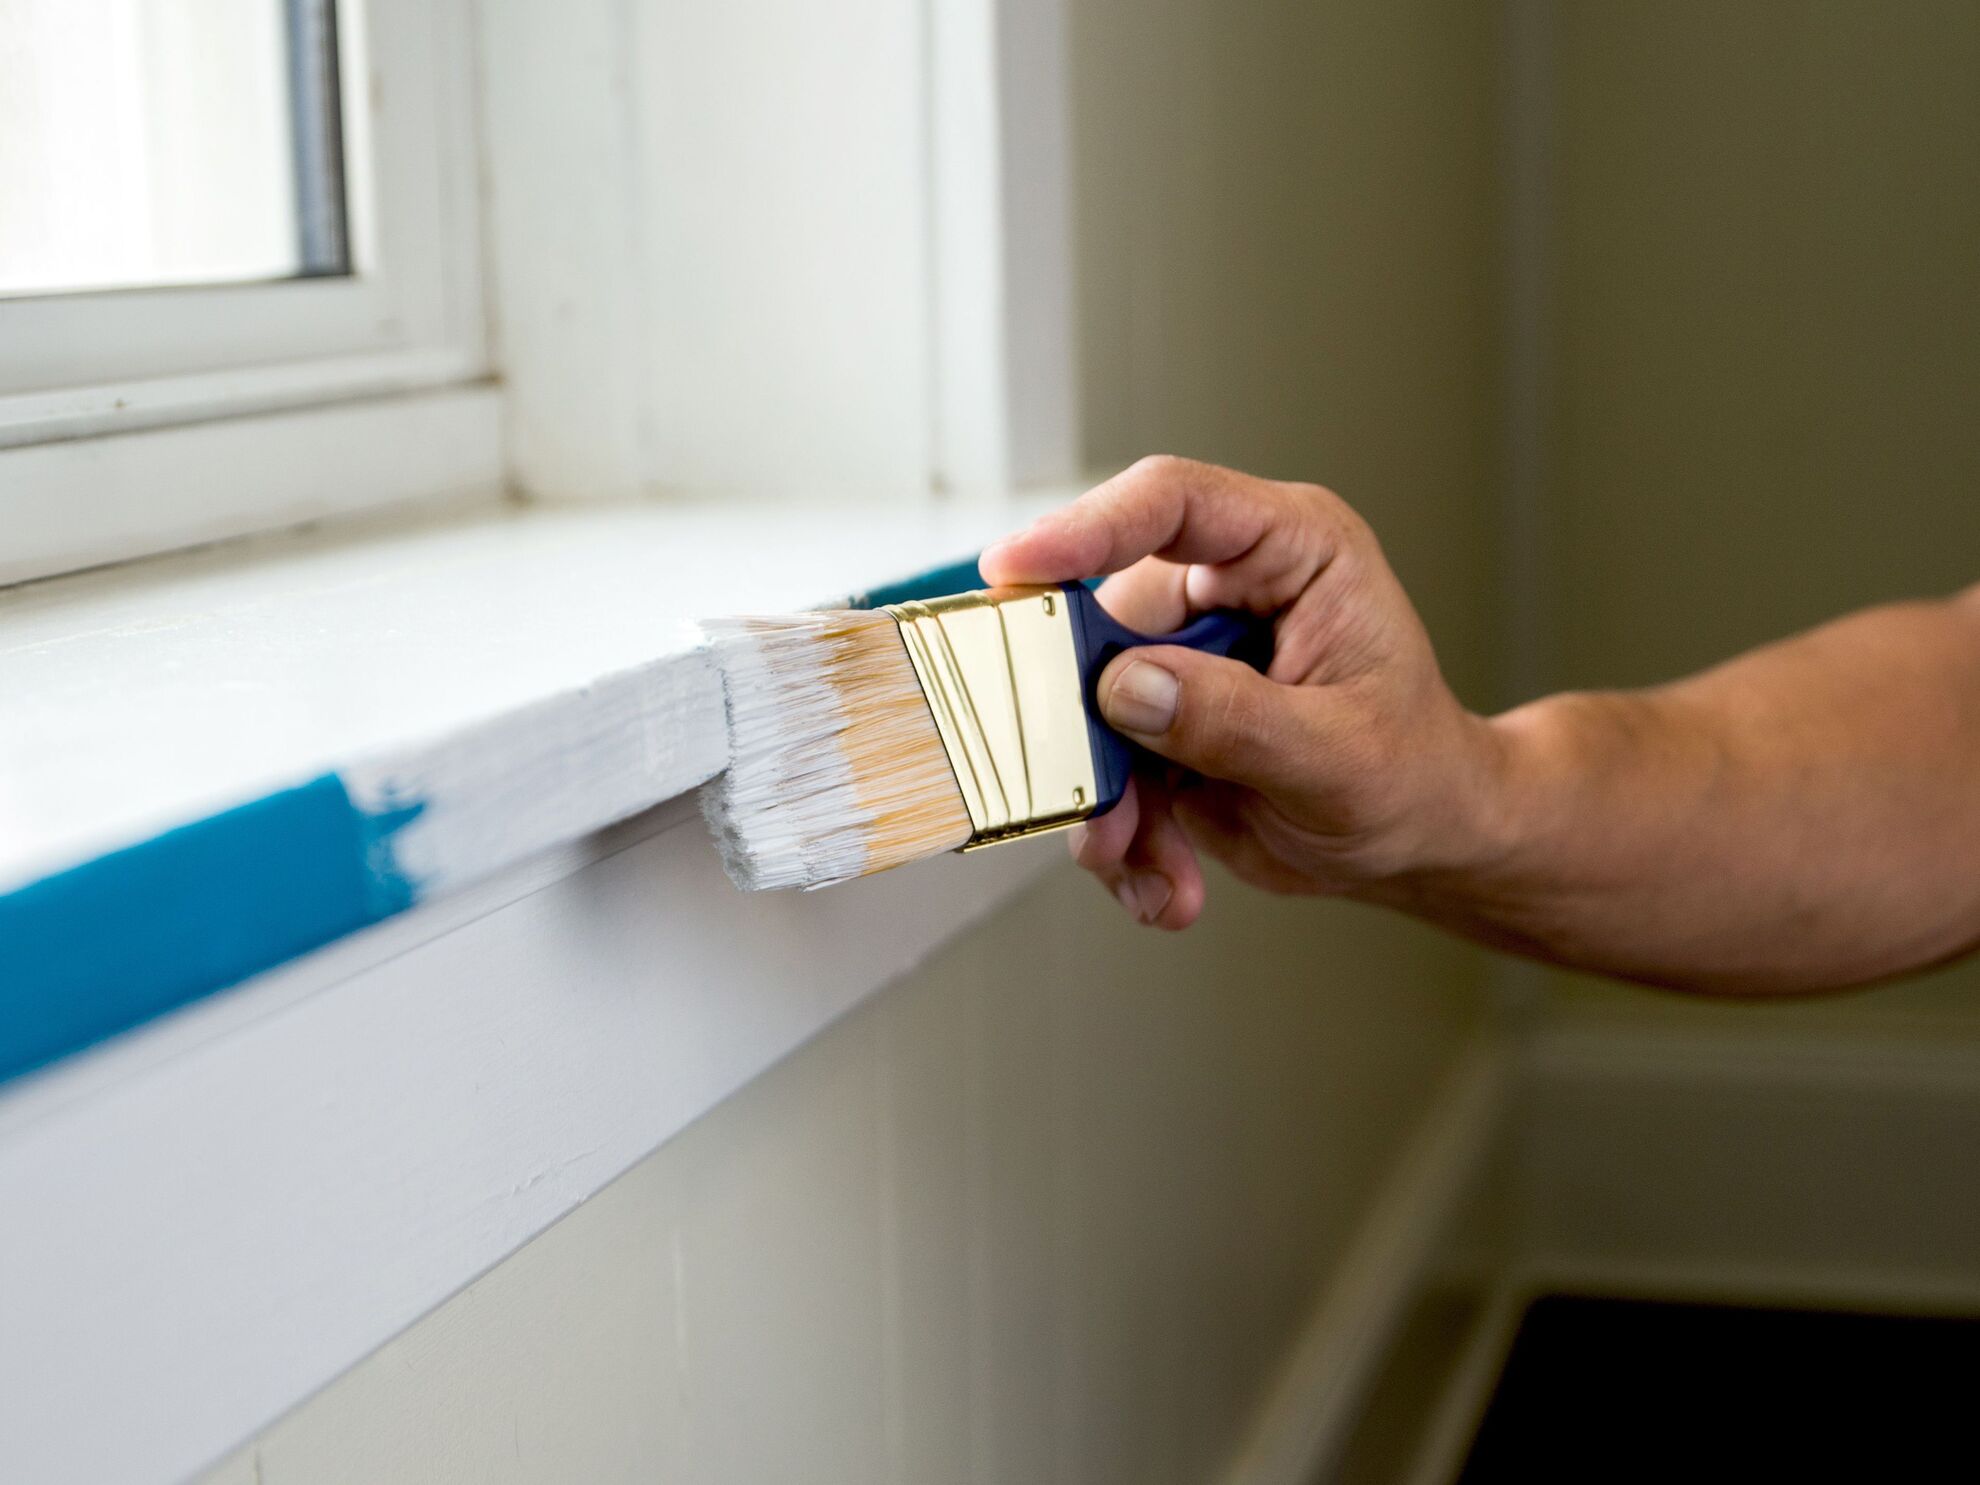
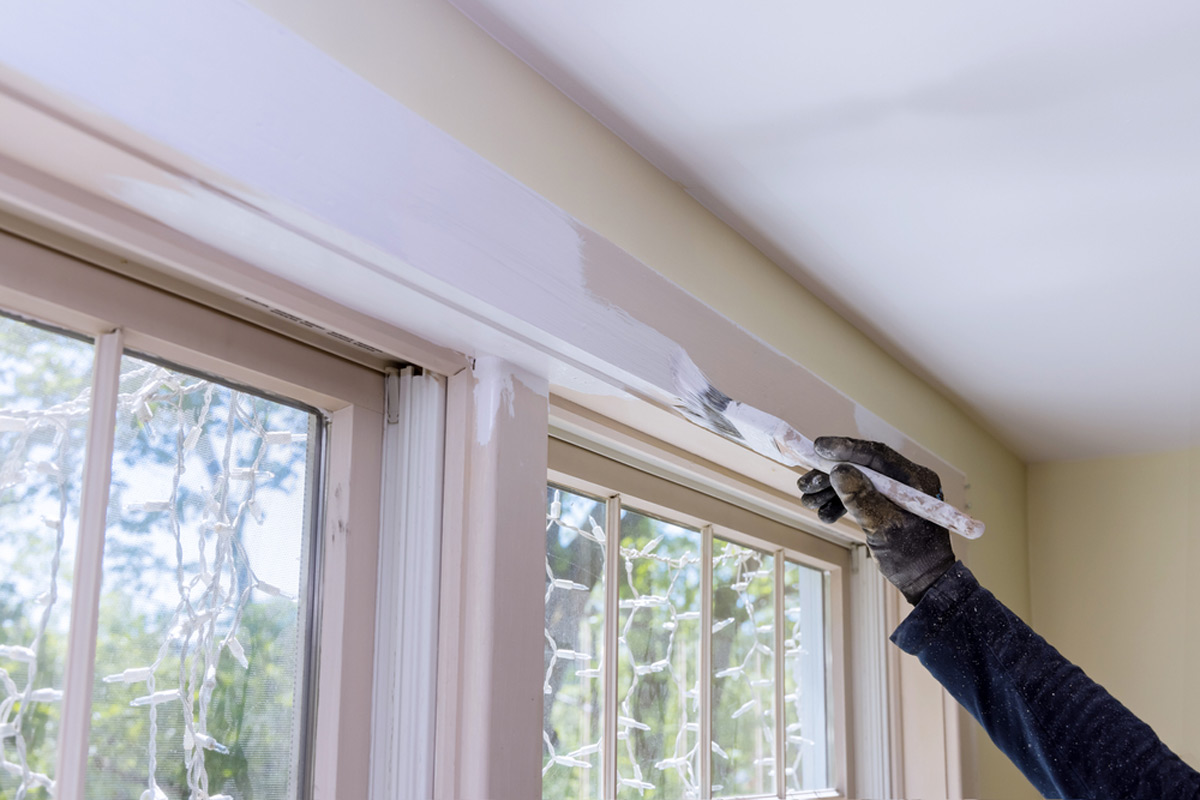
- Applying the Paint: Whether using a brush, roller, or sprayer, apply the paint in smooth, even strokes, working with the natural grain of the wood or material. Aim for consistent coverage and avoid heavy buildup or drips by applying thin, uniform coats of paint.
- Maintaining Proper Ventilation: When painting outdoor furniture, ensure adequate ventilation in the workspace to facilitate the drying process and minimize the inhalation of paint fumes. Working in a well-ventilated area also promotes a more comfortable and enjoyable painting experience.
- Allowing Sufficient Drying Time: After each coat of paint is applied, allow ample time for drying as per the manufacturer’s recommendations. This ensures that the paint cures properly and achieves the desired level of durability and visual appeal.
As you apply the paint to your outdoor trim, envision the transformation taking place and revel in the opportunity to personalize your outdoor furniture with a stunning new finish. The application process is where your creativity and attention to detail shine, culminating in a breathtaking result that elevates the aesthetic allure of your outdoor space.
Finishing Touches
As you near the completion of the painting process for your outdoor trim, it’s time to add those final touches that will elevate the overall look and ensure a polished, professional finish. Paying attention to detail during the finishing stages can make a significant difference in the visual impact and longevity of the paint job.
Here are the crucial finishing touches to consider for your outdoor trim:
- Inspecting for Imperfections: After the paint has dried, carefully inspect the outdoor trim for any imperfections, such as uneven coverage, drips, or missed spots. Touch up any areas that require additional attention to achieve a flawless, uniform finish.
- Applying a Protective Sealant: Consider applying a clear, weather-resistant sealant over the painted surface to enhance durability and provide added protection against the elements. The sealant helps safeguard the paint and prolongs the life of your outdoor trim.
- Reattaching Hardware: If your outdoor furniture features hardware, such as hinges or handles, ensure that they are reattached securely after the paint has fully dried. This step adds functionality and a cohesive look to the freshly painted trim.
- Cleaning Up: Once the painting and finishing process is complete, tidy up the workspace by properly disposing of used paint cans, cleaning brushes and tools, and removing any protective coverings from surrounding areas.
- Admiring Your Handiwork: Step back and admire the transformation of your outdoor furniture. Revel in the satisfaction of a job well done and take pride in the enhanced beauty and allure of your outdoor space.
By meticulously attending to the finishing touches, you ensure that your outdoor trim exudes a professional and polished appearance while maintaining its resilience against outdoor elements. These final steps contribute to the overall longevity and visual impact of your newly painted outdoor furniture, allowing you to enjoy its beauty for years to come.
Read more: How To Trim Outdoor Ferns
Conclusion
Congratulations on successfully navigating the art of painting outdoor trim! By embarking on this transformative journey, you have not only revitalized the appearance of your outdoor furniture but also infused your outdoor space with a renewed sense of style and charm. The process of painting outdoor trim is a testament to your creativity and dedication to enhancing the aesthetics of your surroundings.
As you reflect on this enriching experience, remember that the key to a stunning and enduring paint job lies in the meticulous selection of weather-resistant paint, thorough surface preparation, careful paint application, and thoughtful finishing touches. Each step contributes to the creation of a visually captivating and resilient finish that enhances the allure of your outdoor furniture.
Whether you’ve opted for a timeless, classic look or a bold, modern statement, the art of painting outdoor trim empowers you to personalize your outdoor space and express your unique style. The revitalized appearance of your outdoor furniture serves as a testament to your creativity and passion for outdoor design.
As you bask in the beauty of your freshly painted outdoor trim, take a moment to appreciate the transformative power of this endeavor. Your outdoor space now radiates with a renewed vibrancy and elegance, inviting you to savor moments of relaxation and enjoyment amidst the captivating ambiance you’ve created.
So, as you revel in the beauty of your outdoor oasis, adorned with impeccably painted trim, remember that this journey is a testament to your craftsmanship and vision. Your outdoor furniture now stands as a stunning reflection of your dedication to creating a captivating and inviting outdoor environment.
Embrace the art of painting outdoor trim as a celebration of your creativity, and let the allure of your outdoor space inspire moments of joy, relaxation, and cherished gatherings for years to come.
Frequently Asked Questions about How To Paint Outdoor Trim
Was this page helpful?
At Storables.com, we guarantee accurate and reliable information. Our content, validated by Expert Board Contributors, is crafted following stringent Editorial Policies. We're committed to providing you with well-researched, expert-backed insights for all your informational needs.


0 thoughts on “How To Paint Outdoor Trim”