Home>Construction & Tools>Building Materials>How To Mount Blink Outdoor Camera To Brick

Building Materials
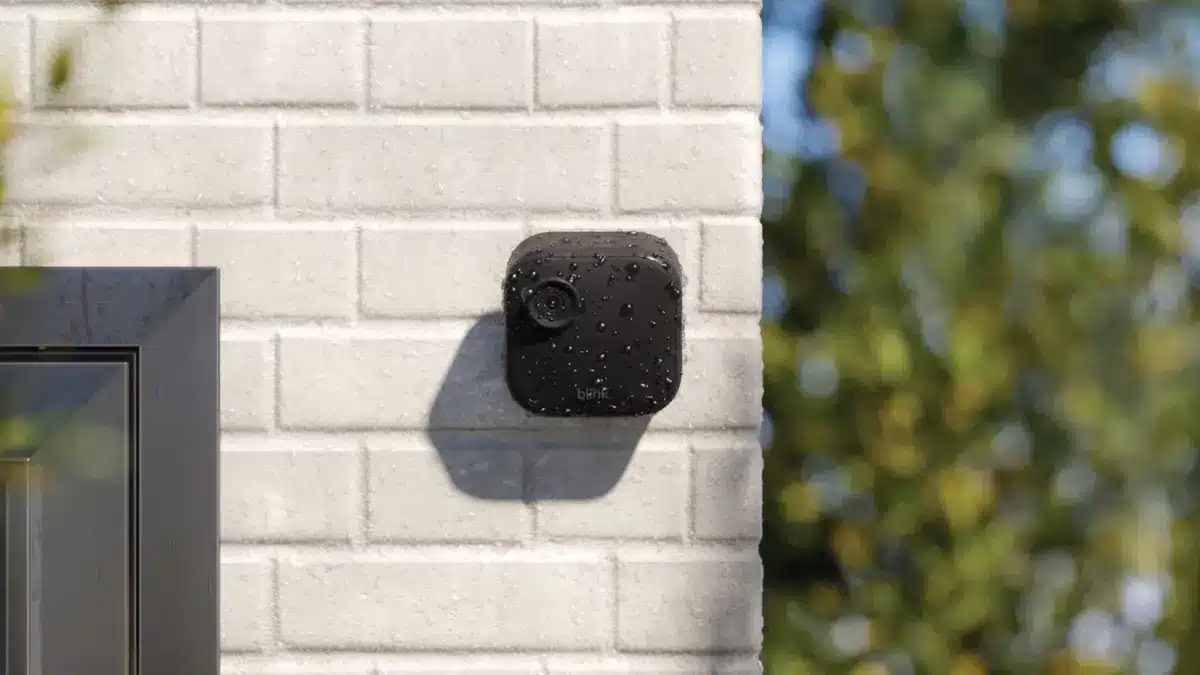
How To Mount Blink Outdoor Camera To Brick
Modified: February 25, 2024
Learn how to securely mount your Blink outdoor camera to brick using the right building materials and techniques. Ensure a stable and reliable installation with our step-by-step guide.
(Many of the links in this article redirect to a specific reviewed product. Your purchase of these products through affiliate links helps to generate commission for Storables.com, at no extra cost. Learn more)
**
Introduction
**
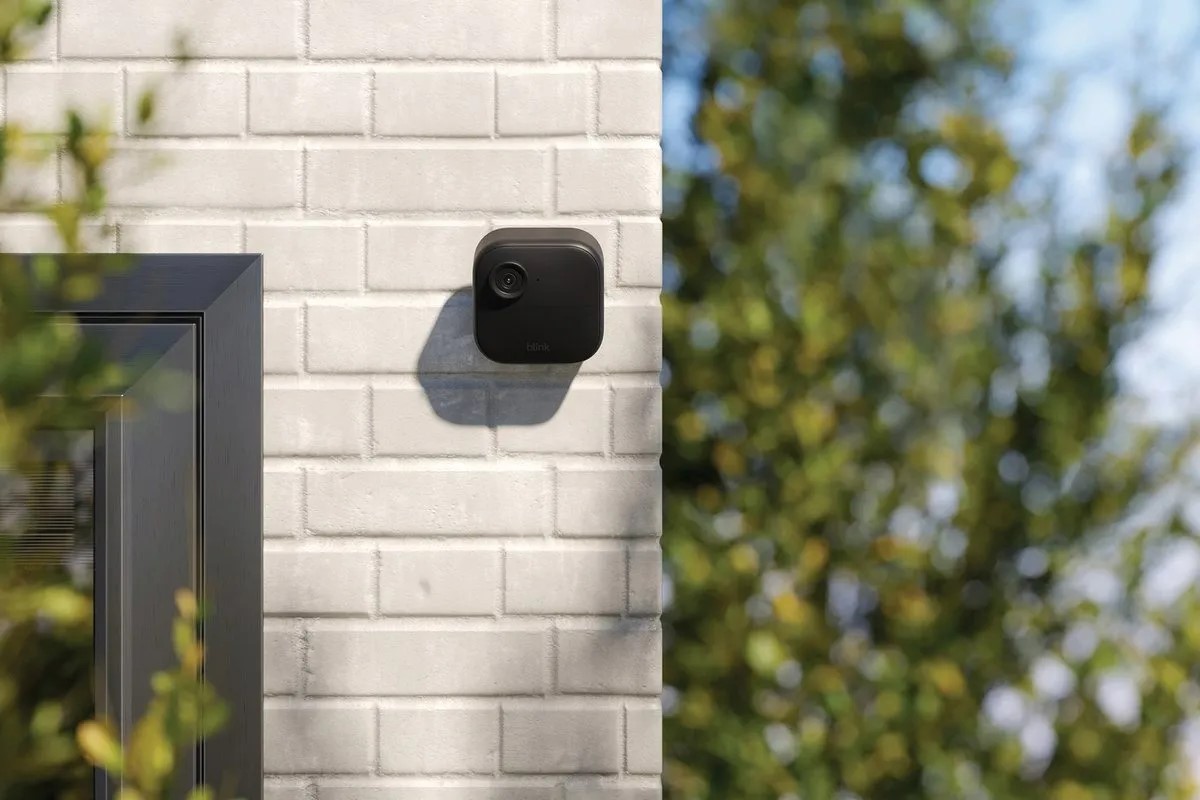
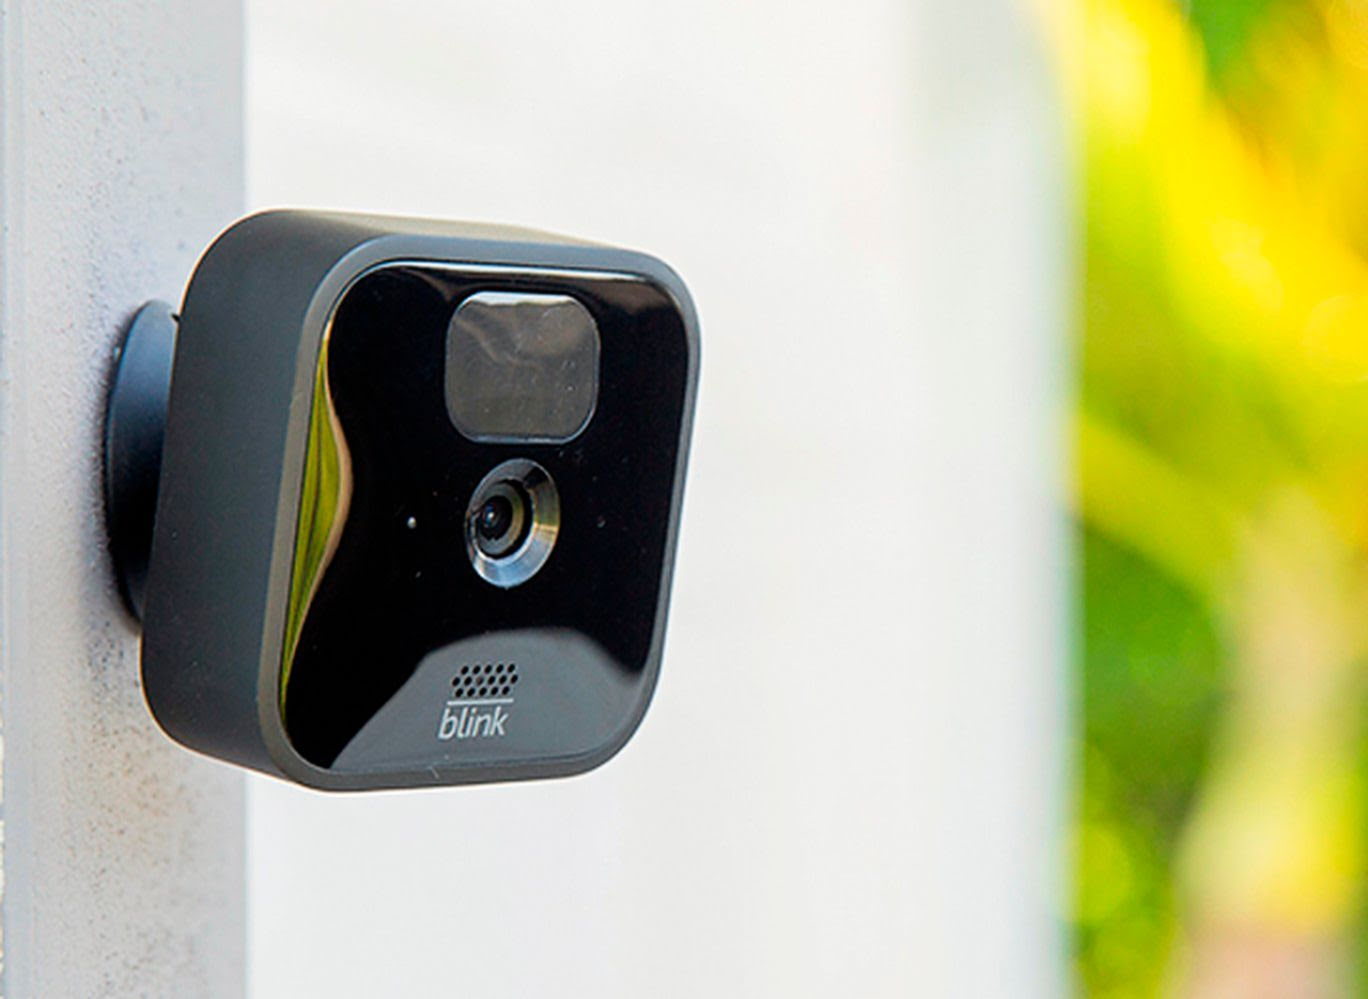
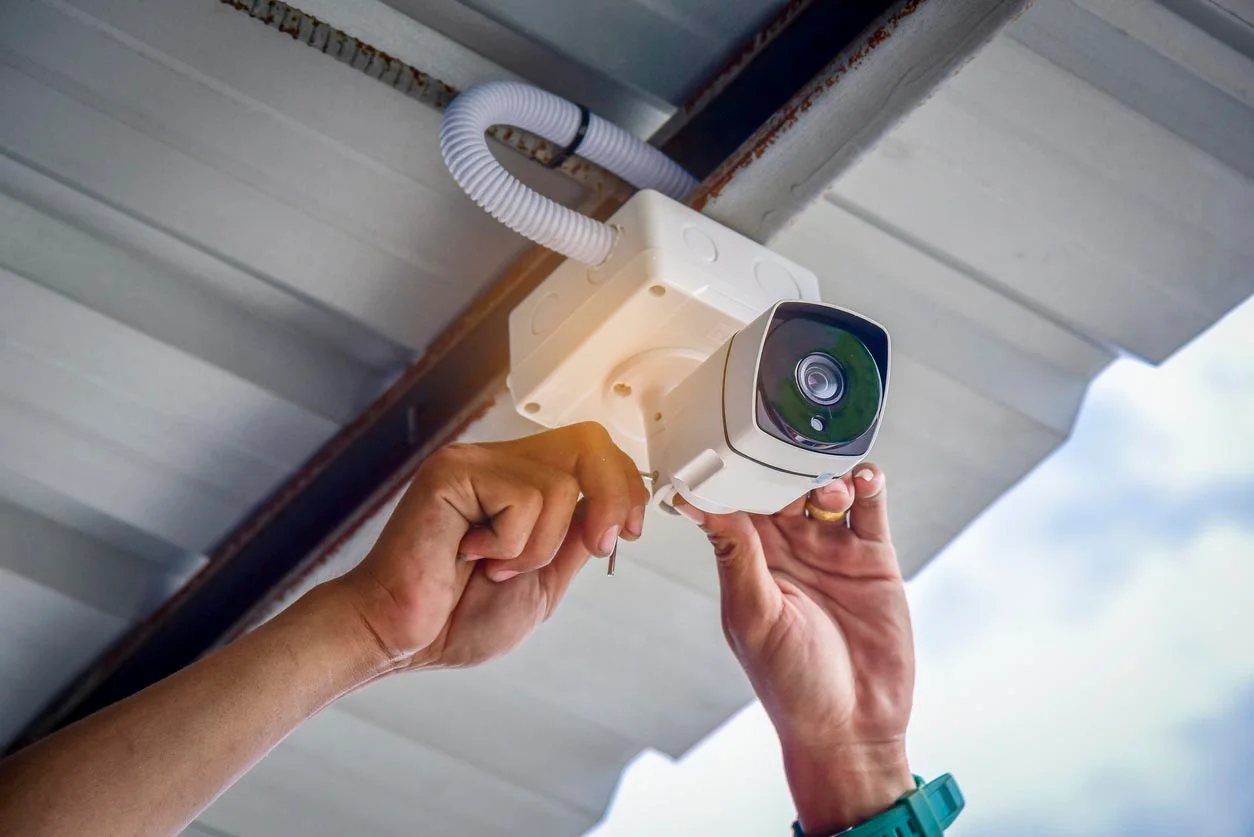
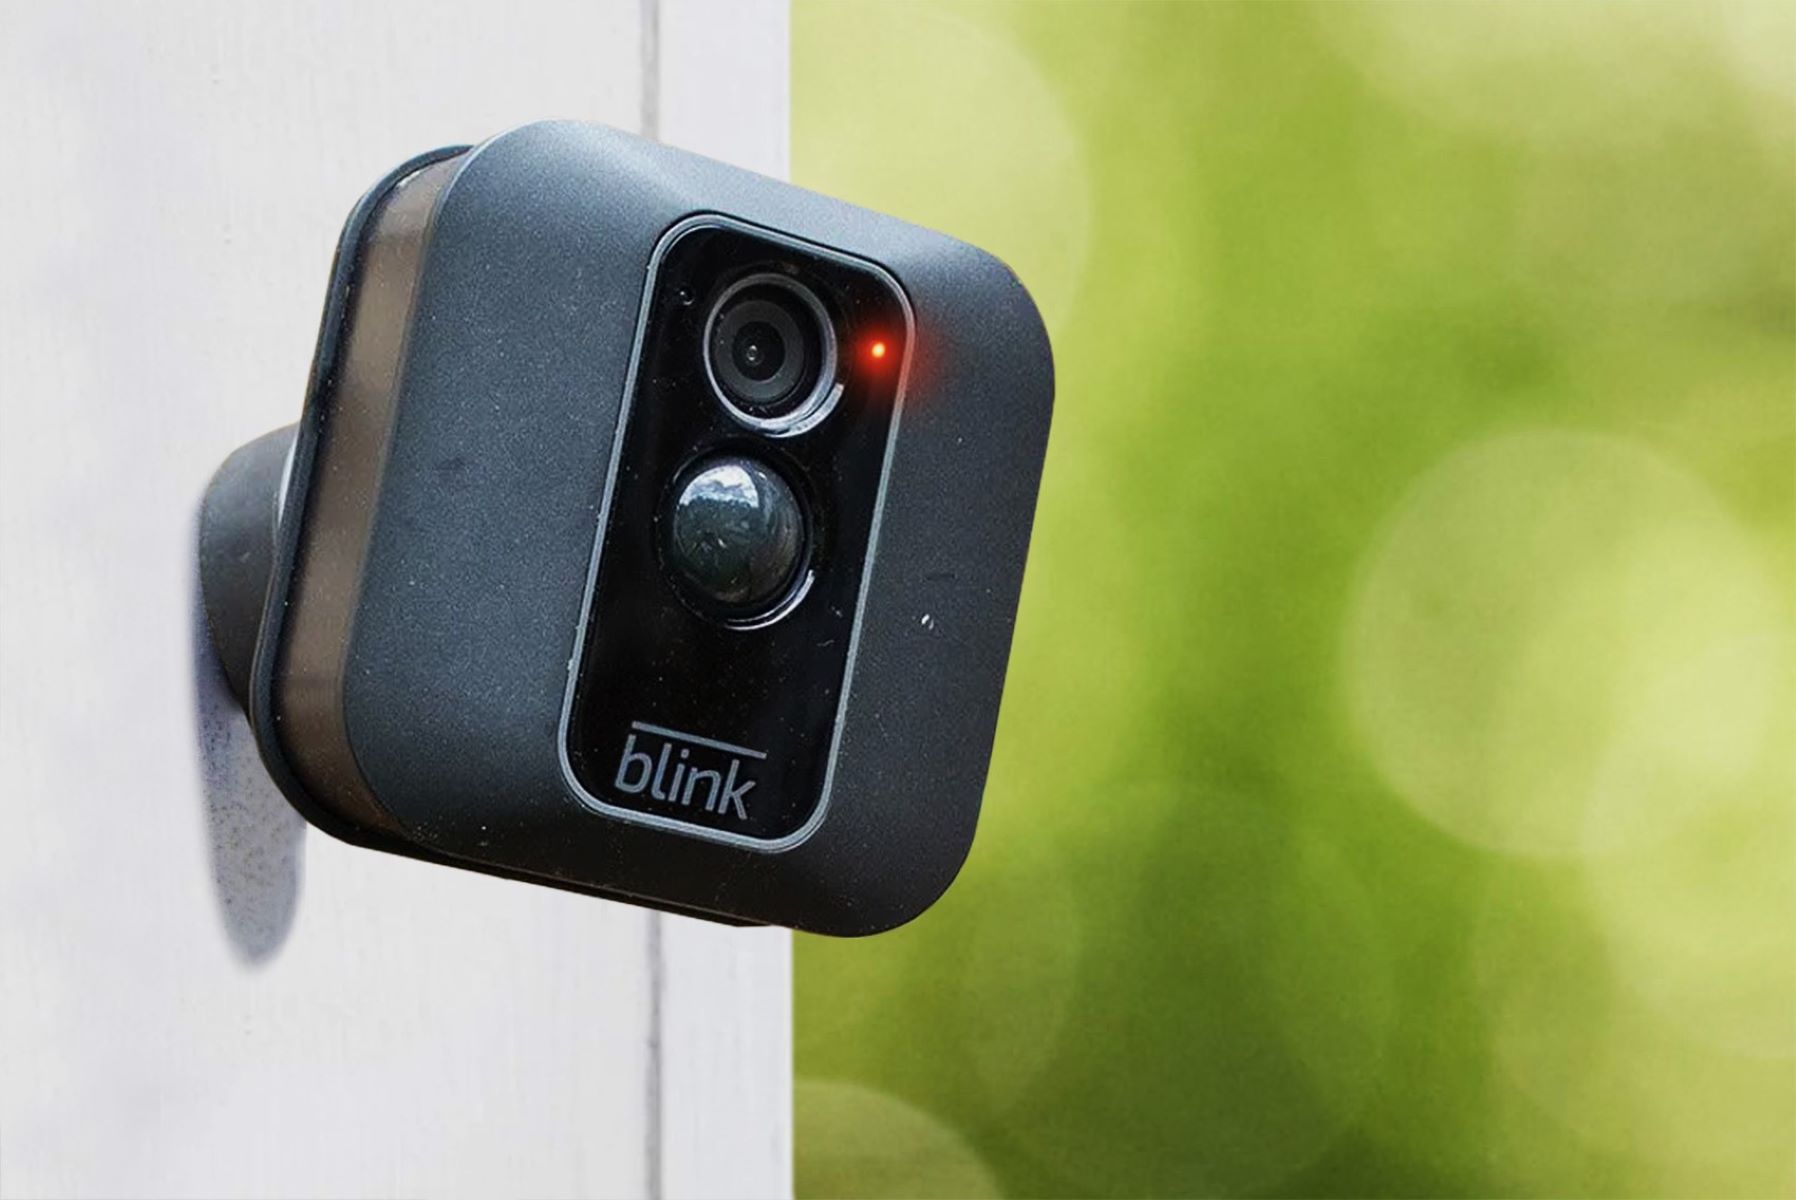
Mounting a Blink outdoor camera to a brick surface can be a challenging yet rewarding task. Whether you are looking to enhance the security of your home or simply want to monitor outdoor activities, the process of mounting a camera to brick requires careful consideration and the right tools. In this guide, we will walk you through the steps to successfully mount your Blink outdoor camera to a brick wall, ensuring a stable and secure installation.
As with any DIY project, it is essential to approach the task with patience and attention to detail. By following the steps outlined in this guide, you can achieve a professional-looking installation that provides optimal functionality for your Blink outdoor camera. So, gather your tools and let's get started on this exciting home improvement project.
**
Key Takeaways:
- Mounting a Blink outdoor camera to a brick wall requires patience, the right tools, and careful planning. By following the step-by-step process, you can achieve a professional and secure installation for enhanced home security.
- Attention to detail is crucial for a successful installation. Choosing the right location, using the recommended tools and materials, and following the manufacturer’s guidelines will ensure optimal functionality and surveillance capabilities for your Blink outdoor camera.
Read more: How To Mount Blink Outdoor Camera To Brick
Tools and Materials Needed
**
Before you begin the process of mounting your Blink outdoor camera to a brick surface, it is crucial to gather the necessary tools and materials to ensure a smooth and efficient installation. Here is a list of items you will need:
Tools:
- Power drill
- Masonry drill bit
- Screwdriver
- Level
- Marker or pencil
- Tape measure
Materials:
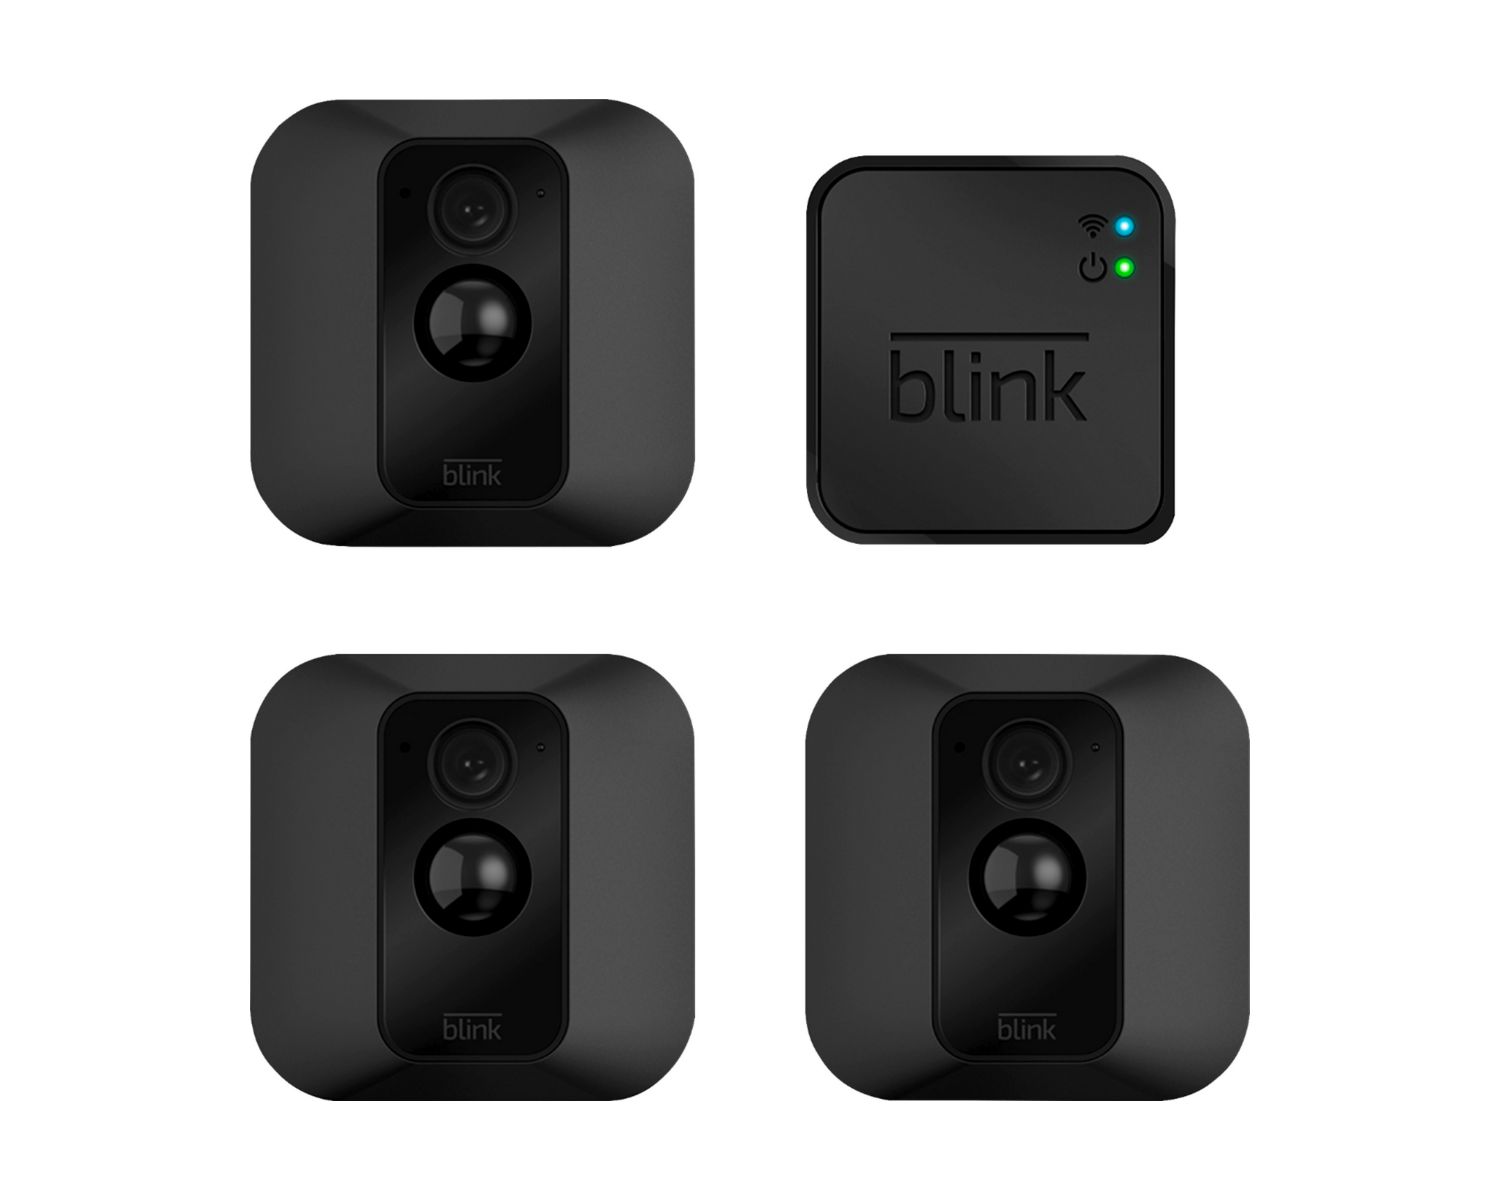
- Blink outdoor camera
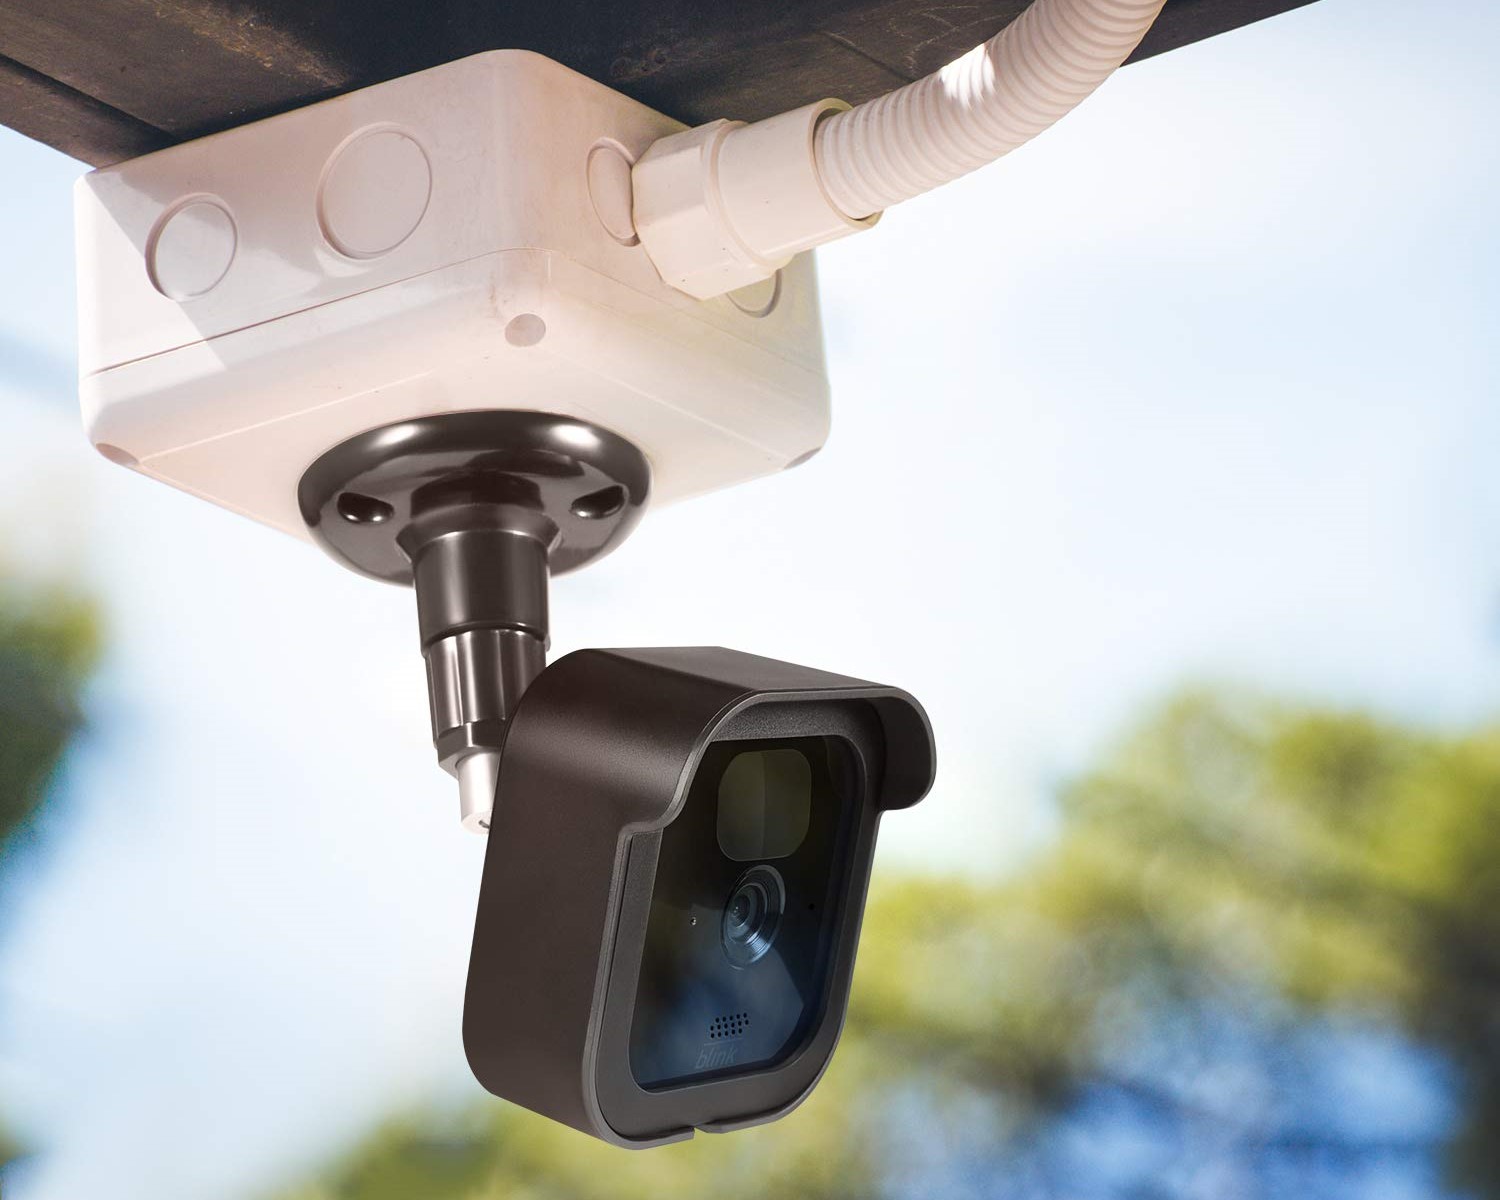
- Mounting bracket or mount
- Screws suitable for masonry (check the Blink camera manual for recommended screw size)
- Wall anchors (if necessary)
- Optional: silicone sealant or adhesive
Ensure that you have all the tools and materials listed above before you begin the installation process. Having everything prepared will streamline the process and minimize any potential delays or interruptions.
**
When mounting a Blink outdoor camera to brick, use a masonry drill bit to create pilot holes for the screws. Use plastic anchors to secure the screws in place and ensure a stable mount.
Steps to Mount Blink Outdoor Camera to Brick
**
Now that you have gathered the necessary tools and materials, it’s time to proceed with mounting your Blink outdoor camera to a brick surface. Follow these step-by-step instructions for a successful installation:
Step 1: Choose the Mounting Location
Identify the optimal location on the brick wall to mount your Blink outdoor camera. Consider factors such as the camera’s field of view, accessibility for maintenance, and proximity to power sources or Wi-Fi signal.
Step 2: Mark the Drill Holes
Hold the mounting bracket or mount against the brick surface and use a marker or pencil to mark the positions for the drill holes. Ensure that the bracket is level to maintain the camera’s proper orientation.
Step 3: Drill Pilot Holes
Using a power drill and a masonry drill bit, carefully drill pilot holes at the marked positions on the brick wall. Take care to drill to the appropriate depth to accommodate the screws for mounting.
Step 4: Attach the Mounting Bracket
Secure the mounting bracket or mount to the brick wall using screws designed for masonry. Ensure that the bracket is firmly attached and level to provide a stable foundation for the Blink outdoor camera.
Step 5: Install the Blink Outdoor Camera
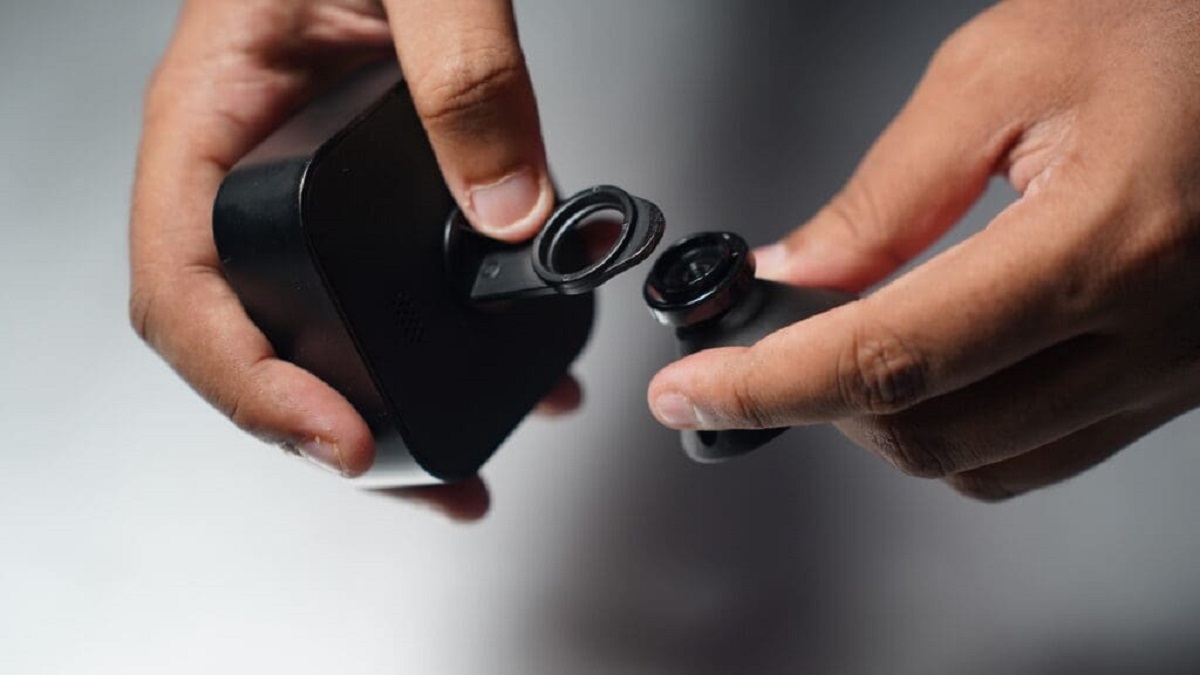
Follow the manufacturer’s instructions to attach the Blink outdoor camera to the mounting bracket. Use the recommended screws or mounting hardware provided with the camera to ensure a secure and reliable attachment.
Step 6: Adjust and Test the Camera
Once the camera is mounted, make any necessary adjustments to its position and angle to achieve the desired field of view. Test the camera to ensure that it captures clear and unobstructed footage of the intended area.
Step 7: Optional Sealant Application
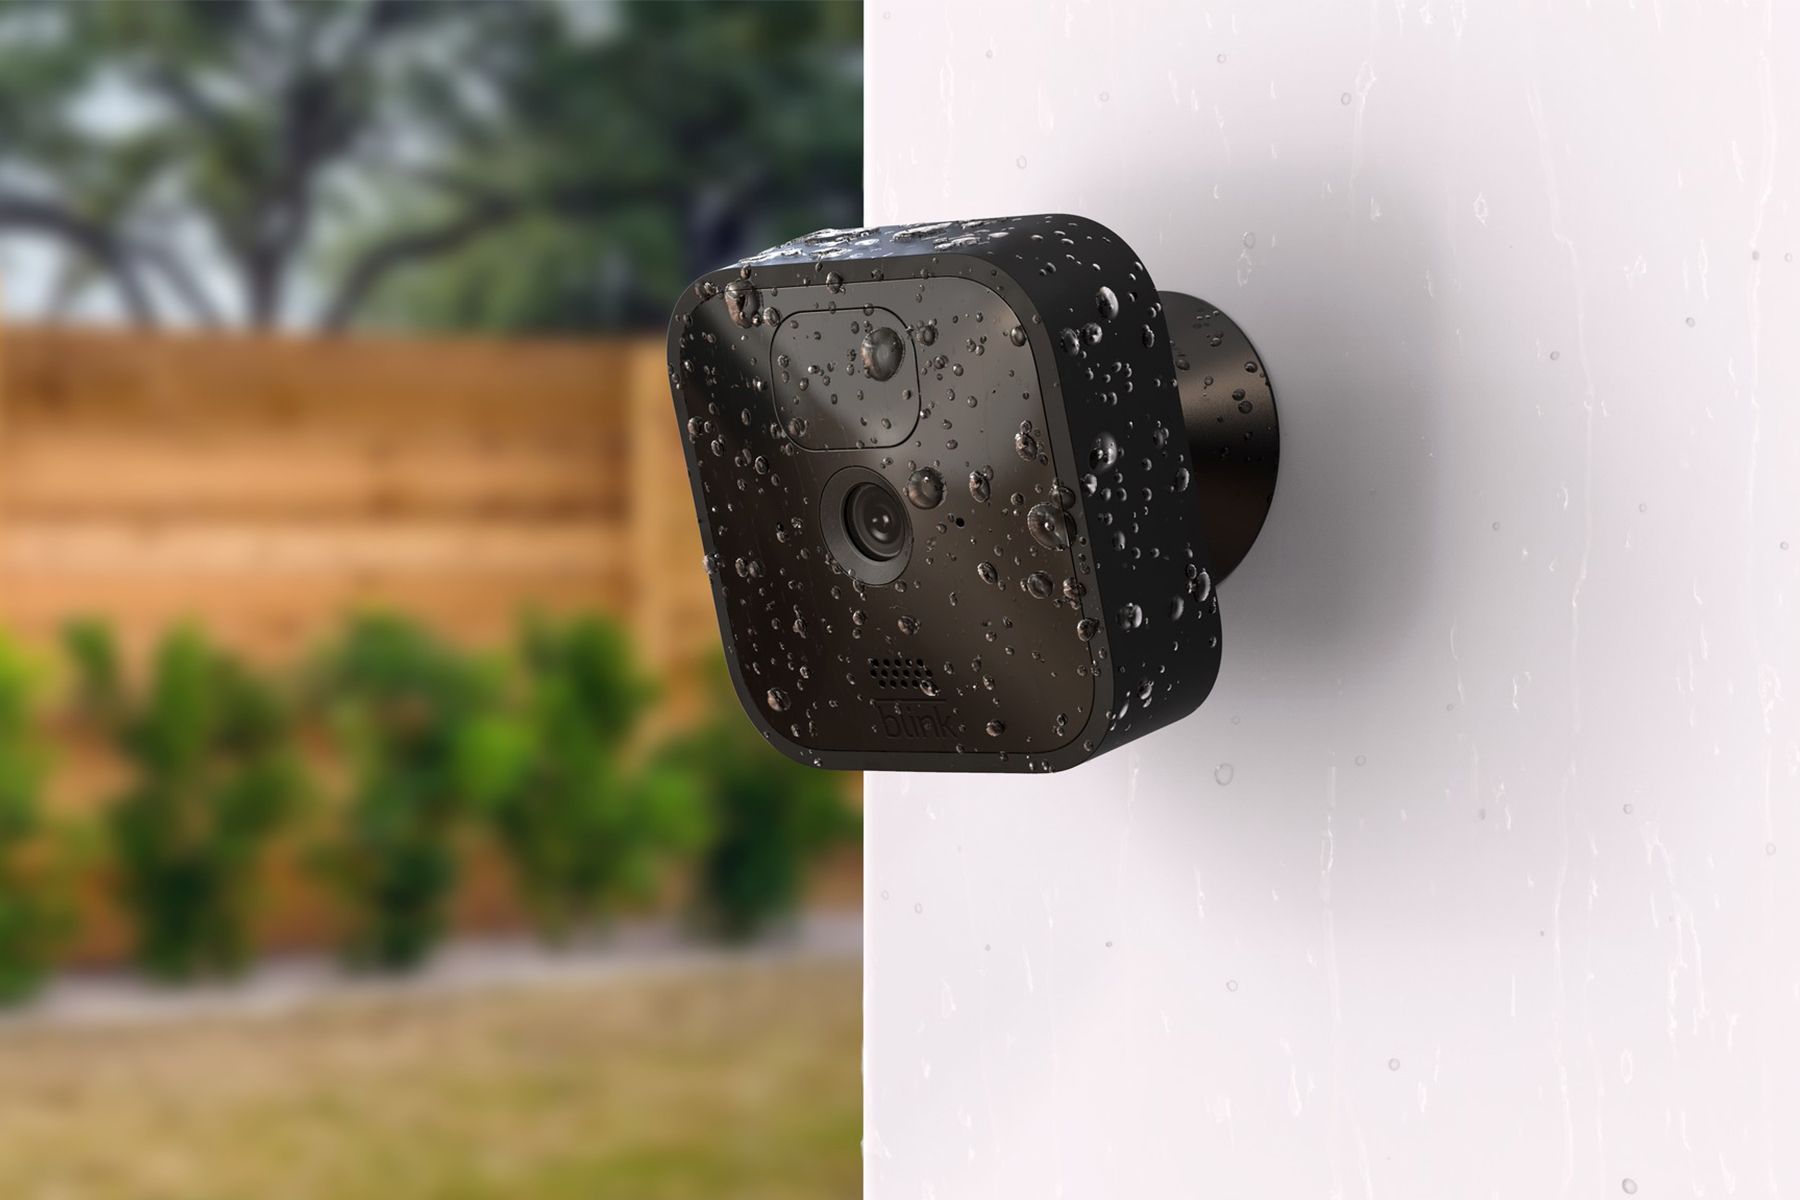
If desired, apply a thin bead of silicone sealant or adhesive around the edges of the mounting bracket to provide additional weatherproofing and security for the installation.
By following these steps with precision and care, you can successfully mount your Blink outdoor camera to a brick surface, enhancing the security and surveillance capabilities of your property.
**
Conclusion
**
Mounting a Blink outdoor camera to a brick surface is a valuable home improvement project that can significantly enhance the security and monitoring capabilities of your property. By carefully selecting the mounting location, utilizing the appropriate tools and materials, and following the step-by-step installation process, you can achieve a professional and reliable setup for your camera.
Remember, the key to a successful installation is attention to detail and precision at every step. Ensuring that the mounting bracket is securely and levelly attached to the brick wall is essential for the stability and functionality of the camera. Additionally, following the manufacturer’s guidelines for camera installation and making any necessary adjustments will result in optimal performance.
Once your Blink outdoor camera is securely mounted to the brick surface, take the time to test its functionality and adjust its position to capture the desired field of view. Regularly maintain and clean the camera to ensure clear and uninterrupted footage, providing you with peace of mind and valuable surveillance capabilities.
With the proper installation, your Blink outdoor camera can serve as a reliable security measure, deterring potential intruders and providing valuable footage in the event of any incidents. Whether you are monitoring your property while away or simply keeping an eye on outdoor activities, a well-mounted camera ensures that you have a clear view of your surroundings.
By following the guidelines outlined in this article, you can confidently embark on the process of mounting your Blink outdoor camera to a brick surface, knowing that you have the knowledge and tools necessary for a successful installation. Take pride in enhancing the security and surveillance capabilities of your home through this rewarding DIY project.
Now, armed with the knowledge and guidance provided in this article, you are ready to embark on the exciting journey of mounting your Blink outdoor camera to a brick surface. With careful planning and execution, you can achieve a professional and secure installation that provides peace of mind and valuable surveillance capabilities for your property.
Frequently Asked Questions about How To Mount Blink Outdoor Camera To Brick
Was this page helpful?
At Storables.com, we guarantee accurate and reliable information. Our content, validated by Expert Board Contributors, is crafted following stringent Editorial Policies. We're committed to providing you with well-researched, expert-backed insights for all your informational needs.

0 thoughts on “How To Mount Blink Outdoor Camera To Brick”