Home>Home Security and Surveillance>How To Mount Blink Outdoor Camera

Home Security and Surveillance
How To Mount Blink Outdoor Camera
Modified: March 6, 2024
Learn how to mount your Blink outdoor camera for enhanced home security and surveillance. Step-by-step guide to ensure your camera is properly installed.
(Many of the links in this article redirect to a specific reviewed product. Your purchase of these products through affiliate links helps to generate commission for Storables.com, at no extra cost. Learn more)
Introduction
Home security and surveillance systems have become crucial in today’s world. With increasing cases of break-ins and thefts, it is essential to have a reliable security system in place to protect your property and loved ones. One of the most popular options on the market is the Blink Outdoor Camera.
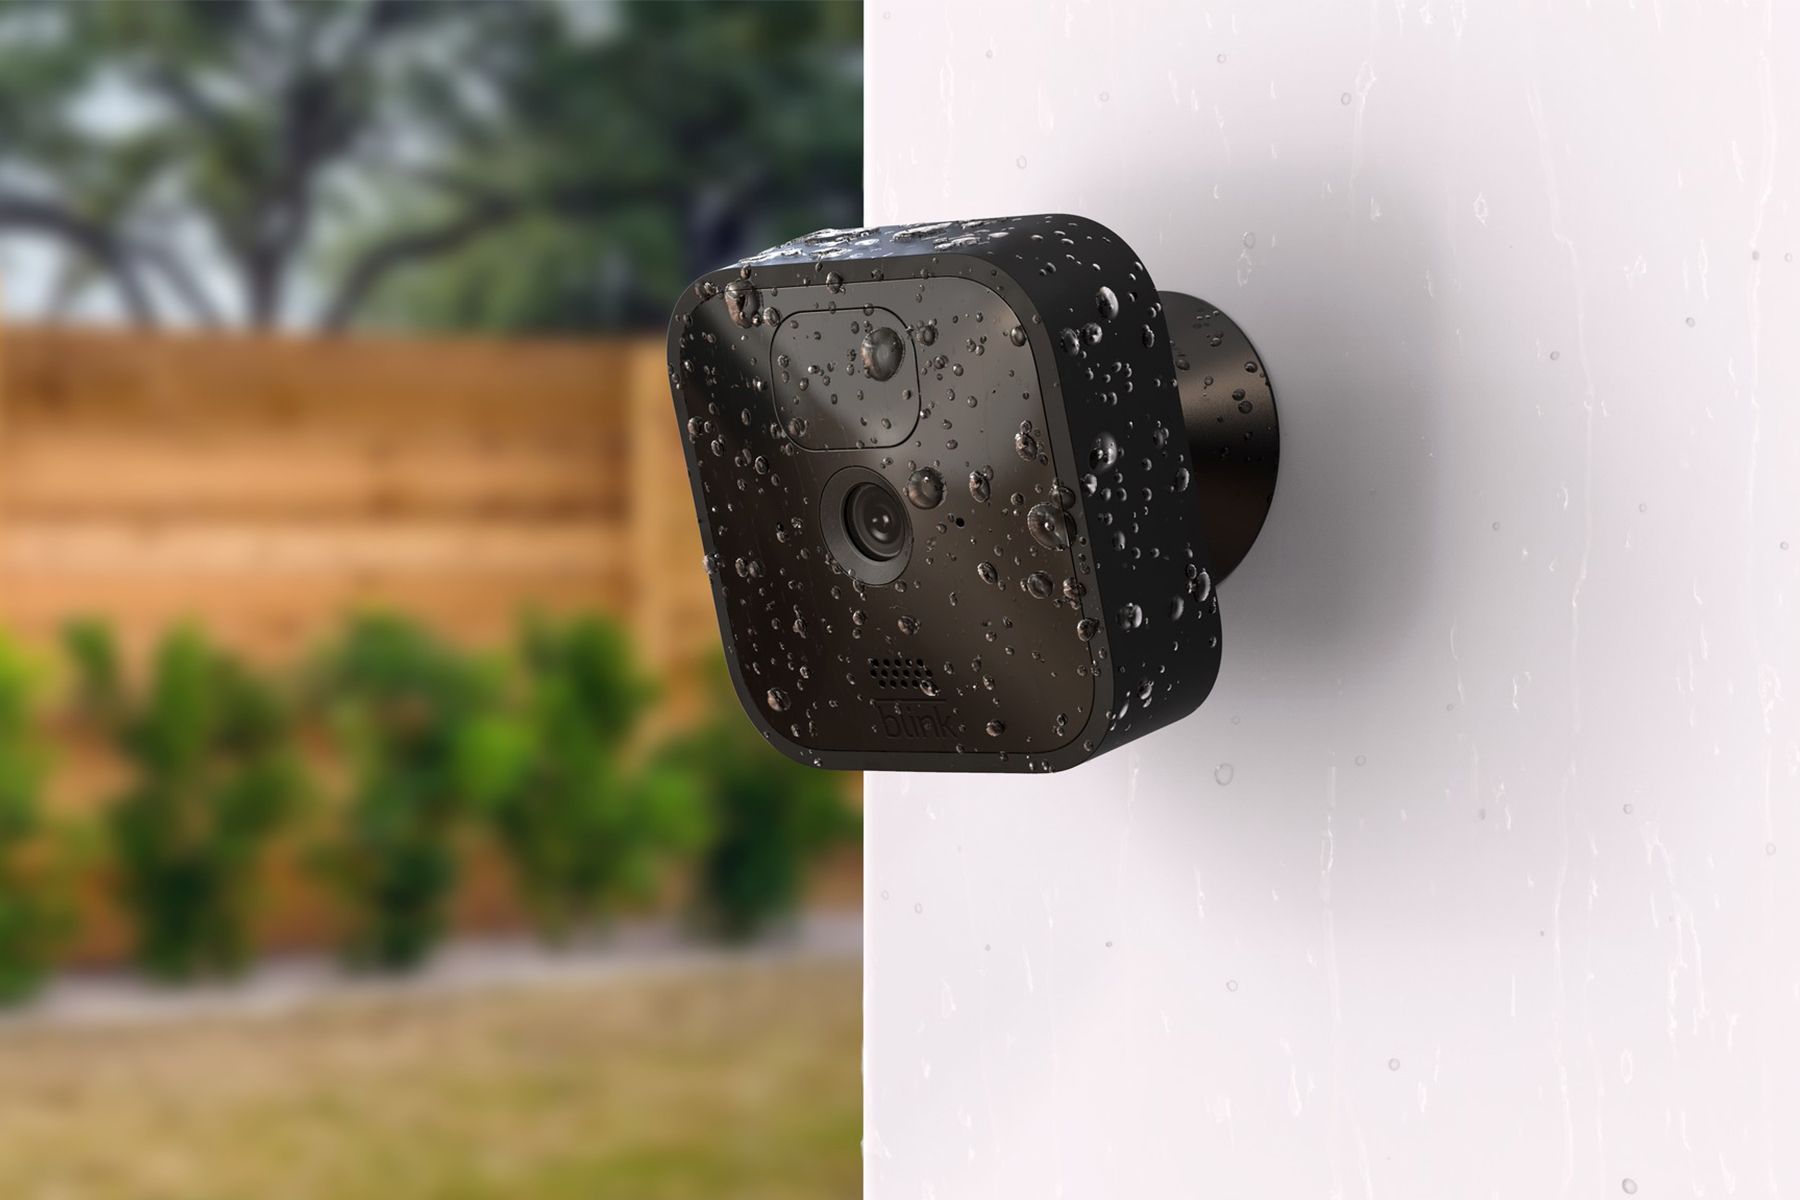
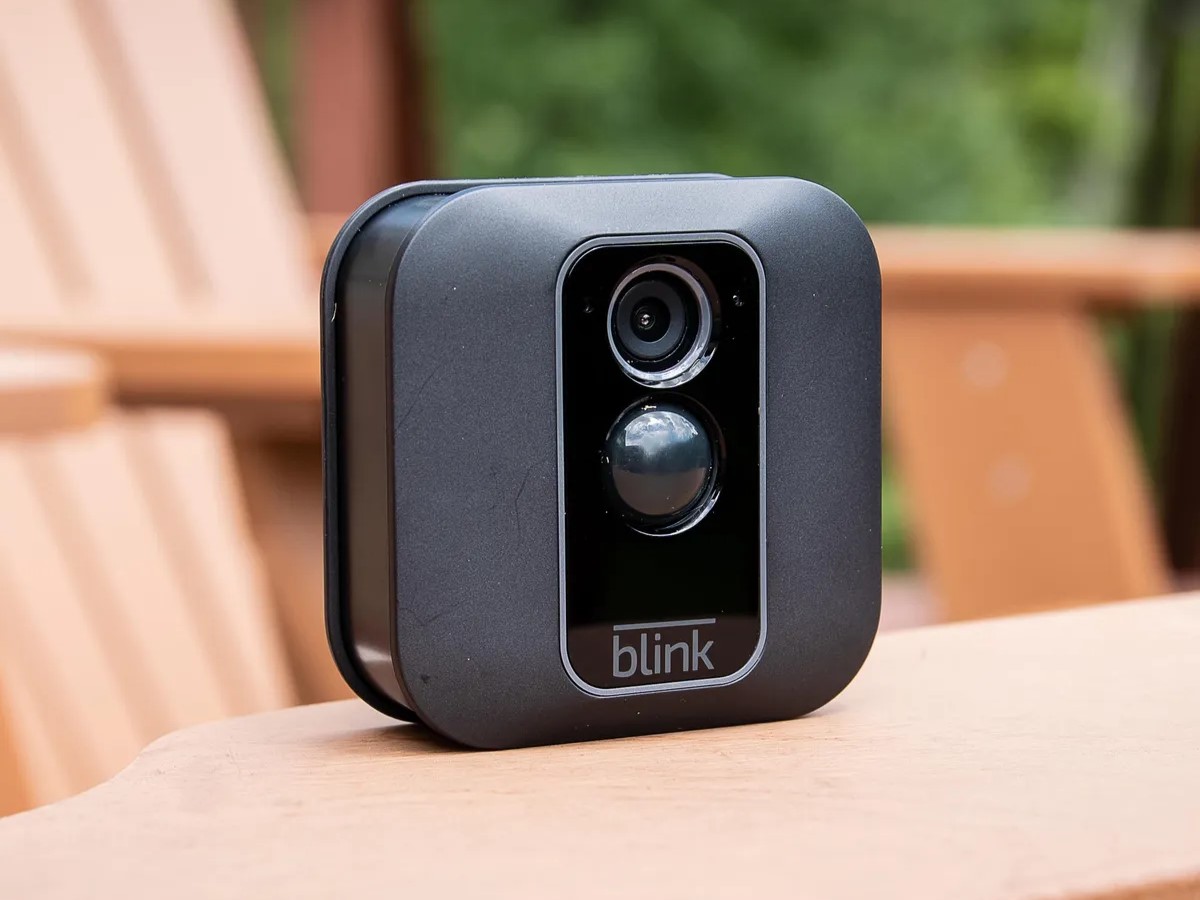
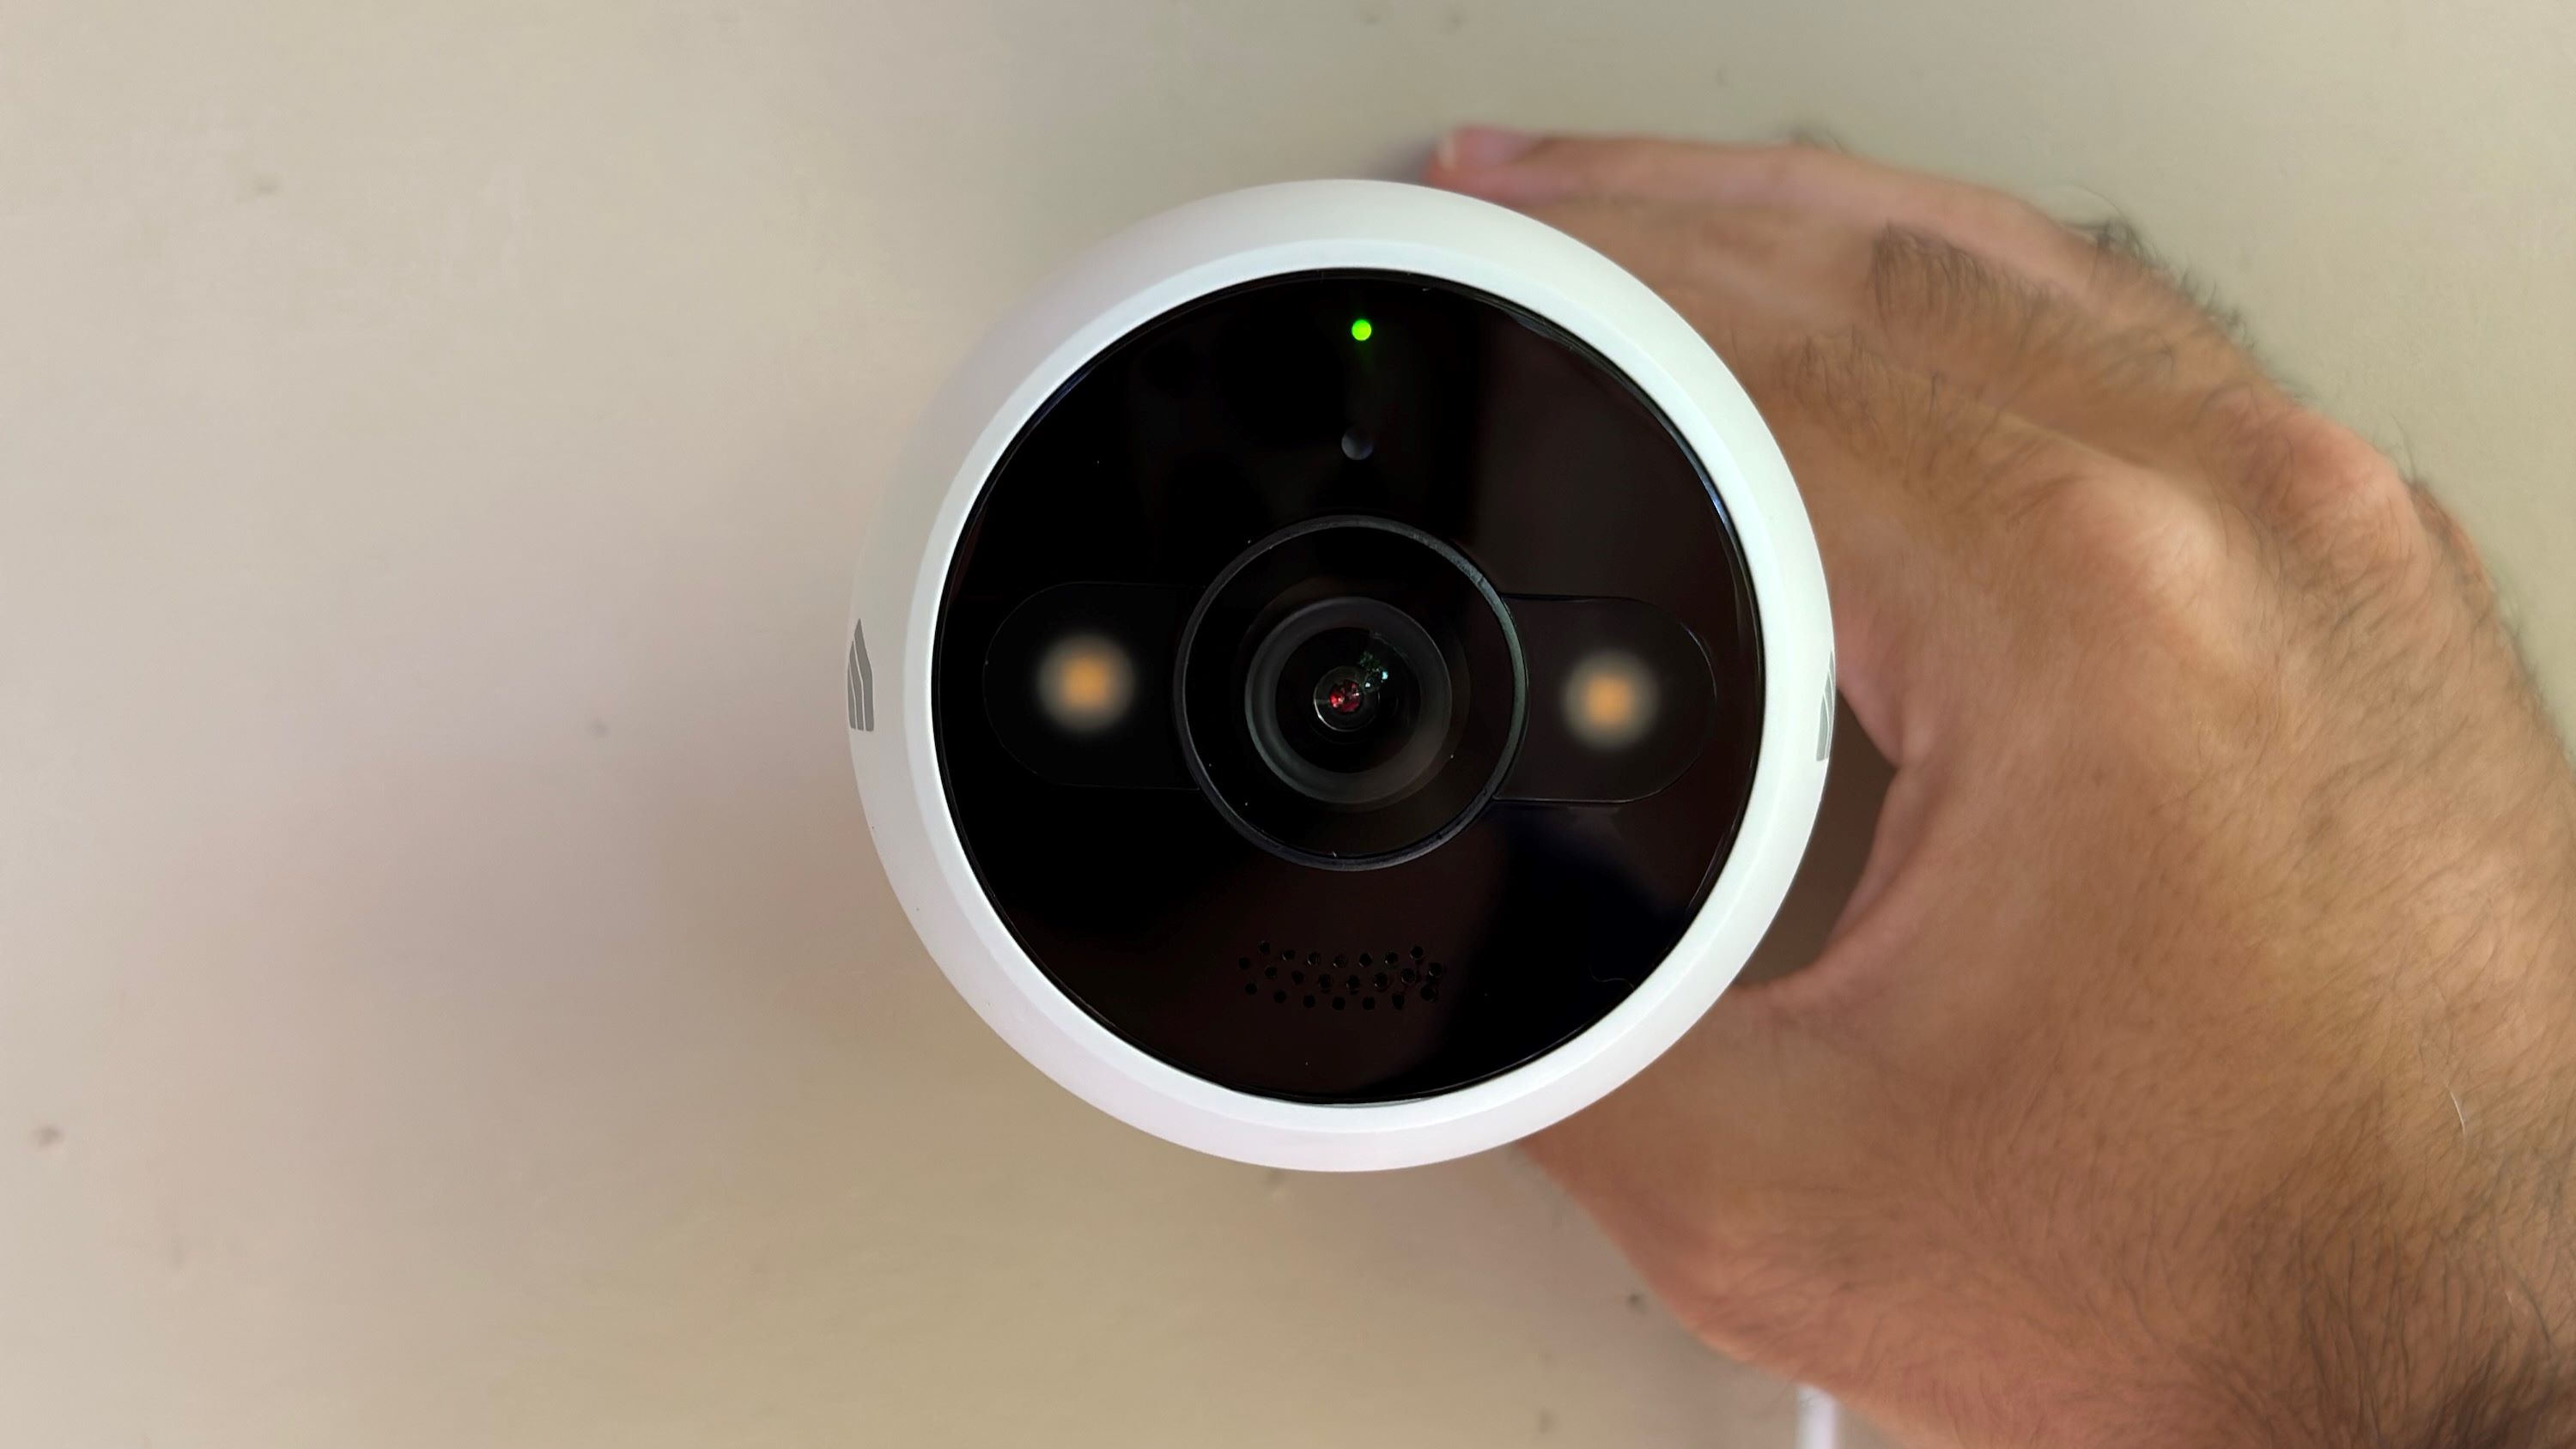
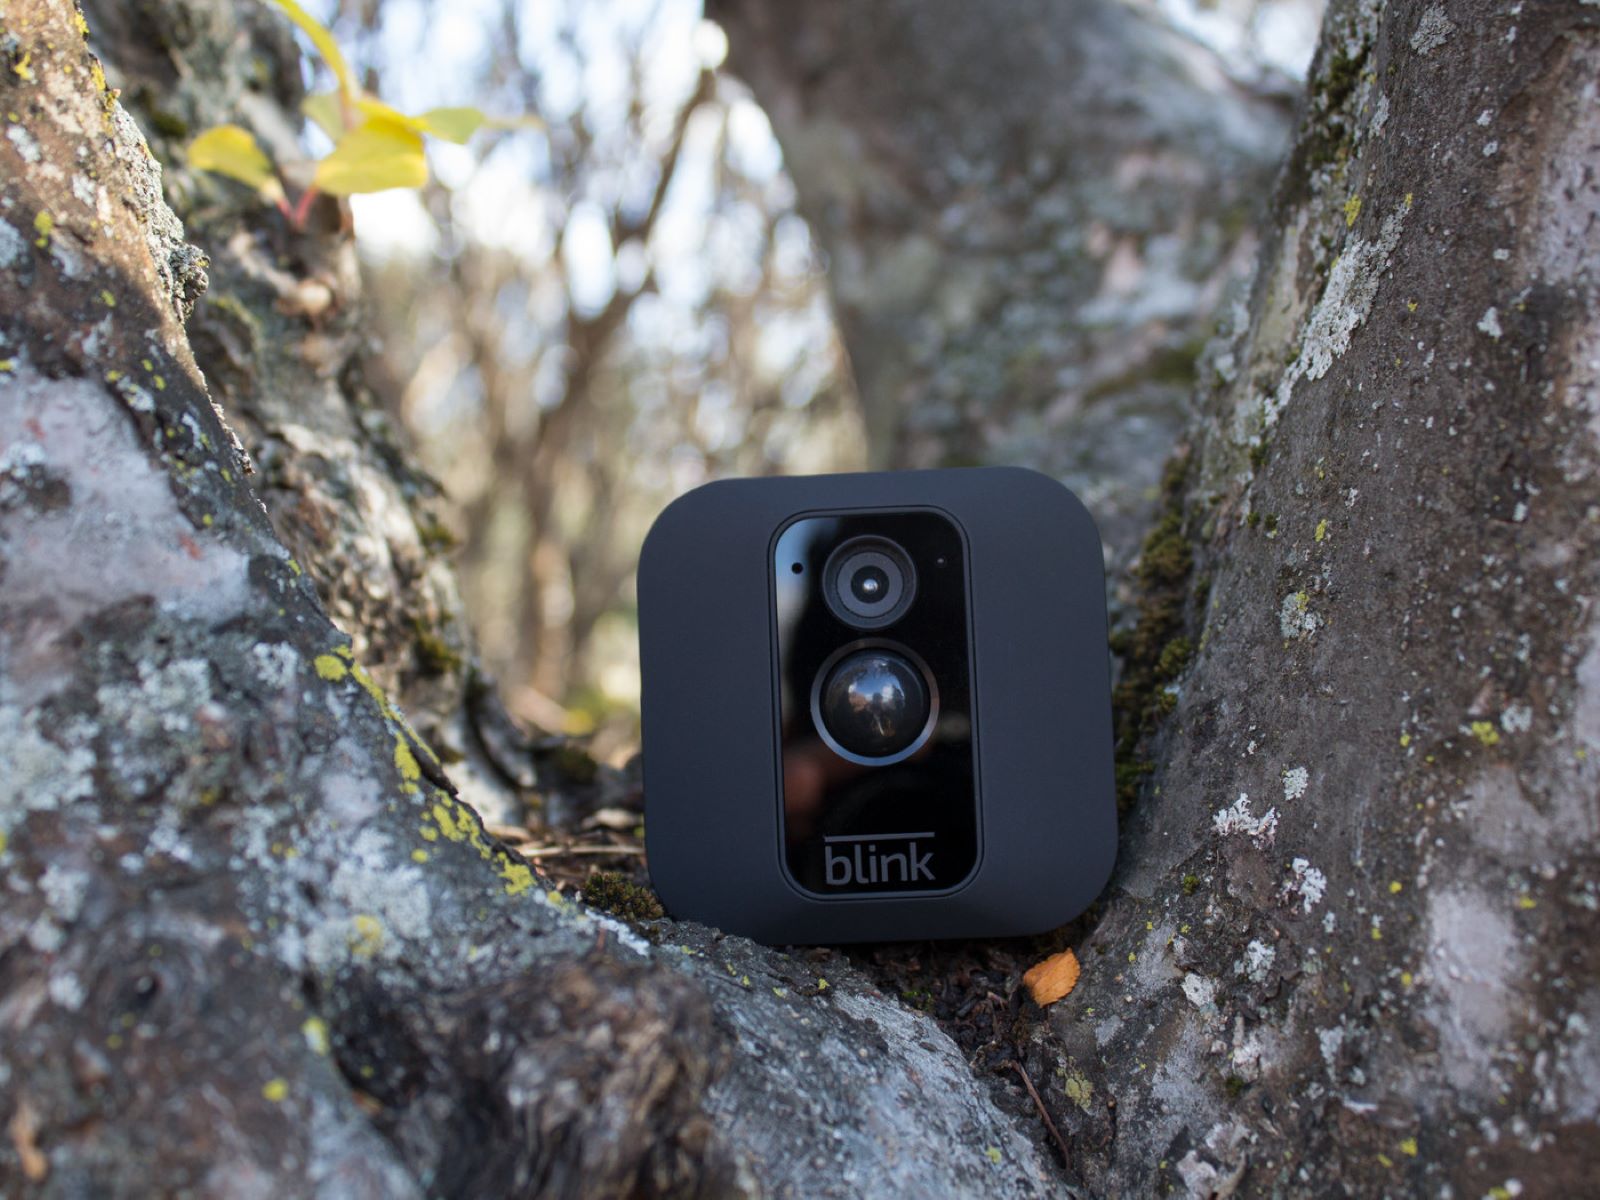
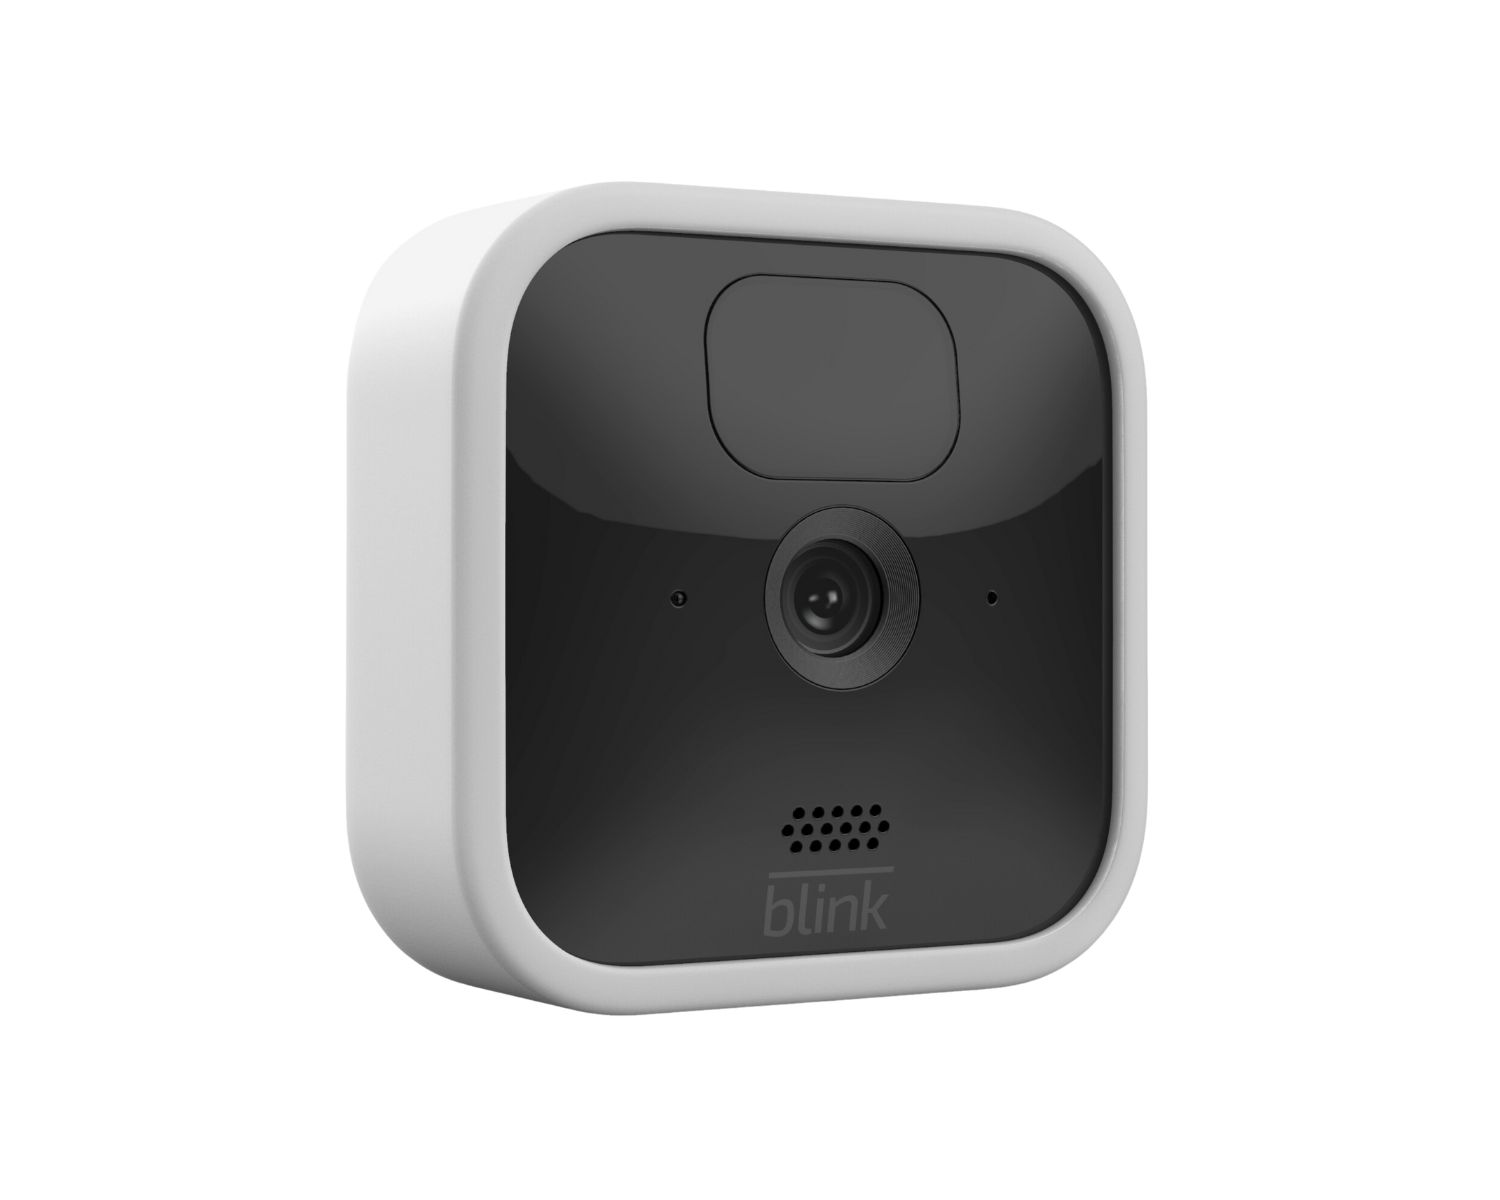
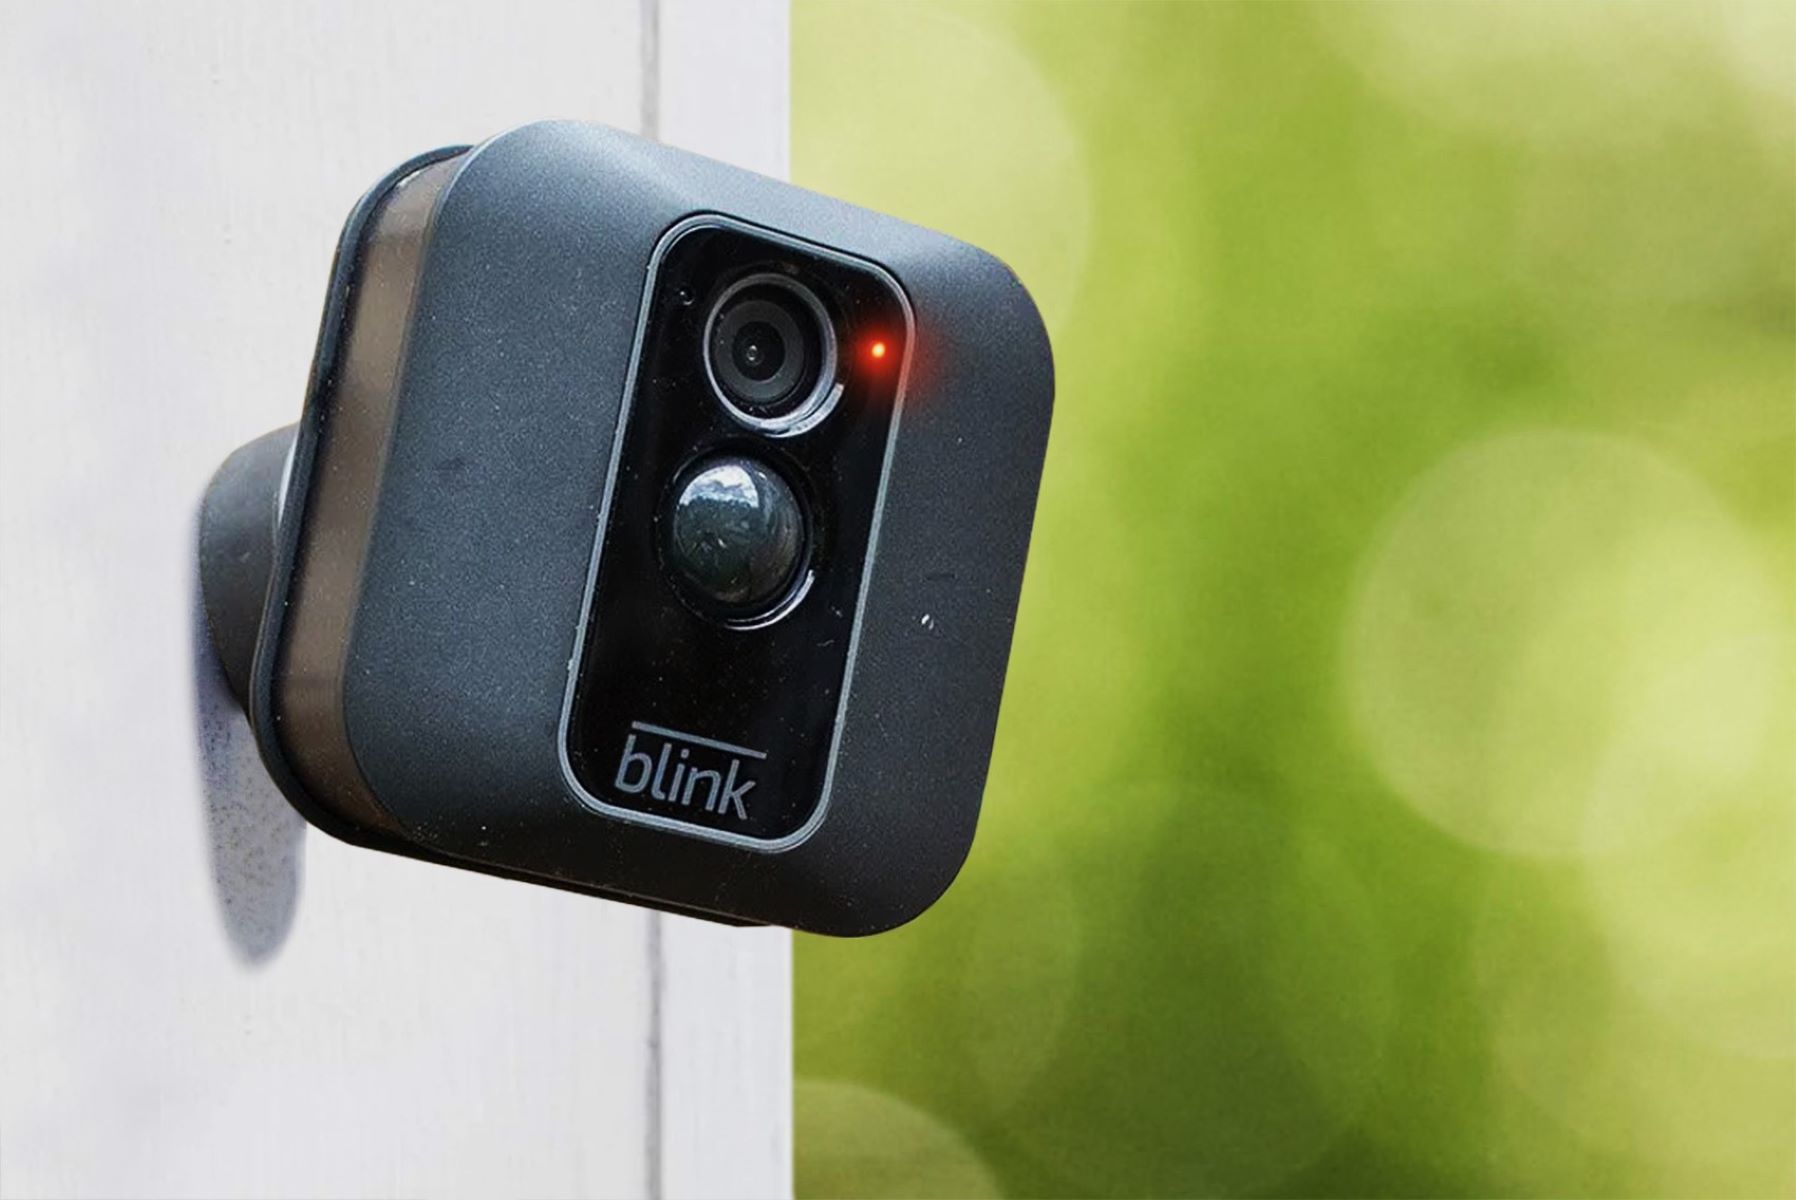
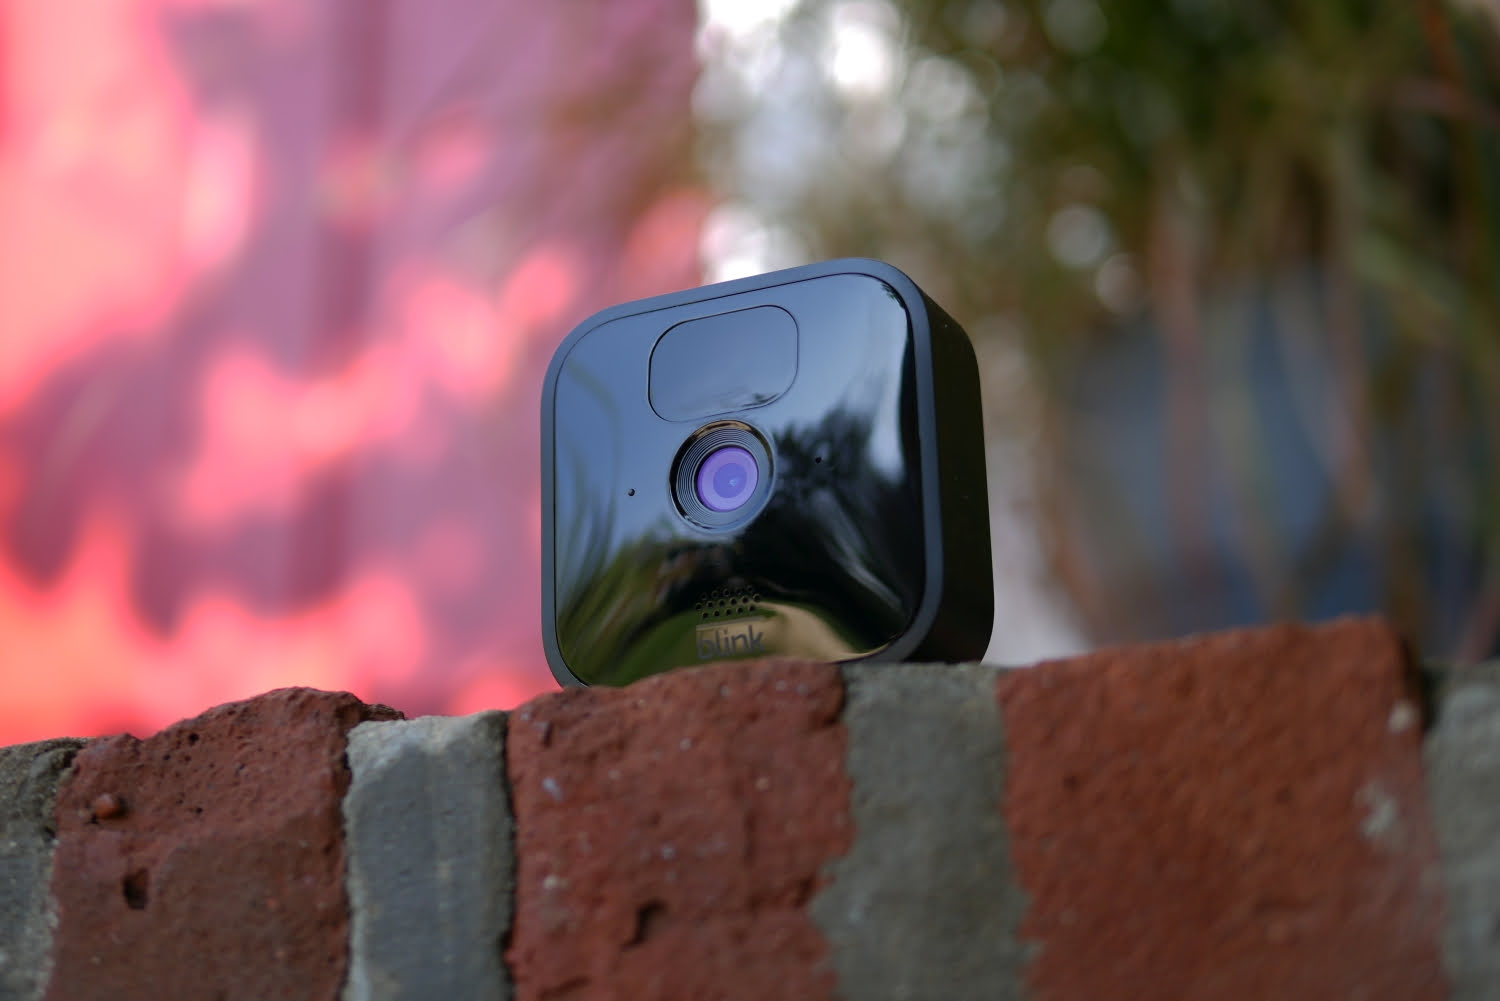
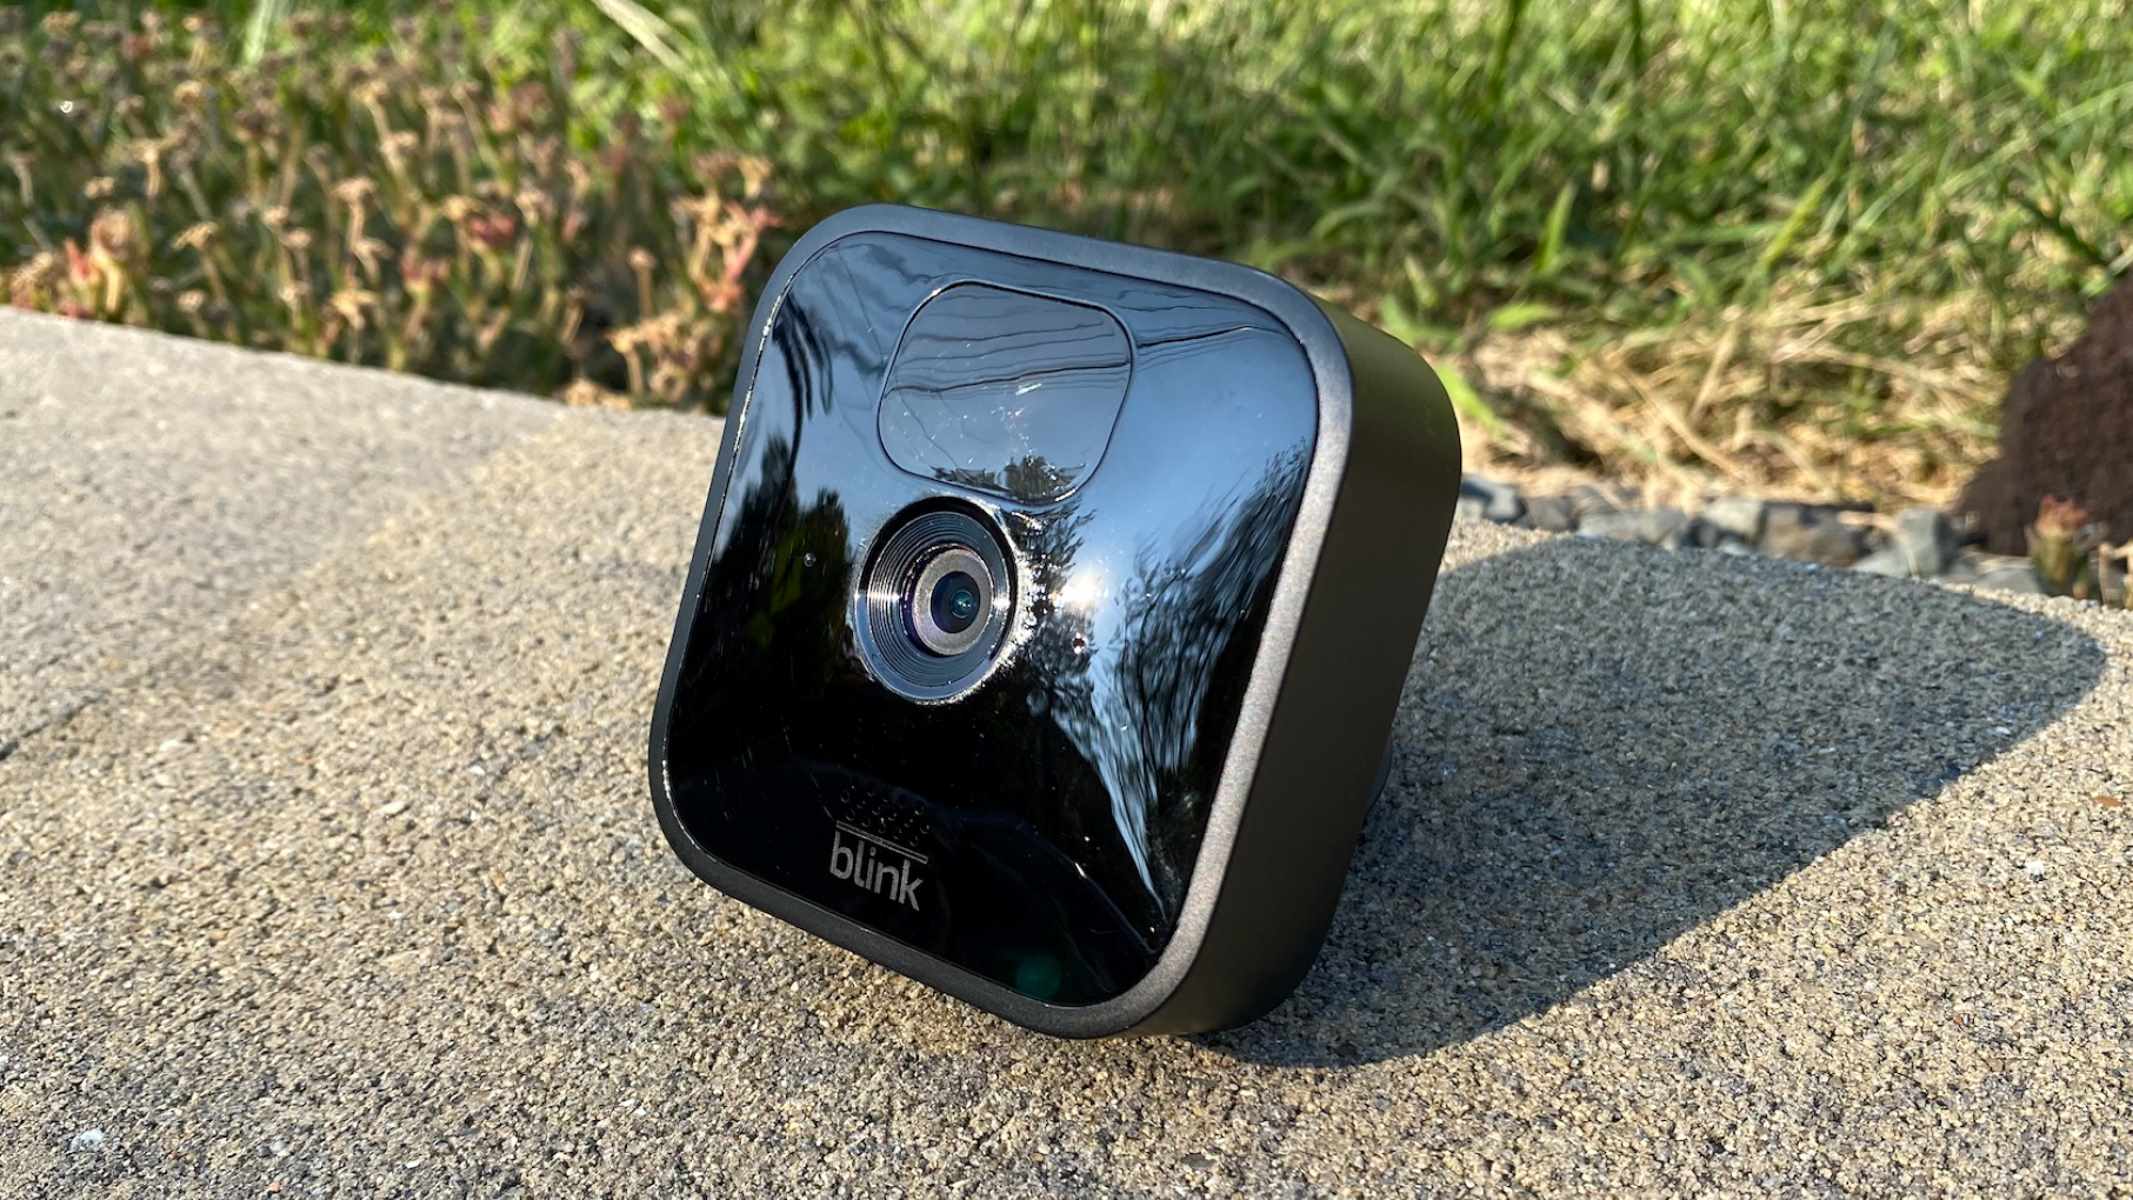
The Blink Outdoor Camera is a wireless, weather-resistant security camera that allows you to monitor your home both indoors and outdoors. It offers features like motion detection, HD video recording, and night vision, ensuring that you have a clear view of any activity happening around your property, day or night.
In this article, we will guide you through the process of mounting the Blink Outdoor Camera to ensure optimal placement and functionality. Whether you’re a tech-savvy individual or a novice in home security systems, this step-by-step guide will make the mounting process seamless and hassle-free.
To get started, make sure you have your Blink Outdoor Camera, its mounting bracket, and the required tools handy. Once you’re prepared, let’s dive into the first step of unboxing and assembling the Blink Outdoor Camera.
Key Takeaways:
- Mounting the Blink Outdoor Camera involves unboxing, choosing the right location, securely attaching the camera, and connecting it to the Blink app for easy monitoring and control.
- Testing the camera’s functionality ensures it captures clear video, detects motion, and maintains a stable connection, providing reliable security and peace of mind for your home.
Read more: How To Mount The Blink Outdoor Camera
Step 1: Unboxing and assembling the Blink Outdoor Camera
Before you begin the installation process, it’s essential to unbox and assemble your Blink Outdoor Camera. This step will ensure that all the necessary components are in place and ready for mounting.
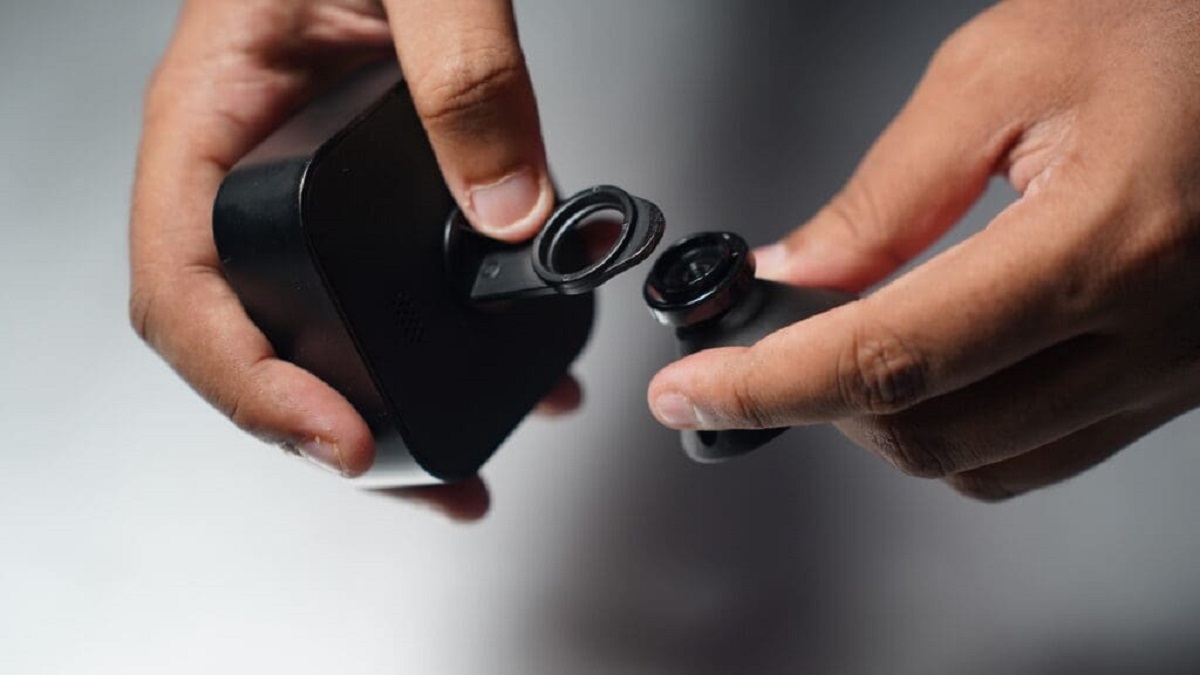
Start by removing the Blink Outdoor Camera, its mounting bracket, and any accompanying accessories from the packaging. Check for any visible damage to the camera or its components.
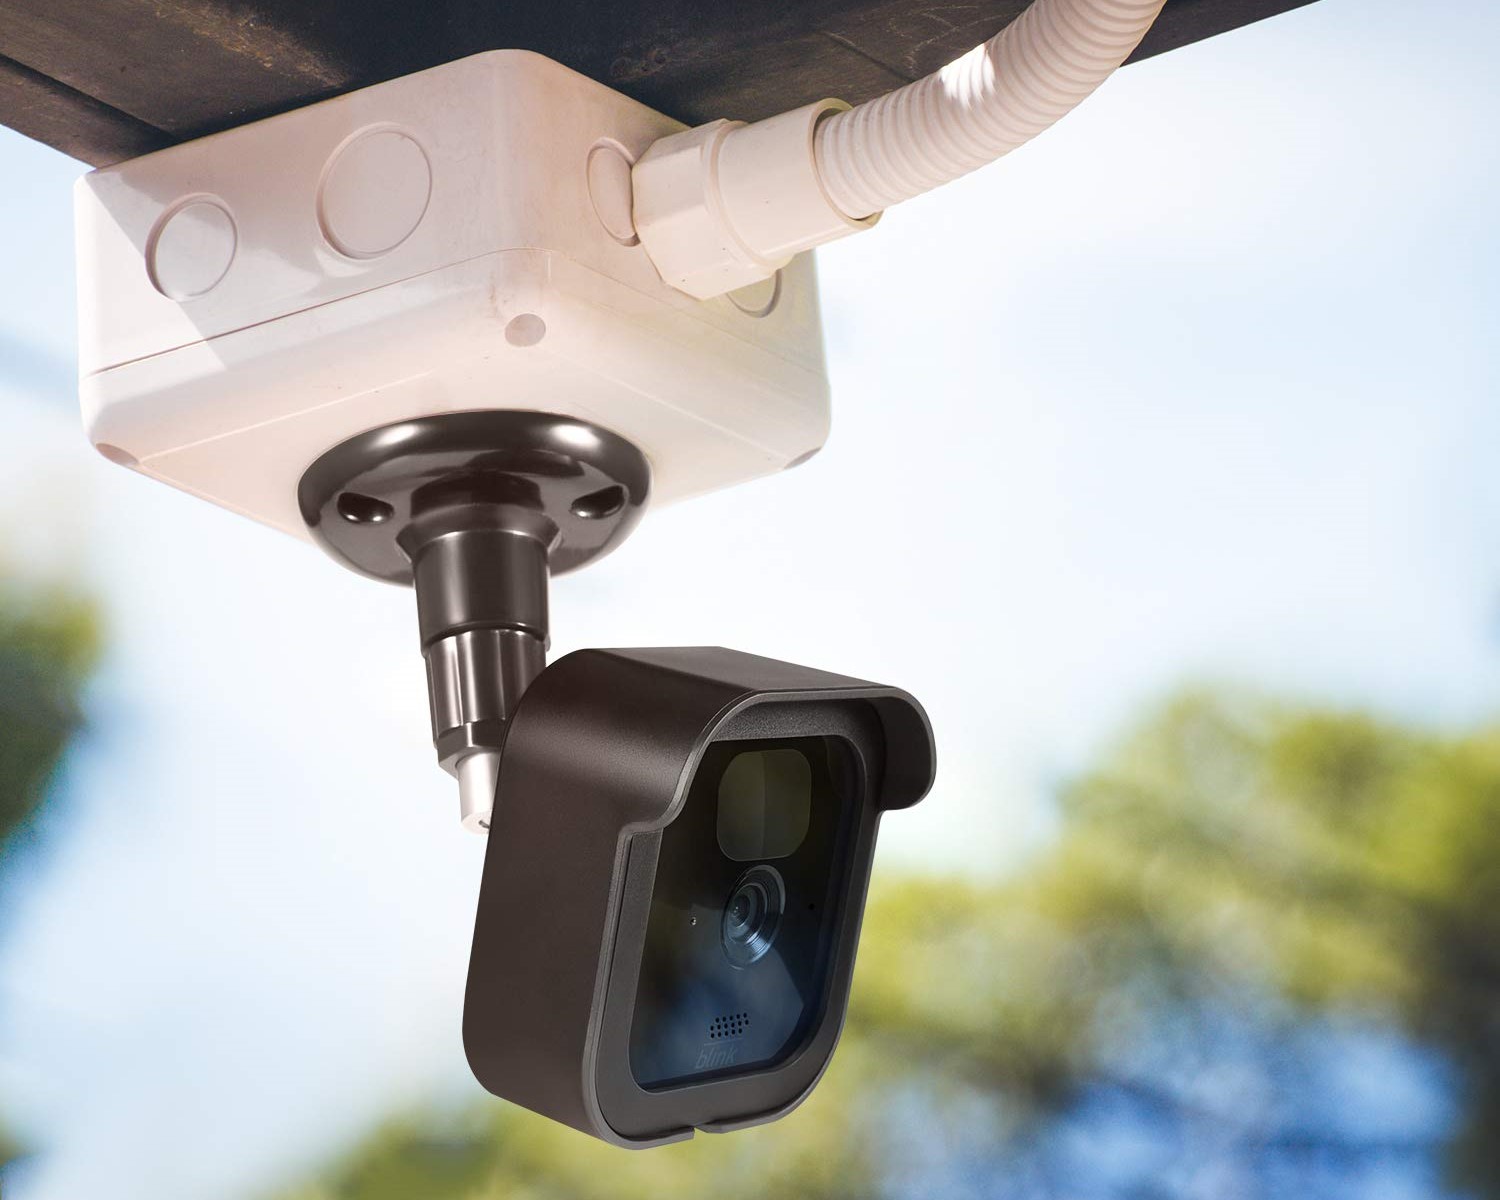
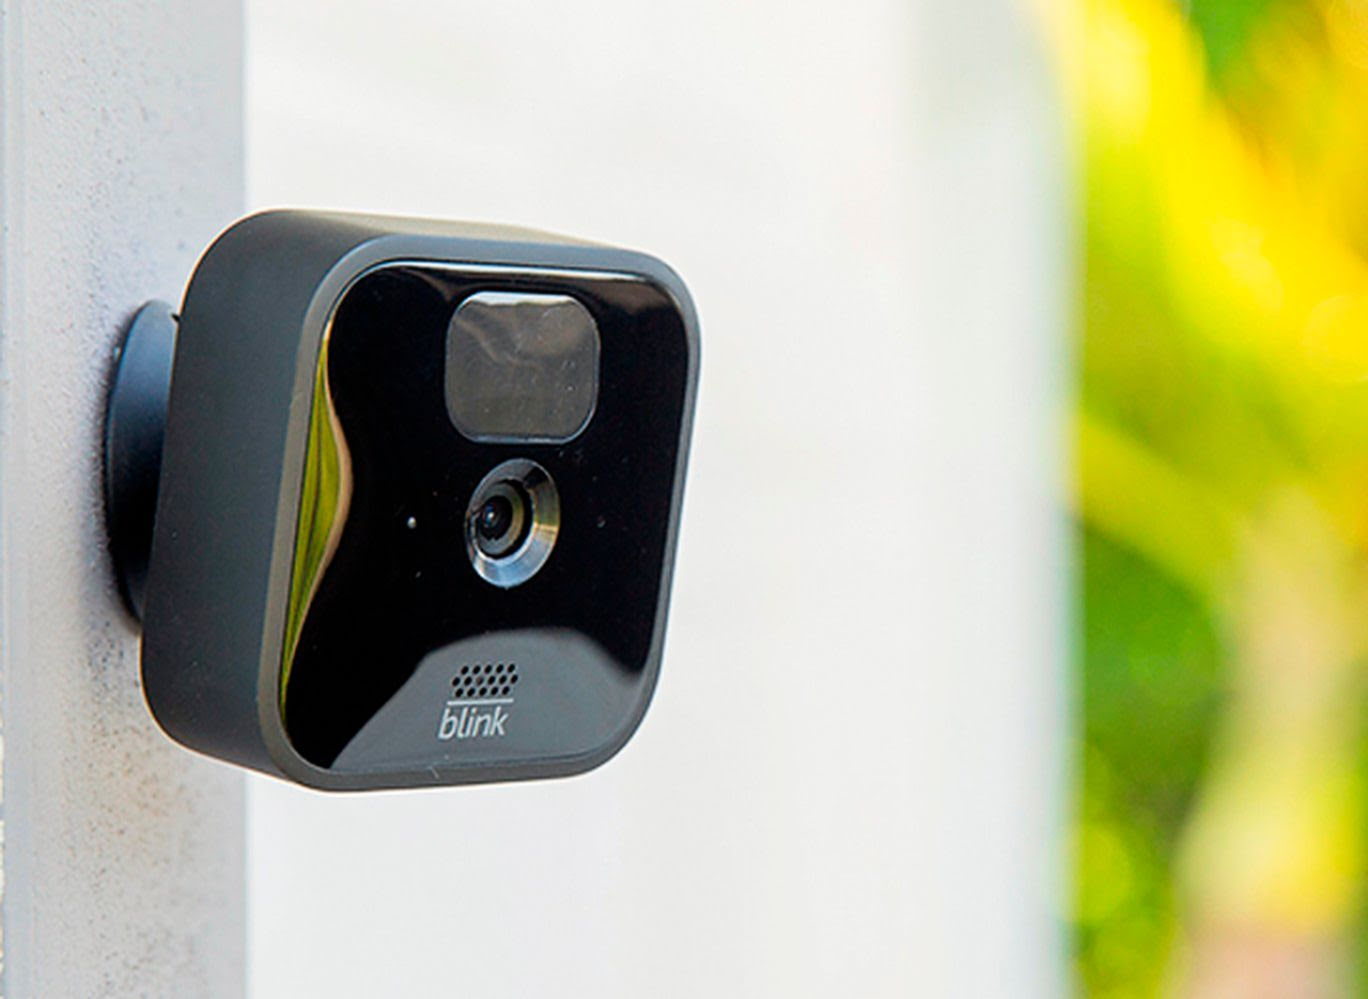
Once you’ve ensured that everything is in good condition, it’s time to assemble the camera. Begin by attaching the mounting bracket to the back of the camera. The bracket should securely fit into the designated slots on the camera’s rear panel.
Make sure to align the bracket properly to ensure an optimal viewing angle. The camera should be positioned in a way that captures the desired area while maintaining a stable and secure mounting.
Once the bracket is attached, double-check its stability by gently wiggling it. It should be firmly in place and not wobble or move excessively. If you notice any issues with the bracket’s attachment, try repositioning it or referring to the camera’s user manual for further guidance.
With the camera and bracket assembled, you are now ready to move on to the next step: choosing the optimal mounting location.
Step 2: Choosing the mounting location
Choosing the right mounting location for your Blink Outdoor Camera is crucial for its effectiveness in monitoring your property. Here are some factors to consider when selecting the optimal spot:
- Visibility: Ensure that the camera has a clear line of sight to the area you want to monitor. Avoid obstructions such as trees, plants, or decorative structures that may hinder the camera’s view.
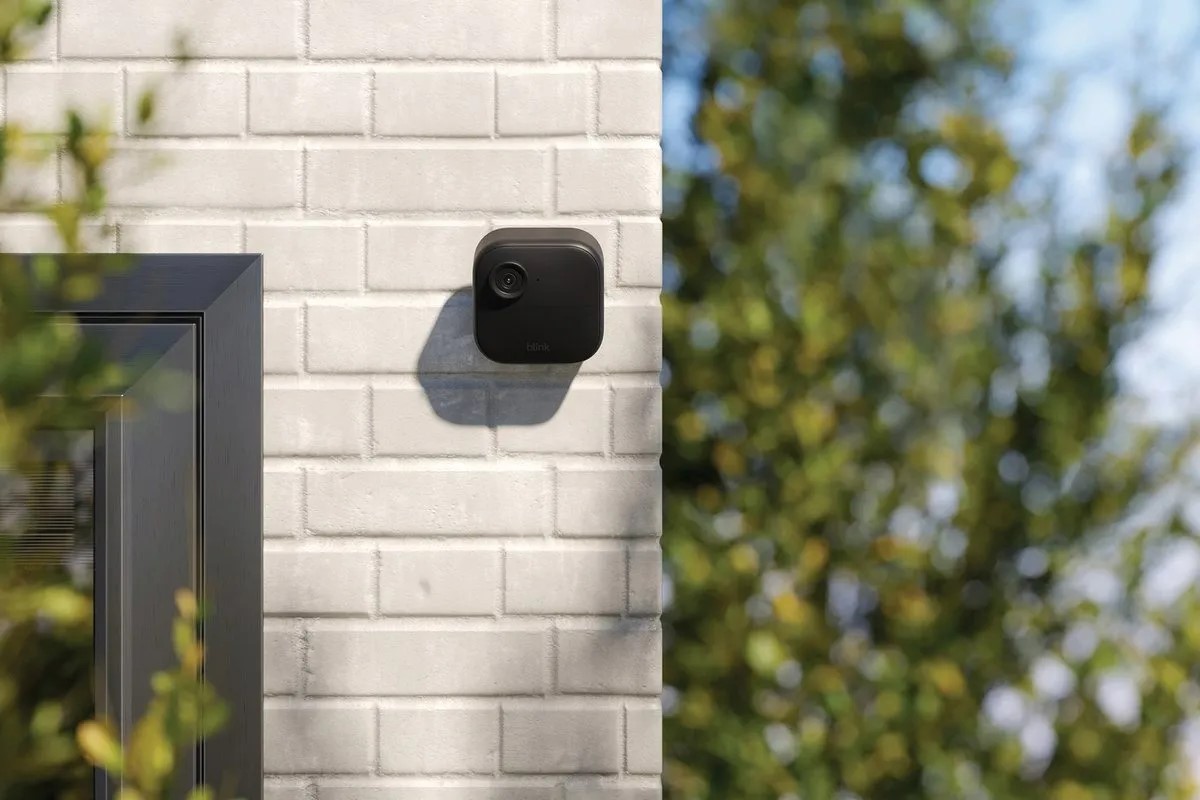
- Entry points: Identify the main entry points of your property, such as doors, windows, or gates. Mounting the camera near these areas will provide maximum coverage and facilitate early detection of any suspicious activity.
- Height: The ideal height for mounting the Blink Outdoor Camera is around 7 to 10 feet above the ground. This height range offers a balanced view that captures both the immediate surroundings and a broader area.
- Power source: Keep in mind that the Blink Outdoor Camera is wireless and operates with batteries. Choose a location that provides easy access for battery replacement or consider nearby power sources if you prefer a continuous power supply.
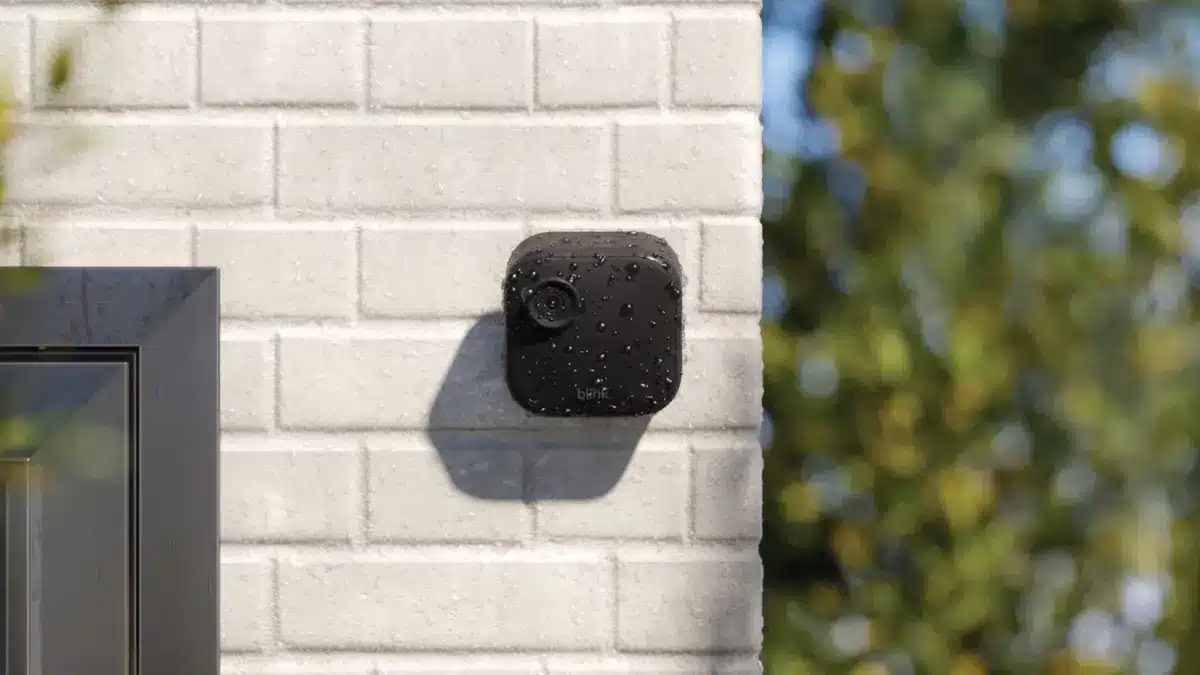
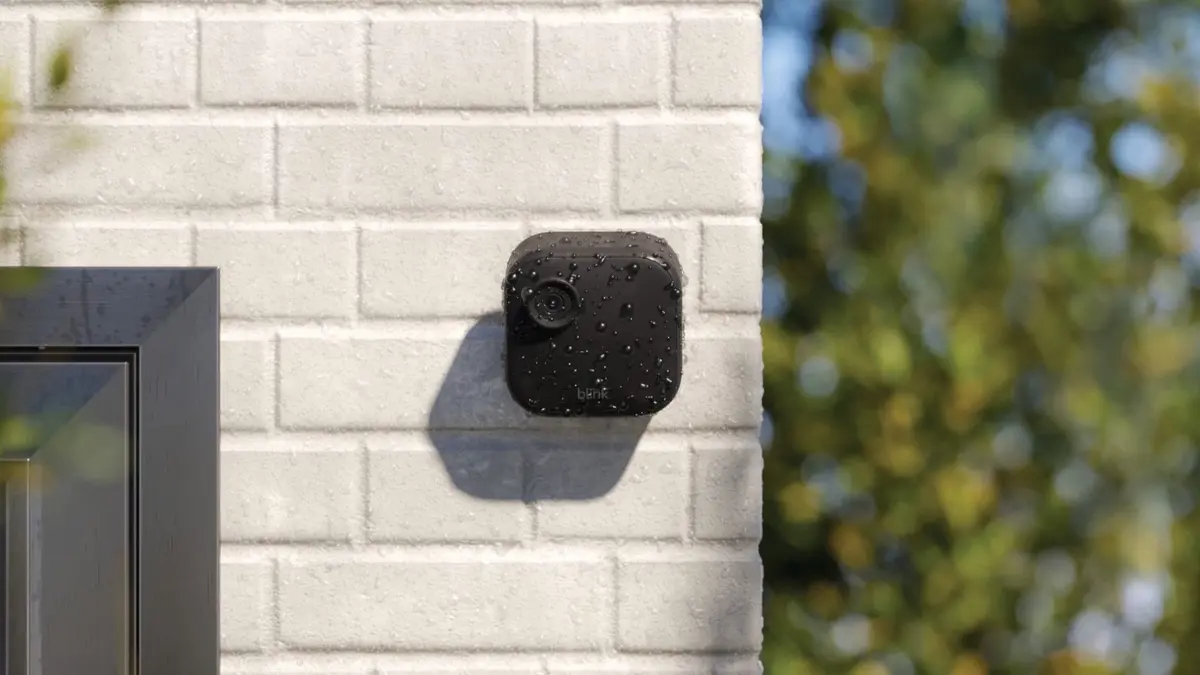
- Weather conditions: Since the Blink Outdoor Camera is weather-resistant, you can mount it outside. However, be mindful of the prevailing weather conditions, especially extreme temperatures or heavy rainfall, as they may impact the camera’s performance.
Take your time to evaluate different potential mounting locations in and around your property. Consider testing the camera’s view by holding it at different spots to visualize the coverage before finalizing the placement.
Once you have selected the ideal mounting location, it’s time to move on to the next step: mounting the camera bracket to a wall.
Step 3: Mounting the camera bracket to a wall
Now that you have chosen the perfect spot for your Blink Outdoor Camera, it’s time to securely mount the camera bracket to a wall. Follow these steps to complete this process:
- Gather the necessary tools: Before you begin, gather the tools needed for mounting the camera bracket. These may include a drill, screws, and a screwdriver.
- Position the bracket: Hold the camera bracket against the wall at the chosen location. Ensure that it is level and aligned with your desired angle of view. Use a pencil or marker to mark the drill holes on the wall through the bracket’s mounting holes.
- Drill the holes: Using a drill with an appropriate drill bit, carefully drill the marked holes on the wall at the specified locations. Be cautious to avoid damaging any underlying wiring or plumbing.
- Insert wall anchors (if necessary): If the mounting surface is not solid, such as drywall, consider using wall anchors for added stability. Insert the wall anchors into the drilled holes, ensuring they are flush with the wall.
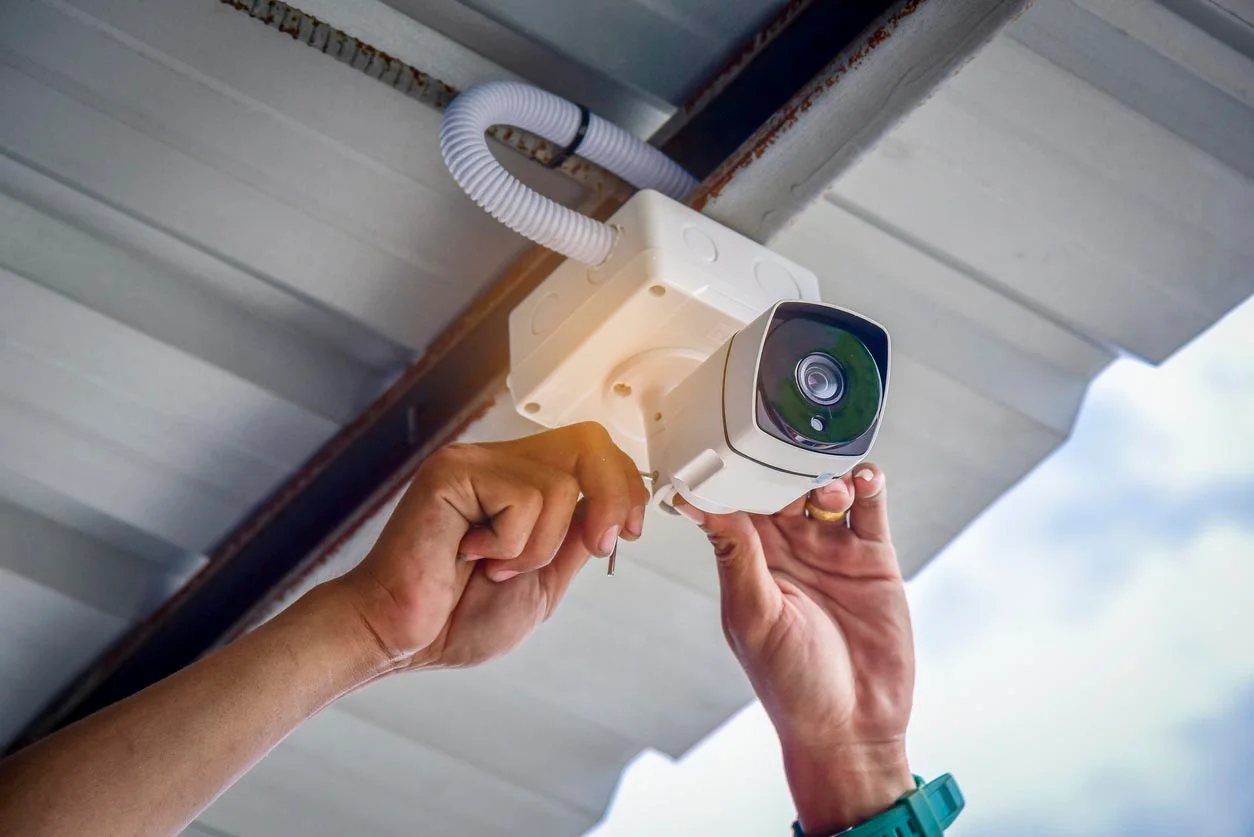
- Attach the bracket: Position the camera bracket over the drilled holes and align them. Use screws and a screwdriver to secure the bracket firmly to the wall. Make sure the bracket is tight and does not wobble or move.
During the mounting process, you may need an extra set of hands to hold the bracket steady while you drill or attach the screws. If needed, enlist the help of a friend or family member to ensure a secure mounting.
Once you have successfully mounted the camera bracket, move on to the next step: adjusting the camera angle for optimal positioning.
Step 4: Adjusting the camera angle
With the camera bracket securely mounted to the wall, it’s time to adjust the camera angle to ensure optimal positioning. Follow these steps to set the desired angle:
- Loosen the camera bracket: Locate the adjustment screws or knobs on the camera bracket. Loosen them to allow for easy movement of the camera.
- Position the camera: Using your hands or a tool, gently move the camera within the bracket to adjust its angle. Pay attention to the live video feed from the camera’s app and ensure it captures the desired area with a clear view.
- Tighten the adjustment screws: Once the camera is in the desired position, tighten the adjustment screws or knobs on the bracket. This will secure the camera in place and prevent it from moving due to wind or vibrations.
While adjusting the camera angle, consider the specific areas you want to monitor. Aim to position the camera in a way that covers these areas while providing a wide enough field of view. It’s recommended to test the camera’s view from the user’s perspective to ensure optimal coverage.
If you’re unsure about the ideal angle or need assistance, consult the user manual or contact the manufacturer’s support for guidance.
Once you have adjusted the camera angle, proceed to the next step: securing the camera to the bracket.
When mounting a Blink Outdoor camera, make sure to choose a location with a strong Wi-Fi signal and a clear view of the area you want to monitor. Use the included mounting hardware to securely attach the camera to a wall or other surface.
Read more: Where To Mount Blink Outdoor Cameras
Step 5: Securing the camera to the bracket
Now that you have set the desired angle for the Blink Outdoor Camera, it’s time to securely attach the camera to the mounting bracket. Follow these steps to properly secure the camera:
- Ensure the camera is power off: Before attaching the camera, make sure it is turned off to avoid any accidental activation.
- Align the camera: Align the mounting holes on the camera with the corresponding slots on the mounting bracket. Take care to position the camera correctly to ensure a secure fit.
- Slide the camera onto the bracket: Slide the camera onto the bracket while ensuring a firm connection between the camera and the mounting bracket. You may hear a click or feel a slight resistance when the camera is properly attached.
- Secure the camera: Once the camera is in place, use any screws or locking mechanisms provided by the manufacturer to secure the camera to the bracket. Follow the instructions provided in the user manual to ensure a proper and secure attachment.
- Check the stability: Gently test the stability of the camera by giving it a slight tug. It should be firmly attached to the bracket and not wobble or move excessively.
Ensuring that the camera is securely attached to the bracket is crucial to prevent any accidental displacement or damage. Take the time to double-check the attachment before moving on to the next step.
Once the camera is securely fastened to the bracket, it’s time to move to the next step: connecting the camera to the Blink app.
Step 6: Connecting the camera to the Blink app
After securing the Blink Outdoor Camera to the bracket, the next step is to connect it to the Blink app for monitoring and control. Follow these steps to successfully set up the camera with the app:
- Download the Blink app: If you haven’t already, download the Blink app from the App Store or Google Play Store. Install and open the app on your smartphone or tablet.
- Create an account: If you’re a new user, you’ll need to create an account by providing your email address and setting a password. Existing users can log in using their credentials.
- Add a device: In the app, tap the “Add a Device” option and select “Blink Outdoor Camera” from the list of available devices.
- Follow the on-screen instructions: The app will guide you through the setup process. This typically involves scanning the QR code located on the back of the camera or entering its serial number manually.
- Connect to Wi-Fi: During the setup process, you’ll be prompted to connect the camera to your Wi-Fi network. Follow the instructions to enter your network credentials and establish the connection. Ensure that the camera is within the range of your Wi-Fi signal for a stable connection.
- Complete the setup: Once the camera is connected, the app will complete the setup process and configure the camera settings. You may have the option to customize settings such as motion detection sensitivity and recording length.
Once the setup is complete, you’ll be able to access the live video feed from your Blink Outdoor Camera through the app. You can also configure additional features such as push notifications, scheduling, and sharing access with other users.
Now that your camera is connected to the Blink app, it’s time to move to the final step: testing the camera’s functionality.
Step 7: Testing the camera’s functionality
After setting up the Blink Outdoor Camera and connecting it to the Blink app, it’s important to test its functionality to ensure everything is working as expected. Follow these steps to test the camera:
- Check the live video feed: Open the Blink app and access the live video feed from the camera. Make sure you can see a clear and uninterrupted view of the monitored area. Adjust the camera angle if necessary.
- Trigger motion detection: Test the motion detection feature by moving in front of the camera’s view. Verify that the camera detects motion and starts recording. You should receive notifications on your smartphone or tablet when motion is detected.
- Review recorded footage: Check the recorded footage in the Blink app. Ensure that it captures the necessary details and provides a clear image. You may want to adjust the recording length or enable additional features like audio recording if desired.
- Test night vision: If your Blink Outdoor Camera has night vision capabilities, test this feature by checking the live video feed in a low-light or dark environment. Make sure the camera provides clear visibility and captures any activity.
- Verify camera connectivity: Move around your property and check if the camera maintains a stable connection with the app. Ensure that you can access the live feed and receive notifications even when you’re away from home.
Performing these tests will allow you to identify any issues or inconsistencies with the camera’s functionality. Should you encounter any problems, refer to the troubleshooting section in the Blink app or contact customer support for assistance.
Congratulations! You have successfully installed, set up, and tested the Blink Outdoor Camera. With its reliable security features and seamless integration with the Blink app, you can now enjoy peace of mind knowing that your property is well-monitored.
Remember to periodically check the camera’s battery life and perform any necessary maintenance to ensure its continued performance. Stay vigilant and make the most out of your Blink Outdoor Camera to enhance the security of your home.
Thank you for following this step-by-step guide. Enjoy the added security and convenience offered by the Blink Outdoor Camera!
Conclusion
In today’s world, home security and surveillance systems are essential for ensuring the safety and protection of our homes and loved ones. The Blink Outdoor Camera is an excellent choice for anyone looking for a reliable and user-friendly security camera. By following the steps outlined in this guide, you can now confidently mount and set up your Blink Outdoor Camera for optimal functionality.
We began by unboxing and assembling the camera, ensuring that all components were in place and properly connected. Then, we moved on to choosing the ideal mounting location, considering factors such as visibility, entry points, height, power source, and weather conditions.
Next, we mounted the camera bracket to the wall, taking necessary precautions and using the right tools to secure it firmly. Adjusting the camera angle came next, positioning it to capture the desired area and ensuring a wide field of view.
With the camera securely attached to the bracket, we connected it to the Blink app, enabling us to monitor and control the camera from our smartphones or tablets. We followed the setup process, connecting the camera to our Wi-Fi network and customizing settings to meet our preferences.
Finally, we tested the camera’s functionality, checking the live video feed, motion detection, recorded footage, night vision, and overall connectivity. By conducting these tests, we confirmed that the camera was working as expected, providing us with reliable security and peace of mind.
With the Blink Outdoor Camera in place, you can now enjoy enhanced home security and surveillance. Monitor your property, receive notifications of any suspicious activity, and have a clear view of the surroundings, even in low-light conditions.
Remember to periodically check the camera’s battery life, perform any necessary maintenance, and stay updated with the latest app and firmware updates for optimal performance.
Thank you for following our comprehensive guide on mounting and setting up the Blink Outdoor Camera. We hope this article has provided you with valuable insights and guidance for achieving an effective and reliable home security system. Stay safe and enjoy the peace of mind that comes with having a well-protected home.
Frequently Asked Questions about How To Mount Blink Outdoor Camera
Was this page helpful?
At Storables.com, we guarantee accurate and reliable information. Our content, validated by Expert Board Contributors, is crafted following stringent Editorial Policies. We're committed to providing you with well-researched, expert-backed insights for all your informational needs.
