Home>Home Security and Surveillance>How To Setup Blink XT Outdoor Camera
Home Security and Surveillance
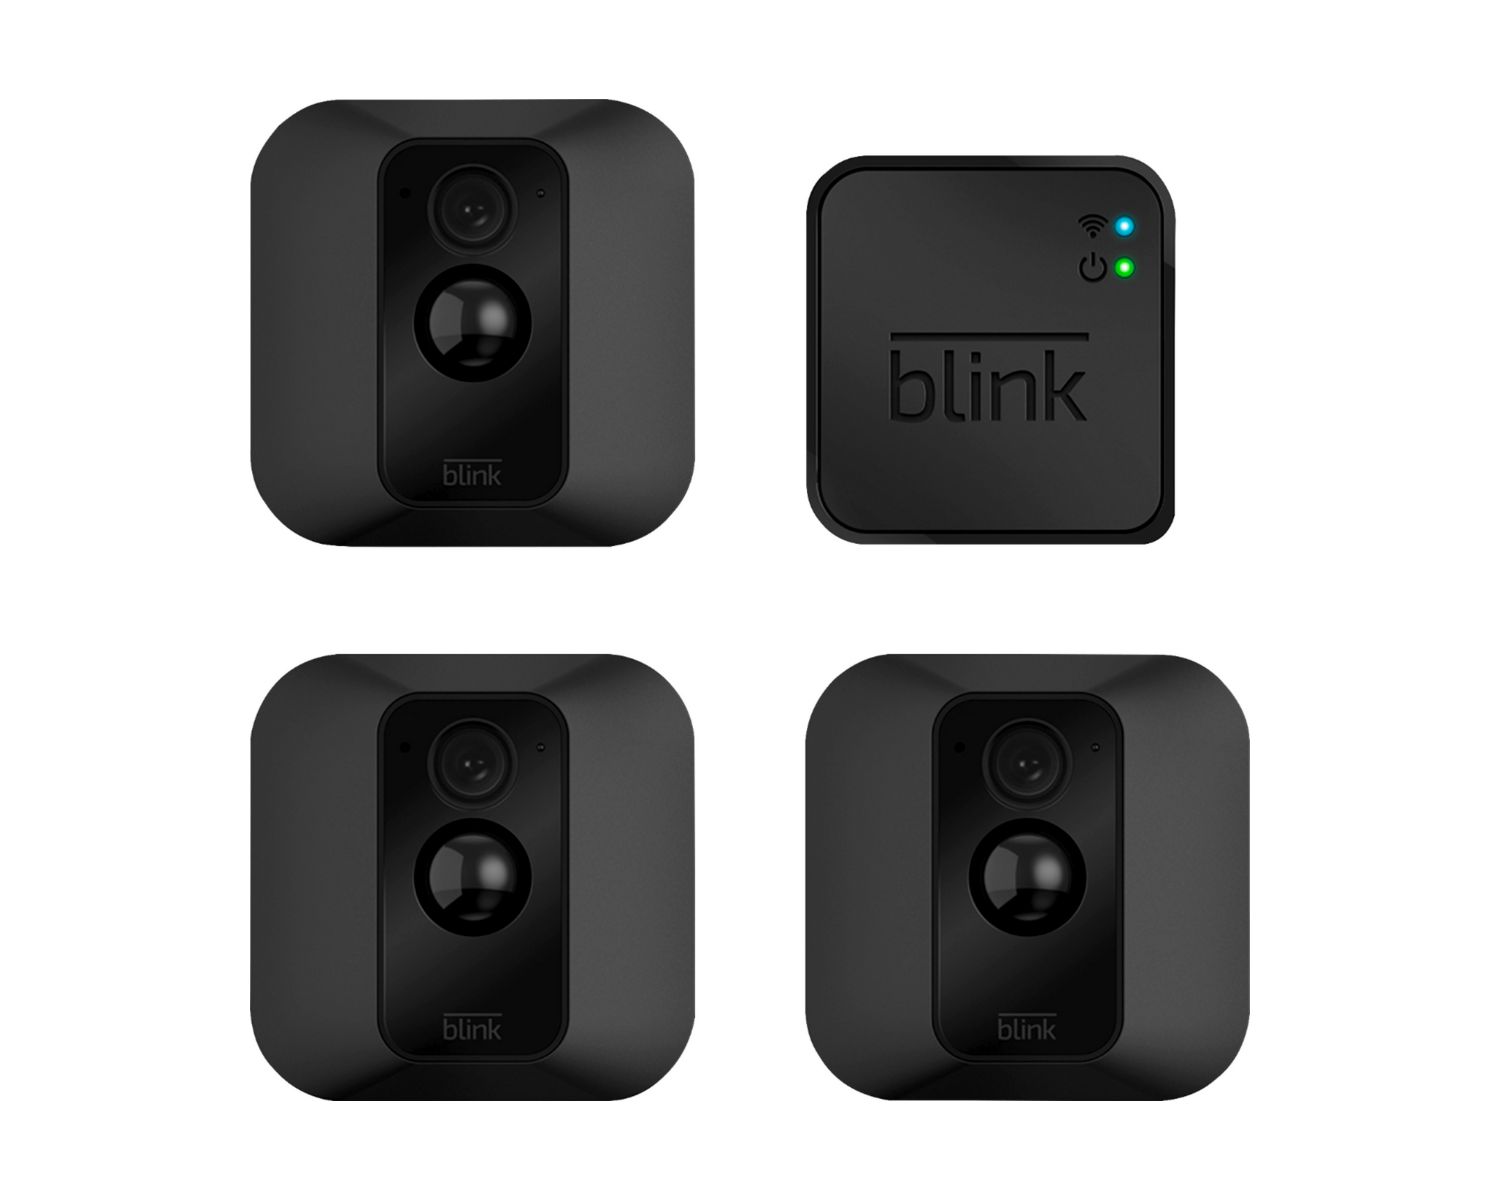
How To Setup Blink XT Outdoor Camera
Modified: March 6, 2024
Learn how to set up the Blink XT outdoor camera for reliable home security and surveillance. Install, connect, and monitor your property with ease.
(Many of the links in this article redirect to a specific reviewed product. Your purchase of these products through affiliate links helps to generate commission for Storables.com, at no extra cost. Learn more)
Introduction
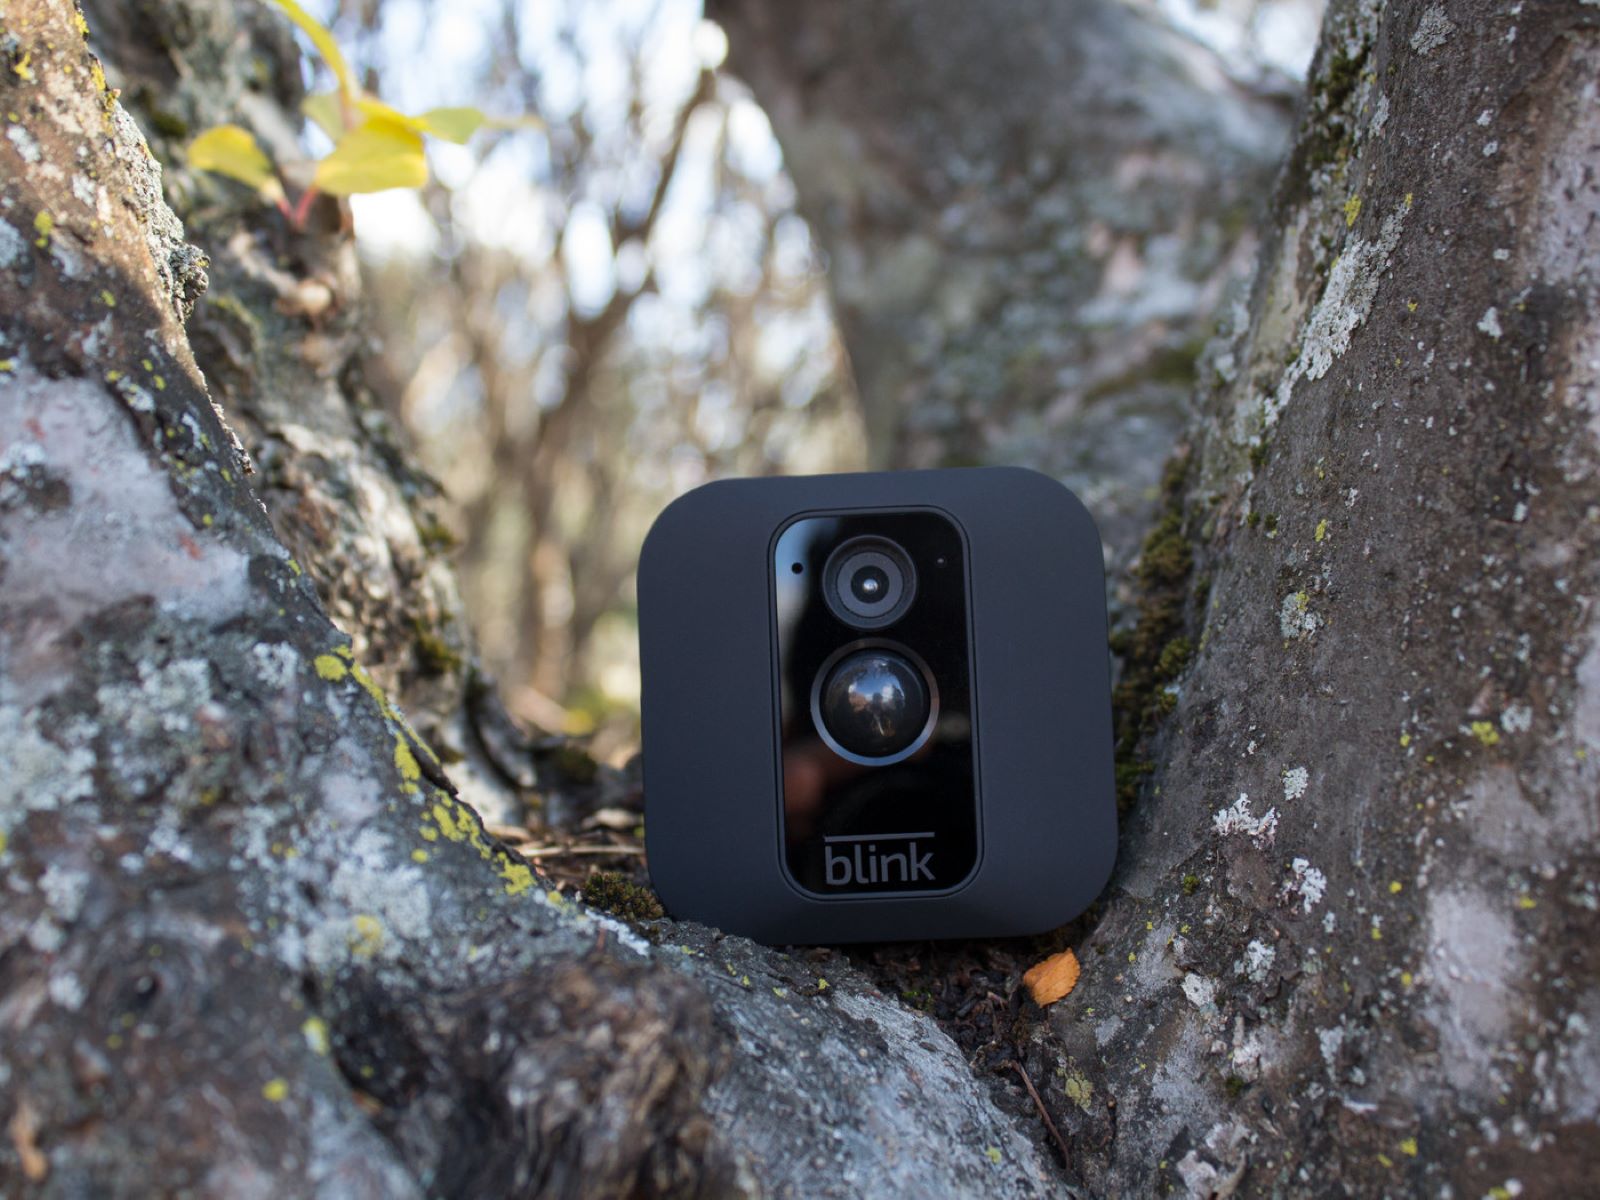
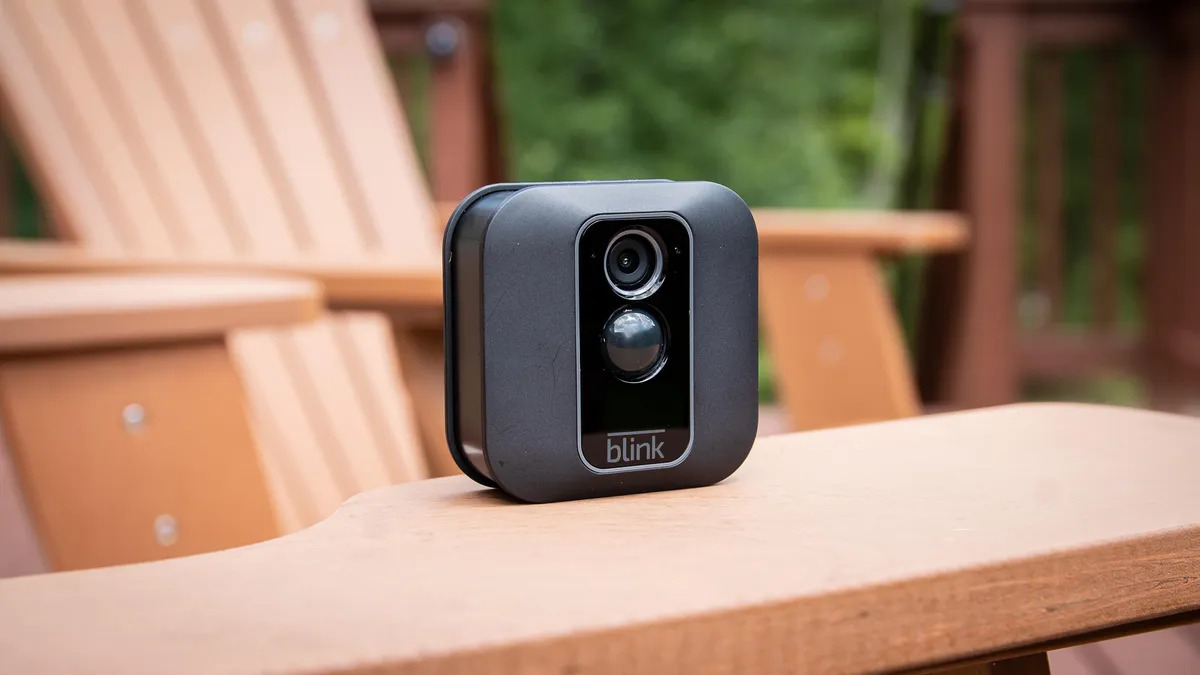
Welcome to the world of home security and surveillance! In today’s fast-paced and unpredictable world, it’s essential to prioritize the safety of our loved ones and protect our property. Installing an outdoor camera, such as the Blink XT, is a smart choice that can provide peace of mind and enhance the security of your home.
With its advanced features and user-friendly interface, the Blink XT Outdoor Camera is a top-notch choice for homeowners. Whether you want to keep an eye on your front porch, monitor the backyard, or safeguard your driveway, this camera offers reliable performance and high-quality video footage.
Before diving into the setup process, it’s important to take a few things into consideration. First and foremost, identify the areas of your home that require surveillance. Are you primarily concerned about your entry points, or do you want to cover larger outdoor spaces? This will help determine the number and placement of cameras you need.
Next, think about your specific security needs. Do you want features like motion detection, night vision, or two-way audio? Understanding your requirements will ensure you choose the right model that meets your expectations.
Lastly, evaluate your existing network infrastructure. The Blink XT Outdoor Camera requires a stable internet connection, so ensure that your Wi-Fi signal reaches all desired camera locations. If necessary, consider investing in Wi-Fi extenders or a mesh network system to improve coverage throughout your property.
Now that you have considered these factors, let’s dive into the step-by-step process of setting up your Blink XT Outdoor Camera. Don’t worry if you’re not a tech wizard – I’ll walk you through each stage, ensuring a smooth and hassle-free installation. So, grab your camera and let’s get started!
Key Takeaways:
- Setting up the Blink XT Outdoor Camera involves unpacking, mounting, connecting the Sync Module, installing batteries, pairing the camera, and configuring the app. Proper positioning and testing ensure optimal performance.
- The Blink app is essential for managing camera settings, accessing live feeds, and receiving motion alerts. Regular testing and maintenance, along with other security measures, contribute to a comprehensive home security plan.
Read more: How To Unscrew Blink Outdoor Camera
Things to Consider Before Setup
Before you begin setting up your Blink XT Outdoor Camera, there are a few important factors to consider. These will help ensure a successful installation and maximize the effectiveness of your home security system.
1. Camera Placement: Take some time to survey your property and identify the most strategic locations for your cameras. Consider areas with high foot traffic, vulnerable entry points, and blind spots. It’s crucial to position the cameras in a way that provides optimal coverage while minimizing obstructions such as trees or shrubs.
2. Power Source: The Blink XT Outdoor Camera is battery-powered, which gives you flexibility in terms of camera placement. However, it’s important to check the battery life regularly and have spare batteries on hand to avoid any gaps in surveillance.
3. Wi-Fi Signal Strength: Ensure that your Wi-Fi signal is strong and reaches all areas where you plan to install your cameras. Weak Wi-Fi signal can result in connectivity issues and poor video quality. Consider investing in Wi-Fi range extenders or a mesh network system if needed.
4. Camera Angle and Distance: When positioning your camera, angle it slightly downwards to capture faces and other identifying features. It’s also important to consider the distance from the camera to the areas you want to monitor. Adjust the camera position and angle as needed to ensure optimal coverage.
5. Privacy and Legal Considerations: Familiarize yourself with the privacy laws and regulations in your area regarding the use of outdoor surveillance cameras. Respect your neighbors’ privacy and avoid pointing the cameras directly at their property.
6. Lighting Conditions: Consider the lighting conditions in the areas you want to monitor. The Blink XT Outdoor Camera performs well in both day and night conditions, but make sure there is adequate lighting for optimal video quality. Supplemental lighting options, such as installing motion-activated lights, can be beneficial.
By taking these factors into account, you’ll be well-prepared for the setup process and can ensure that your Blink XT Outdoor Camera provides maximum security and peace of mind. Let’s move on to the step-by-step guide on how to set up your camera.
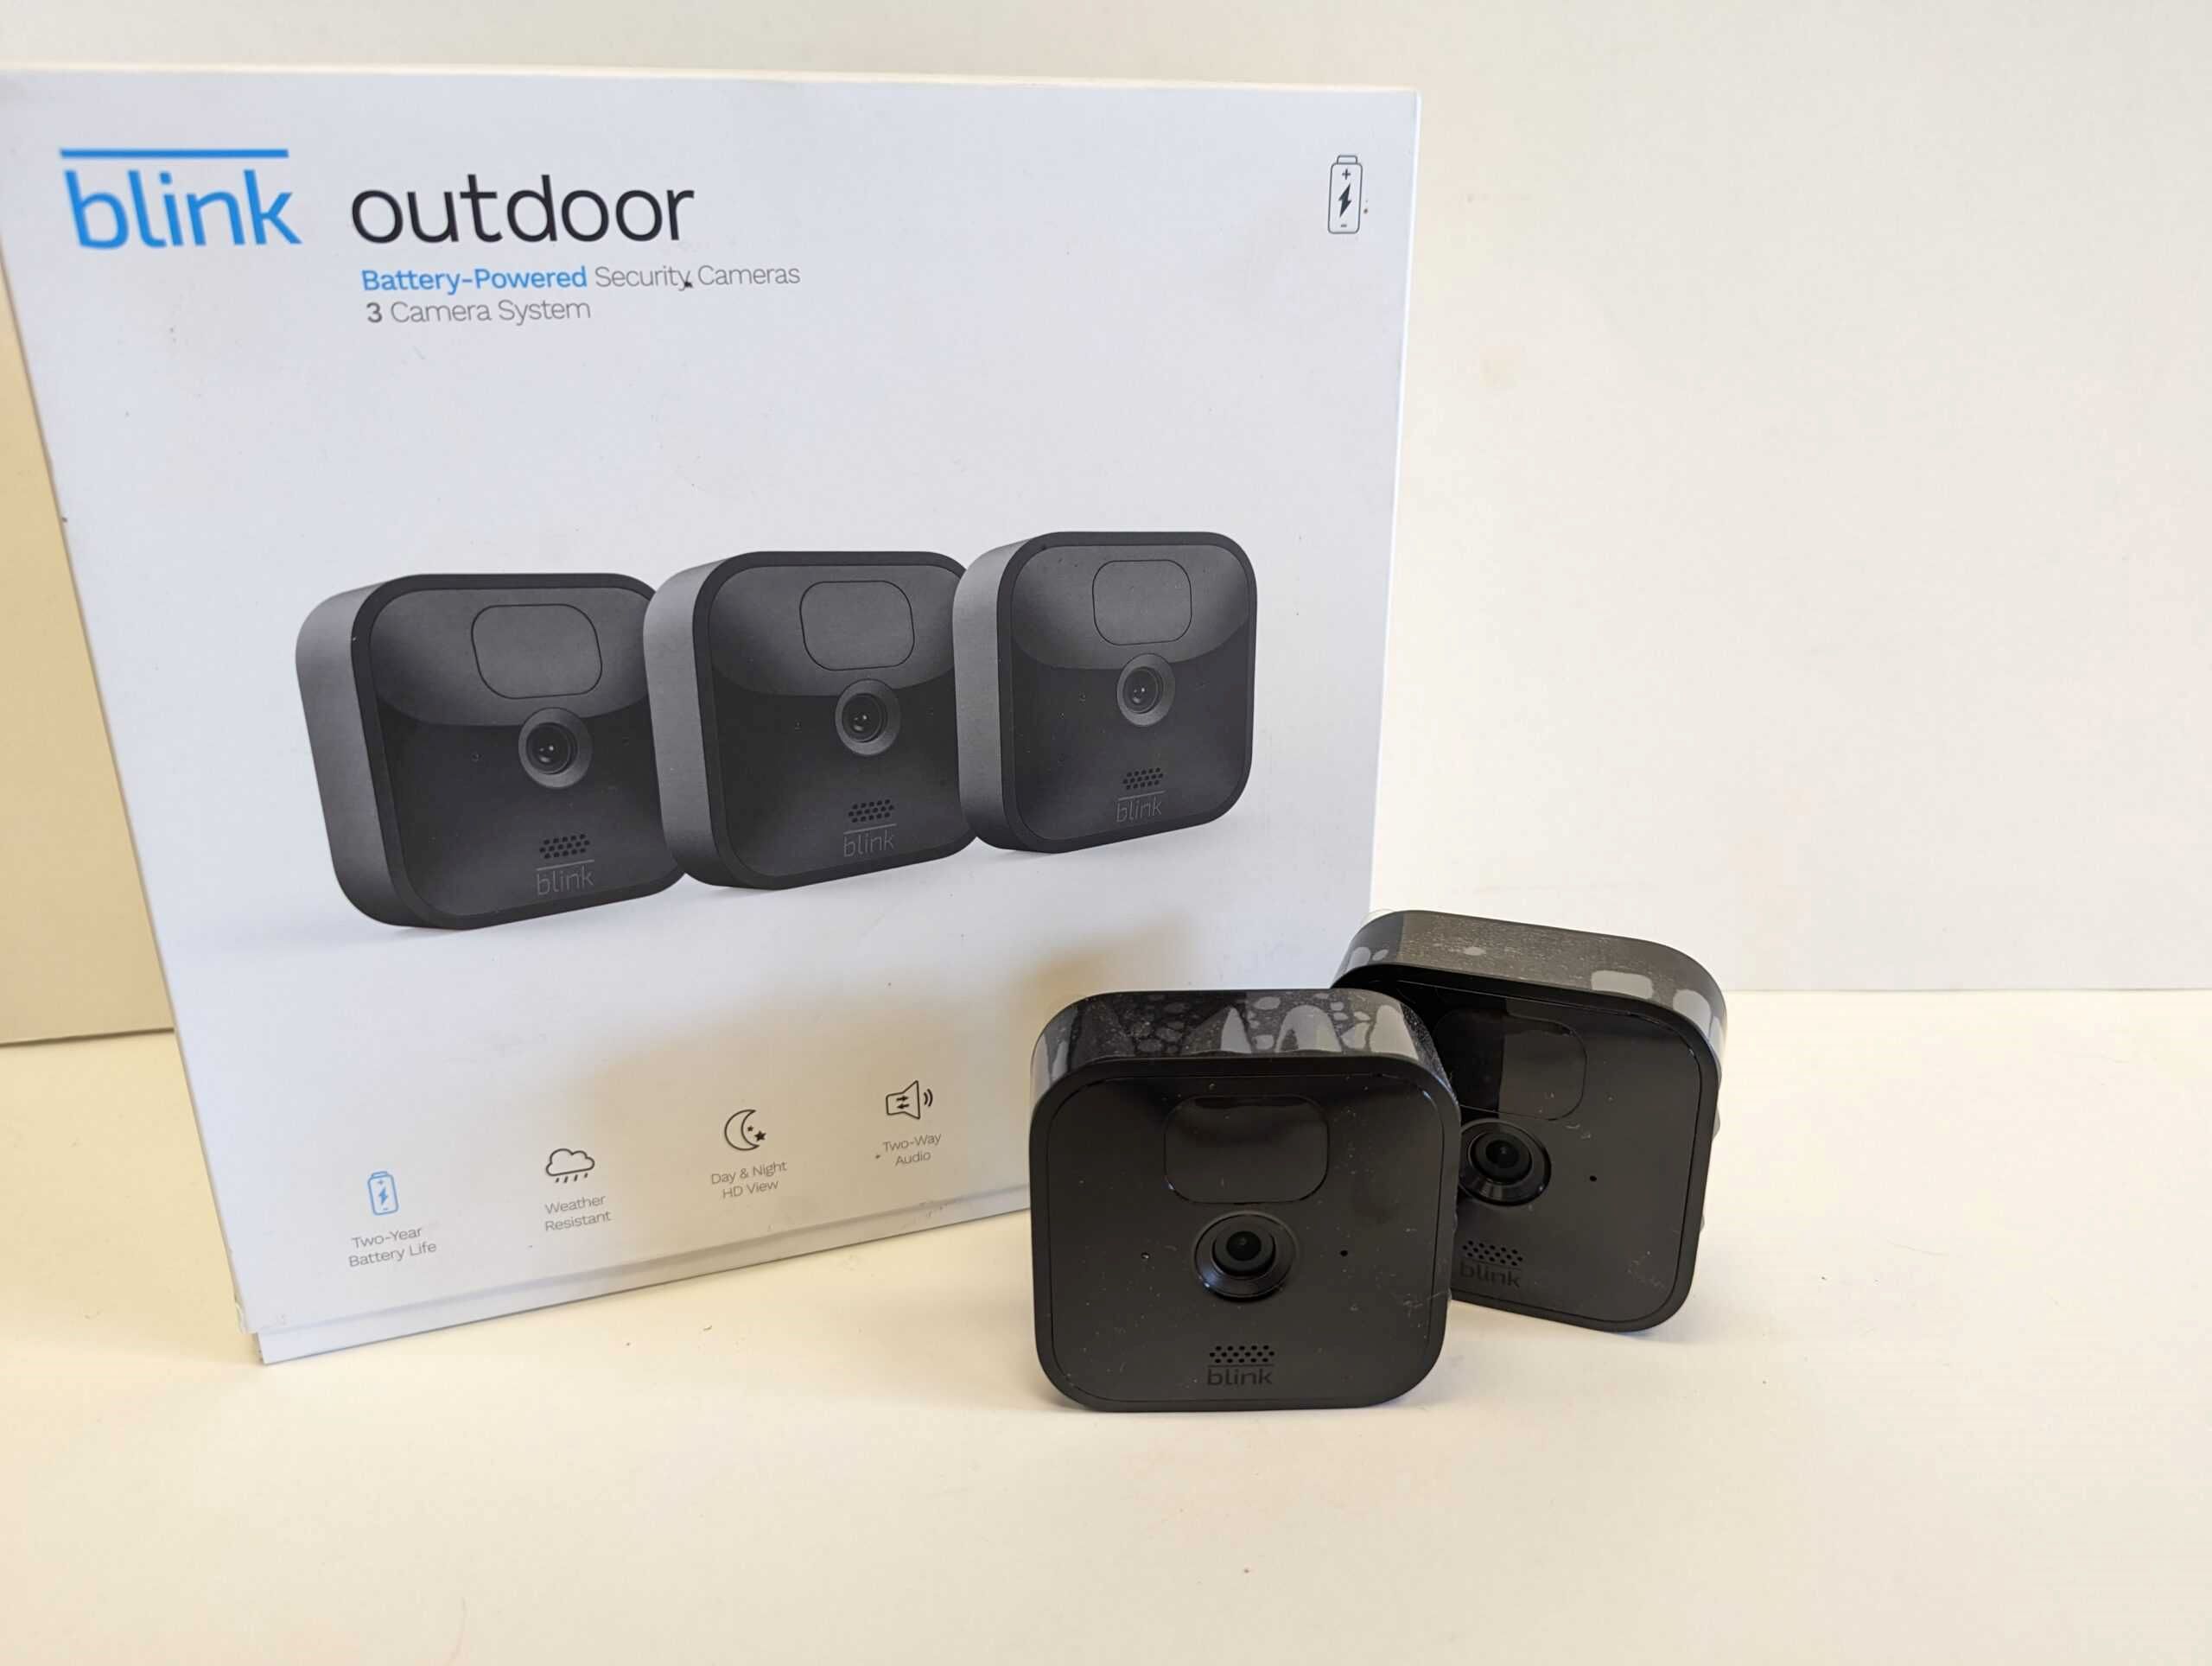
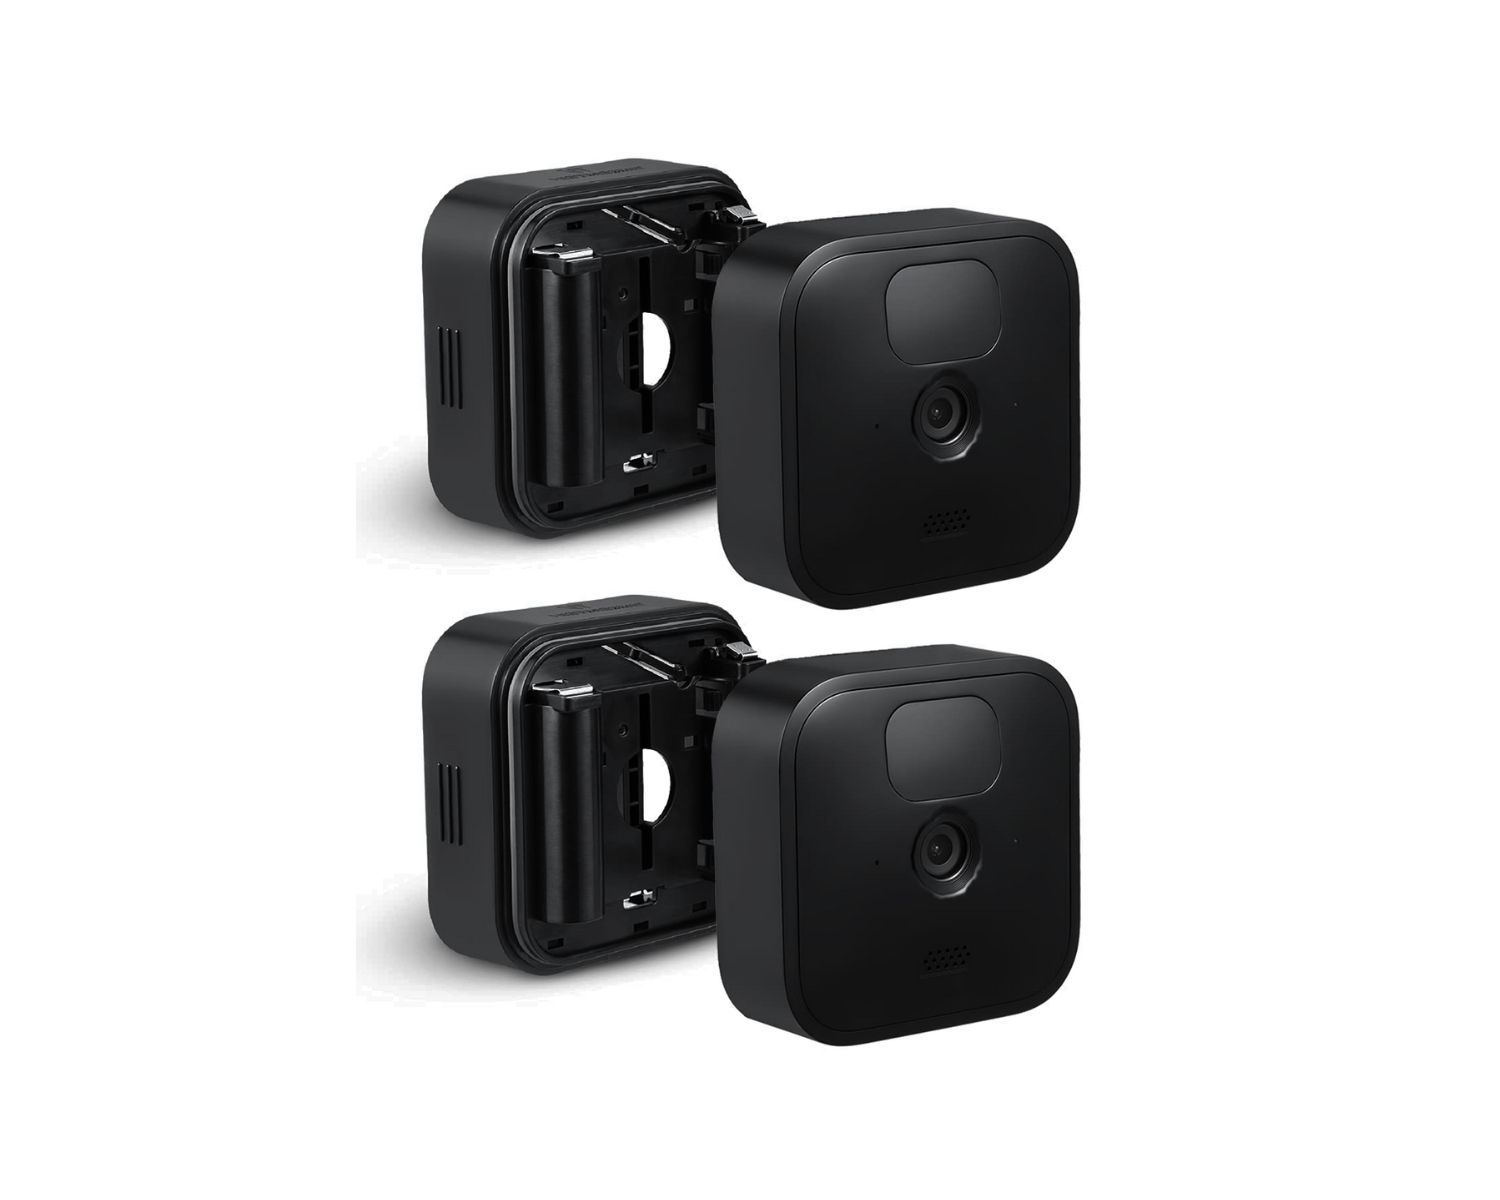
Step 1: Unpacking the Blink XT Outdoor Camera
Before you can begin the setup process, it’s important to unpack your Blink XT Outdoor Camera and familiarize yourself with its components. The packaging should include:
- The Blink XT Outdoor Camera
- The Sync Module
- Mounting hardware (screws and anchors)
- A USB cable
- Quick Start Guide
Start by carefully opening the box and removing all the contents. Take a moment to inspect the camera and ensure there are no visible signs of damage or defects. If you notice any issues, contact the Blink customer support for assistance.
Next, locate the Sync Module. This small device serves as the central hub for your Blink XT Outdoor Camera system. It connects your cameras to your home network and allows you to control and view footage through the Blink mobile app.
Inspect the mounting hardware that comes with the camera. You’ll find screws and anchors, which will be used to securely mount your camera in the desired location. Ensure that all the necessary hardware is included and in good condition.
Lastly, check for the presence of a USB cable. This cable is used to connect the Sync Module to a power source. If the USB cable is missing from the packaging, contact Blink customer support for a replacement.
Once you have unpacked and inspected all the components, you’re ready to move on to the next step: mounting the Blink XT Outdoor Camera. Stay tuned for the next part of the setup process!
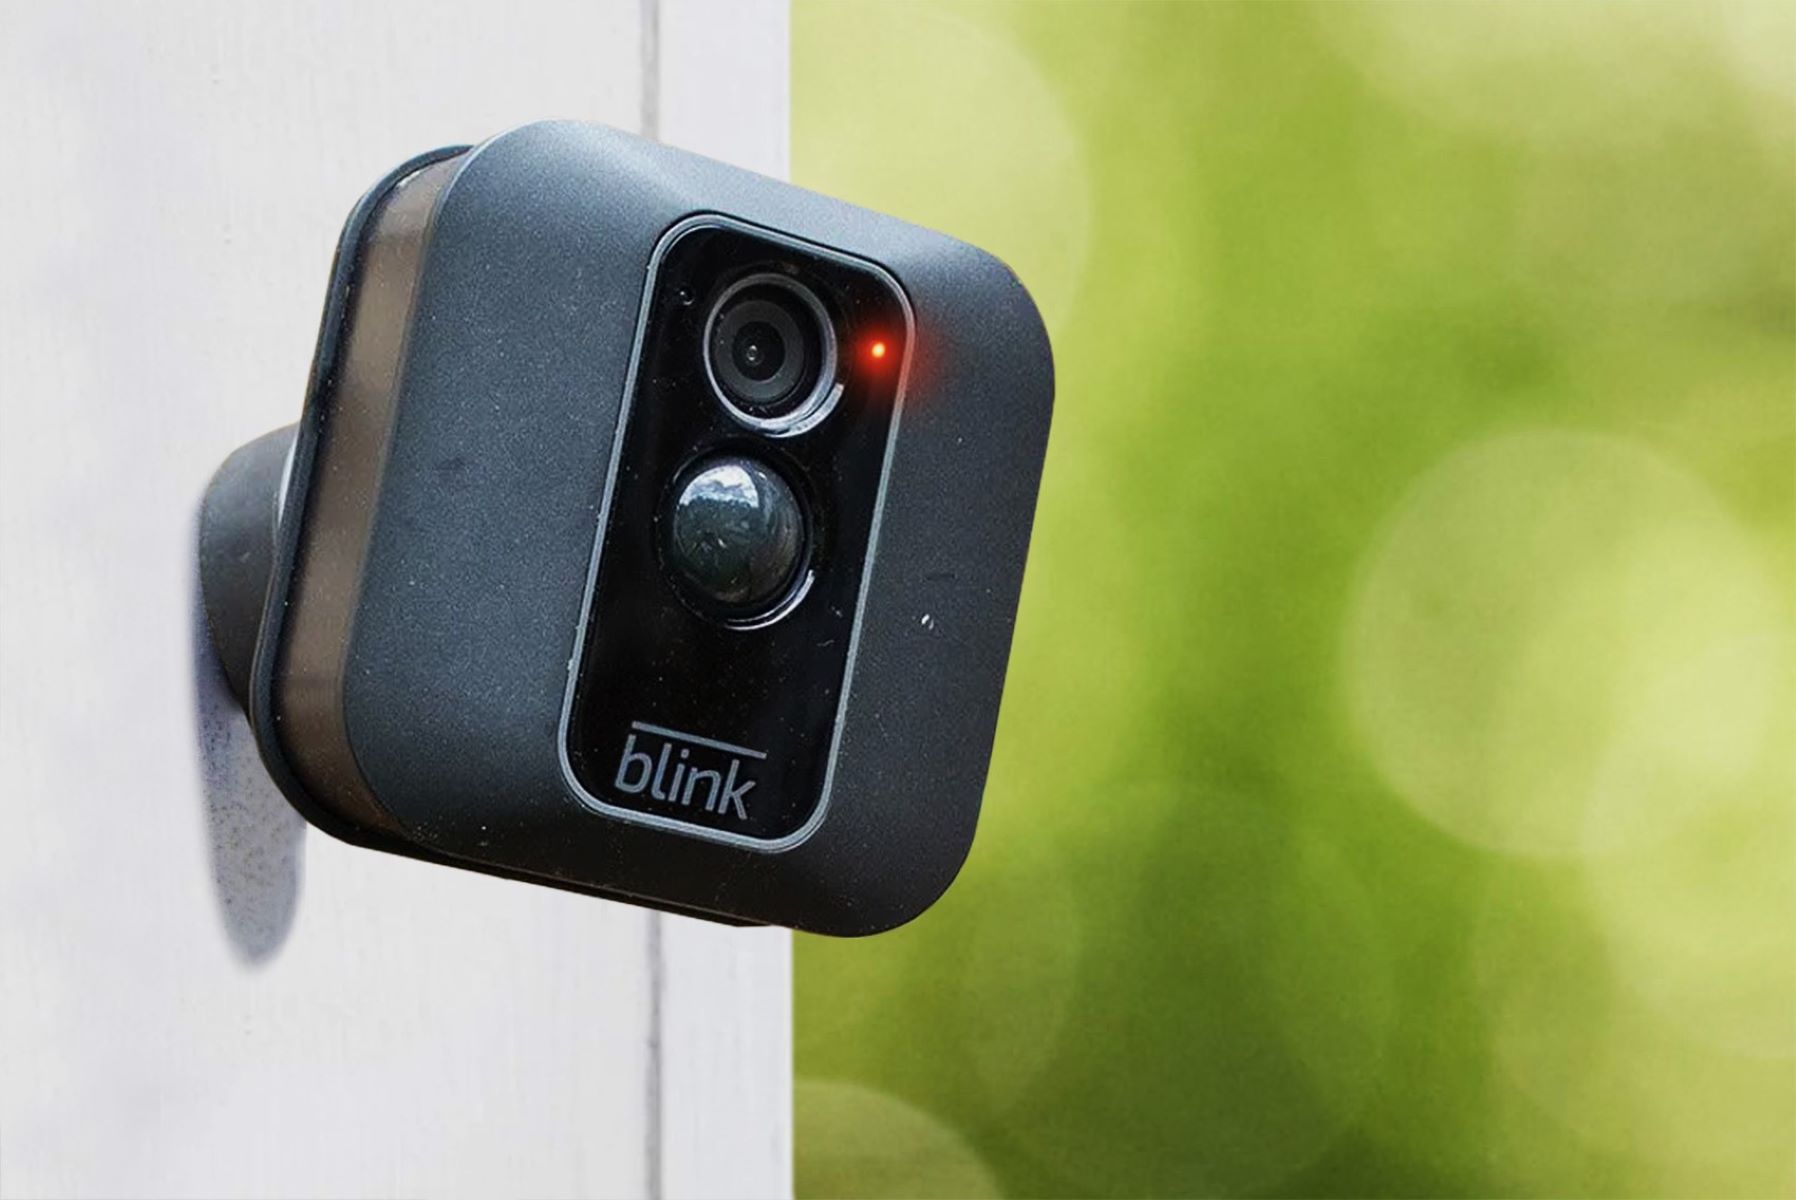
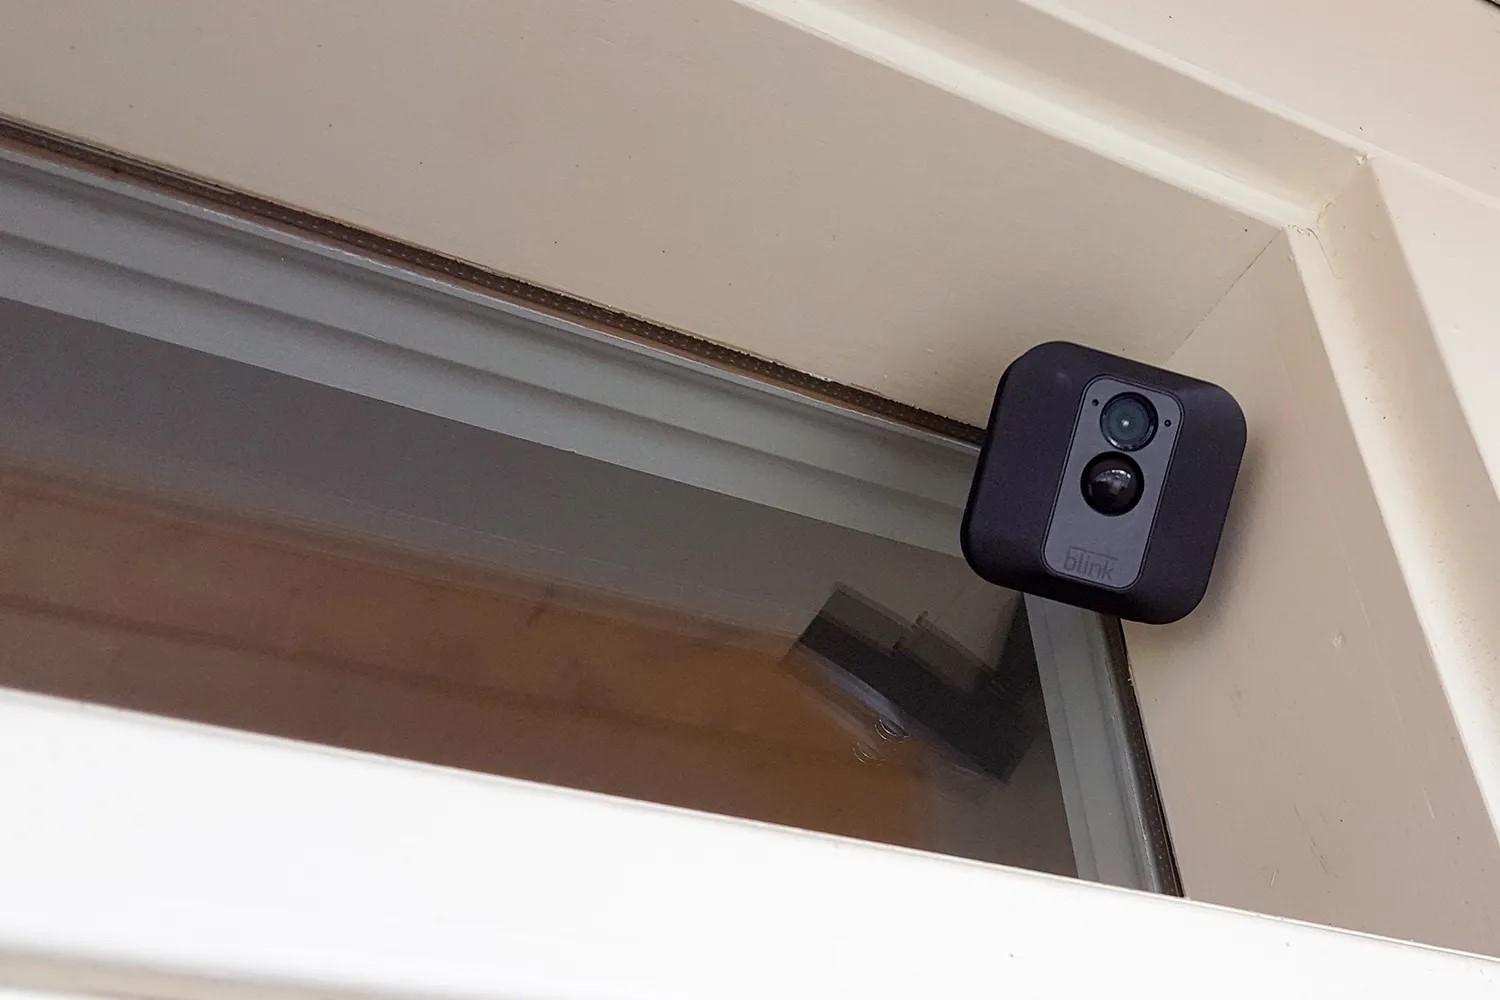
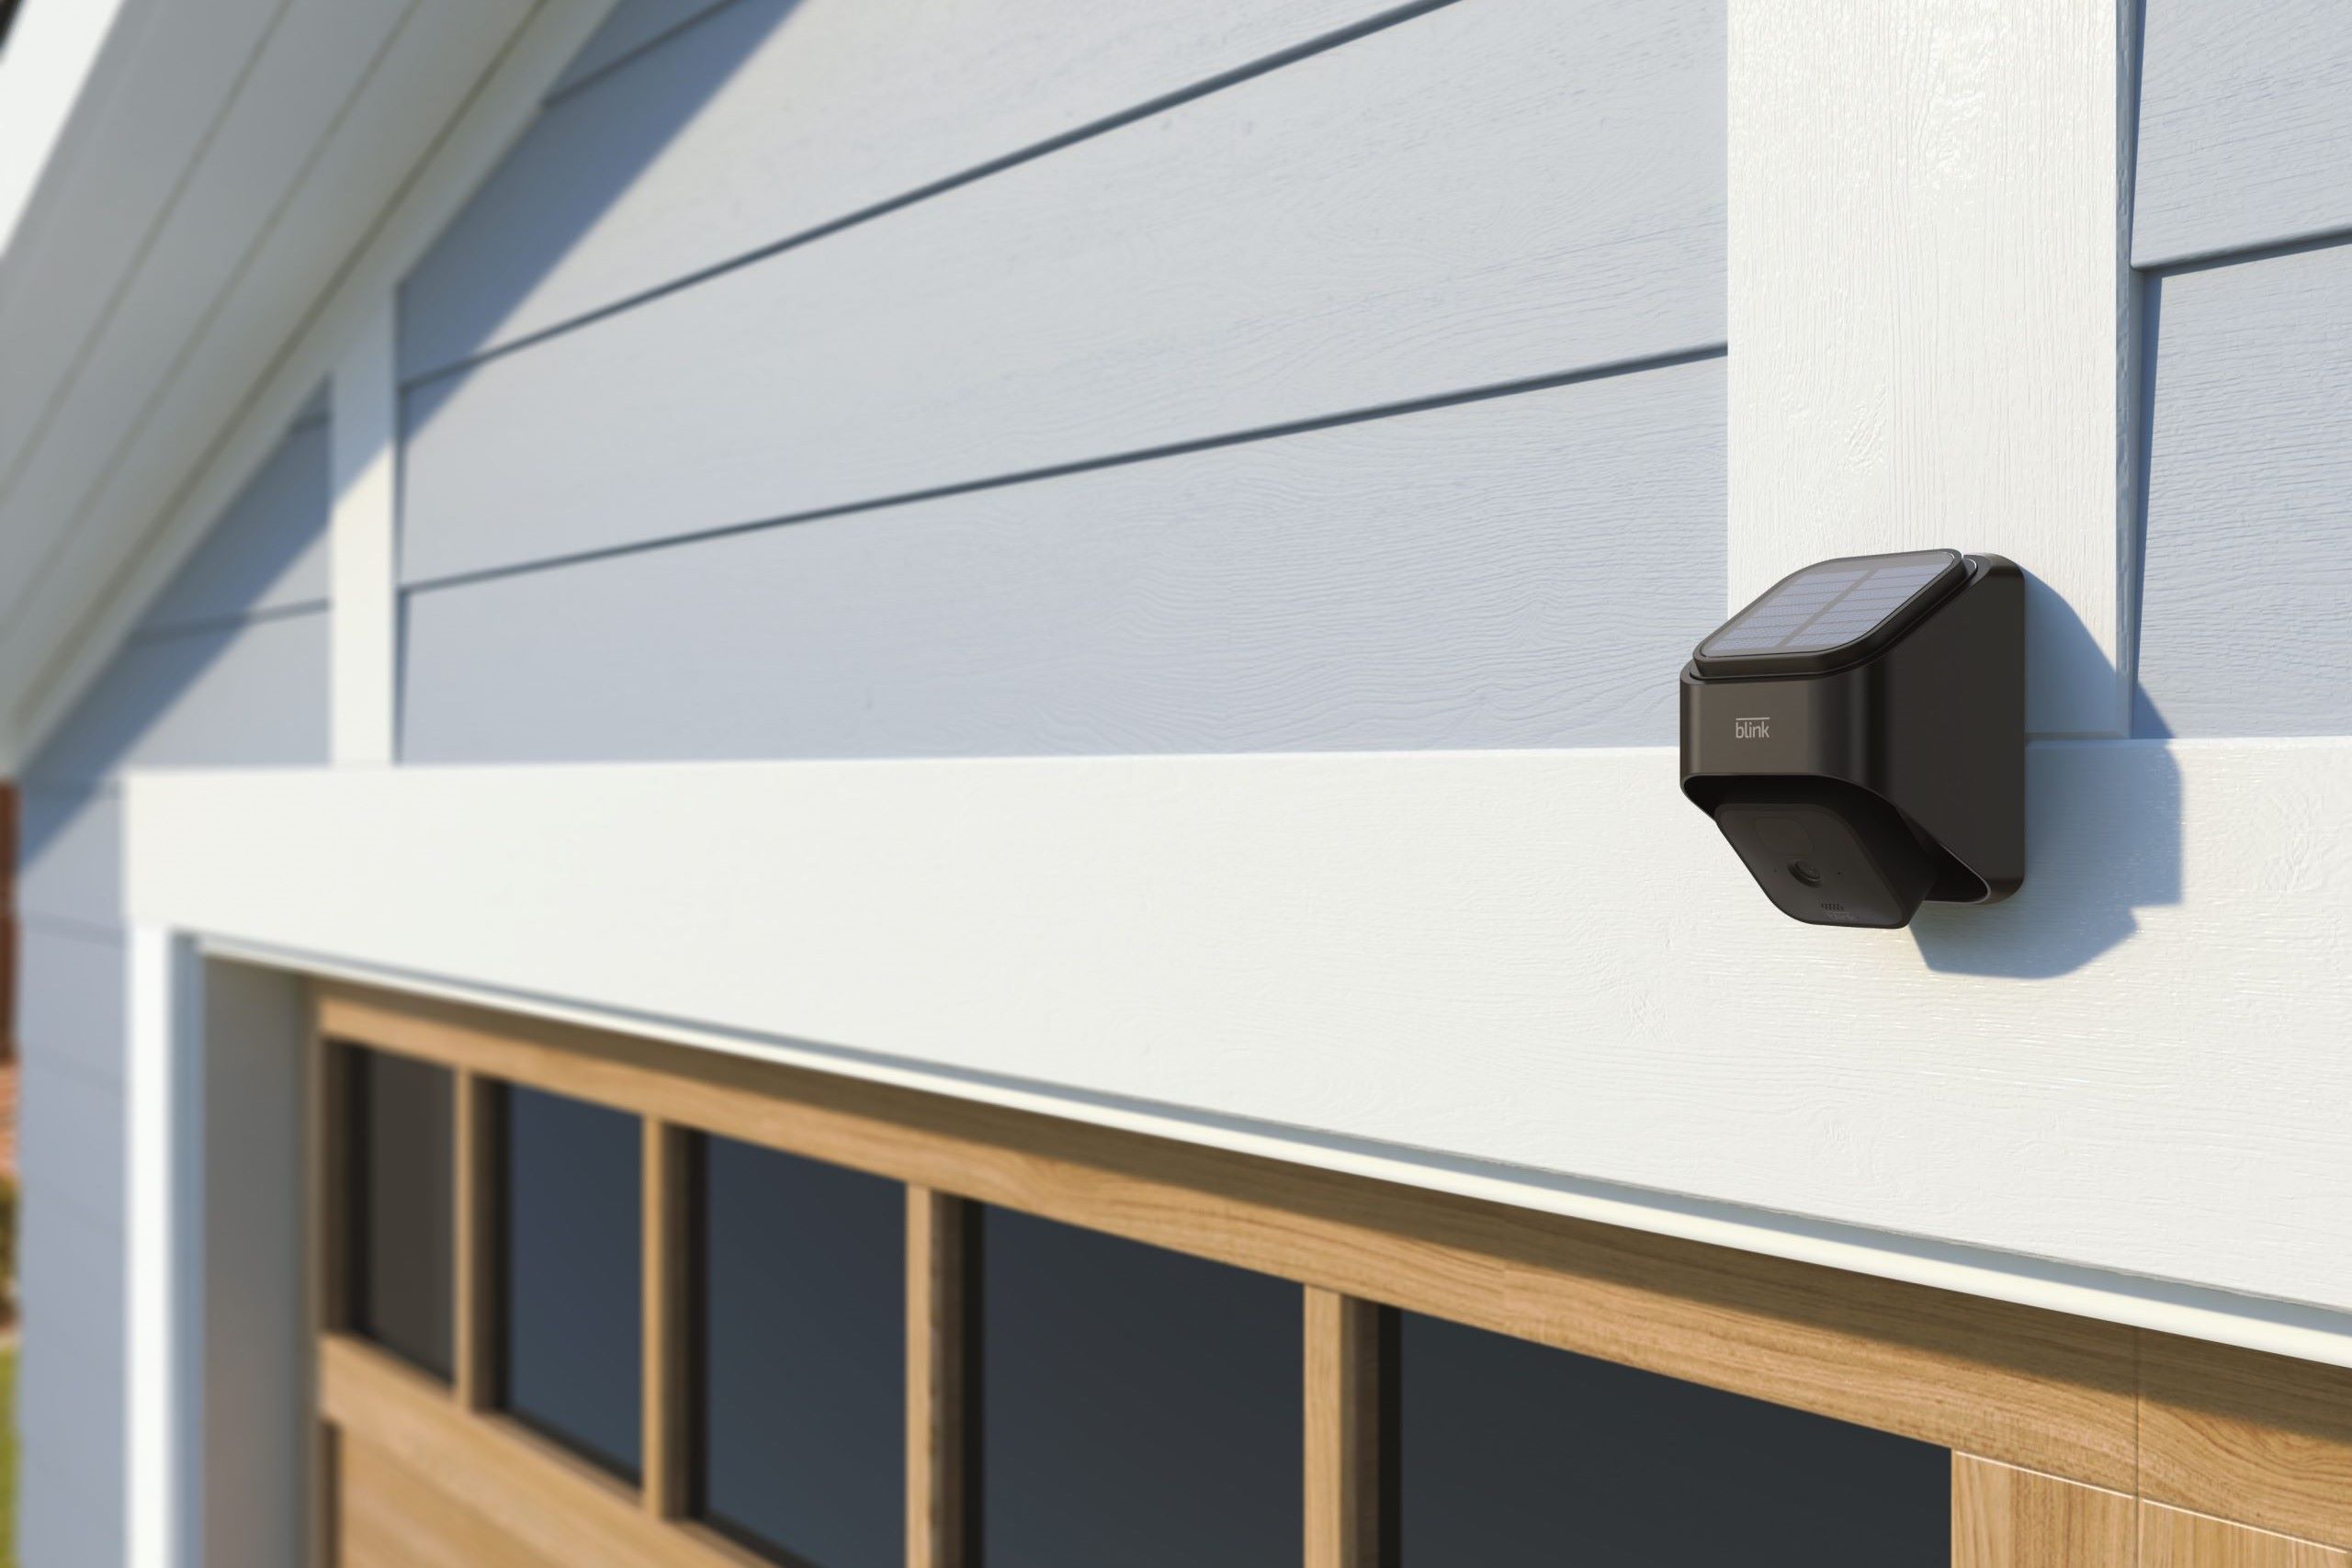
Step 2: Mounting the Camera
Now that you’ve unpacked your Blink XT Outdoor Camera and familiarized yourself with its components, it’s time to mount the camera in its designated location. Choosing the right spot to mount your camera is crucial for optimal coverage and security. Here’s how to proceed:
- Identify the mounting location: Take into account the areas you want to monitor and the camera’s field of view. Consider strategic spots such as entryways, garages, or any areas vulnerable to trespassing. The camera should be mounted at a height that provides a clear view and reduces the risk of tampering.
- Use the mounting template: The Blink XT Outdoor Camera package includes a mounting template that helps you align the camera’s position accurately. Place the template on the target mounting surface and mark where the mounting holes should be.
- Prepare the mounting surface: Ensure the surface is clean and dry before mounting the camera. If you’re securing it to a wall, use a stud finder to locate the studs and choose anchoring points that provide maximum stability. If mounting on a different surface, use the included anchors for added security.
- Secure the camera: Line up the mounting holes on the camera with the marks on the mounting surface. Use a screwdriver or drill to secure the camera in place. Make sure it is securely mounted and does not wobble or move when touched.
- Test the camera’s viewing angle: Before finalizing the installation, check the camera’s viewing angle and adjust if necessary. Ensure that the camera captures the desired area and there are no obstructions that could hinder its performance.
Remember that each Blink XT Outdoor Camera should have its own Sync Module within a range of 100 feet. If you plan to install multiple cameras, ensure that each one is mounted within the required distance of the Sync Module.
By following these steps, you’ll be able to securely mount your Blink XT Outdoor Camera in the ideal location. Now that the camera is in place, the next step is to connect the Sync Module to your home network. Stay tuned!
Step 3: Connecting the Sync Module
Now that you’ve successfully mounted your Blink XT Outdoor Camera, it’s time to connect the Sync Module to your home network. The Sync Module acts as the bridge between your cameras and the Blink mobile app, allowing you to control and view footage remotely. Here’s how to connect the Sync Module:
- Find a suitable location: Choose a location for the Sync Module that is within range of your Wi-Fi network and close to a power source. This will ensure a strong and stable connection.
- Connect the power cable: Plug one end of the USB cable into the power port on the Sync Module and the other end into a power outlet. Make sure the power source is reliable and won’t be easily disrupted.
- Power on the Sync Module: Once the power cable is connected, the Sync Module will power on automatically. Wait for the LED light on the front of the module to turn solid blue.
- Launch the Blink mobile app: Download and install the Blink app on your smartphone or tablet. Launch the app and sign in or create a new account if you haven’t done so already.
- Add the Sync Module: In the Blink app, tap on the “+” icon to add a new device. Select “Add Sync Module” from the options and follow the on-screen instructions to connect the Sync Module to your Blink account.
- Connect to Wi-Fi: During the setup process, you’ll be prompted to connect the Sync Module to your home Wi-Fi network. Make sure you have the correct network name and password handy. Follow the instructions in the app to complete the connection.
- Wait for synchronization: Once connected, the Sync Module will synchronize with the Blink server. This process may take a few minutes, so be patient and avoid disconnecting the power or interrupting the setup process.
- Confirm successful connection: Once synchronized, the Blink app will confirm that the Sync Module is connected and ready to use. You can now proceed with adding and configuring your Blink XT Outdoor Camera(s) in the app.
With the Sync Module successfully connected to your home network, you’re one step closer to enhancing your home security. In the next step, we’ll guide you through the process of installing batteries in the Blink XT Outdoor Camera. Stay tuned!
Read more: How To Install Blink Outdoor Cameras
Step 4: Installing Batteries
With the Sync Module connected, it’s time to power up your Blink XT Outdoor Camera by installing batteries. The camera is battery-powered, providing flexibility in terms of placement and avoiding the need for cumbersome wiring. Here’s how to install the batteries:
- Locate the battery compartment: On the back of the Blink XT Outdoor Camera, you’ll find a small battery compartment. It’s usually located near the bottom of the camera.
- Open the battery compartment: Slide the battery compartment cover down or follow the specific instructions provided with your camera to open the compartment.
- Insert the batteries: Insert the required number and type of batteries as specified in the camera’s manual. Follow the correct orientation (+/-) when placing the batteries.
- Close the battery compartment: Once the batteries are inserted, close the battery compartment securely to ensure a proper electrical connection.
- Wait for the camera to power on: Upon closing the battery compartment, the camera will power on automatically. Wait a few seconds for the camera’s LED light to turn solid blue.
- Check battery status: To monitor the battery status of your Blink XT Outdoor Camera, refer to the camera’s settings in the Blink app. It’s recommended to keep spare batteries on hand and replace them as needed to avoid any interruptions in surveillance.
Note: The Blink XT Outdoor Camera is designed to be power efficient, and with normal usage, the batteries can last for up to two years. However, factors such as camera activity, extreme weather conditions, and camera placement can affect battery life.
Once the batteries are installed and the camera is powered on, you’re ready to move on to the next step: pairing your camera with the Sync Module. Stay tuned for step 5, where we’ll guide you through the pairing process!
When setting up your Blink XT outdoor camera, make sure to place it within the Wi-Fi range and use the mounting kit for a secure installation. Also, check the camera’s battery level and connect it to the Blink app for easy monitoring.
Step 5: Pairing the Camera with the Sync Module
Now that you’ve installed the batteries in your Blink XT Outdoor Camera, it’s time to pair it with the Sync Module. Pairing allows the camera to communicate with the Sync Module and enables remote access to the camera’s live feed. Follow these steps to pair your camera:
- Launch the Blink app: Open the Blink mobile app on your smartphone or tablet. Sign in to your Blink account if prompted.
- Add a new device: In the app’s main menu, select the option to add a new device. Choose “Add Camera” from the available options.
- Put the camera in pairing mode: On the back of the Blink XT Outdoor Camera, locate the small button labeled “Pair” or “Sync.” Press and hold this button until the camera’s LED light starts blinking blue.
- Follow the in-app instructions: The Blink app will guide you through the pairing process. It may prompt you to enter a pin code or scan a QR code displayed on the Sync Module. Follow the on-screen instructions carefully.
- Wait for the pairing process to complete: Once the camera is successfully paired with the Sync Module, you’ll see a confirmation message in the app. The camera’s LED light will turn solid blue, indicating a successful connection.
- Assign a location: In the app, you’ll be prompted to assign a location to your newly paired camera. This allows you to easily identify and manage multiple cameras if you have more than one.
- Repeat the process for additional cameras: If you have multiple Blink XT Outdoor Cameras, repeat the pairing process for each camera, one at a time. Ensure that each camera is within range of the Sync Module.
Once all the cameras are successfully paired with the Sync Module, you can now access and control their live feeds through the Blink app. This next step is crucial for optimizing camera performance – positioning and adjusting the camera for the best viewing angle. Stay tuned!
Step 6: Positioning and Adjusting the Camera
Now that you’ve successfully paired your Blink XT Outdoor Camera with the Sync Module, it’s time to position and adjust the camera for optimal surveillance coverage. Proper positioning ensures that the camera captures the desired area and minimizes blind spots. Here are the steps to follow:
- Survey the area: Take a moment to examine the area you want to monitor. Identify the key points of interest, such as entryways, driveways, or outdoor spaces where you want to keep an eye on activities.
- Mounting location: Consider the ideal mounting location for your camera. It should provide a clear view of the desired area while maintaining a stable and secure mounting point.
- Camera angle: Depending on the camera’s mounting location, adjust the camera angle to capture the desired field of view. Tilt the camera slightly downwards to ensure it covers the intended area.
- Test the camera’s view: After positioning the camera, use the Blink app to access the camera’s live view. Make any necessary adjustments by repositioning the camera or adjusting the angle to ensure it captures the desired area effectively.
- Consider lighting conditions: Take into account the lighting conditions of the area being monitored. Make sure there is adequate lighting or consider options to enhance visibility, such as installing outdoor lights or adjusting camera settings for night vision.
- Avoid obstructions: Ensure that there are no obstructions, such as tree branches, fences, or other objects, blocking the camera’s view. Clear away any potential obstacles to maintain a clear line of sight.
Remember, proper positioning and adjustments are crucial for optimizing camera performance. Take the time to fine-tune the camera’s position to maximize its effectiveness and coverage.
Once you are satisfied with the camera’s positioning and adjustments, the next step is to download and set up the Blink app. This app is essential for accessing and managing your Blink XT Outdoor Camera’s settings and features. Stay tuned for step 7 of the setup process!
Step 7: Downloading and Setting Up the Blink App
Now that you have positioned and adjusted your Blink XT Outdoor Camera, it’s time to download and set up the Blink app. The Blink app is the central hub for managing and accessing your camera’s settings, live view, and recorded footage. Follow these steps to get started:
- Device compatibility: Ensure that your smartphone or tablet is compatible with the Blink app. The app is available for both iOS and Android devices, and you can find it in the respective app stores.
- Download the app: Visit the App Store (for iOS devices) or Google Play Store (for Android devices) and search for the “Blink Home Monitor” app. Download and install the app on your device.
- Sign in or create an account: Open the Blink app and sign in with your existing Blink account credentials. If you don’t have an account, you can create one within the app. Follow the on-screen prompts to complete the sign-in or account creation process.
- Add your camera: In the Blink app’s main menu, tap on the “+” icon to add a new device. Select “Add Camera” and follow the app’s instructions to pair your Blink XT Outdoor Camera with the app. Make sure your camera is in pairing mode and within range of the Sync Module.
- Connect to your camera: Once the camera is successfully paired, the app will guide you through connecting to your camera’s live view. You’ll be able to access your camera’s feed, adjust settings, and navigate through the app’s features.
- Explore the app’s features: Take some time to familiarize yourself with the app’s features and options. The Blink app allows you to customize motion detection settings, schedule surveillance times, and view recorded clips.
- Set up notifications: Configure the app to receive notifications on your smartphone or tablet whenever motion is detected by the camera. This way, you’ll be alerted of any potential activity and can quickly access the live view.
The Blink app provides a user-friendly interface that allows you to access and manage your Blink XT Outdoor Camera with ease. Take advantage of the app’s features to stay connected to your home security system wherever you are.
With the Blink app downloaded and set up, the next step is to configure your camera’s settings. Stay tuned for step 8, where we’ll guide you through the process of customizing your camera’s configuration to meet your specific needs.
Read more: How To Open A Blink Outdoor Camera
Step 8: Configuring Camera Settings
Now that you have downloaded and set up the Blink app, it’s time to configure your Blink XT Outdoor Camera’s settings. Customizing these settings allows you to tailor your camera’s functionality to your specific needs and preferences. Follow these steps to configure your camera settings:
- Open the Blink app: Launch the Blink app on your smartphone or tablet and sign in to your Blink account if needed.
- Select the desired camera: From the app’s main menu, choose the camera you want to configure. The camera’s live view will be displayed.
- Access camera settings: Tap on the settings icon (usually represented by a gear or three dots) to access the camera’s settings menu.
- Adjust motion detection settings: Fine-tune the sensitivity and range of the camera’s motion detection feature. This allows you to customize how sensitive the camera is to detect motion and the distance at which it triggers recordings and alerts.
- Enable scheduled surveillance: If desired, set up a schedule for when the camera should be actively monitoring. This can be useful to conserve battery life or to focus surveillance on specific times of the day or week.
- Configure video recording length: Choose the duration for the camera’s video clips. This determines how long each recorded clip will be when motion is detected.
- Manage video storage: Determine how long recorded clips are stored in the Blink cloud storage. You can choose different storage plans to accommodate your needs if the default storage duration is not sufficient.
- Enable two-way audio (if available): If your Blink XT Outdoor Camera has a built-in microphone and speaker, you can enable two-way audio to communicate with anyone near the camera. This can be useful for greeting visitors or deterring potential intruders.
- Set up additional features: Explore the app’s settings menu to find additional features and options that may enhance your camera’s functionality, such as geofencing or integration with other smart home devices.
Take some time to experiment with the camera settings and find the optimal configuration that suits your needs. Remember to save any changes you make in the app to ensure they take effect.
With your Blink XT Outdoor Camera’s settings customized, you can now move on to the next step: testing the camera’s functionality. Stay tuned for step 9, where we’ll guide you through the process of testing your camera to ensure everything is working as expected.
Step 9: Testing the Camera
After configuring your Blink XT Outdoor Camera’s settings, it’s important to test its functionality to ensure everything is working as expected. Testing the camera allows you to verify the motion detection, video recording, and live view features. Follow these steps to test your camera:
- Position yourself within the camera’s field of view: Stand, walk, or move in front of the camera to trigger the motion detection feature. This will test if the camera properly detects motion and starts recording.
- Check the Blink app for notifications: After triggering motion, check your smartphone or tablet for any notifications from the Blink app. If motion detection is enabled and properly configured, you should receive a notification alerting you to the detected motion.
- Access the recorded clip: Open the Blink app and navigate to the camera’s live view or recorded clips section. Verify that the camera has captured and recorded the motion event. Playback the recorded clip to ensure the clarity and quality of the footage.
- Test the live view feature: Within the Blink app, access the live view of your camera. Ensure that the live feed is displayed correctly and that you can see a real-time view of the camera’s perspective.
- Test two-way audio (if available): If your Blink XT Outdoor Camera supports two-way audio, try using this feature. Speak into your device’s microphone and listen for audio feedback from the camera’s speaker. This will ensure that the audio transmission is clear and functioning properly.
- Repeat the process if necessary: If any issues or concerns arise during the testing process, repeat the steps to troubleshoot and resolve them. It may be necessary to adjust camera settings or reposition the camera for better performance.
Testing your Blink XT Outdoor Camera ensures that it is working effectively and provides the peace of mind that comes with knowing your home is under surveillance. If you encounter any persistent issues or have questions about the camera’s performance, refer to the Blink support documentation or contact their customer support for further assistance.
Congratulations! You have successfully set up and tested your Blink XT Outdoor Camera. You can now enjoy the enhanced peace of mind and security that your camera provides. Remember to regularly monitor the camera’s battery life, make any necessary adjustments to the camera’s position or settings, and stay vigilant in keeping your home safe and protected.
Thank you for following this step-by-step guide. Happy monitoring!
Conclusion
Congratulations on completing the setup process of your Blink XT Outdoor Camera! With this state-of-the-art security solution in place, you can rest easy knowing that your home and loved ones are protected. In this comprehensive guide, we covered everything from unpacking the camera to testing its functionality. By following these steps, you have successfully installed and configured your camera to capture high-quality footage and send you timely alerts when motion is detected.
Remember, proper placement and adjustments are essential for optimizing your camera’s performance. Take the time to position the camera strategically to cover the areas you want to monitor while minimizing blind spots. Be mindful of lighting conditions and any potential obstructions that may hinder the camera’s view.
Additionally, don’t forget to regularly check your camera’s batteries and replace them as needed to ensure uninterrupted surveillance. Keep an eye on the Blink app for any firmware updates or new features that may enhance your camera’s functionality.
With the Blink app, you have a powerful tool at your fingertips that allows you to access your camera’s live feed, adjust settings, and view recorded footage remotely. Take advantage of the app’s features, such as motion detection sensitivity and scheduled surveillance, to customize your camera’s functionality to meet your specific needs.
Your Blink XT Outdoor Camera not only helps deter potential intruders but also provides valuable evidence in the event of an incident. By regularly testing your camera’s motion detection, video recording, and live view features, you can ensure that it is functioning optimally and capturing the necessary footage.
Remember, while a security camera system provides an additional layer of protection, it is important to practice other safety measures, such as securing your doors and windows, using lighting to illuminate your property, and notifying your neighbors when you are away. Together, these efforts create a comprehensive home security plan.
Thank you for following this guide and investing in the safety and security of your home. We hope that your experience with the Blink XT Outdoor Camera is seamless and provides you with peace of mind. Should you have any questions or require additional assistance, don’t hesitate to reach out to Blink customer support.
Stay vigilant, stay safe!
Frequently Asked Questions about How To Setup Blink XT Outdoor Camera
Was this page helpful?
At Storables.com, we guarantee accurate and reliable information. Our content, validated by Expert Board Contributors, is crafted following stringent Editorial Policies. We're committed to providing you with well-researched, expert-backed insights for all your informational needs.