Home>Furniture>Outdoor Furniture>How To Paint Metal Patio Furniture
Outdoor Furniture
How To Paint Metal Patio Furniture
Modified: August 28, 2024
Learn how to paint your outdoor metal patio furniture with our step-by-step guide. Transform your worn-out furniture into a vibrant and fresh addition to your outdoor space.
(Many of the links in this article redirect to a specific reviewed product. Your purchase of these products through affiliate links helps to generate commission for Storables.com, at no extra cost. Learn more)
Introduction
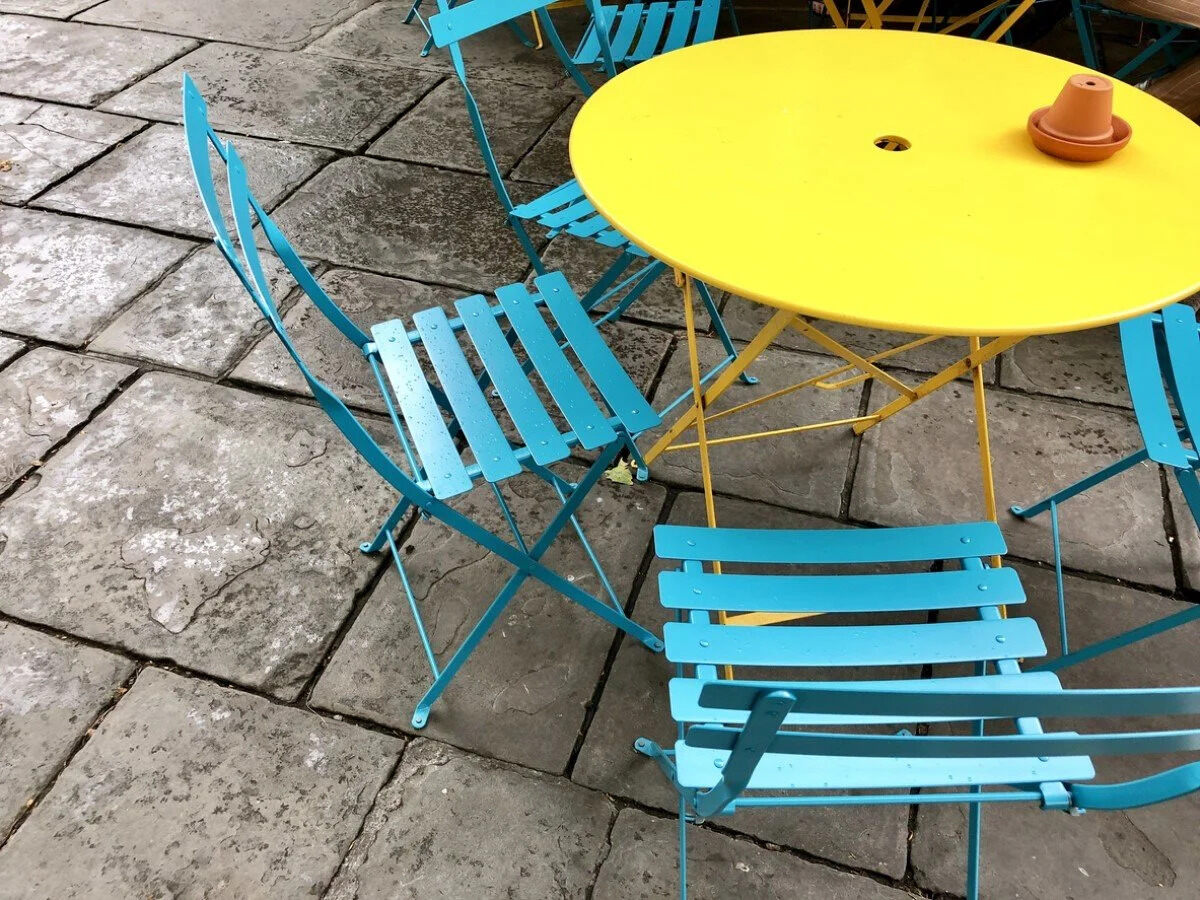
Welcome to our guide on how to paint metal patio furniture. Adding a fresh coat of paint to your outdoor furniture not only breathes new life into it but also protects it from the elements. Whether your metal patio furniture has started to rust or simply needs a facelift, painting it can be a cost-effective and satisfying way to revitalize its appearance.
In this article, we will provide you with step-by-step instructions on painting your metal patio furniture, along with some tips and tricks to ensure a successful and long-lasting finish. Before we dive in, let’s take a look at the materials you will need for the project.
Key Takeaways:
- Revitalize your outdoor furniture by painting it with durable, weather-resistant paint. Proper preparation, including cleaning and sanding, is crucial for a professional-looking finish that withstands the elements.
- After painting, add a protective finish to seal the paint and enhance durability. Regular cleaning and maintenance will keep your newly painted metal patio furniture looking great for years to come.
Read more: How To Paint Old Metal Patio Furniture
Necessary Materials
Before you begin painting your metal patio furniture, gather the following materials:
- Drop cloth or old newspapers to protect the ground
- Painter’s tape to mask off any areas you don’t want to paint
- Sandpaper or sanding block (medium and fine grit)
- Primer specifically designed for metal surfaces
- High-quality paint suitable for outdoor use
- Paintbrushes (both a brush for applying primer and a brush for the paint)
- Spray paint (optional, for intricate details or hard-to-reach areas)
- Protective finish such as clear coat or sealant
- Cleaning supplies (soap, water, and a sponge or soft cloth)
- Safety equipment (goggles, gloves, and a mask)
Make sure to choose paint and primer specifically formulated for outdoor use and suitable for metal surfaces. Using the right materials will ensure a professional-looking finish that stands up to the elements.
Preparation
Proper preparation is key to achieving a high-quality paint finish on your metal patio furniture. Follow these steps to ensure your furniture is ready for painting:
- Clear the area: Move your furniture to a well-ventilated area, preferably outdoors. Lay a drop cloth or old newspapers to protect the ground from paint drips.
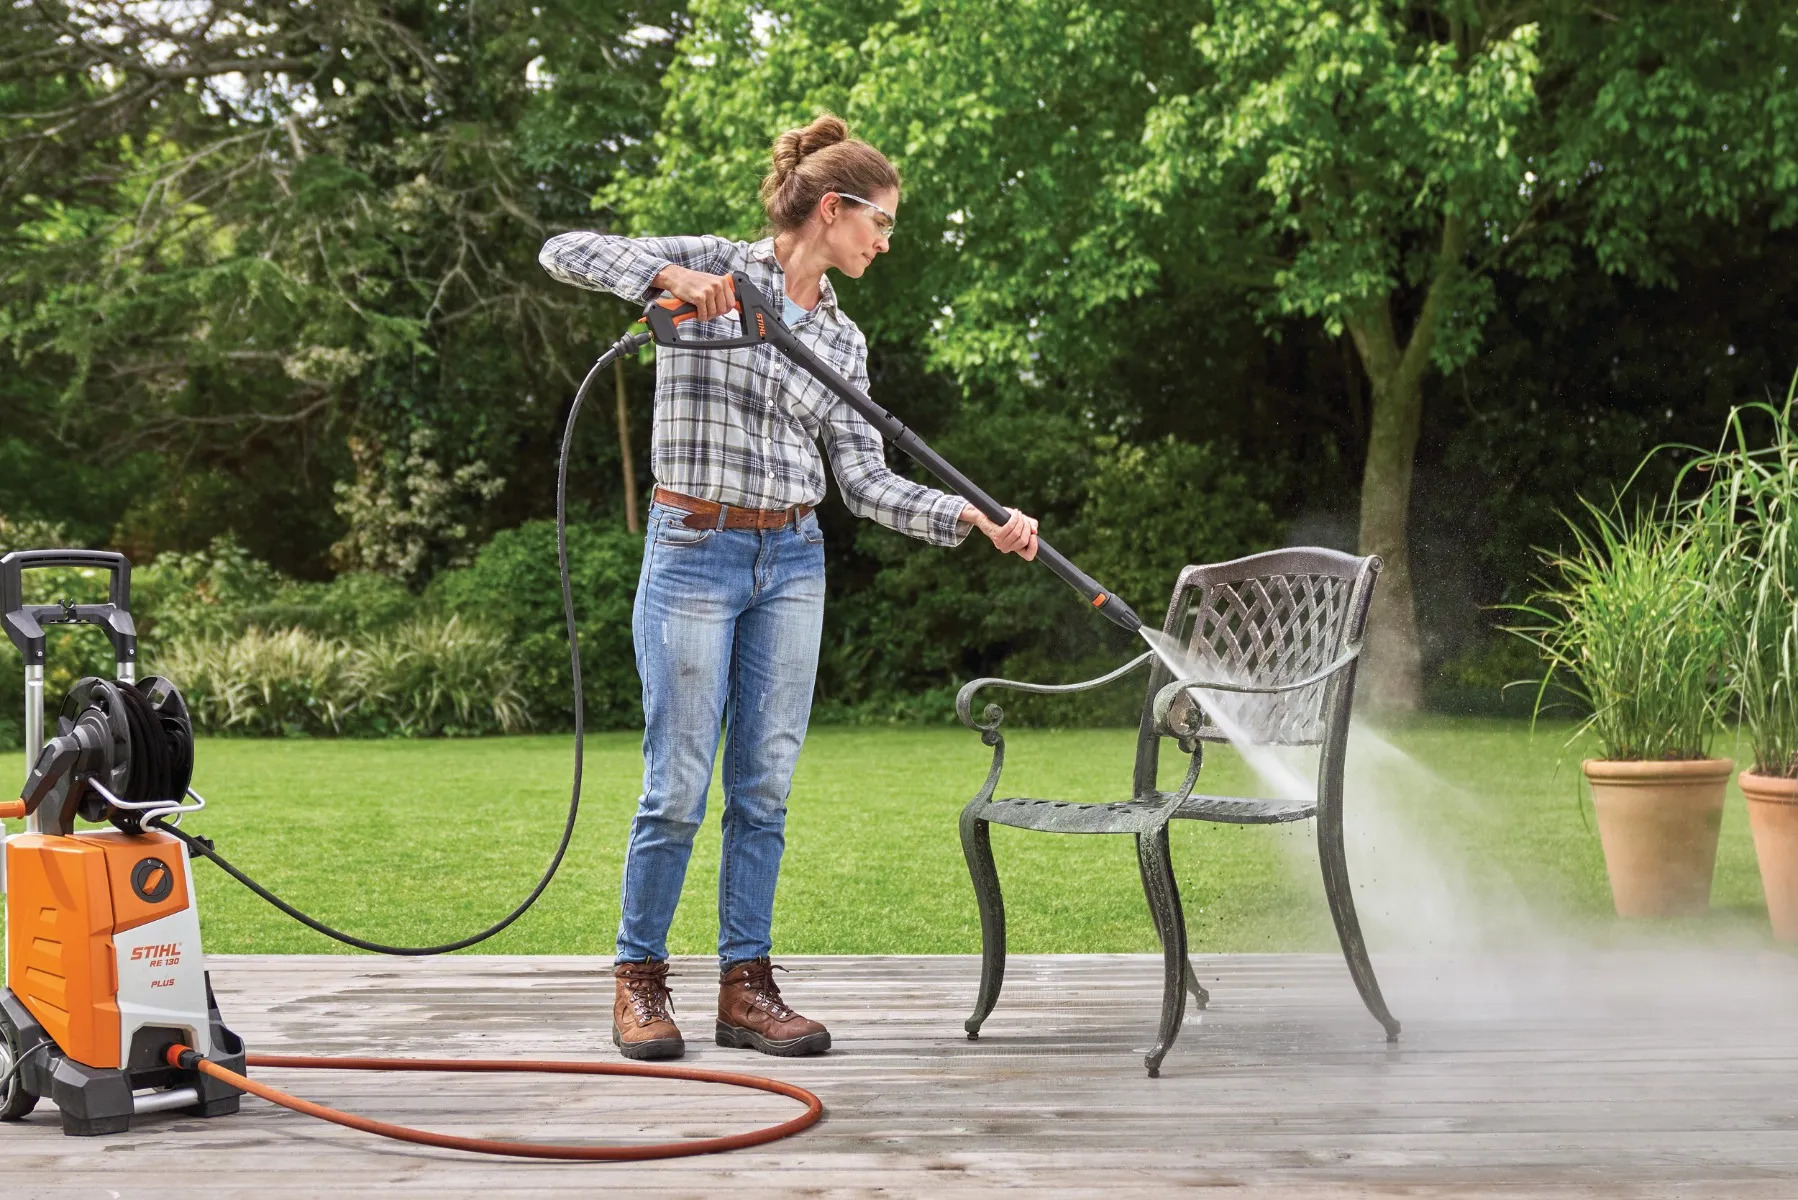
- Clean the furniture: Thoroughly clean the furniture to remove any dirt, grime, or rust that may be present. Use a mild soap and water solution and a sponge or soft cloth to scrub the surfaces. Rinse off the soap with clean water and allow the furniture to dry completely.
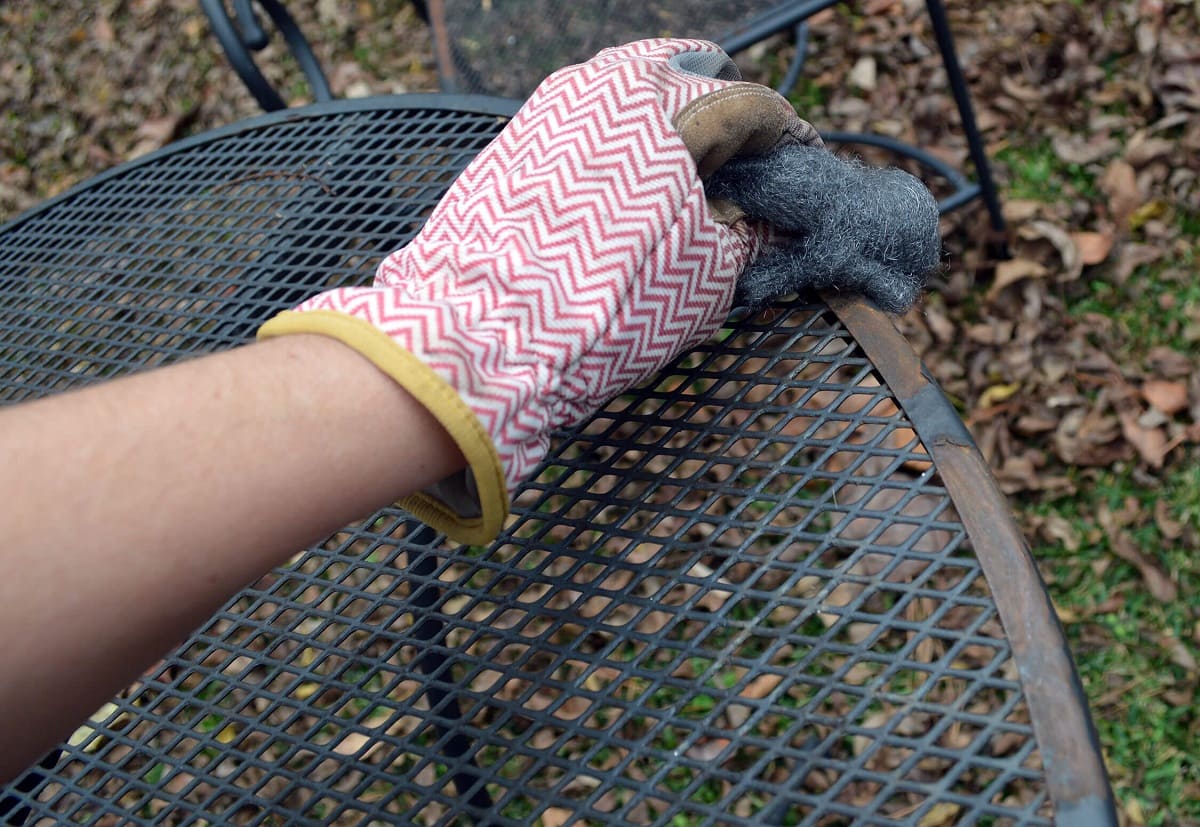
- Remove any loose paint or rust: If your furniture has any peeling paint or rust spots, use sandpaper or a sanding block to gently remove them. This will create a smooth surface for the new paint to adhere to. Be careful not to sand too aggressively, as it can damage the metal.
- Mask off any areas: Use painter’s tape to mask off any areas of the furniture that you don’t want to paint, such as screws or hardware.
Once you have prepared your furniture, you are ready to move on to selecting the right paint for your project.
Choosing the Right Paint
When it comes to selecting the right paint for your metal patio furniture, there are a few factors to consider:
- Durability: Since your furniture will be exposed to the elements, it’s important to choose a paint that is durable and weather-resistant. Look for paints specifically formulated for outdoor use, as they are designed to withstand harsh conditions like UV rays, moisture, and temperature fluctuations.
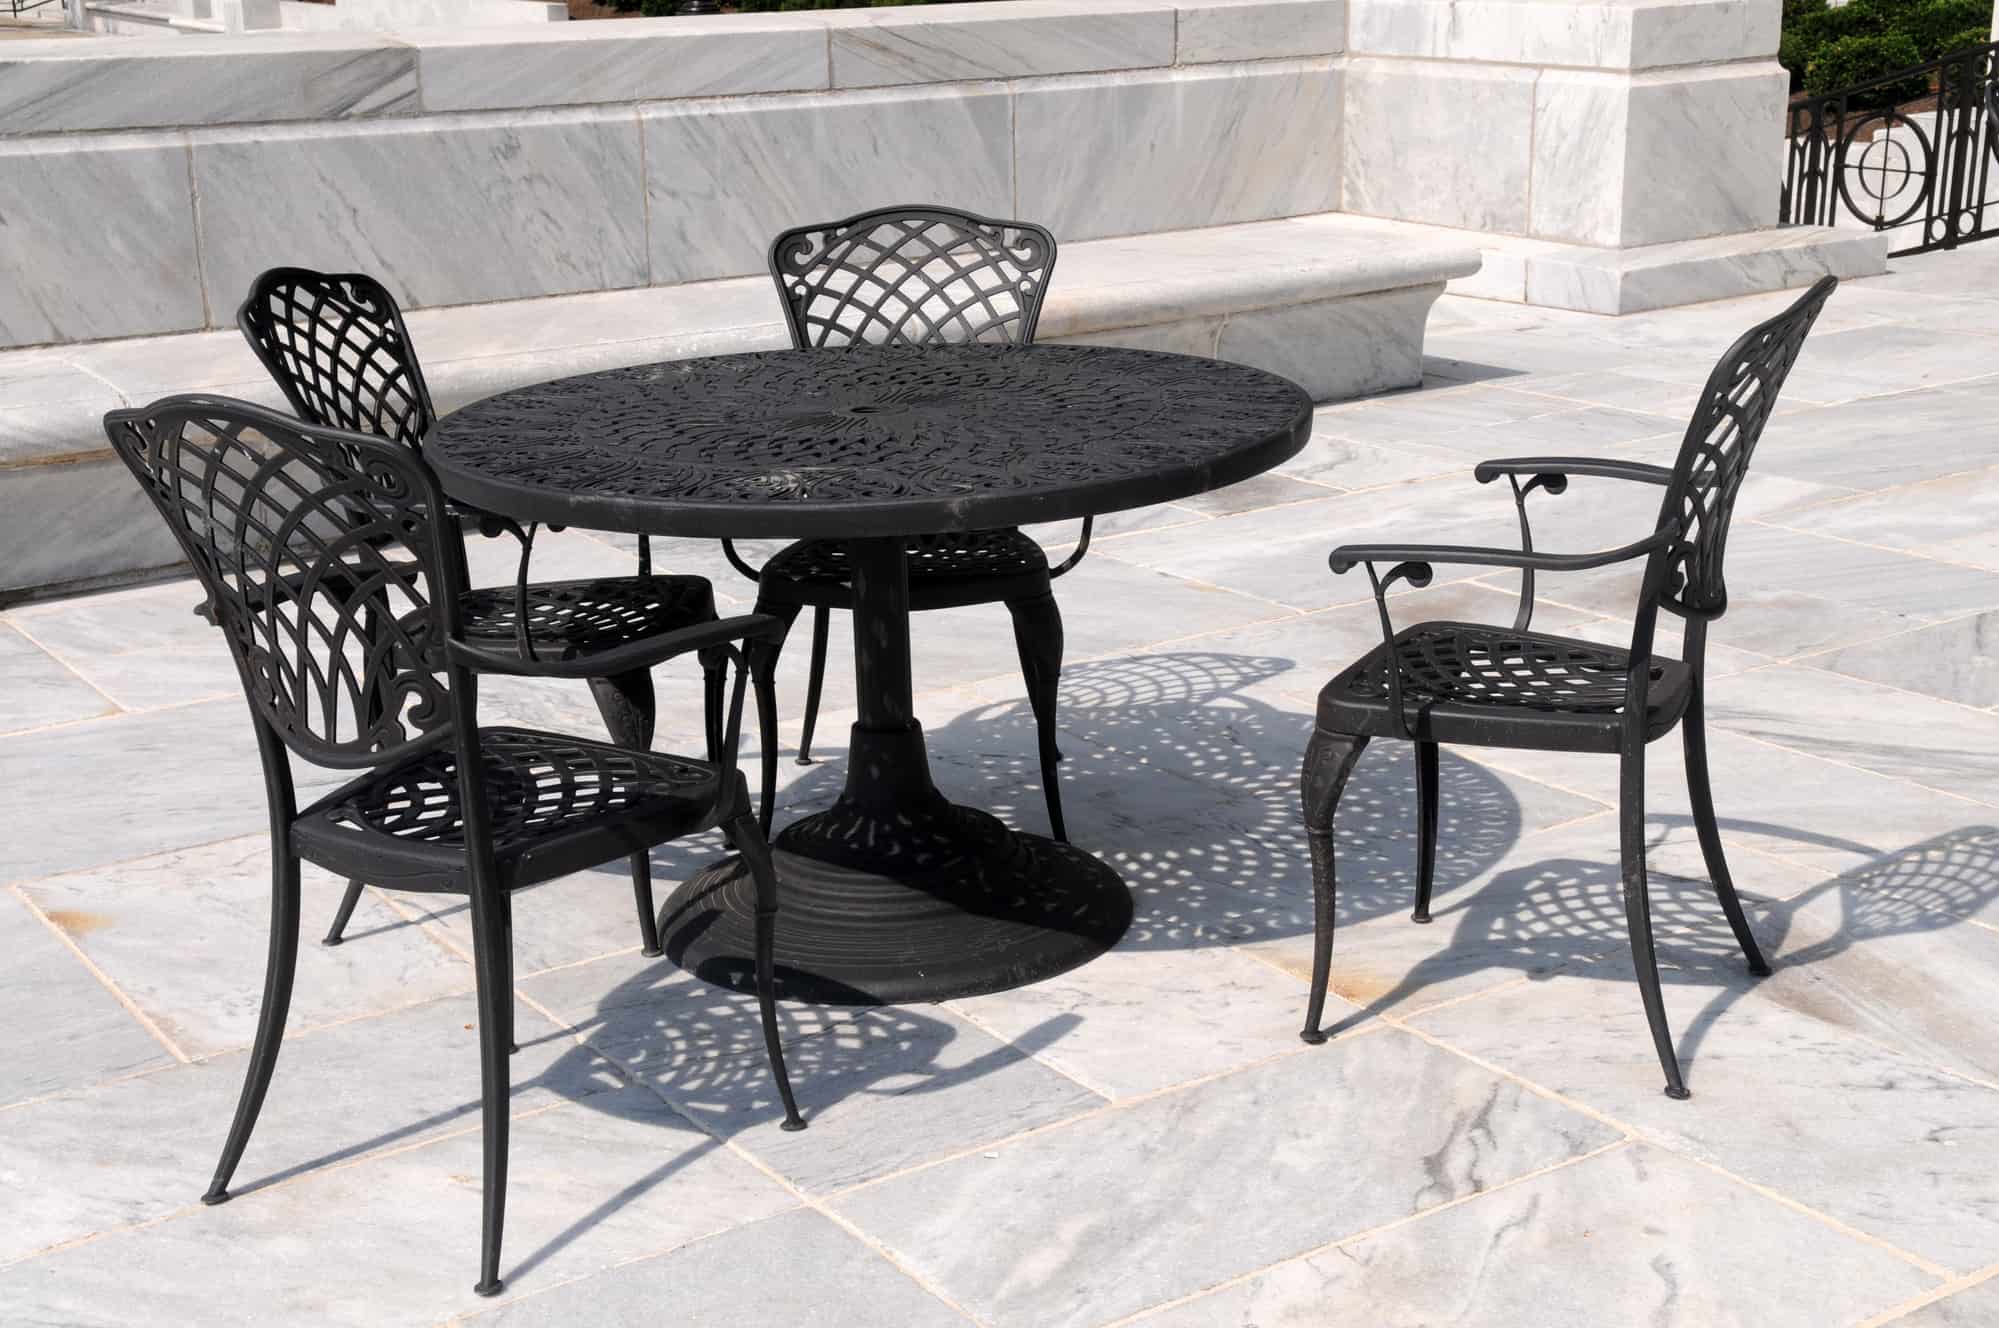
- Type of metal: Different types of metal require different types of paint. For example, if your furniture is made of aluminum, you’ll want to use a paint that is suitable for aluminum surfaces. Similarly, if your furniture is made of wrought iron, look for a paint designed specifically for iron.
- Color: Consider the color scheme of your outdoor space and choose a paint color that complements it. Opt for a color that will enhance the overall aesthetic of your patio or garden.
- Finish: Paints come in a variety of finishes, such as matte, satin, or gloss. Consider the desired look and feel of your furniture and choose a finish that matches your aesthetic preferences.
- Application method: Decide whether you prefer to use a paintbrush or spray paint. While a brush gives you more control and precision, spray paint can be easier to use, especially for intricate details and hard-to-reach areas.
Take your time to research different paint options and read reviews from other users to ensure you choose a high-quality paint that meets your specific needs. Once you have the right paint, it’s time to move on to the next step: sanding the furniture.
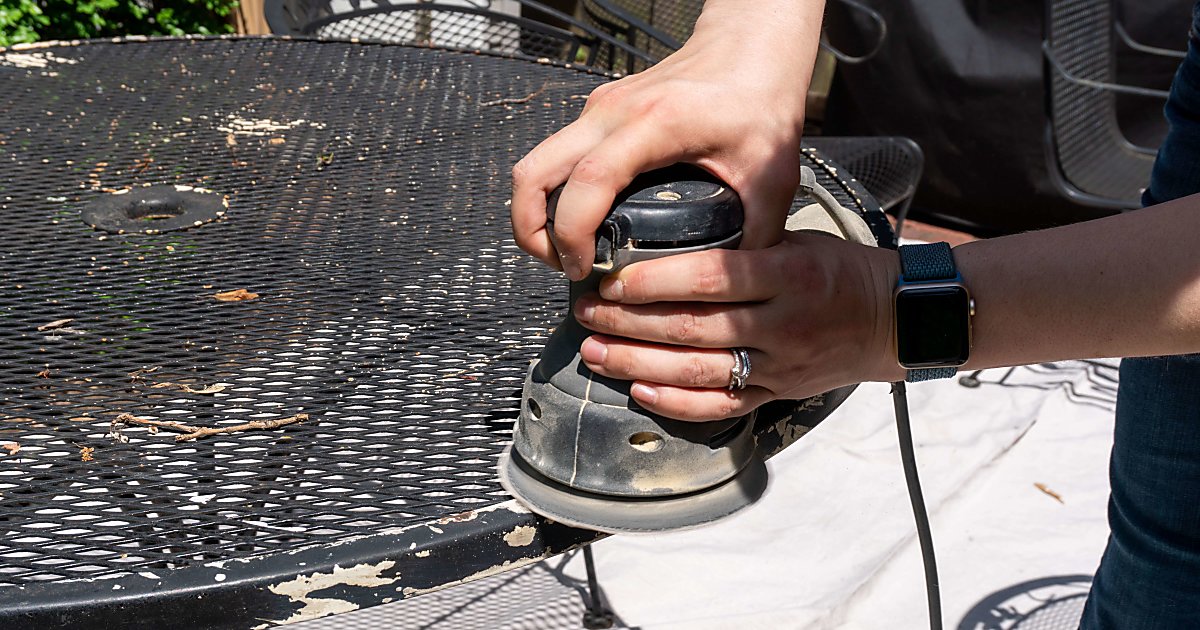
Sanding the Furniture
Before you start painting your metal patio furniture, it’s important to sand the surfaces to create a smooth and even texture. Follow these steps to properly sand your furniture:
- Choose the right sandpaper: Depending on the condition of your furniture, you may need both medium and fine-grit sandpaper. Medium-grit sandpaper (around 80-120) is suitable for removing any loose paint or rust, while fine-grit sandpaper (around 180-220) helps to create a smooth surface for the new paint to adhere to.
- Start with medium-grit sandpaper: Use the medium-grit sandpaper to gently sand the entire surface of the furniture. Apply even pressure and move the sandpaper in a circular motion. This will help to remove any loose paint or rust and create a rougher texture for the new paint to grip.
- Switch to fine-grit sandpaper: Once you have completed sanding with the medium-grit sandpaper, switch to the fine-grit sandpaper. Sand the furniture again, this time using smooth, even strokes in the direction of the grain (if there is one).
- Remove the sanding dust: After sanding, wipe down the furniture with a clean, damp cloth to remove any sanding dust. This ensures a clean surface for the primer and paint to adhere to.
Sanding the furniture helps to remove any imperfections and create a better surface for paint adhesion. It may take some time and effort, but the end result will be a smoother and more professional-looking finish. Once the furniture is sanded, it’s time to move on to applying the primer.
Before painting metal patio furniture, make sure to clean the surface thoroughly with a degreaser and remove any rust with a wire brush. Use a high-quality metal primer before applying the paint to ensure better adhesion and durability.
Read more: How To Shine Metal Patio Furniture
Applying Primer
Priming your metal patio furniture is an essential step that helps the paint adhere better and provides an extra layer of protection. Follow these steps to apply primer to your furniture:
- Choose a primer: Select a high-quality primer specifically formulated for metal surfaces. Look for a primer that is rust-resistant and provides good adhesion.
- Prepare the primer: Stir the primer thoroughly to ensure proper consistency and even distribution of any additives. If needed, thin the primer according to the manufacturer’s instructions.
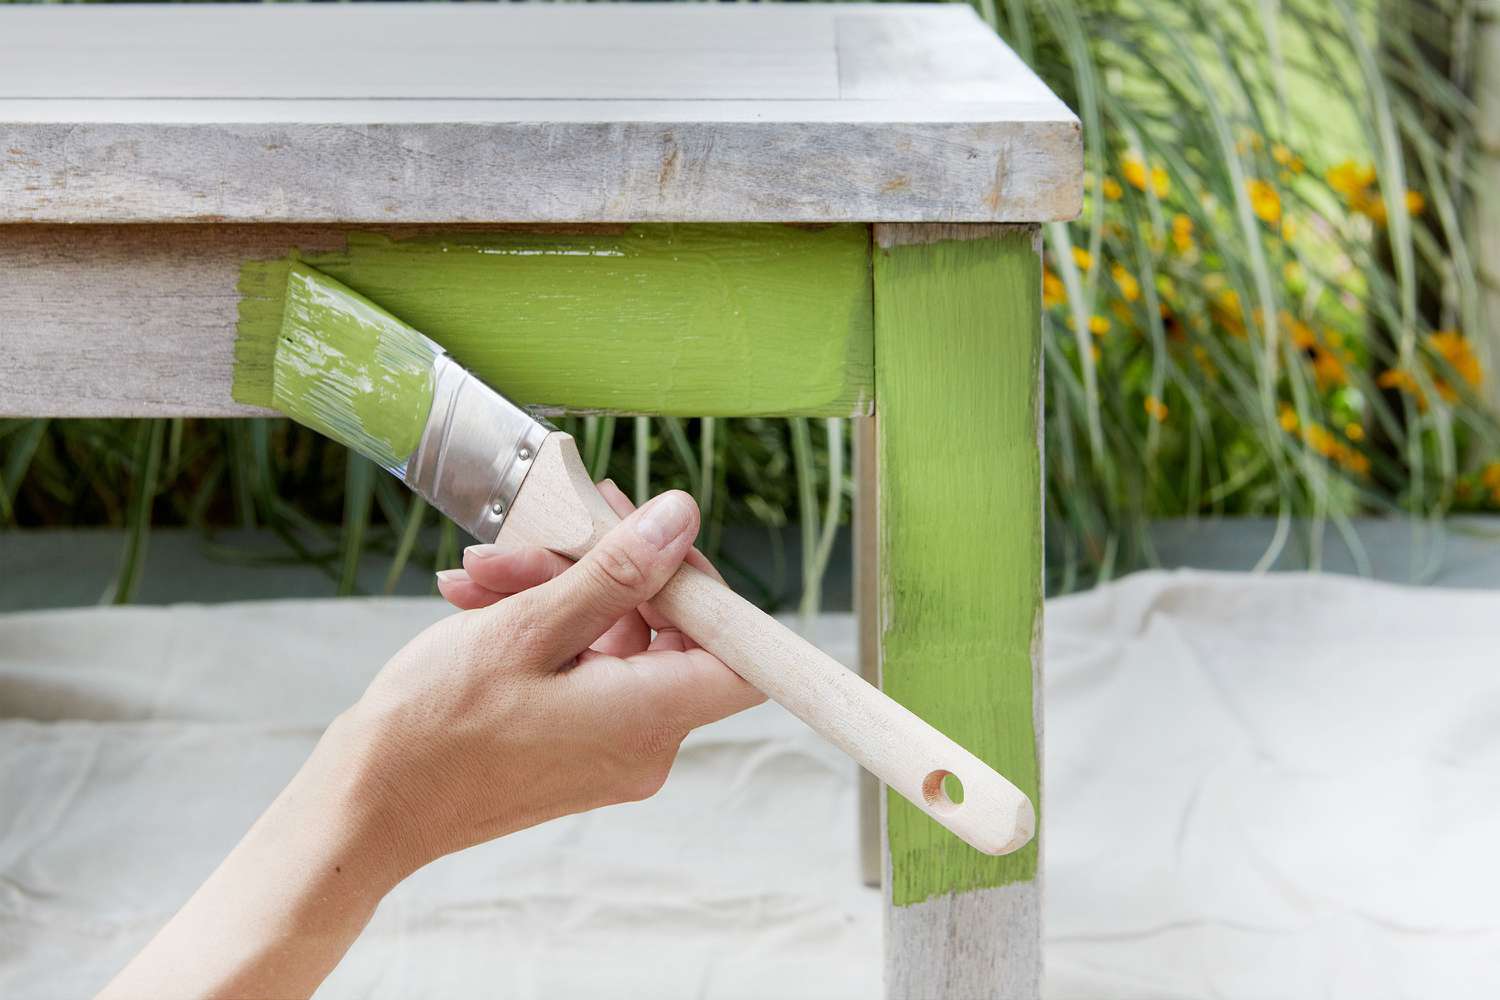
- Apply the primer: Using a brush or a spray can, apply a thin and even coat of primer to the entire surface of the furniture. Work in small sections and make sure to cover all areas, including corners and crevices. If using a brush, apply the primer in smooth, even strokes, following the grain of the metal if there is one.
- Allow the primer to dry: Follow the manufacturer’s instructions regarding drying time. Typically, it takes about 1-2 hours for the primer to dry but allow for longer drying time if the weather conditions are humid or cool.
- Inspect and sand if necessary: After the primer has dried, inspect the furniture for any rough spots or imperfections. If needed, lightly sand the surface with fine-grit sandpaper to create a smoother finish.
- Remove the sanding dust: Wipe down the furniture with a clean, microfiber cloth to remove any sanding dust before moving on to the next step.
Applying primer is crucial as it helps the paint adhere better and ensures a more durable and long-lasting finish. Once the primer is dry and the surface is smooth, it’s time to apply the paint to your furniture.
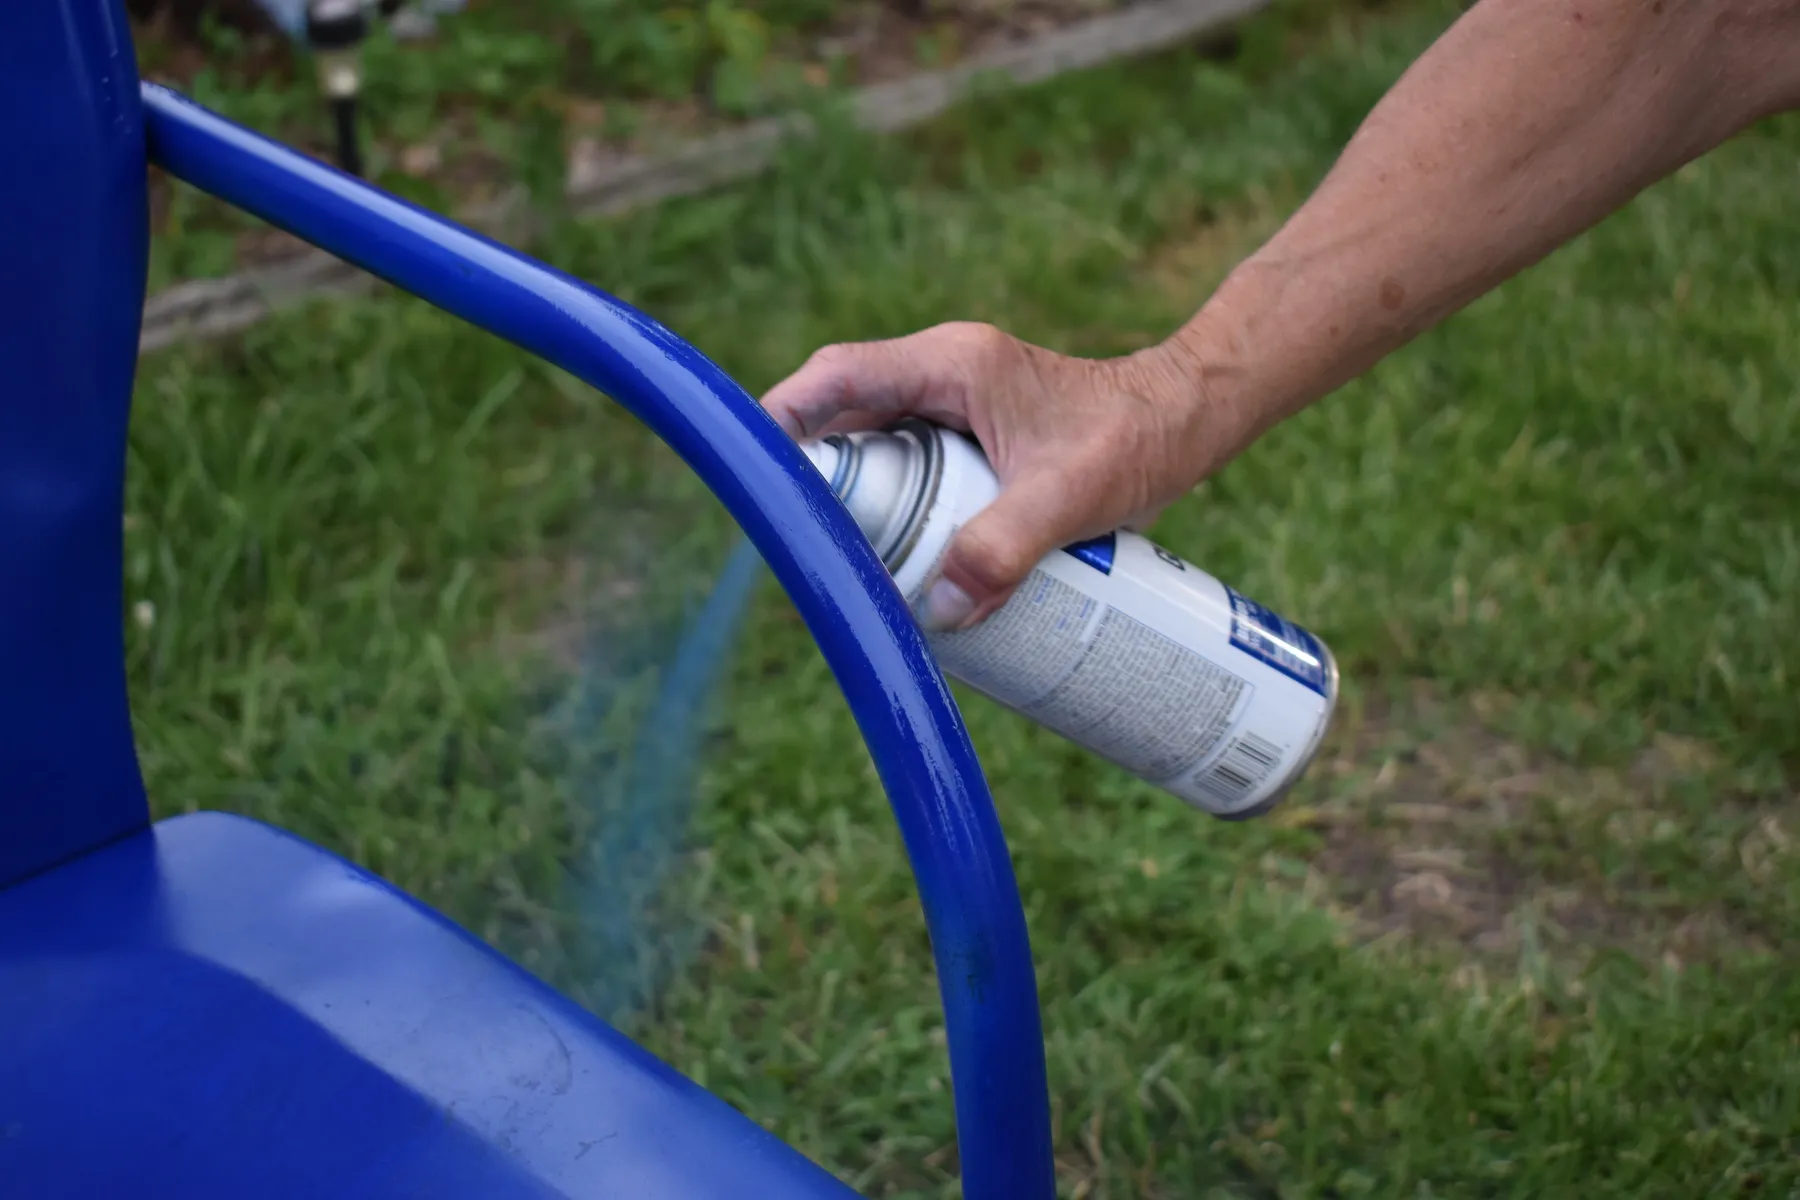
Applying the Paint
Now that your metal patio furniture is primed and ready, it’s time to apply the paint. Follow these steps to achieve a smooth and professional-looking finish:
- Choose the right paint: Select a high-quality paint specifically formulated for outdoor use on metal surfaces. Consider the color, durability, and finish that best match your vision for the furniture.
- Prepare the paint: Stir the paint thoroughly to ensure proper consistency and even distribution of pigments. If necessary, thin the paint according to the manufacturer’s instructions.
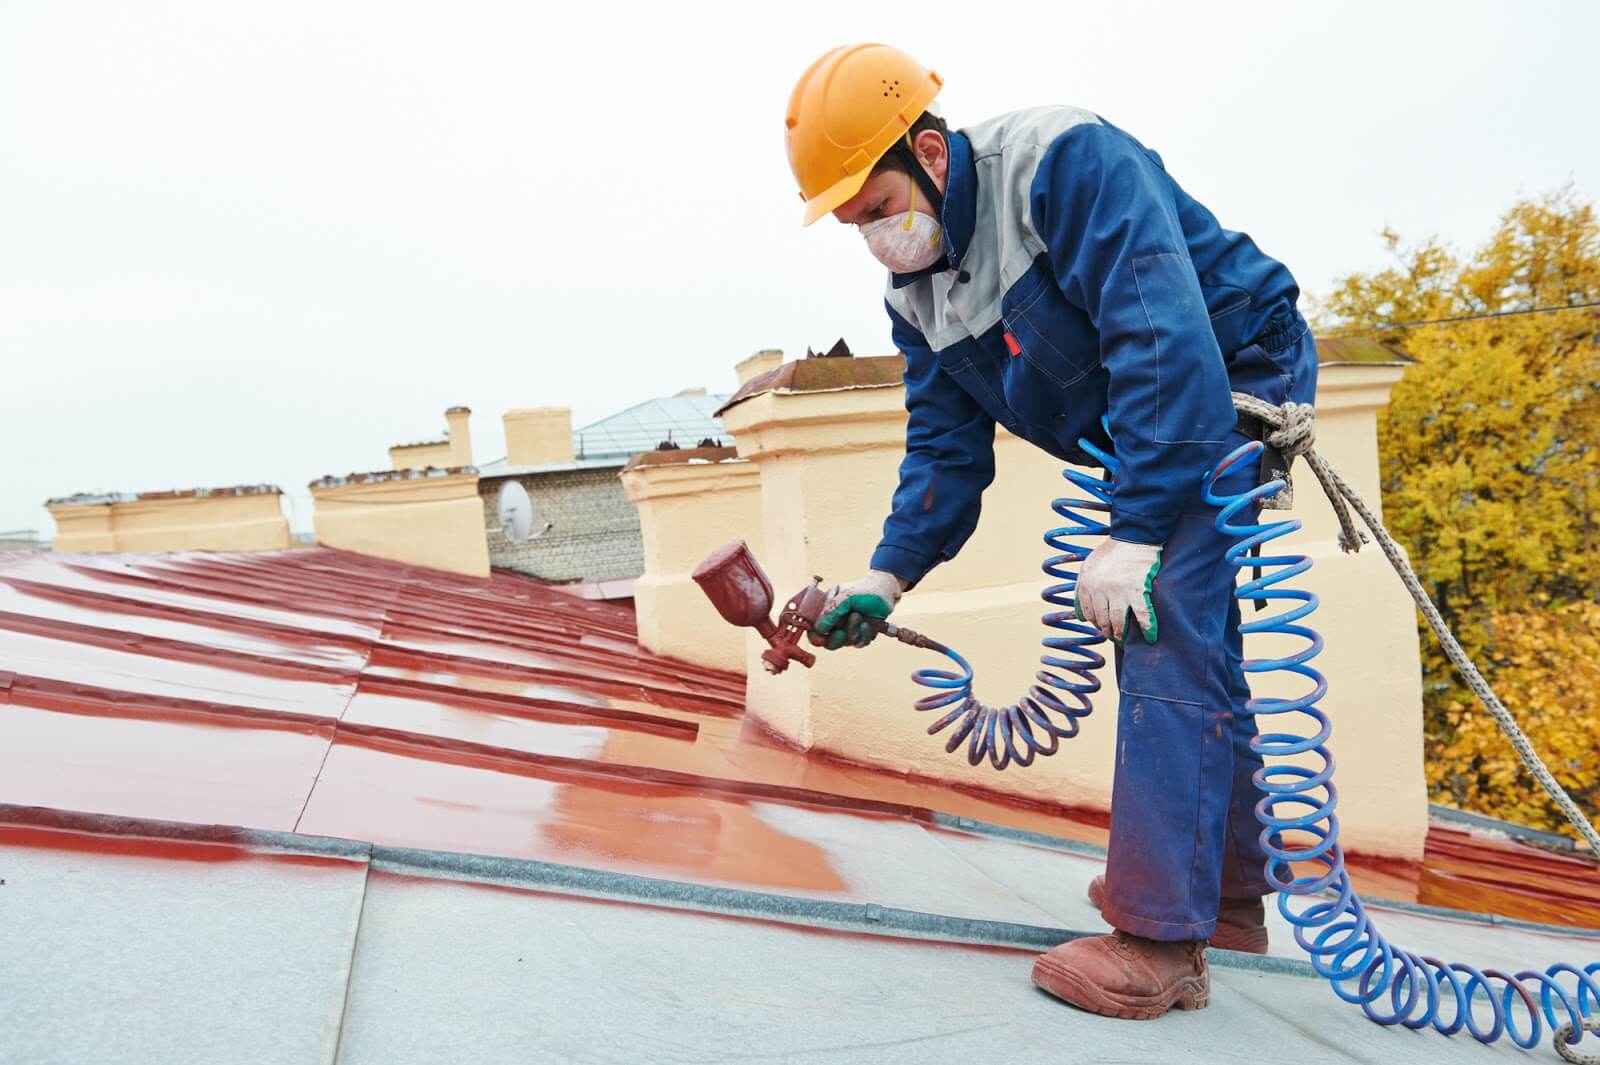
- Start painting: Using a brush or a spray can, apply a thin and even coat of paint to the furniture. Work in small sections and make sure to cover all surfaces, including corners and edges. If using a brush, apply the paint in smooth, even strokes, following the grain of the metal if there is one.
- Allow the paint to dry: Follow the manufacturer’s instructions regarding drying time. Typically, it takes about 1-2 hours for the paint to dry, but allow for longer drying time if the weather conditions are humid or cool.
- Inspect and apply additional coats: After the first coat of paint has dried, inspect the furniture for any thin or uneven spots. If necessary, apply additional coats of paint to achieve the desired color and coverage. Allow each coat to dry completely before applying the next one.
- Follow proper painting techniques: Whether using a brush or spray can, make sure to maintain a consistent distance and angle to ensure even coverage and minimize drips or splotches. Work in a well-ventilated area and follow any safety precautions recommended by the paint manufacturer.
Remember, multiple thin coats of paint will provide better results and a more durable finish compared to one thick coat. Take your time, be patient, and allow each coat to dry properly before applying the next one. Once the paint has dried and you are satisfied with the coverage, it’s time to add a protective finish.
Adding a Protective Finish
To prolong the lifespan of your newly painted metal patio furniture, it’s important to add a protective finish. This helps to seal the paint, provide an extra layer of protection against the elements, and enhance the overall durability of the furniture. Follow these steps to add a protective finish:
- Choose the right protective finish: Look for a clear coat or sealant specifically designed for outdoor use on metal surfaces. Consider the level of sheen and the desired level of protection when selecting the finish.
- Prepare the protective finish: If the protective finish requires mixing or thinning, follow the manufacturer’s instructions to prepare it properly.
- Apply the protective finish: Using a clean brush or a spray can, apply a thin and even coat of the protective finish to the entire surface of the furniture. Just like when applying paint, work in small sections and make sure to cover all areas, including corners and edges.
- Allow the protective finish to dry: Follow the manufacturer’s instructions regarding drying time. Typically, it takes about 2-4 hours for the protective finish to dry, but allow for longer drying time if the weather conditions are humid or cool.
- Inspect and apply additional coats if needed: Once the first coat of protective finish has dried, inspect the furniture for any thin or uneven spots. If necessary, apply additional coats of the protective finish to ensure complete coverage and maximum protection. Allow each coat to dry thoroughly before applying the next one.
- Follow proper application techniques: Whether using a brush or spray can, apply the protective finish according to the instructions provided by the manufacturer. Work in a well-ventilated area and follow any safety precautions recommended by the product.
The protective finish not only adds extra durability but also helps to preserve the color and sheen of the paint. By applying a protective finish, you will ensure that your metal patio furniture continues to look great for years to come.
Caring for Your Newly Painted Furniture
Now that you’ve completed the painting and added a protective finish to your metal patio furniture, it’s important to take proper care of it to maintain its beauty and longevity. Follow these tips to ensure your newly painted furniture stays in great condition:
- Regular cleaning: Clean your furniture regularly to remove dirt, debris, and stains. Use a mild soap and water solution and a soft cloth or sponge to gently scrub the surfaces. Avoid using abrasive cleaners or scrub brushes that can damage the paint.
- Avoid harsh chemicals: Avoid using harsh chemicals or solvents on your furniture, as they can strip away the protective finish and damage the paint. Stick to mild cleaners specifically formulated for outdoor use.
- Protect from the elements: While your furniture is now better protected, it’s still essential to shield it from extreme weather conditions. During heavy rain or snow, consider covering your furniture with a waterproof cover or moving it to a sheltered area to prevent water damage.
- Inspect for damage: Regularly inspect your furniture for any signs of damage, such as chipping or peeling paint. If you notice any areas that need touch-ups, address them promptly to prevent further deterioration.
- Touch-ups and maintenance: Over time, your furniture may experience normal wear and tear. Perform regular touch-ups by applying paint and protective finish as needed to maintain the appearance and protection of your furniture.
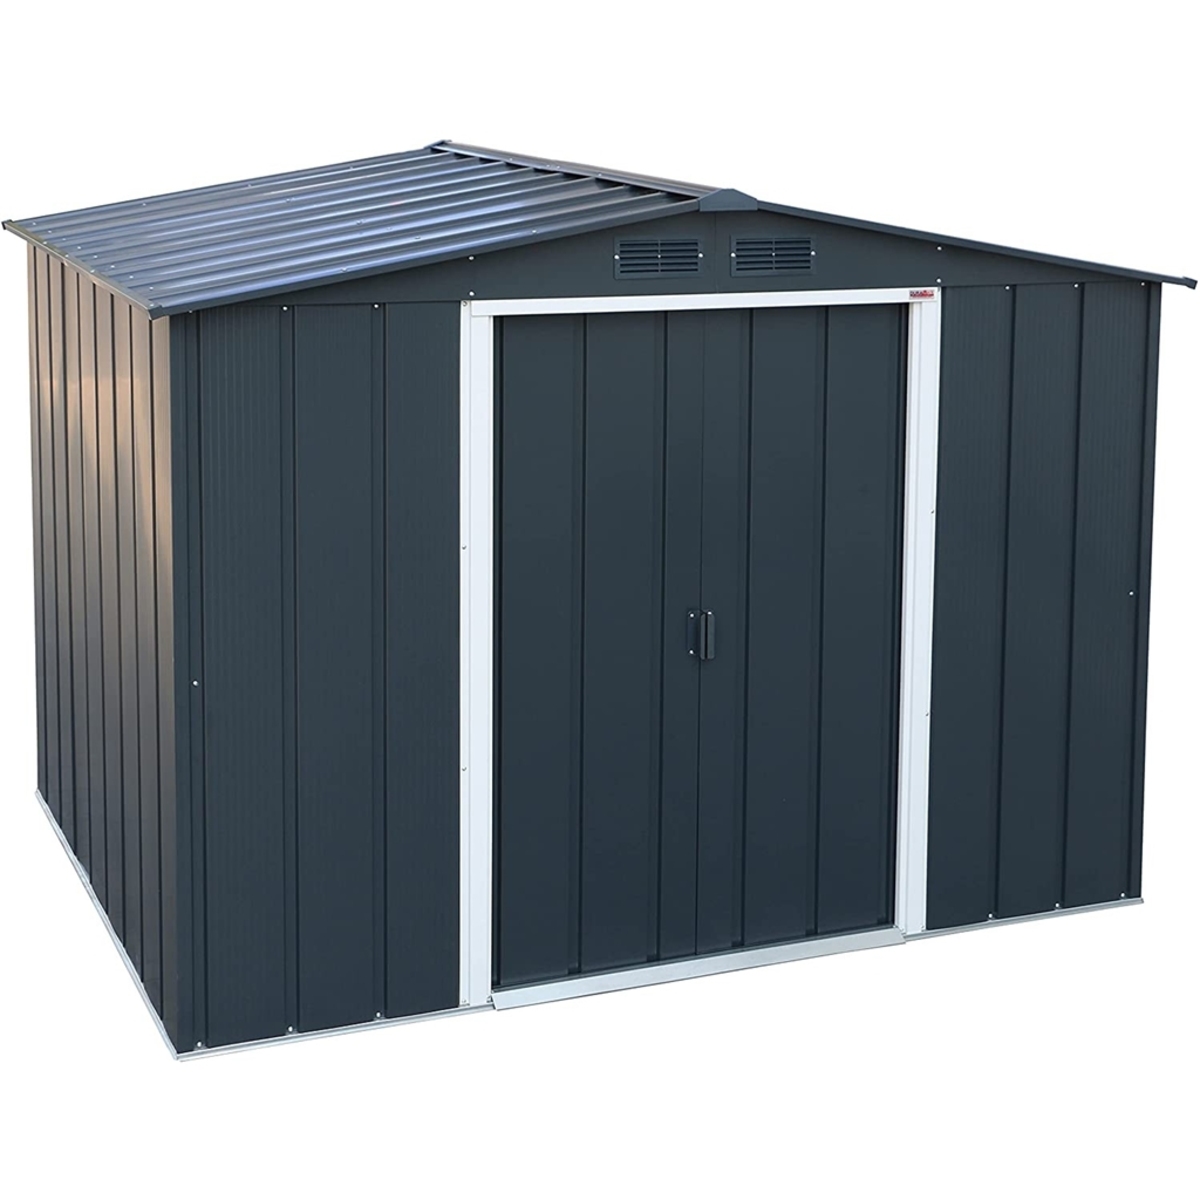
- Store properly during the off-season: If you have a designated off-season for your outdoor furniture, store it properly to prevent damage. Clean the furniture thoroughly, dry it completely, and store it in a cool, dry place away from direct sunlight and moisture.
By following these care tips, you’ll ensure that your newly painted metal patio furniture remains beautiful, protected, and enjoyable for years to come.
Read more: How To Paint Outdoor Metal Furniture
Conclusion
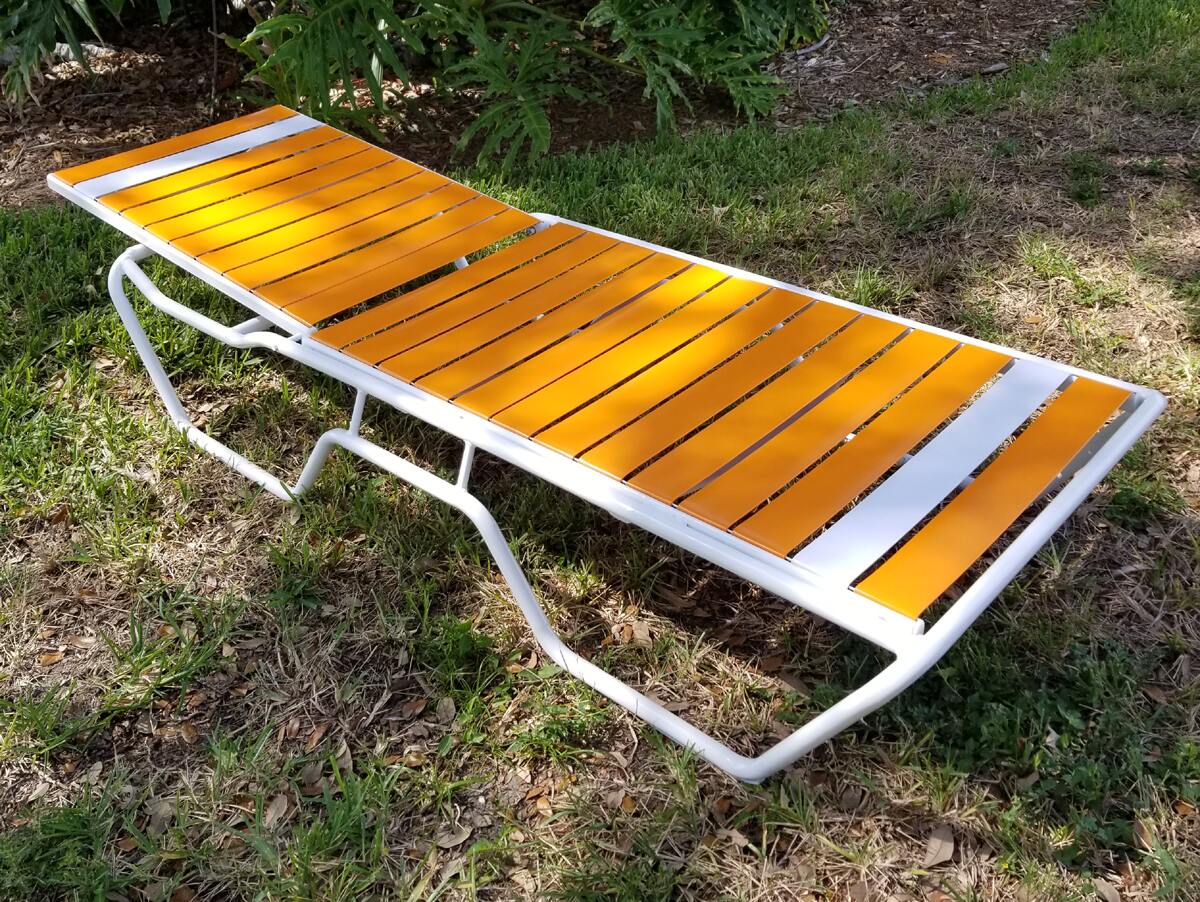
Painting your metal patio furniture is a great way to breathe new life into your outdoor space while providing protection against the elements. By following the steps outlined in this guide, you can achieve a professional-looking finish that will enhance the beauty and durability of your furniture.
Remember to gather all the necessary materials, properly prepare the surfaces by cleaning and sanding, choose the right paint and primer for your project, and apply them carefully using appropriate techniques. Adding a protective finish will further enhance the longevity of your furniture and preserve its appearance.
It’s important to properly care for your newly painted furniture by regularly cleaning it, protecting it from extreme weather conditions, and performing touch-ups as needed. By following these maintenance practices, you can enjoy your beautifully painted metal patio furniture for many seasons to come.
So, roll up your sleeves and get ready to transform your outdoor space with a fresh coat of paint on your metal patio furniture. With a little effort and the right techniques, you can revitalize your furniture and create a welcoming and enjoyable outdoor oasis.
Frequently Asked Questions about How To Paint Metal Patio Furniture
Was this page helpful?
At Storables.com, we guarantee accurate and reliable information. Our content, validated by Expert Board Contributors, is crafted following stringent Editorial Policies. We're committed to providing you with well-researched, expert-backed insights for all your informational needs.

0 thoughts on “How To Paint Metal Patio Furniture”