Articles
How To Build Outdoor Sink
Modified: January 15, 2024
Learn how to build an outdoor sink with our informative articles. Discover step-by-step instructions and tips for creating a functional and stylish addition to your outdoor space.
(Many of the links in this article redirect to a specific reviewed product. Your purchase of these products through affiliate links helps to generate commission for Storables.com, at no extra cost. Learn more)
Introduction
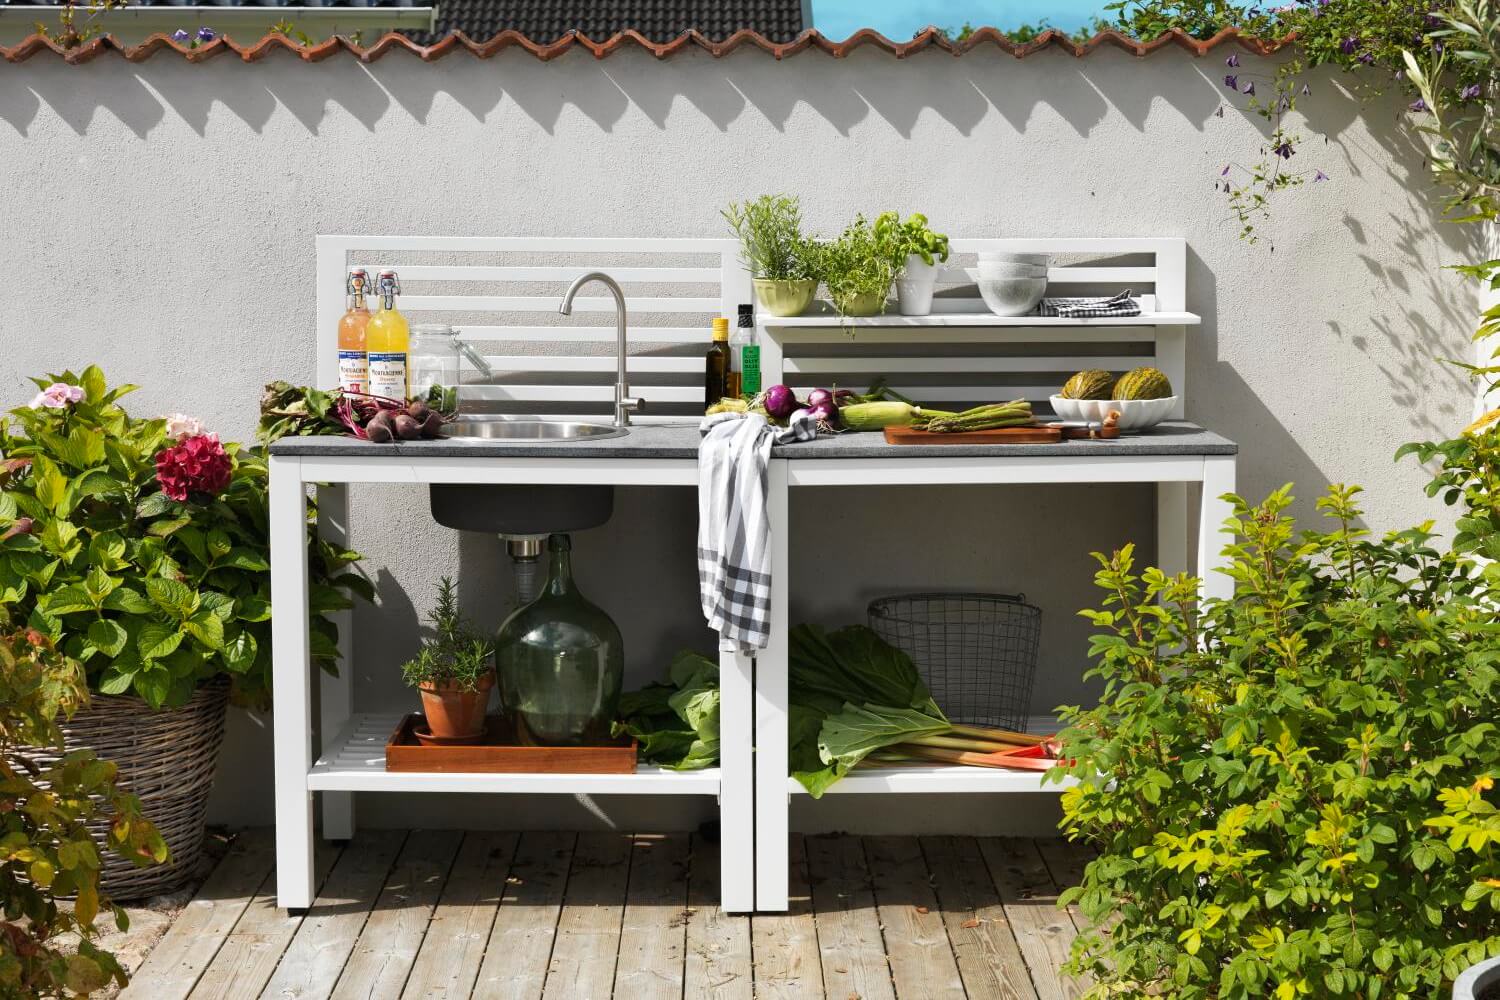
Welcome to the world of outdoor living! If you love spending time in your backyard and enjoy the convenience of having everything you need right at your fingertips, then building an outdoor sink is a must-have addition. Whether you’re a gardening enthusiast, an outdoor chef, or simply like to have a convenient water source for various purposes, an outdoor sink can greatly enhance your outdoor experience.
An outdoor sink provides a practical and functional solution for activities such as washing hands, cleaning tools, prepping vegetables, or rinsing off dirty dishes. It eliminates the need to run back and forth between the house and the yard, saving you time and effort. Plus, it can add a touch of elegance and sophistication to your outdoor space.
In this detailed guide, we will take you through the step-by-step process of building an outdoor sink. From gathering your materials to adding the finishing touches, we’ll cover everything you need to know to successfully create your very own outdoor sink.
Whether you’re a seasoned DIY enthusiast or a beginner looking for a new project to tackle, building an outdoor sink is a rewarding endeavor that you can accomplish with a little time and effort. So, let’s dive in and get started on creating your own outdoor oasis!
Key Takeaways:
- Building an outdoor sink is a rewarding DIY project that enhances convenience and elegance in your outdoor space. From gathering materials to adding finishing touches, follow the comprehensive guide for a successful and personalized outdoor sink.
- Prioritize safety, functionality, and aesthetics when building your outdoor sink. Choose the perfect location, prepare a stable base, and add decorative elements to create a functional and visually appealing addition to your outdoor living space.
Read more: How To Build An Outdoor Sink
Step 1: Gather your materials
Before diving into the construction process, it’s essential to gather all the necessary materials and tools. Here’s a list of items you’ll need:
- Outdoor sink basin – choose a sink basin that fits your needs and blends well with your outdoor aesthetic. Stainless steel is a popular choice due to its durability and resistance to rust and corrosion.
- Faucet – select a faucet that is designed for outdoor use and can withstand the elements. Look for one with a sleek design and adjustable features.
- Plumbing supplies – you’ll need pipes, connectors, and fittings to connect the sink basin to the water source. Make sure to measure and determine the required lengths and quantities before purchasing.
- Outdoor-rated water supply line – this will connect the sink to the main water source. Ensure that it is designed for outdoor use and can withstand extreme weather conditions.
- Waterproof sealant – choose a sealant suitable for outdoor use to ensure that your sink is watertight and protected against moisture damage.
- Wood or metal for the sink frame – depending on your preference and the style of your outdoor space, you can opt for wood or metal materials to create the sink frame. Make sure it is sturdy and can support the weight of the sink basin and the water it will hold.
- Tools – gather a set of essential tools, including a saw, drill, screws, wrenches, level, and measuring tape. Having the right tools on hand will make the construction process easier and more efficient.
- Protective gear – it’s always important to prioritize safety. Wear protective gear such as safety goggles, gloves, and a mask when handling tools or working with chemicals.
Once you have gathered all the necessary materials, double-check to ensure that you have everything you need before moving on to the next step. Having all the materials on hand will streamline the construction process and prevent any delays.
Now that you have your materials ready, it’s time to move on to step two: choosing the perfect location for your outdoor sink.
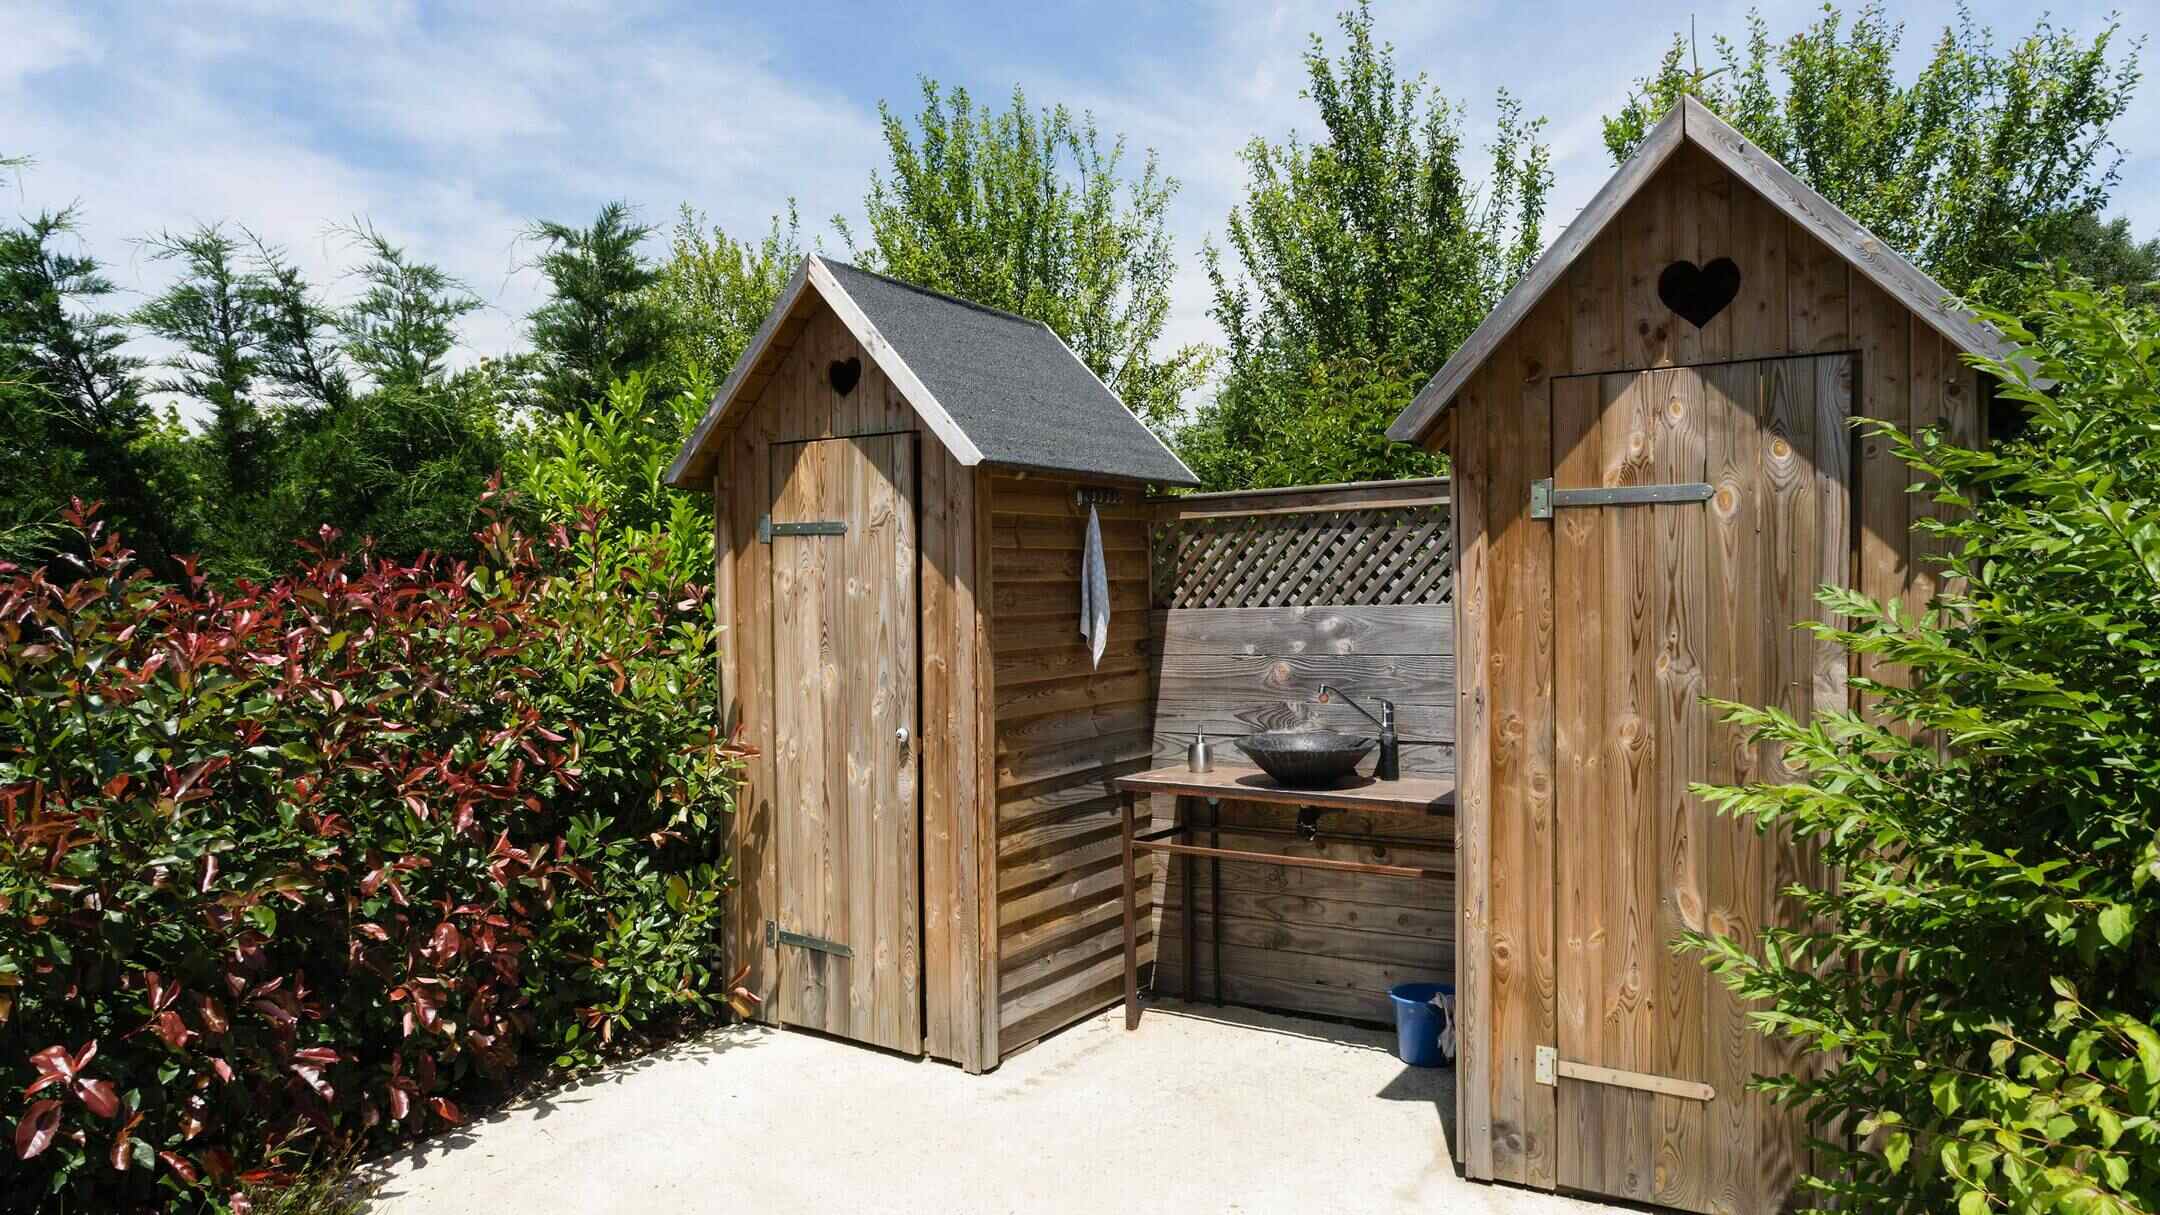
Step 2: Choose a location
Choosing the right location for your outdoor sink is crucial for functionality and aesthetics. Consider the following factors when selecting the perfect spot:
- Accessibility – Select a location that is easily accessible from your yard and other outdoor areas. It should be convenient to reach and not obstructed by any obstacles.
- Sunlight – Take into account the amount of sunlight the area receives throughout the day. While some shade can be beneficial, too much shade may hinder the growth of plants or make the sink area feel dim and unwelcoming.
- Water source – Ensure that your chosen location is close to a water source. It can be a garden hose connection or an existing water line if available. Keep in mind the practicality of connecting the sink to the water supply in your chosen spot.
- Drainage – Consider the drainage in the area. It’s essential to have a suitable drainage system in place to prevent standing water and potential flooding. If necessary, create a sloped surface or install a drain to ensure proper water flow.
- Aesthetic appeal – Your outdoor sink should complement the overall look of your outdoor space. Consider the style, color scheme, and surrounding landscaping when choosing the location. You want the sink to blend seamlessly with its surroundings and enhance the visual appeal of your yard.
Once you’ve considered these factors, take some time to visualize how the sink will fit into the area. Determine the orientation and placement that works best for your needs and desires. A well-thought-out location will make using the sink more convenient and enhance the overall functionality of your outdoor space.
With the location chosen, it’s time to move on to step three: preparing the base for your outdoor sink.
Step 3: Prepare the base
Preparing the base for your outdoor sink is essential to ensure stability and durability. Follow these steps to properly prepare the base:
- Clear the area: Start by clearing the area where you will be installing the sink. Remove any vegetation, rocks, or debris to create a clean and level surface.
- Mark the outline: Use a measuring tape and stakes to mark the outline of the sink area. This will help you visualize the size and shape of the base.
- Excavate the area: Dig a hole according to the marked outline, ensuring that it is deep enough to accommodate the sink height and leave room for the plumbing connections. Make sure the hole is uniform and level to ensure a stable base.
- Add a layer of gravel: Fill the excavated area with a layer of gravel to provide drainage and stability. Spread it evenly and compact it using a tamper to create a solid base.
- Level the base: Use a level to ensure that the base is perfectly level in all directions. Adjust the gravel as needed to achieve a level surface.
- Install a weed barrier: To prevent weed growth beneath the sink, lay down a weed barrier fabric on top of the gravel base. Trim it to fit within the marked outline.
- Add a layer of sand: Spread a layer of sand on top of the weed barrier fabric. This will provide additional stability and create a smooth surface for the sink base to rest on.
- Tamp the sand: Use a tamper to compact the sand layer evenly. This will create a solid and level surface for the sink’s frame.
Once the base is properly prepared, it’s time to move on to the next step: building the sink frame.
Remember, taking the time to properly prepare the base will ensure the stability and longevity of your outdoor sink. A solid foundation is key to a successful installation.
Step 4: Build the sink frame
Building the sink frame is an important step in creating a sturdy and functional outdoor sink. Follow these steps to construct the frame:
- Measure and cut the frame materials: Depending on your chosen material (wood or metal), measure and cut the pieces to the appropriate lengths. Use a saw or suitable cutting tool to achieve accurate measurements.
- Assemble the frame: Begin by laying out the cut pieces according to your desired sink dimensions. Use screws, bolts, or connectors to securely join the pieces together. Make sure the frame is square and level to ensure proper stability.
- Secure the frame to the prepared base: Place the assembled frame onto the prepared base, aligning it with the marked outline. Use screws or stakes to secure the frame to the ground, ensuring that it is level and firmly anchored.
- Reinforce the frame (optional): Depending on the size and weight of your sink basin, you may want to add additional support to the frame. This can be done by adding crossbars or braces to reinforce the structure.
- Treat the frame (wood only): If you have chosen wood for the frame, apply a protective sealant or outdoor paint to prevent rot and damage from weather exposure. Follow the manufacturer’s instructions for proper application.
Building a solid and well-constructed frame is crucial to the overall stability and durability of your outdoor sink. It will ensure that the sink basin sits securely and can withstand regular use and outdoor conditions.
Once the frame is built, you’re ready to move on to the next step: installing the sink basin and faucet.
When building an outdoor sink, make sure to use durable and weather-resistant materials such as stainless steel or treated wood to ensure longevity and easy maintenance.
Read more: How To Winterize An Outdoor Sink
Step 5: Install the sink basin and faucet
Now that the sink frame is ready, it’s time to install the sink basin and faucet. Follow these steps to ensure a proper installation:
- Position the sink basin: Carefully place the sink basin onto the frame, ensuring that it fits snugly and securely. Adjust the position as needed to achieve the desired alignment with the frame and overall aesthetic.
- Secure the sink basin: Once the sink basin is positioned correctly, use screws or clips provided by the manufacturer to secure it to the frame. Make sure the basin is level and stable.
- Connect the water supply lines: Attach the outdoor-rated water supply line to the faucet’s hot and cold water connections. Use proper fittings and ensure they are tightly secured to prevent leaks.
- Attach the faucet: Install the faucet onto the sink basin according to the manufacturer’s instructions. Use the appropriate connectors and fittings to ensure a watertight seal.
- Test for leaks: Before proceeding further, turn on the water supply and test for any leaks around the connections. Tighten any loose fittings or connections as needed to prevent water leakage.
- Seal around the sink basin: Apply a bead of waterproof sealant around the edges of the sink basin to create a watertight seal. Smooth and blend the sealant for a seamless finish.
Proper installation of the sink basin and faucet is crucial to ensure the functionality and longevity of your outdoor sink. Take your time to align and secure all the components correctly to prevent any issues down the line.
Now that the sink basin and faucet are installed, let’s move on to step six: connecting the plumbing.
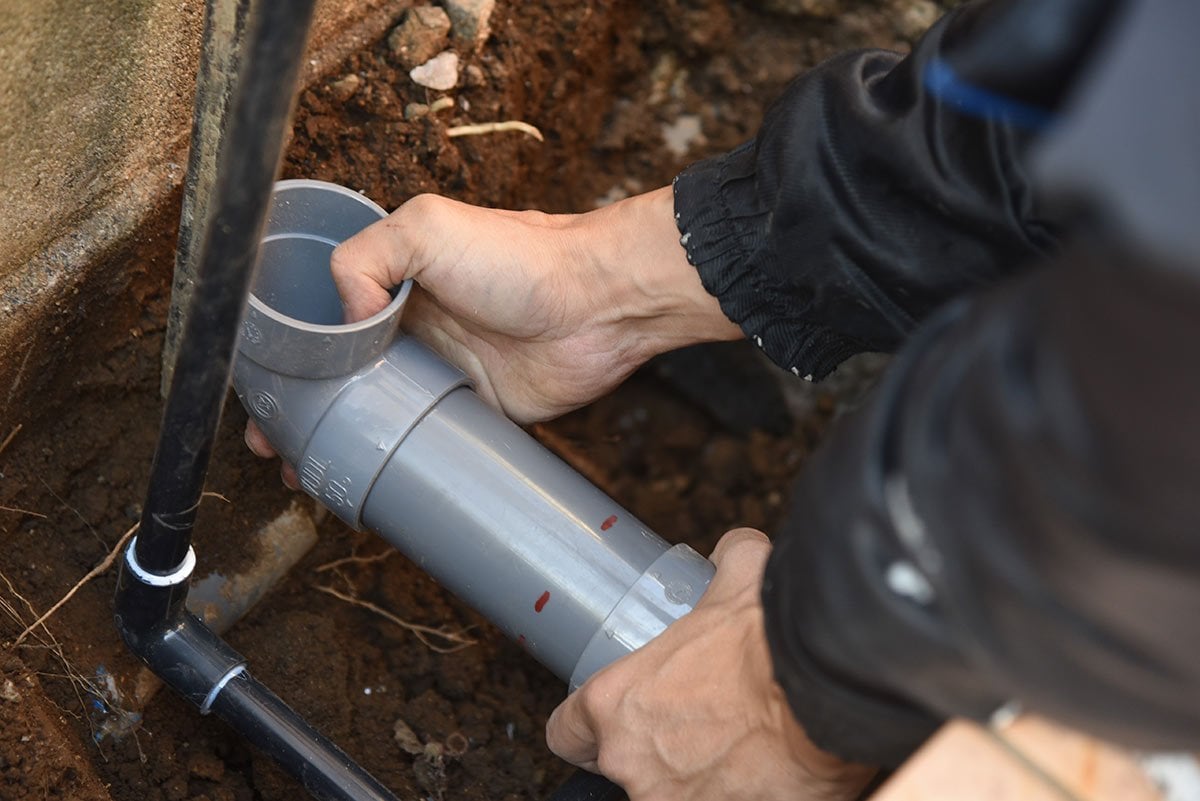
Step 6: Connect the plumbing
Connecting the plumbing is a vital step in ensuring that your outdoor sink has a reliable water supply and proper drainage. Follow these steps to connect the plumbing:
- Connect the water supply line: Depending on the location of your outdoor sink, you may need to extend the water supply line from an existing source or connect it to a garden hose. Use the appropriate fittings and connectors to securely attach the water supply line to the faucet’s water inlet.
- Connect the drainpipe: If your sink basin has a built-in drain, connect the drainpipe to the sink’s drain outlet. Ensure that the drainpipe is properly aligned with the existing plumbing or drainage system. If needed, hire a professional plumber to ensure proper installation.
- Install a trap (optional): Adding a trap to the drainpipe can prevent sewer odors from entering your outdoor space. Install a P-trap or similar device between the sink drain and the main drain line.
- Test for leaks: Once all the plumbing connections are made, turn on the water supply and check for any leaks. Inspect all fittings, connections, and pipes for signs of leakage. Tighten as necessary to ensure a watertight system.
- Ensure proper drainage: Verify that water flows freely through the drainpipe and away from the sink. Adjust the drainage slope if needed to improve water flow and prevent stagnant water.
Connecting the plumbing properly is essential for the functionality and usability of your outdoor sink. It ensures a reliable water supply and efficient drainage, allowing you to make the most of your outdoor space.
With the plumbing connected, it’s time to move on to step seven: adding the finishing touches to your outdoor sink.
Step 7: Add finishing touches
Now that your outdoor sink is fully functional, it’s time to add the finishing touches to enhance its appearance and usability. Consider the following steps:
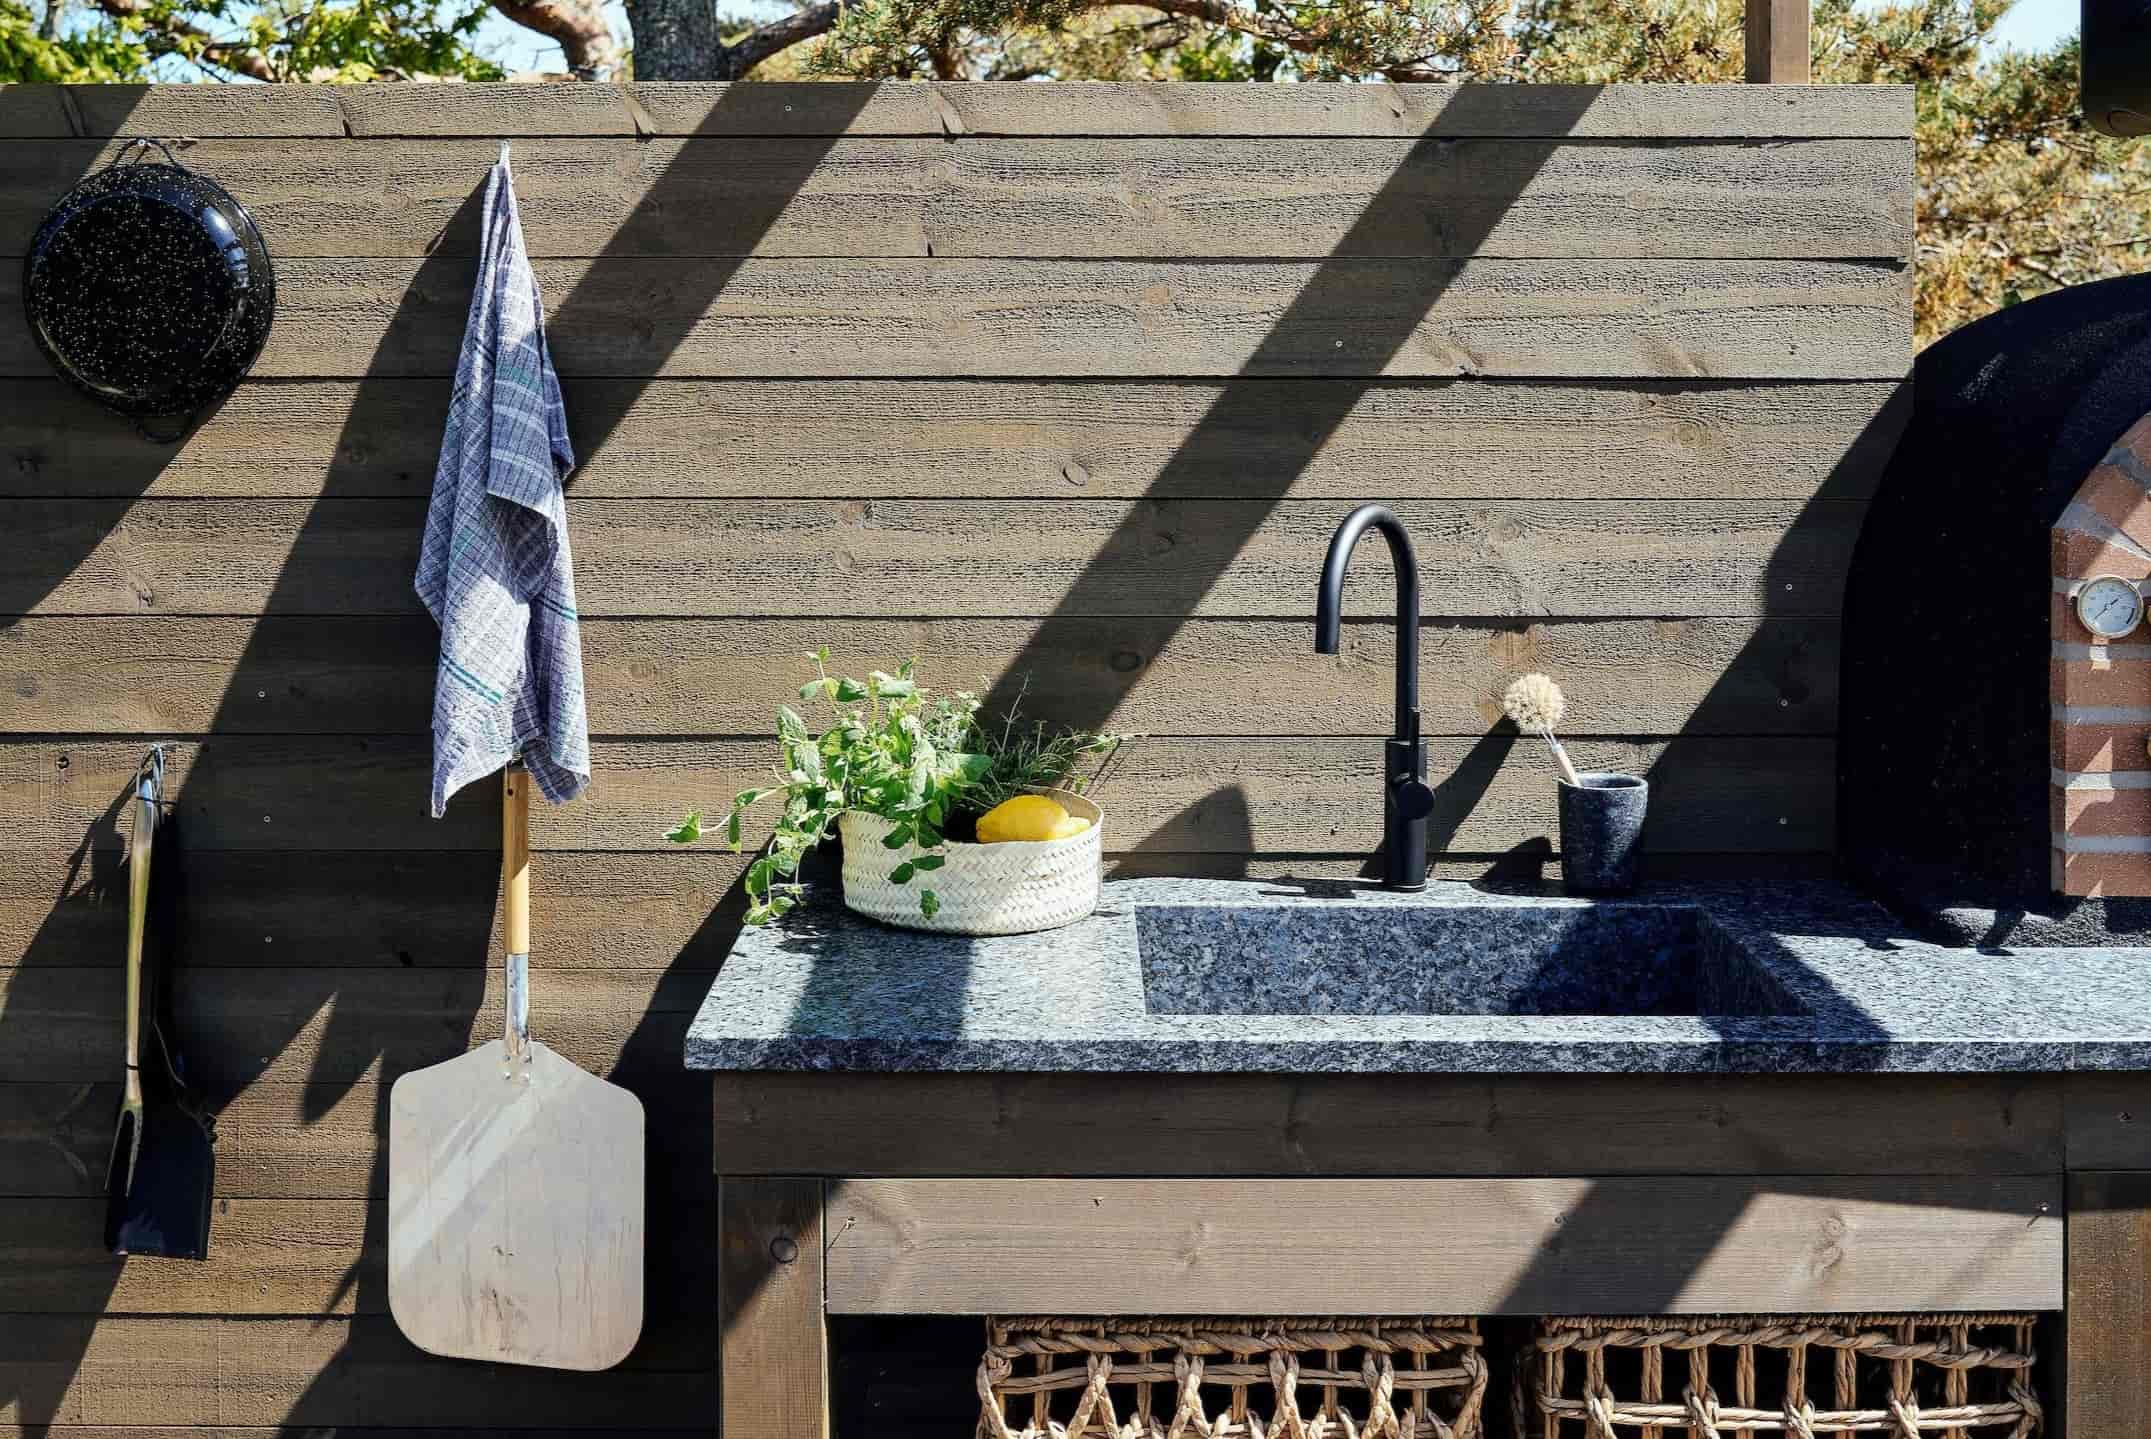
- Add a backsplash: Install a stylish backsplash behind the sink basin to protect the wall and add a decorative element. You can use materials like tiles, stone, or even reclaimed wood to create a unique and visually appealing backsplash.
- Create a countertop: If you have enough space and want a convenient area for food preparation or placing items, add a countertop adjacent to the sink. Choose a durable and weather-resistant material like granite or stainless steel for easy maintenance.
- Install storage options: Incorporate storage solutions such as cabinets or shelves underneath the sink to keep cleaning supplies, gardening tools, or other utensils organized and easily accessible.
- Enhance lighting: Install outdoor lighting near the sink area to ensure visibility during nighttime use. Consider using waterproof and energy-efficient LED lights to create a warm and inviting atmosphere.
- Add a towel rack or hooks: Install hooks or a towel rack near the sink for easy access to hand towels and other drying items. This will make it convenient to keep things clean and tidy.
- Incorporate greenery: Surround your outdoor sink with potted plants, herbs, or a vertical garden to add a touch of nature and beauty to the space. Choose plants that can thrive in the outdoor environment and require minimal maintenance.
- Add personal touches: Finally, infuse your own personality into the area by adding decorative elements, such as outdoor artwork, decorative stones, or personalized signage. Make the space uniquely yours!
By adding these finishing touches, you can transform your outdoor sink into a functional and visually appealing feature of your outdoor space. Take your time to curate the details and create an environment that suits your style and preferences.
With the finishing touches complete, it’s time to step back and enjoy your newly built outdoor sink. It’s a valuable addition to your outdoor living space, providing convenience, functionality, and a delightful touch to your outdoor activities.
Thank you for following along with this comprehensive guide on how to build an outdoor sink. We hope you found these steps helpful and inspiring. Now go ahead and enjoy all the benefits that come with having your very own outdoor sink!
Conclusion
Congratulations on successfully building your outdoor sink! By following the steps outlined in this comprehensive guide, you have created a functional and convenient addition to your outdoor space. Whether you’re washing vegetables from your garden, cleaning up after a barbecue, or simply rinsing off dirty hands, your outdoor sink will be an invaluable asset.
Throughout this guide, we covered everything you needed to know, starting from gathering materials to adding the finishing touches. By carefully choosing the location, preparing the base, building the sink frame, installing the basin and faucet, connecting the plumbing, and adding those final decorative details, you have created a personalized and practical outdoor sink.
Remember to always prioritize safety while working on any DIY project. Wear protective gear, follow manufacturer instructions, and, if necessary, consult professionals for expert advice and assistance.
Your outdoor sink not only adds convenience to your outdoor activities but also enhances the functionality and aesthetic appeal of your outdoor space. It’s a place where you can connect with nature, indulge in gardening or cooking pursuits, and easily manage your outdoor chores. The possibilities are endless!
Now, take a moment to step back and admire your hard work. Enjoy the ease and convenience of having an outdoor sink at your disposal and revel in the satisfaction of completing a DIY project that improves your outdoor lifestyle.
Thank you for following this guide, and we hope you embrace and enjoy the benefits of your newly built outdoor sink for years to come!
Frequently Asked Questions about How To Build Outdoor Sink
Was this page helpful?
At Storables.com, we guarantee accurate and reliable information. Our content, validated by Expert Board Contributors, is crafted following stringent Editorial Policies. We're committed to providing you with well-researched, expert-backed insights for all your informational needs.


0 thoughts on “How To Build Outdoor Sink”