Home>Furniture & Design>Outdoor Furniture>How To Plumb Outdoor Sink
Outdoor Furniture
How To Plumb Outdoor Sink
Modified: August 26, 2024
Learn how to plumb an outdoor sink with our expert guide. Create a functional and stylish outdoor space with our outdoor furniture and design tips.
(Many of the links in this article redirect to a specific reviewed product. Your purchase of these products through affiliate links helps to generate commission for Storables.com, at no extra cost. Learn more)
Introduction
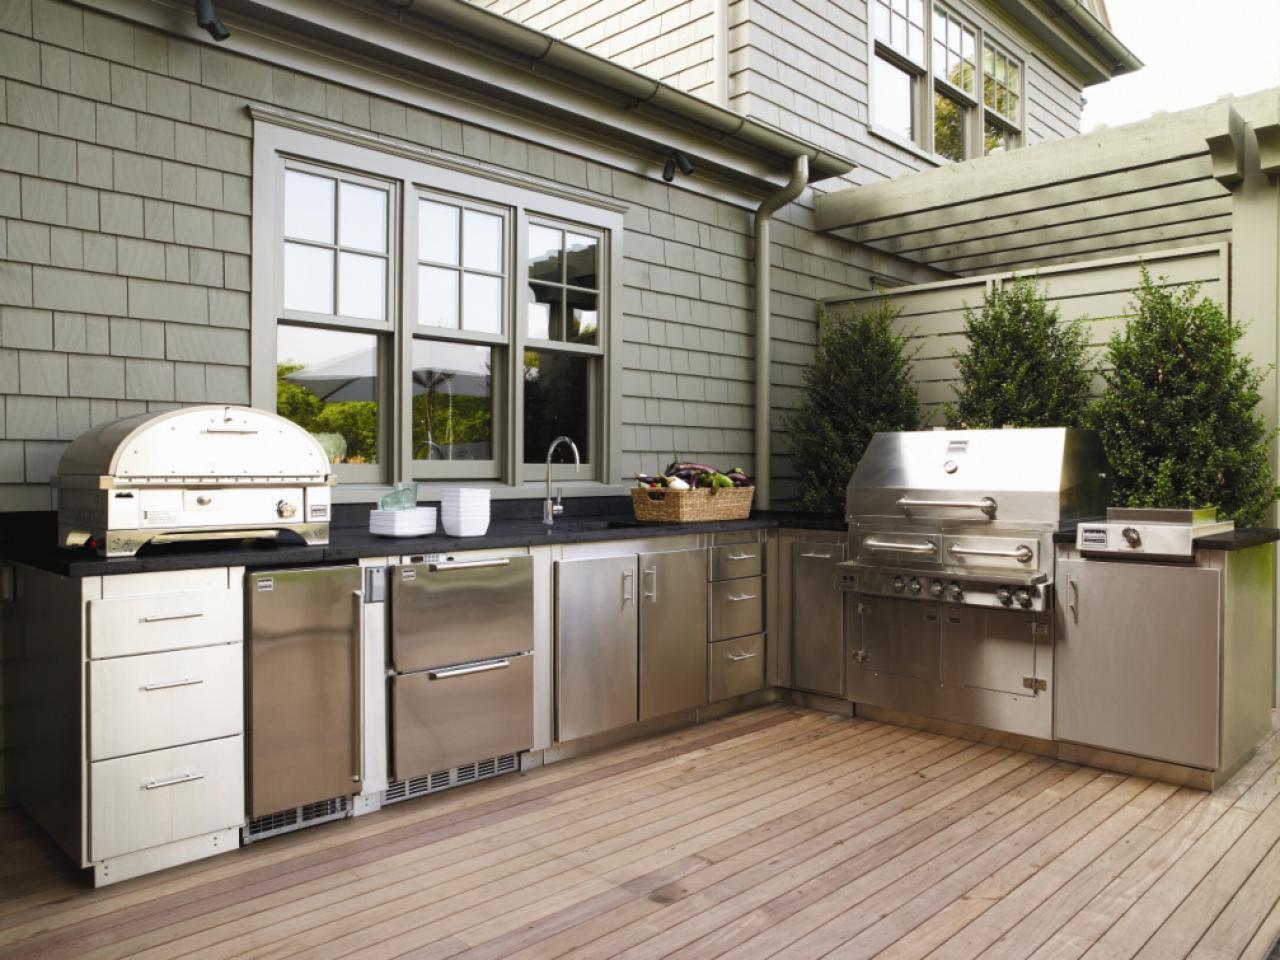
Creating an outdoor sink can significantly enhance the functionality and convenience of your outdoor living space. Whether you're an avid gardener, a dedicated outdoor chef, or simply someone who enjoys spending time in your yard, having a dedicated outdoor sink can make a world of difference. From washing freshly picked produce to cleaning gardening tools and washing up after a day of outdoor activities, an outdoor sink offers a myriad of practical benefits.
In this guide, we'll walk you through the process of plumbing an outdoor sink, providing you with the know-how and confidence to tackle this project. With the right tools, materials, and a clear plan, you can transform your outdoor area into a more functional and efficient space. So, roll up your sleeves, and let's get started on this exciting outdoor endeavor!
Key Takeaways:
- Transform your outdoor space with a functional outdoor sink for gardening, cooking, and convenience. Plan, install, and test with care for a rewarding and valuable addition to your outdoor oasis.
- Enjoy the process of planning, installing, and testing your outdoor sink. From choosing the right faucet to connecting the drain, create a reliable and visually appealing water source for your outdoor activities.
Read more: How To Disconnect Sink Plumbing
Tools and Materials
Before embarking on the outdoor sink plumbing project, it’s essential to gather the necessary tools and materials. Here’s a comprehensive list to ensure you have everything at your disposal:
Tools:
- Adjustable wrench
- Plumbers tape
- Hacksaw
- Pipe cutter
- Adjustable pliers
- Teflon tape
- Plumbing wrench
- Screwdriver
- Level
- Marker
- Drill and bits
- Adjustable wrench
- Bucket
- Gloves and safety goggles
Materials:
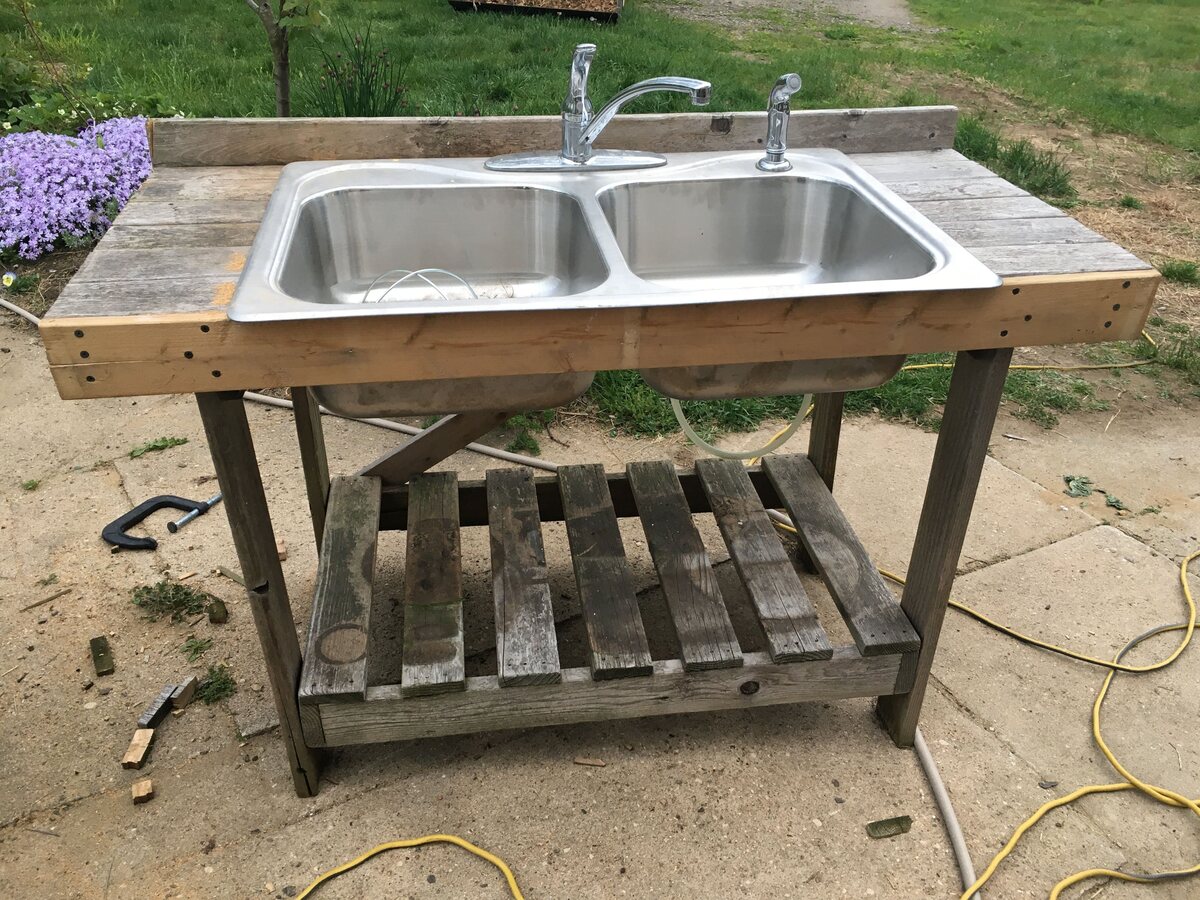
- Outdoor sink kit or individual components (sink, faucet, and drain)
- PVC pipes and fittings
- Copper pipes and fittings
- Plumber's putty
- Silicone caulk
- Plumbing straps
- Outdoor-rated extension cord (if installing a powered faucet)
- Thread sealant
- Concrete mix (if installing a sink in a concrete countertop)
- Pressure-treated lumber or mounting brackets
- Waterproof outdoor electrical box (if installing a powered faucet)
Having these tools and materials on hand will streamline the installation process and ensure that you’re well-prepared to tackle any challenges that may arise. With everything ready, you’re one step closer to enjoying the convenience of an outdoor sink in your outdoor oasis.
Planning the Outdoor Sink
Before diving into the physical installation of the outdoor sink, it’s crucial to carefully plan and strategize to ensure a successful and functional end result. Here are the key steps to consider when planning the installation:
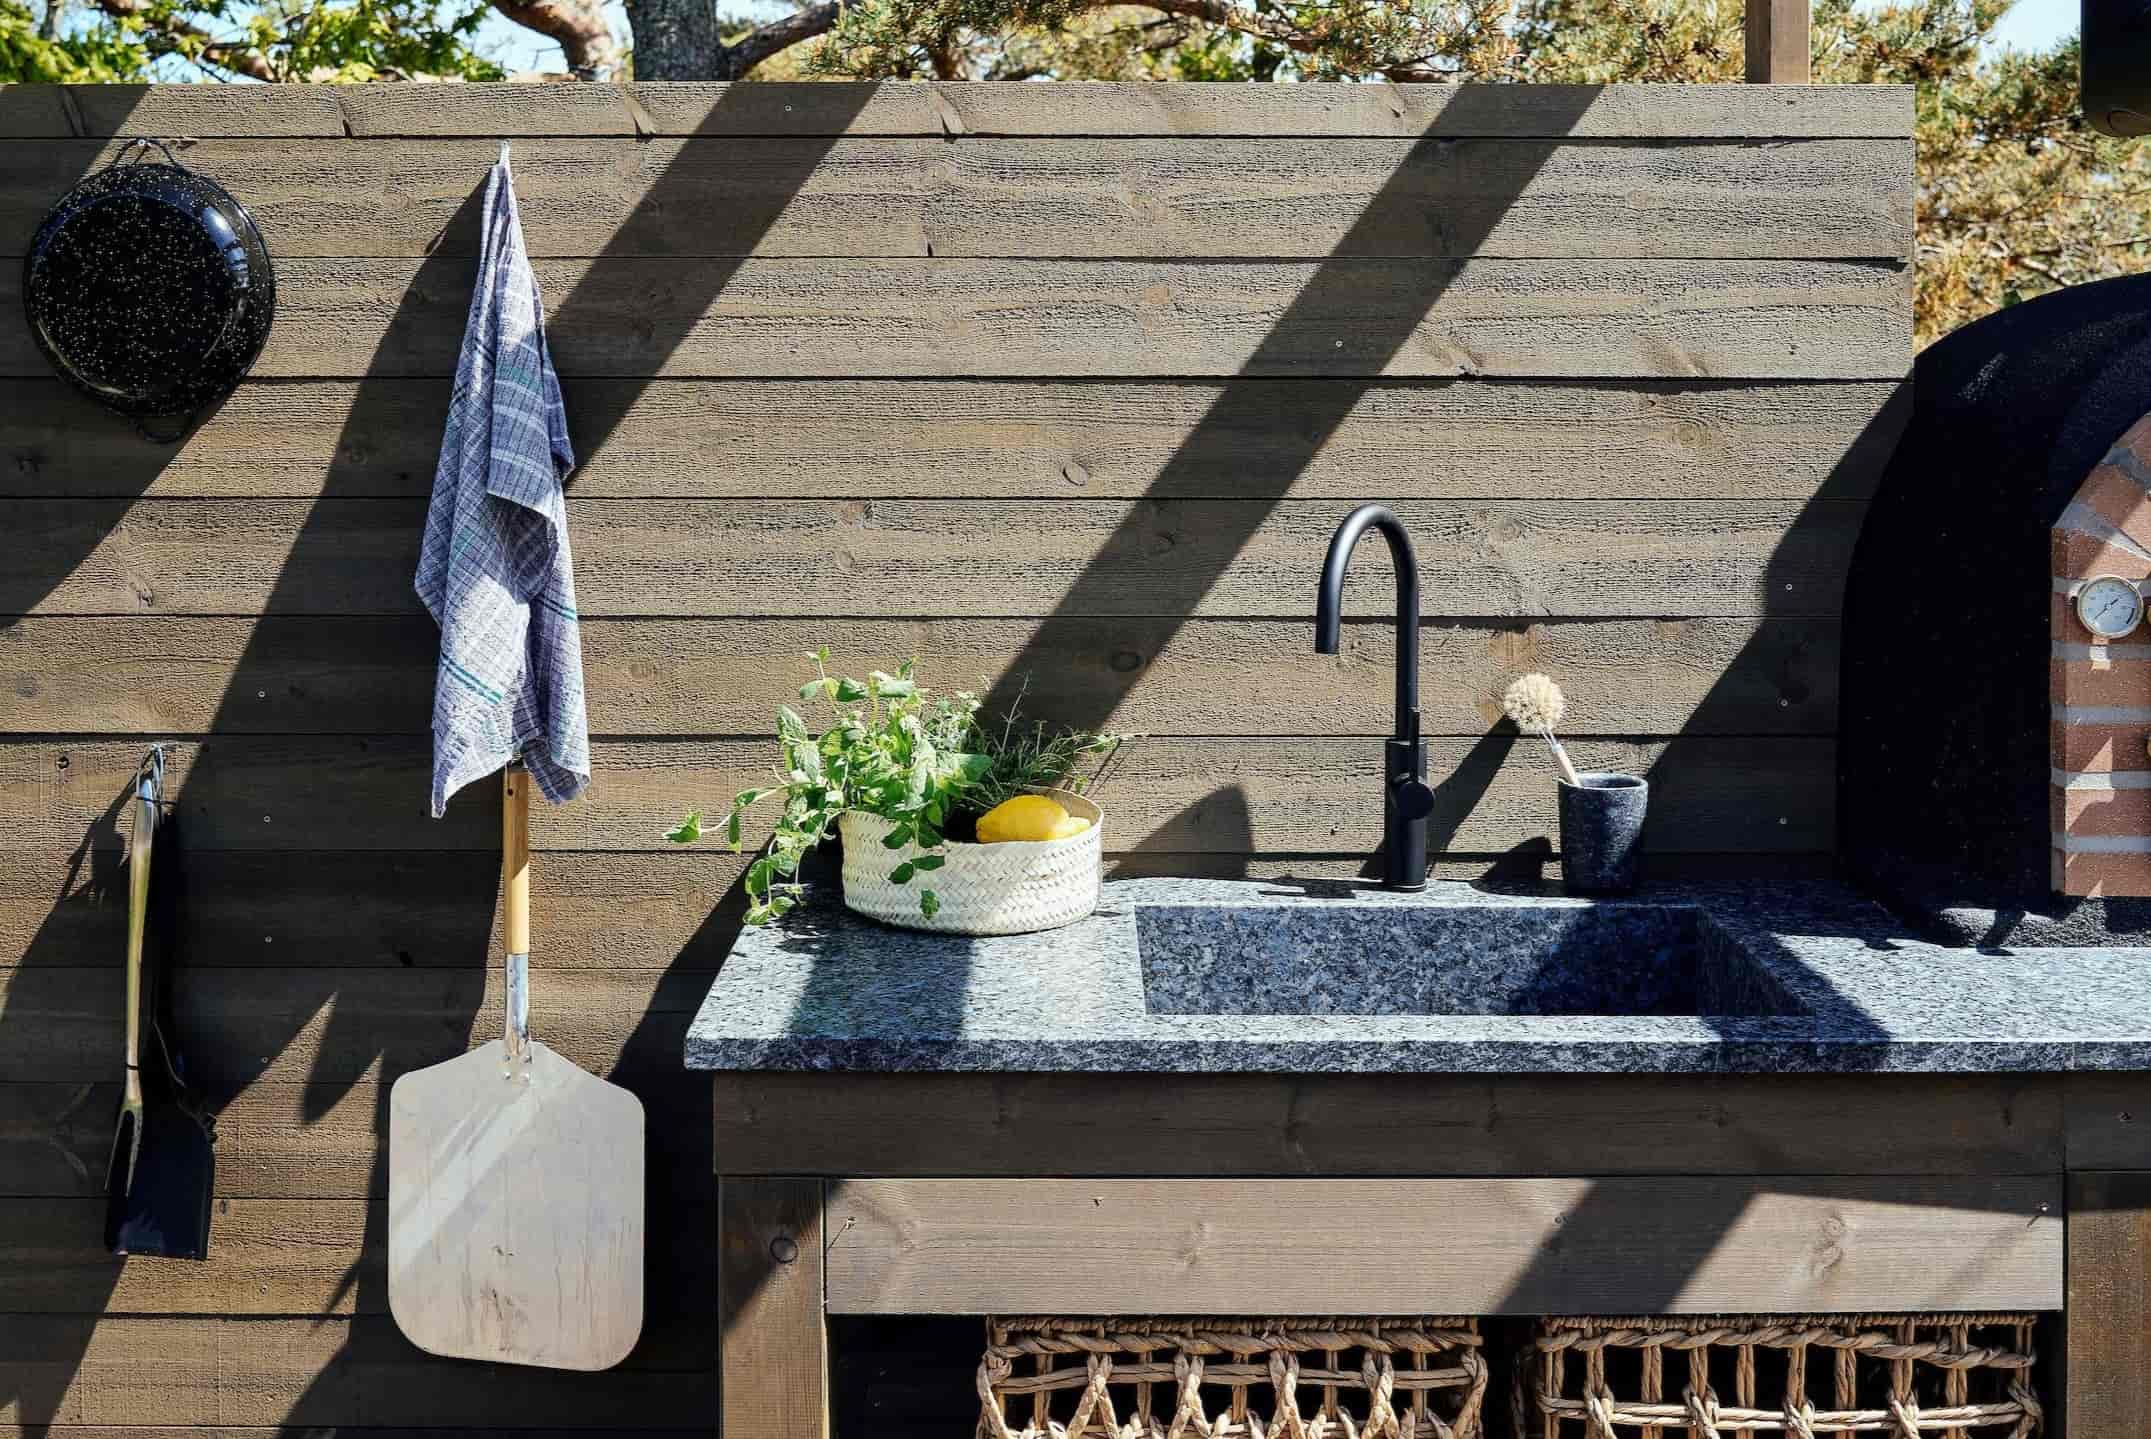
Location: Choose a suitable location for the outdoor sink. Consider proximity to water and power sources, as well as convenient access from your outdoor activities and the indoor kitchen. Ensure that the chosen area provides ample space for the sink and allows for efficient drainage.
Utility Connections: Determine the proximity of existing water and electrical connections. If you’re installing the sink near the house, consider tapping into the existing water supply and drainage system. For electrical connections, ensure that the chosen location allows for safe and code-compliant wiring if a powered faucet is being installed.
Drainage: Plan the drainage route for the sink. Ensure that the slope of the drainage pipe allows for proper water flow and prevents standing water. If necessary, consider incorporating a grease trap or other relevant drainage accessories to prevent clogs and maintain efficient drainage.
Support and Stability: Assess the structural support for the sink. If mounting the sink to an exterior wall, ensure that it is securely anchored and capable of supporting the weight of the sink, faucet, and any additional accessories. For standalone installations, such as outdoor kitchen islands, plan for adequate support and stability to prevent shifting or movement.
Local Regulations: Familiarize yourself with local building codes and regulations pertaining to outdoor plumbing installations. Ensure that your planned sink location and installation methods comply with these regulations to avoid potential issues in the future.
By meticulously planning the outdoor sink installation, you can anticipate and address potential challenges, streamline the installation process, and ultimately create a well-designed and functional outdoor sink that seamlessly integrates into your outdoor living space.
Read more: How To Install New Sink Plumbing
Installing the Faucet
Once the planning phase is complete, the next crucial step in plumbing an outdoor sink is installing the faucet. This component not only provides water access but also contributes to the aesthetic and functionality of the sink area. Here’s a step-by-step guide to help you navigate the faucet installation process:
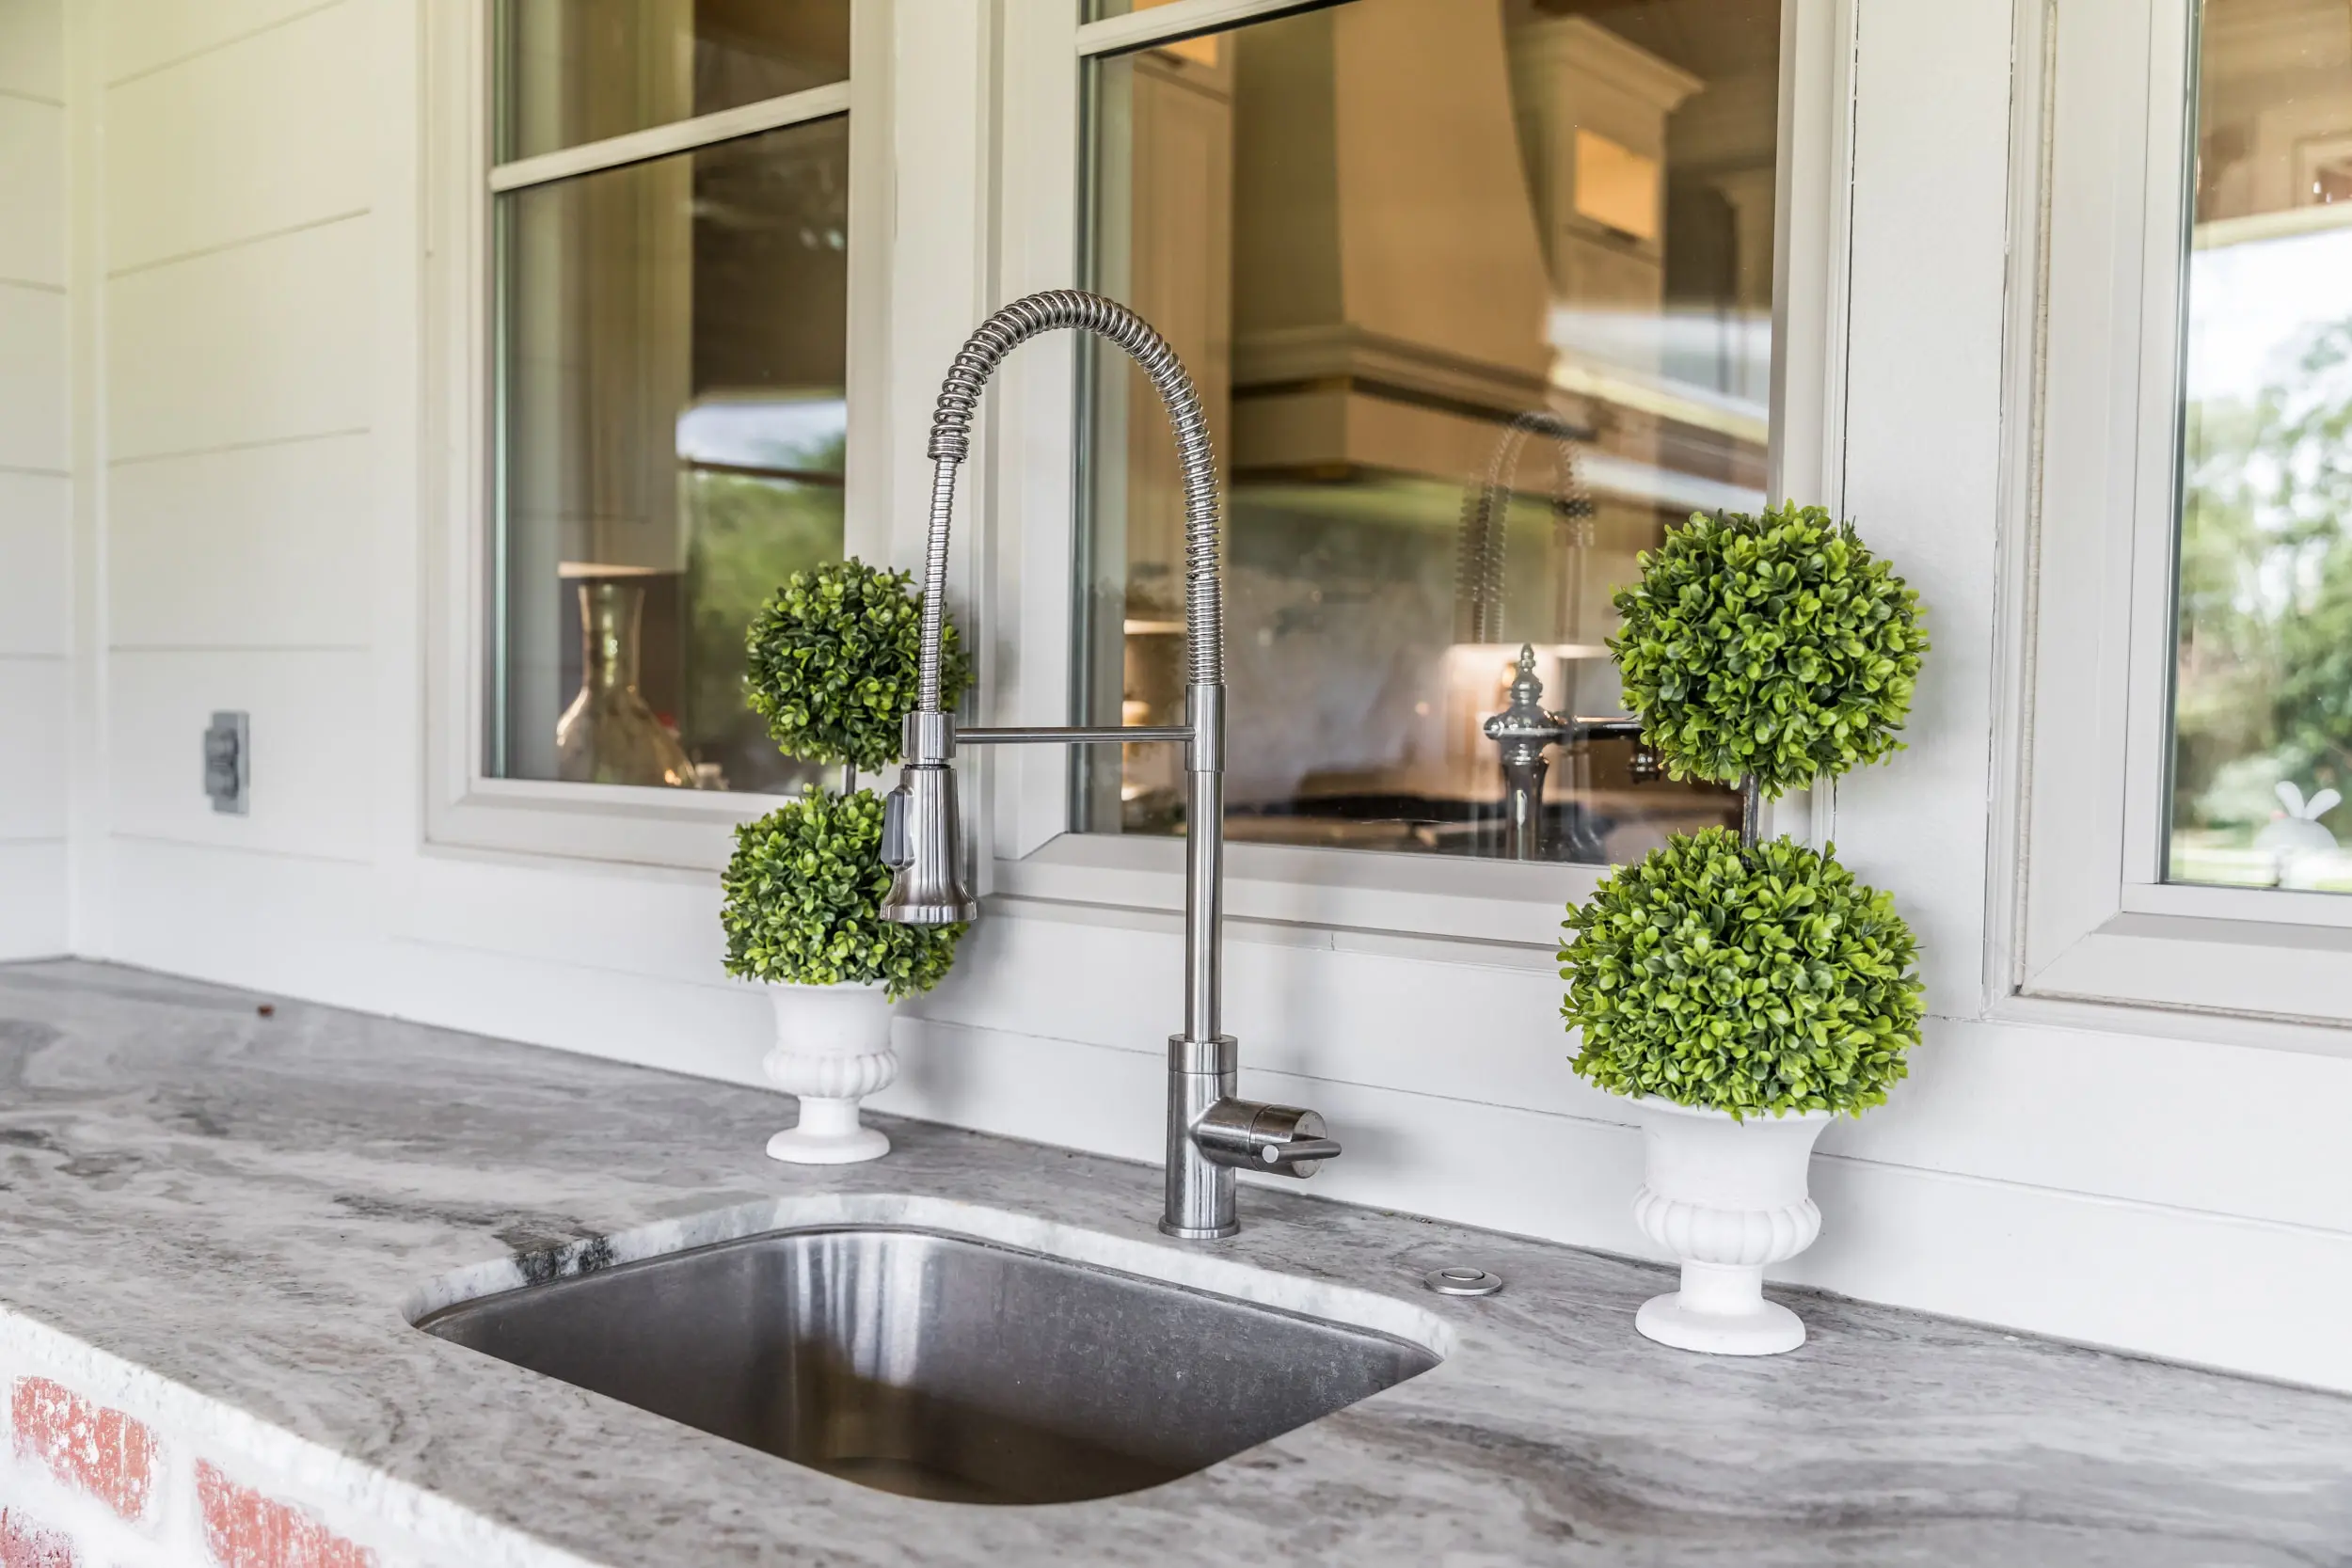
1. Choose the Right Faucet: Select a faucet suitable for outdoor use, designed to withstand exposure to the elements. Consider factors such as durability, style, and functionality to ensure that the faucet meets your specific outdoor sink requirements.
2. Prepare the Mounting Surface: If mounting the faucet to a solid surface, such as a wall or outdoor kitchen countertop, ensure that the surface is clean, level, and capable of supporting the faucet securely. Use a marker to indicate the precise location for the faucet mounting holes.
3. Install the Faucet: Following the manufacturer’s instructions, position the faucet and secure it to the mounting surface using the appropriate hardware. Ensure that the faucet is level and tightly fastened to prevent movement or instability.
4. Connect the Water Supply: If tapping into an existing water line, carefully connect the faucet’s supply lines to the corresponding hot and cold water sources. Use plumber’s tape or thread sealant to create a secure and leak-free connection. If the faucet requires electrical power, ensure that the wiring is safely routed and connected according to local electrical codes.
5. Test the Faucet: Once the installation is complete, turn on the water supply and test the faucet for proper functionality. Check for leaks and ensure that both the hot and cold water handles operate smoothly and effectively. Make any necessary adjustments to achieve optimal performance.
6. Weatherproofing (if necessary): Depending on the faucet type and local climate conditions, consider applying silicone caulk or weatherproof sealant around the base of the faucet to prevent water infiltration and protect the mounting surface.
By following these steps, you can successfully install the faucet for your outdoor sink, bringing you one step closer to enjoying the convenience and versatility of an outdoor water source. With the faucet securely in place, you’re ready to proceed to the next phase of the outdoor sink plumbing project.
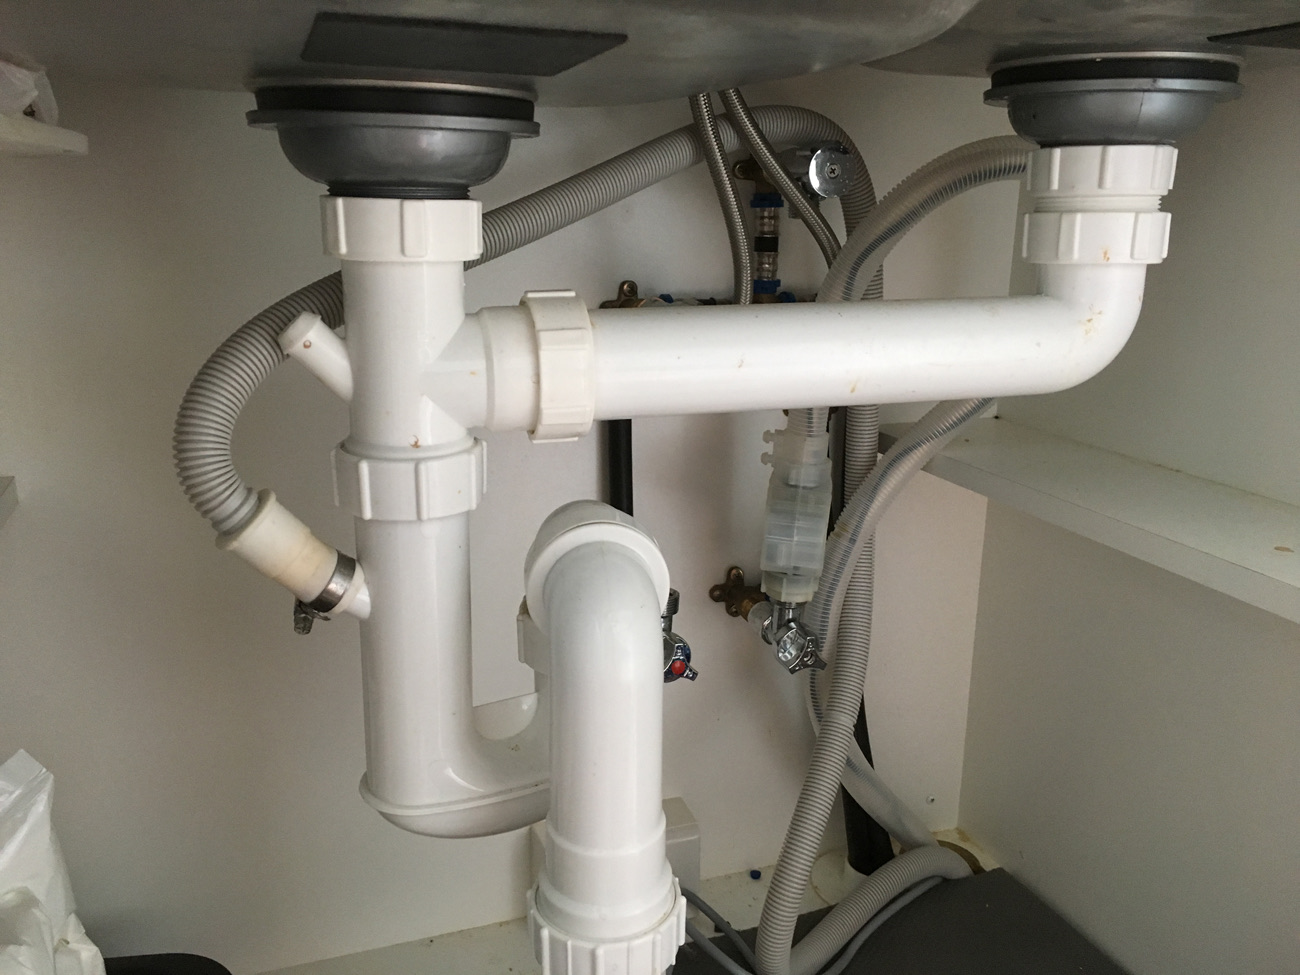
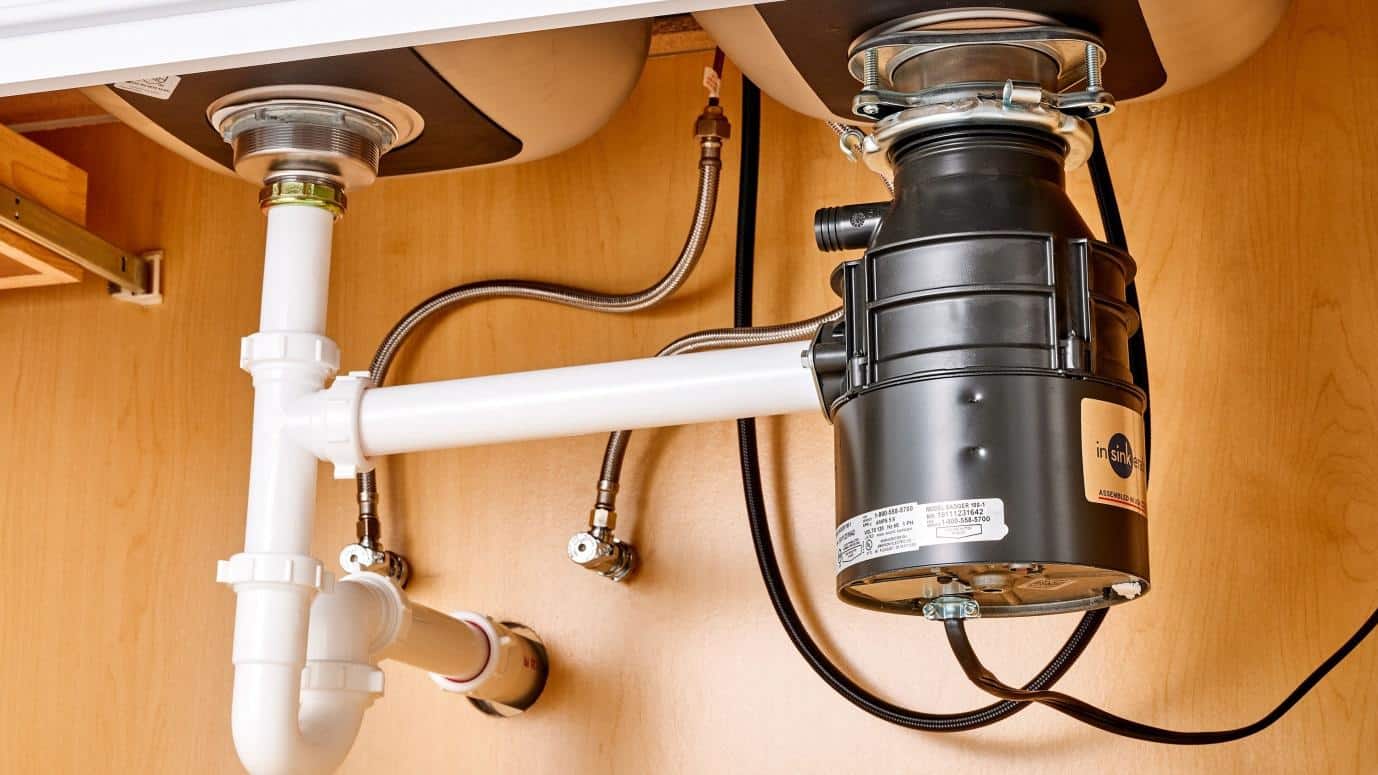
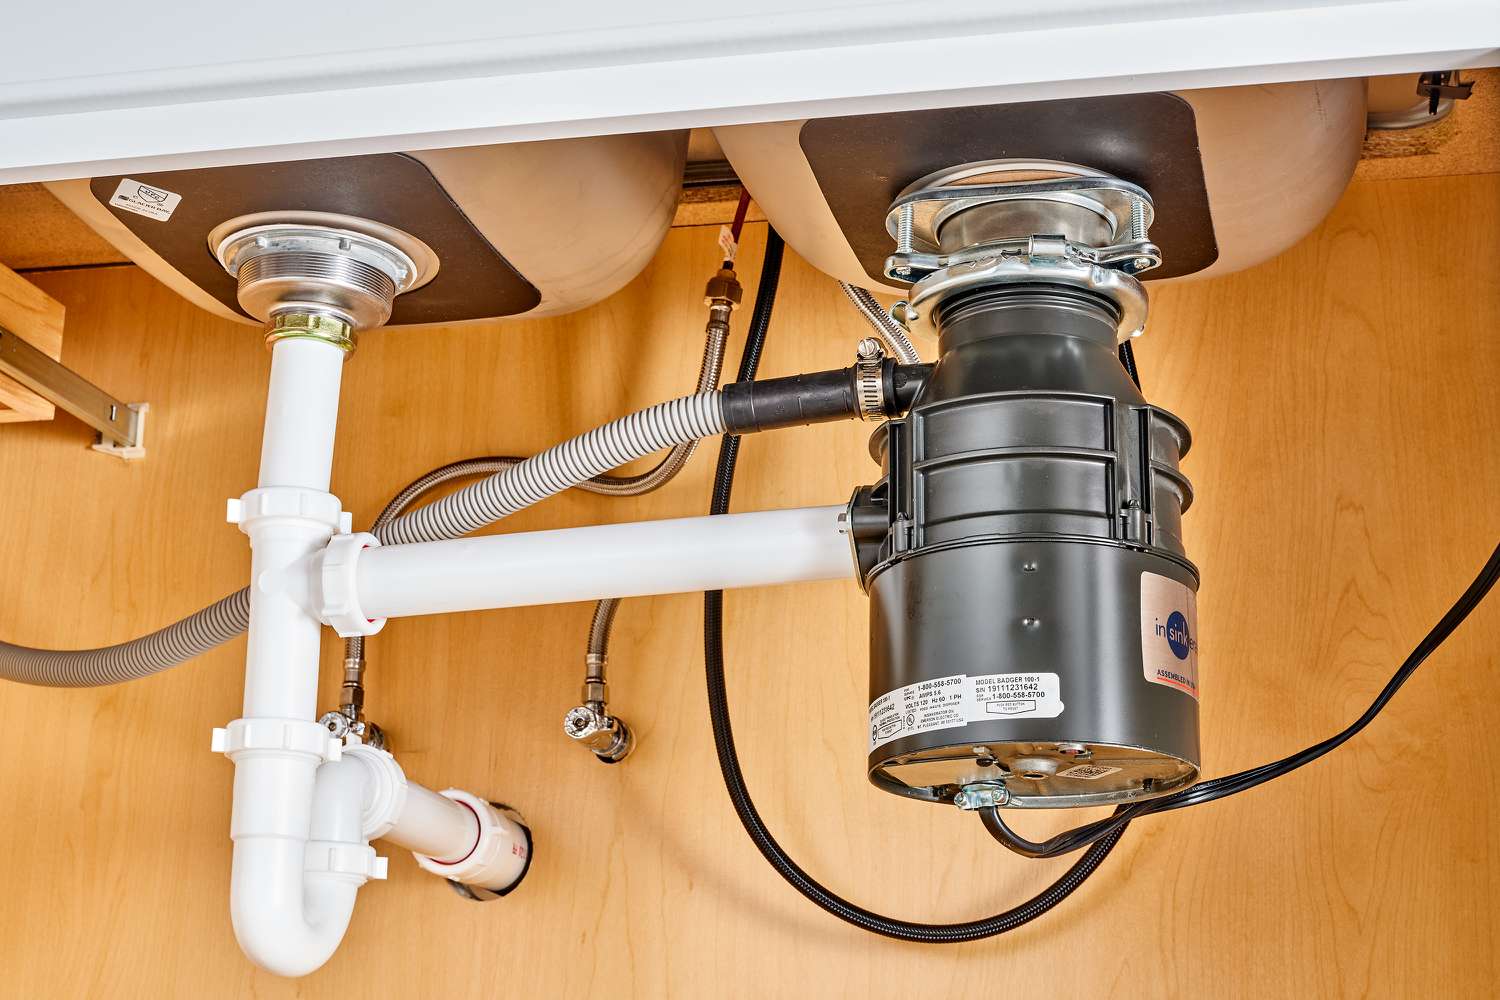
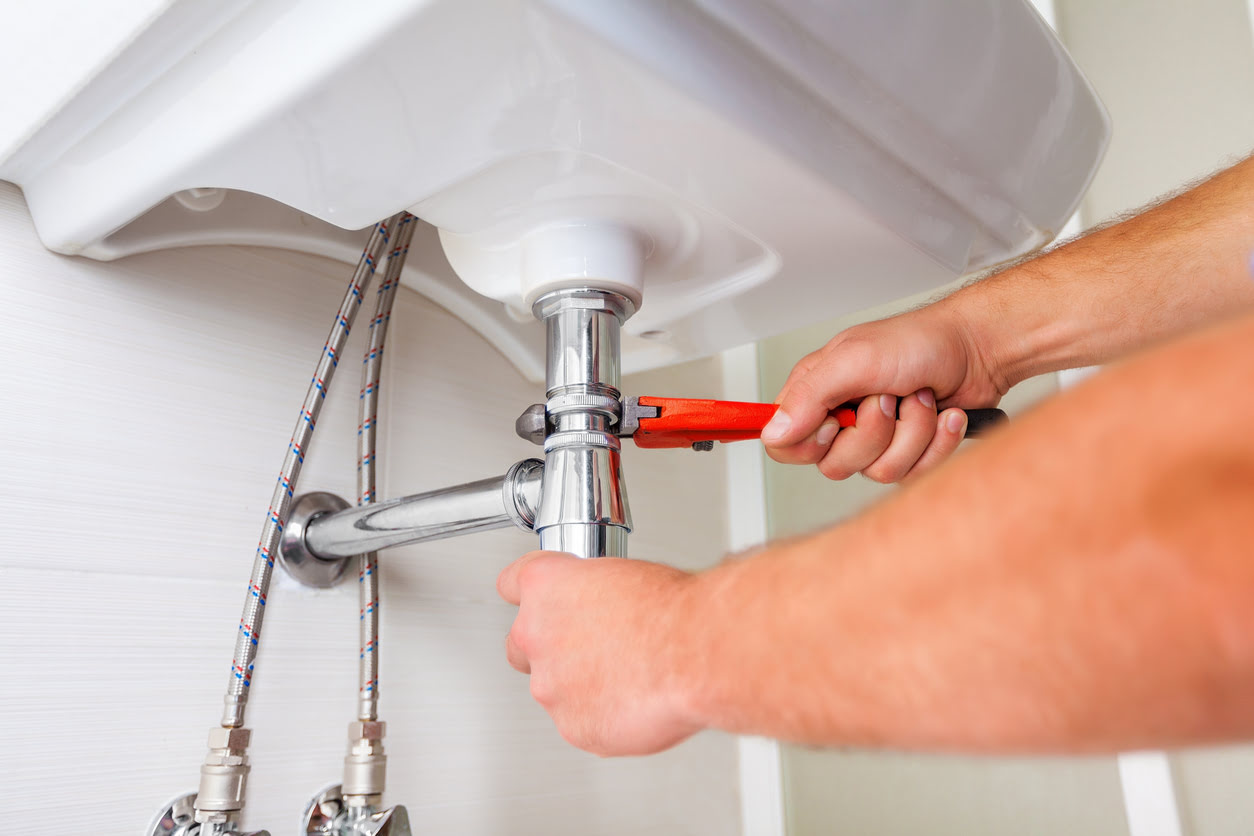
Connecting the Drain
Efficient drainage is essential for the functionality and cleanliness of an outdoor sink. Properly connecting the drain ensures that wastewater is effectively removed, preventing standing water and potential hygiene issues. Here’s a detailed guide on connecting the drain for your outdoor sink:
1. Choose the Drain Components: Select a high-quality drain assembly designed for outdoor use. Consider factors such as durability, corrosion resistance, and compatibility with your sink and plumbing setup.
2. Prepare the Sink: If the sink does not already have a pre-cut drain hole, use a suitable hole saw or drill bit to create the opening for the drain assembly. Ensure that the hole’s size and position align with the chosen drain components.
3. Assemble the Drain: Following the manufacturer’s instructions, assemble the drain components, including the strainer, gasket, and tailpiece. Apply plumber’s putty or silicone caulk to create a watertight seal between the sink and the drain components.
4. Connect the Drain Pipe: Depending on your specific plumbing setup, use PVC or copper pipes and fittings to connect the drain assembly to the main drainage line. Ensure that the connections are secure and leak-free, using appropriate sealants and fittings as needed.
5. Test the Drain: Once the drain is connected, run water into the sink and observe the drainage process. Check for any leaks or slow drainage, and make adjustments as necessary to ensure optimal performance.
6. Consider Additional Accessories: Depending on your outdoor sink’s intended use, consider incorporating additional drainage accessories, such as a garbage disposal unit or a grease trap. These accessories can enhance the sink’s functionality and contribute to efficient wastewater management.
By carefully following these steps and ensuring a secure and effective drain connection, you can create a reliable and hygienic outdoor sink that meets your specific needs. With the drain successfully connected, you’re one step closer to enjoying the convenience and utility of an outdoor water source in your outdoor oasis.
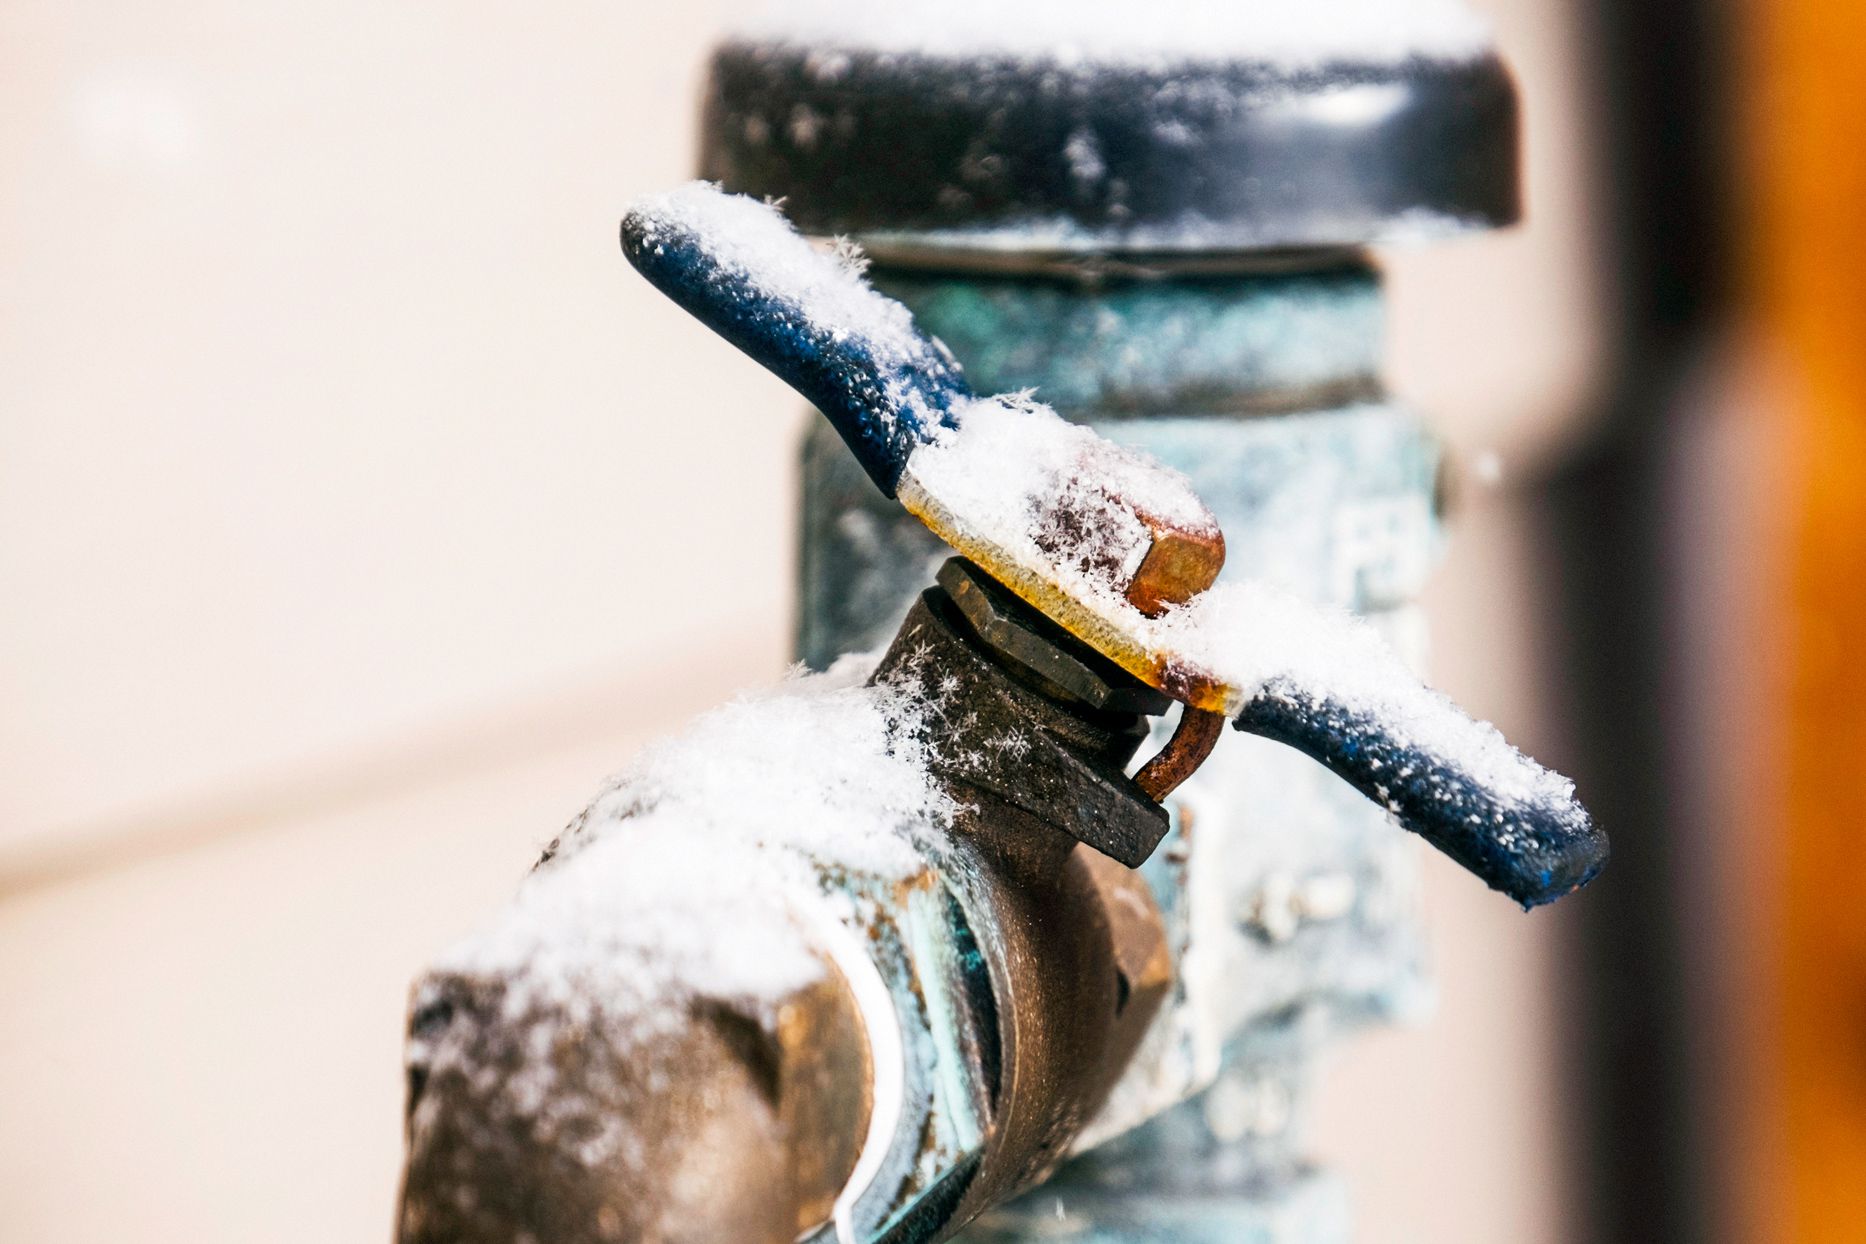
When plumbing an outdoor sink, make sure to use materials that can withstand outdoor elements, such as PVC or stainless steel. Also, consider installing a drain trap to prevent clogs and odors.
Testing the Sink
After completing the installation of the faucet and connecting the drain, it’s essential to thoroughly test the outdoor sink to ensure that all components function as intended. Testing the sink not only validates the quality of the installation but also allows for the identification and resolution of any potential issues. Here’s a comprehensive guide to effectively test your outdoor sink:
1. Water Flow and Temperature: Turn on the faucet and assess the flow of both hot and cold water. Verify that the water temperature aligns with the faucet’s settings and that the flow is consistent and free from irregularities. Check for any leaks around the faucet connections and address them promptly if detected.
2. Drainage Performance: Fill the sink with water and observe the drainage process. Ensure that the water efficiently drains without pooling or slow drainage. Test the stopper or strainer to confirm that it effectively retains water when needed and allows for swift drainage when released.
3. Faucet Operation: Test the functionality of the faucet, including the handles, spout, and any additional features such as spray settings or pull-out hoses. Verify that the faucet operates smoothly and without any unusual noises or malfunctions.
4. Leak Detection: Carefully inspect all plumbing connections, including those under the sink and behind the faucet, for any signs of leaks. Use a dry paper towel or cloth to detect even minor leaks, and address any issues by tightening connections or applying appropriate sealants as needed.
5. Electrical Components (if applicable): If the faucet requires electrical power for features such as touchless operation or integrated lighting, verify that the electrical connections are secure and that the faucet operates safely and reliably. Test the electrical components according to the manufacturer’s instructions.
6. Overall Functionality: Evaluate the overall functionality of the outdoor sink, considering its intended use. Test any additional features, such as integrated soap dispensers or filtration systems, to ensure that they operate effectively and enhance the sink’s utility.
By conducting a comprehensive test of the outdoor sink, you can identify and address any potential issues before regular use, ensuring that the sink meets your expectations for performance, reliability, and convenience. With the sink successfully tested and validated, you can look forward to enjoying the myriad benefits it brings to your outdoor living space.
Conclusion
Plumbing an outdoor sink is a rewarding endeavor that enhances the functionality and convenience of your outdoor living space. By following the steps outlined in this guide and carefully executing each phase of the installation, you can create a well-designed and efficient outdoor sink that meets your specific needs. From washing garden produce to cleaning outdoor cooking utensils and providing a convenient water source for various outdoor activities, an outdoor sink adds tremendous value to your outdoor oasis.
Throughout the installation process, meticulous planning, attention to detail, and adherence to best practices are essential for achieving a successful outcome. By selecting durable and weather-resistant components, ensuring secure and watertight connections, and testing the sink thoroughly, you can create a reliable and functional outdoor water source that withstands the demands of outdoor use.
Furthermore, the installation of an outdoor sink provides an opportunity to enhance the aesthetic appeal of your outdoor space. With a thoughtfully chosen faucet, a well-positioned sink, and a carefully planned drainage system, you can create a visually appealing and cohesive outdoor sink area that complements your outdoor décor and landscaping.
As you complete the installation and testing of your outdoor sink, take pride in the valuable addition you’ve made to your outdoor living environment. Whether you’re an avid gardener, a dedicated outdoor chef, or someone who simply enjoys spending time in the fresh air, the convenience and versatility of an outdoor sink will undoubtedly enrich your outdoor experiences.
With the installation process complete and the sink ready for use, take a moment to appreciate the transformation you’ve brought to your outdoor space. Enjoy the convenience, functionality, and beauty of your new outdoor sink, and savor the countless moments it will facilitate, from outdoor meal preparation to gardening activities and beyond.
Congratulations on successfully plumbing your outdoor sink, and may it serve as a valuable and cherished feature of your outdoor sanctuary for years to come.
Frequently Asked Questions about How To Plumb Outdoor Sink
Was this page helpful?
At Storables.com, we guarantee accurate and reliable information. Our content, validated by Expert Board Contributors, is crafted following stringent Editorial Policies. We're committed to providing you with well-researched, expert-backed insights for all your informational needs.


0 thoughts on “How To Plumb Outdoor Sink”